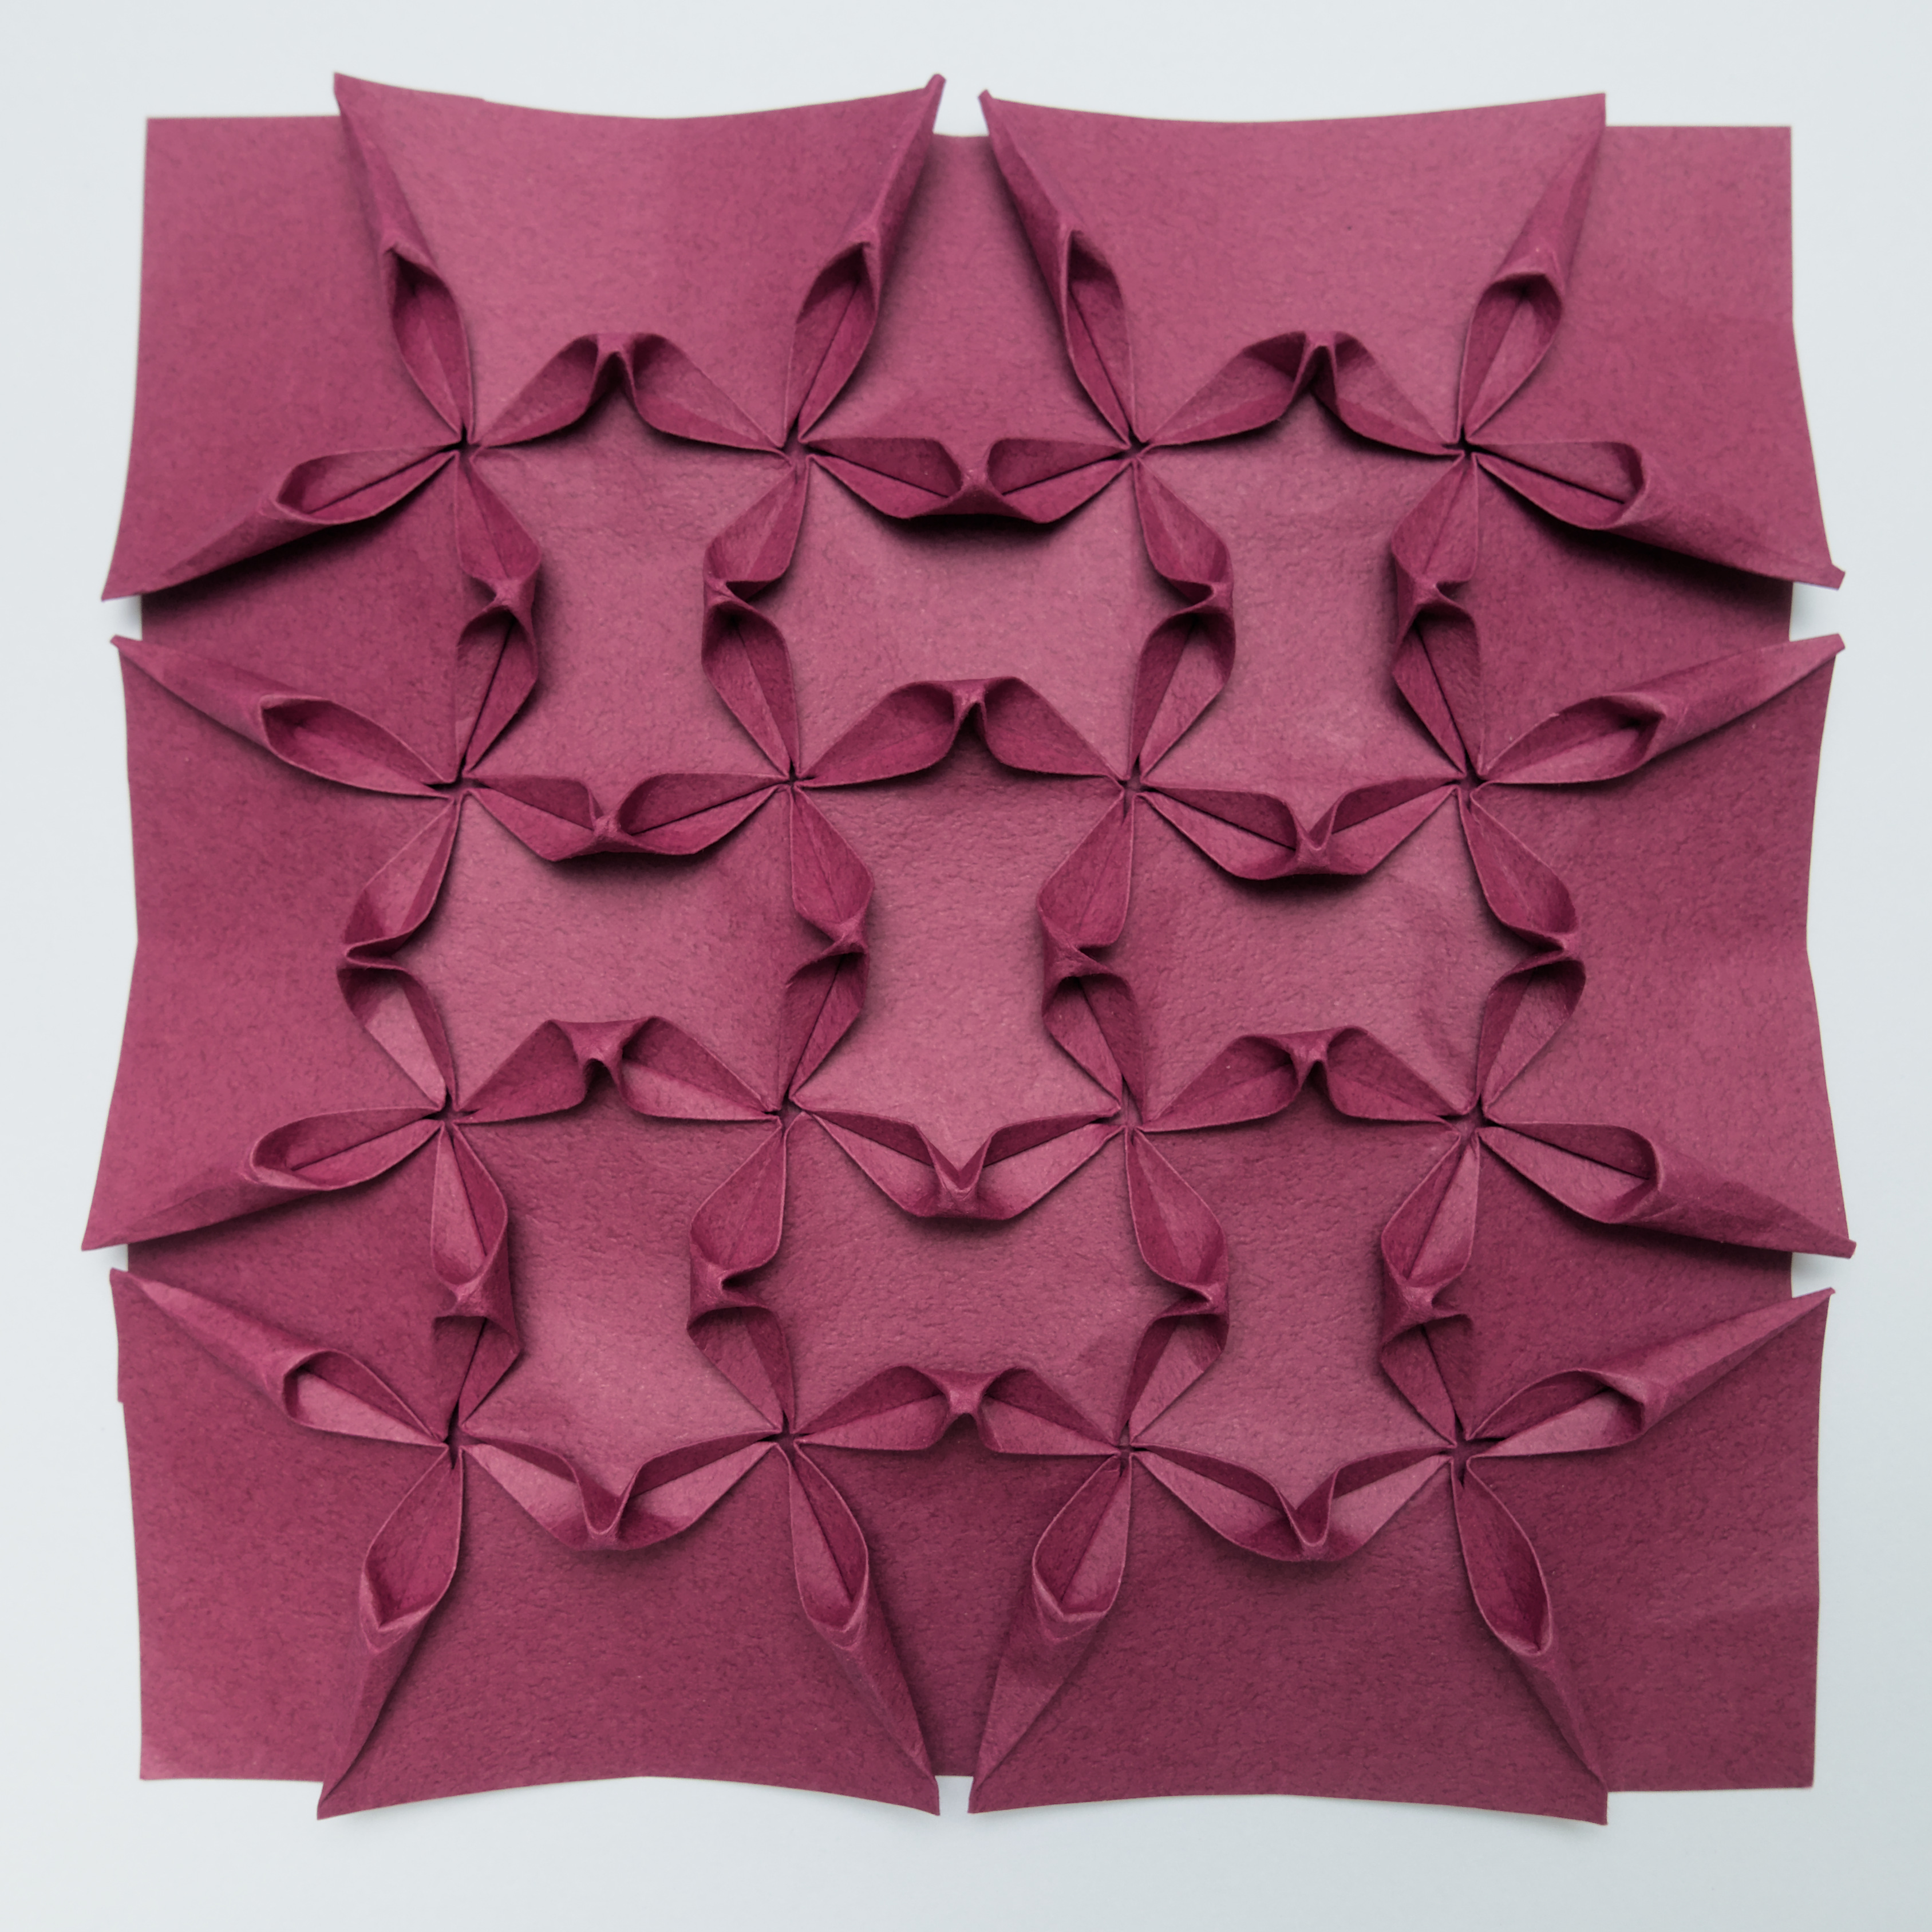
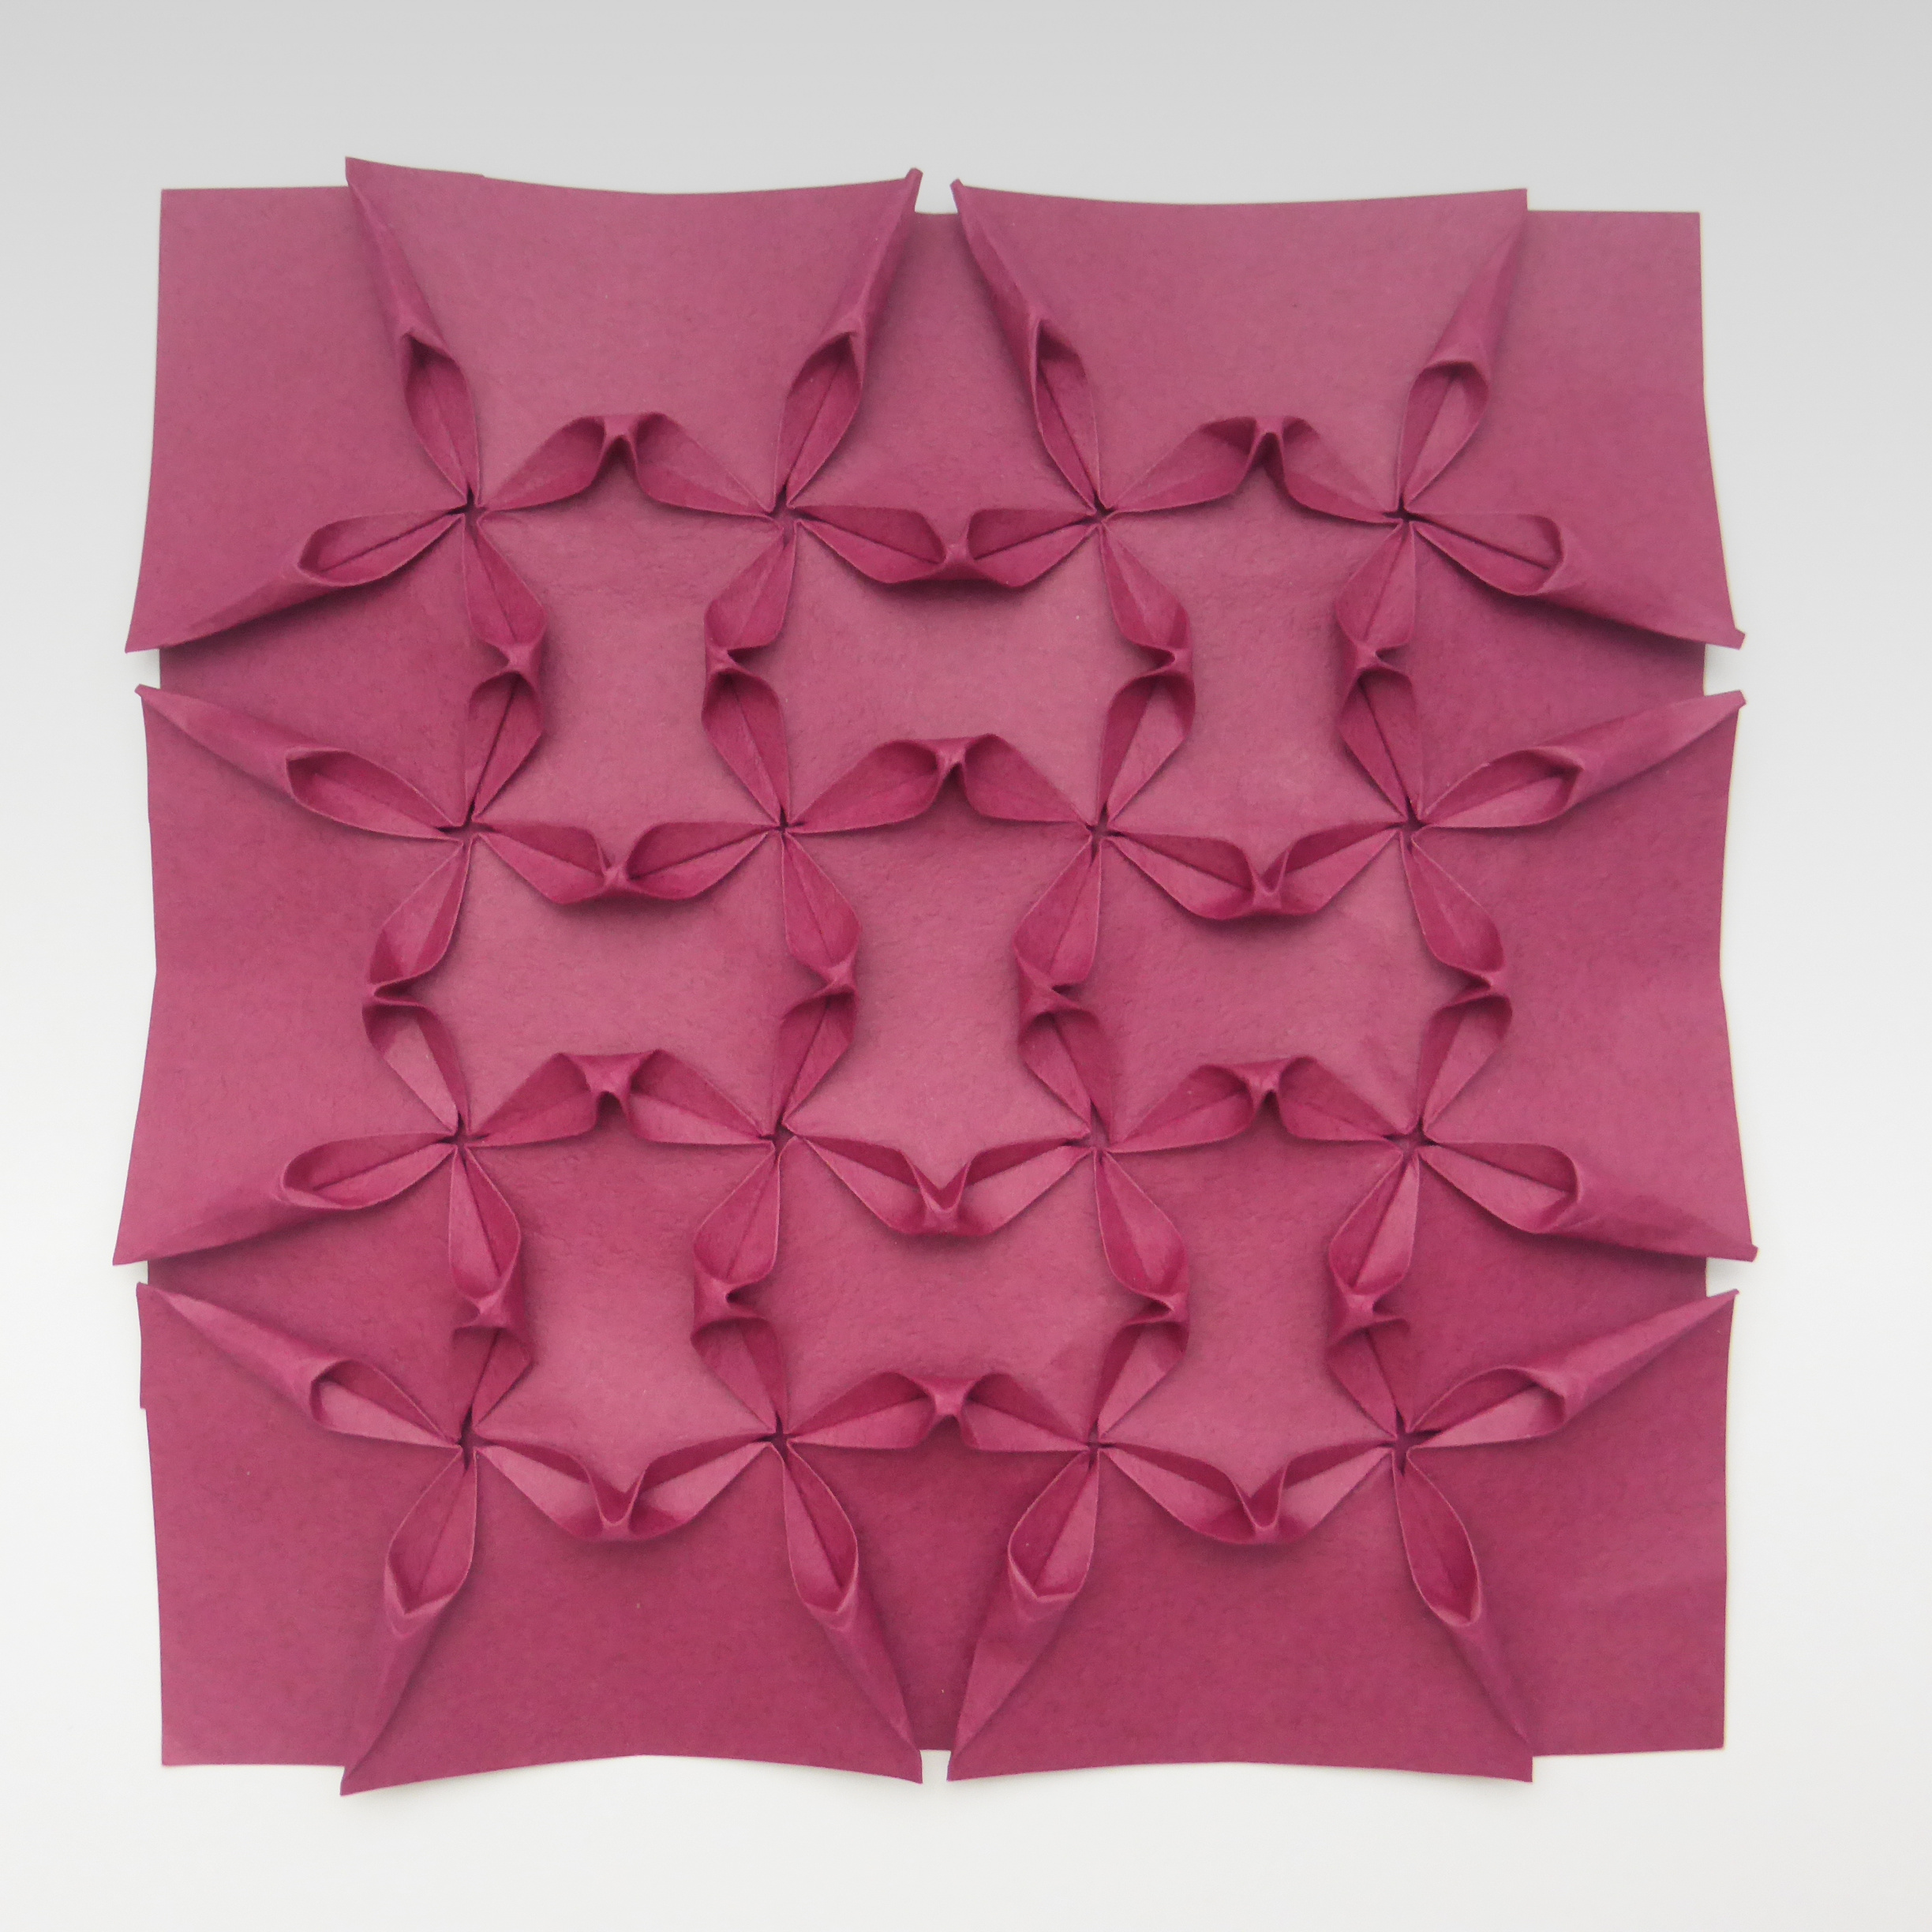
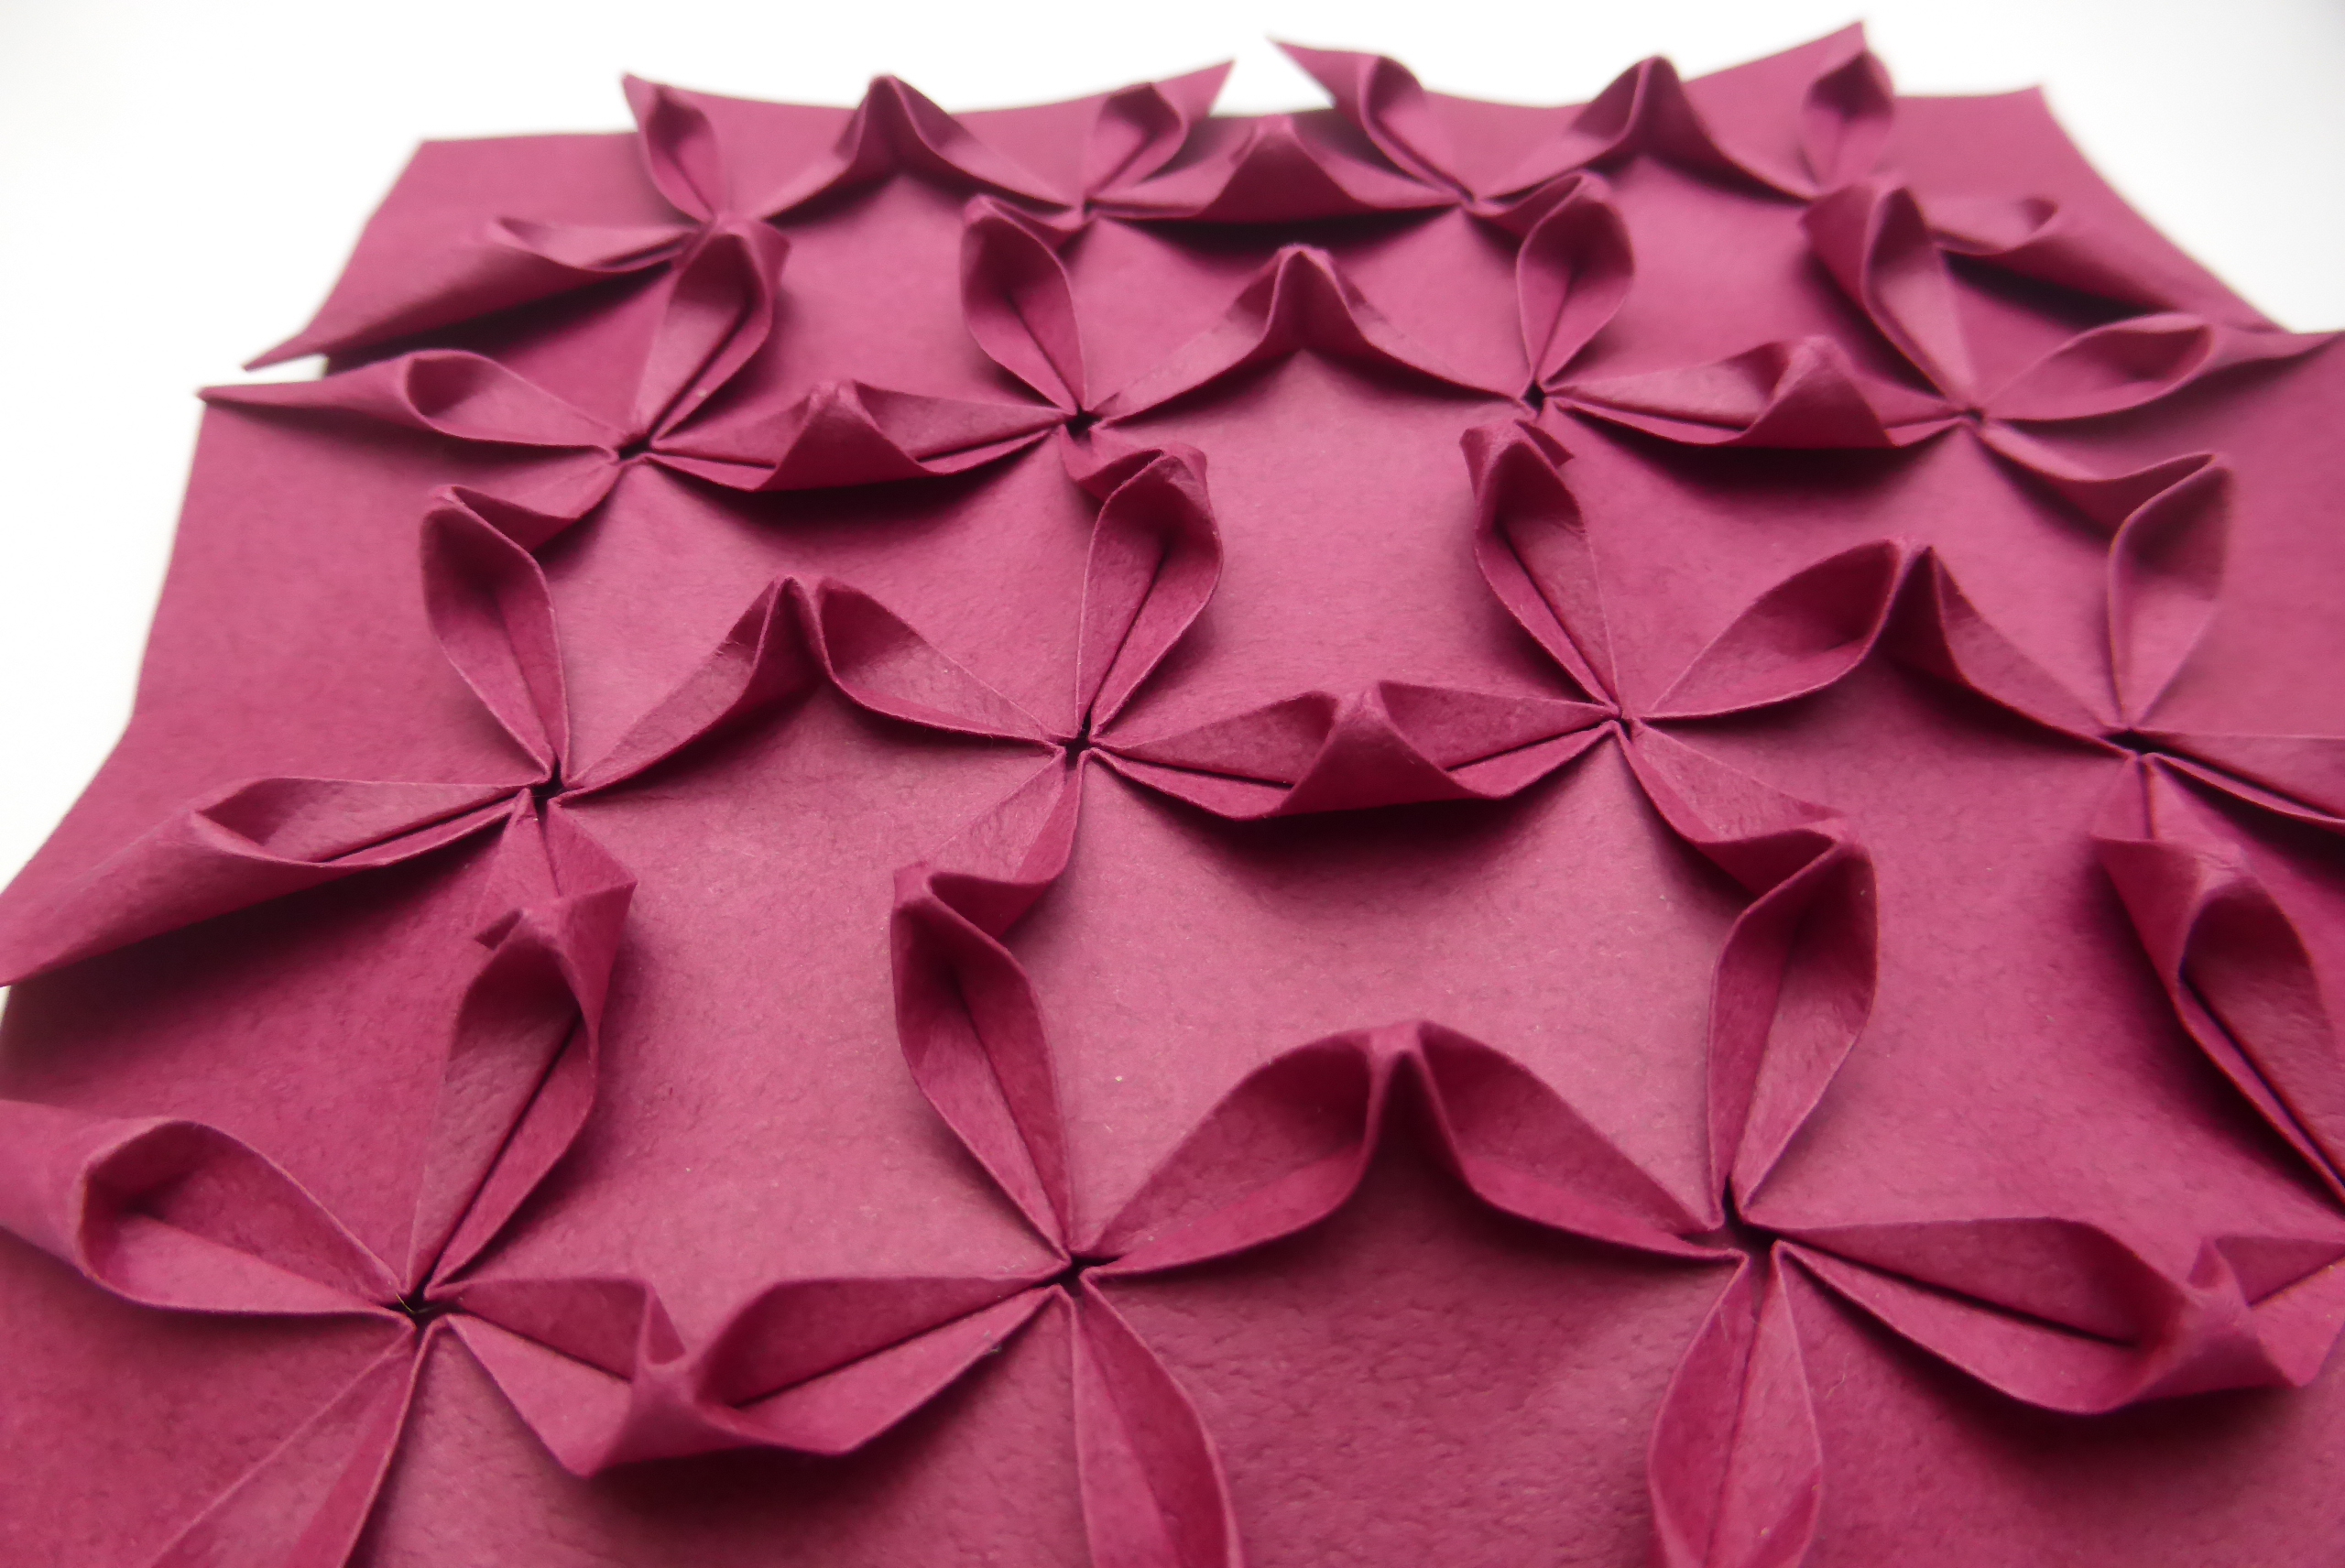
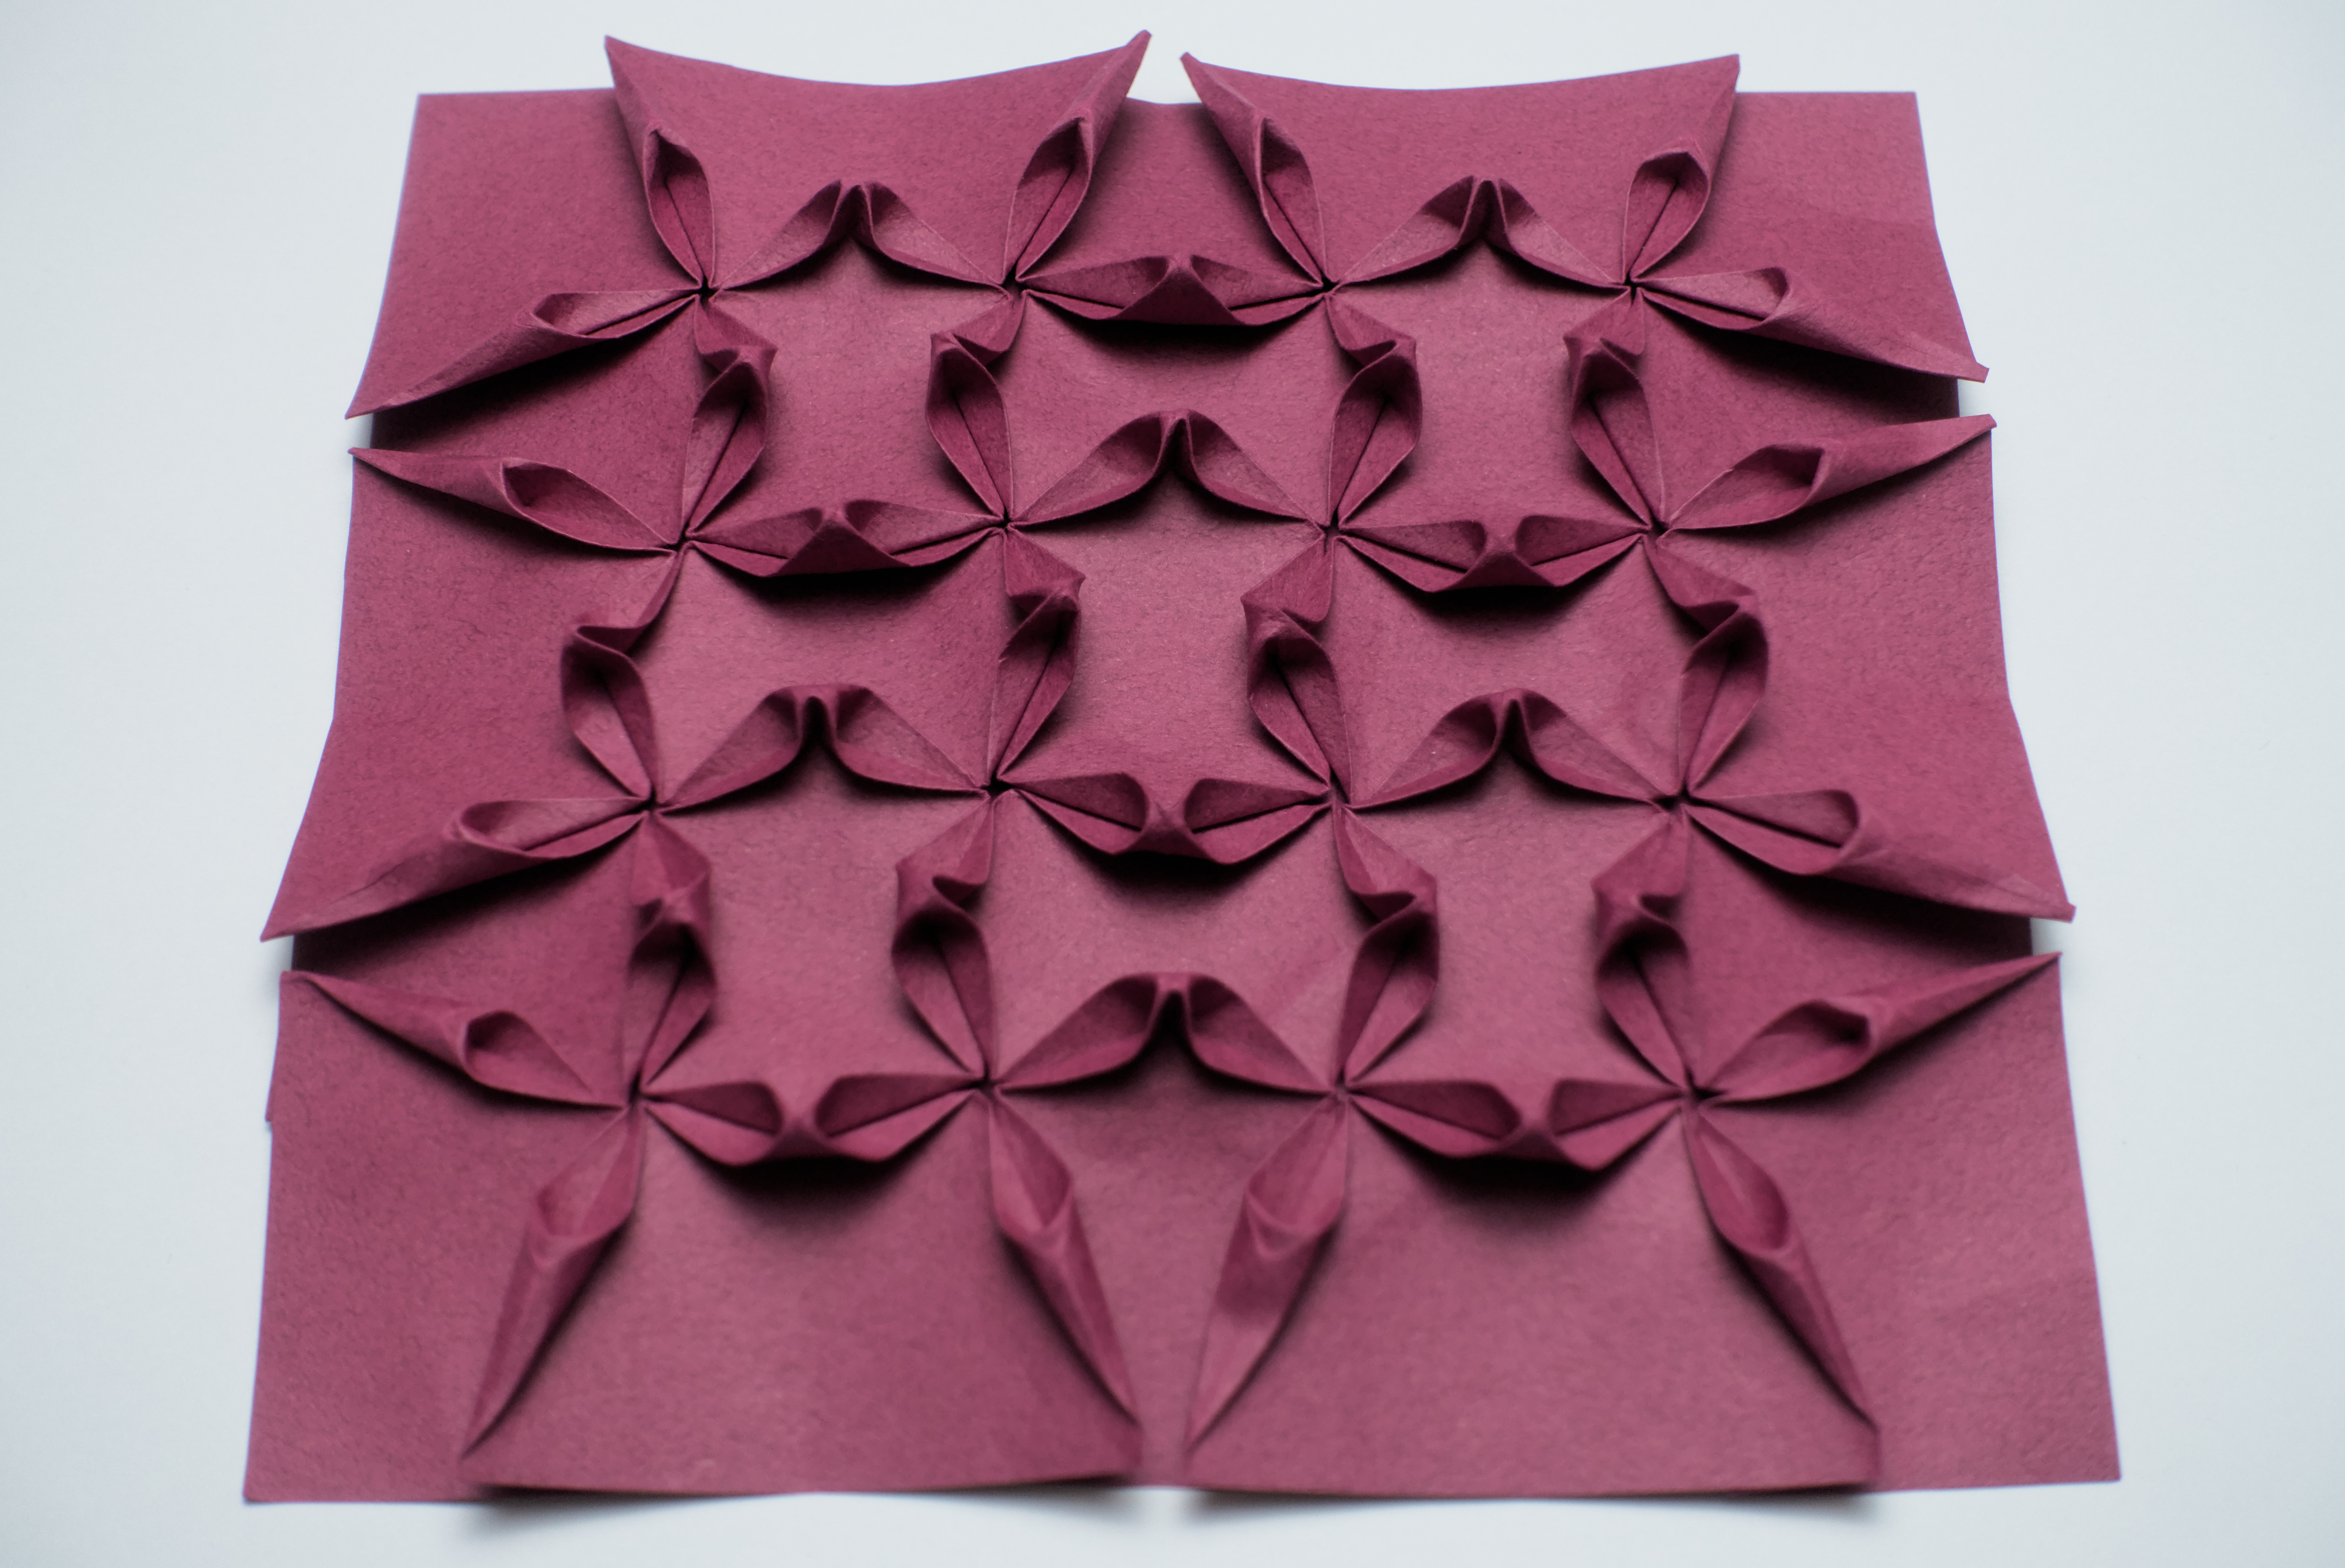
Clematis Tessellation


My idea behind this tessellation was designing something easy to learn for beginners but at the same to make it reasonably well looking. The models I have used so far for teaching tessellations to beginners were the Square Twist (optionally modified to become my/Fujimoto’s Stars and Squares) and my Double Spearhead Tessellation. Both models have their disadvantages, however: Square Twist may seem simple and obvious once you have some experience with tessellations, but it’s actually quite confusing to beginners, especially when taught online. Double Spearhead Tessellation is simple enough, but when you fold just 2×2 molecules (which is how much you can fold in a workshop), it doesn’t look that great, and it’s no that easy to get it to lay completely flat, either.
Clematis Tessellation seems to be an improvement over the two former models: it looks nice enough and it seems to be easier to fold than Square Twists. It starts from a sunk square twist just like Double Spearhead Tessellation. It is quite similar in its structure to Ilan Garibi’s Red Flower Tessellation, but instead of spread-squashing the triangular flaps, you fold rabbit ears through all the layers.
Shown here are several pictures, some of which may look almost identical. They are images of the front side of the model, taken under different conditions, using different cameras and focal lengths. Looking closer, you should see differences in image quality and how different lenses lead to different perspectives.
The fold shown here uses a 16×16 square grid (4x4 for each molecule).
Comments