BBU — connecting the units and different connection methods
Folding BBU units is described in other sections of this tutorial while this section focuses on connecting the units once you have folded them.
Cubic connection method and paneling
The body of most models consists of cubes folded just as they would be with the business card cube module. Likewise, the external surface can be covered in a kind of paneling which improves both the looks and the stability of the model.
Diagrams — downloadable PDF files
These diagrams show roughly the same content as the photo-tutorial below, but use drawings rather than pictures.


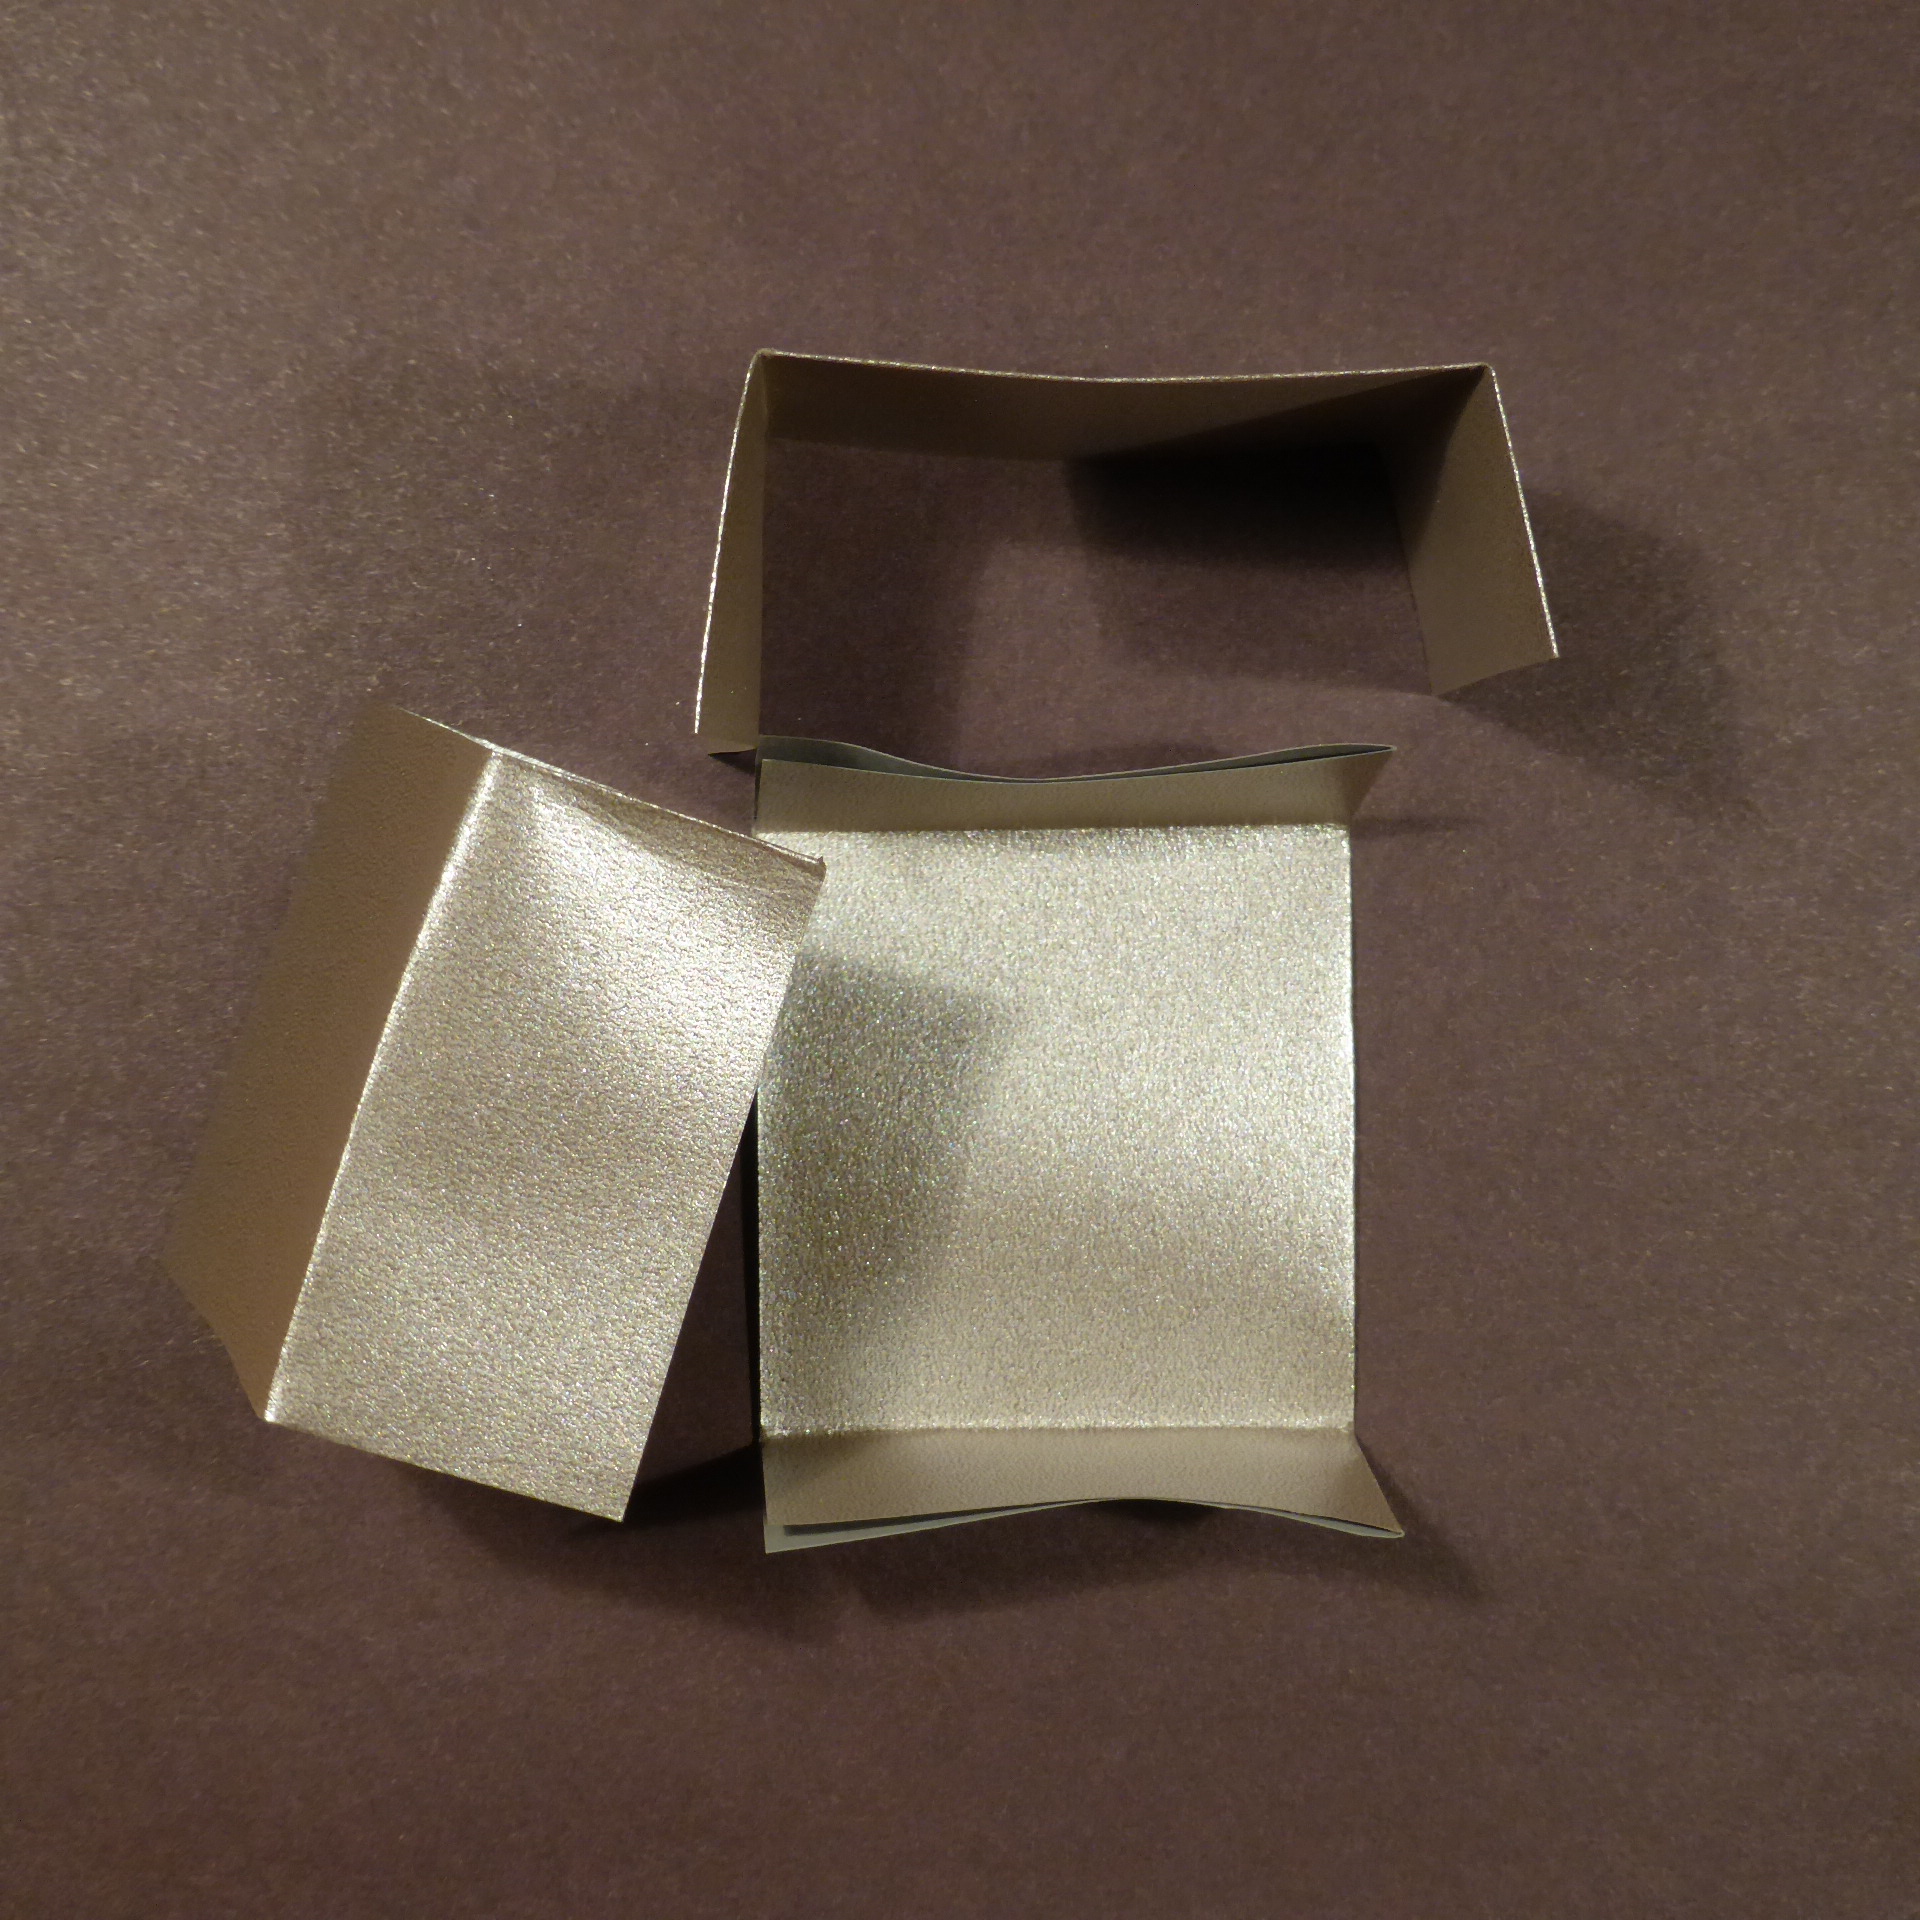
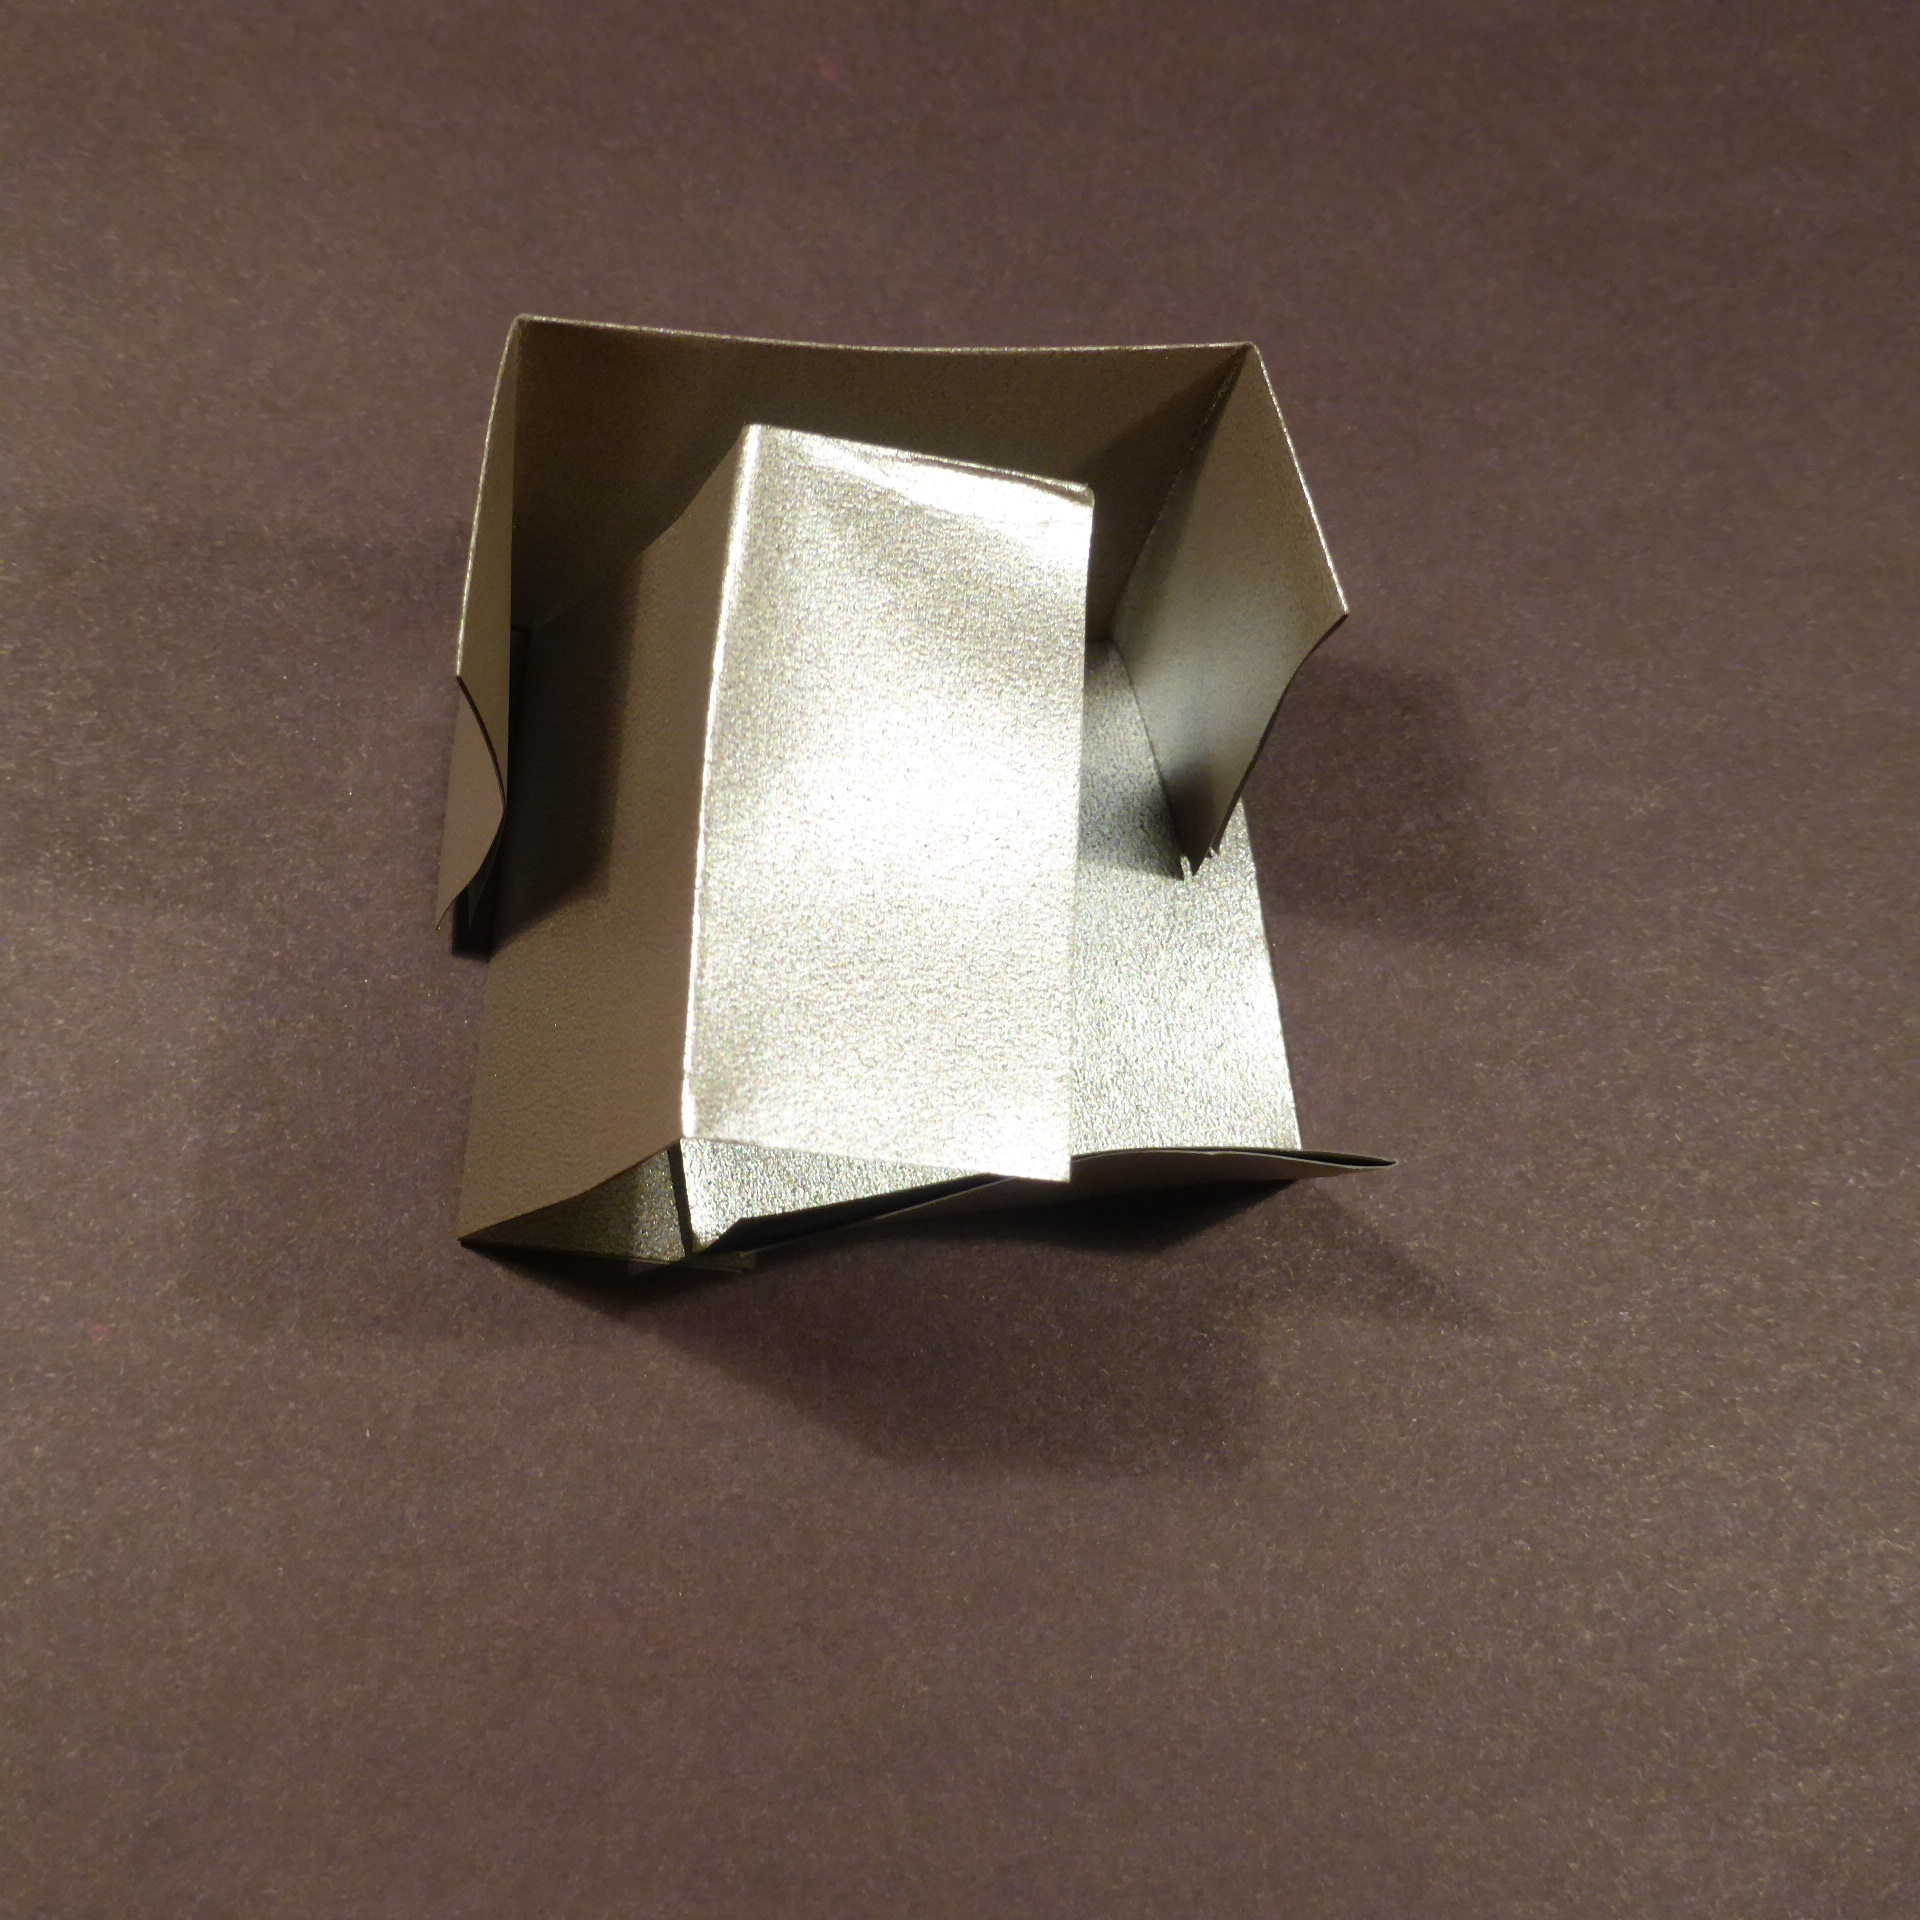
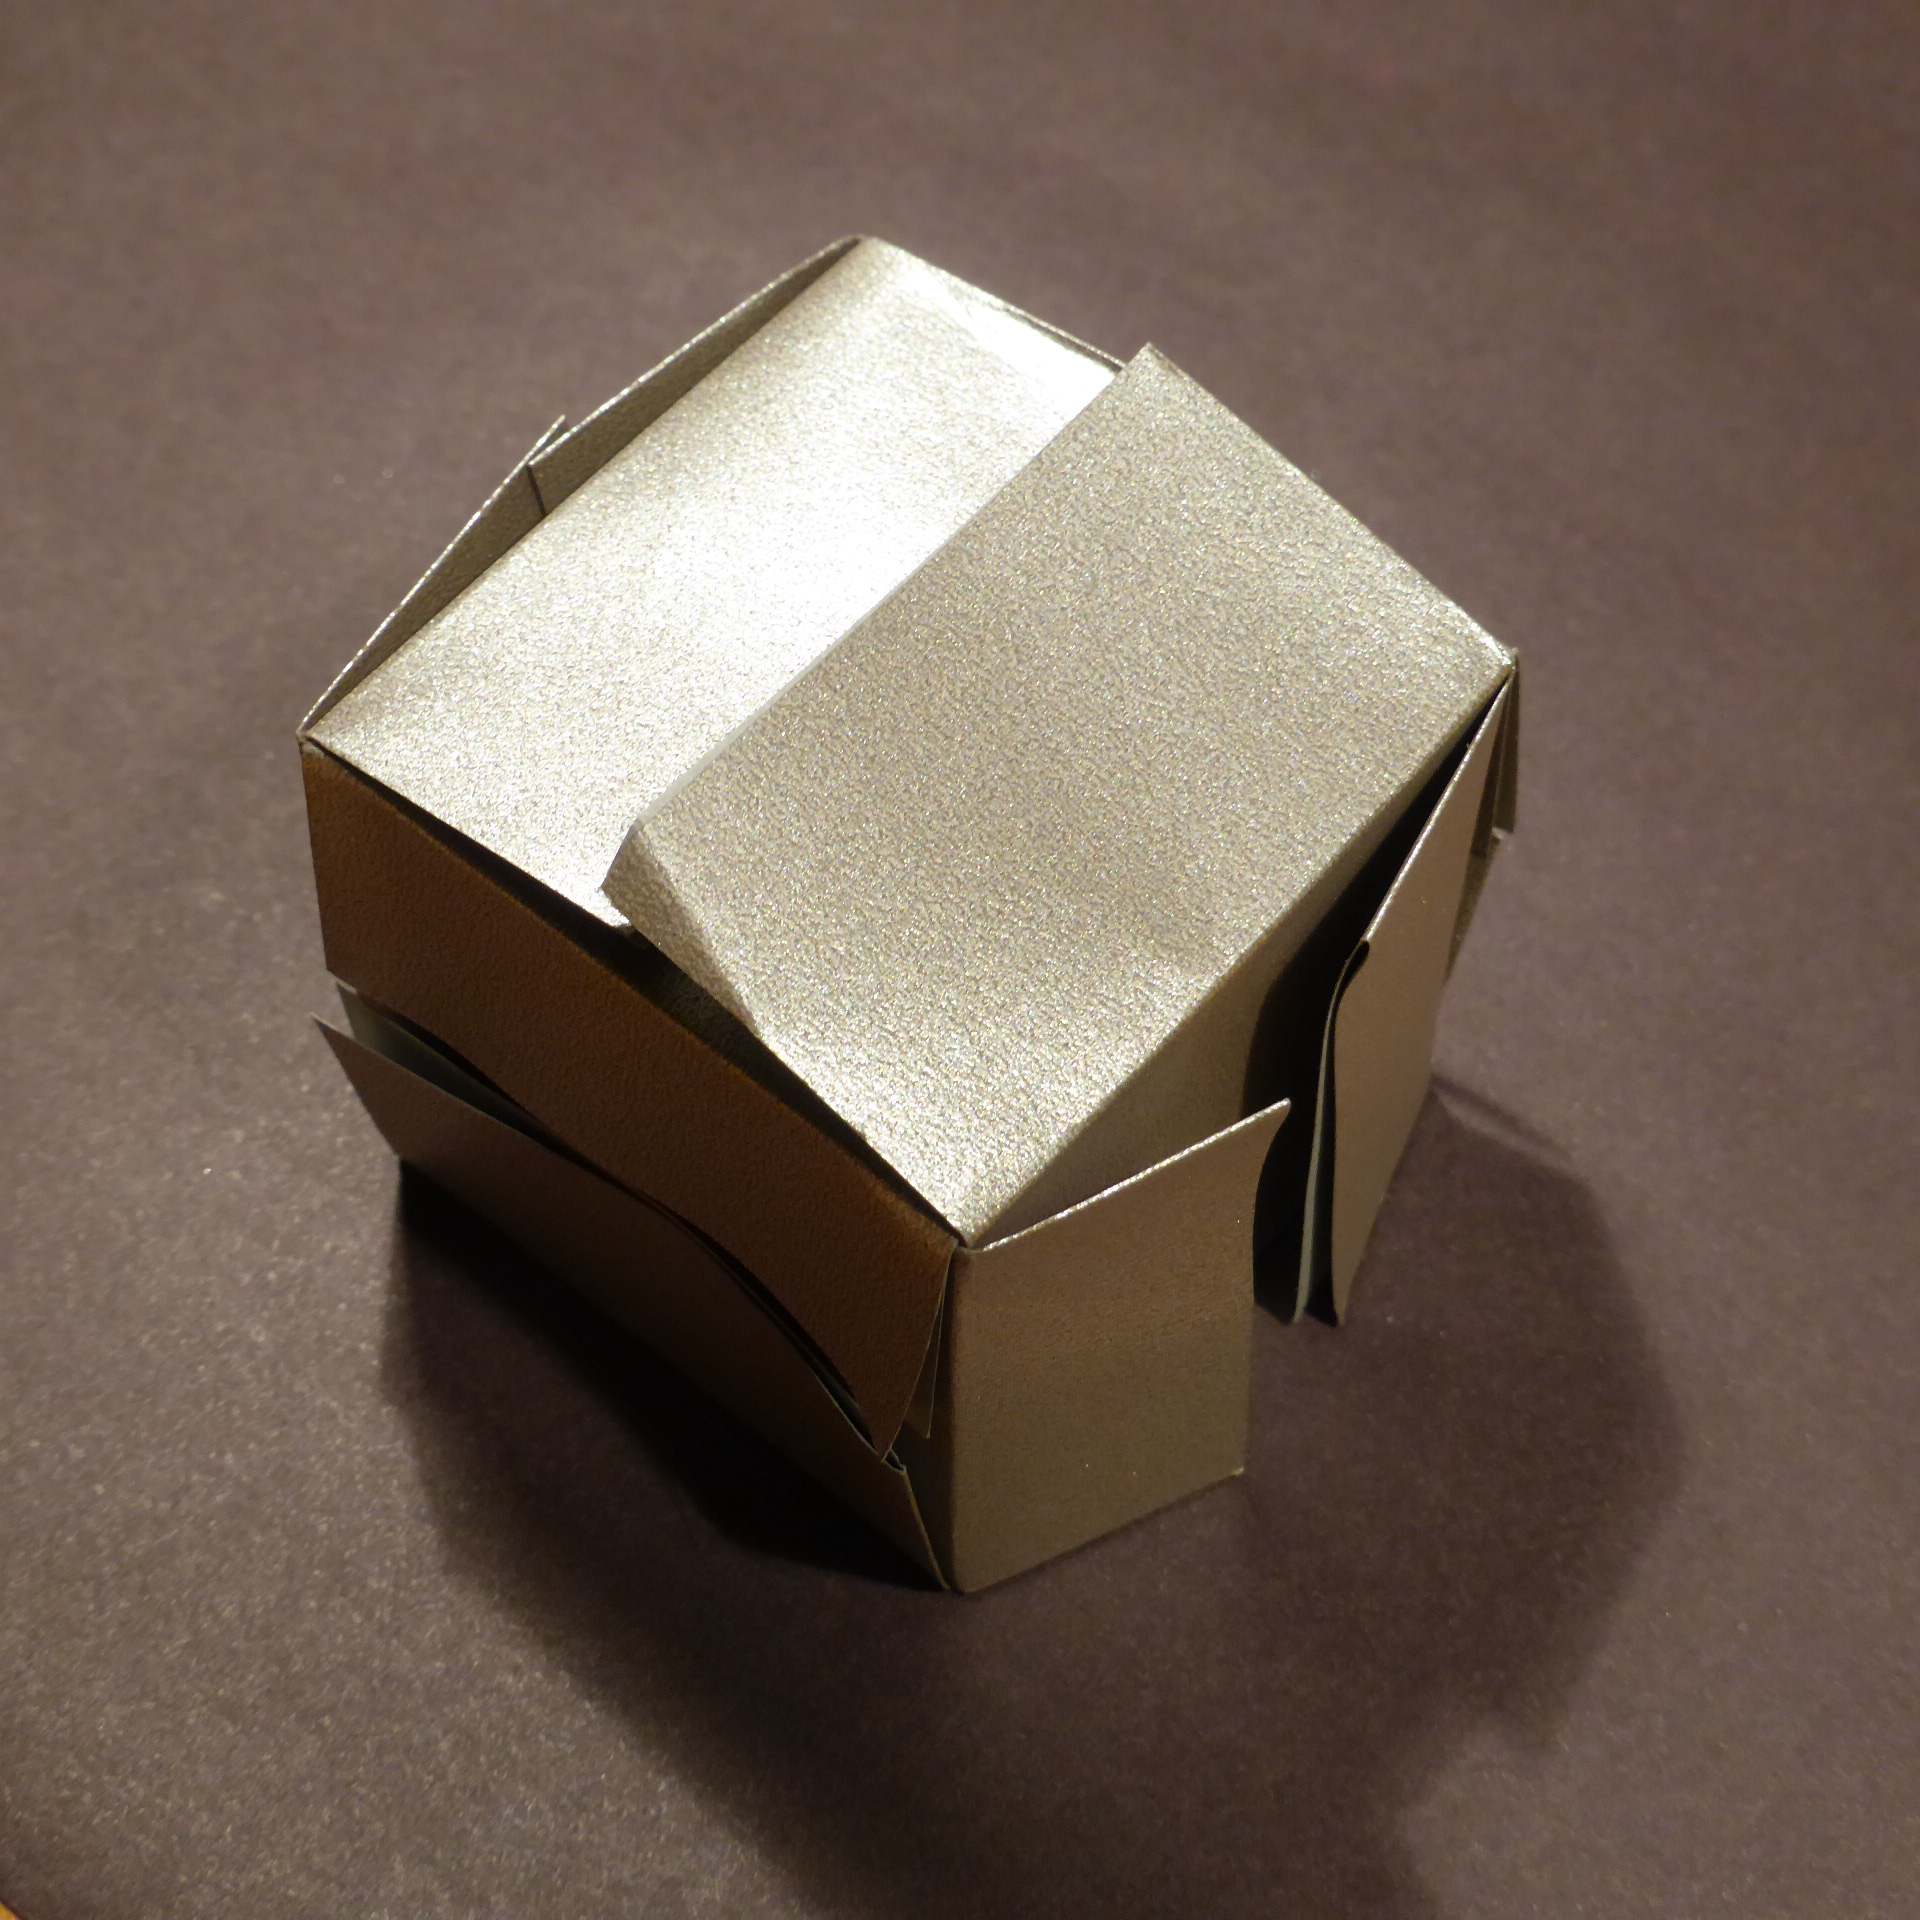
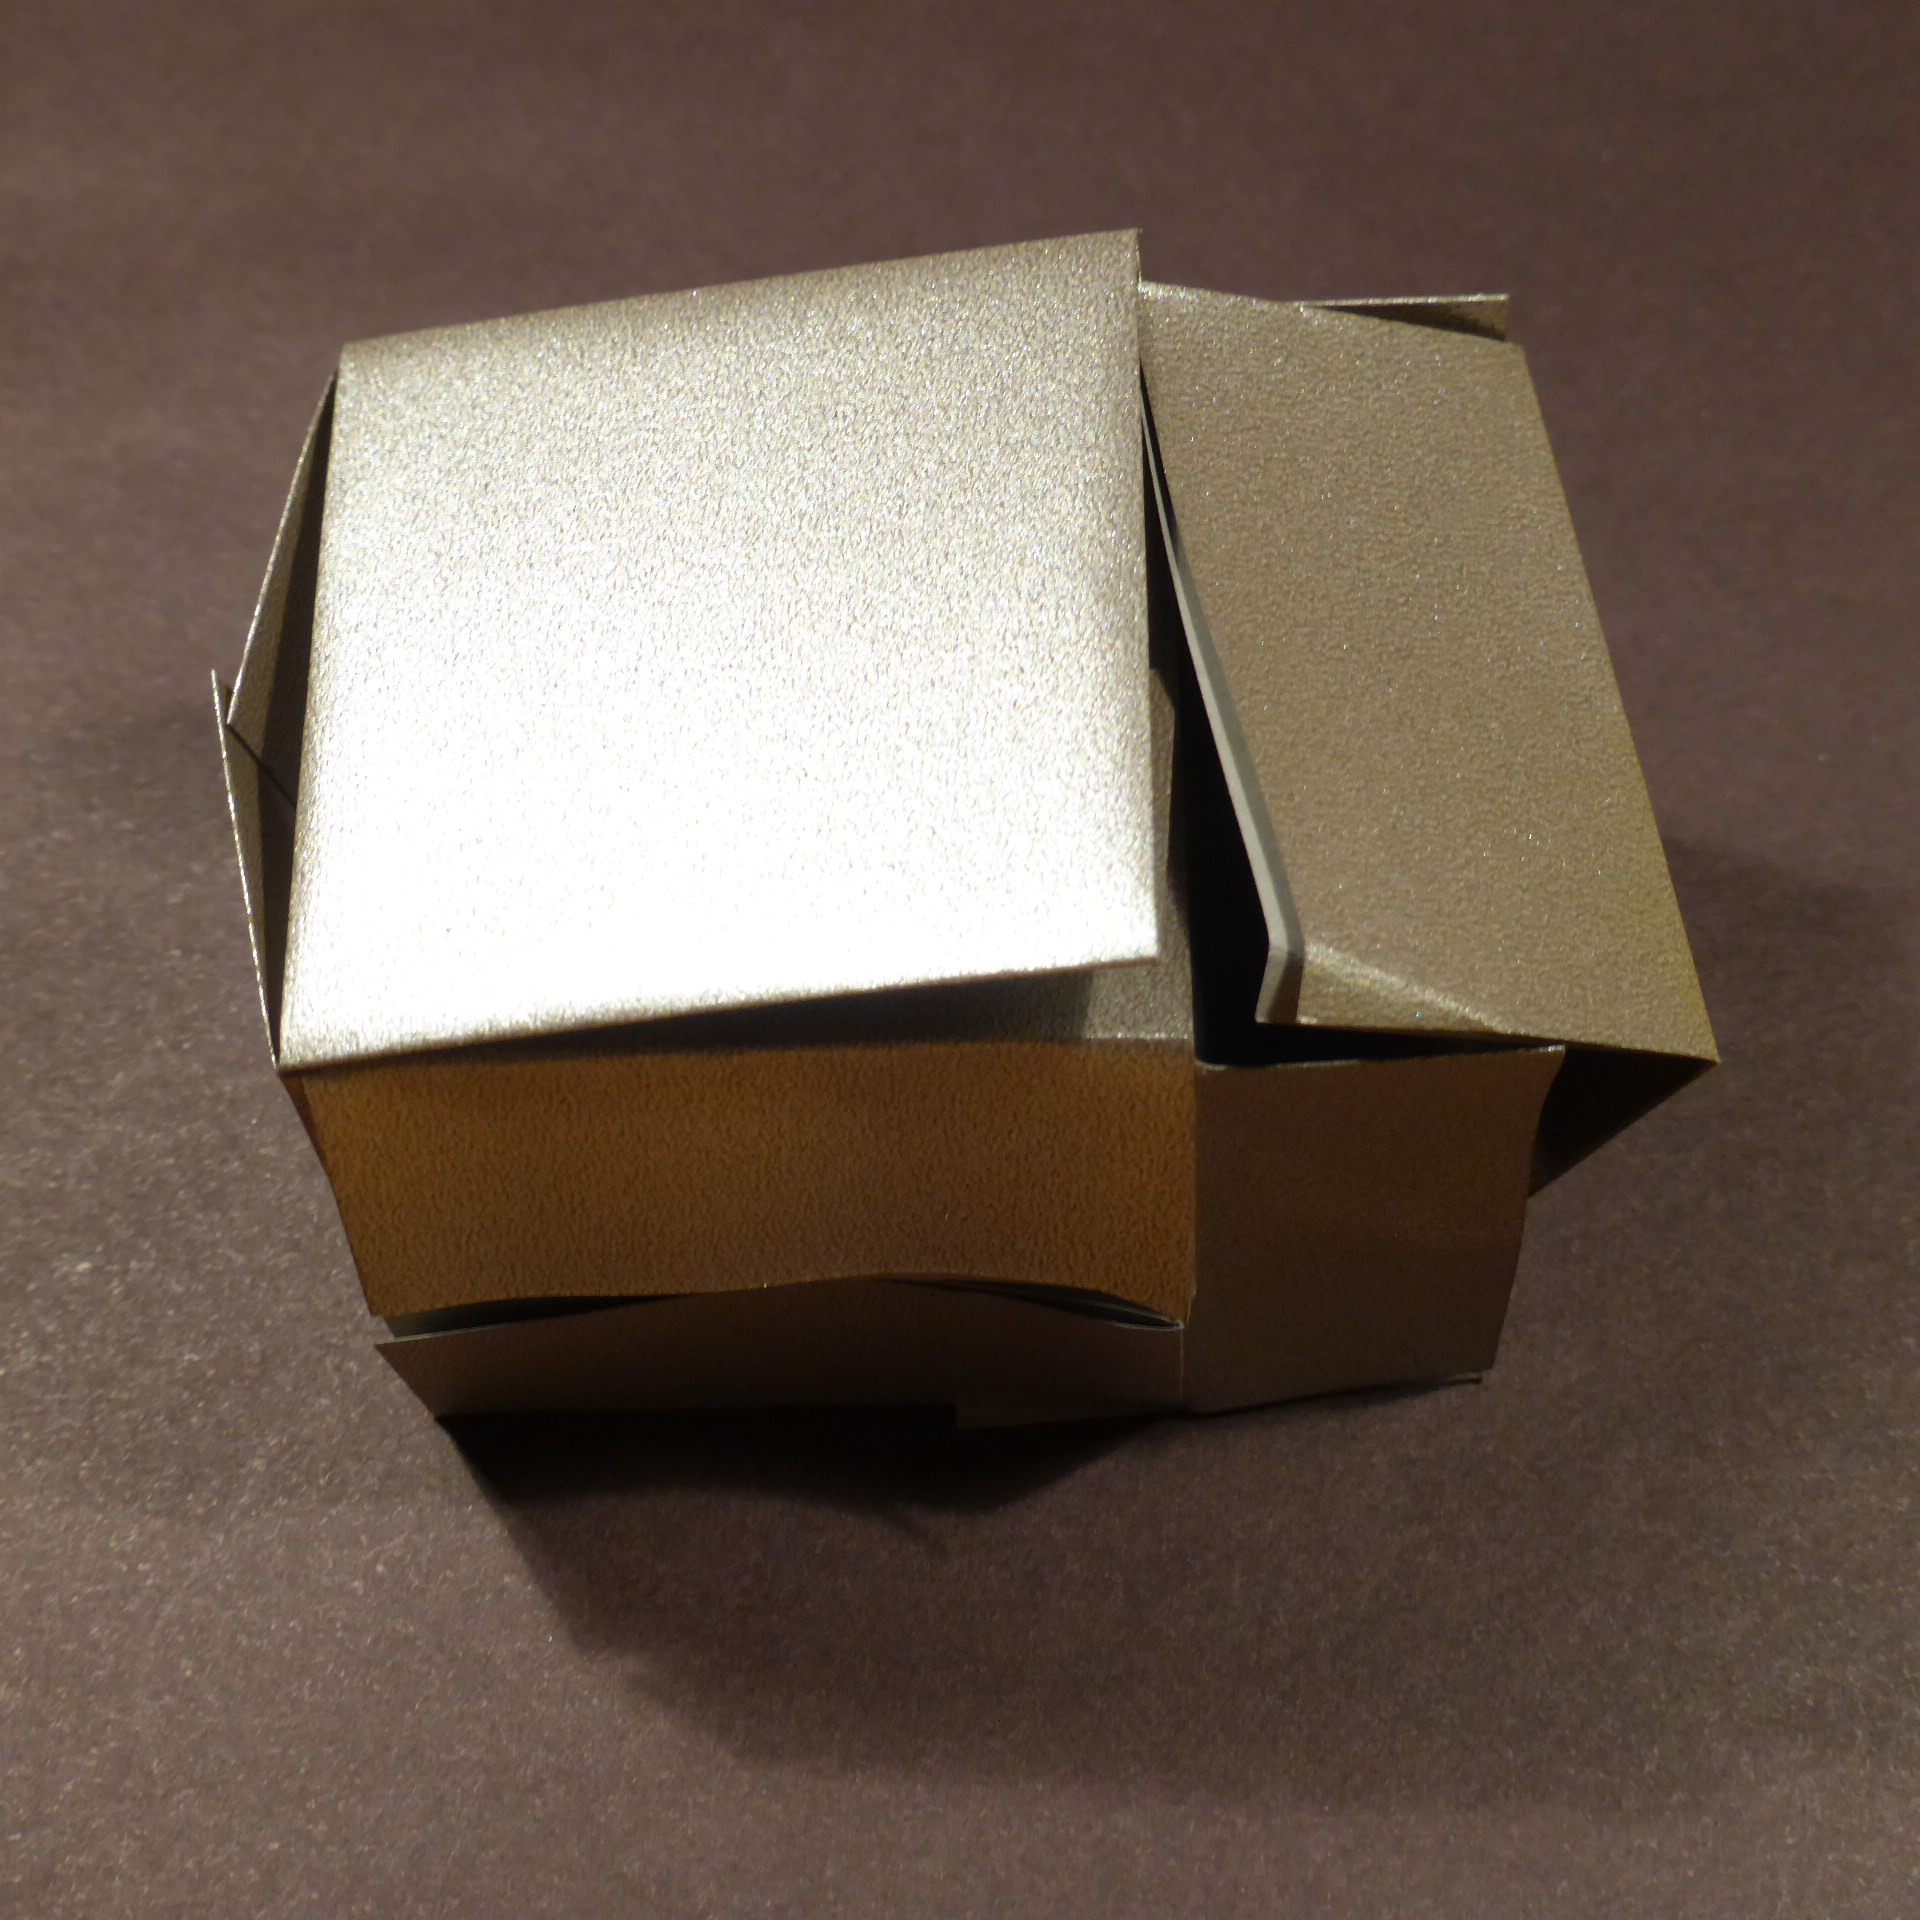
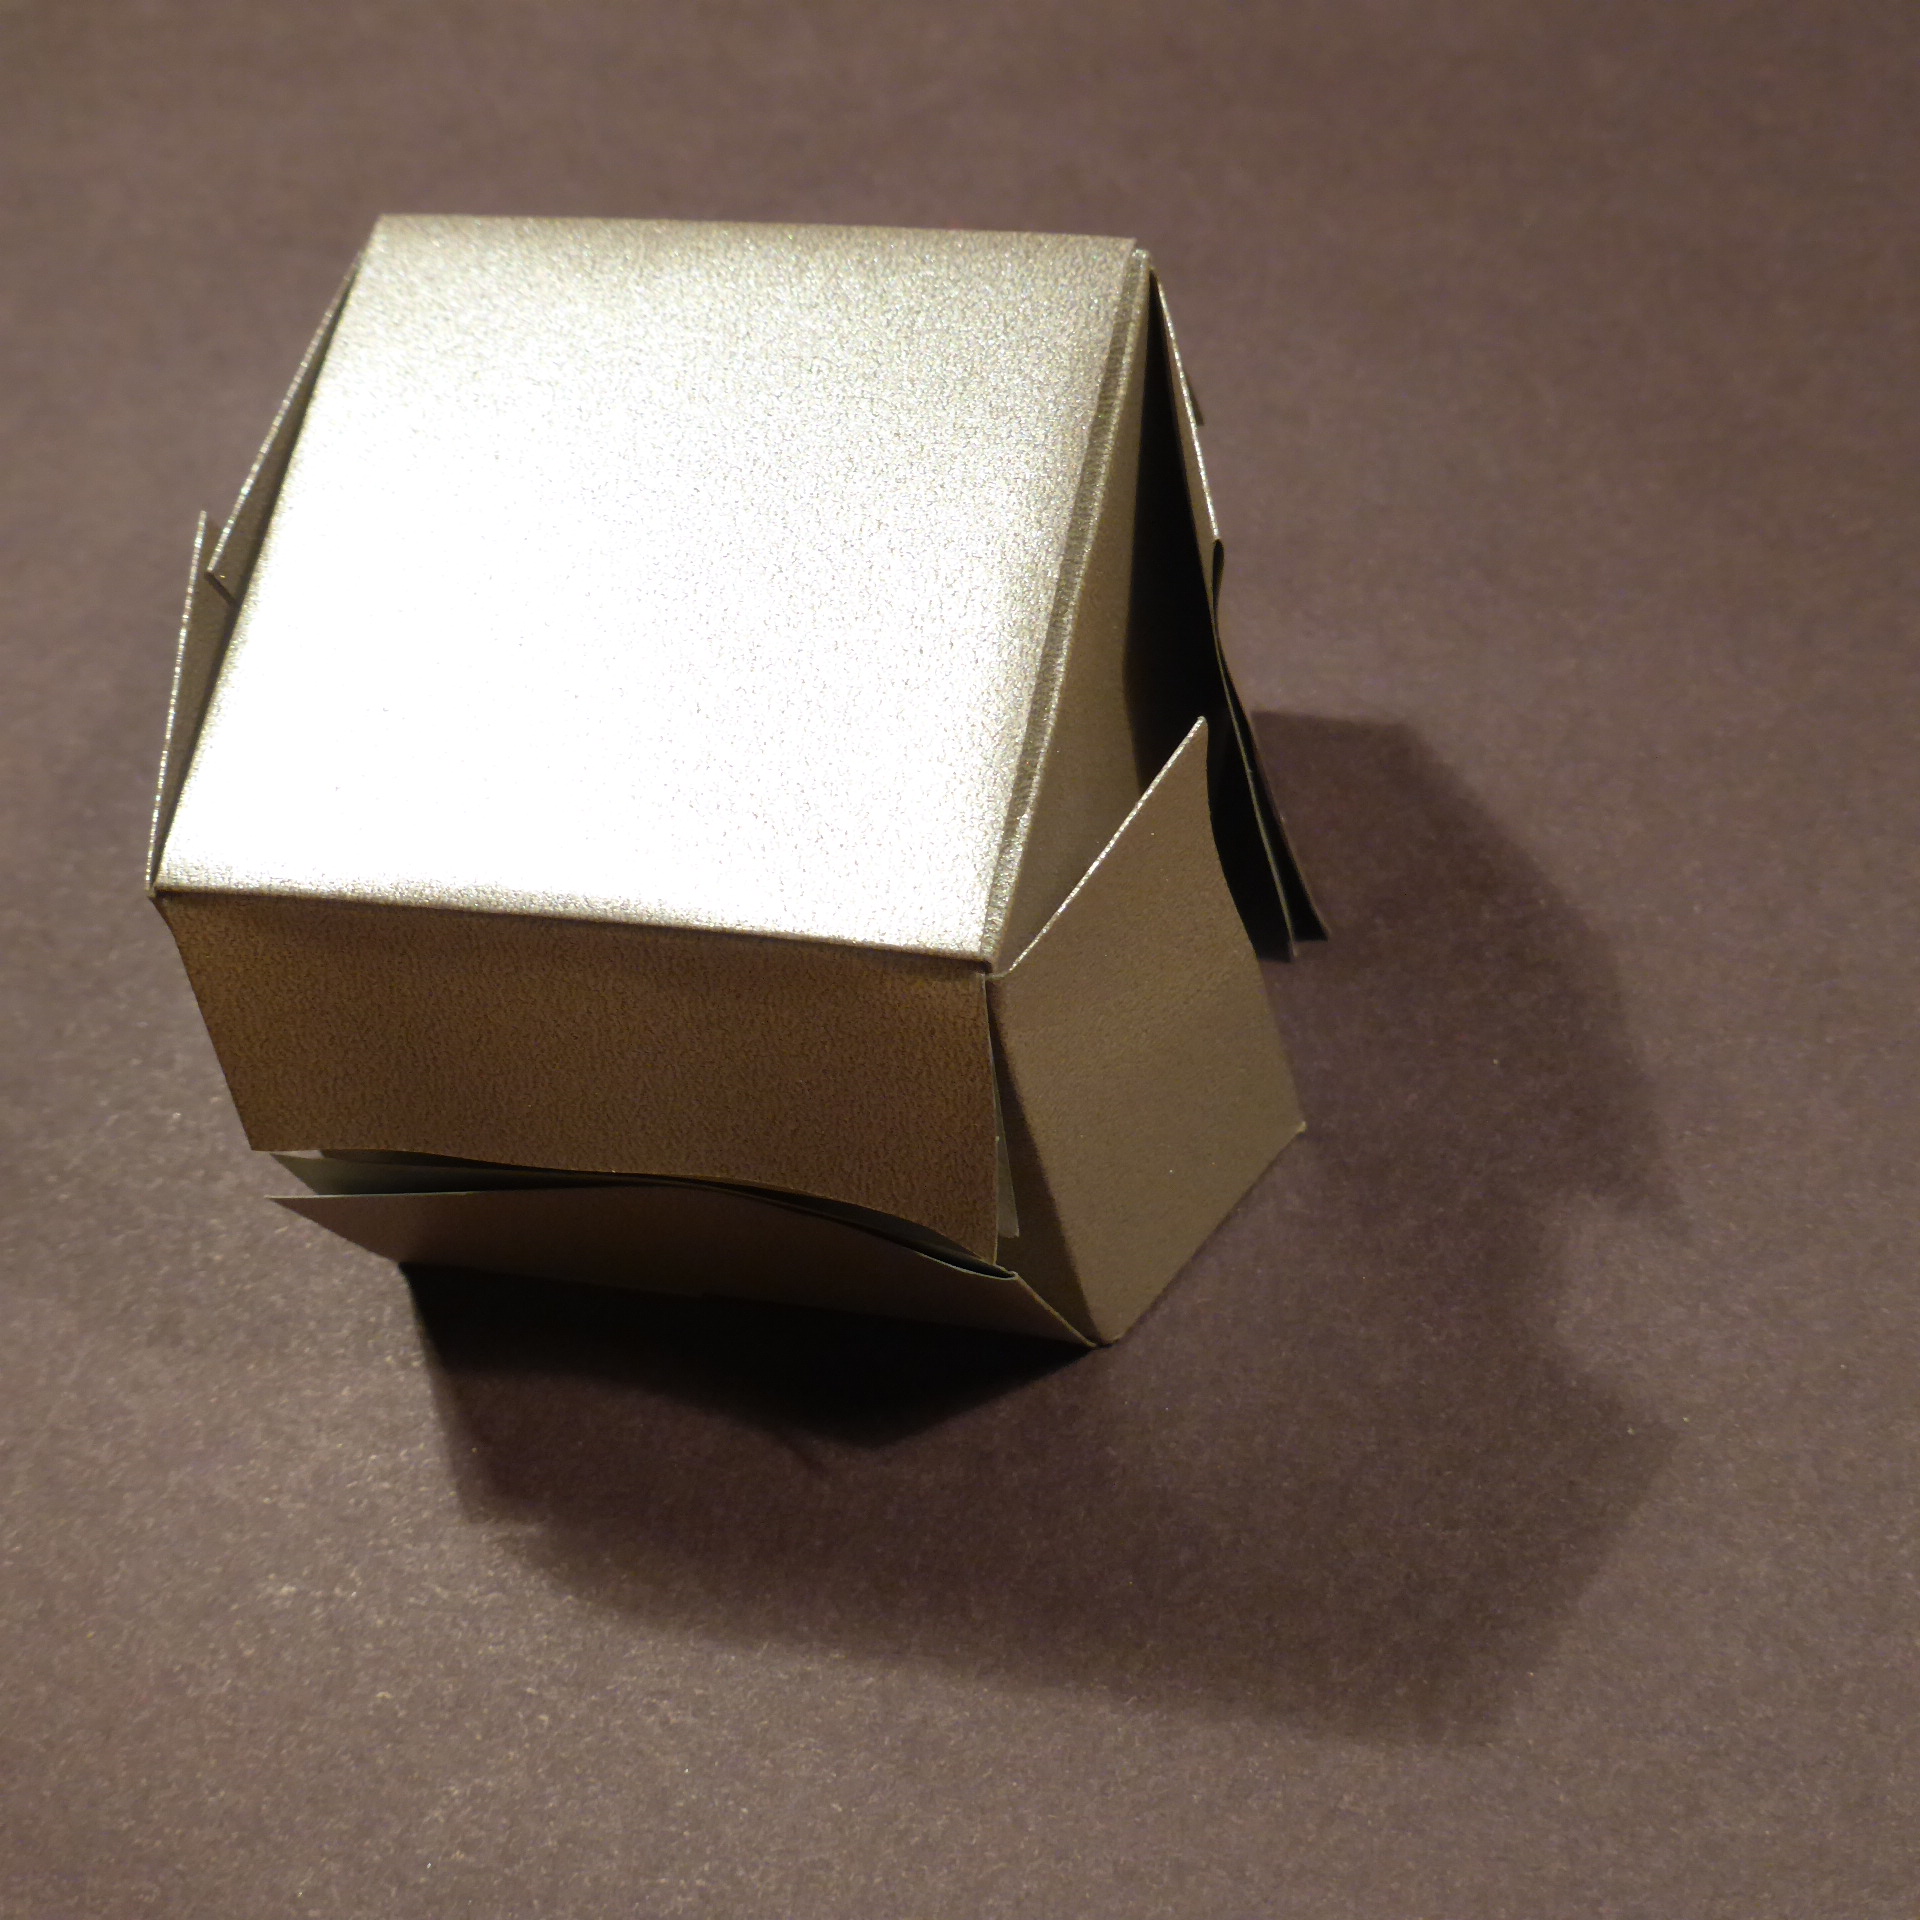
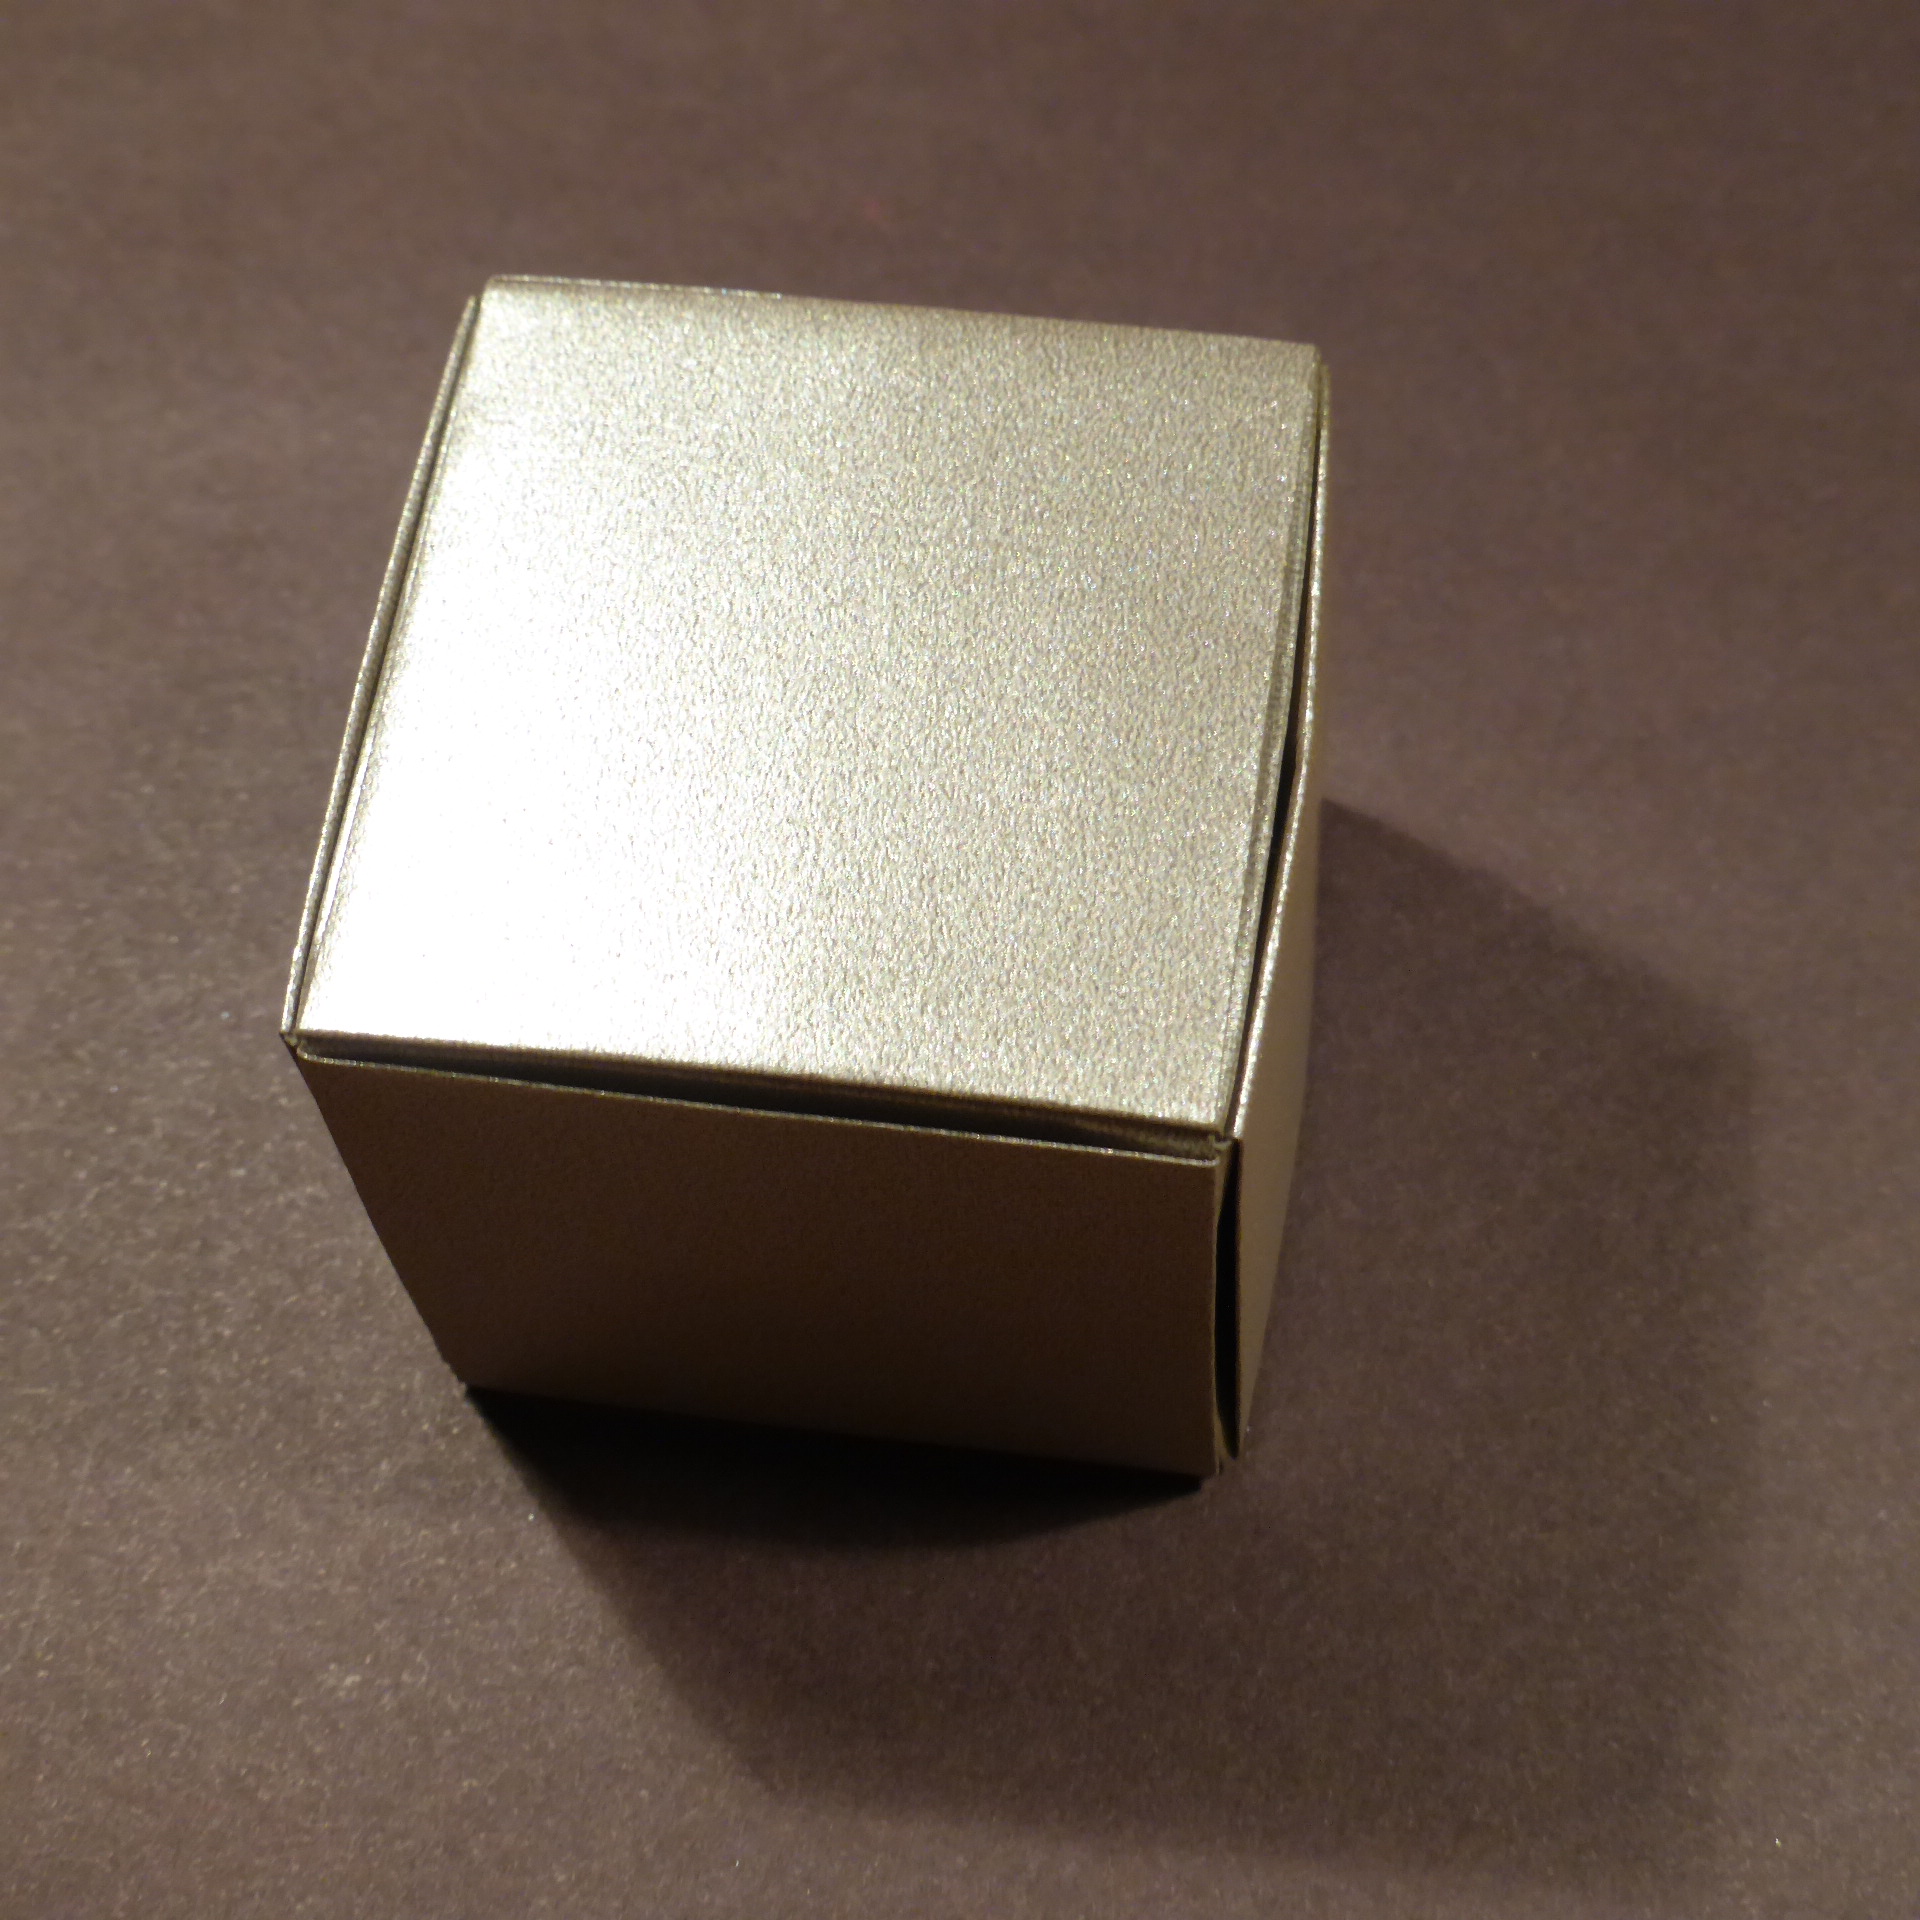
Phototutorial
This phototutorial presents roughly the same content as the drawn diagrams above, but combines both into a single sequence of first connecting six A1 units so that they form the interior of the cube (this is the cubic connection method) and then adding additional six A2 units as an outer layer for better looks and stability.
Extended cubic connection methods
Flat connectors (A5 units, sometimes with additional creases) can be used to attach cubes to each other along any edge, as can be seen in the Abstract Composition “T” model. Tile D1 and its variants can be used to connect cubes diagonally at the corners, and slits such as B2 can be used to attach cubes at almost arbitrary positions along other cubes’ edges.
Flat / Sonobe connection method
Flat (or curved) surfaces can be made from “superunits”, assemblies consisting of two tiles connected to each other by their flaps and a connecting A5 piece inserted between them. This creates a Sonobe-like structure: parts of the connector unit can be inserted between units from another superunit. This is similar to how Tomoke Fuse’s Square Flat Units are connected but with a larger connector.

Hook connection method
For models which require extra strength, flat sections can be made from A2 tiles with the flaps of A1 tiles inserted into the internal creases of A2 units. Units must be folded with x = ½ (that is, with symmetric instead of arbitrarily placed folds) in order for this to work well. Since paper thickness is not zero, usually a tiny bit of extra space must be left between the folded edges for the other unit to fit into.

Comments