BBU unit family A: plain
See other sections of this tutorial for instructions on folding other unit variants and connecting them.
The A family of BBU units contains basic tiles that lack any fancy finish. Still, they are usd in almost all models as structural elements, and even with their plain finish, they can make nice models by themselves as well.
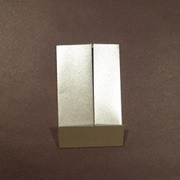
Folding the two basic tiles
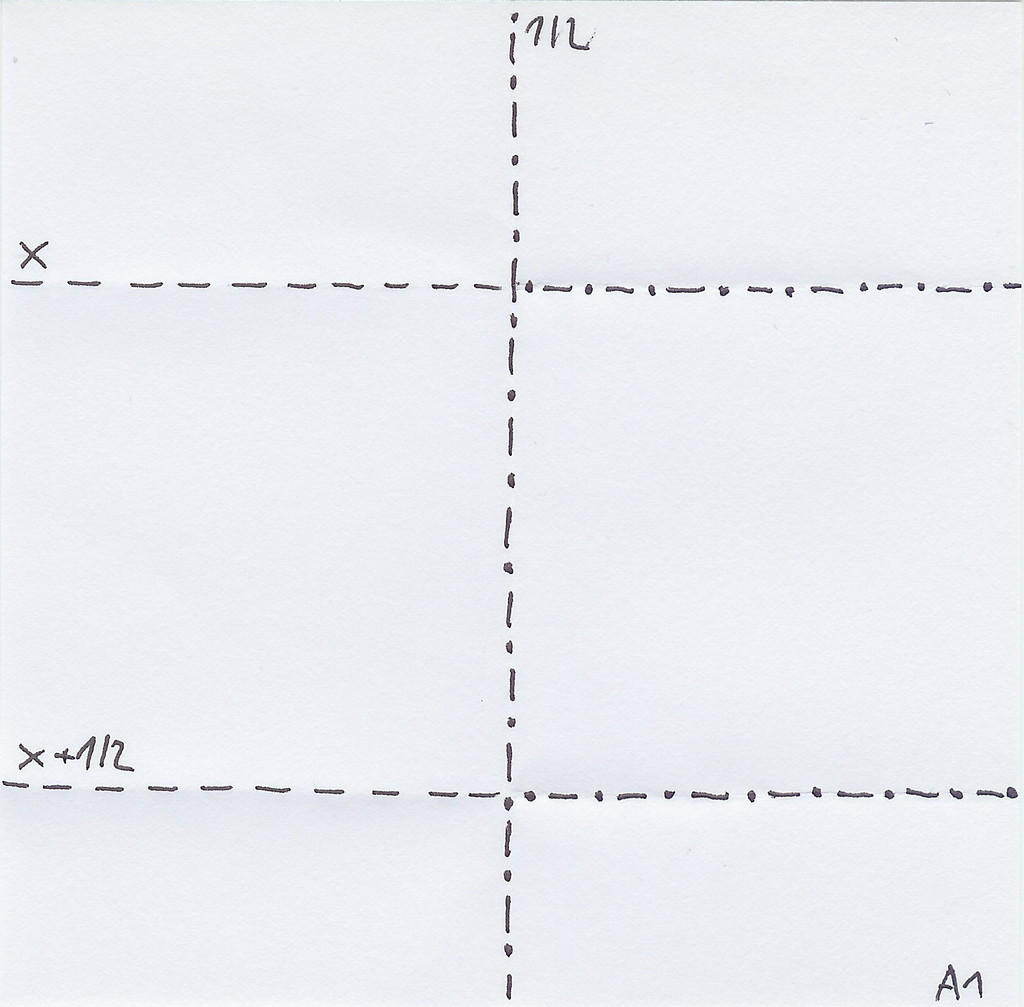
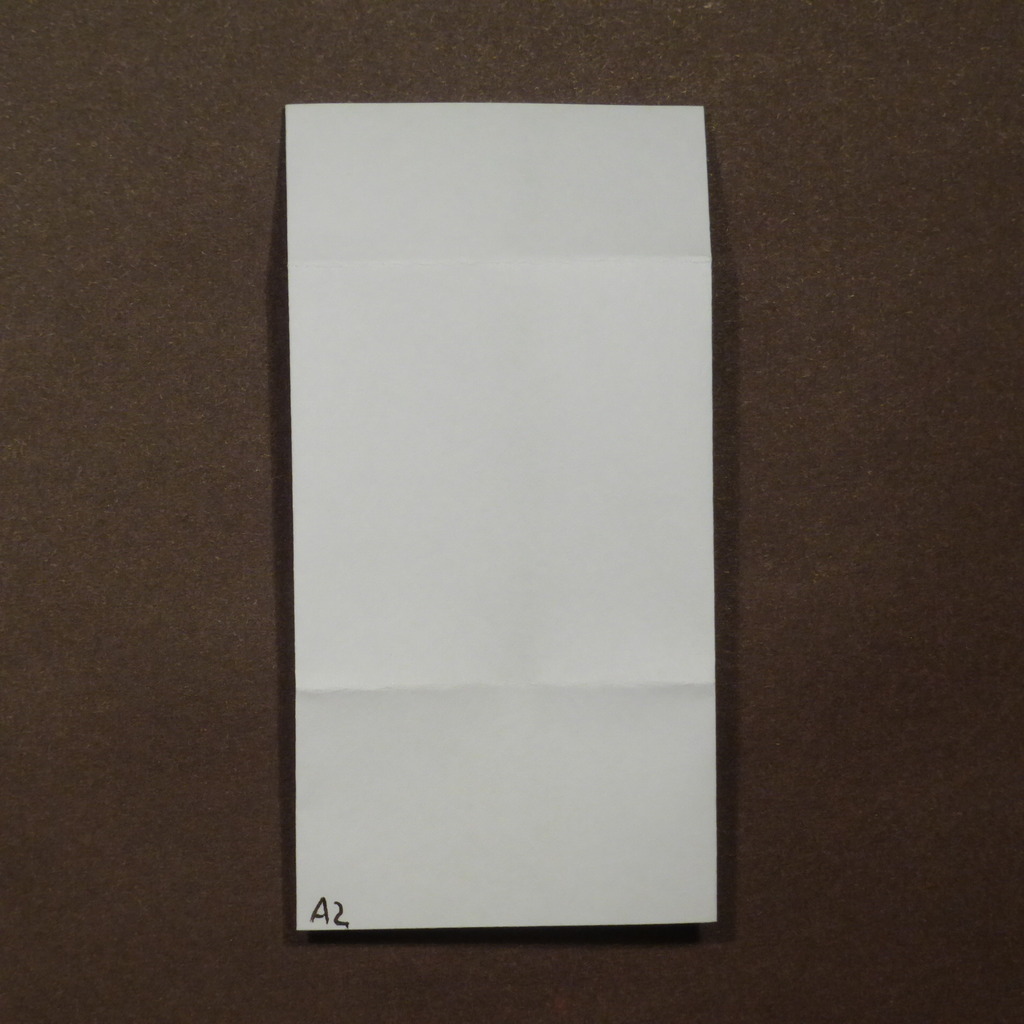
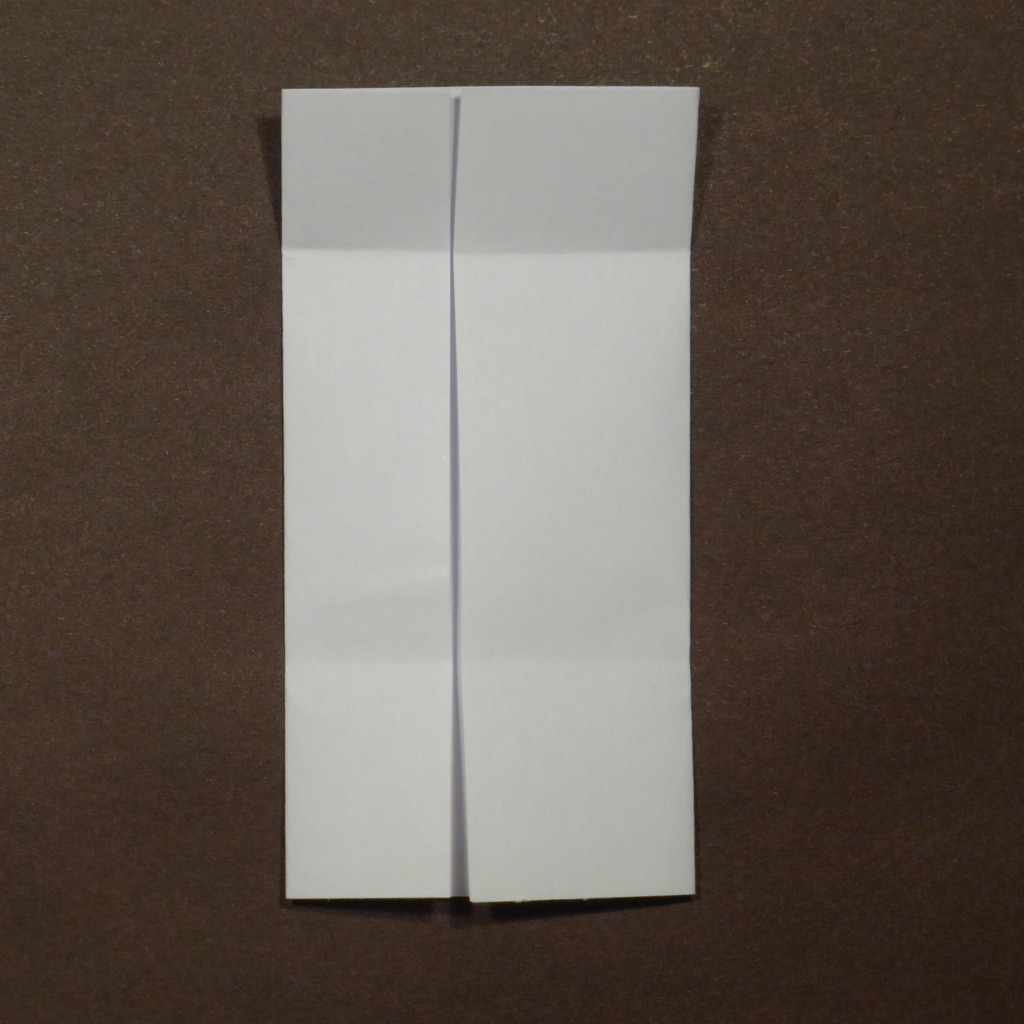
For two basic tiles, A1 and A2, step-by-step instructions are provided here. For others, you will have to consult the table with crease patterns below. Comparing these step-by-step diagrams with the corresponding crease patterns can be a good start into reading crease patterns.
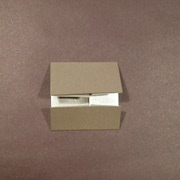
When folding from thick paper, you may want to leave a tiny margin between the flaps (instead of folding the flaps to exactly touch each other) in order to accommodate for the paper’s thickness. This may come in handy once you start connecting the units.
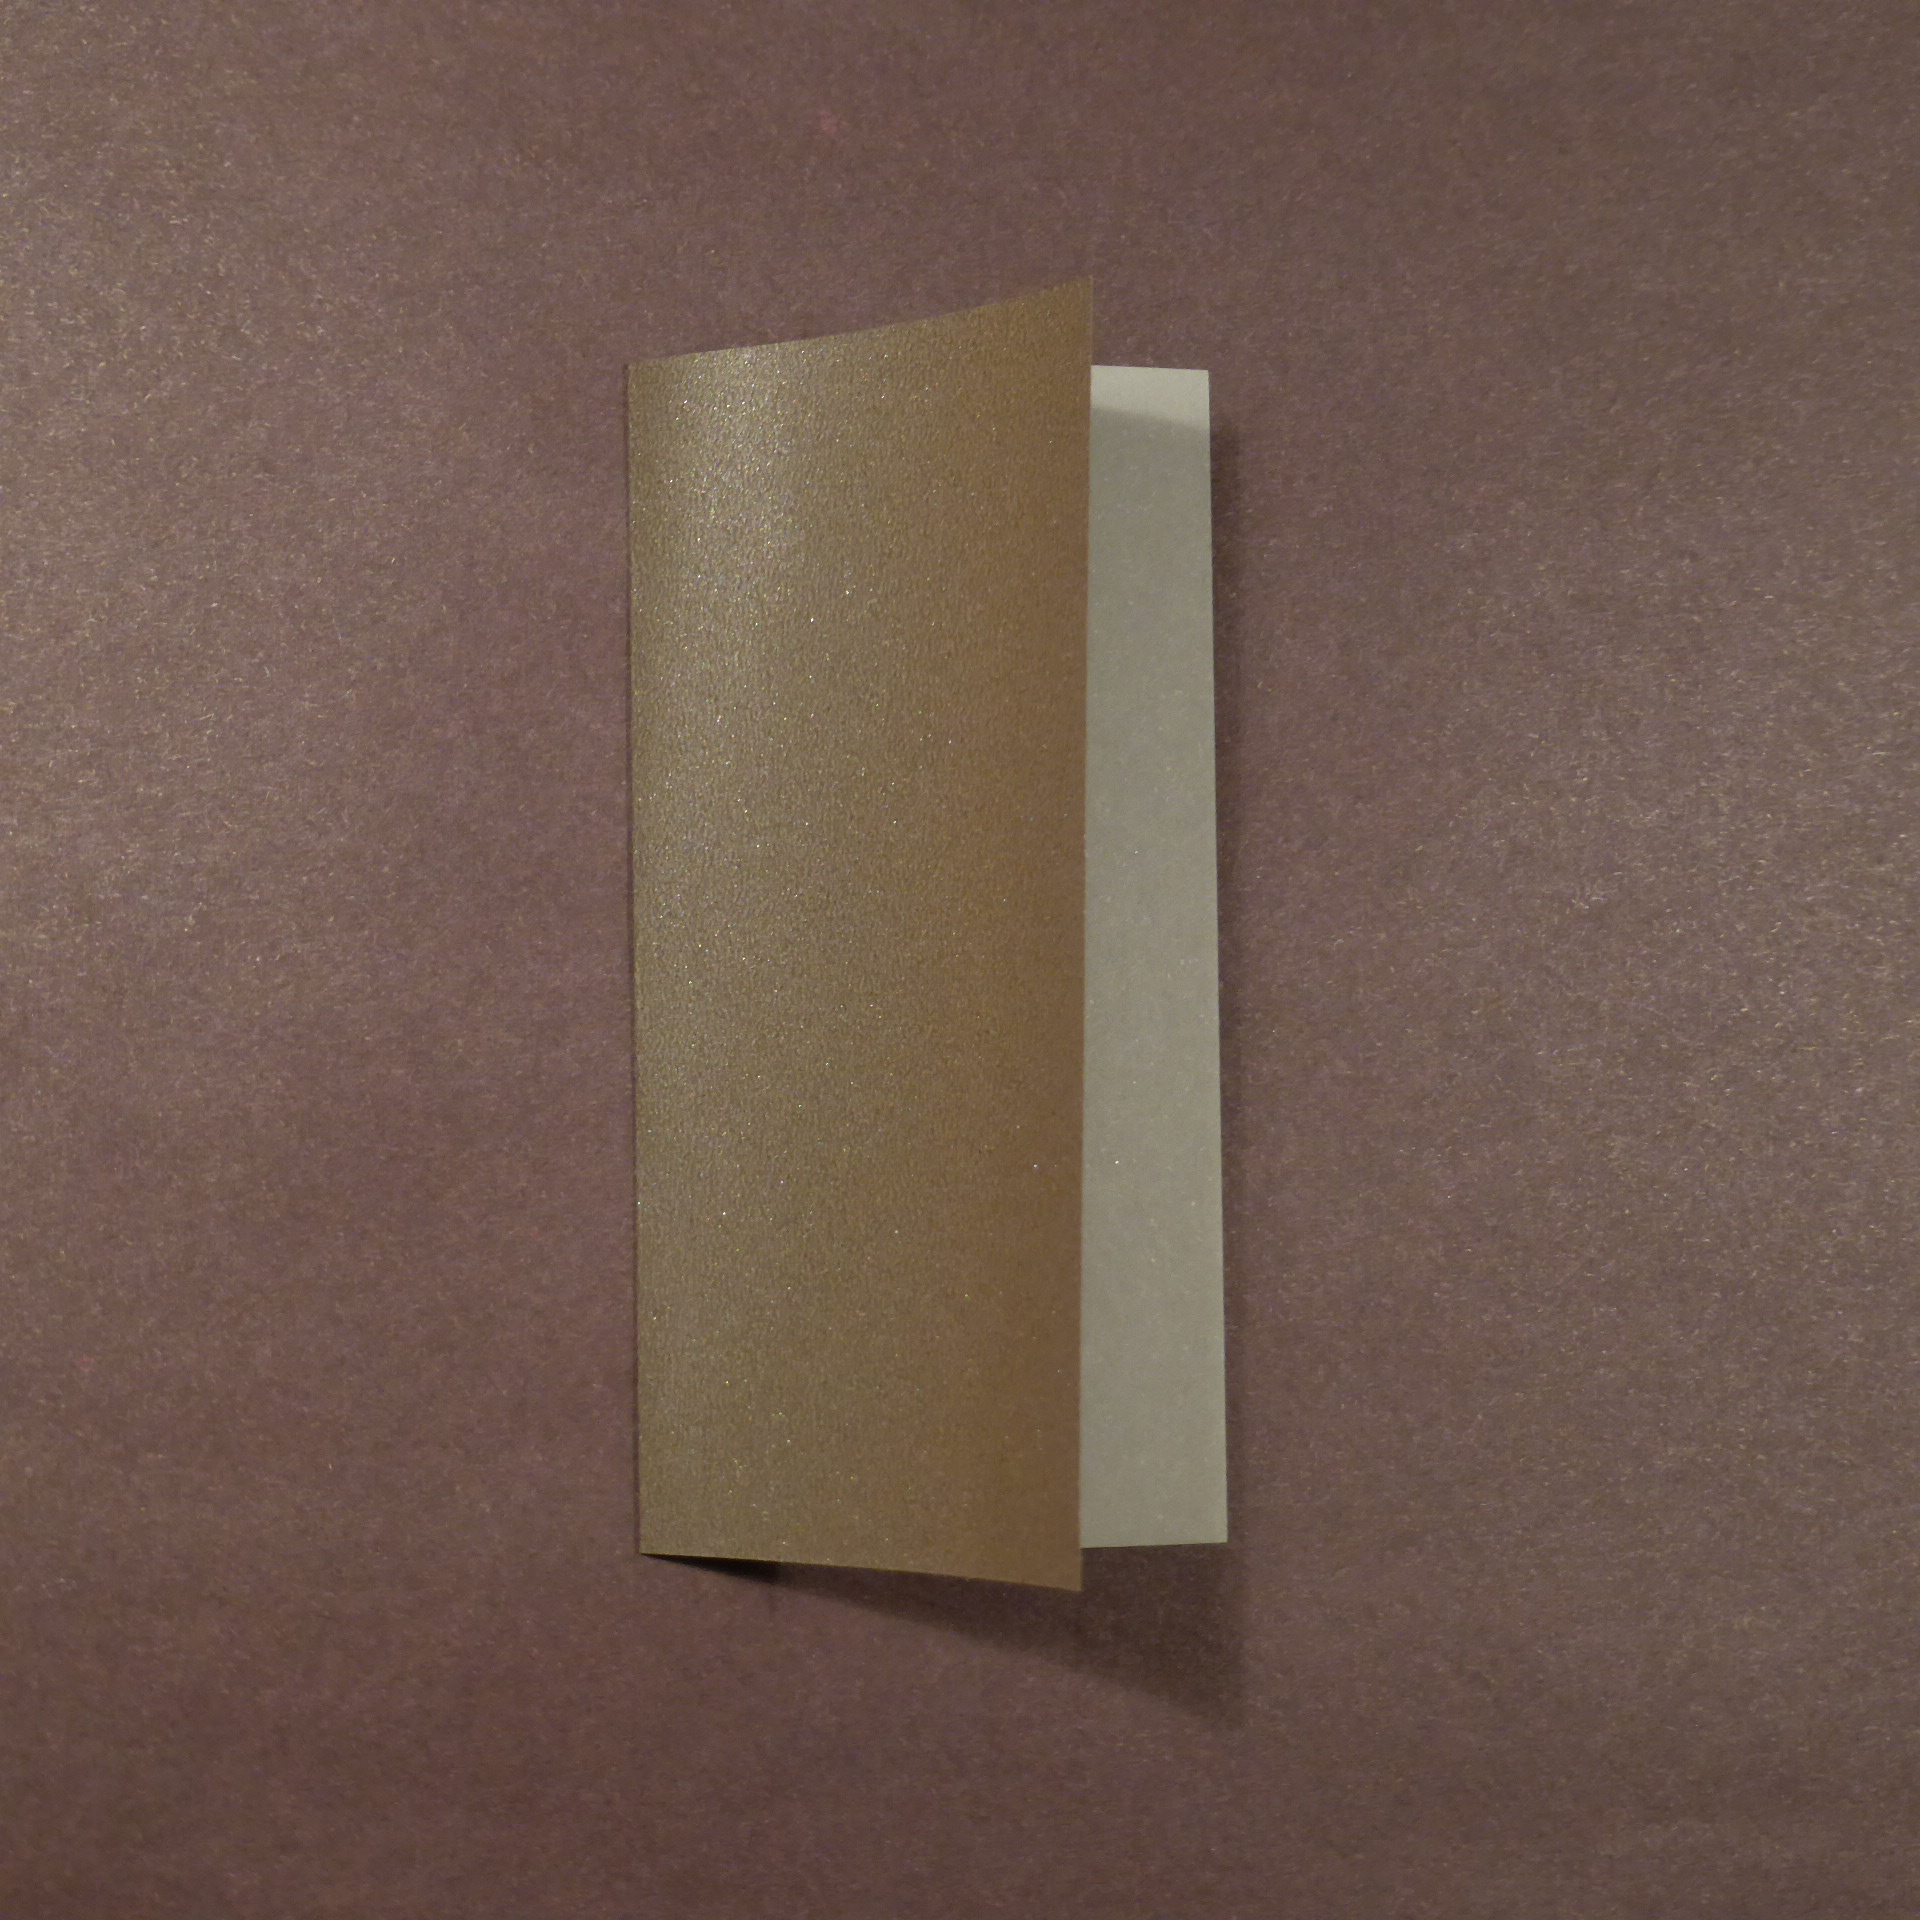
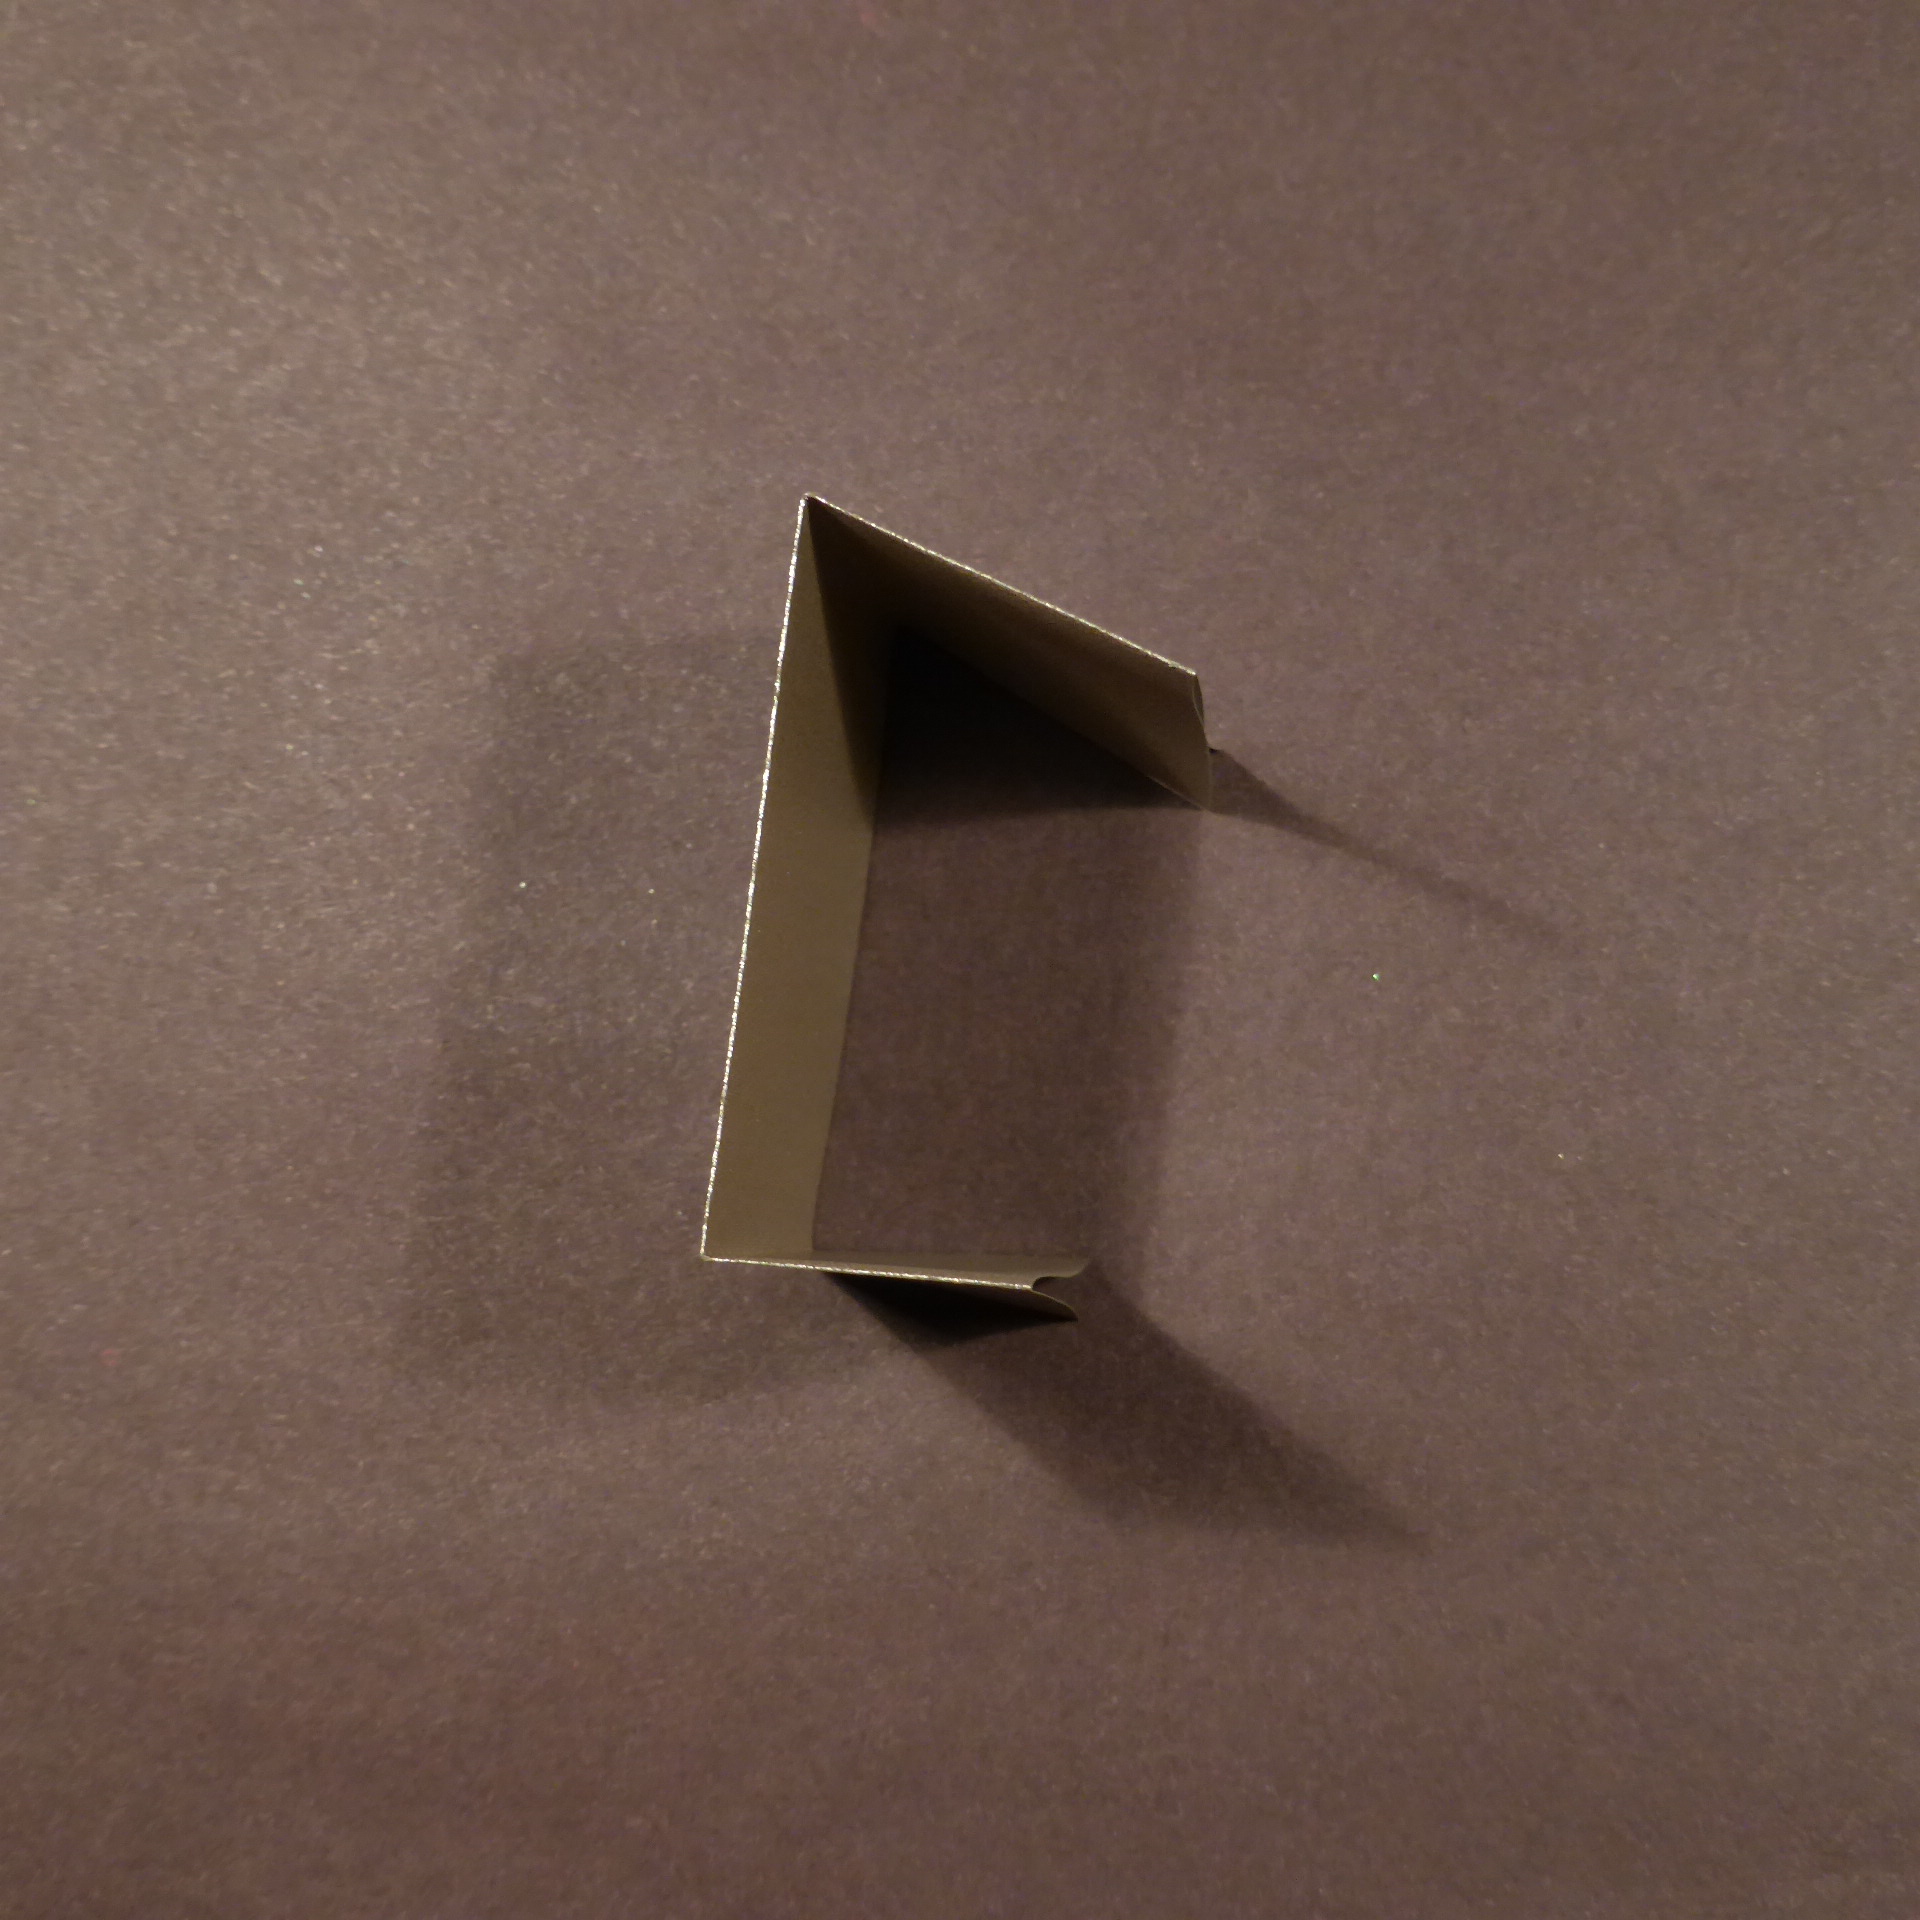
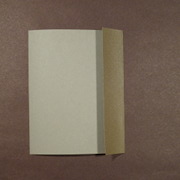
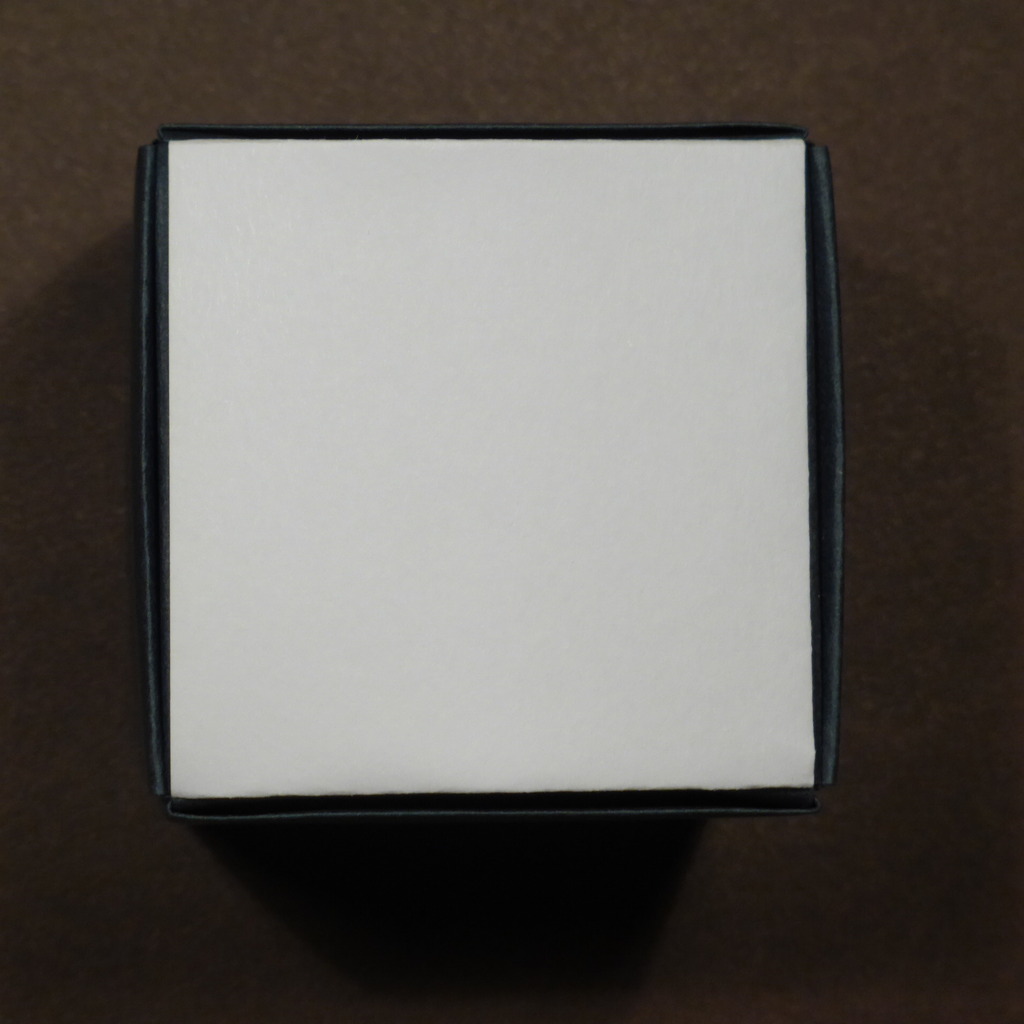
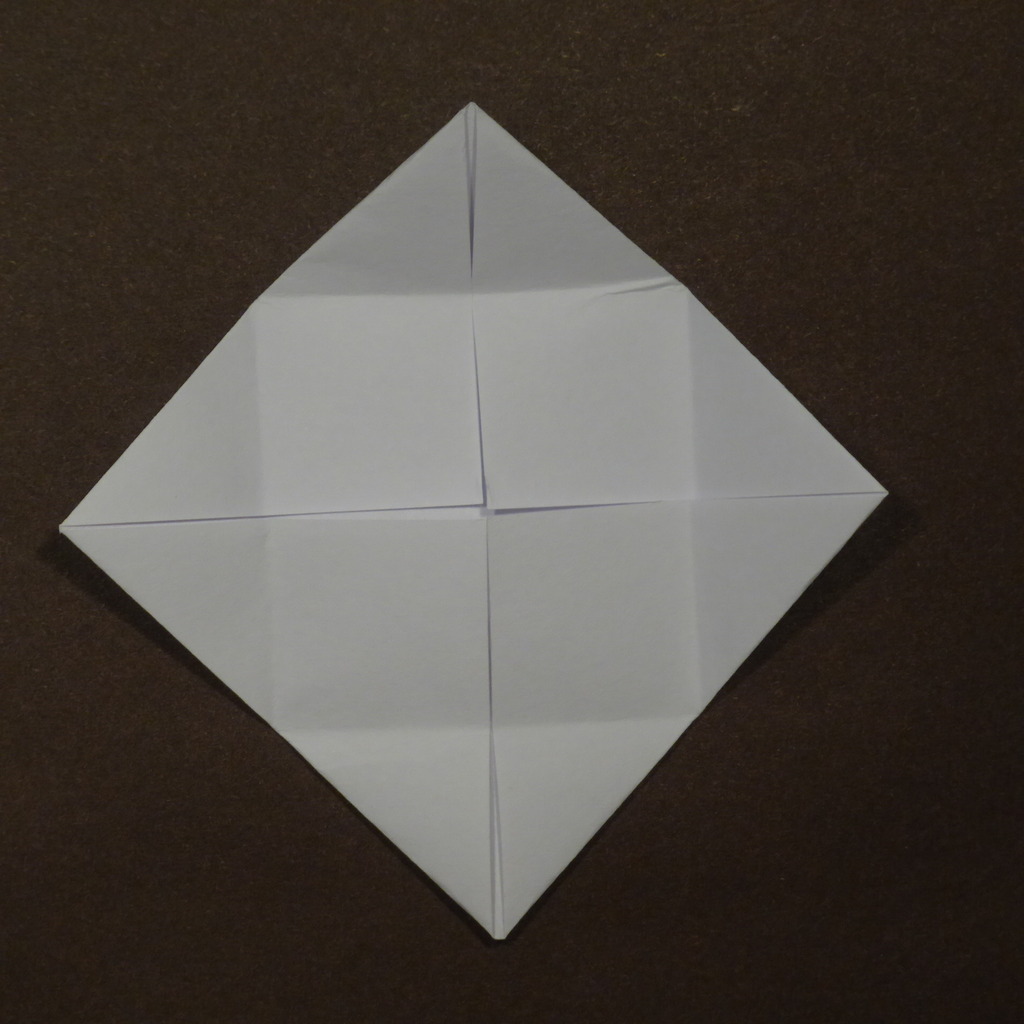
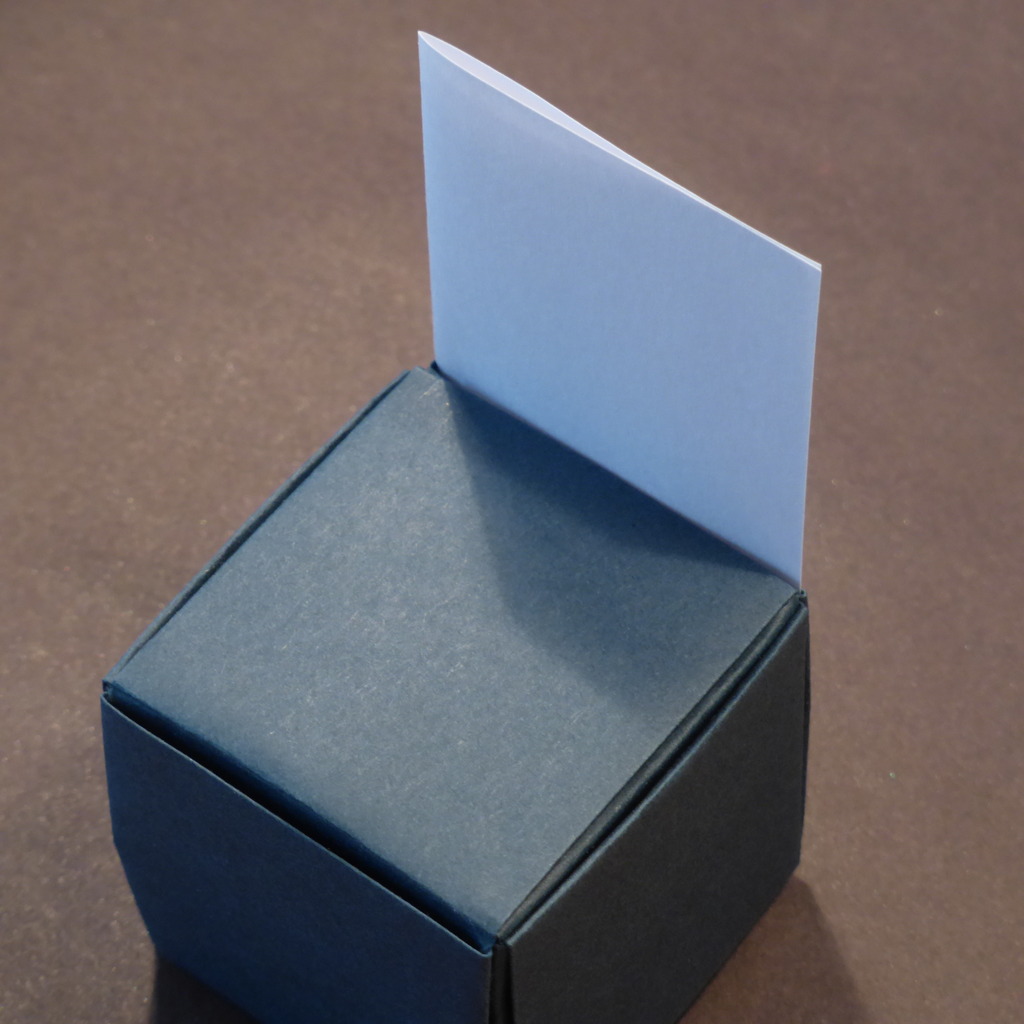
Internal tile A1
This tile is usually used as a filler which just gives the model some volume, and is not visible in the finished model since it is covered by other, better-looking tiles on the outside.
Diagram — downloadable PDF

Phototutorial


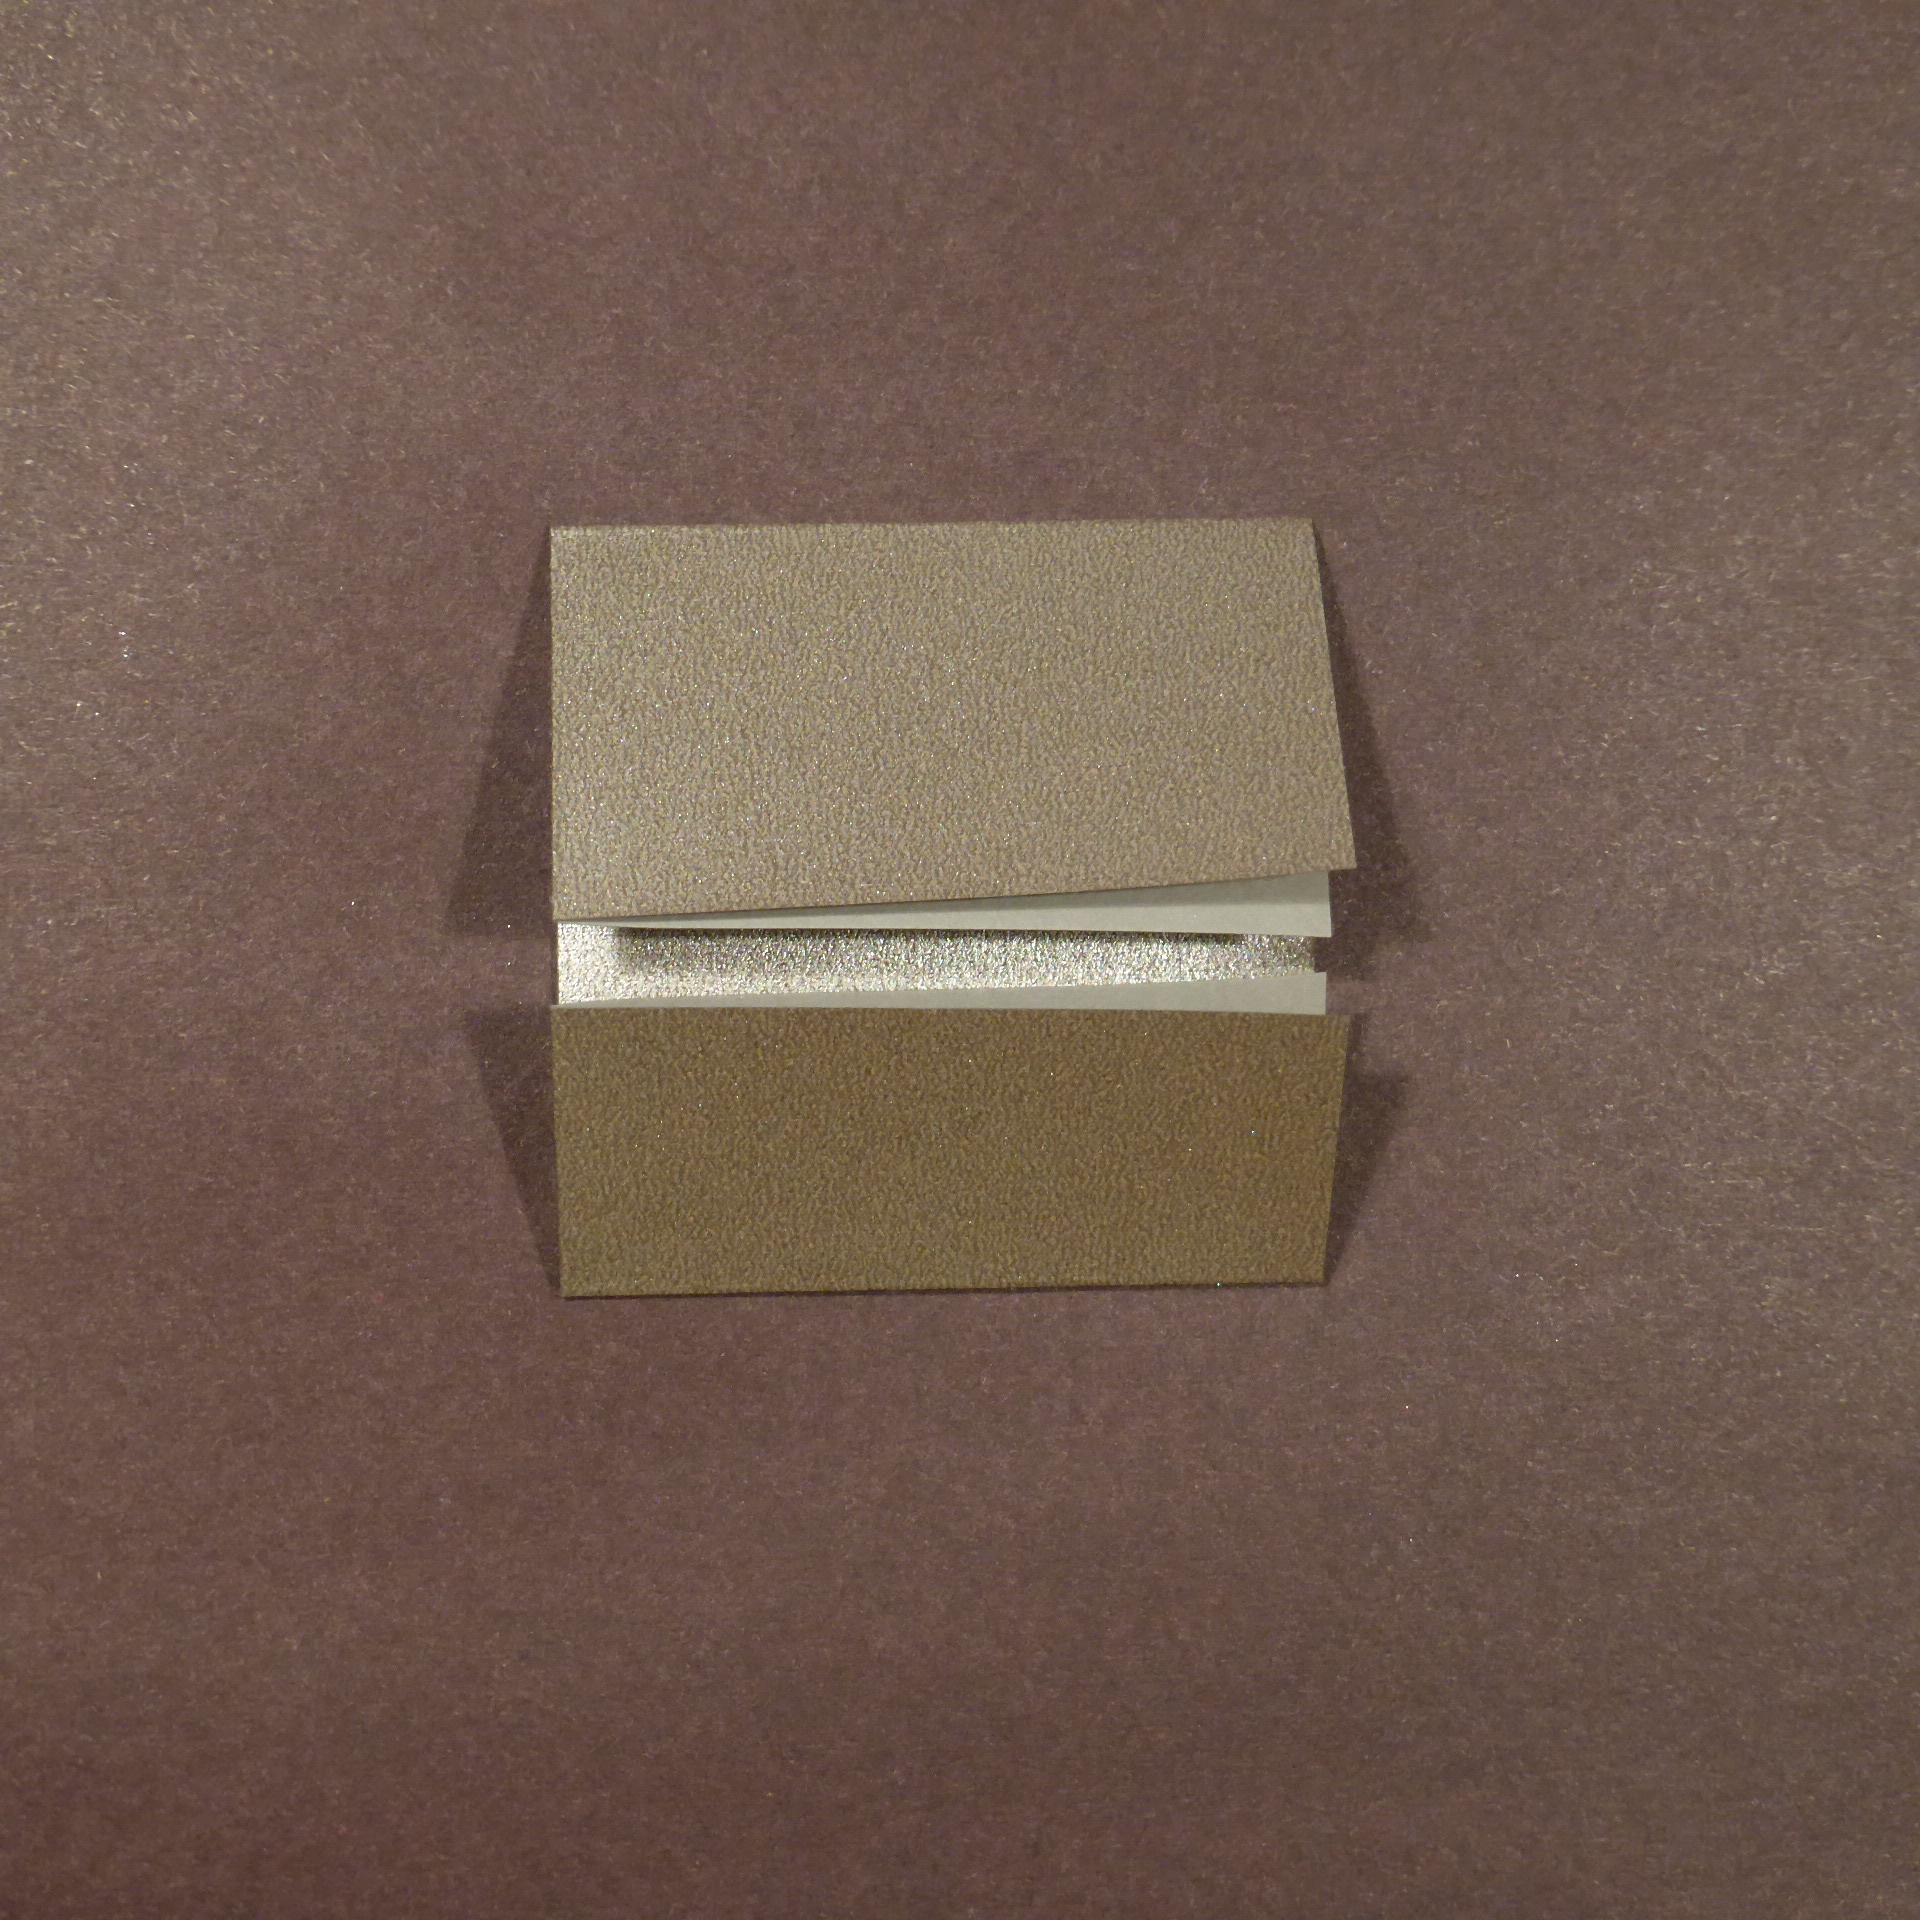
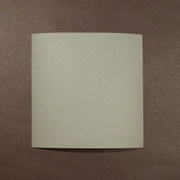
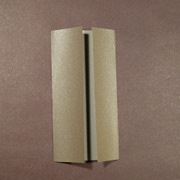
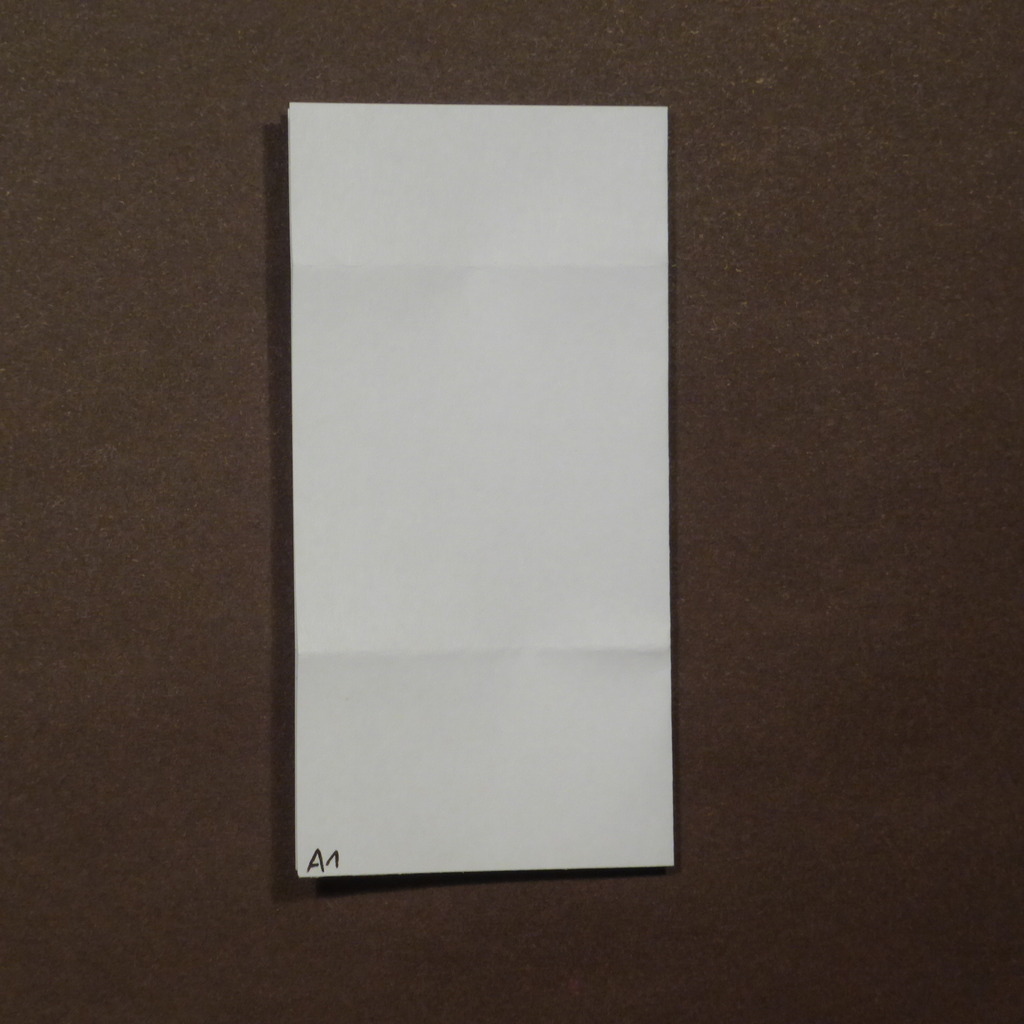
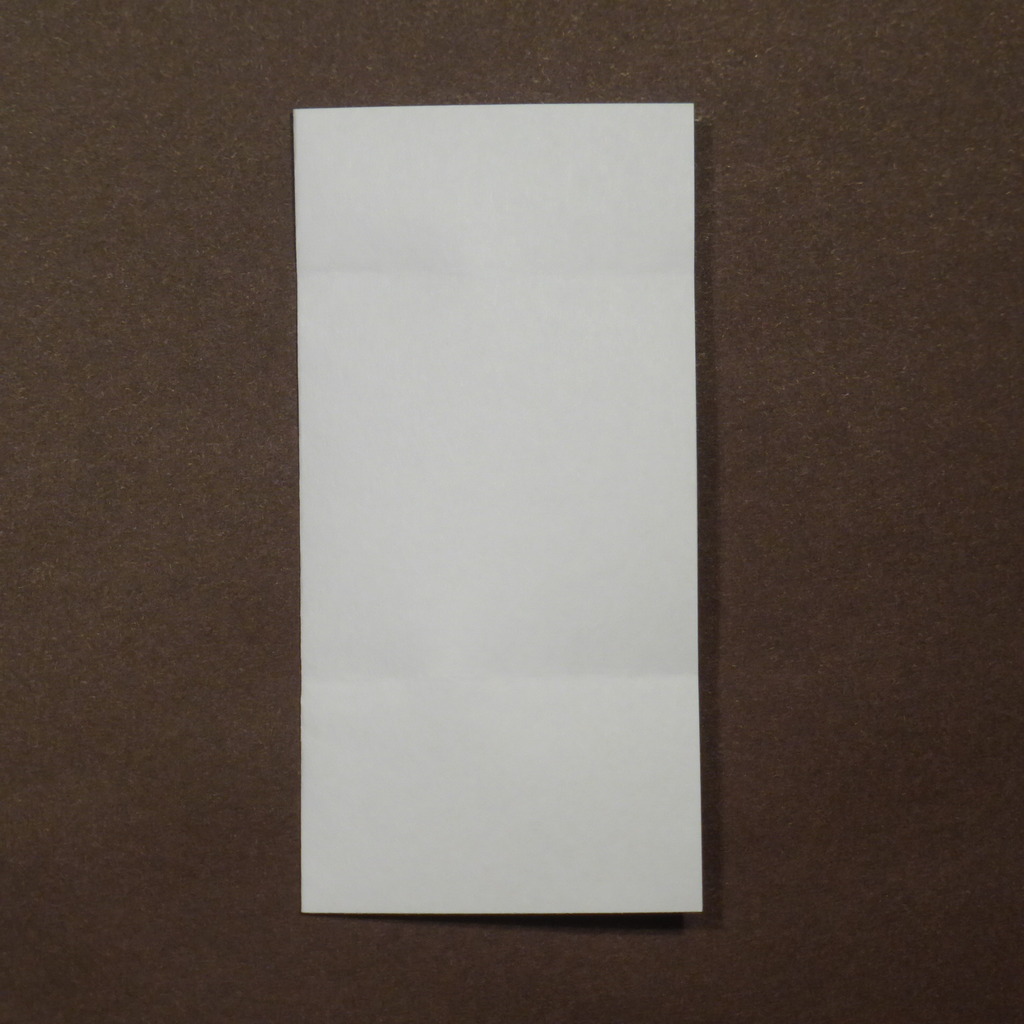
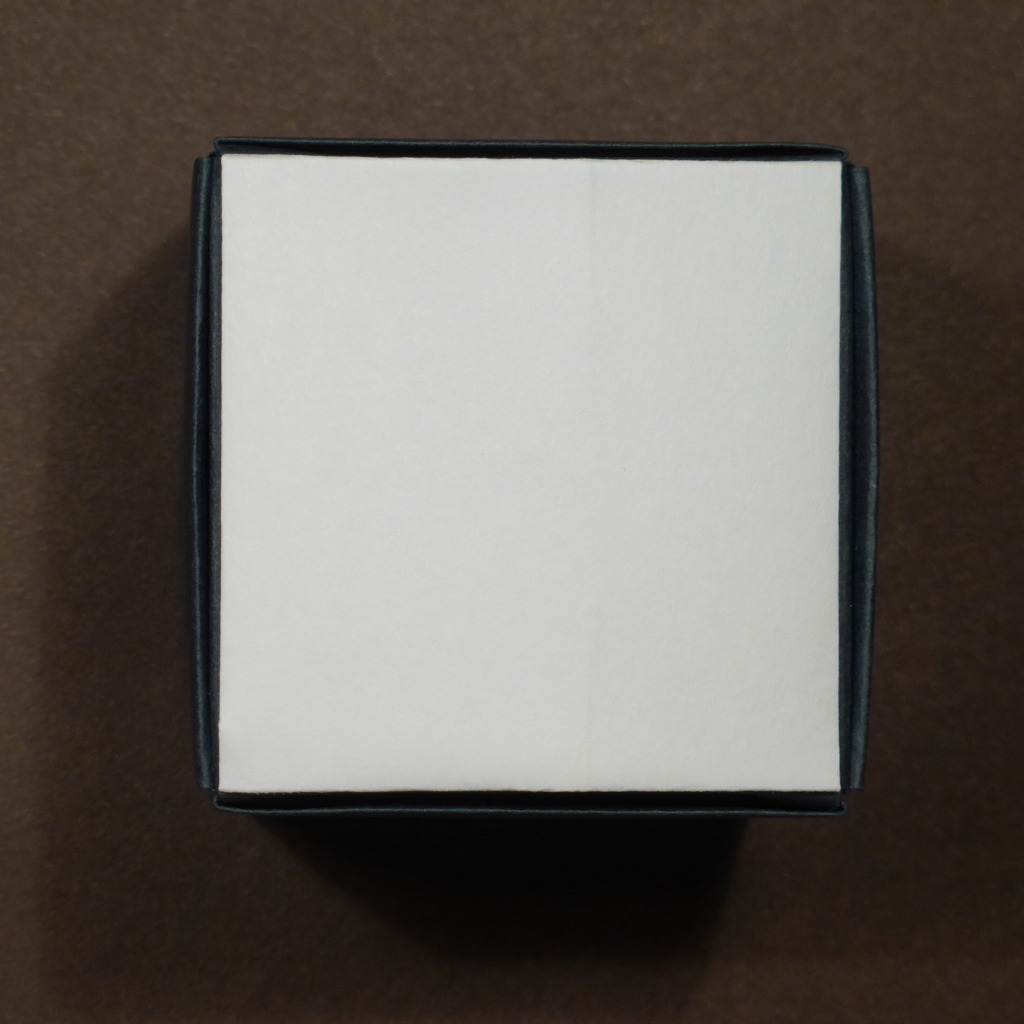
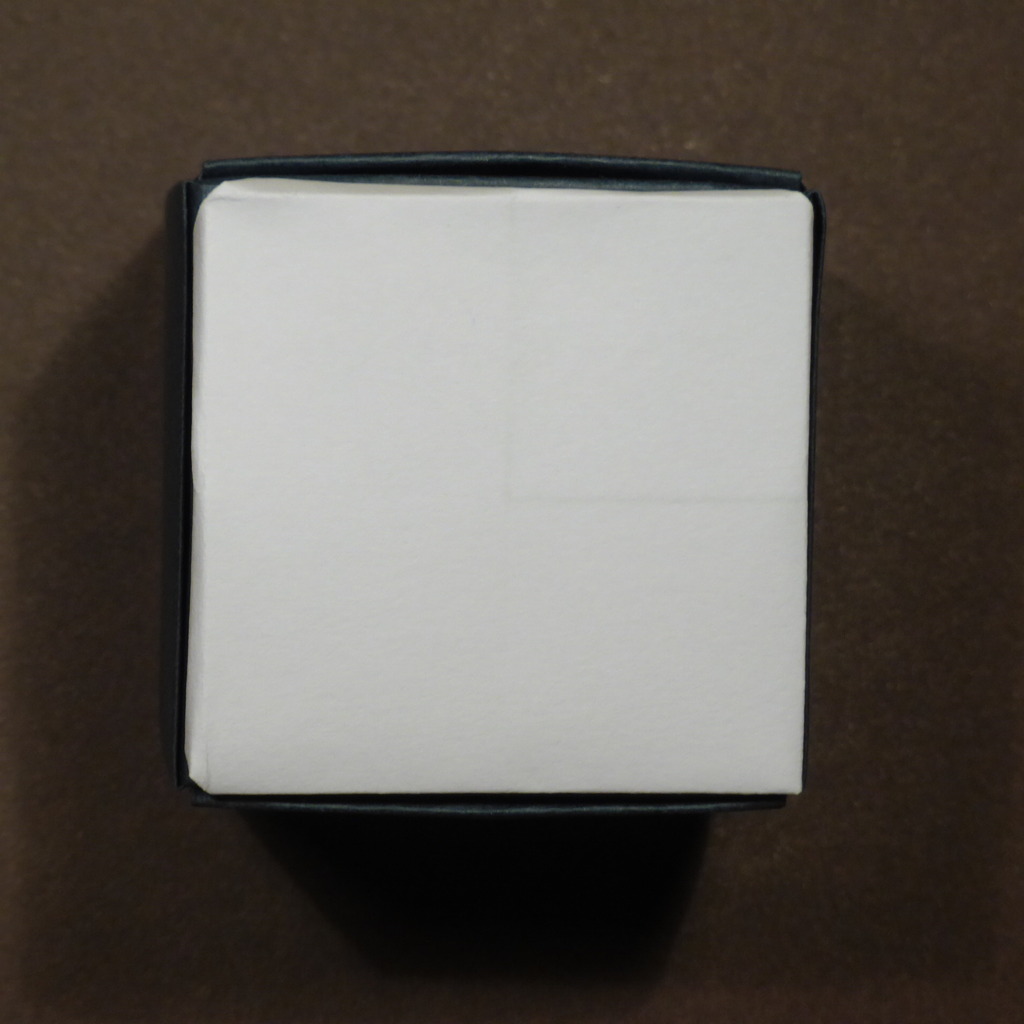
Plain external tile A2
This is the simplest tile used for the external finish of models. It does not have any decoration, just a plain flat surface.
Diagram — downloadable PDF

Phototutorial

All tiles in the family
| Code | Name | Finished look | Front | Back | Crease pattern | Description |
| A1 | internal tile |
|
|
|
|
Basic unit used for internal cubes which are not visible in the finished model. Very simple to fold. Step by step instructions available (see earlier on this page). |
| A2 | plain external tile |
|
|
|
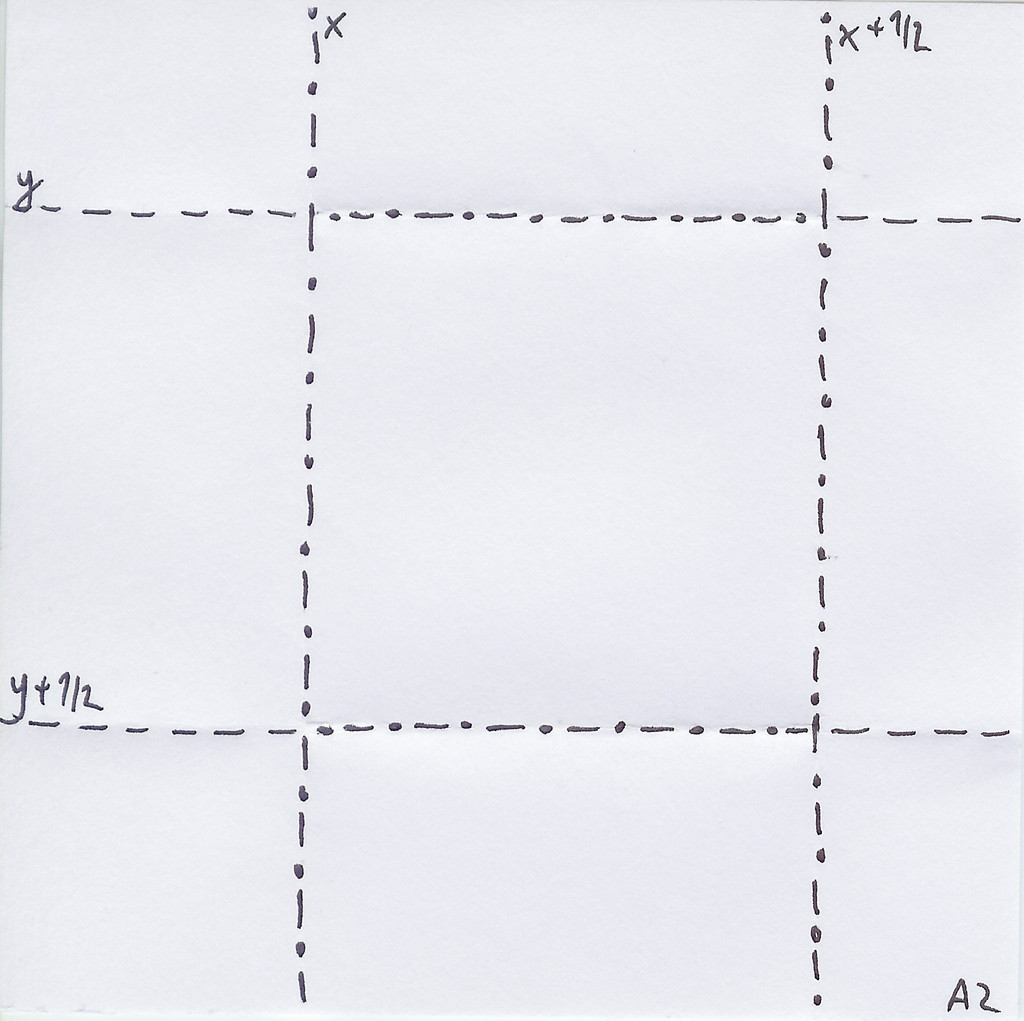
|
Basic plain tile for use in the external shell. In contrast to A1, which has a pocket on one side and a solid edge on the other, in this tile both sides look the same (folded edge). Step by step instructions available (see earlier on this page). |
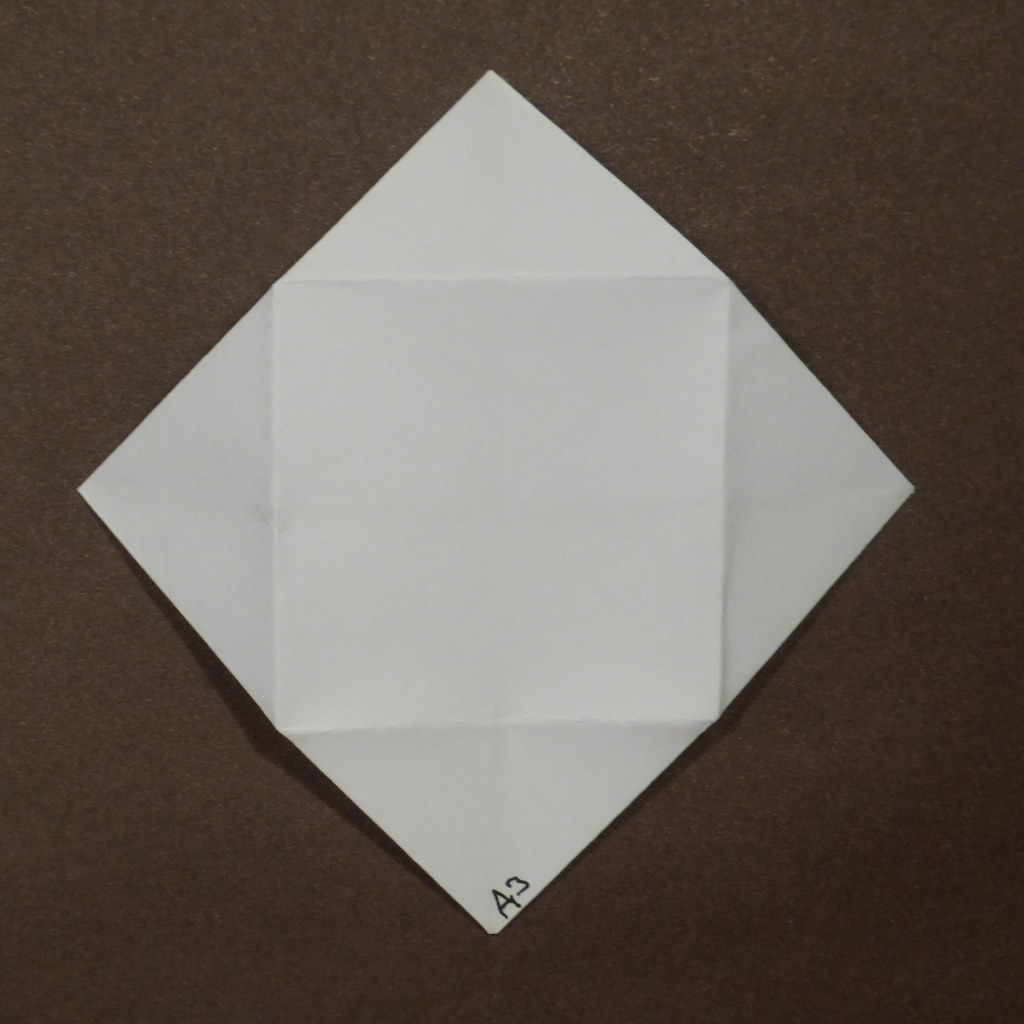
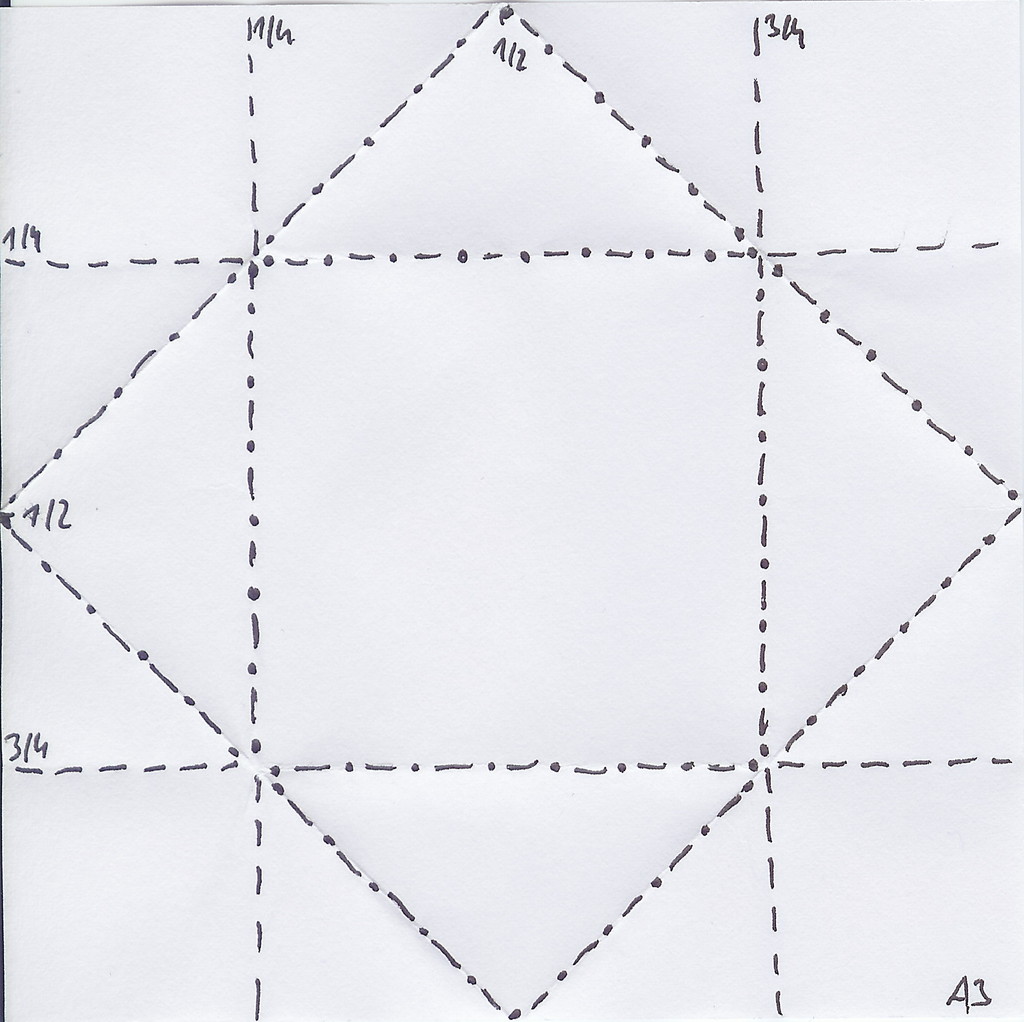
| A3 | plain external tile (4 flaps) |
|
|
|
|
|
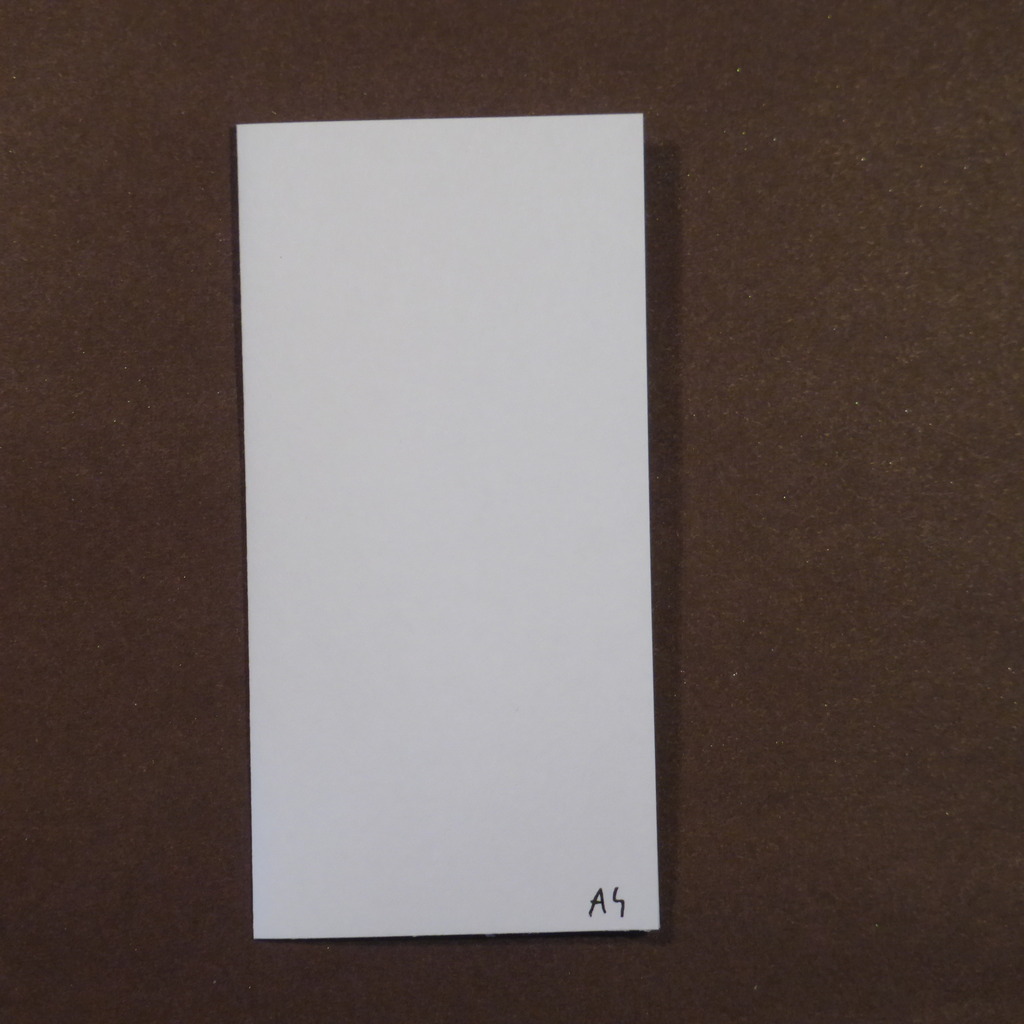
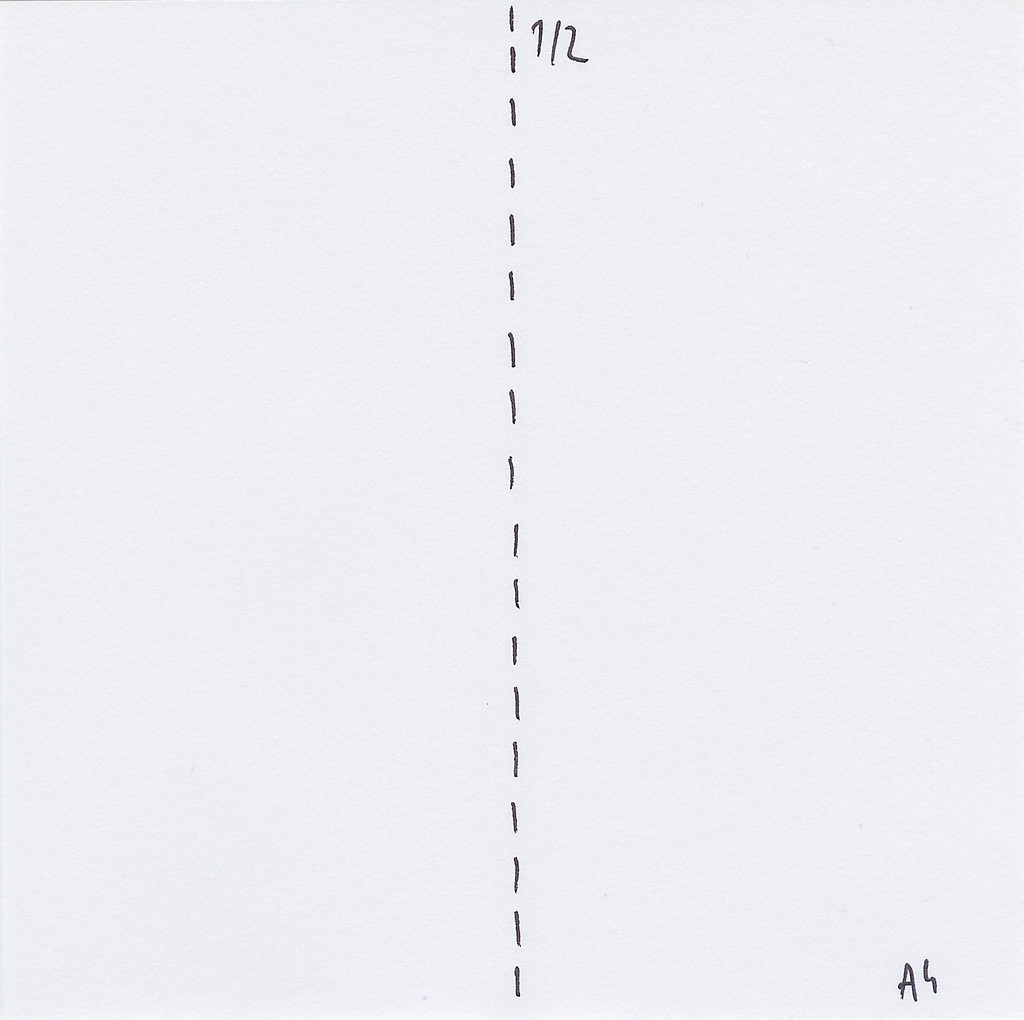
| A4 | simple connector |
|
|
|
|
|
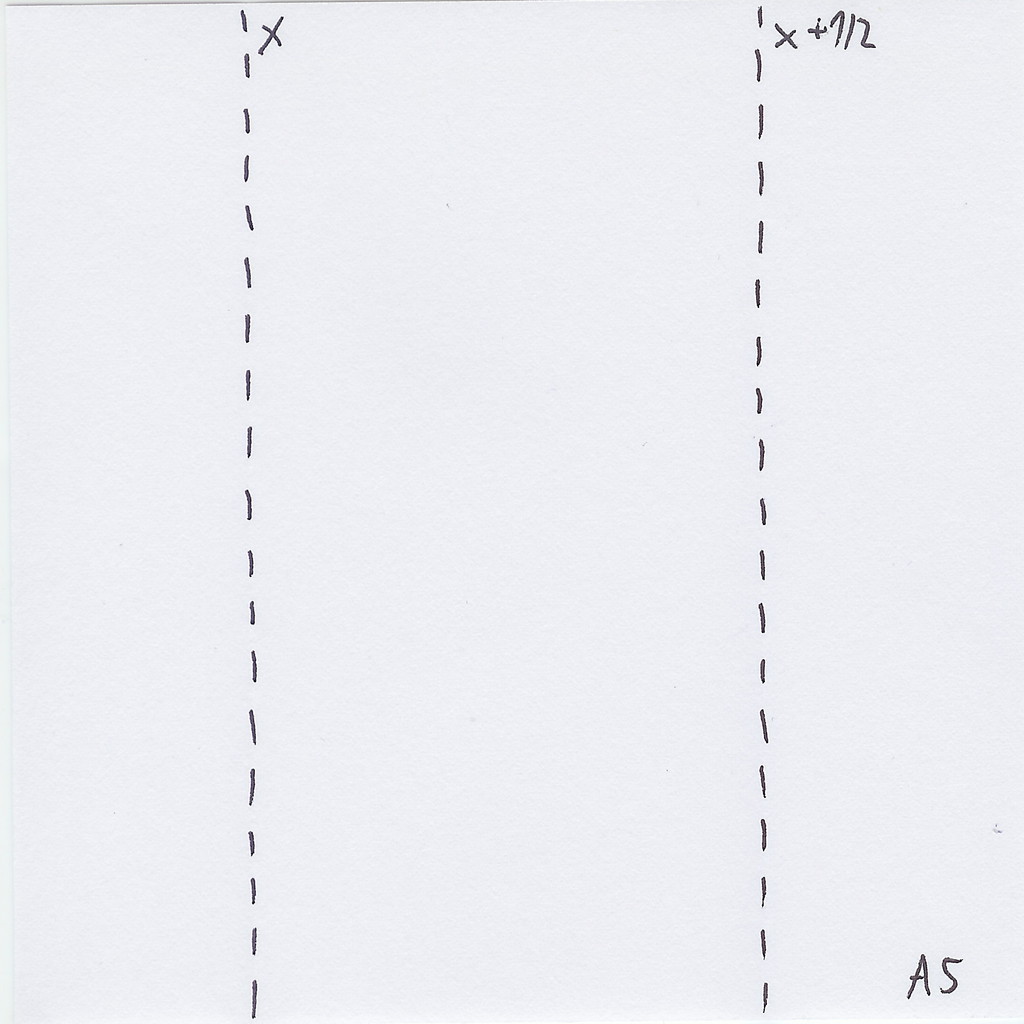
| A5 | closed edge connector |

|

|

|
|
Comments