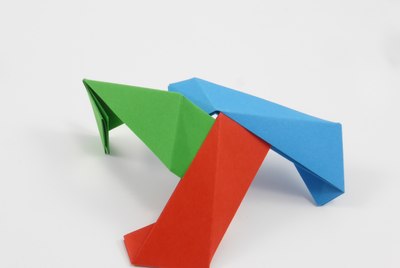
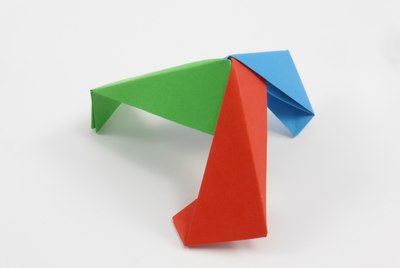
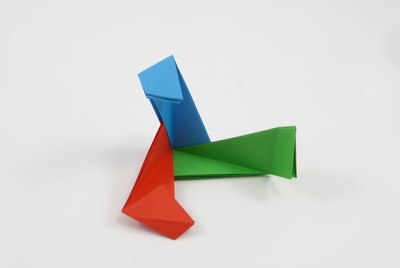
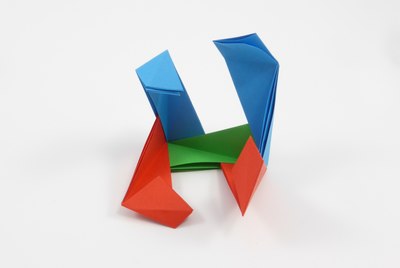
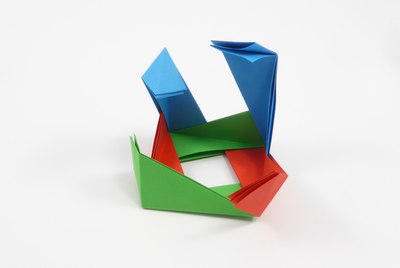
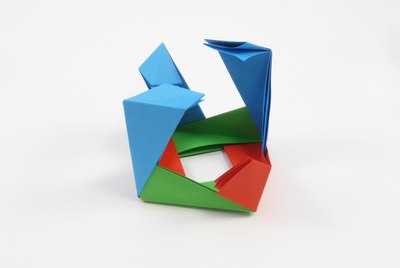
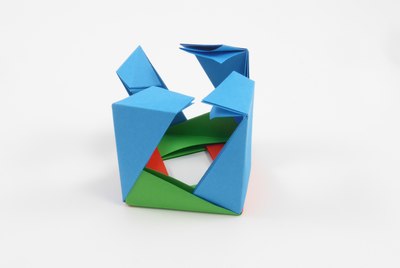
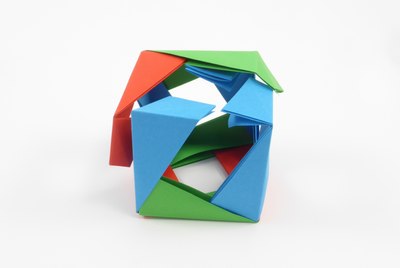
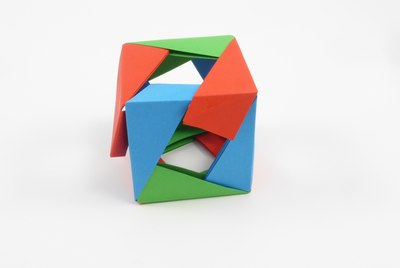
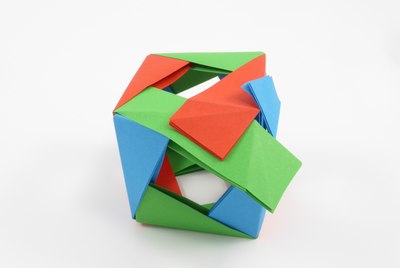
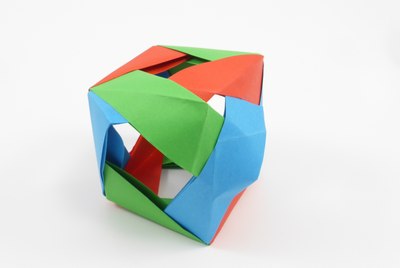
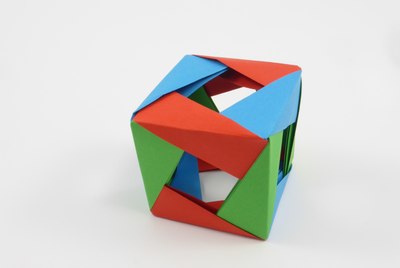
Penultimate Unit: 90° angle for square faces

Instructions
Back to Penultimate Unit family

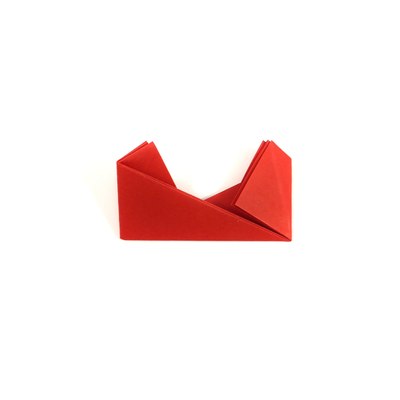
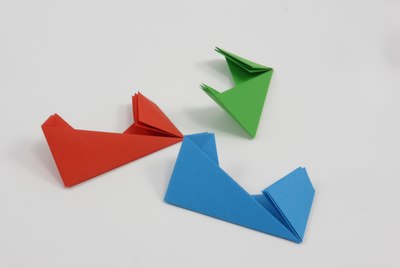
This variant of the unit results in 90° angles where the units meet. The simplest use is making a simple cube, but other solids with square faces are also possible, and with a little modification also much more complex shapes. Note that you can also make units that have different angles on each end. For some examples of using the 90° variant along with other units and some modifications, have a look at these models:

See other sections of this tutorial for instructions on folding and connecting other variants of this unit.
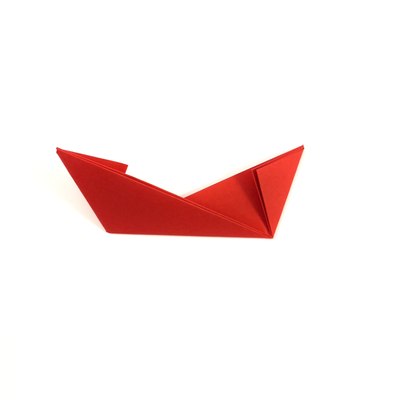
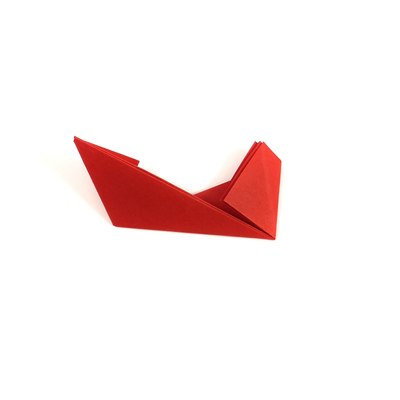
Step 1
1. Start with the 108° unit (instructions here)
Step 2
2. Fold short edge of the unit so that it touches the long edge
Step 3
3. Repeat behind on the other end. The unit is ready.
Step 4
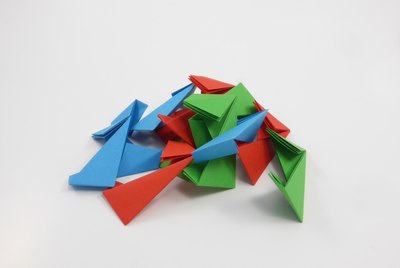
4. To fold a cube, you need 12 units
Step 5
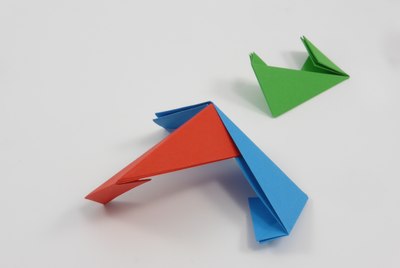
5. This and the following few steps show how to connect three units to form a single vertex
Step 6
6. Put the tab at the end of a unit inside the pocket formed between layers on the side of another unit
Step 7
7.
Step 8
8.
Step 9
9. A single vertex is complete
Step 10
10. Same vertex seen from the other side. Now keep adding more units as shown in following images. All vertices have the same structure as this first one.
Step 11
11.
Step 12
12.
Step 13
13.
Step 14
14.
Step 15
15.
Step 16
16.
Step 17
17. The last vertex may be harder to close than those before, but its structure is the same. Each unit holds its neighbor’s tab and has its own tab inserted into the other neighbor.
Step 18
18. Since the angles in the vertex of a cube are quite tight, I recommend trying to slide the tabs of all units into the corresponding pockets all at once rather than unit by unit
Step 19
19. Complete cube

Published:

Comments