Woven Slit Module (WSM)

Instructions
Model details: Woven Slit Module (by: Michał Kosmulski)
See also: Adjustable Cube, Cube (2:1 paper, slits outside), Cube (2:1 paper, woven connection, slits inside), Cube (2:1 paper, woven connection, slits outside), Cube (3:2 paper, slits outside), Spiked Octahedron (WSM), Saturn (WSM), Coaster Cube, Coaster (WSM)

Model types: single unit
Location: on this page, in print media
Type: Crease Pattern, Phototutorial, Step-by-step diagram

Single unit Usage example: cube (3:2 paper) Usage example: cube (2:1 paper) Usage example: cube (2:1 paper, woven connection, slits on the outside) Usage example: cube (2:1 paper, woven connection, slits on the inside) Usage example: adjustable cube (4:1 paper, woven connection, slits on the outside)
Images are licensed under the Creative Commons Attribution-NonCommercial 4.0 International License

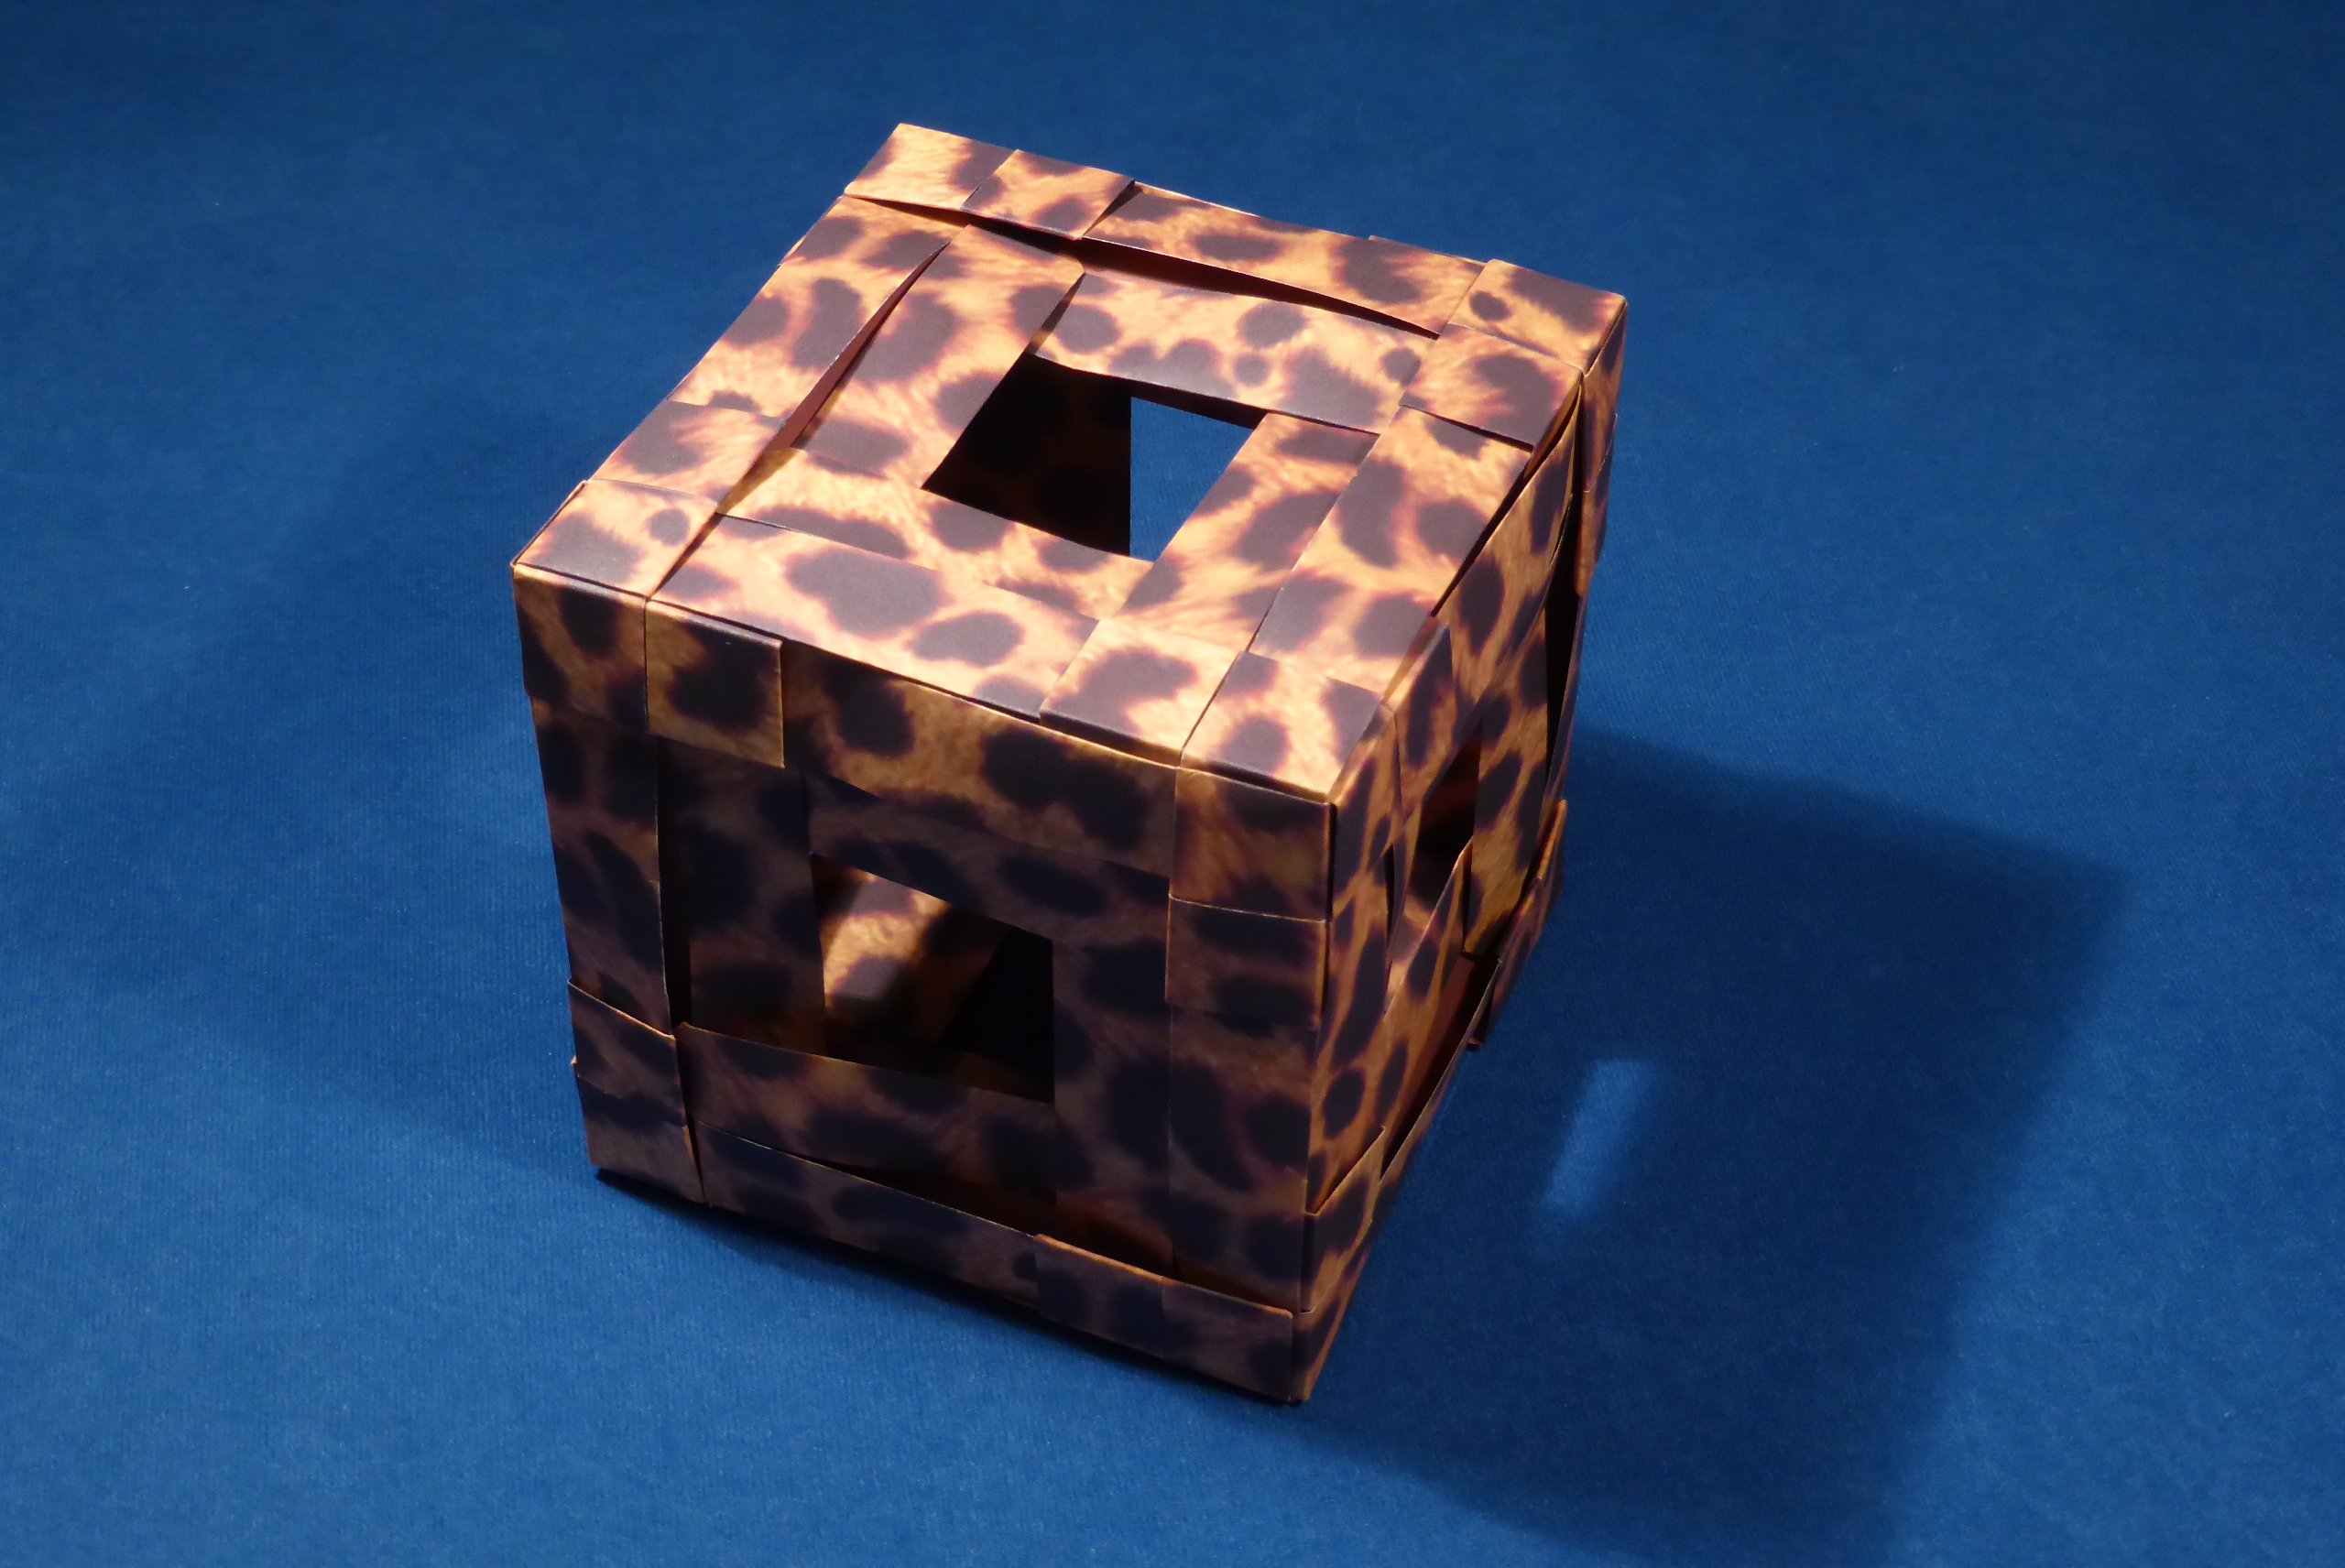
Woven Slit Module is an origami unit which can be used to build different kinds of modular assemblies, from simple cubes to more complex objects. They can weave with other units to form interesting patterns. In some models, these units can slide along one another to produce action origami — assemblies which can be transformed into different shapes without taking the units apart. WSM can be made from rectangular paper of different proportions with broad units being useful for models with densely packed and ornamented walls and thin skinny units being useful for lattice-like models. A paper aspect ratio off 2:1 is a good starting point for many models.

Diagrams in print media

A full step-by-step diagram was published in 13th Bulletin of Polish Origami Society (2015), on page 84.

Crease Pattern

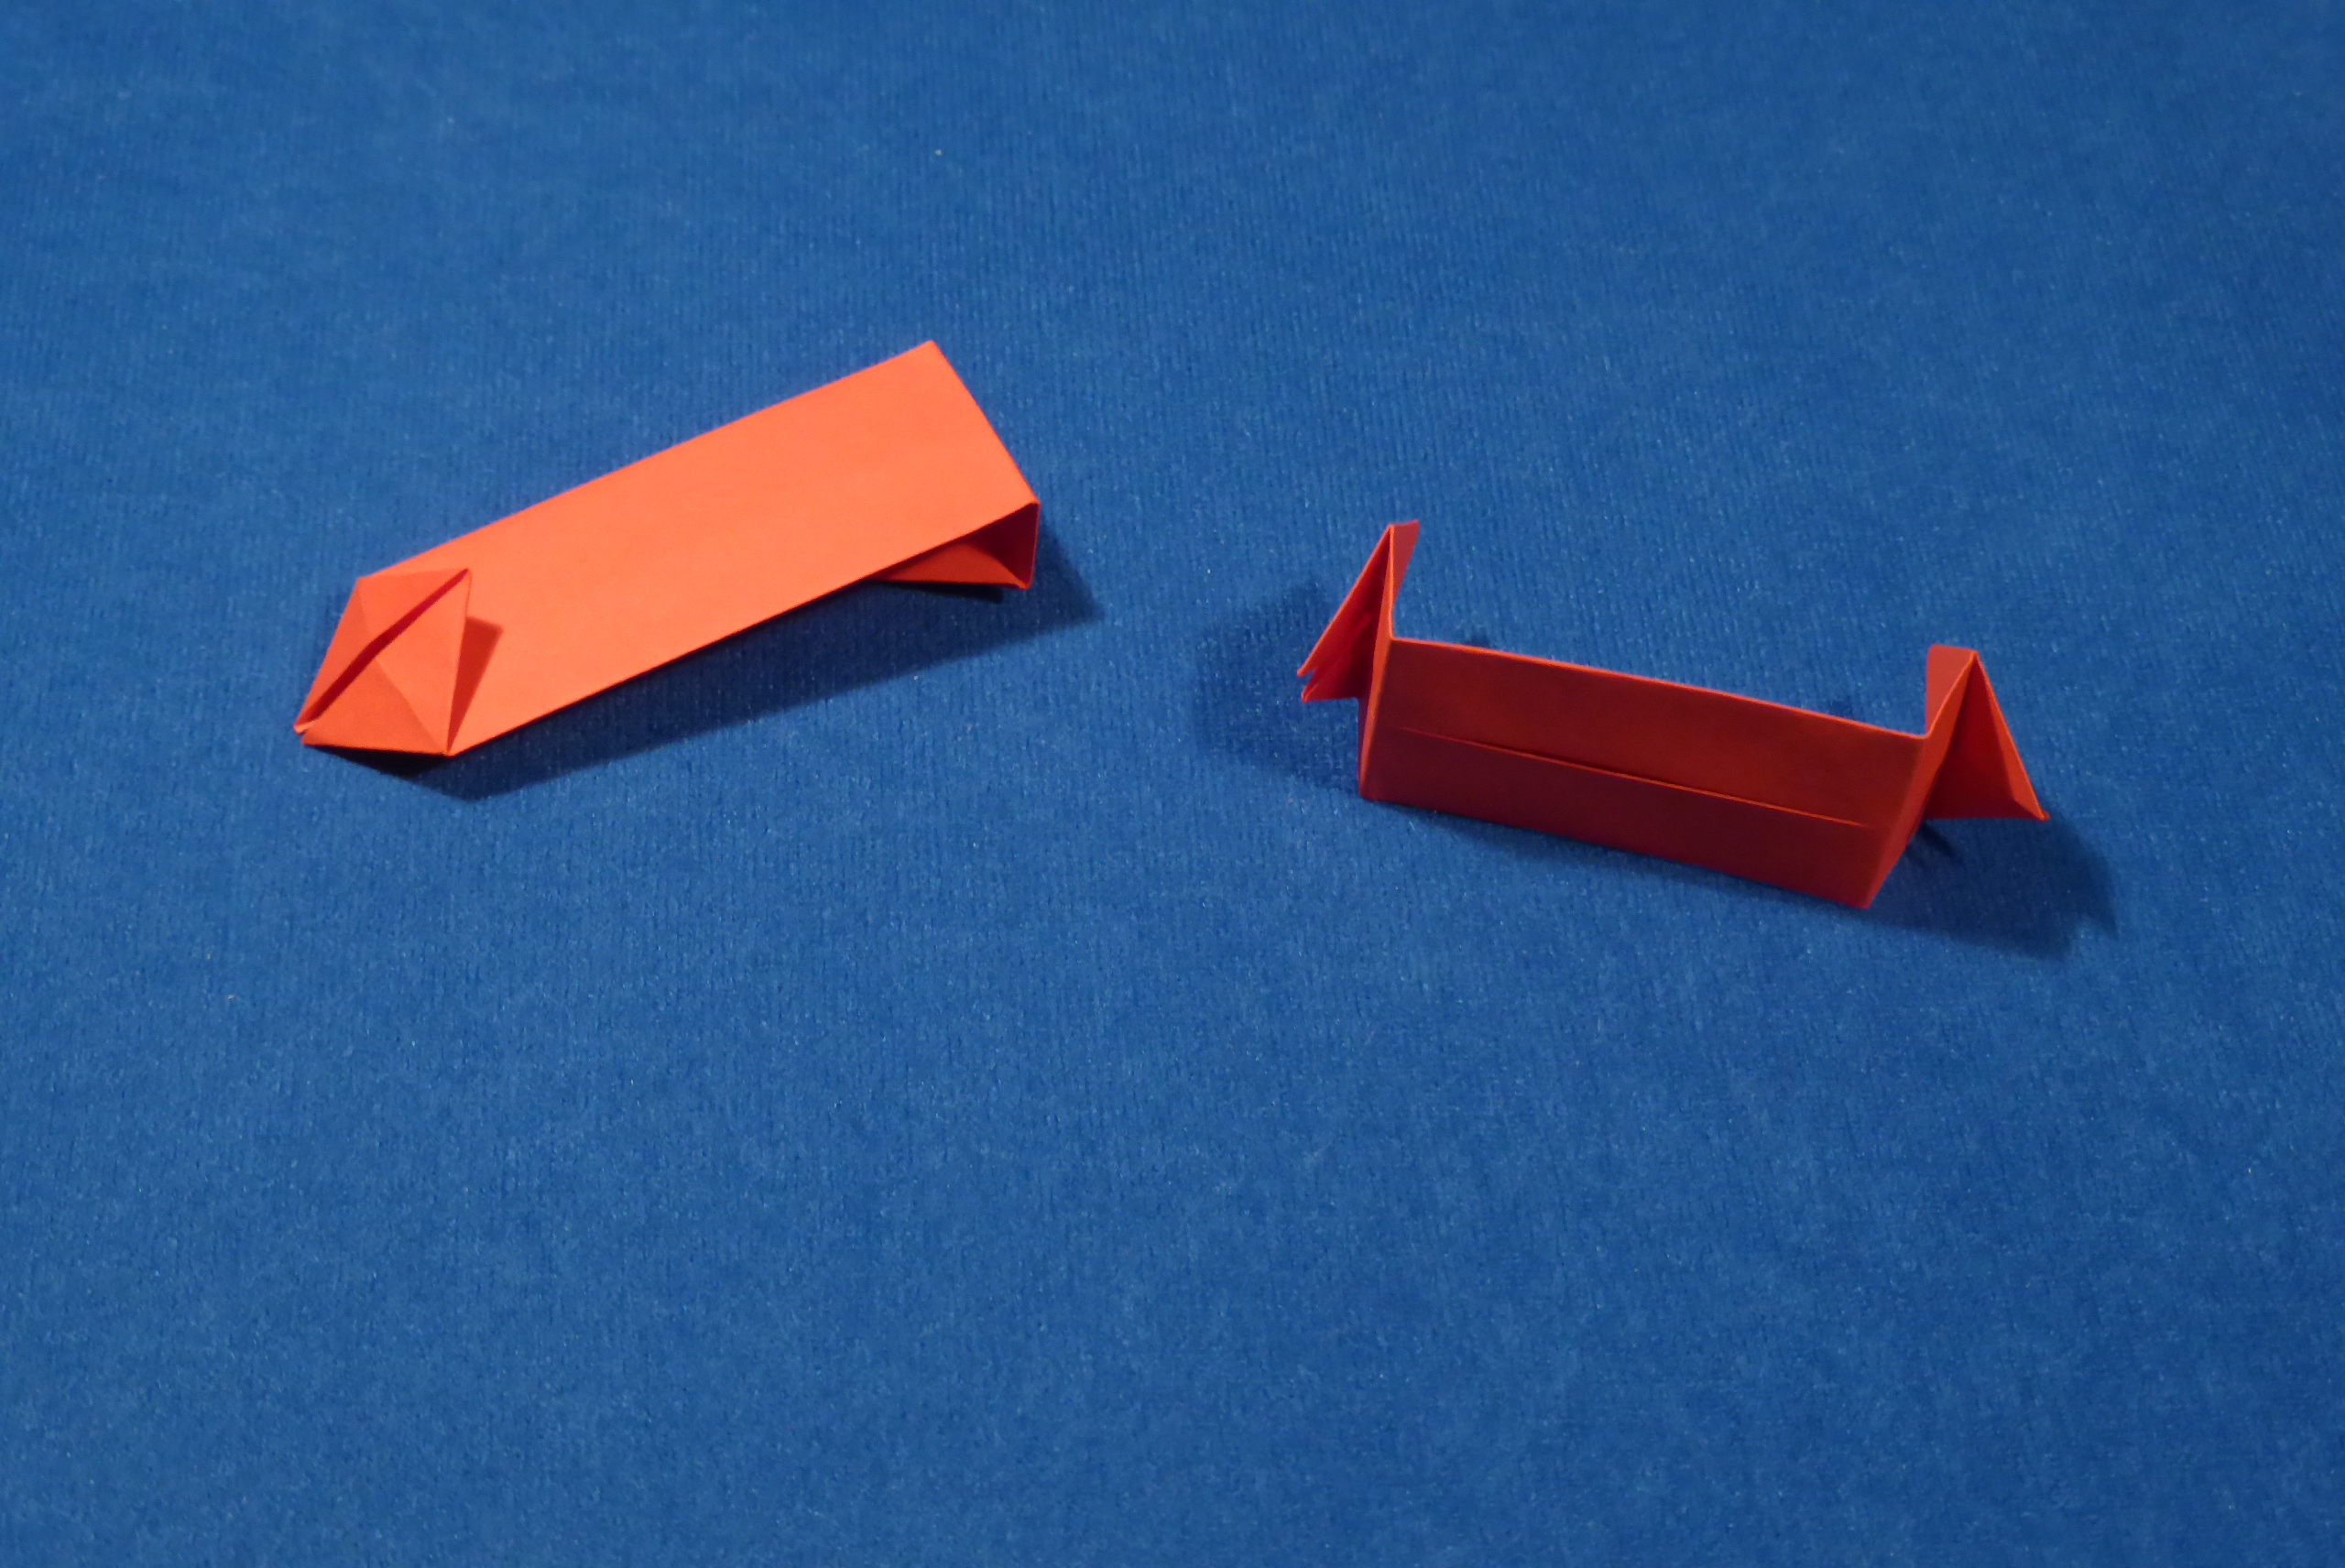
Instructions are currently only available as a Crease Pattern (CP), but it is very simple, so you should be able to re-create the unit from it even if you have little or no experience with CPs. The CP is for 2:1 paper ratio but any ratio above 3:2 can be used.


PDF
Woven Slit Module (WSM) CP


Connection method

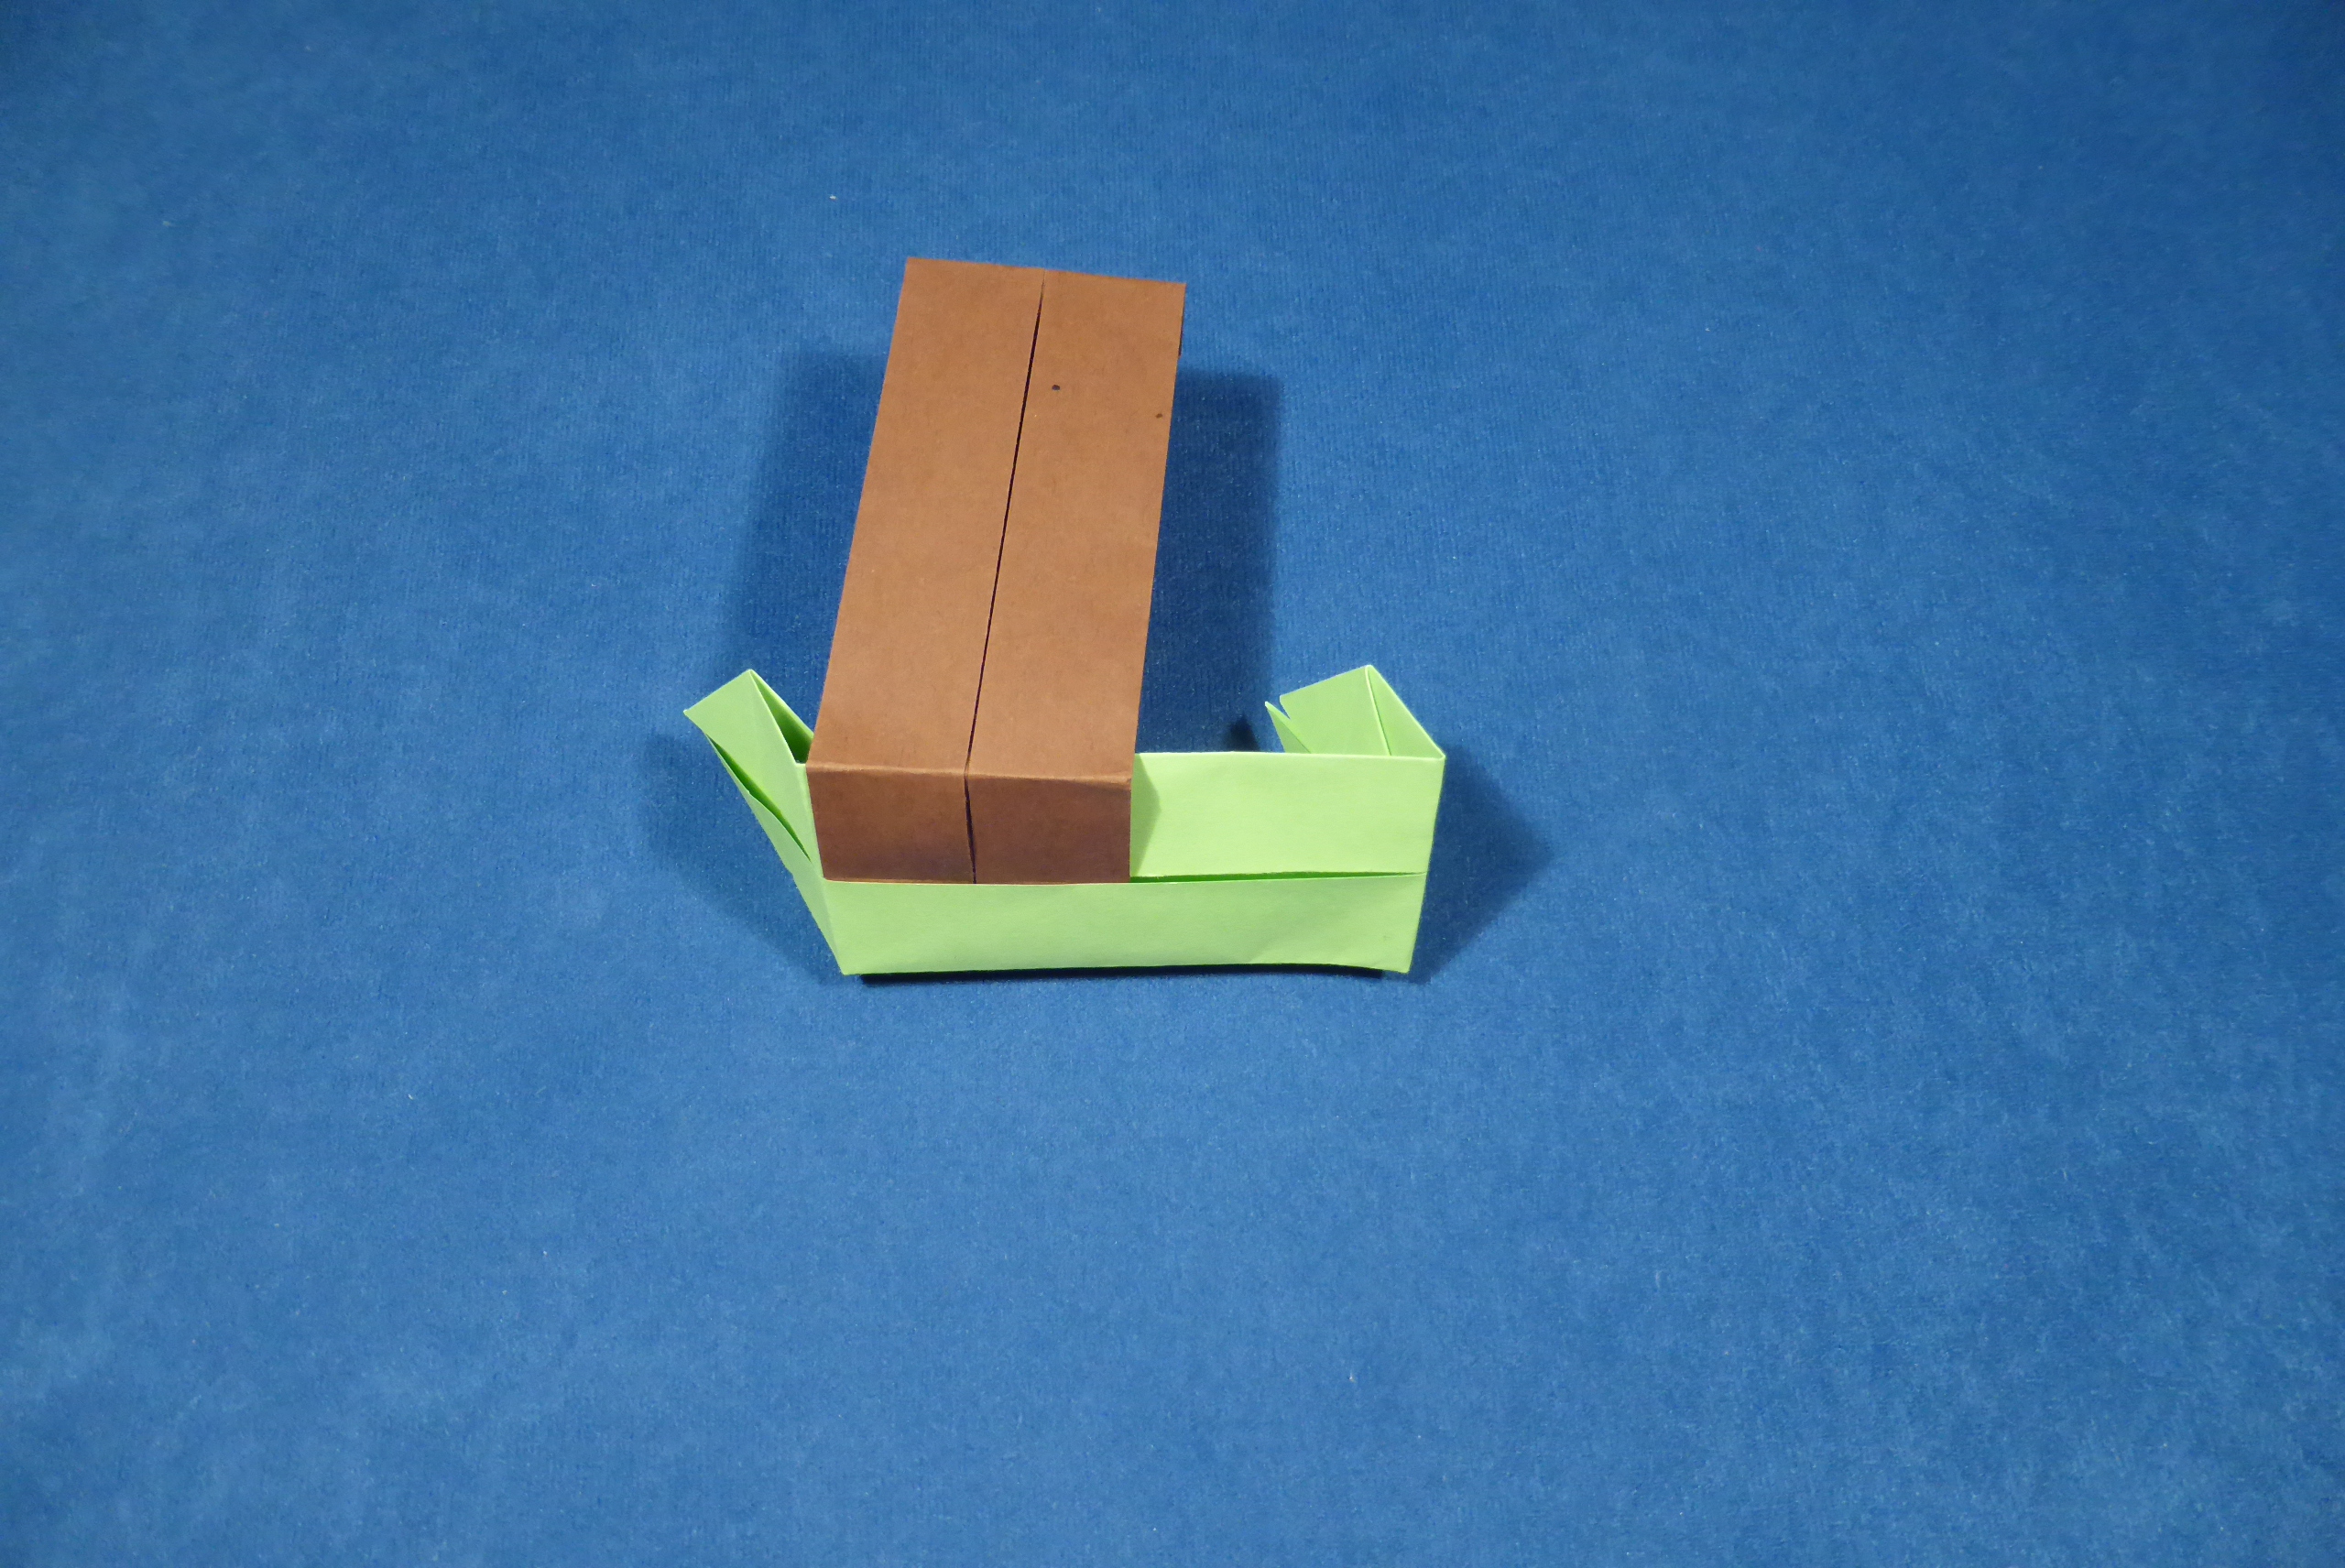
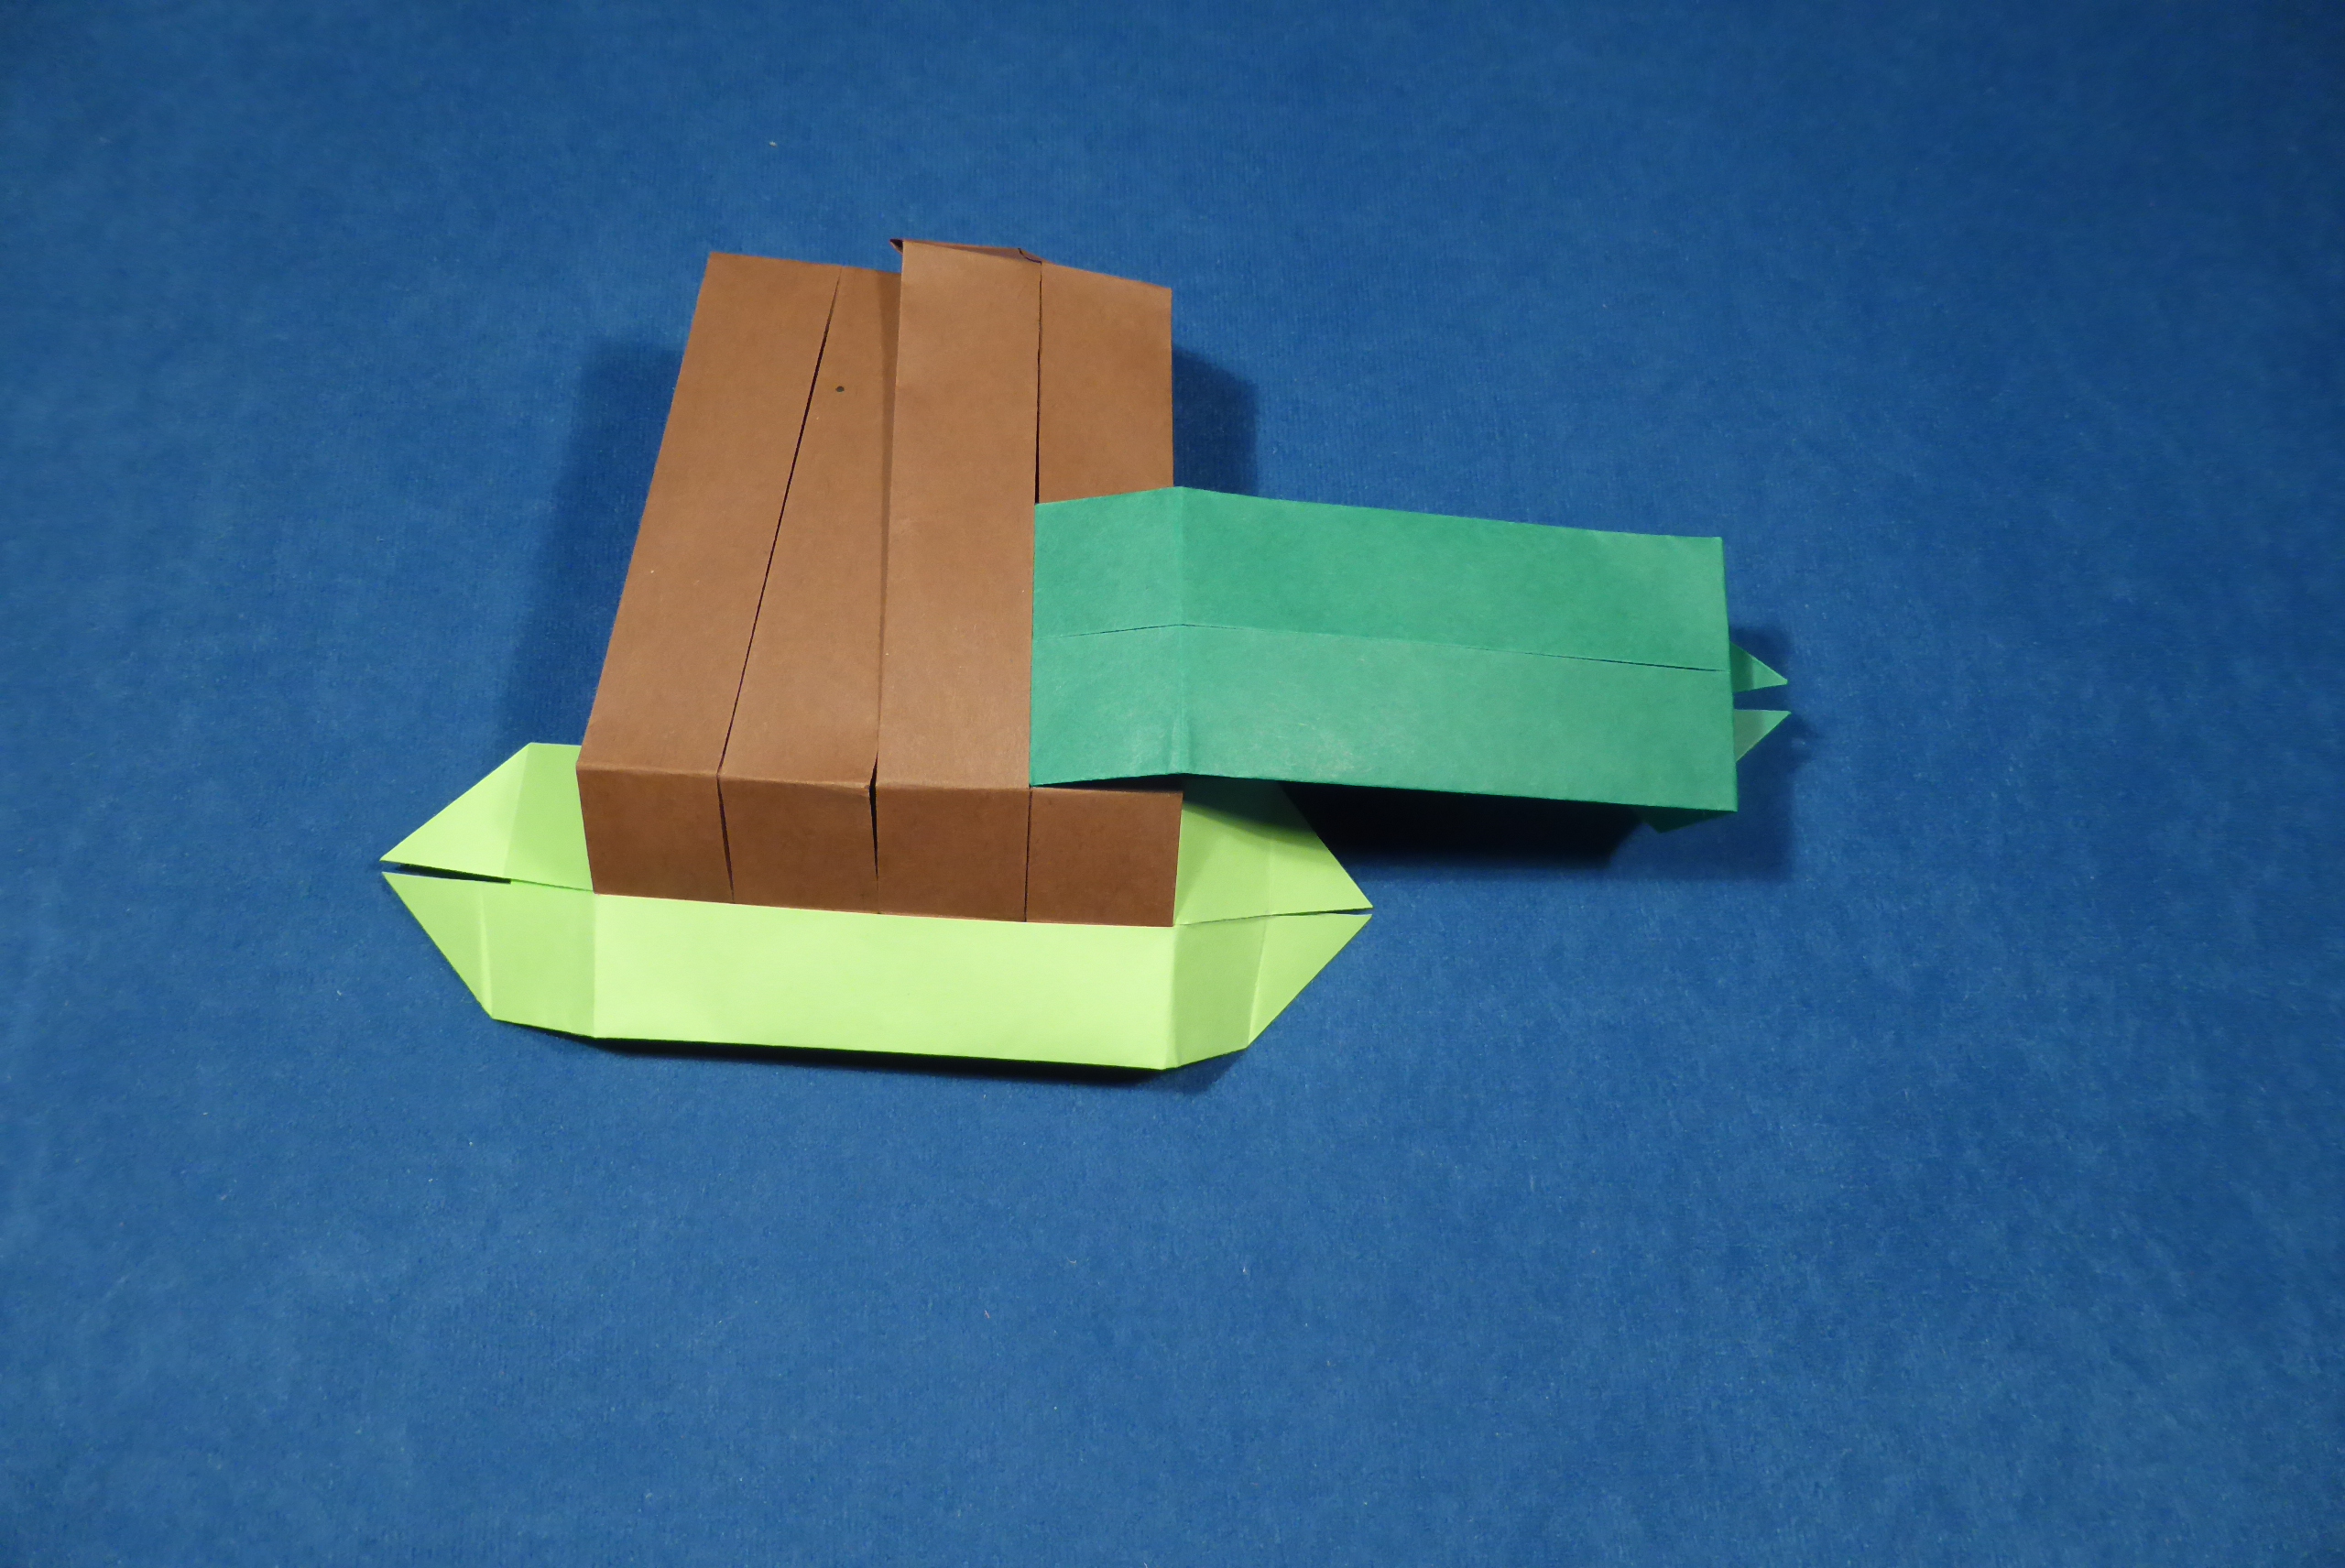
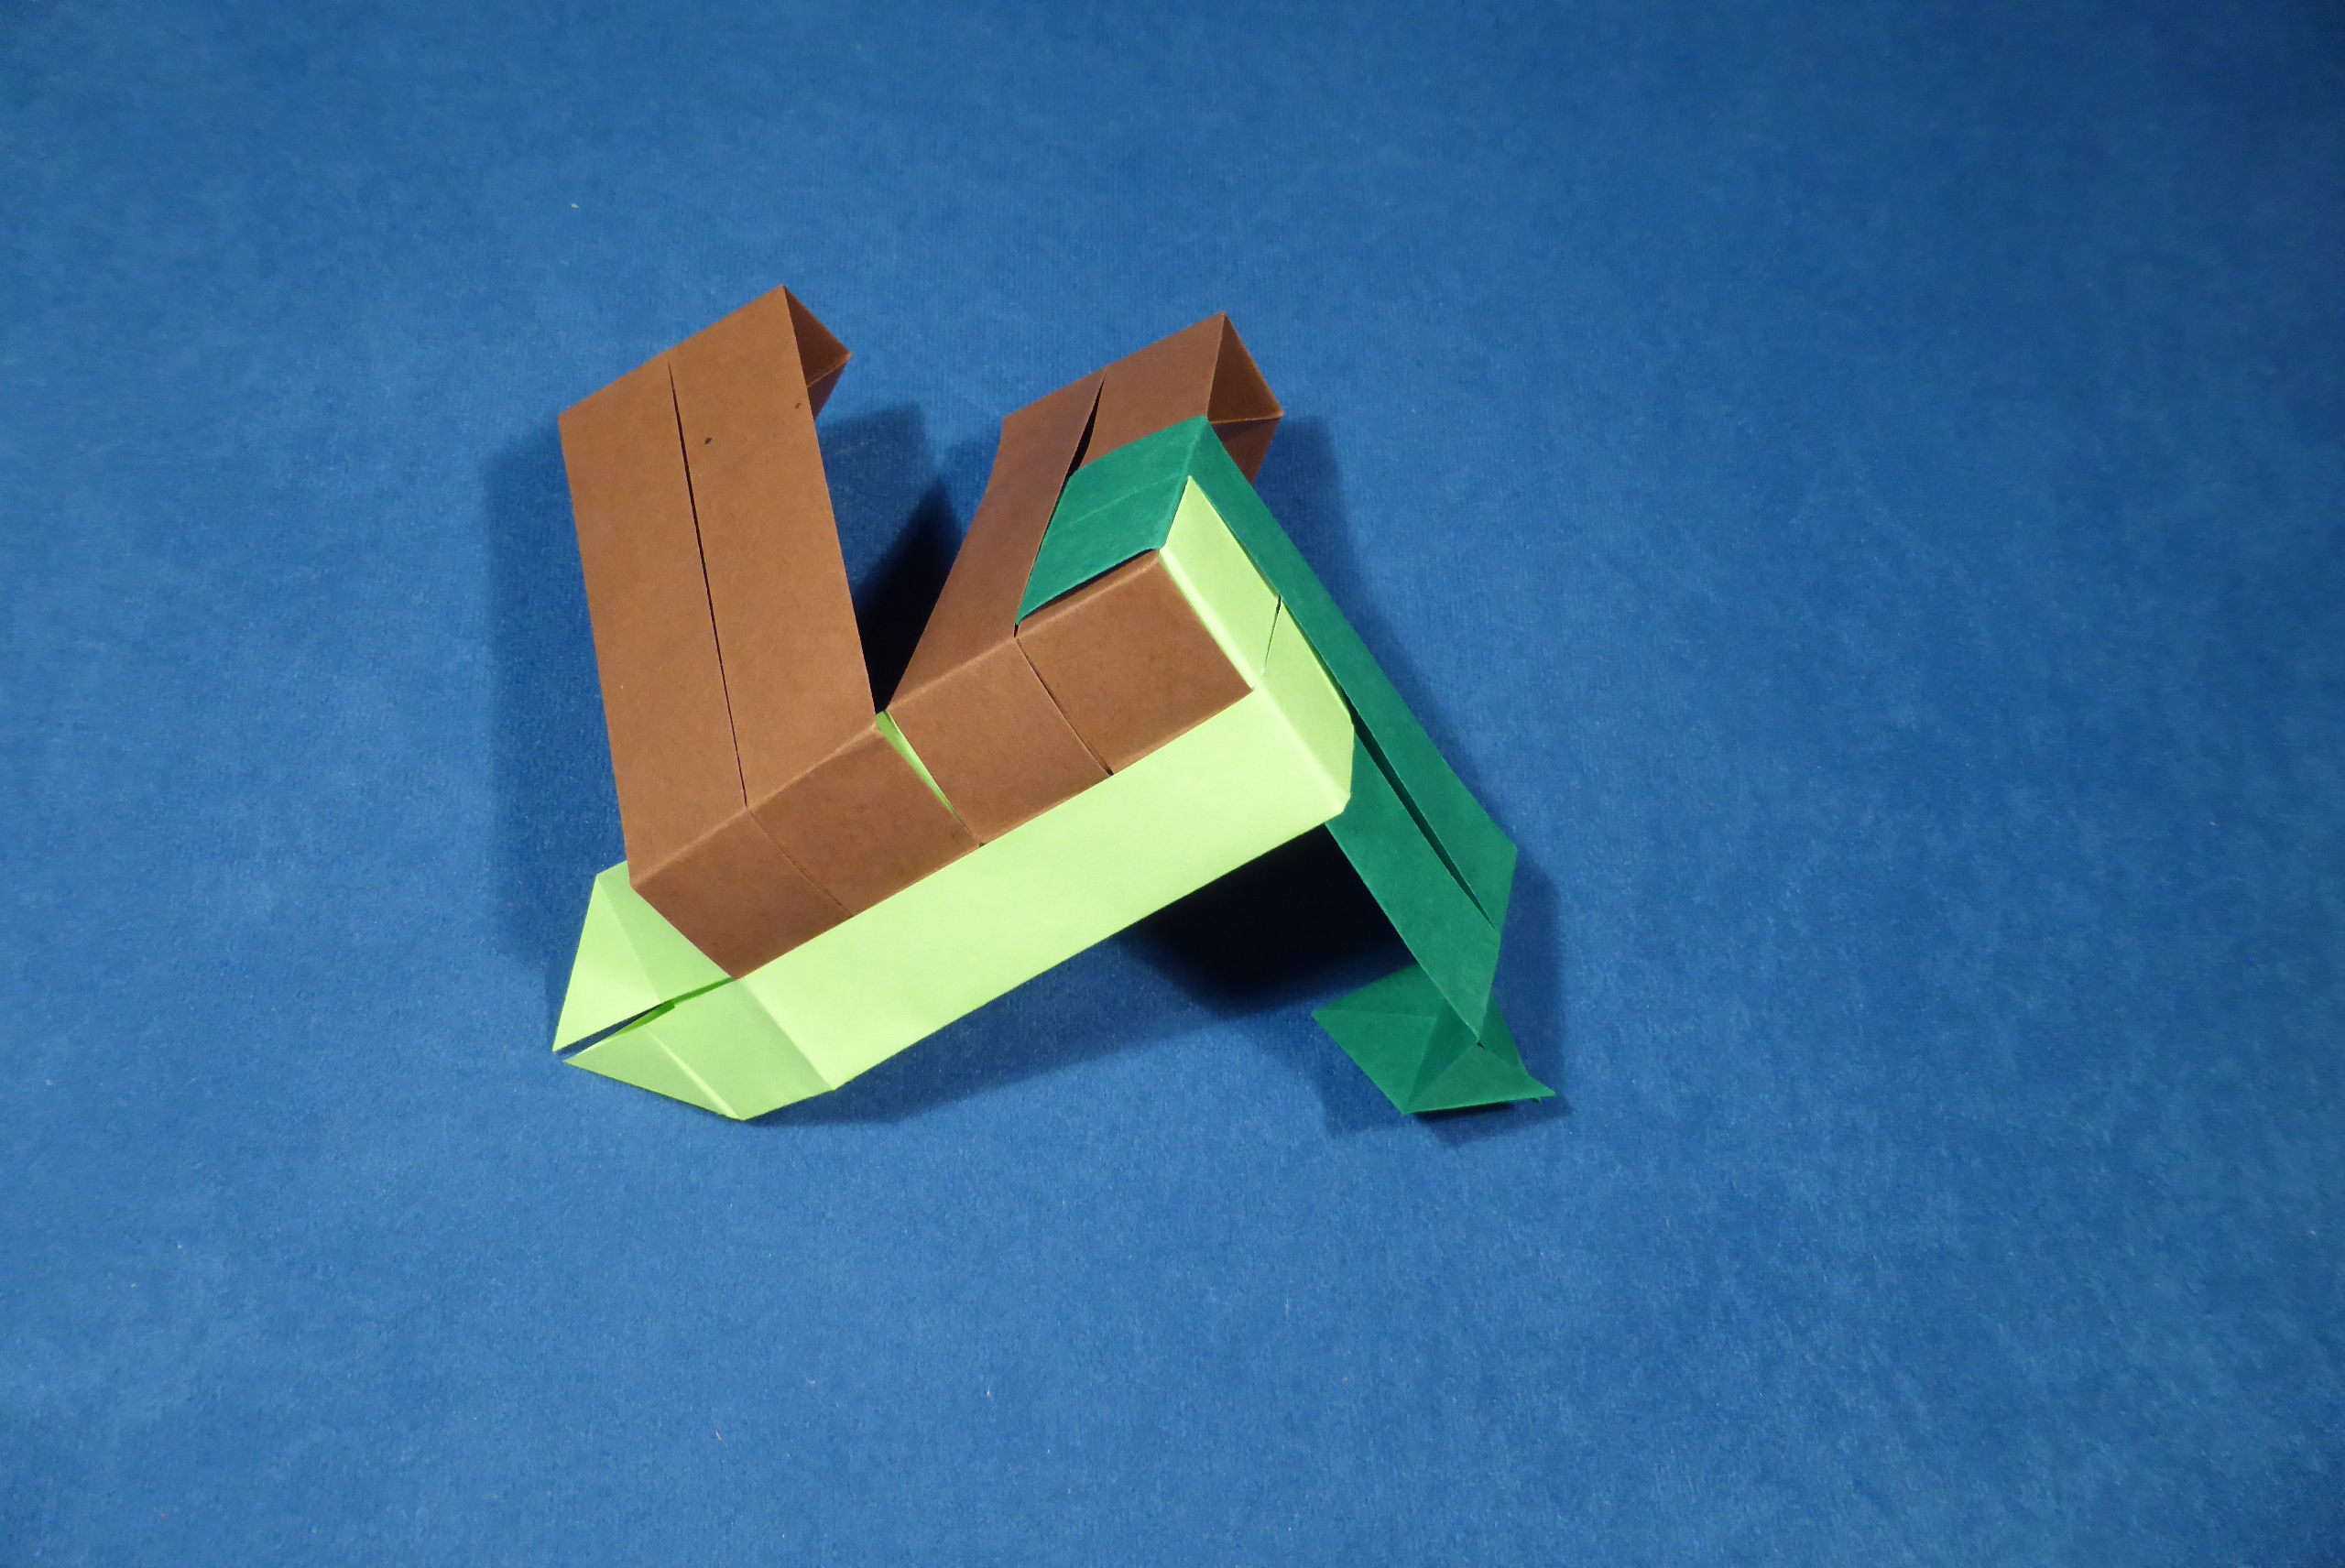
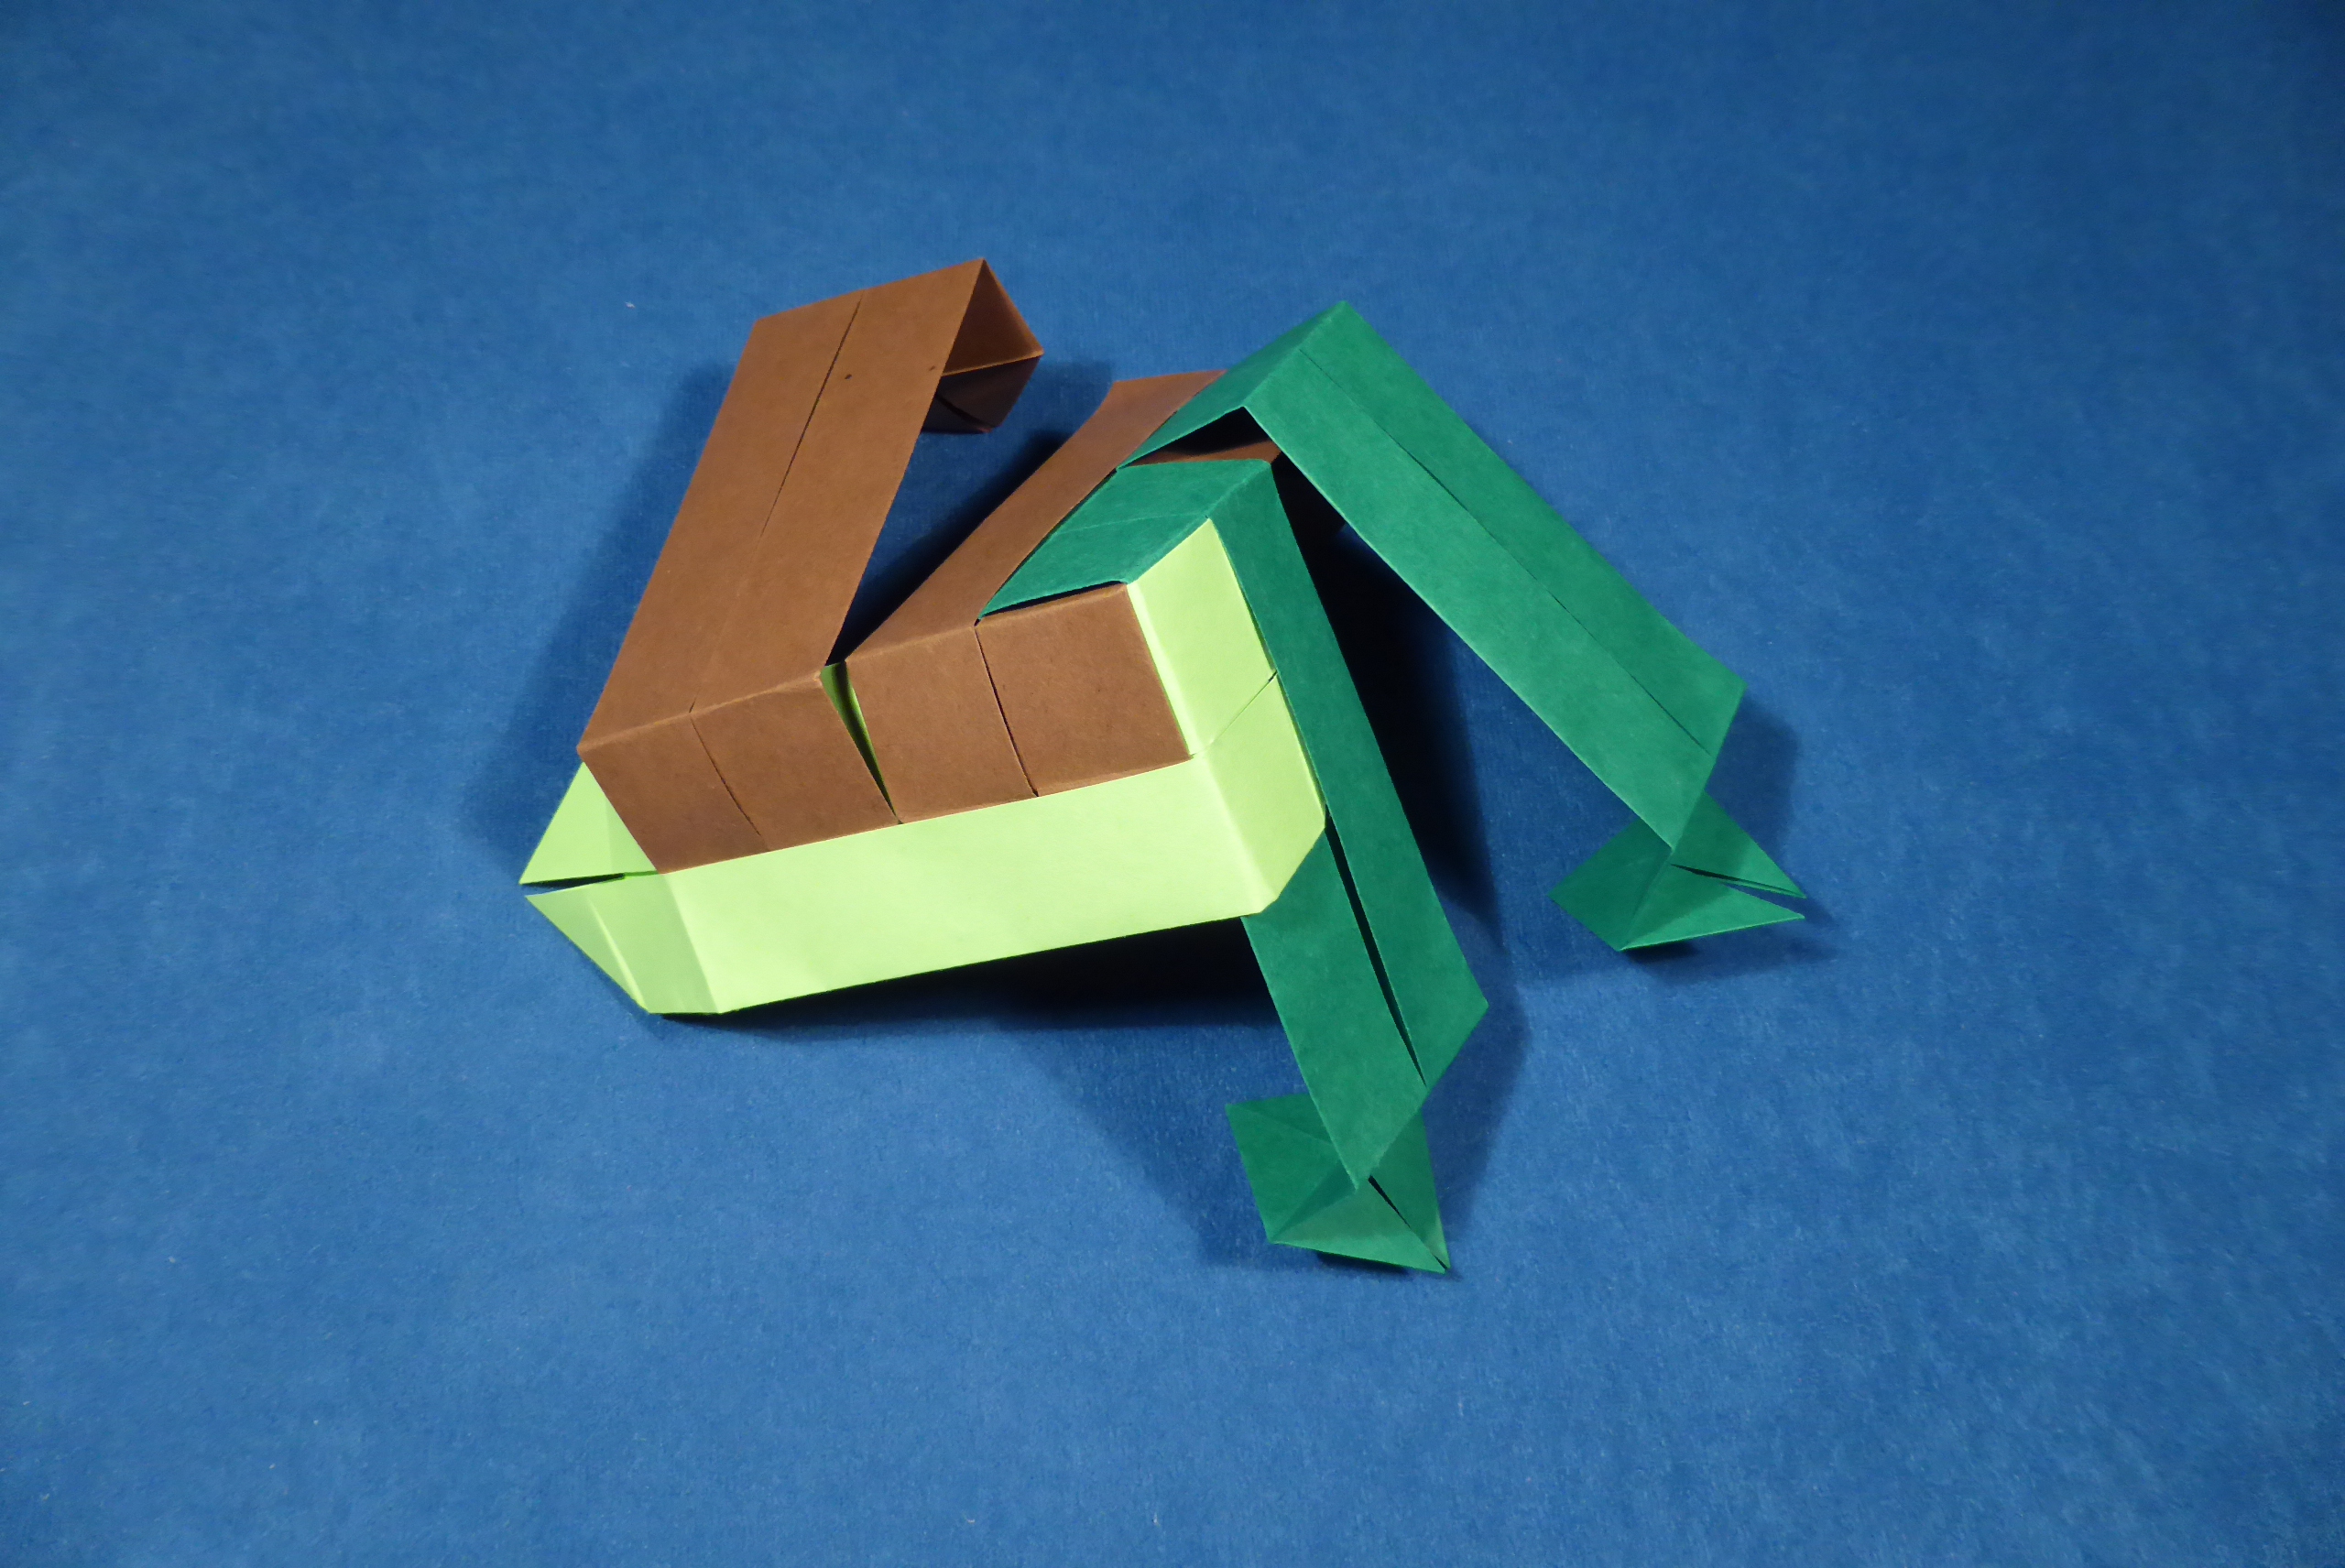
Units are connected by inserting the two half-square flaps into the slits in other units. Some assemblies require the units to be additionally bent around each other. Units can be placed so that the slit it either on the inside or on the outside of the model.

Below you can find an example of connecting units for the Cube (2:1 paper, slits outside) model.

Step 1
1. Fold the ends of each module as shown.
Step 2
2. Connect two units by inserting the flaps of one into the other one’s slit.
Step 3
3. Add a second unit along the same slit.
Step 4
4. Add a unit into the slit of the recently added unit (it will be aligned along the third axis in finished model).
Step 5
5. Close the cube’s vertex by connecting the last unit to the first one.
Step 6
6. Add a second unit into the slit.
Step 7
7. Add a second unit into the slit. Continue adding more units following the same pattern.
Step 8
8. Finished model (different colors than in previous steps, I know)

Published: , Updated:

Comments