The role of the Vertex Unit is to be placed in the model’s vertices. Compare this variant with the regular version.
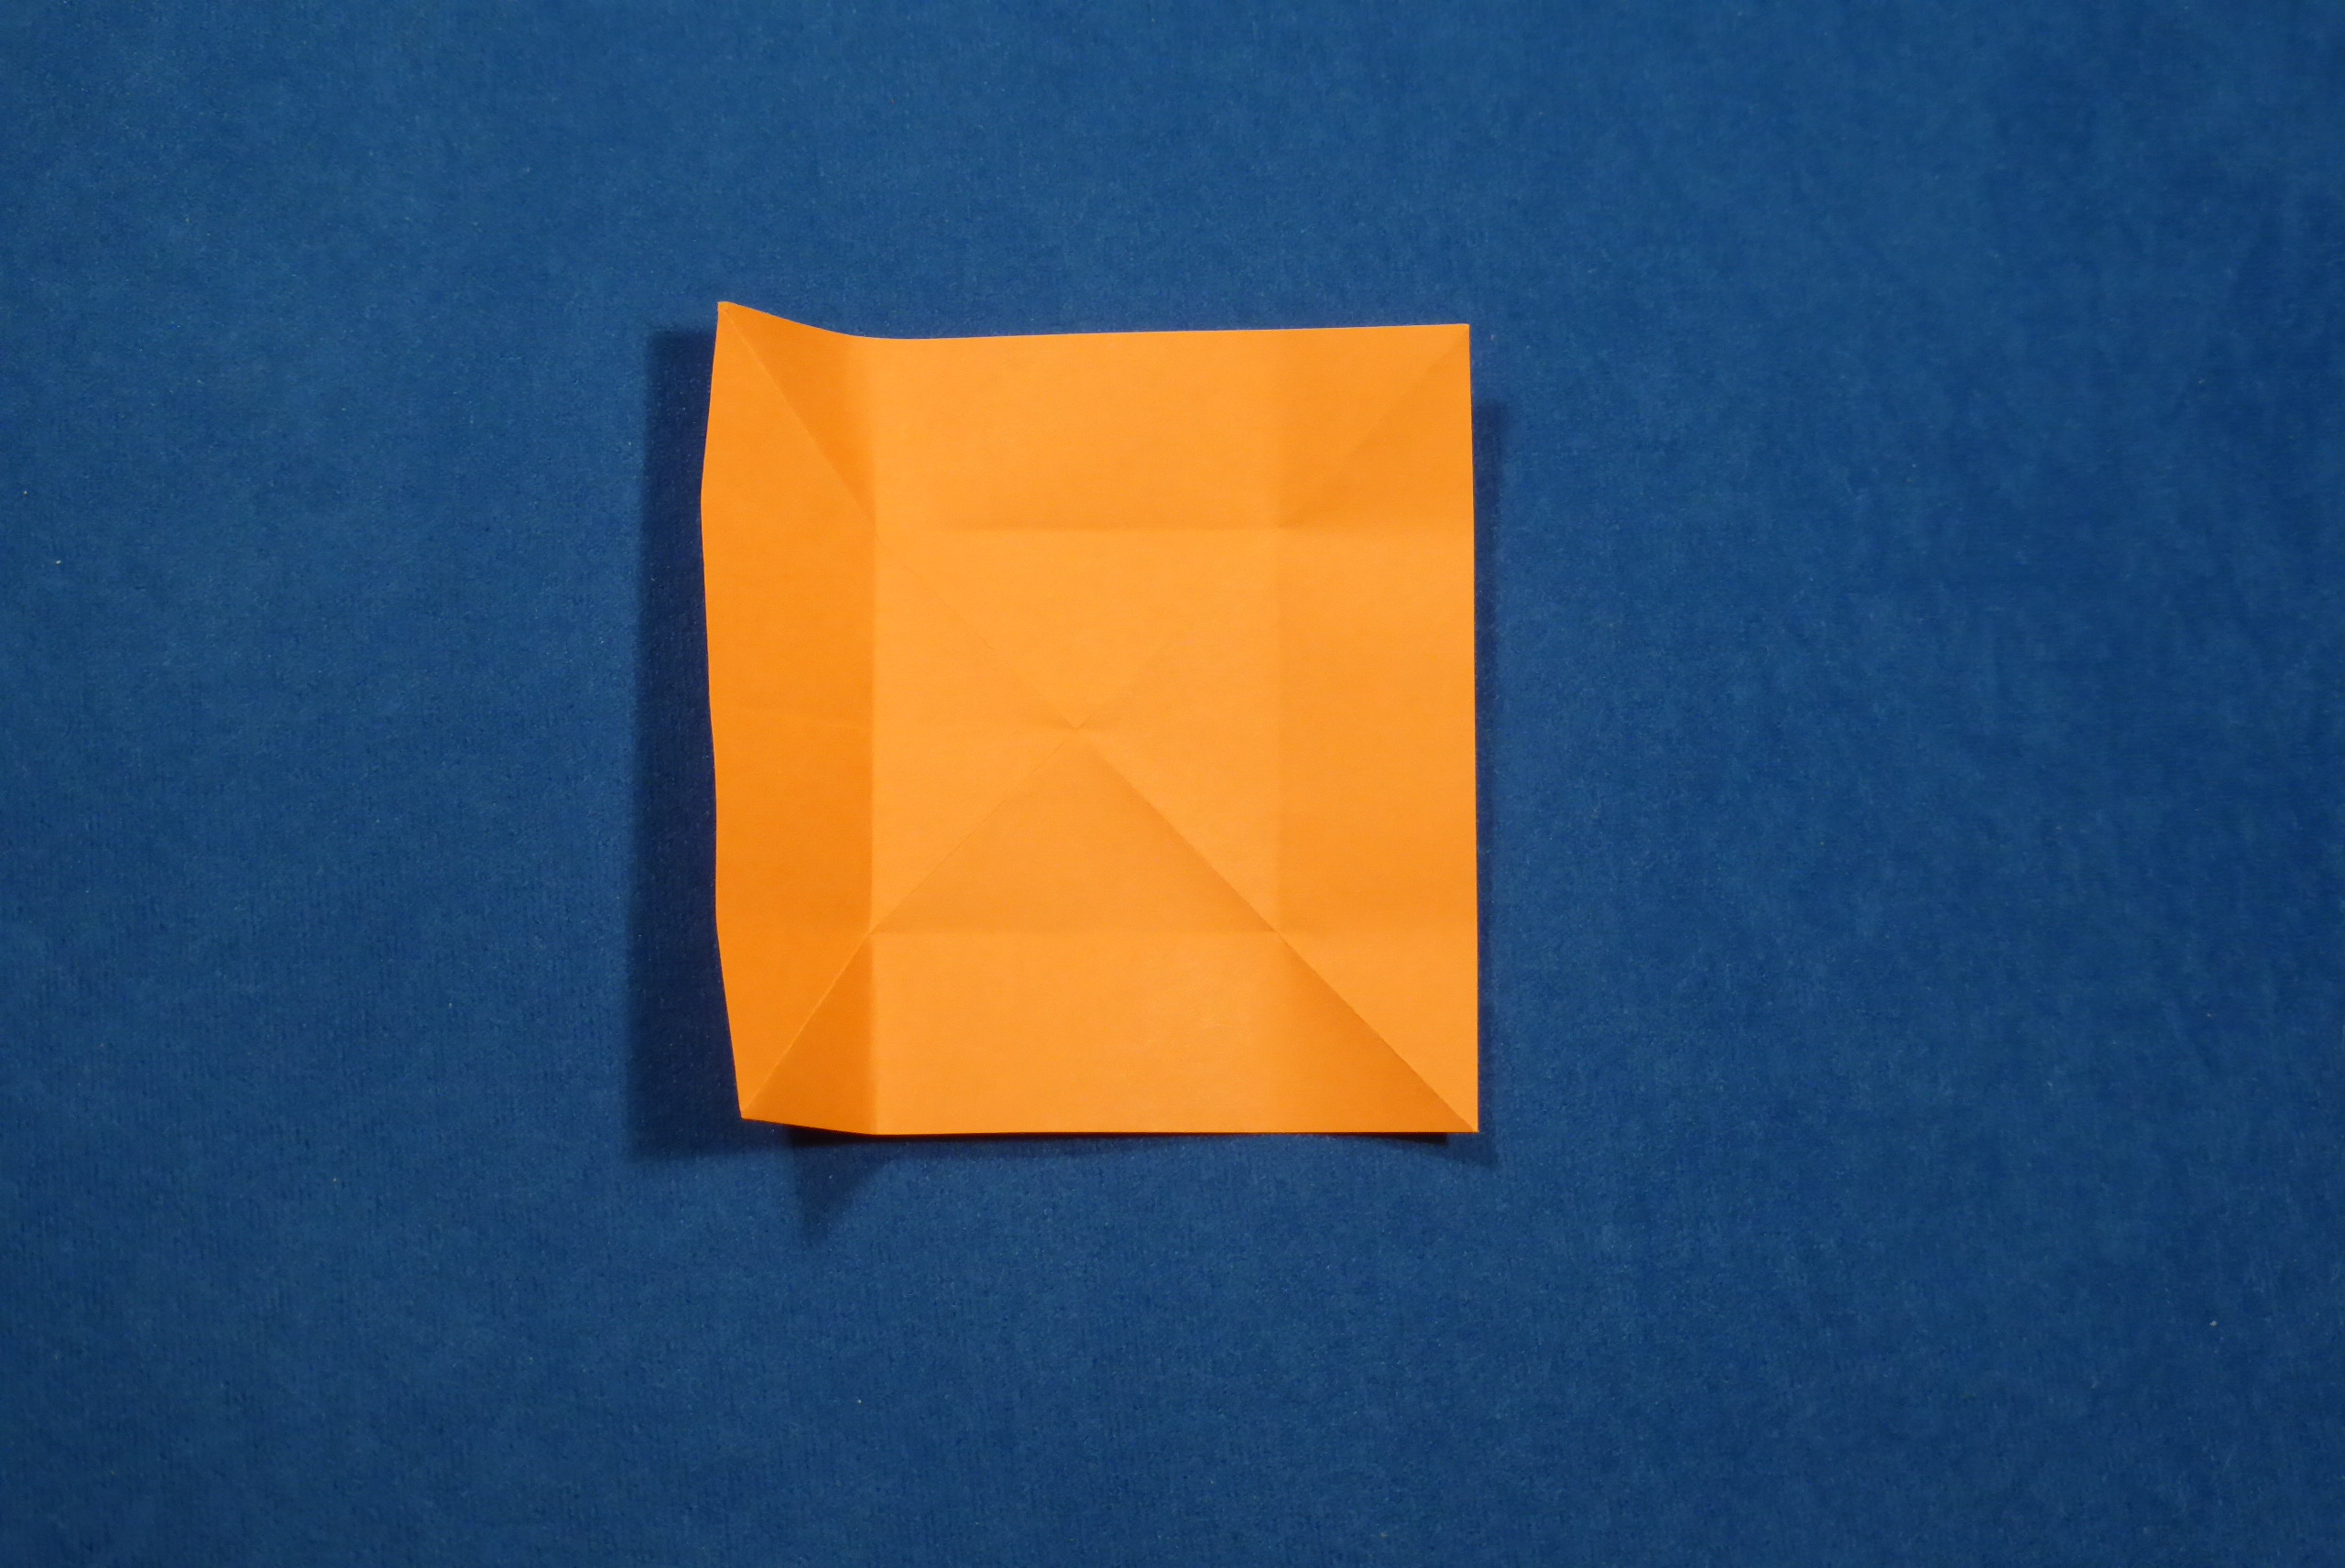
1. First step is the same as in regular vertex module. Start with a square piece of paper. Crease both diagonals.
2. Make four creases parallel to the sides of the square by bringing the midpoint of each side to the point where diagonals cross (the sheet’s midpoint). Only fold the part of the crease which lies between the two diagonals: the parts directly adjacent to the paper’s edge only need to be creased for certain models, e.g. the cuboctahedron. Paper will bend near the edges, but if you don’t crease it, these parts can be smoothened out later for a cleaner appearance.
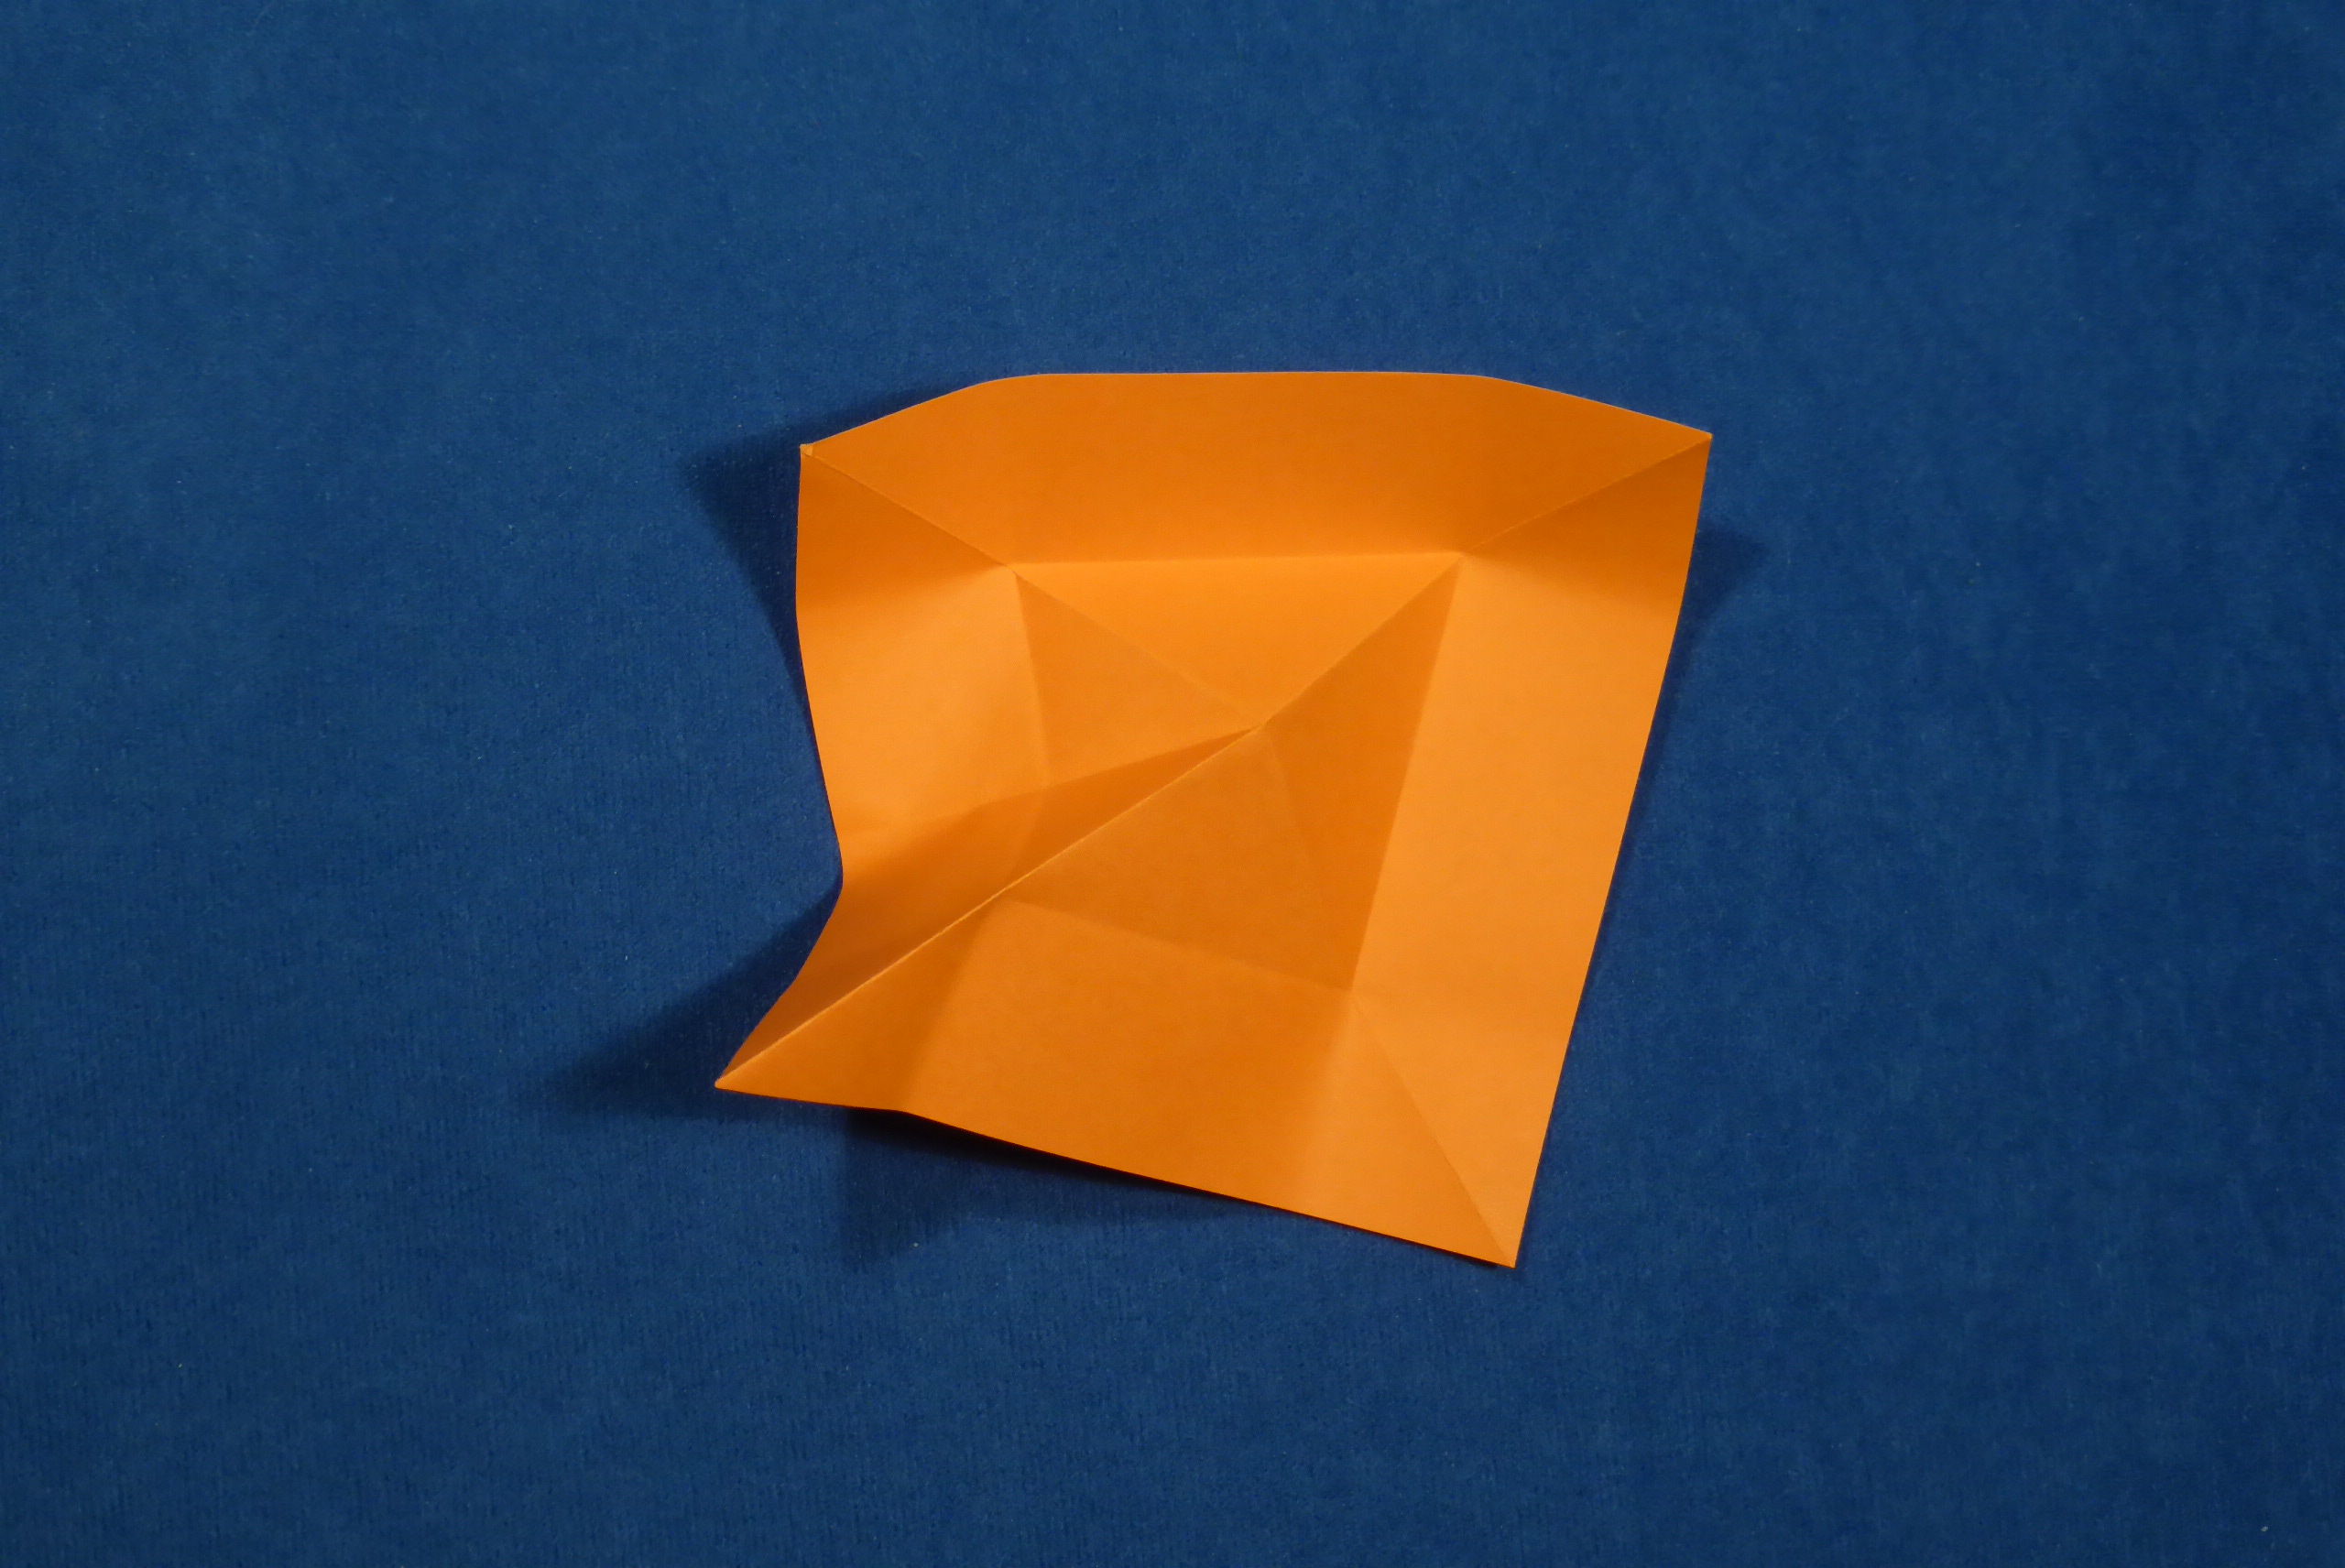
3. Collapse along the creases, forming a pyramid with a sunk central part.
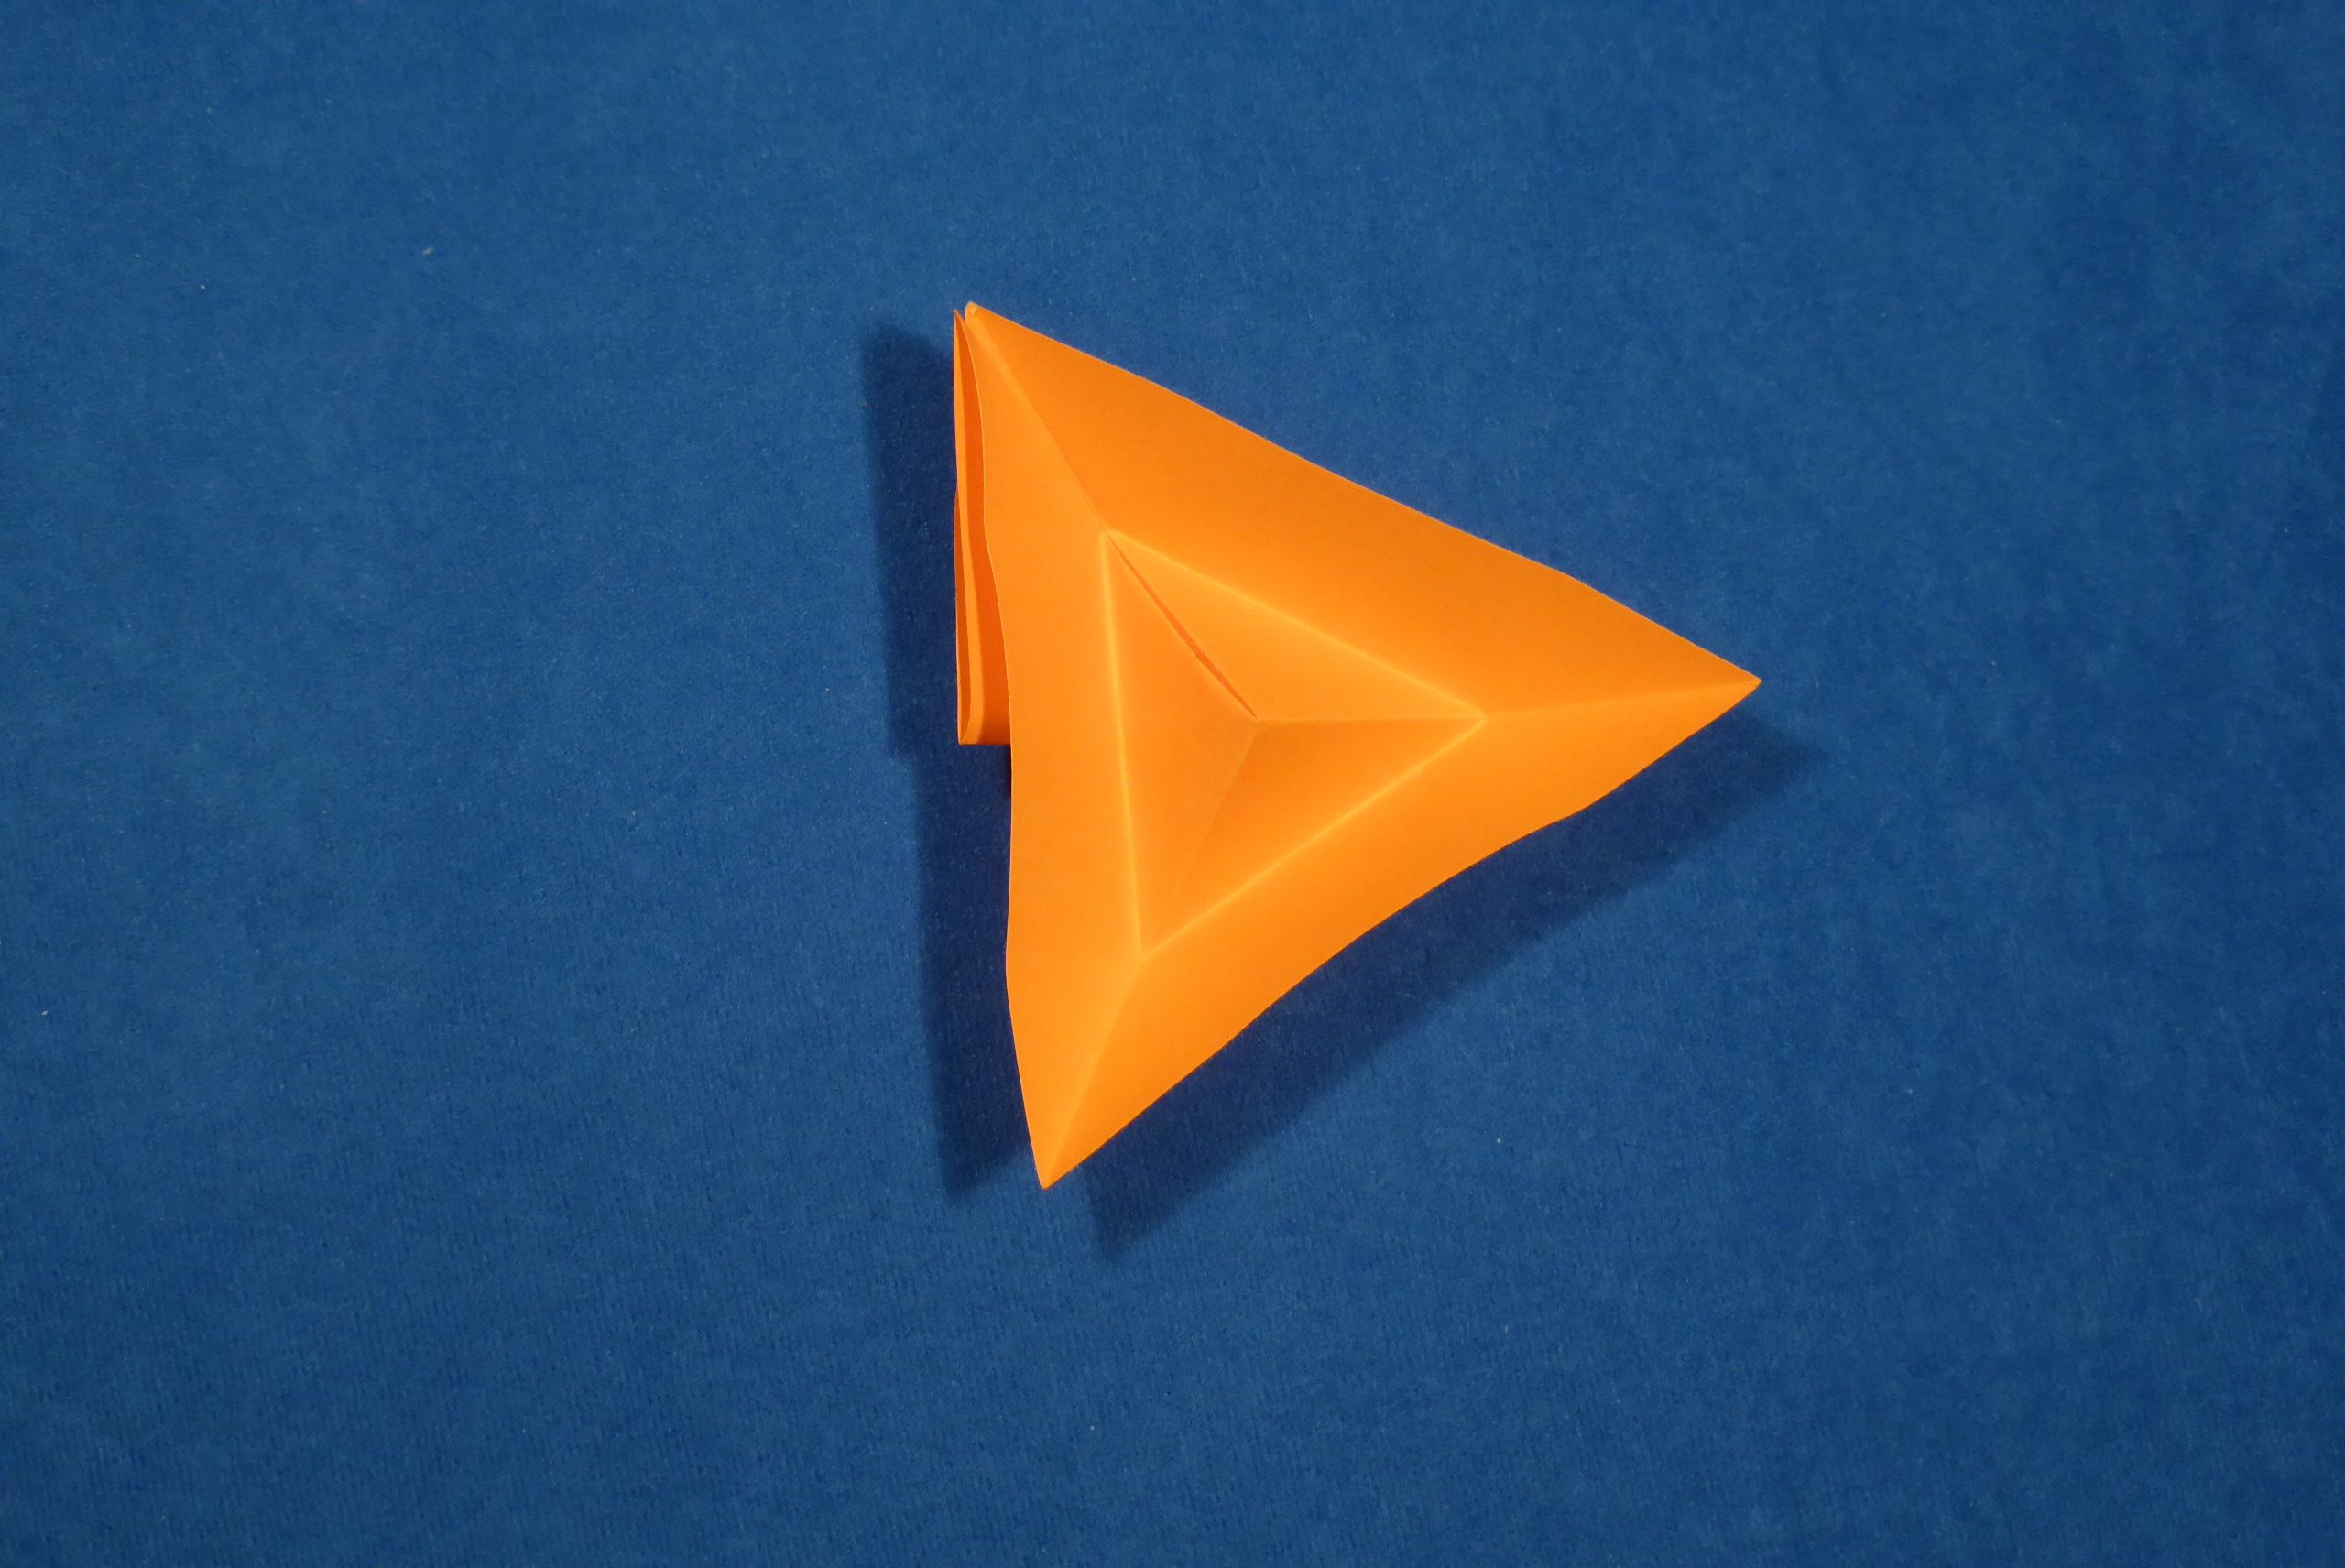
4a. The end result looks like the regular vertex unit but has a second, smaller pyramid in the middle of the larger one, pointing in the opposite direction. The middle pyramid holds the unit together, so the sunken unit keeps its shape before attaching connector units much better than the regular variant.
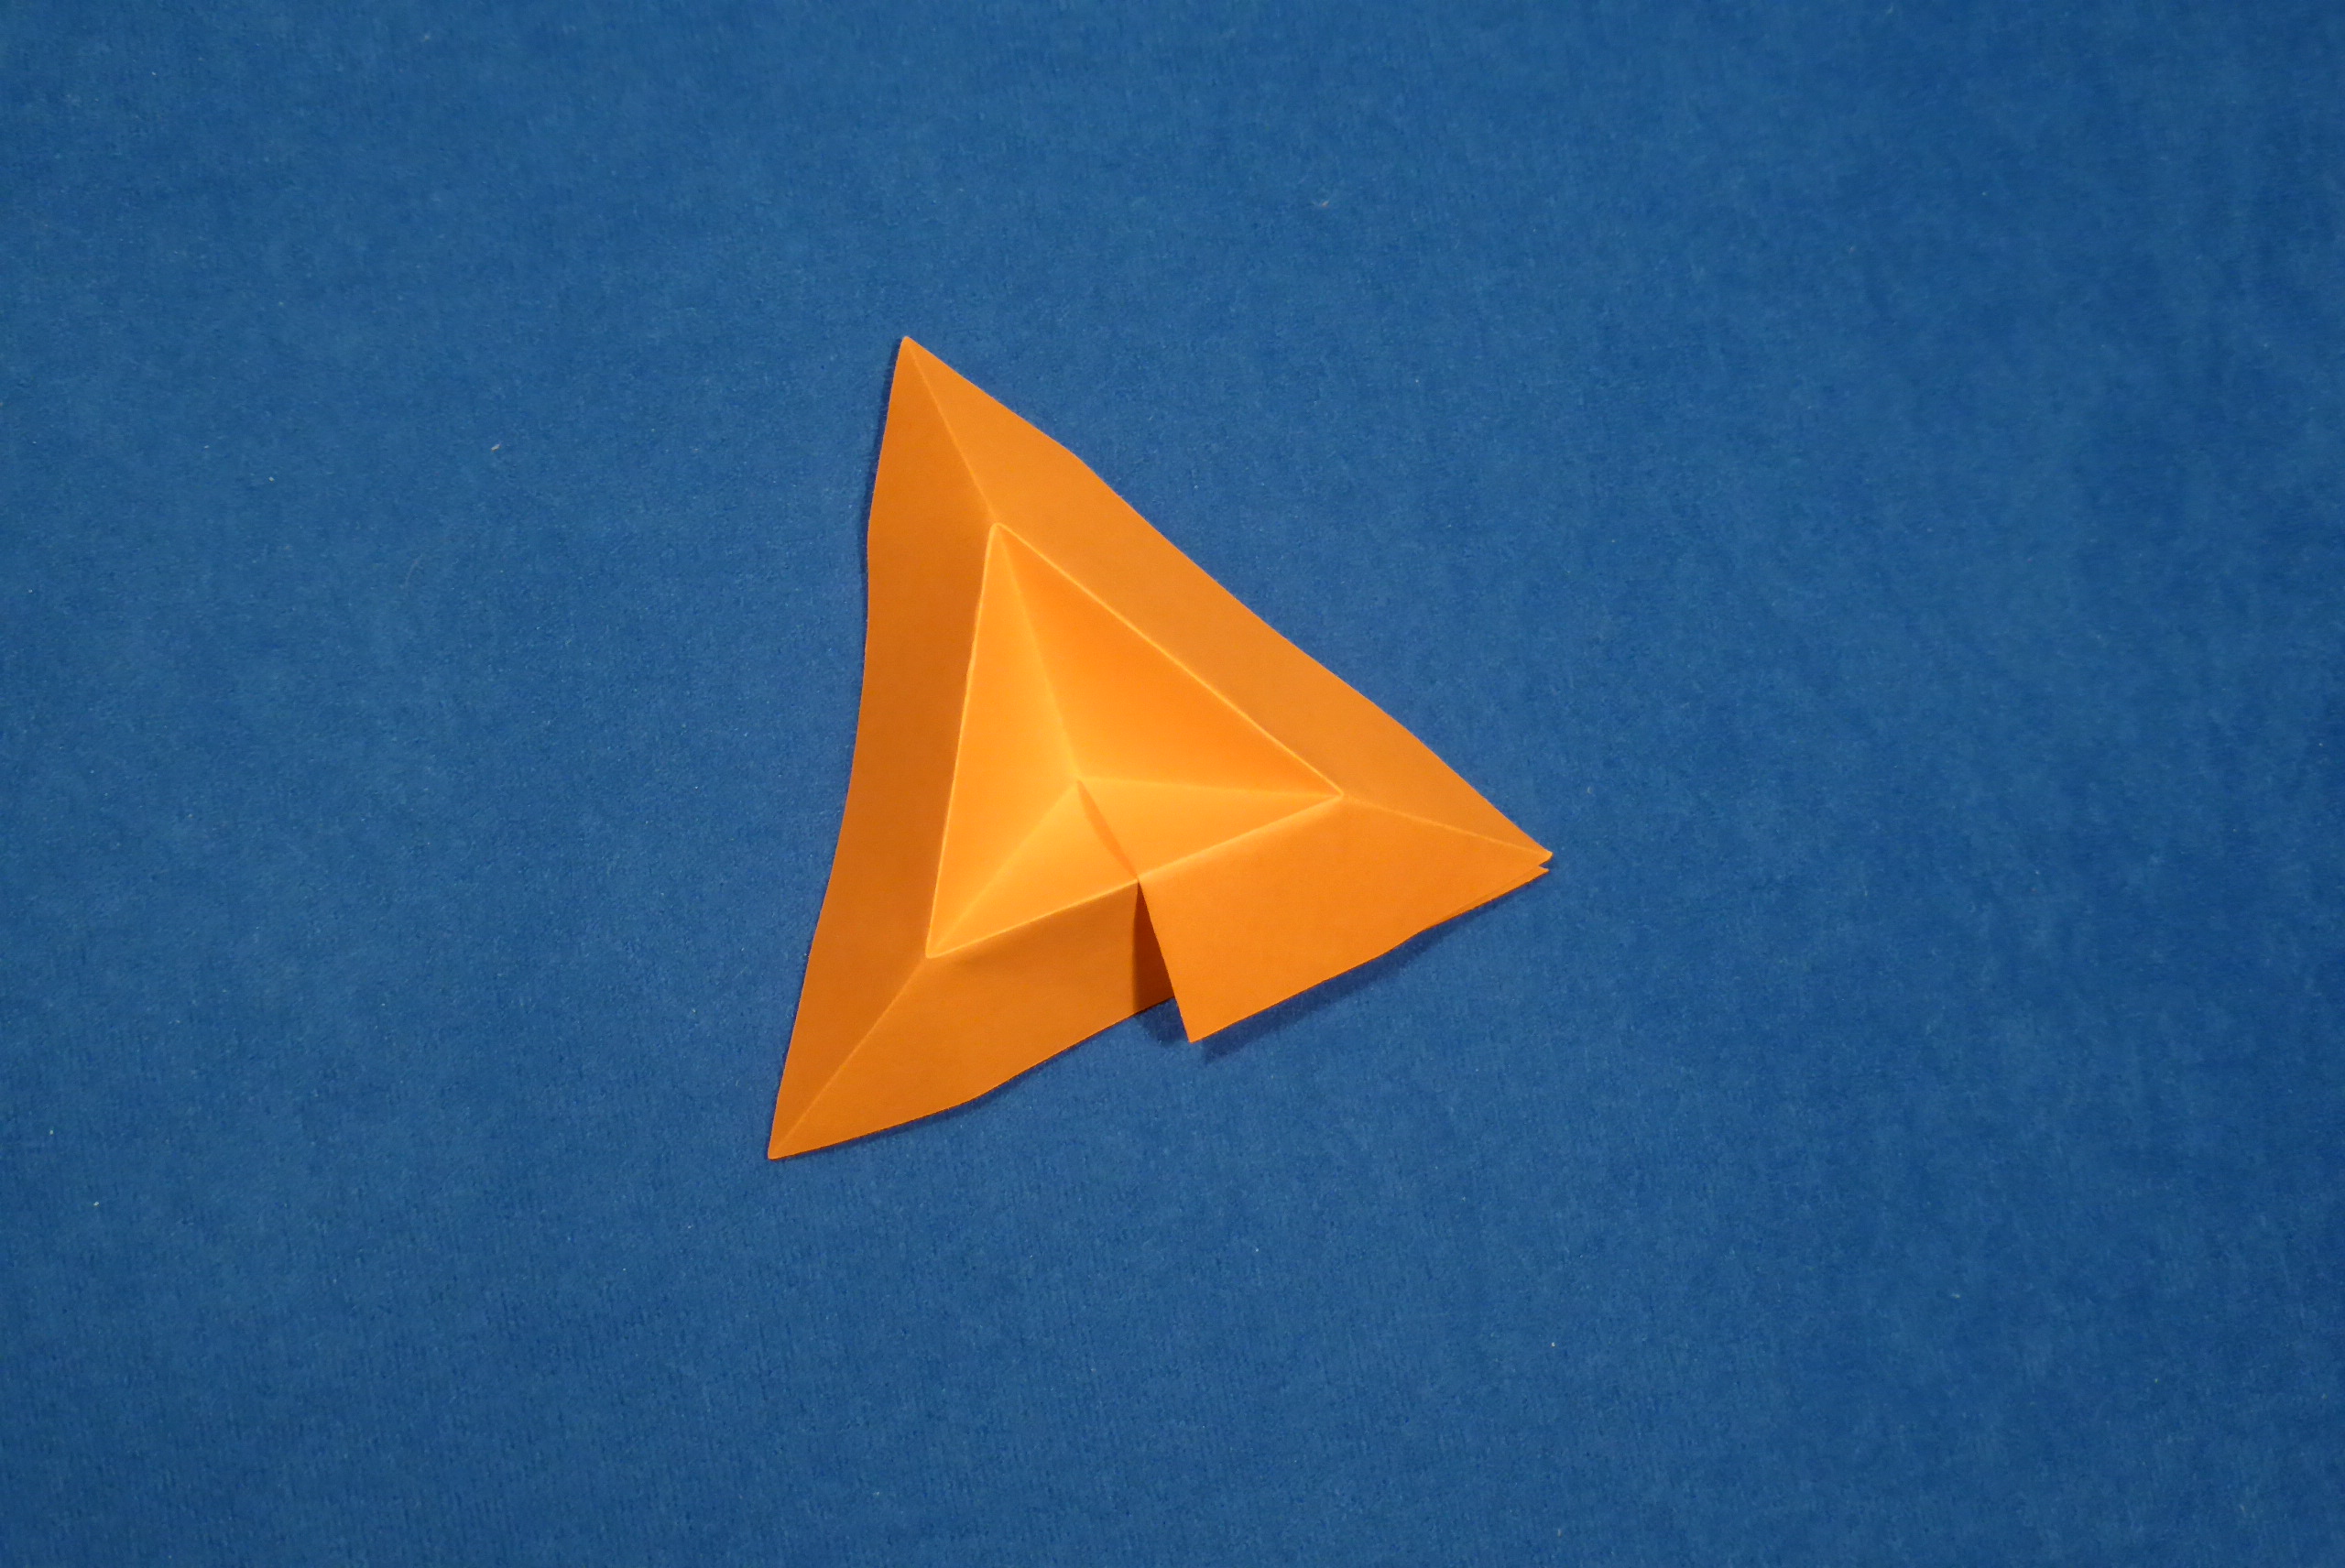
4b. View from the other side.
Just as in the regular vertex unit, in the sunken vertex unit the flap can be placed on either side of the unit so that it is hidden from view and so that
the big crease runs along an edge and not through the middle of the unit’s face. The module shown above (from both sides) will look well when seen
from the side the small pyramid’s tip lies, but displays an ugly crease on the opposite side. If the flap was folded to the other side, the big crease
would move to the other side as well.

Comments