There are two main ways of folding this model. When folding from a grid, one can create the twists one by one. Folding this way is quite pleasant and this is
the method I show during workshops, but it results in the grid being visible on bricks’ faces. The other method is first constructing a clean precrease and
then collapsing it by pushing the whole model together. This method requires more work but results in a model whose bricks have no unnecessary creases on the
front side and only a few extra creases on the back. The pictures below show how the clean precrease can be constructed using only origami methods and then
collapsed into its final form.
Thick paper (80-120 gsm) is recommended for this model, especially for the clean collapse. Without enough stiffness, it may be very difficult to get the
collapse right. The model shown here was folded from a 24 cm sheet. At this size, the central part was quite difficult to reach with my hands as I was trying
to put the creases into the correct mountain-valley assignment. Even though usually folding with a larger grid size makes a model easier to fold, in this case
perhaps a smaller sheet (20 cm or so) would be easier to collapse.
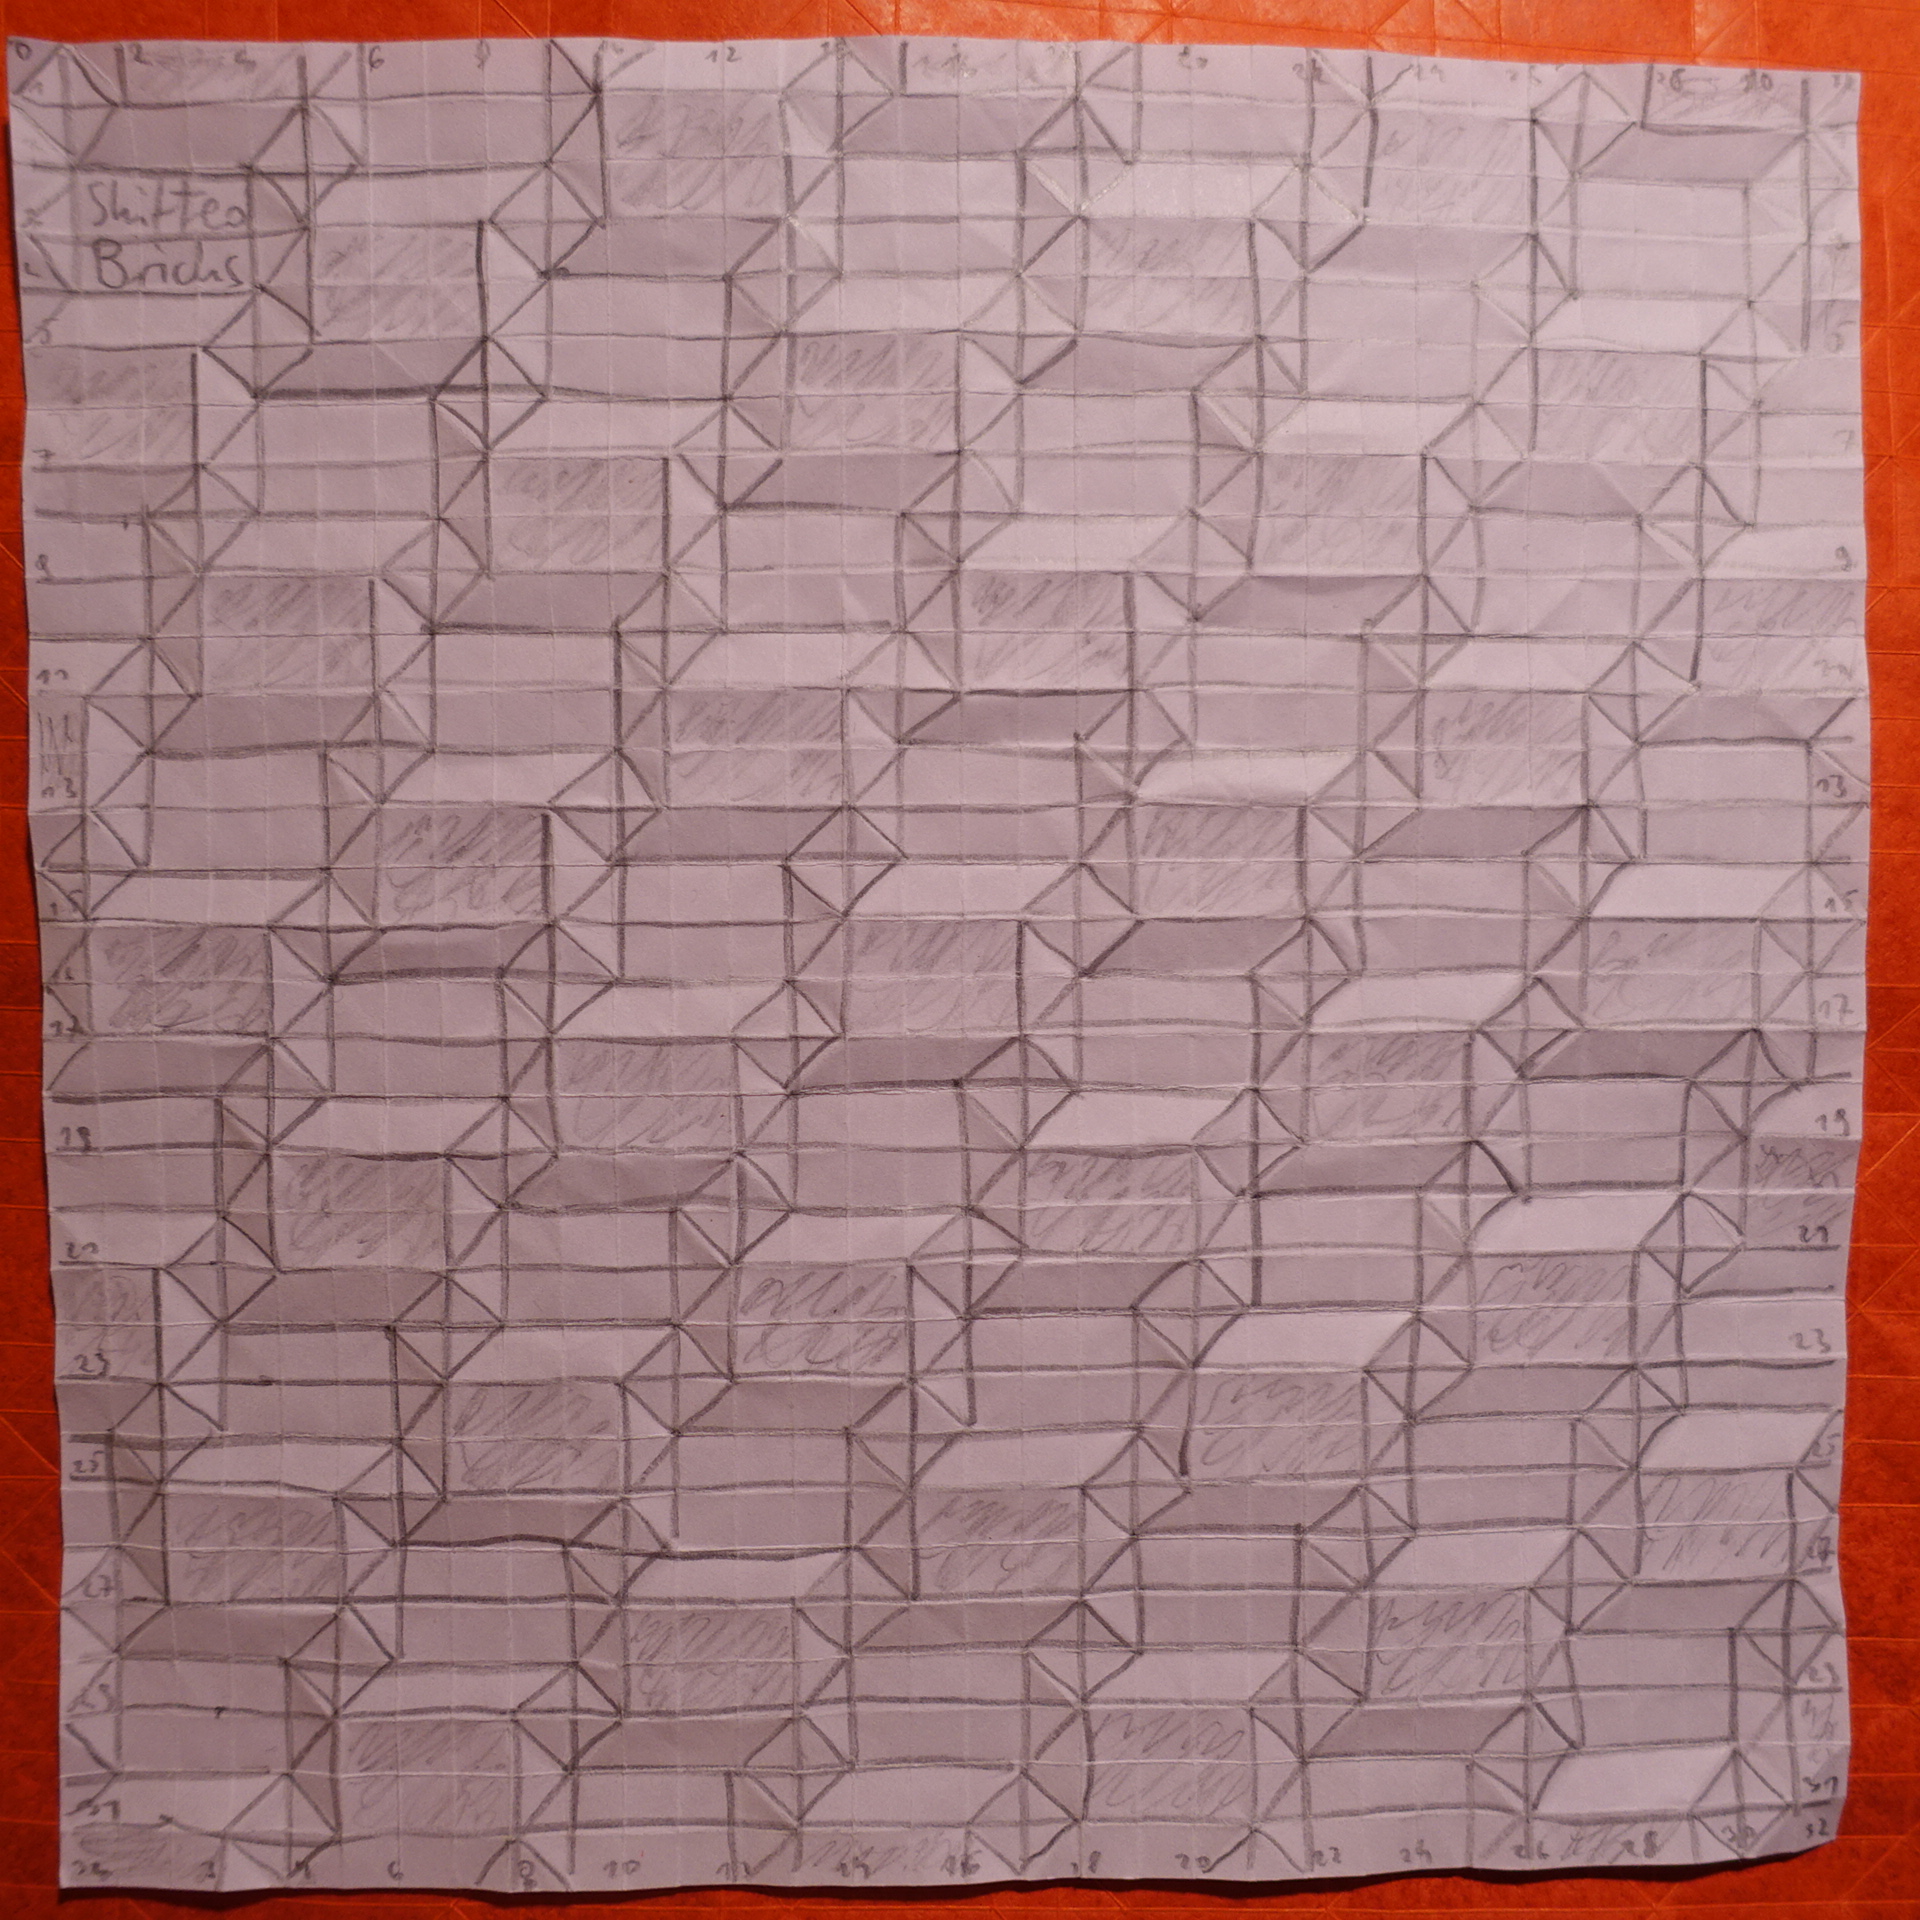
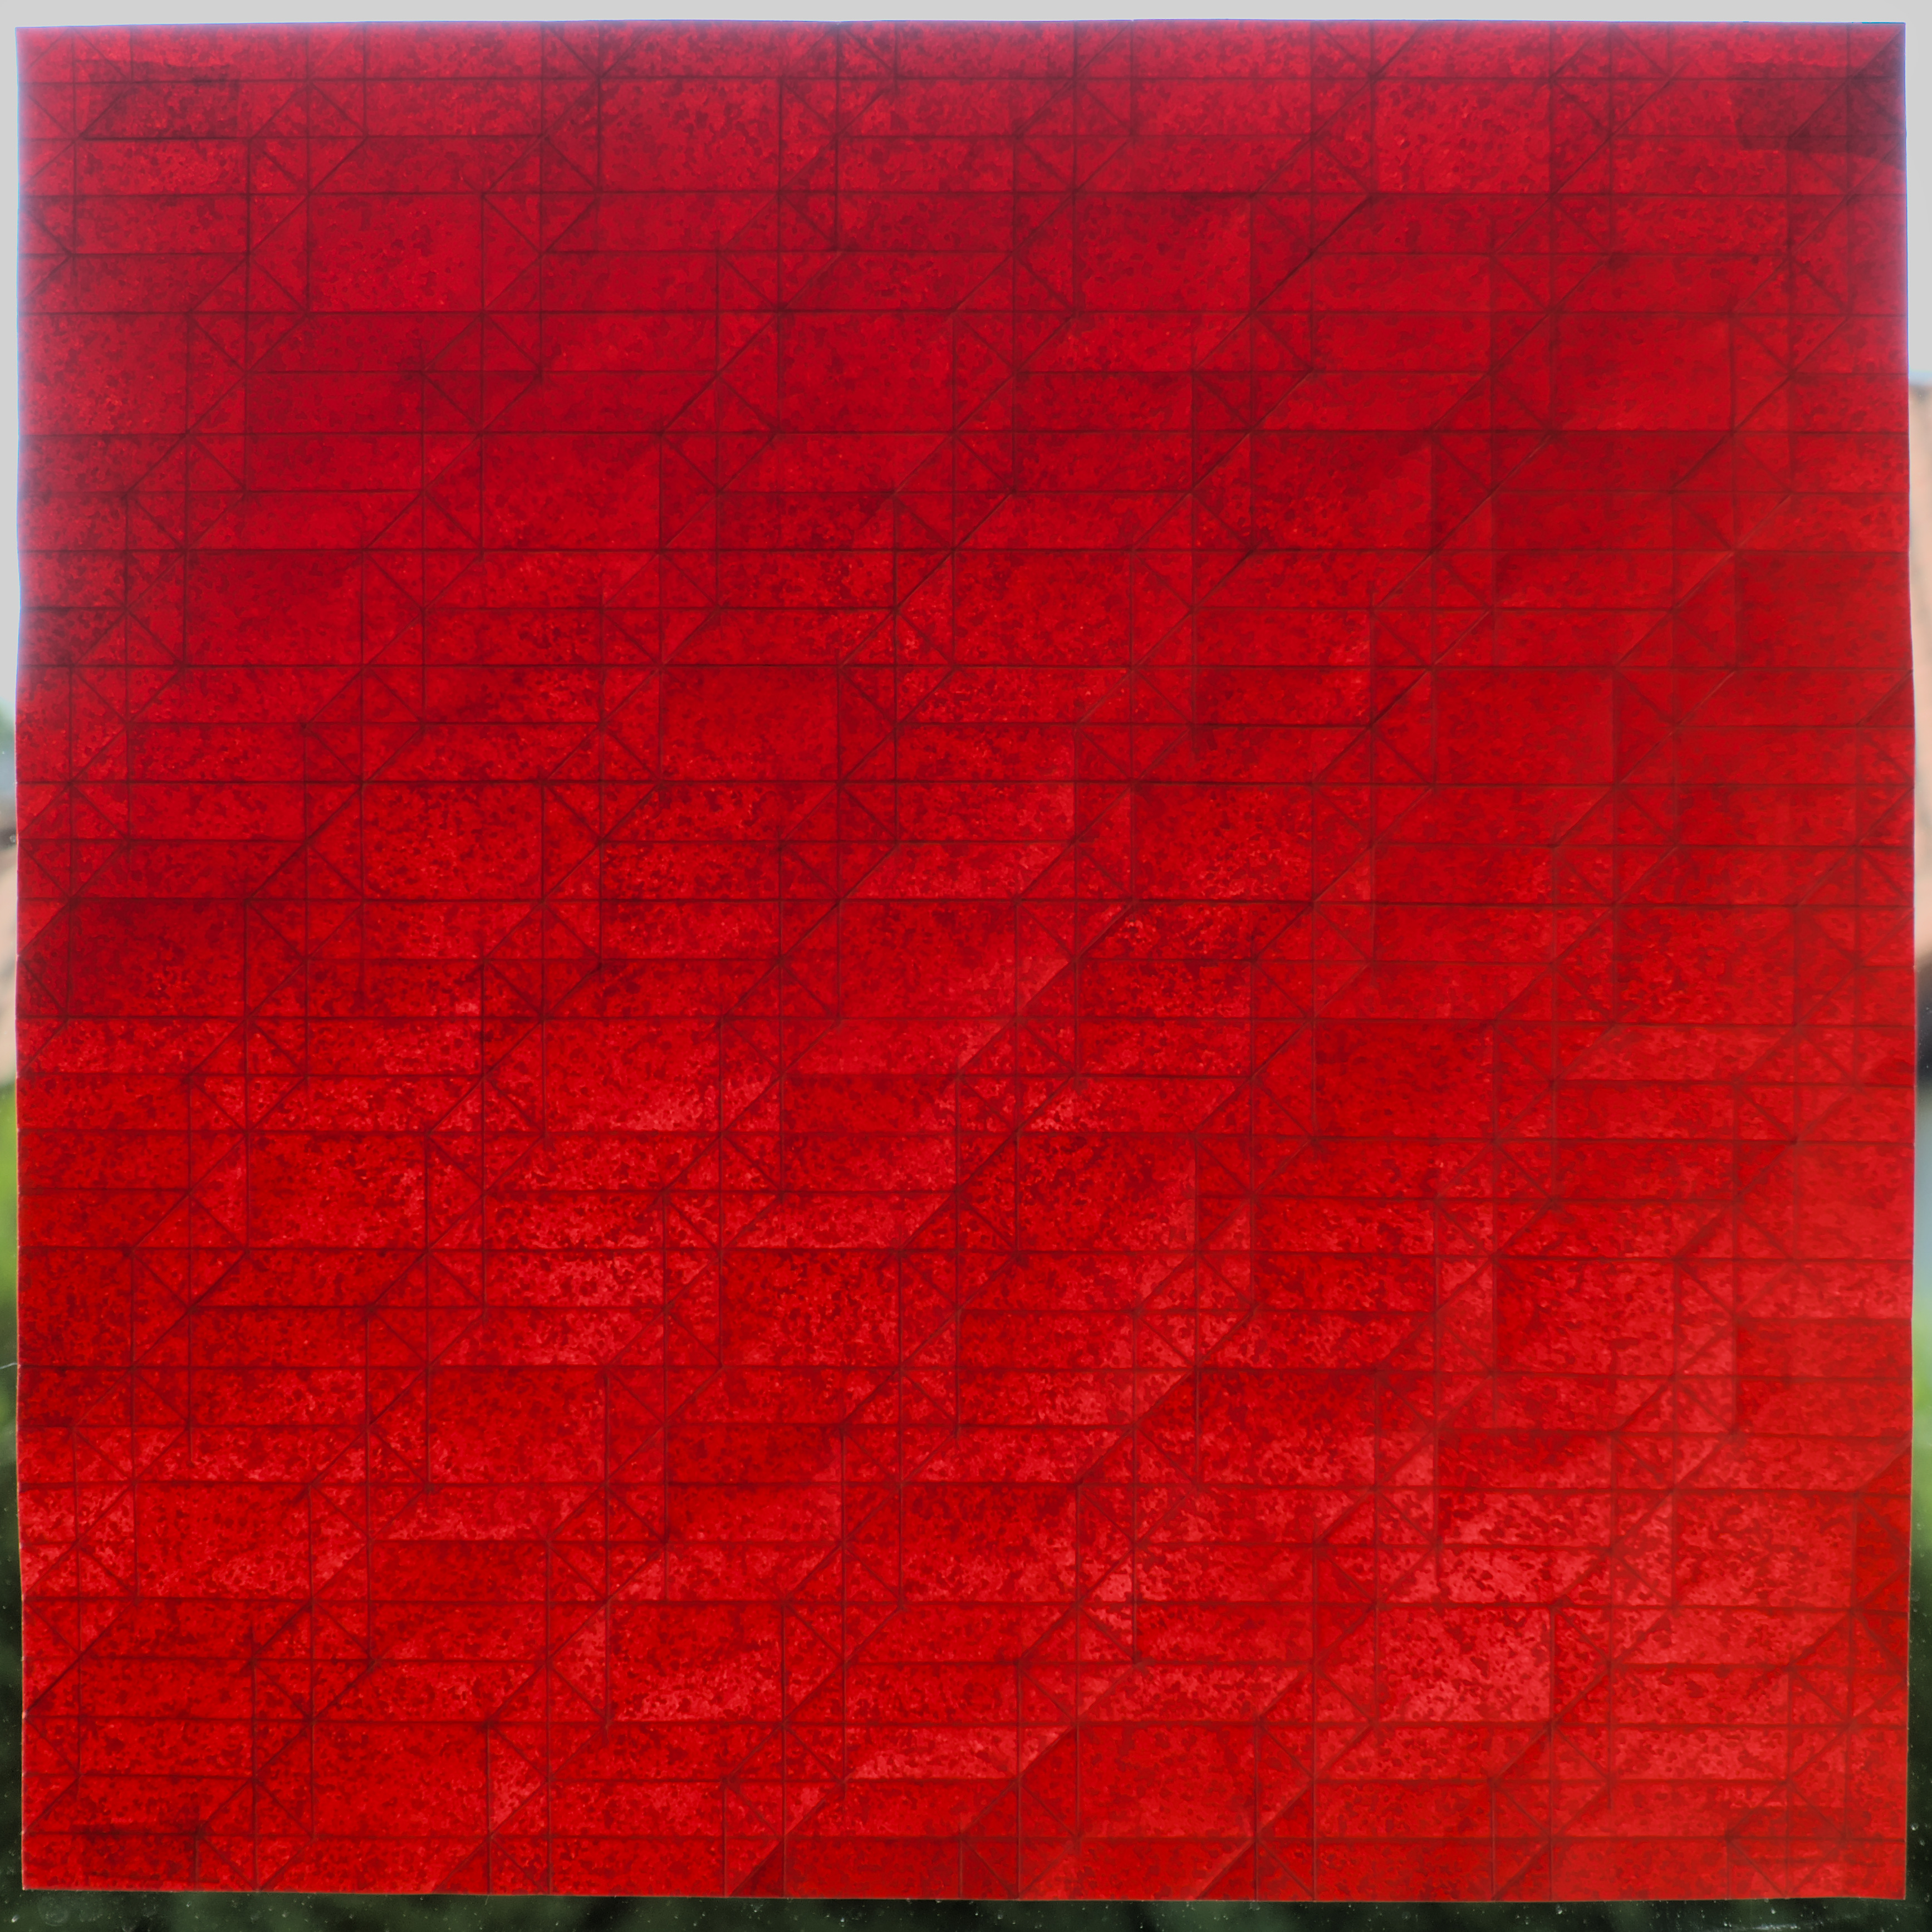
1. The precrease pattern of the model, for 32×32 grid. Starting with a 16×16 grid is a good exercise to start with.
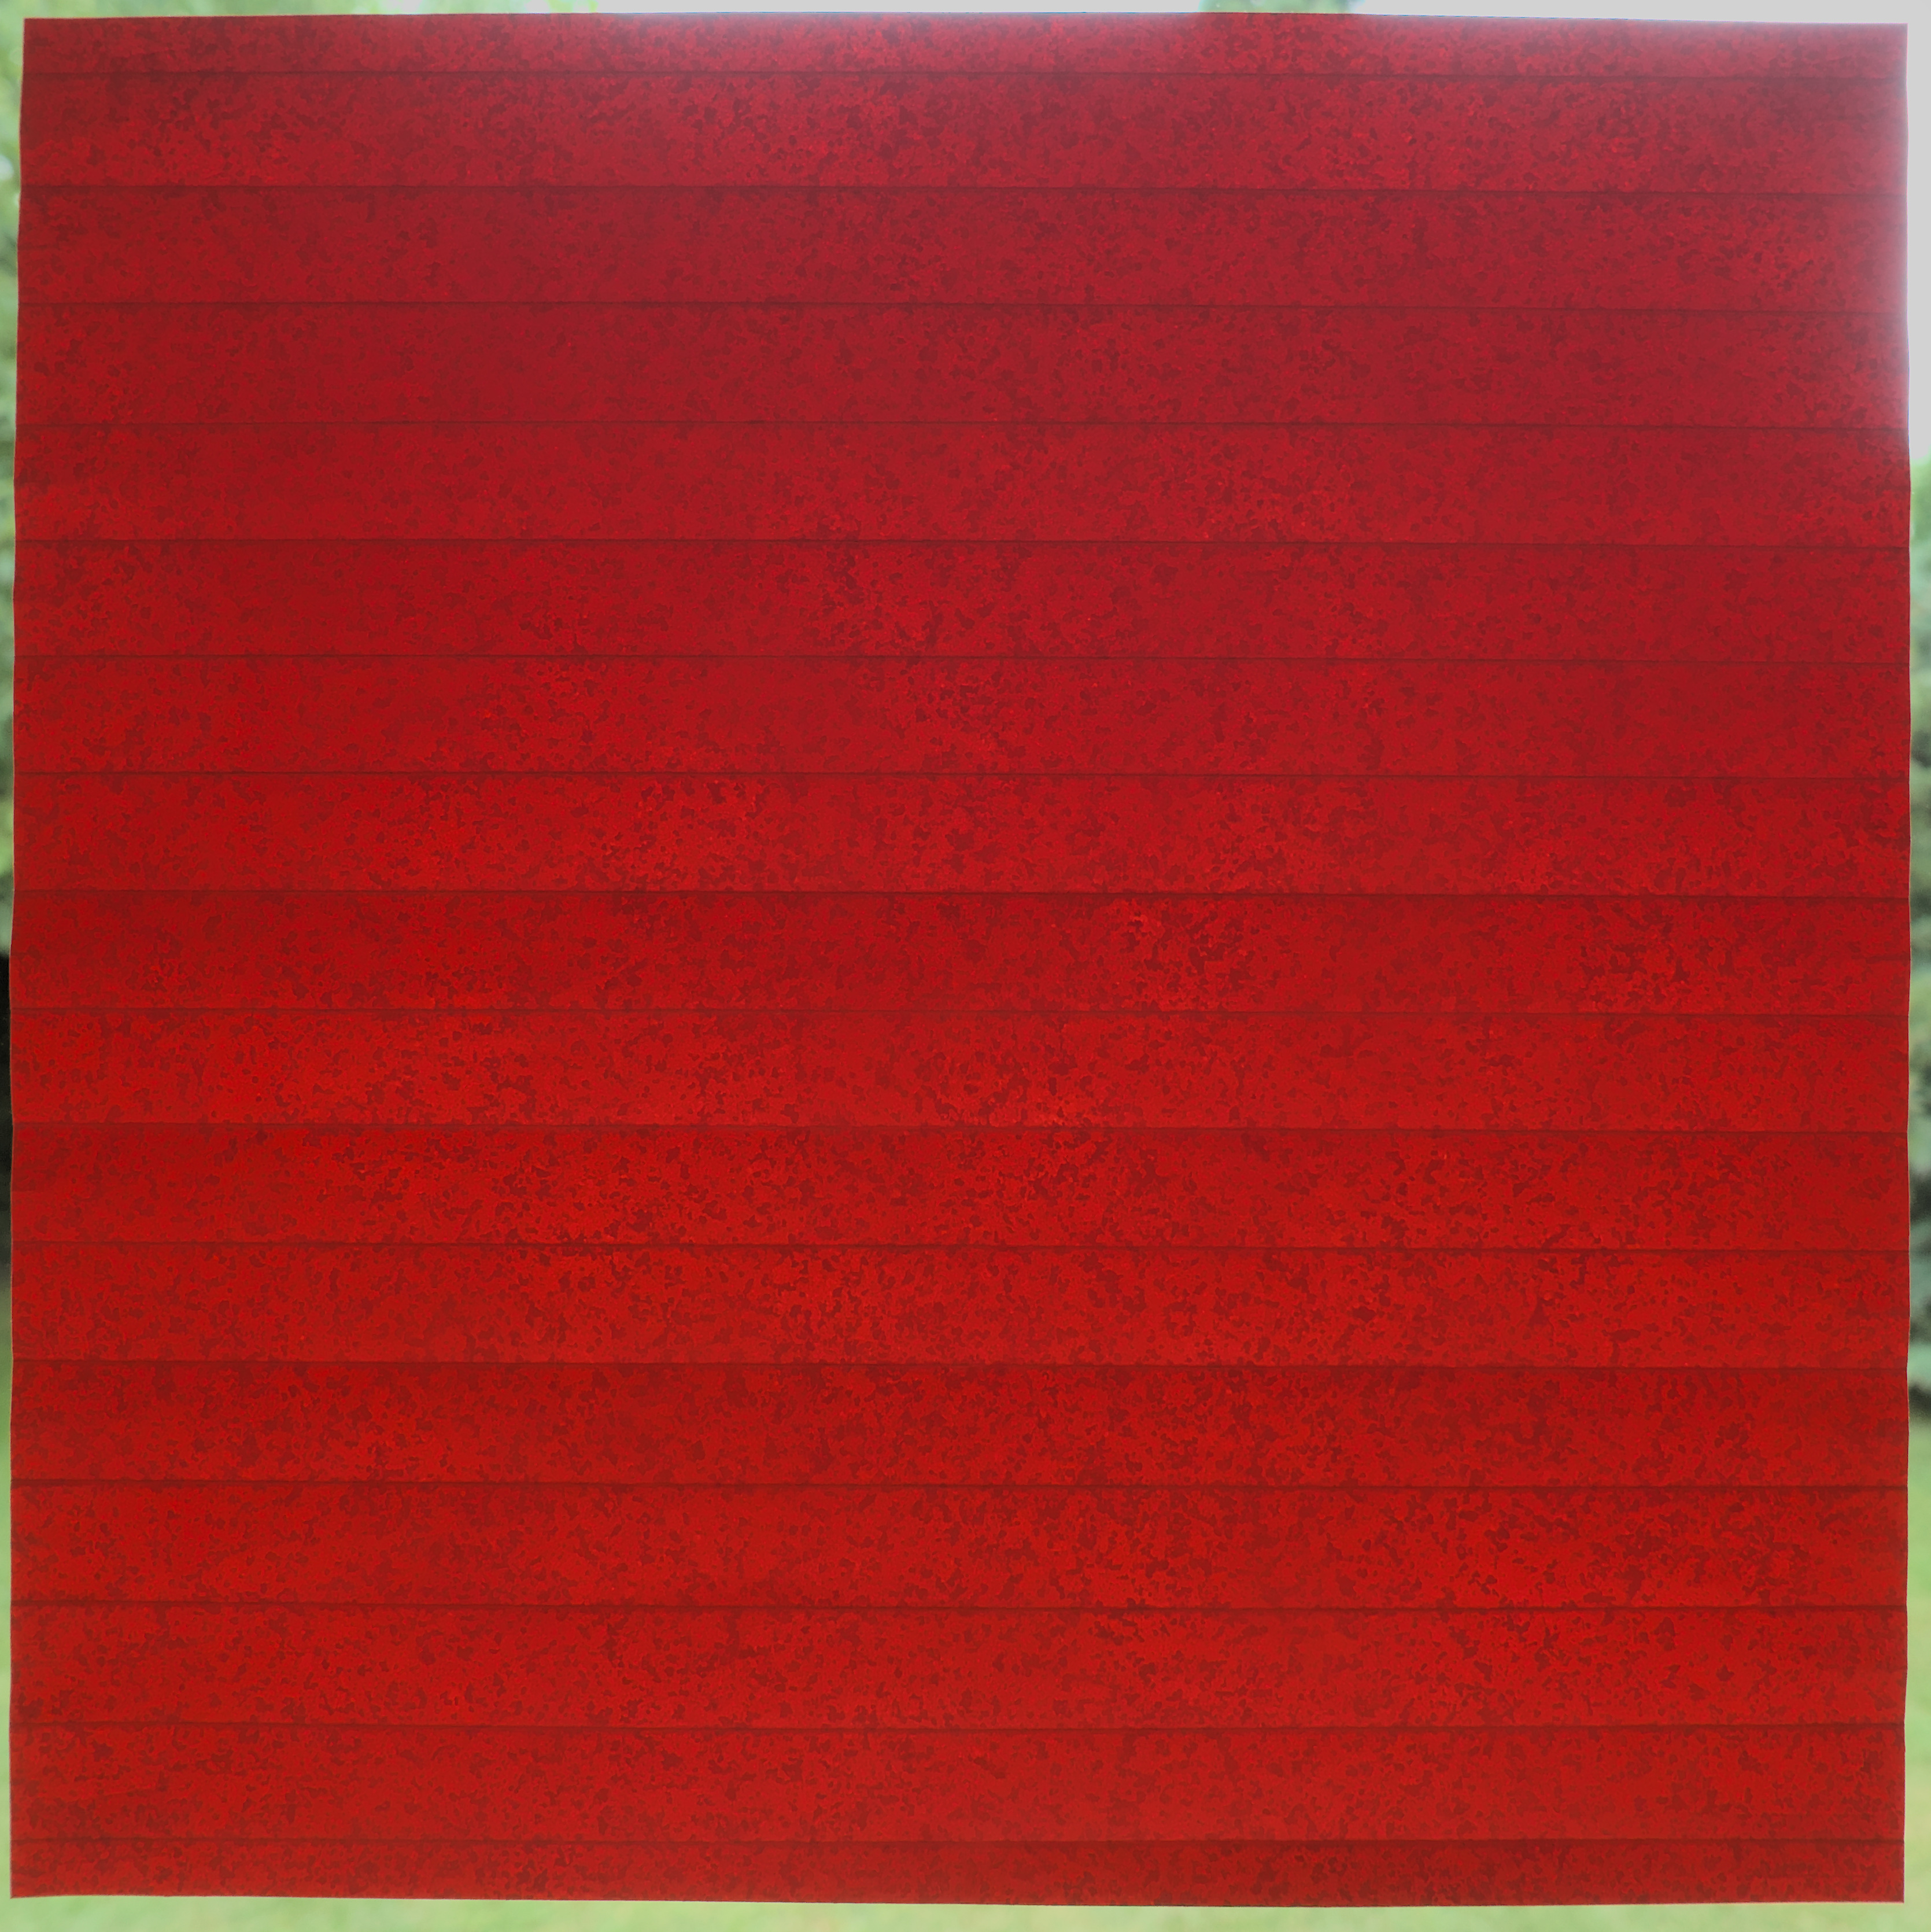
2. Start by precreasing the horizontal lines at 1, 3, 5, … grid units from top edge. Make pinches at the easy to construct divisions at 16, 8, 4, 2, etc. first, then at all even coordinates. Given those, creases at odd coordinates will be easy to make.
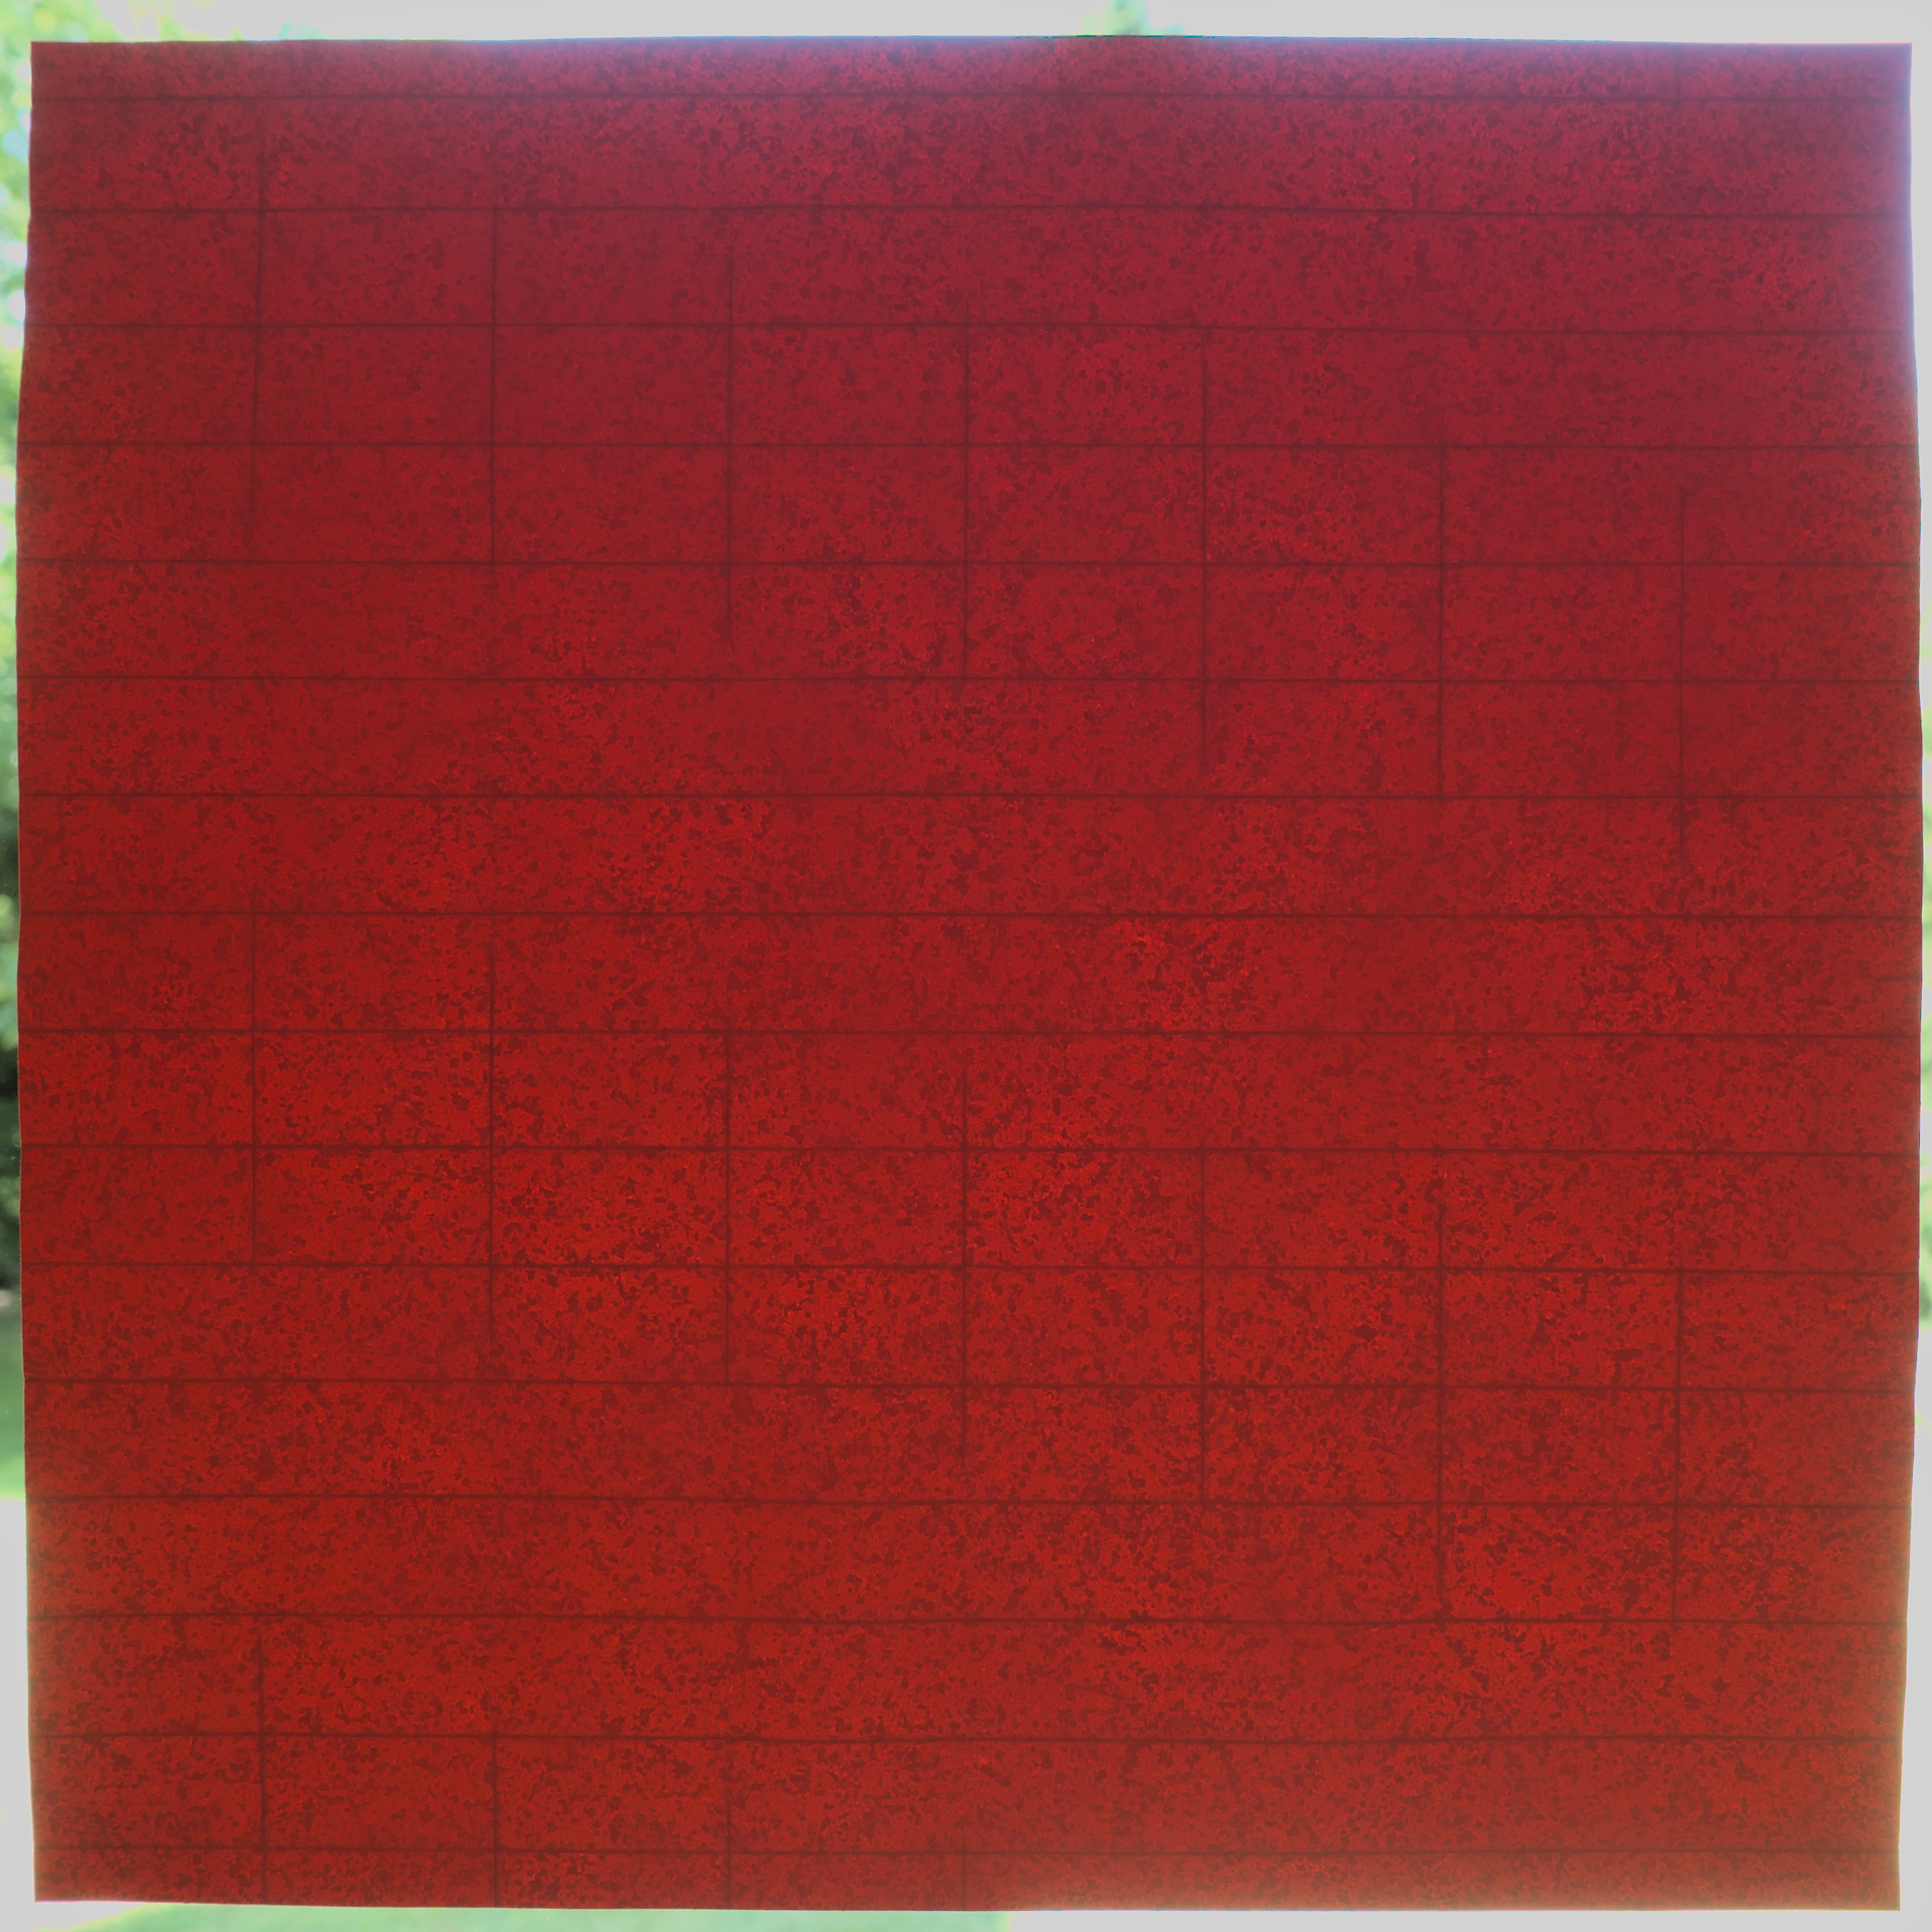
3. Crease the vertical segments every 4 grid units, starting from 16, 8, 4, etc. Each one is 6 grid units long, so it goes through 3 horizontal stripes.
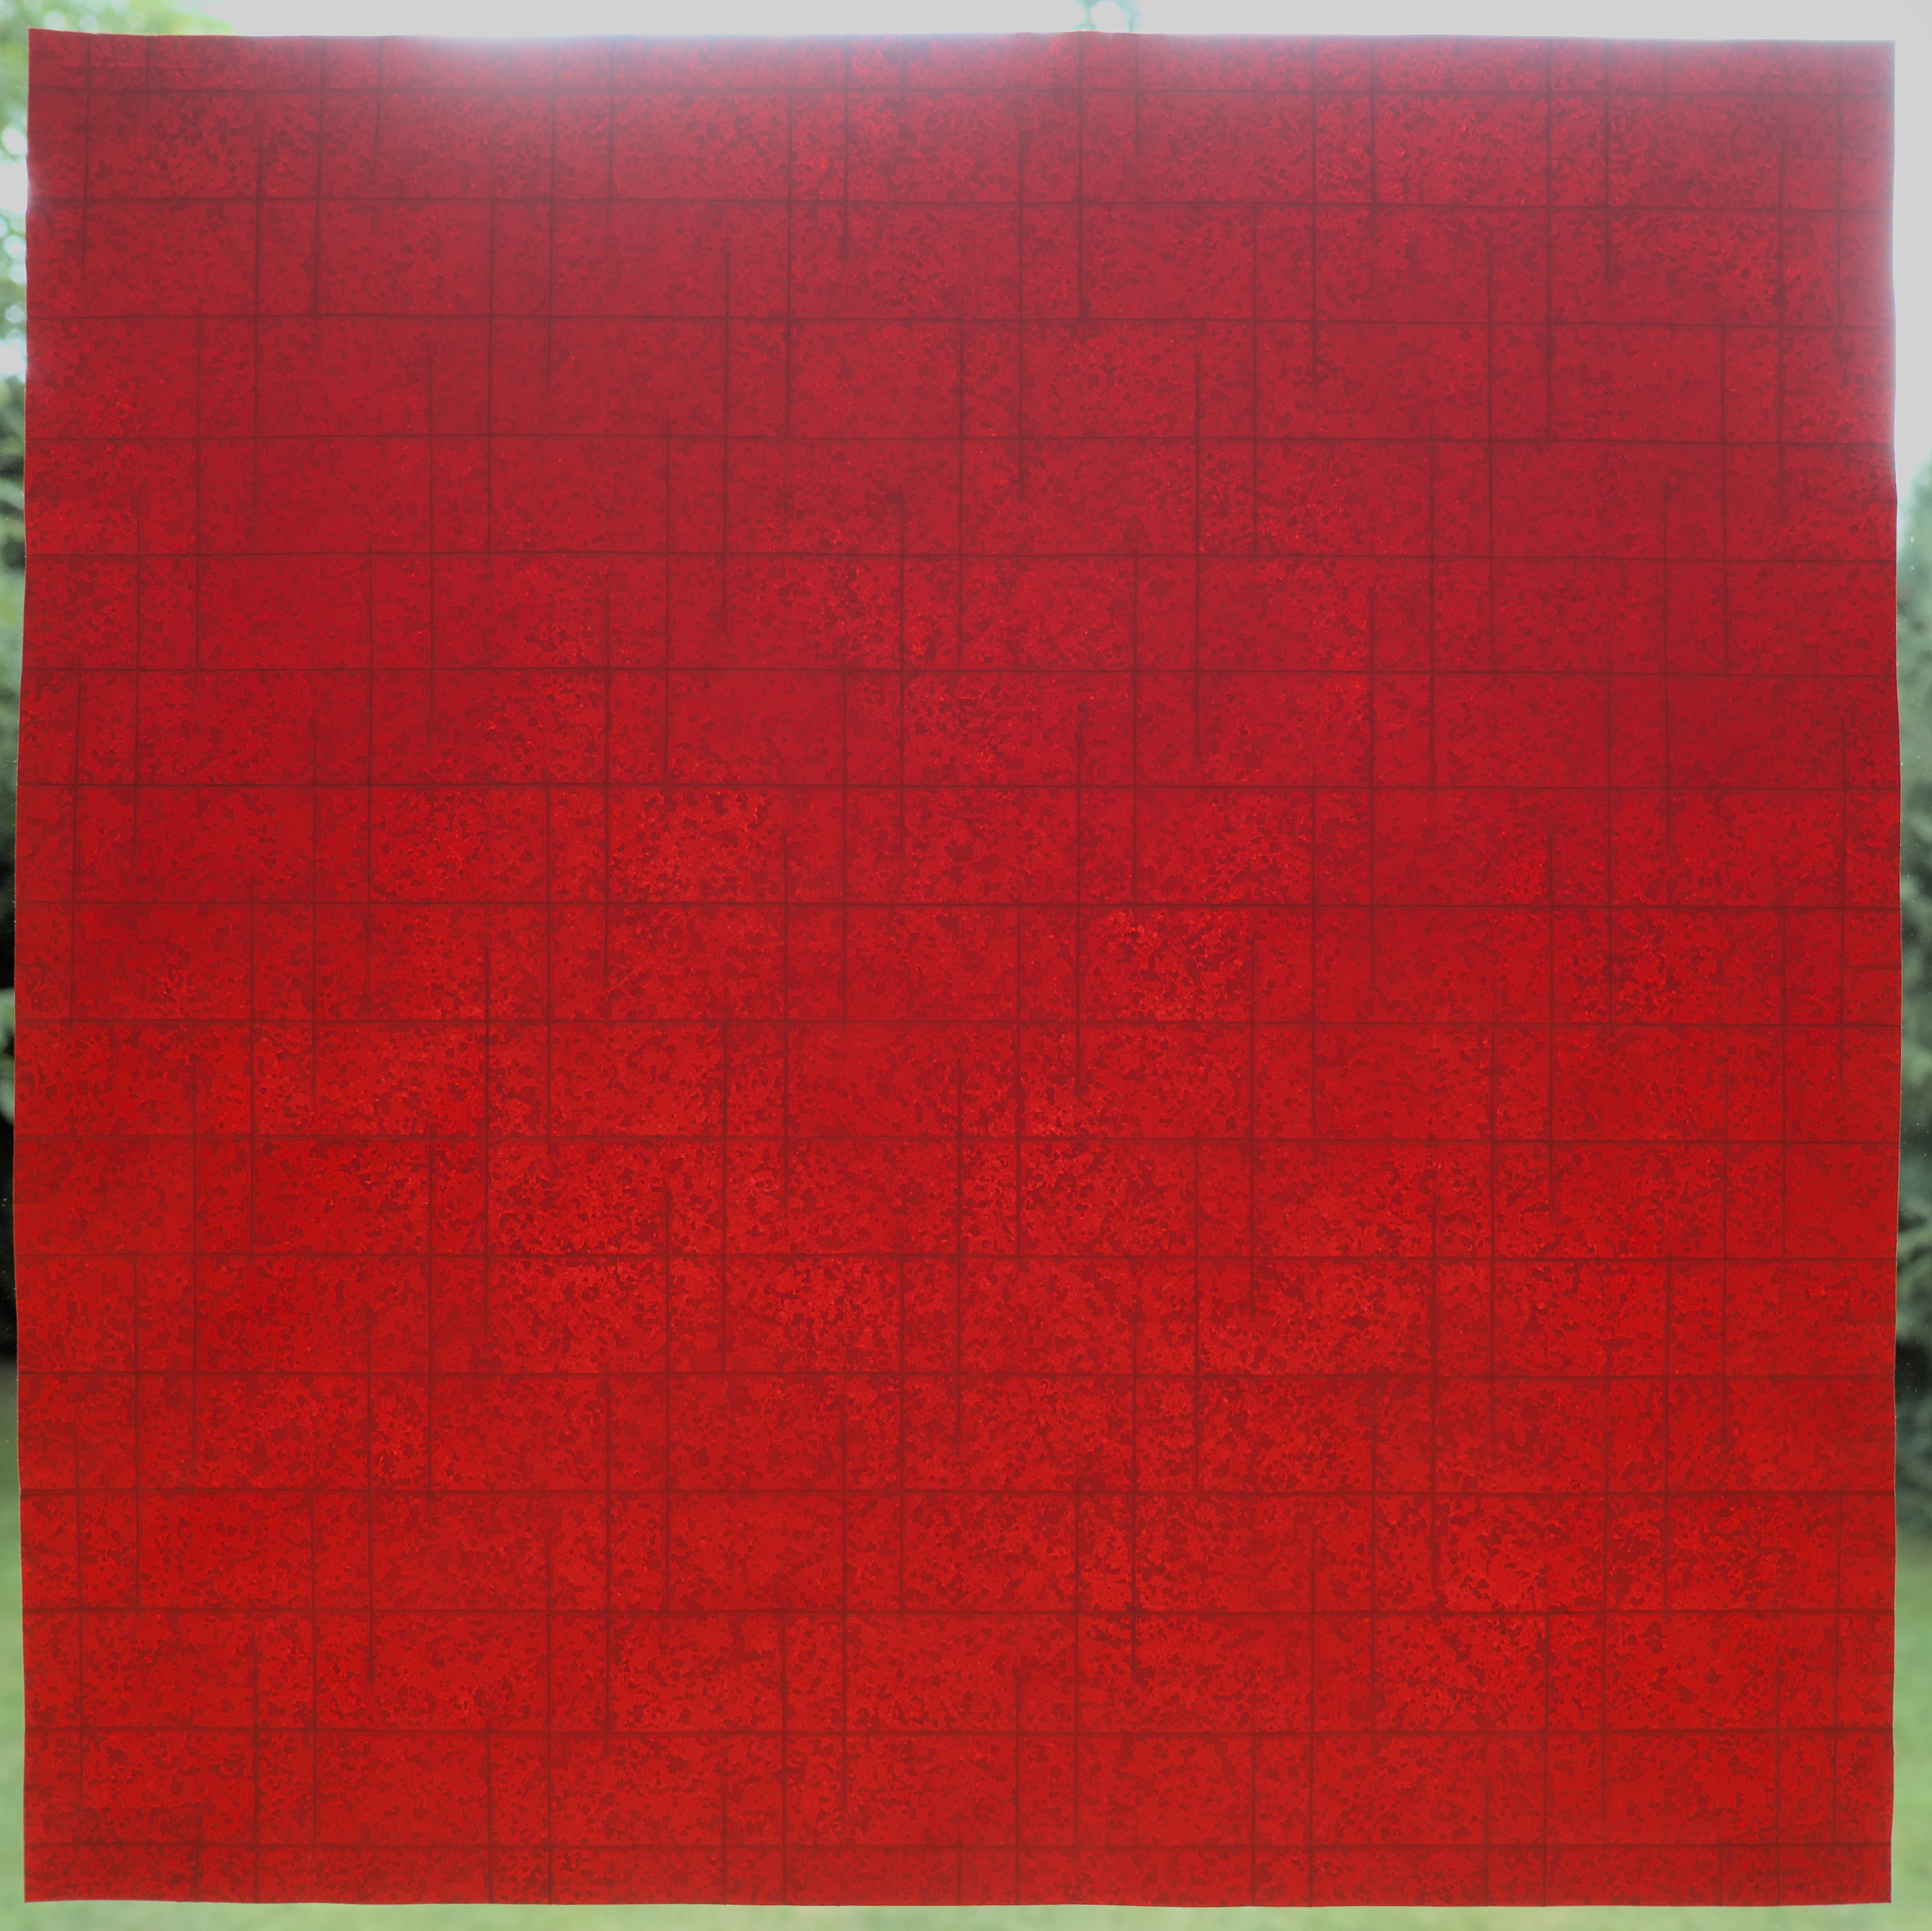
4. Crease more vertical segments of the same length. You can find their horizontal position by dividing the distance between creases from previous step in two, and then in two again.
5. Add horizontal segments halfway vertically between the long creases.
6. Add diagonal creases. The picture shows work in progress, with the last creased row to the right having only the right-slanted creases and the rows to its left also having the short left-slanted creases.
7. Finished precrease.
8. Collapse as shown. This is an iterative process: you first try to put the creases in the right parity and then gently squeeze and wiggle the model around until everything falls into place. The 32×32 version is hard to collapse because the central part is hard to reach due to being far away from the edge. 16×16 from a smaller sheet should be much easier.
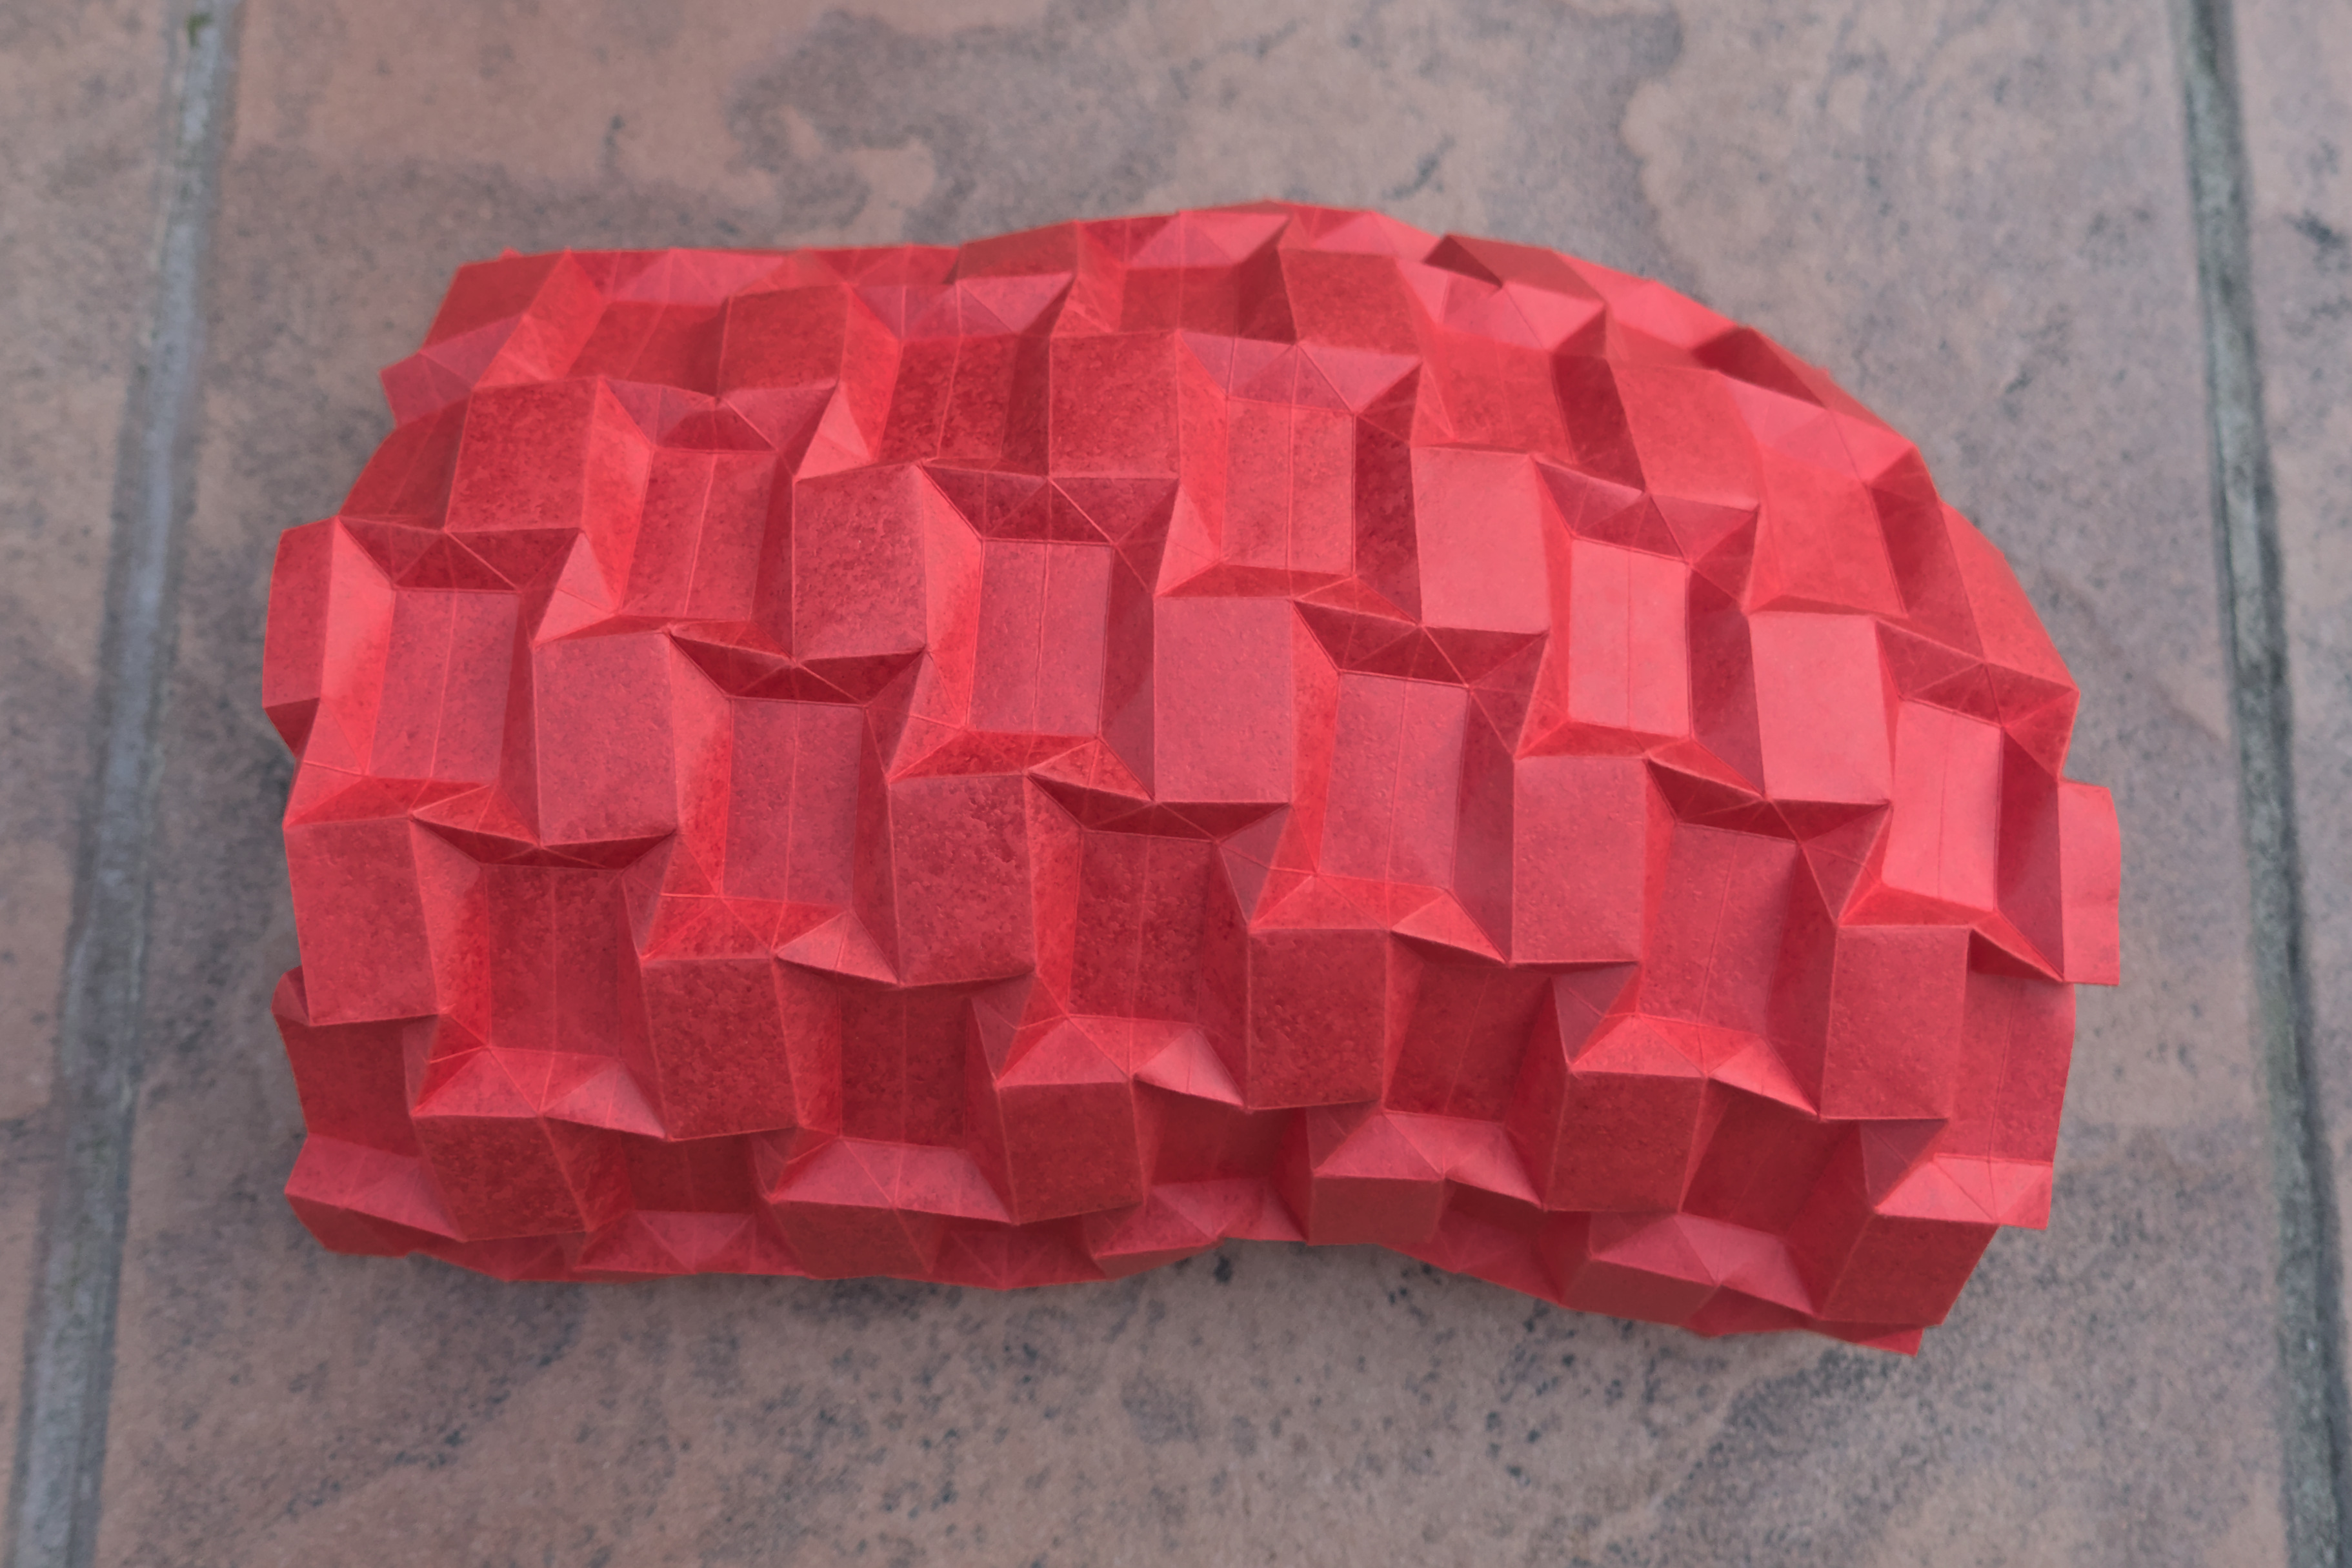
9. Finished model.


Comments