PVM Edge Connector and Big Edge Connector

Instructions
Back to Pyramid Vertex Module (PVM)

Usage example: Large Cube
Images are licensed under the Creative Commons Attribution-NonCommercial 4.0 International License

See other sections of this tutorial for instructions on folding other unit variants.

Edge Connector makes it possible to join two Vertex Units, creating an additional edge between them. This creates models which have more free space between units.

Edge Connector

Step 1
1. Start with a square piece of paper. Pleat into fourths along both directions.
Step 2
2. This is the beginning of a squash fold.
Step 3
3. Squash fold as seen in the image.
Step 4
4. Repeat the squash fold three more times.
Step 5
5. Reverse fold the two triangles on the left and on the right. The result is quite many layers of paper which will be able to squeeze and hold other modules later on.
Step 6
6. Fold in half along the middle crease.
Step 7
7. Vertex units go into the two pockets located at the ends of the connector unit. Due to the many layers of paper found inside, connectors hold the vertex units quite well even though the pockets have slits on the inside which make them weaker.

Big Edge Connector

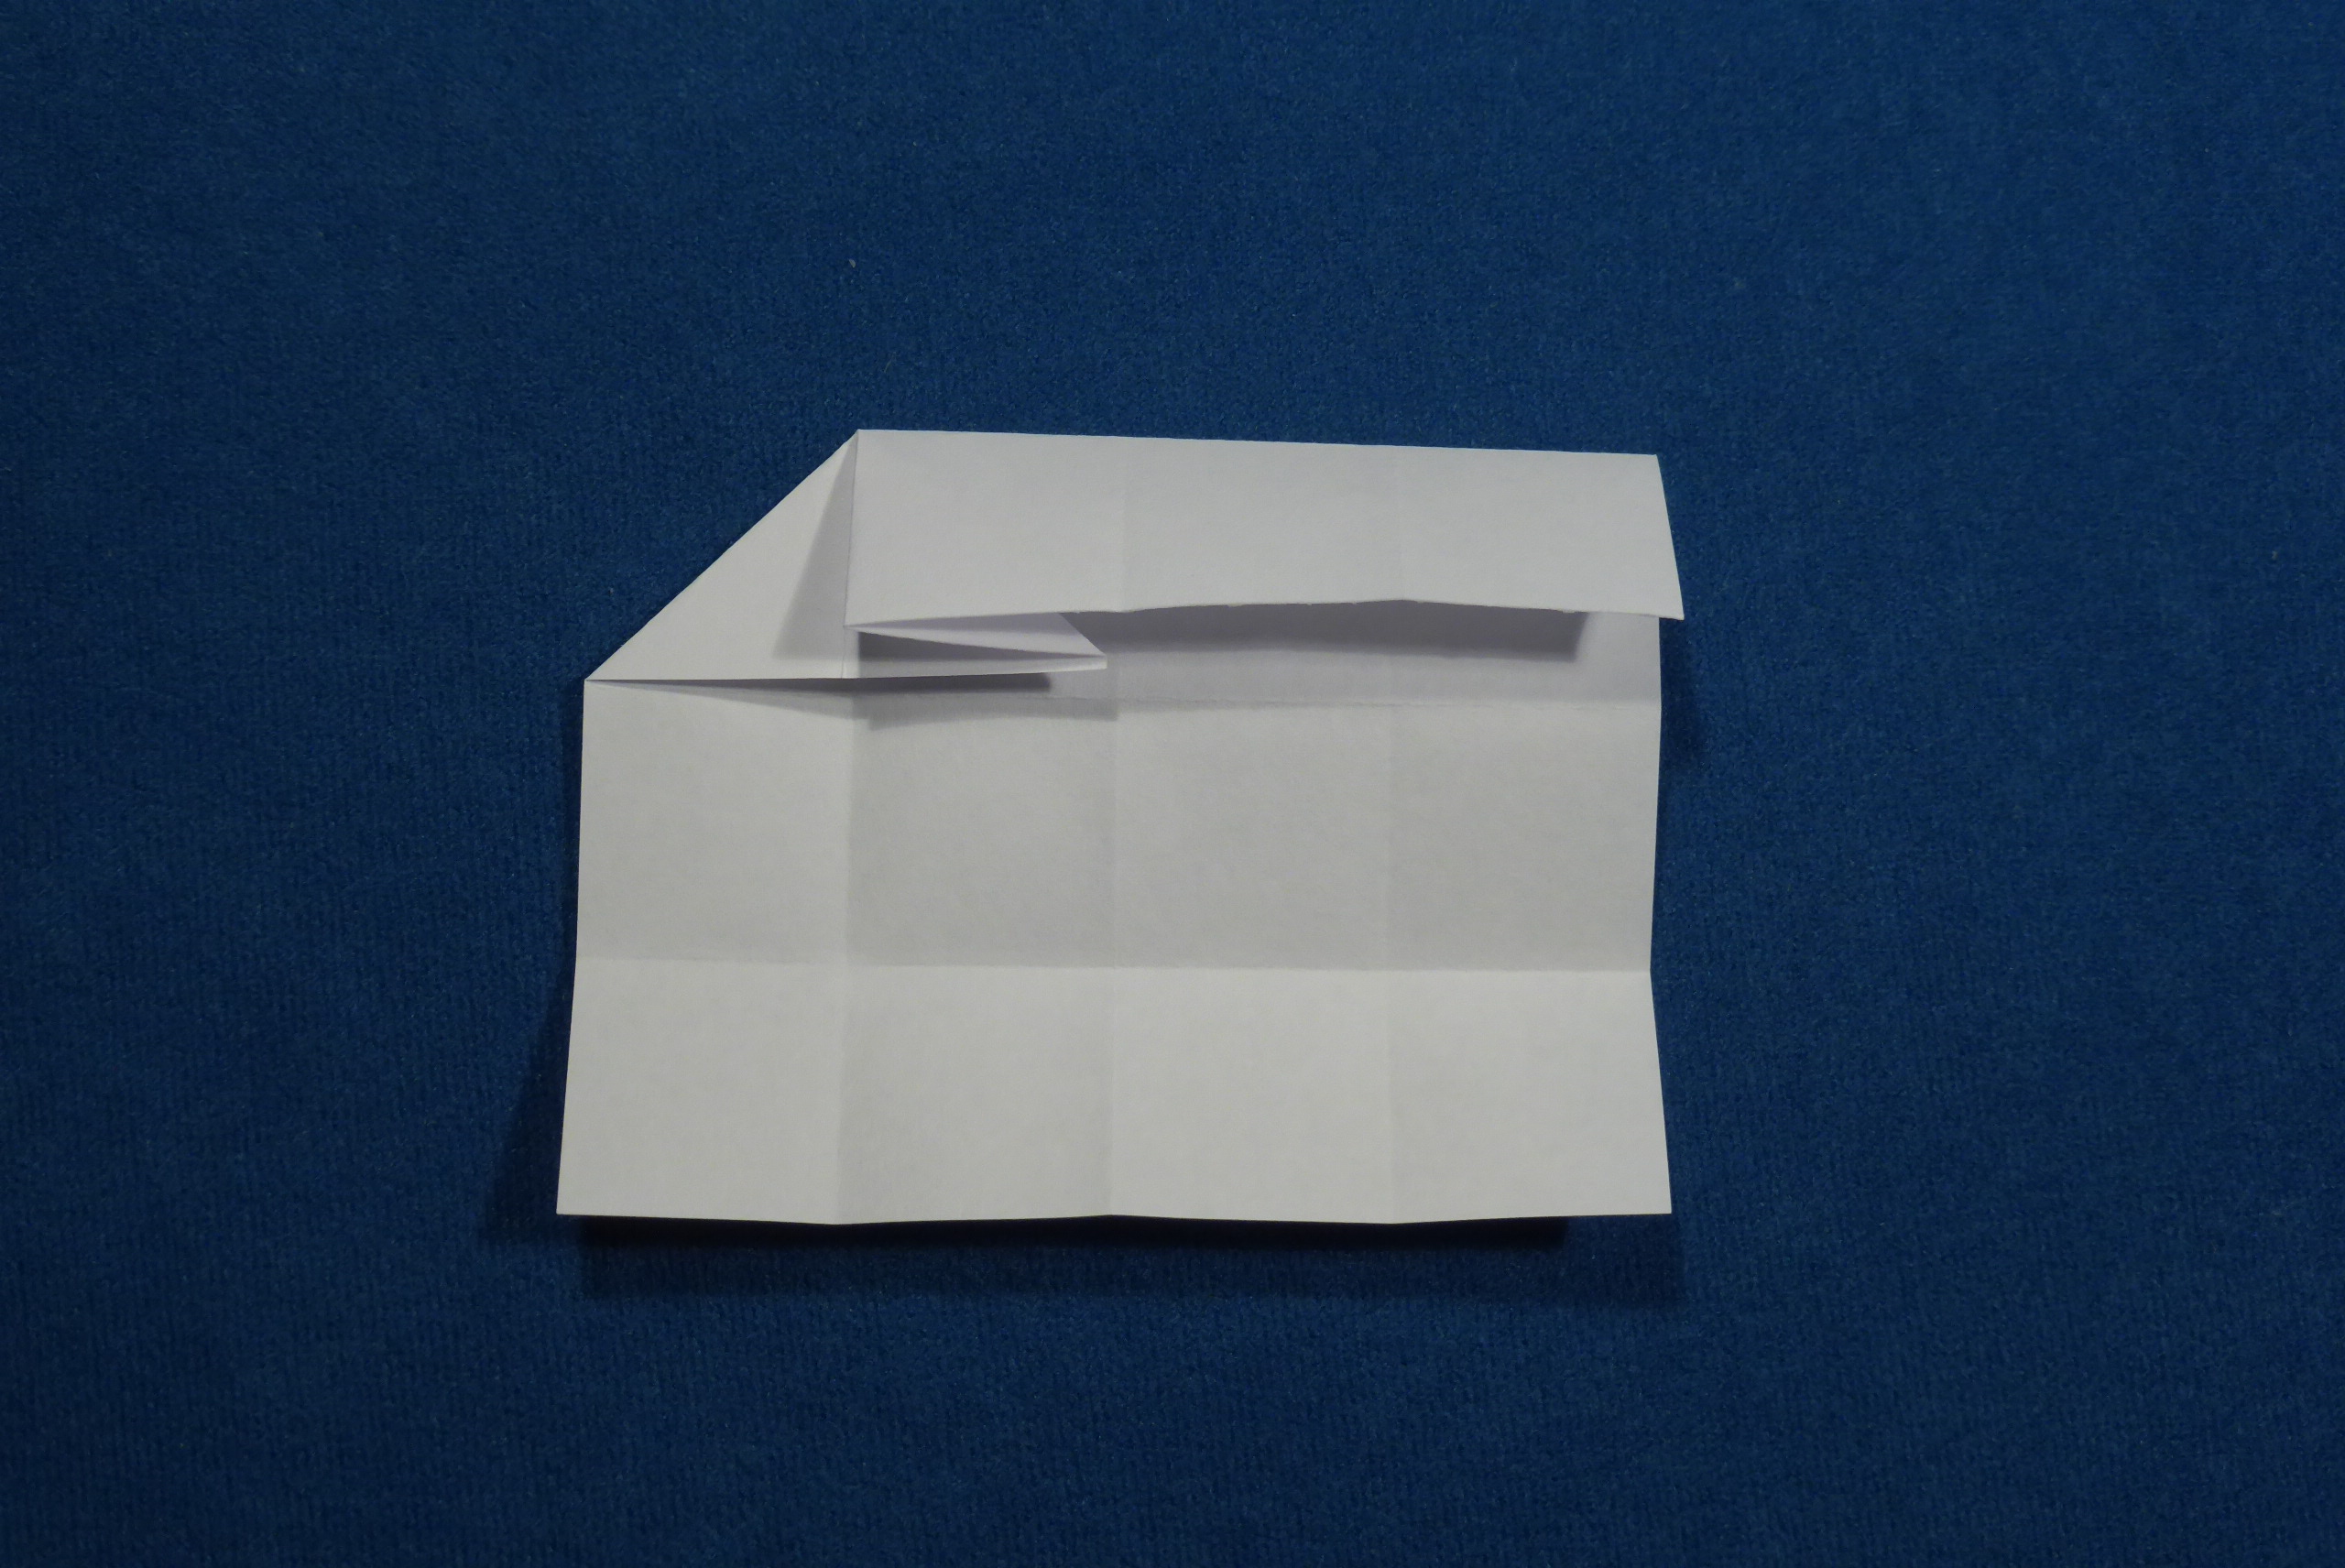
The first four steps are identical as in the regular edge connector.

Step 1
1. Start with a square piece of paper. Pleat into fourths along both directions.
Step 2
2. This is the beginning of a squash fold.
Step 3
3. Squash fold as seen in the image.
Step 4
4. Repeat the squash fold three more times.
Step 5
5. Fold in half along the long axis and you’re done. This variant is larger but creates a somewhat weaker link than the regular edge unit.

Published:

Comments