PVM Cubic Connector

Instructions
Back to Pyramid Vertex Module (PVM)

Usage example: Cube
Images are licensed under the Creative Commons Attribution-NonCommercial 4.0 International License

See other sections of this tutorial for instructions on folding other unit variants.

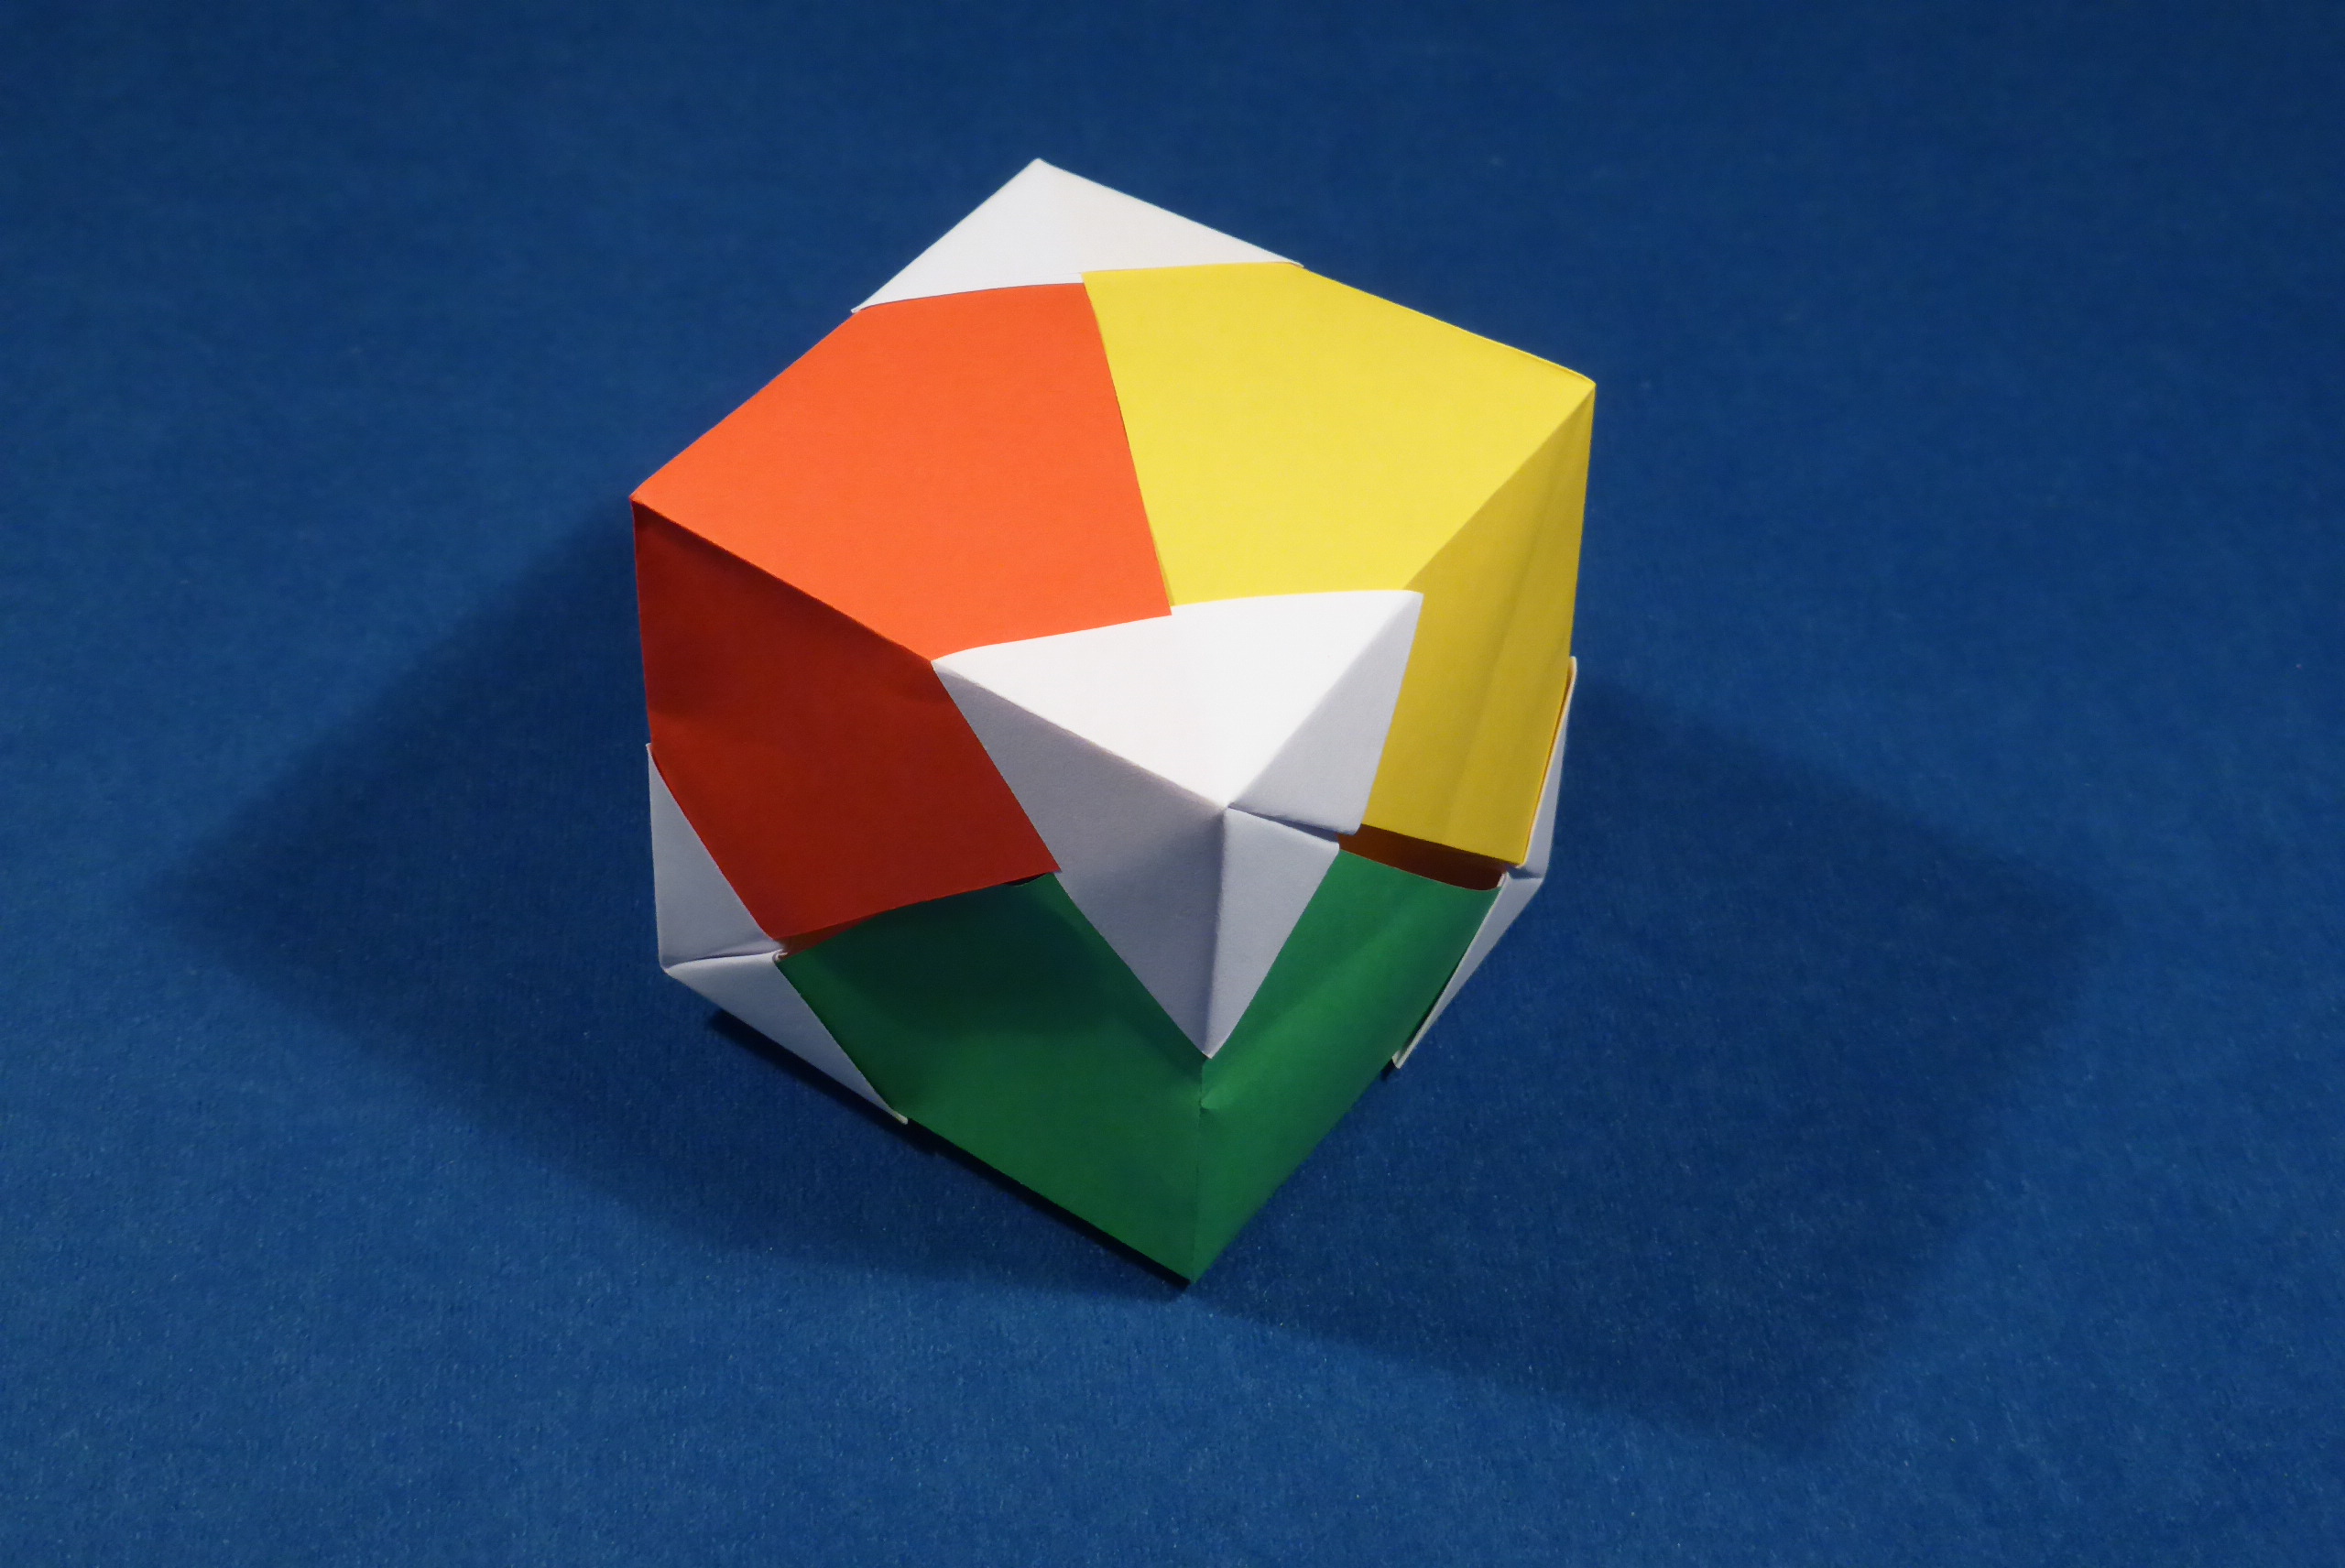
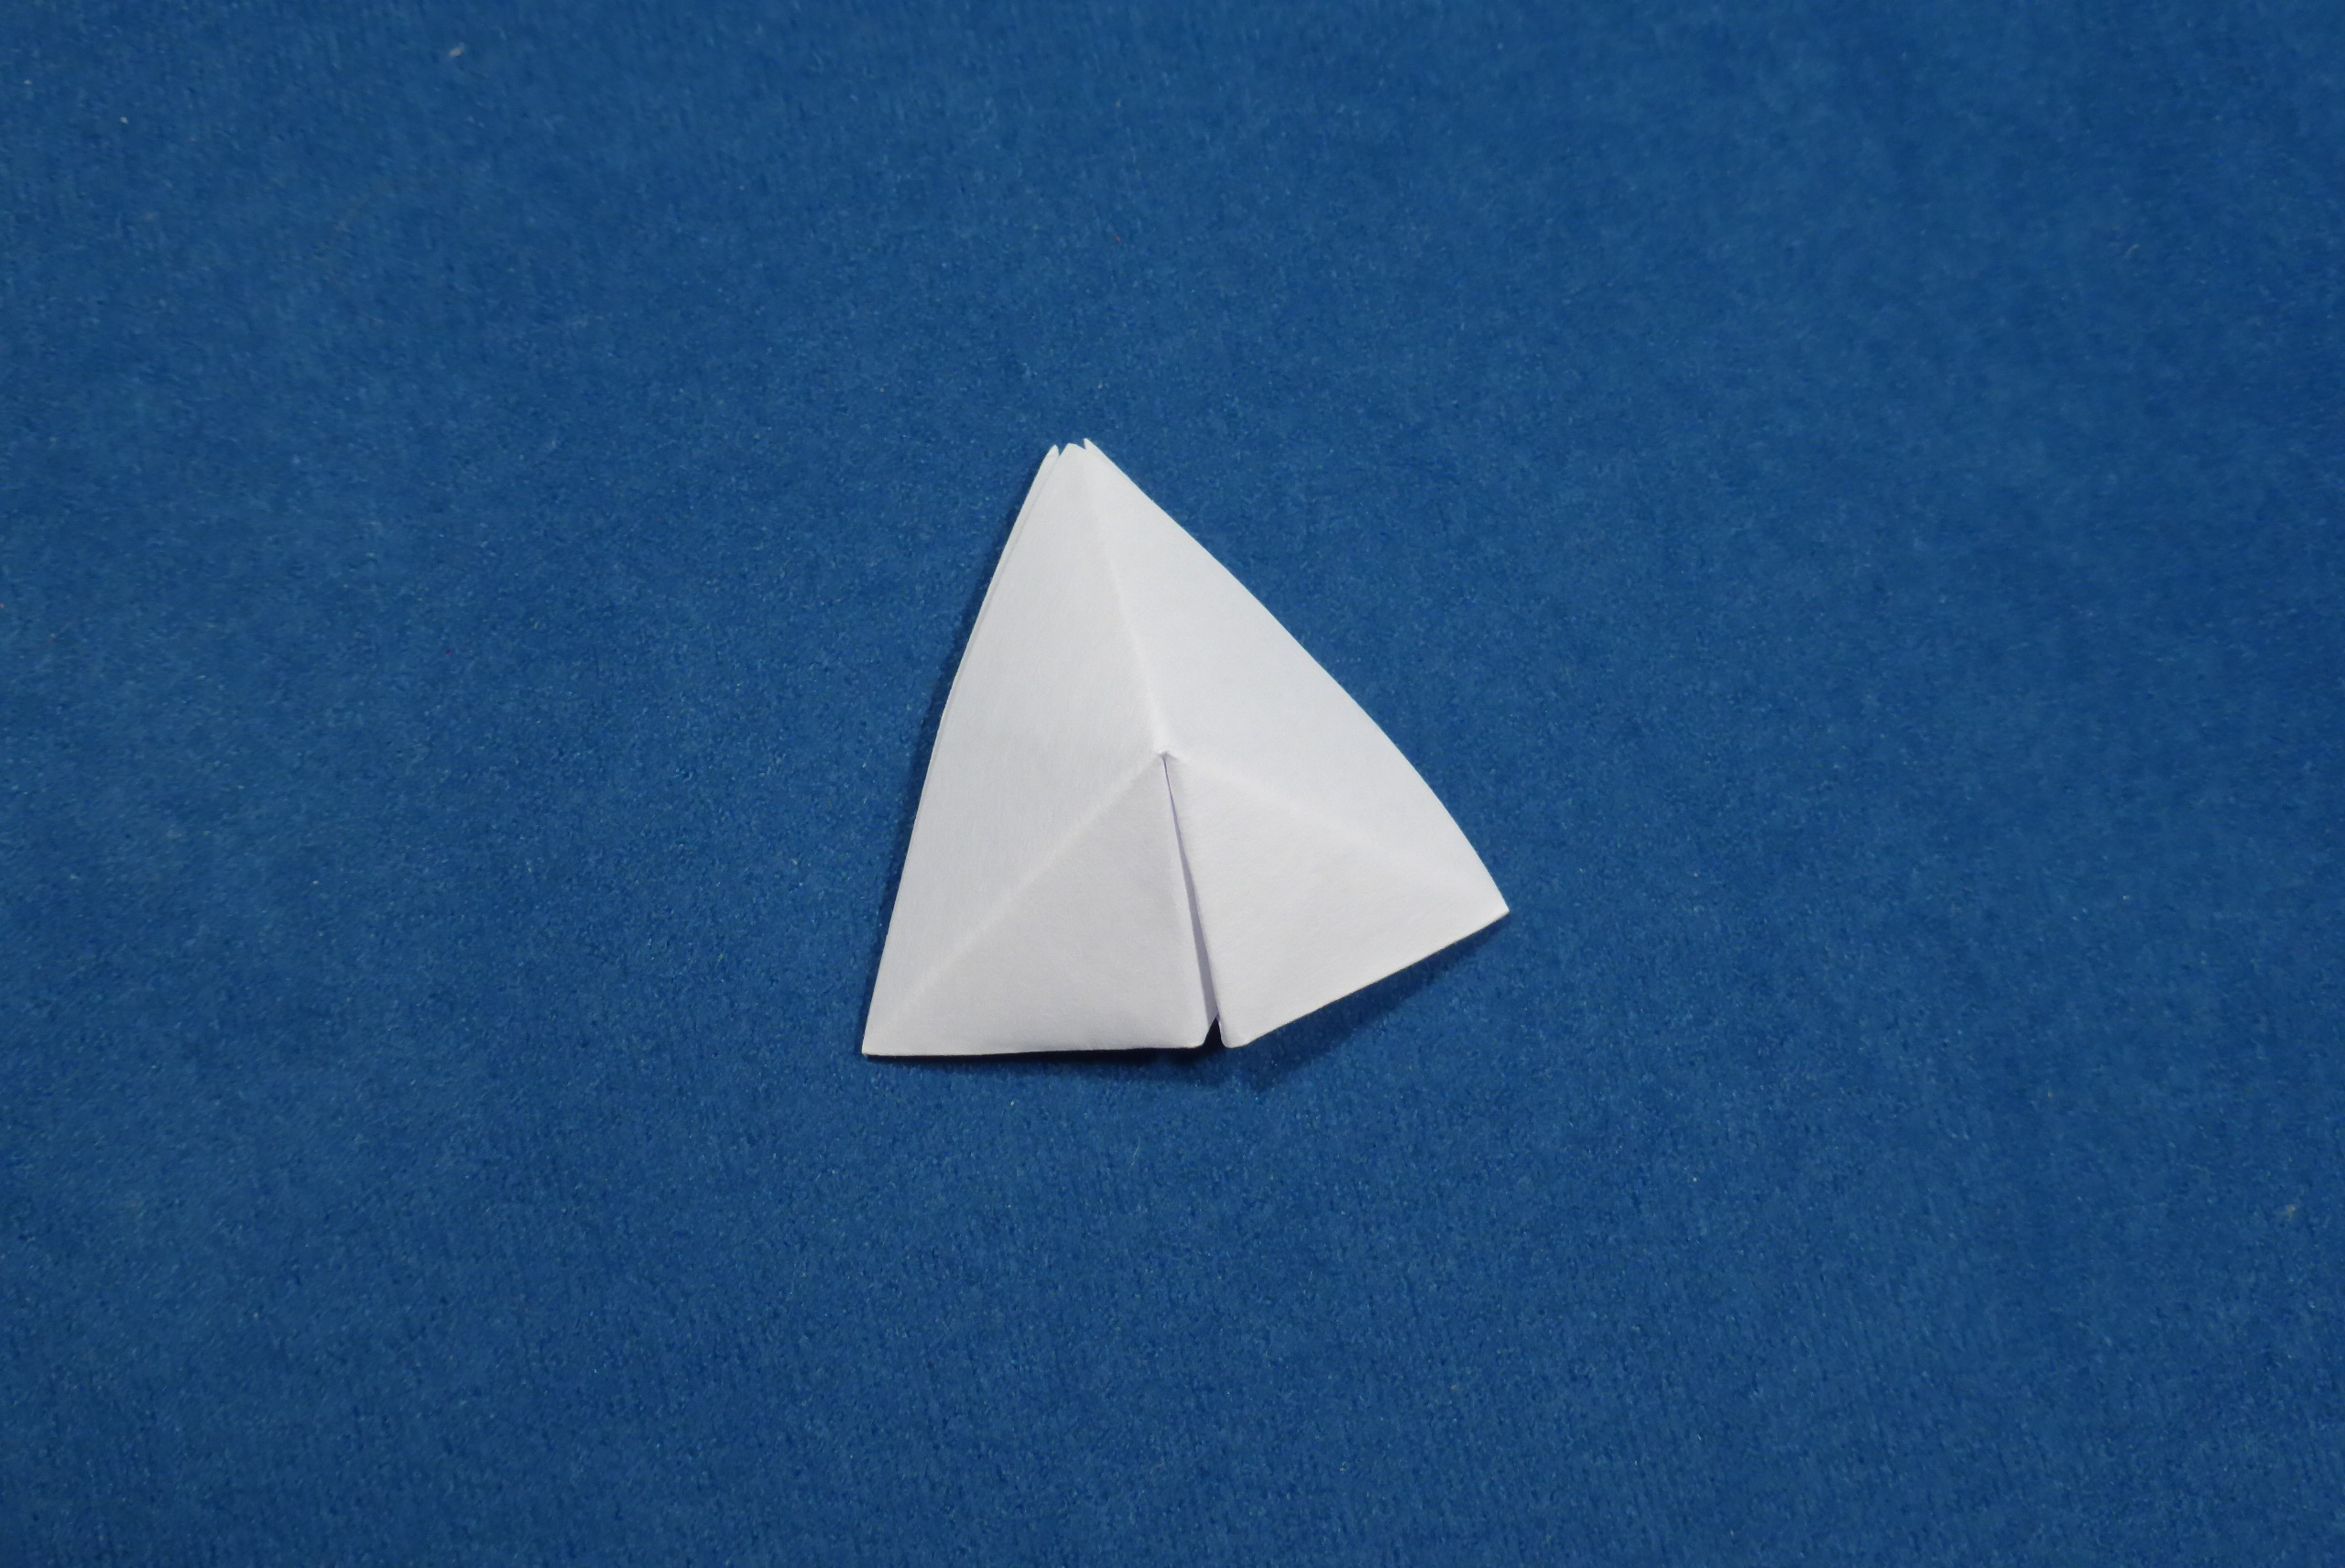
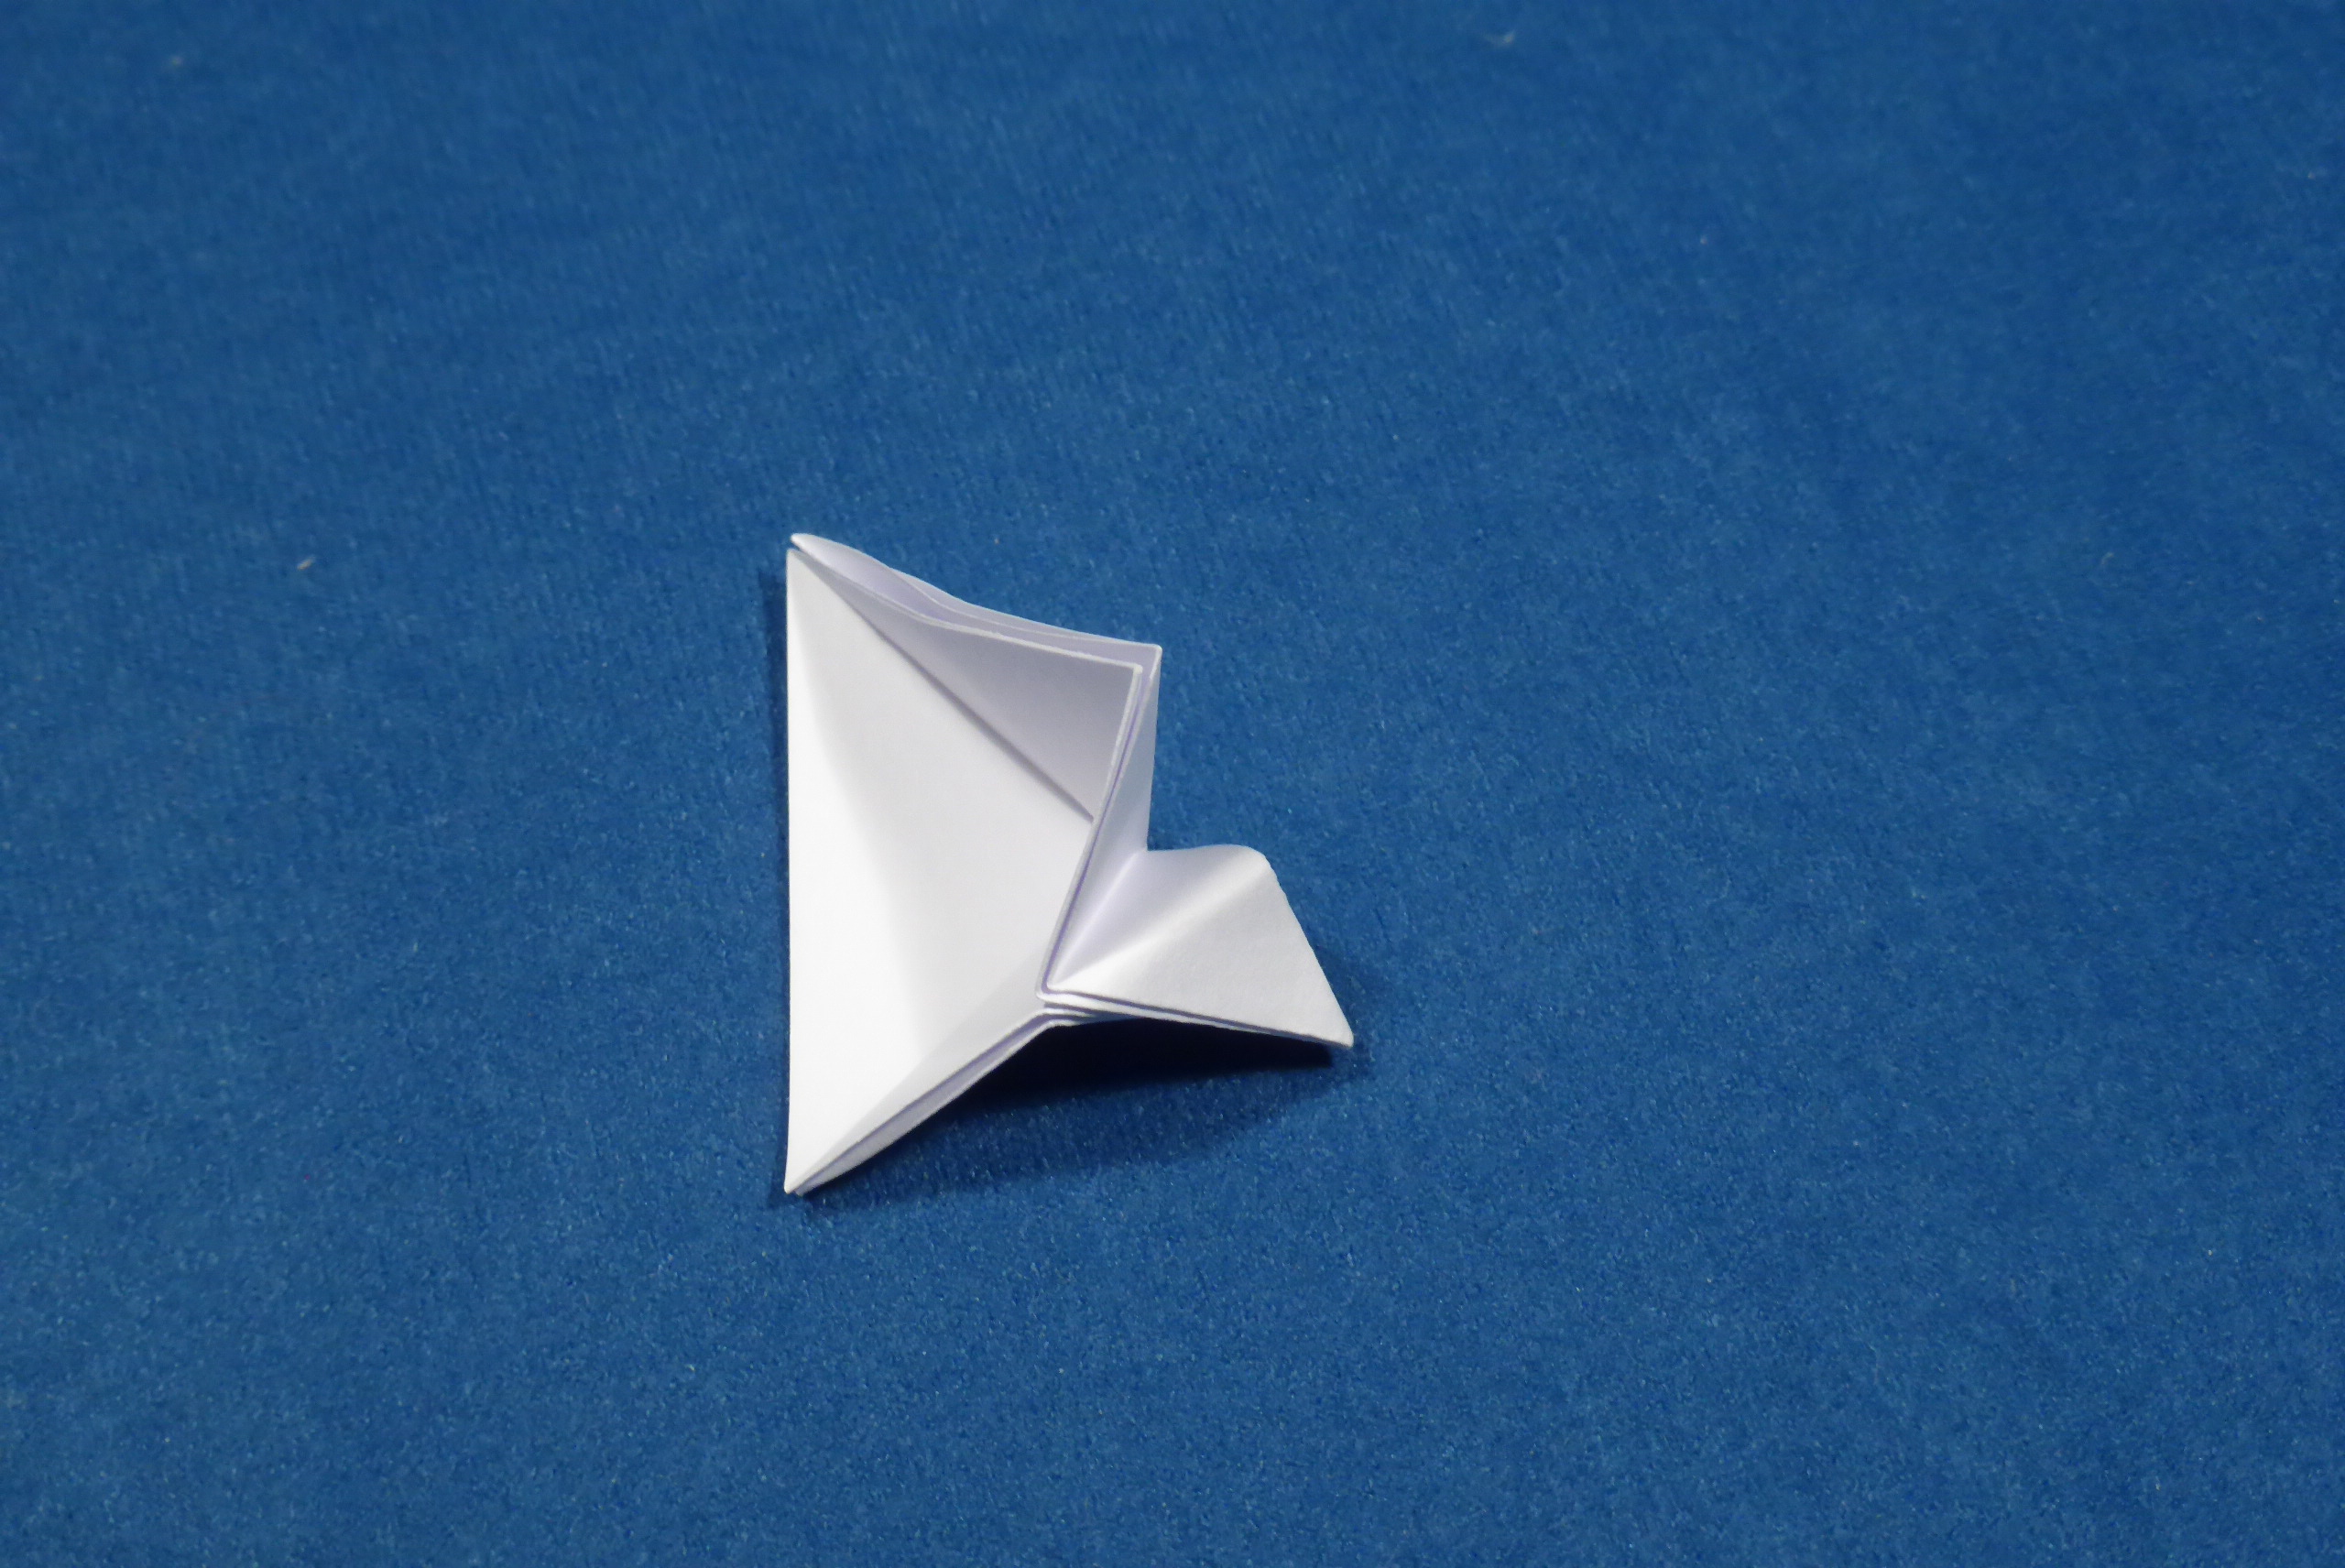
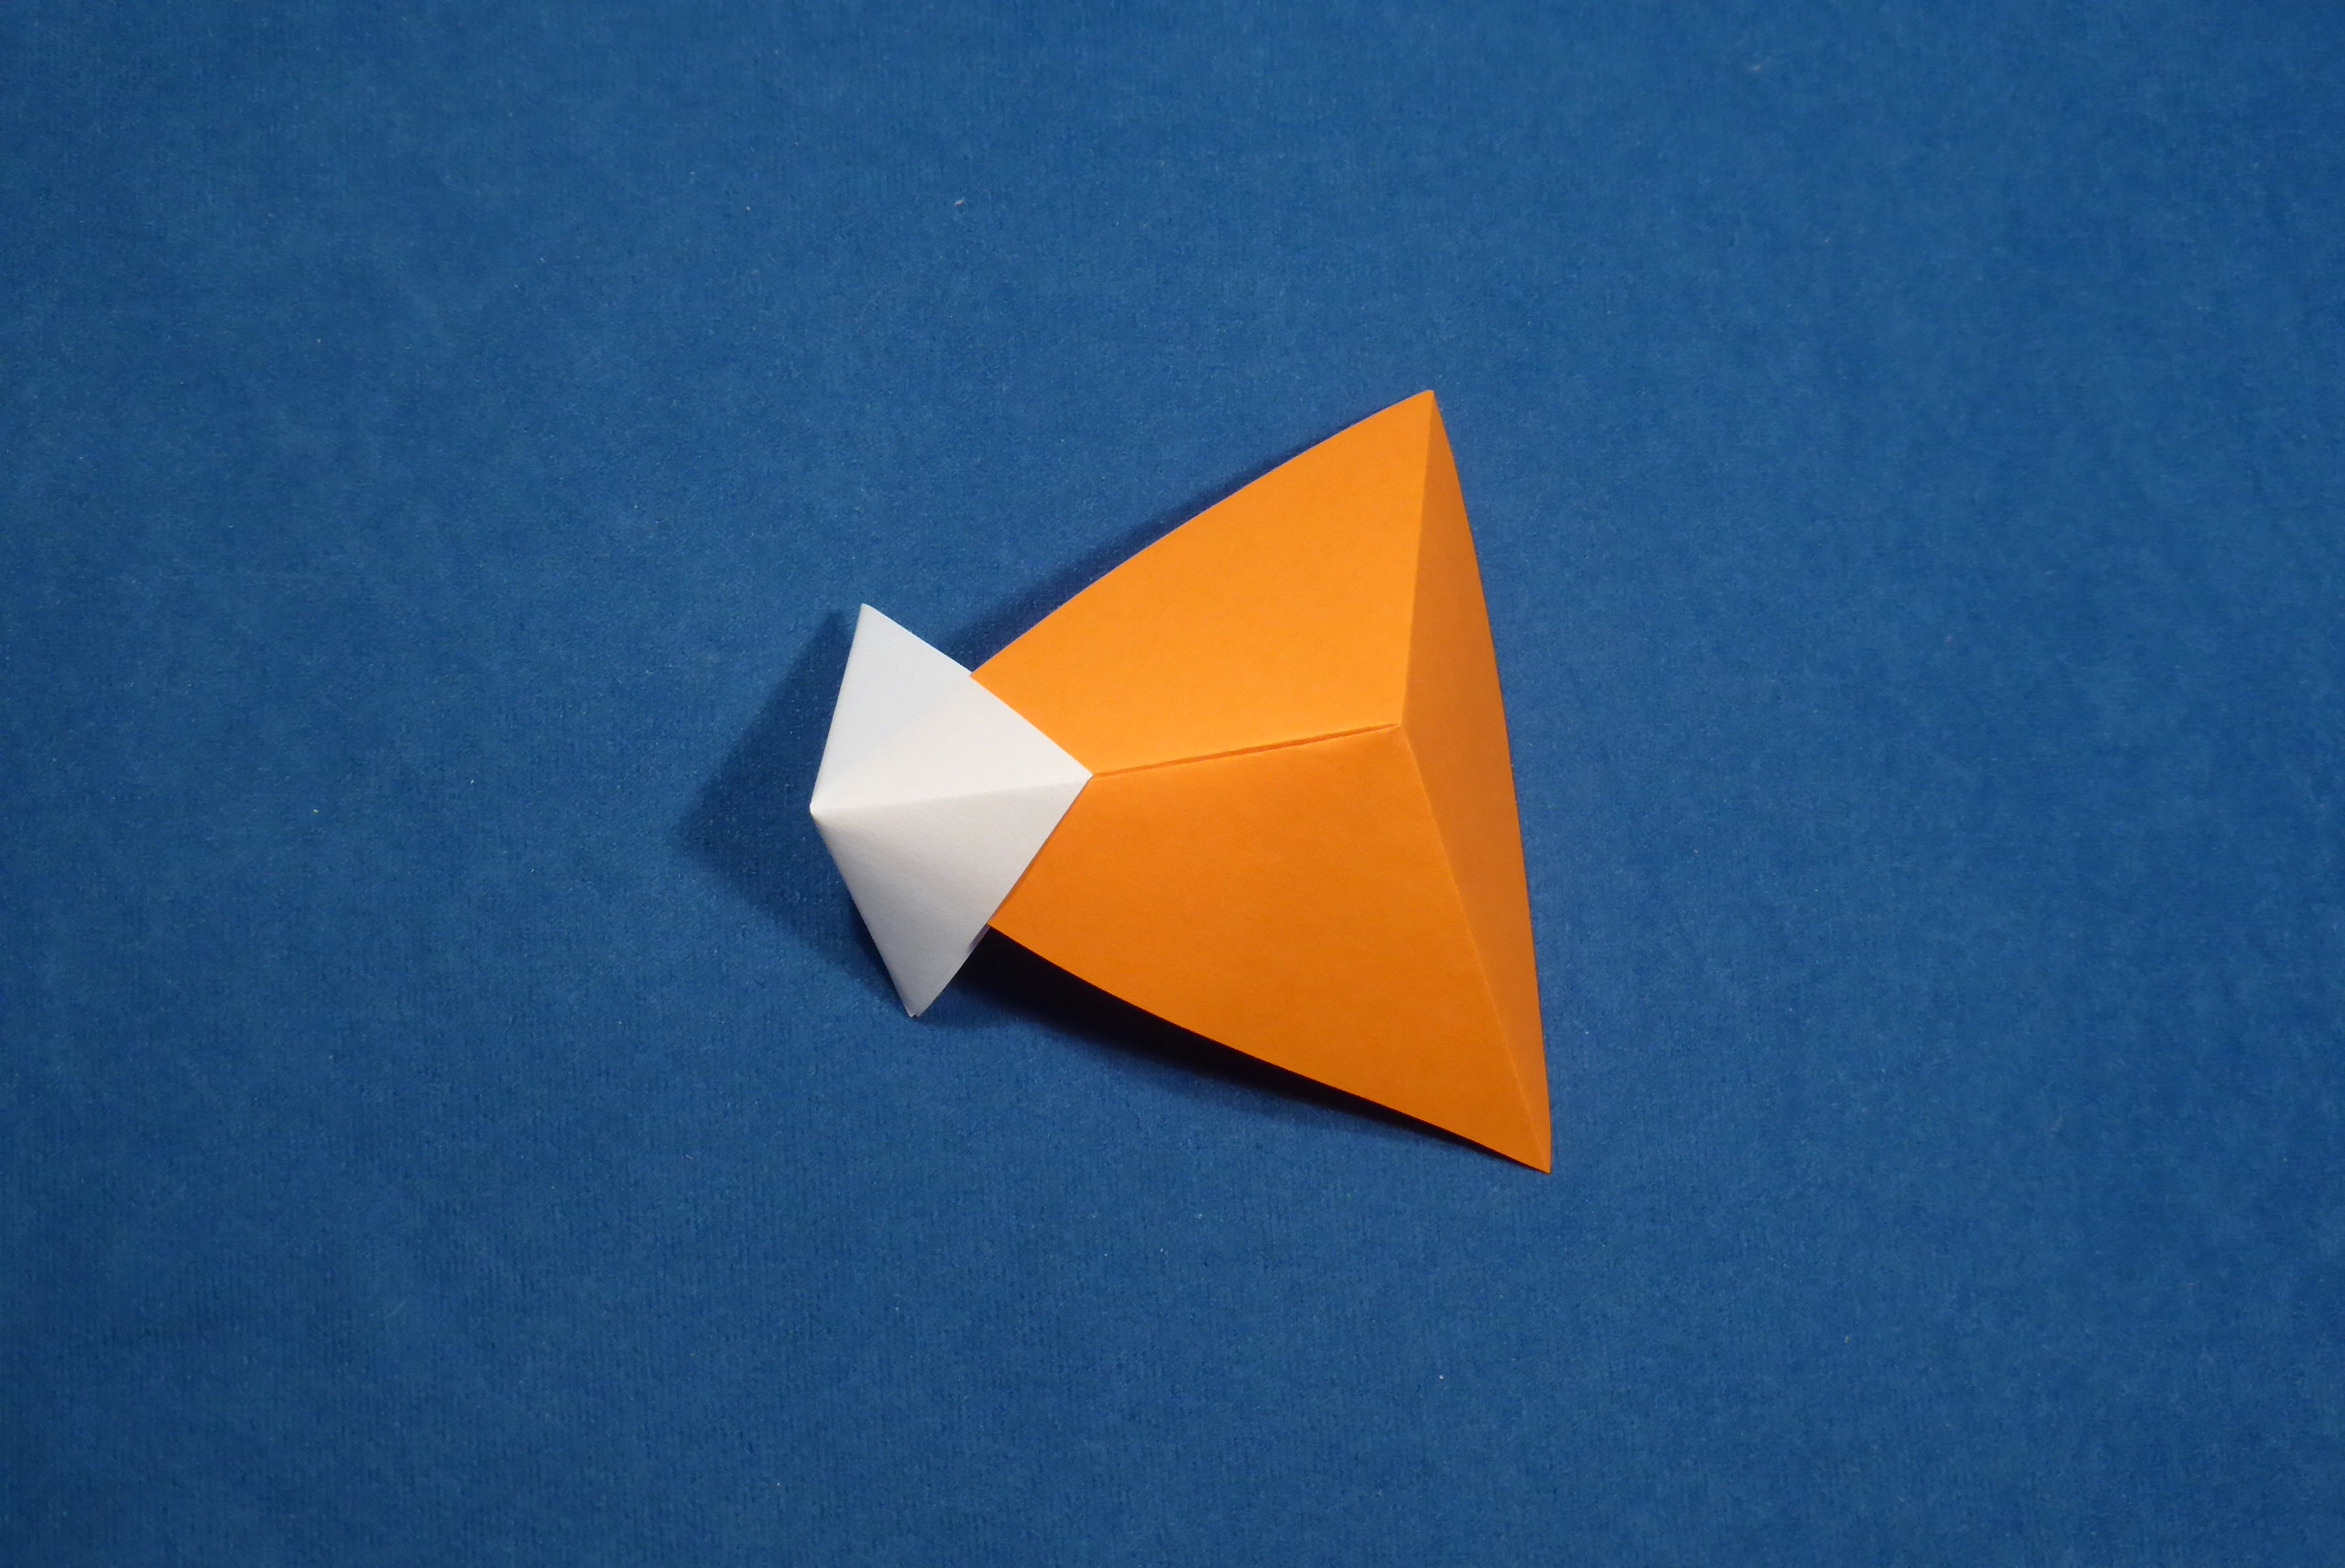
The Cubic Connector looks like one vertex of a cube, which makes it a bit similar to a Vertex Unit. It makes it possible to join three Vertex Units in a point. A combination of Vertex Units and Cubic Connectors can be used to assemble a Cube with solid walls as well as a number of other shapes.

Step 1
1. Start with a square piece of paper. Crease both diagonals (valley folds) and crease in half along both sides of the paper (mountain folds).
Step 2
2. Fold the preliminary base.
Step 3
3. From now on, treat the folded preliminary base as if it were just a square sheet of paper. Crease along both diagonals. Find the corner of the small square under which all layers of paper meet and make two creases connecting the adjacent sides of the square with the point where diagonals cross.
Step 4
4. Fold along the creases, forming a trigonal pyramid and collapsing a flap inside. This step is very similar to folding the vertex unit, but in this case the crease must go through the middle of one of the pyramid’s faces and not along an edge (see the picture of finished connector in next step).
Step 5a
5a. Make a crease on the flap to prevent the pyramid from unfolding. Since the connectors hold the whole model together, they need to be sturdy.
Step 5b
5b. View from the other side. Notice that one side of the pyramid is different from two others and contains a large crease.
Step 5c
5c. For models where the inside of the pyramid is visible (e.g. the cuboctahedron), you can fold the flap to the outside as seen here.
Step 6
6. This connector binds Vertex Units in that they are inserted into the connector’s pockets. There are three pockets, one on each of the pyramid’s edges.

Published:

Comments