The phototutorial below shows how to fold the model. Most folds do not have exact reference folds, and you have to guess where to make them, but it’s not that
difficult, and you quickly see whether the guess results in the right proportions or not. You can use the image from
Wikipedia page for reference.
The colors of the coat of arms are blue and yellow, and this model is best folded from a duo-color sheet, blue on one side and yellow on the other. If you do
not have such paper on hand, you can make your own. One method is to glue together two sheets of different colors: this results in thick paper, but for this
model this should not be a problem. The other is painting or coloring the paper with markers/crayons.
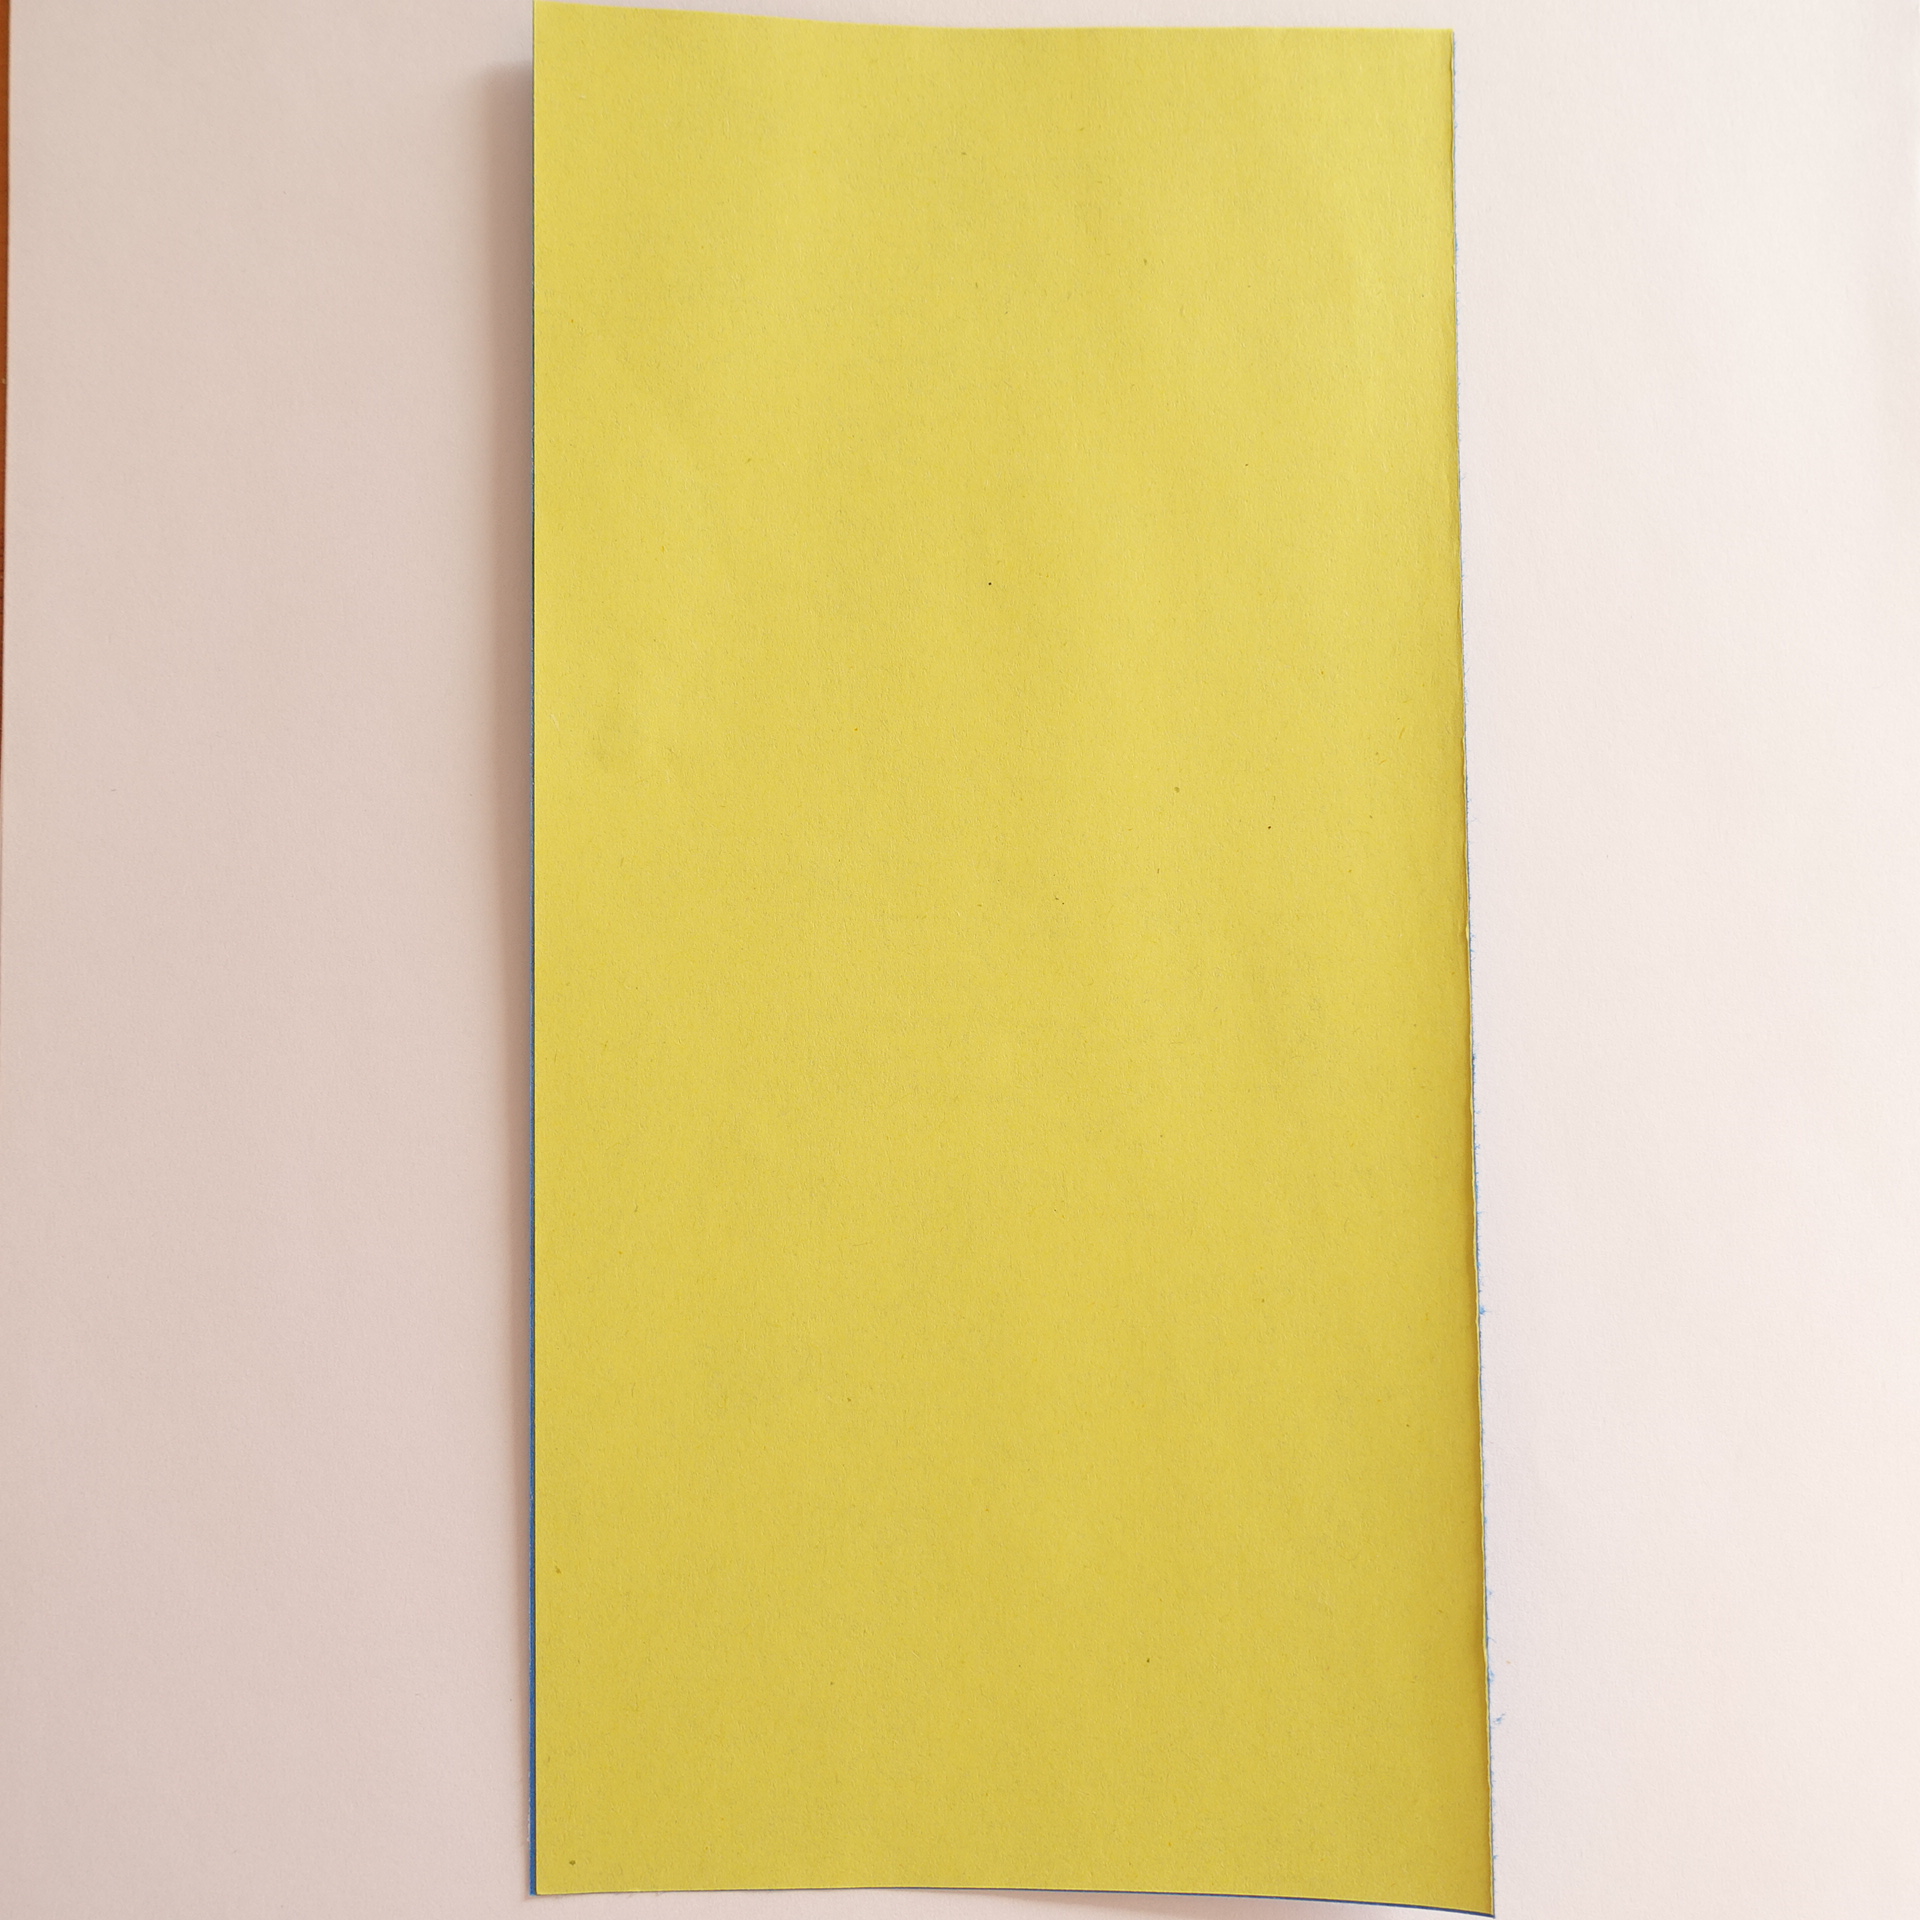
The model is folded from a 2:1 sheet, so if you have square paper, you can cut the sheet in half.
1. Start with a 2:1 sheet, yellow side up.
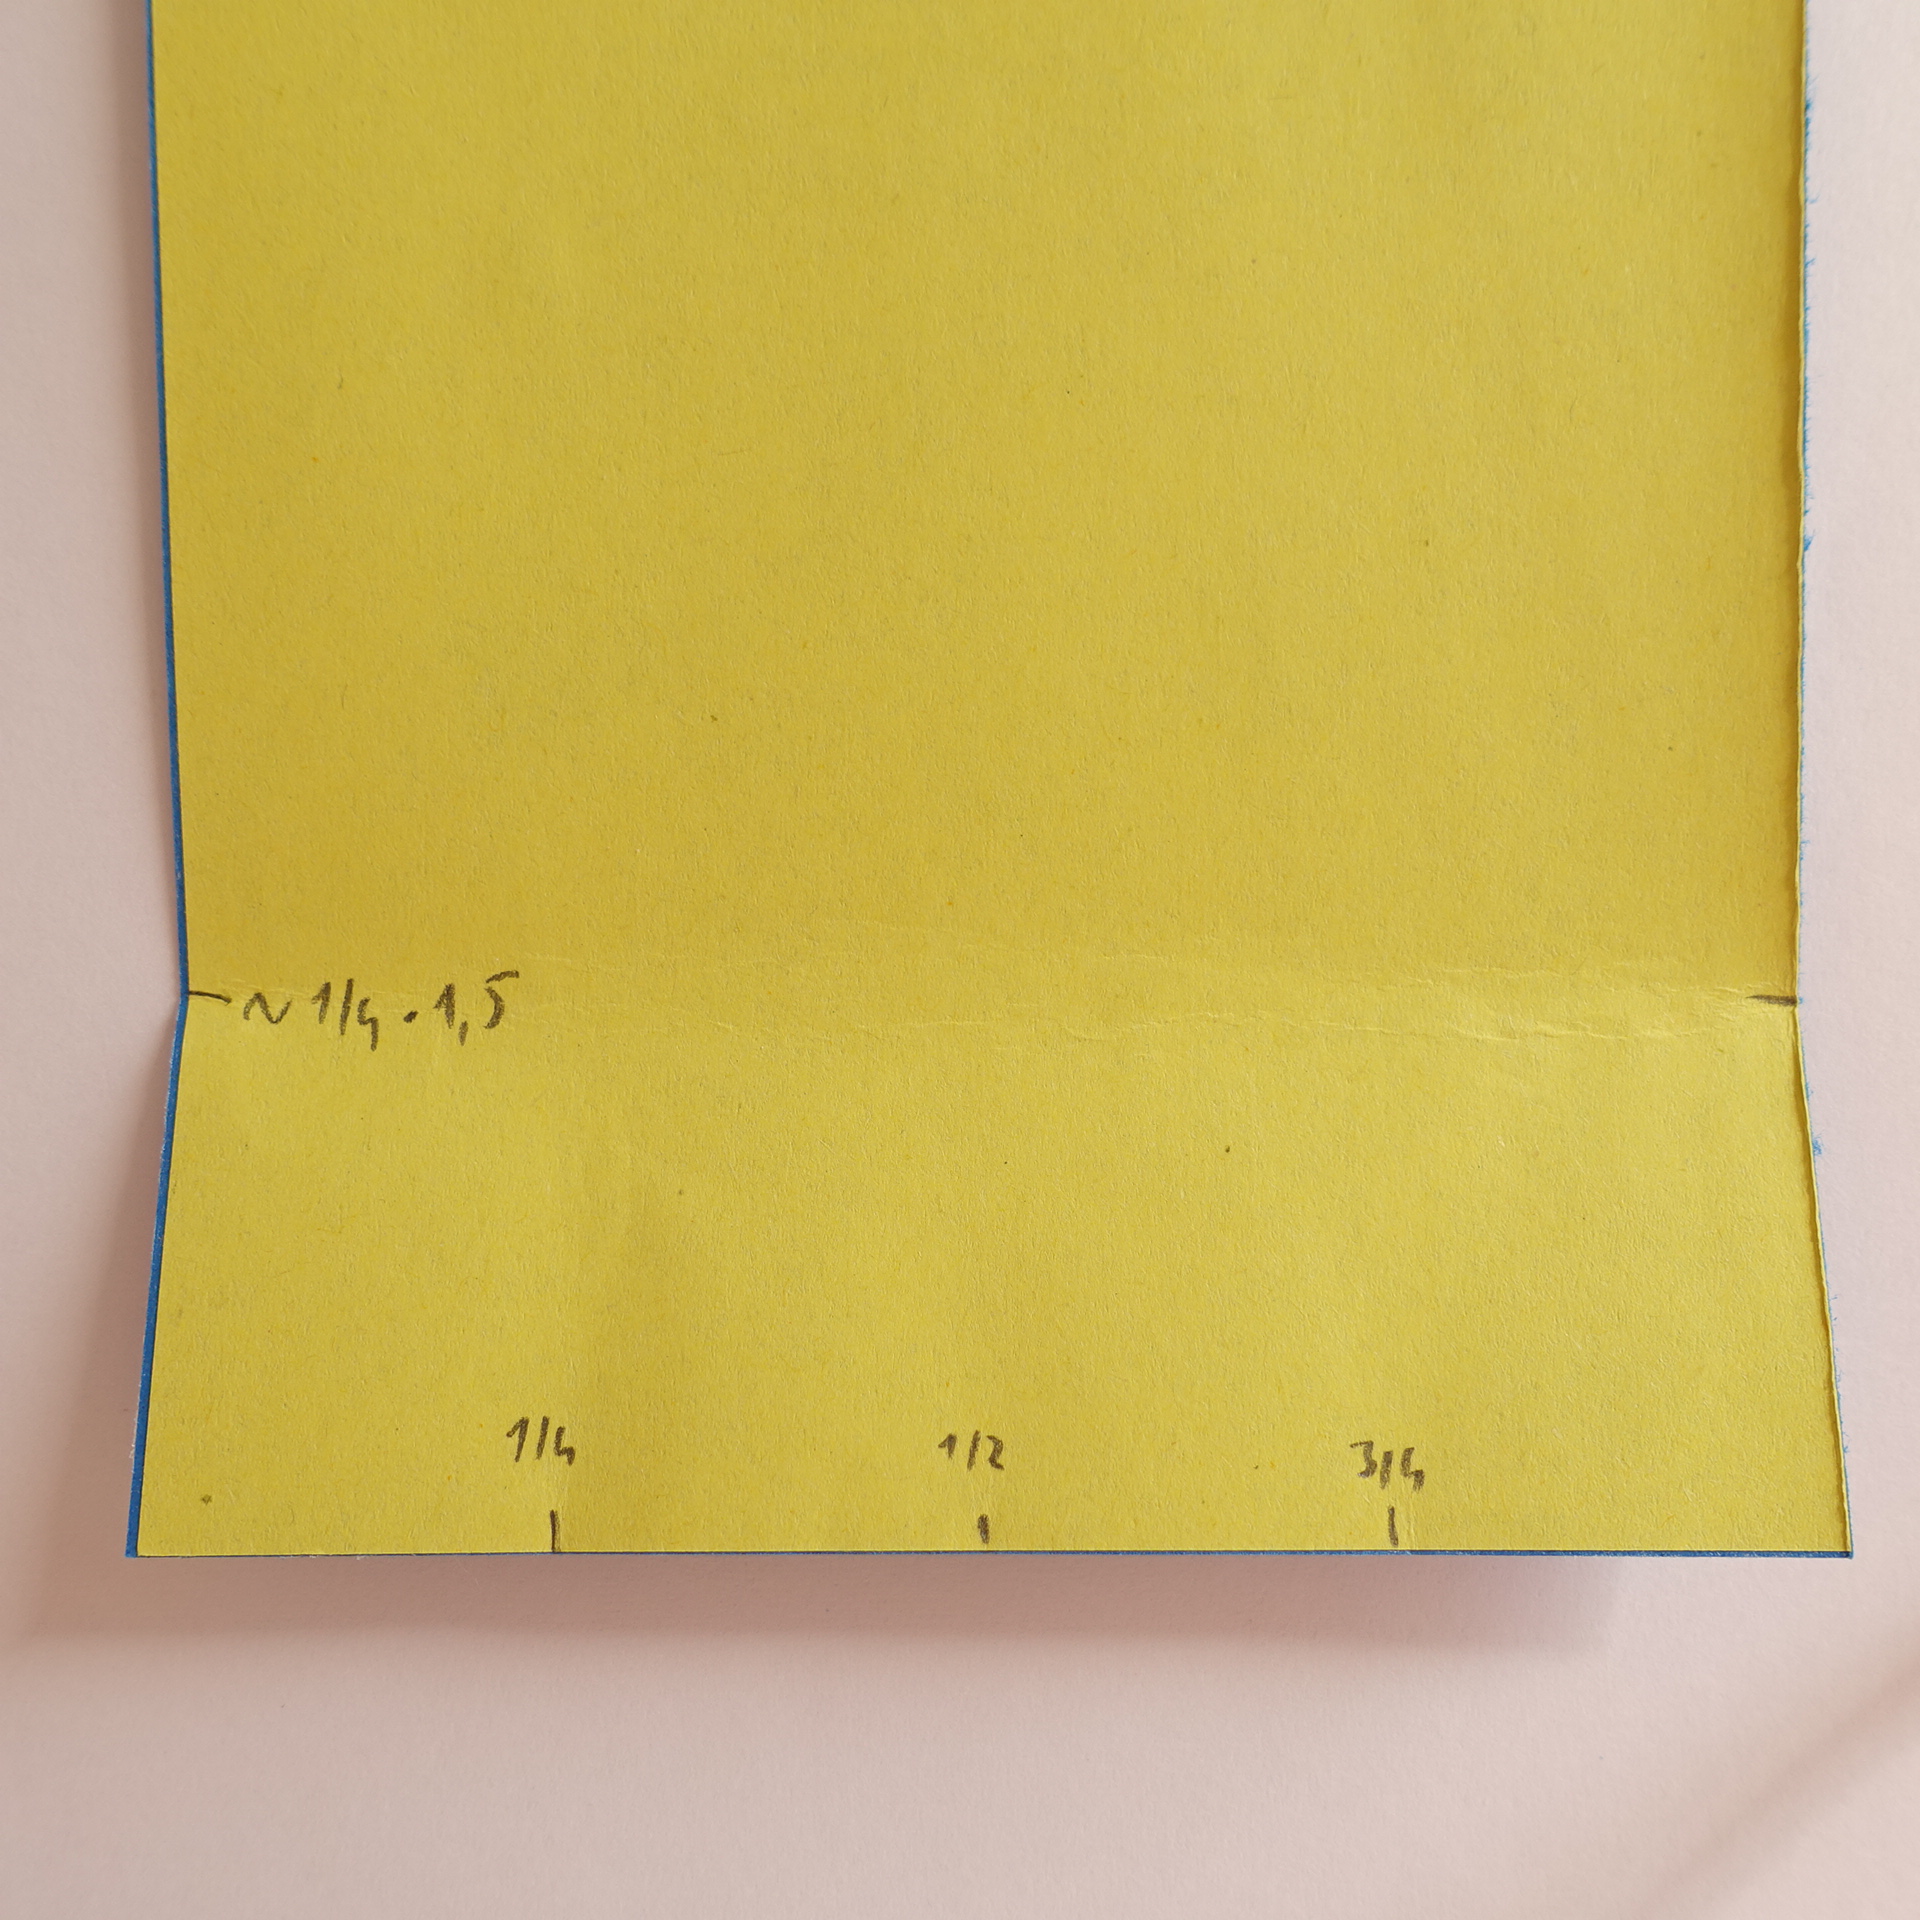
2. On the bottom edge, make pinches at ½ and then ¼ and ¾ of the edge. On the vertical edges left and right make symmetric pinches at roughly 1.5 times the distance of the ¼ marker.
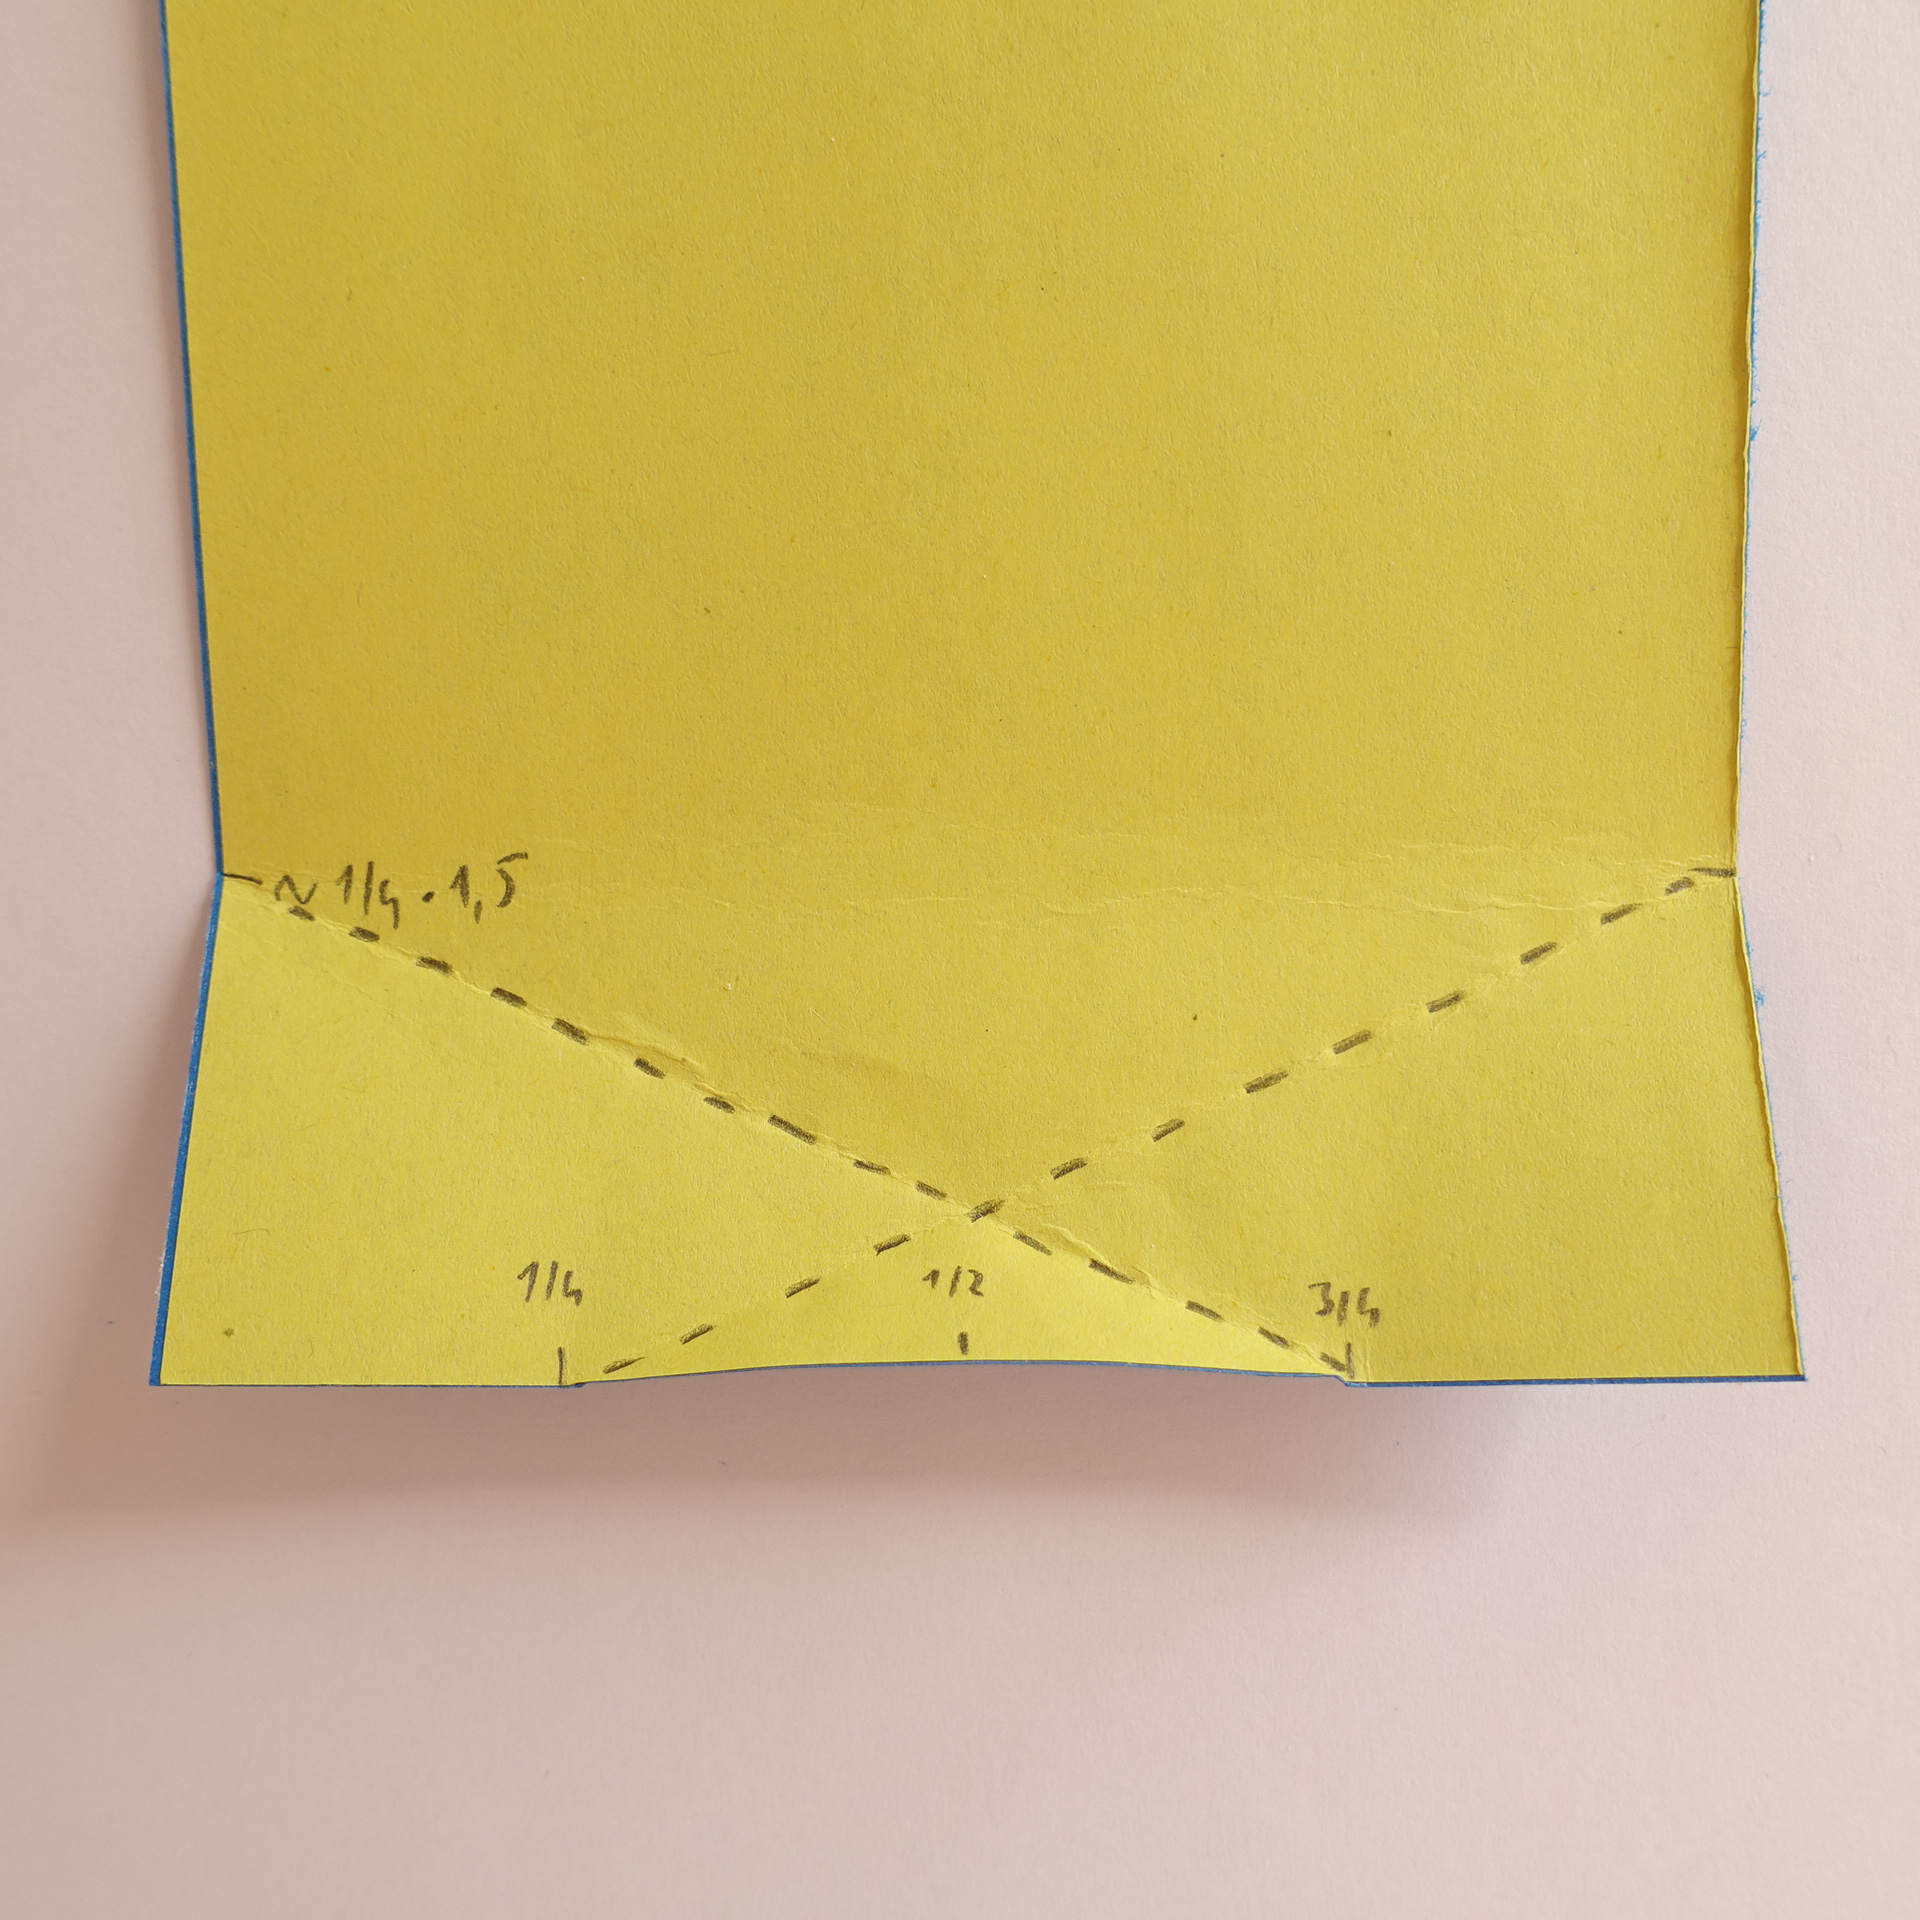
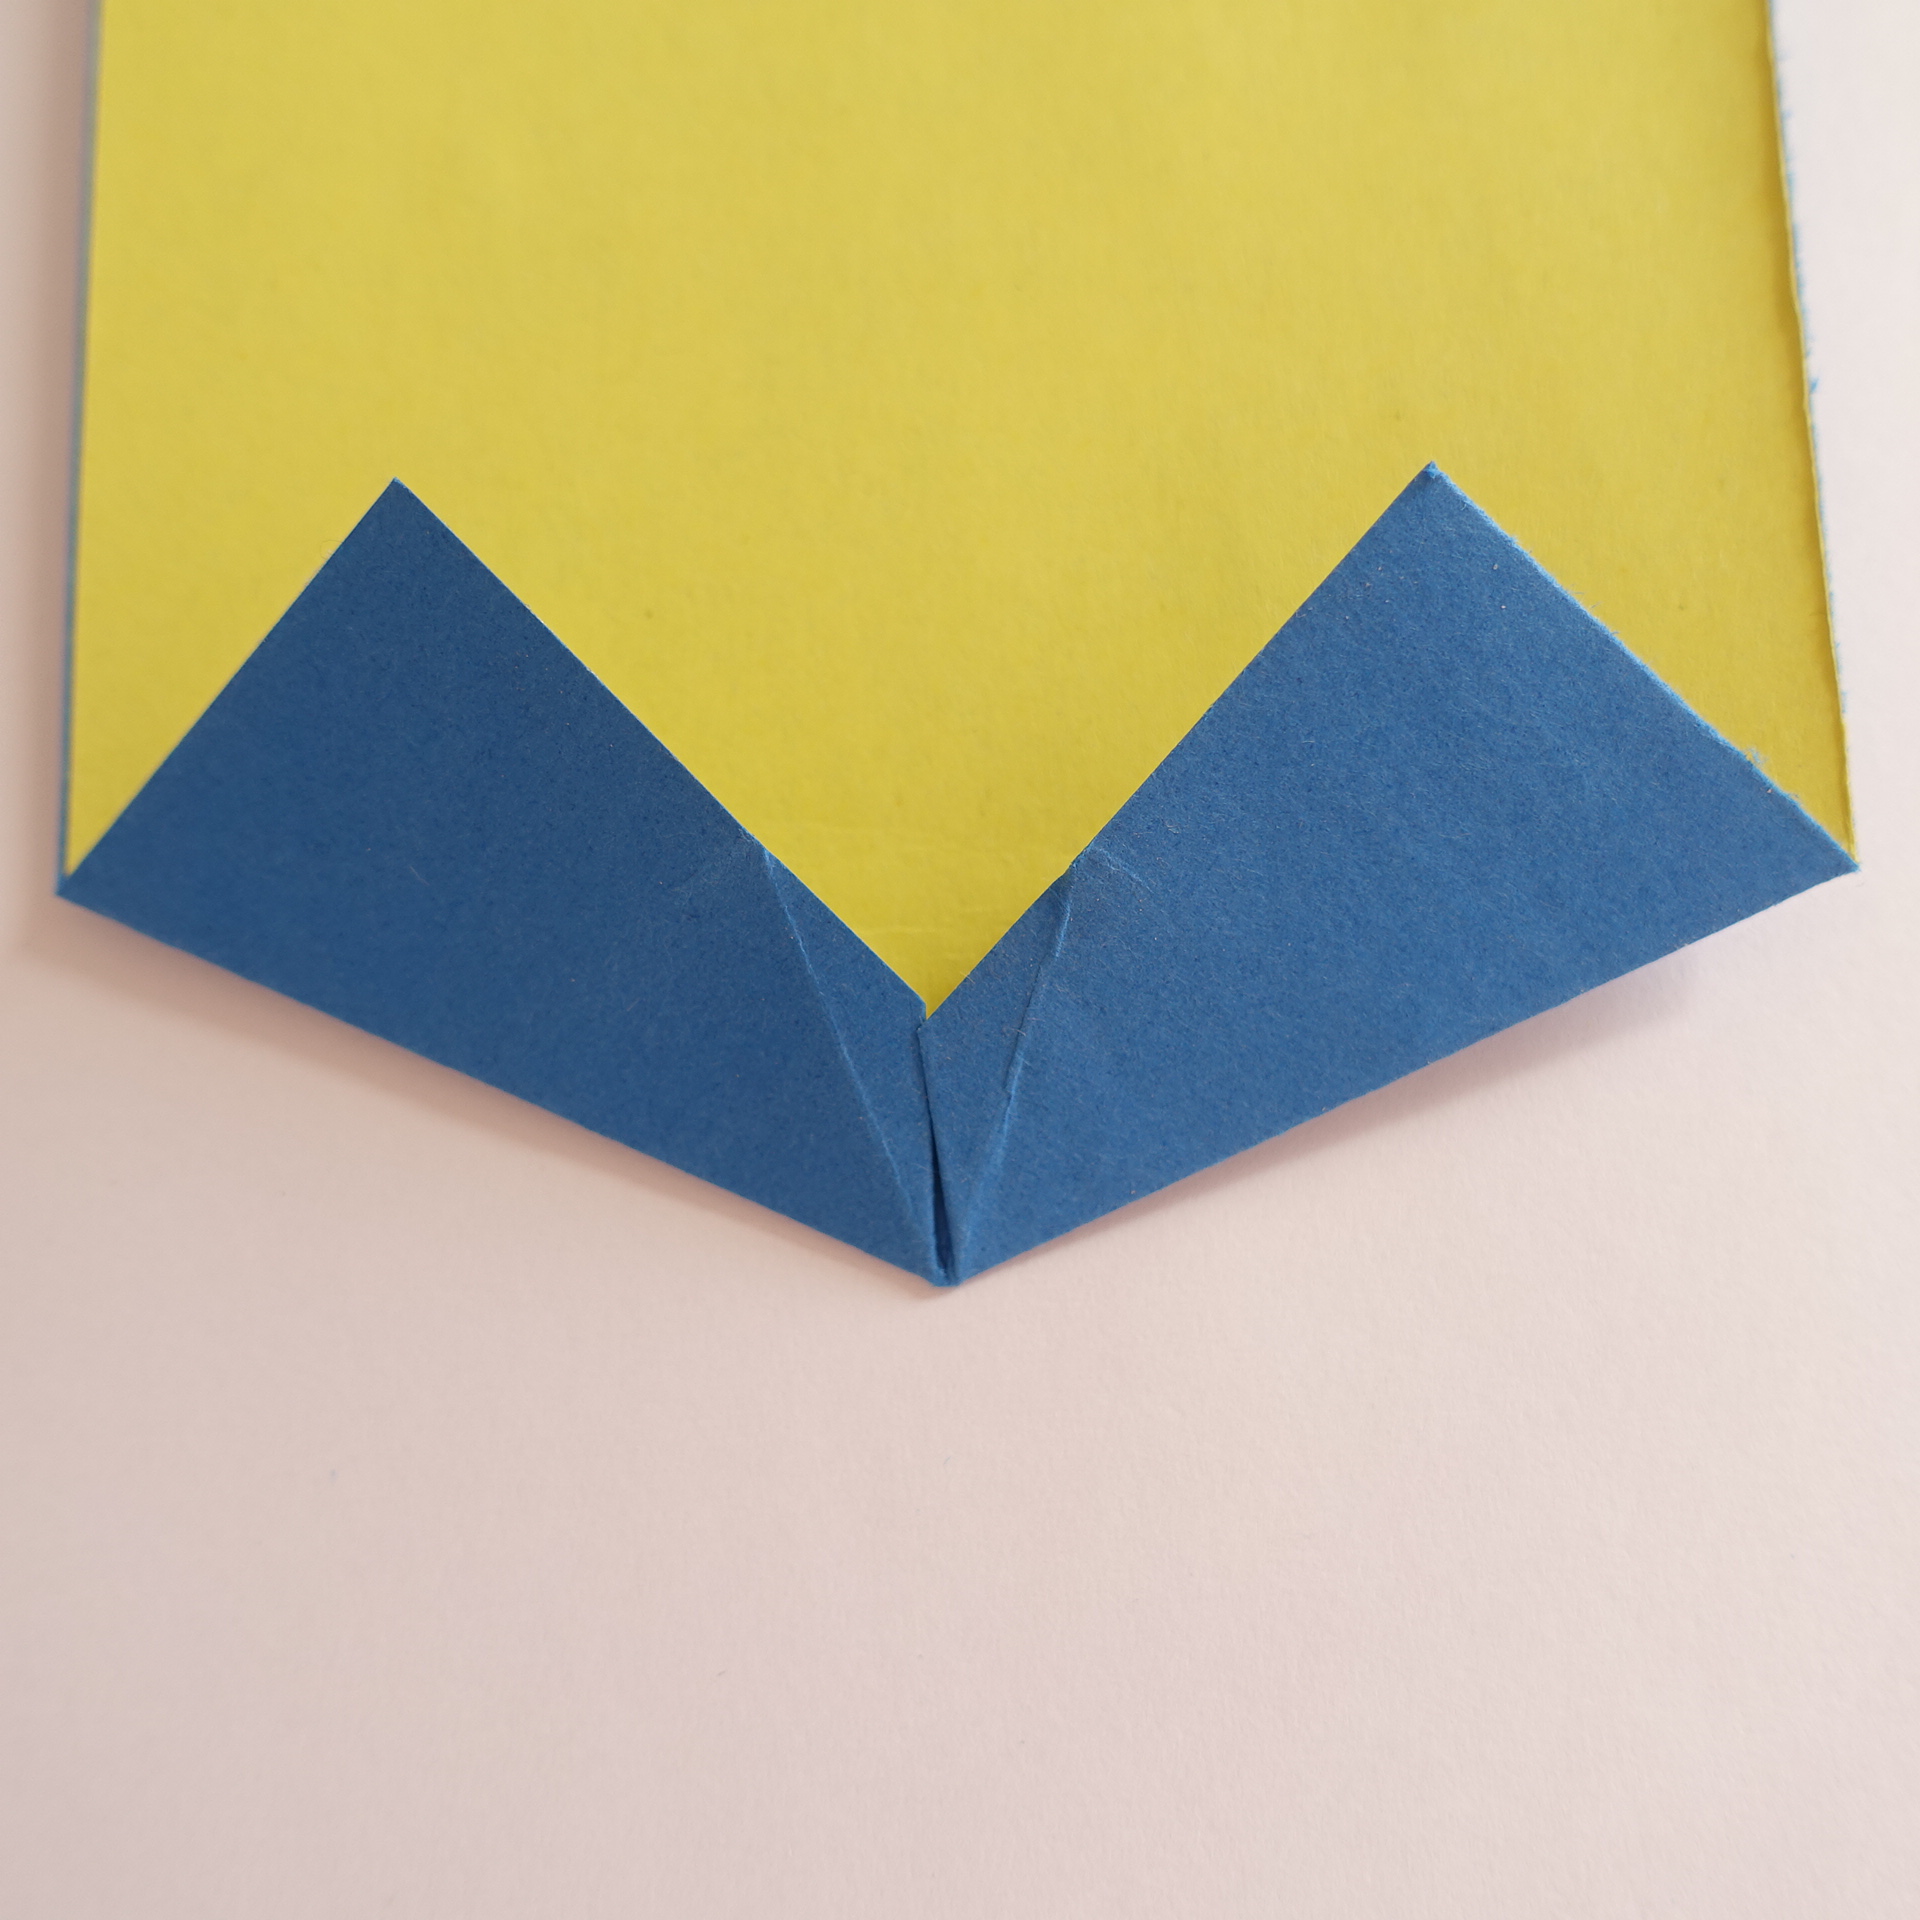
3. Crease valley folds between the markers as shown.
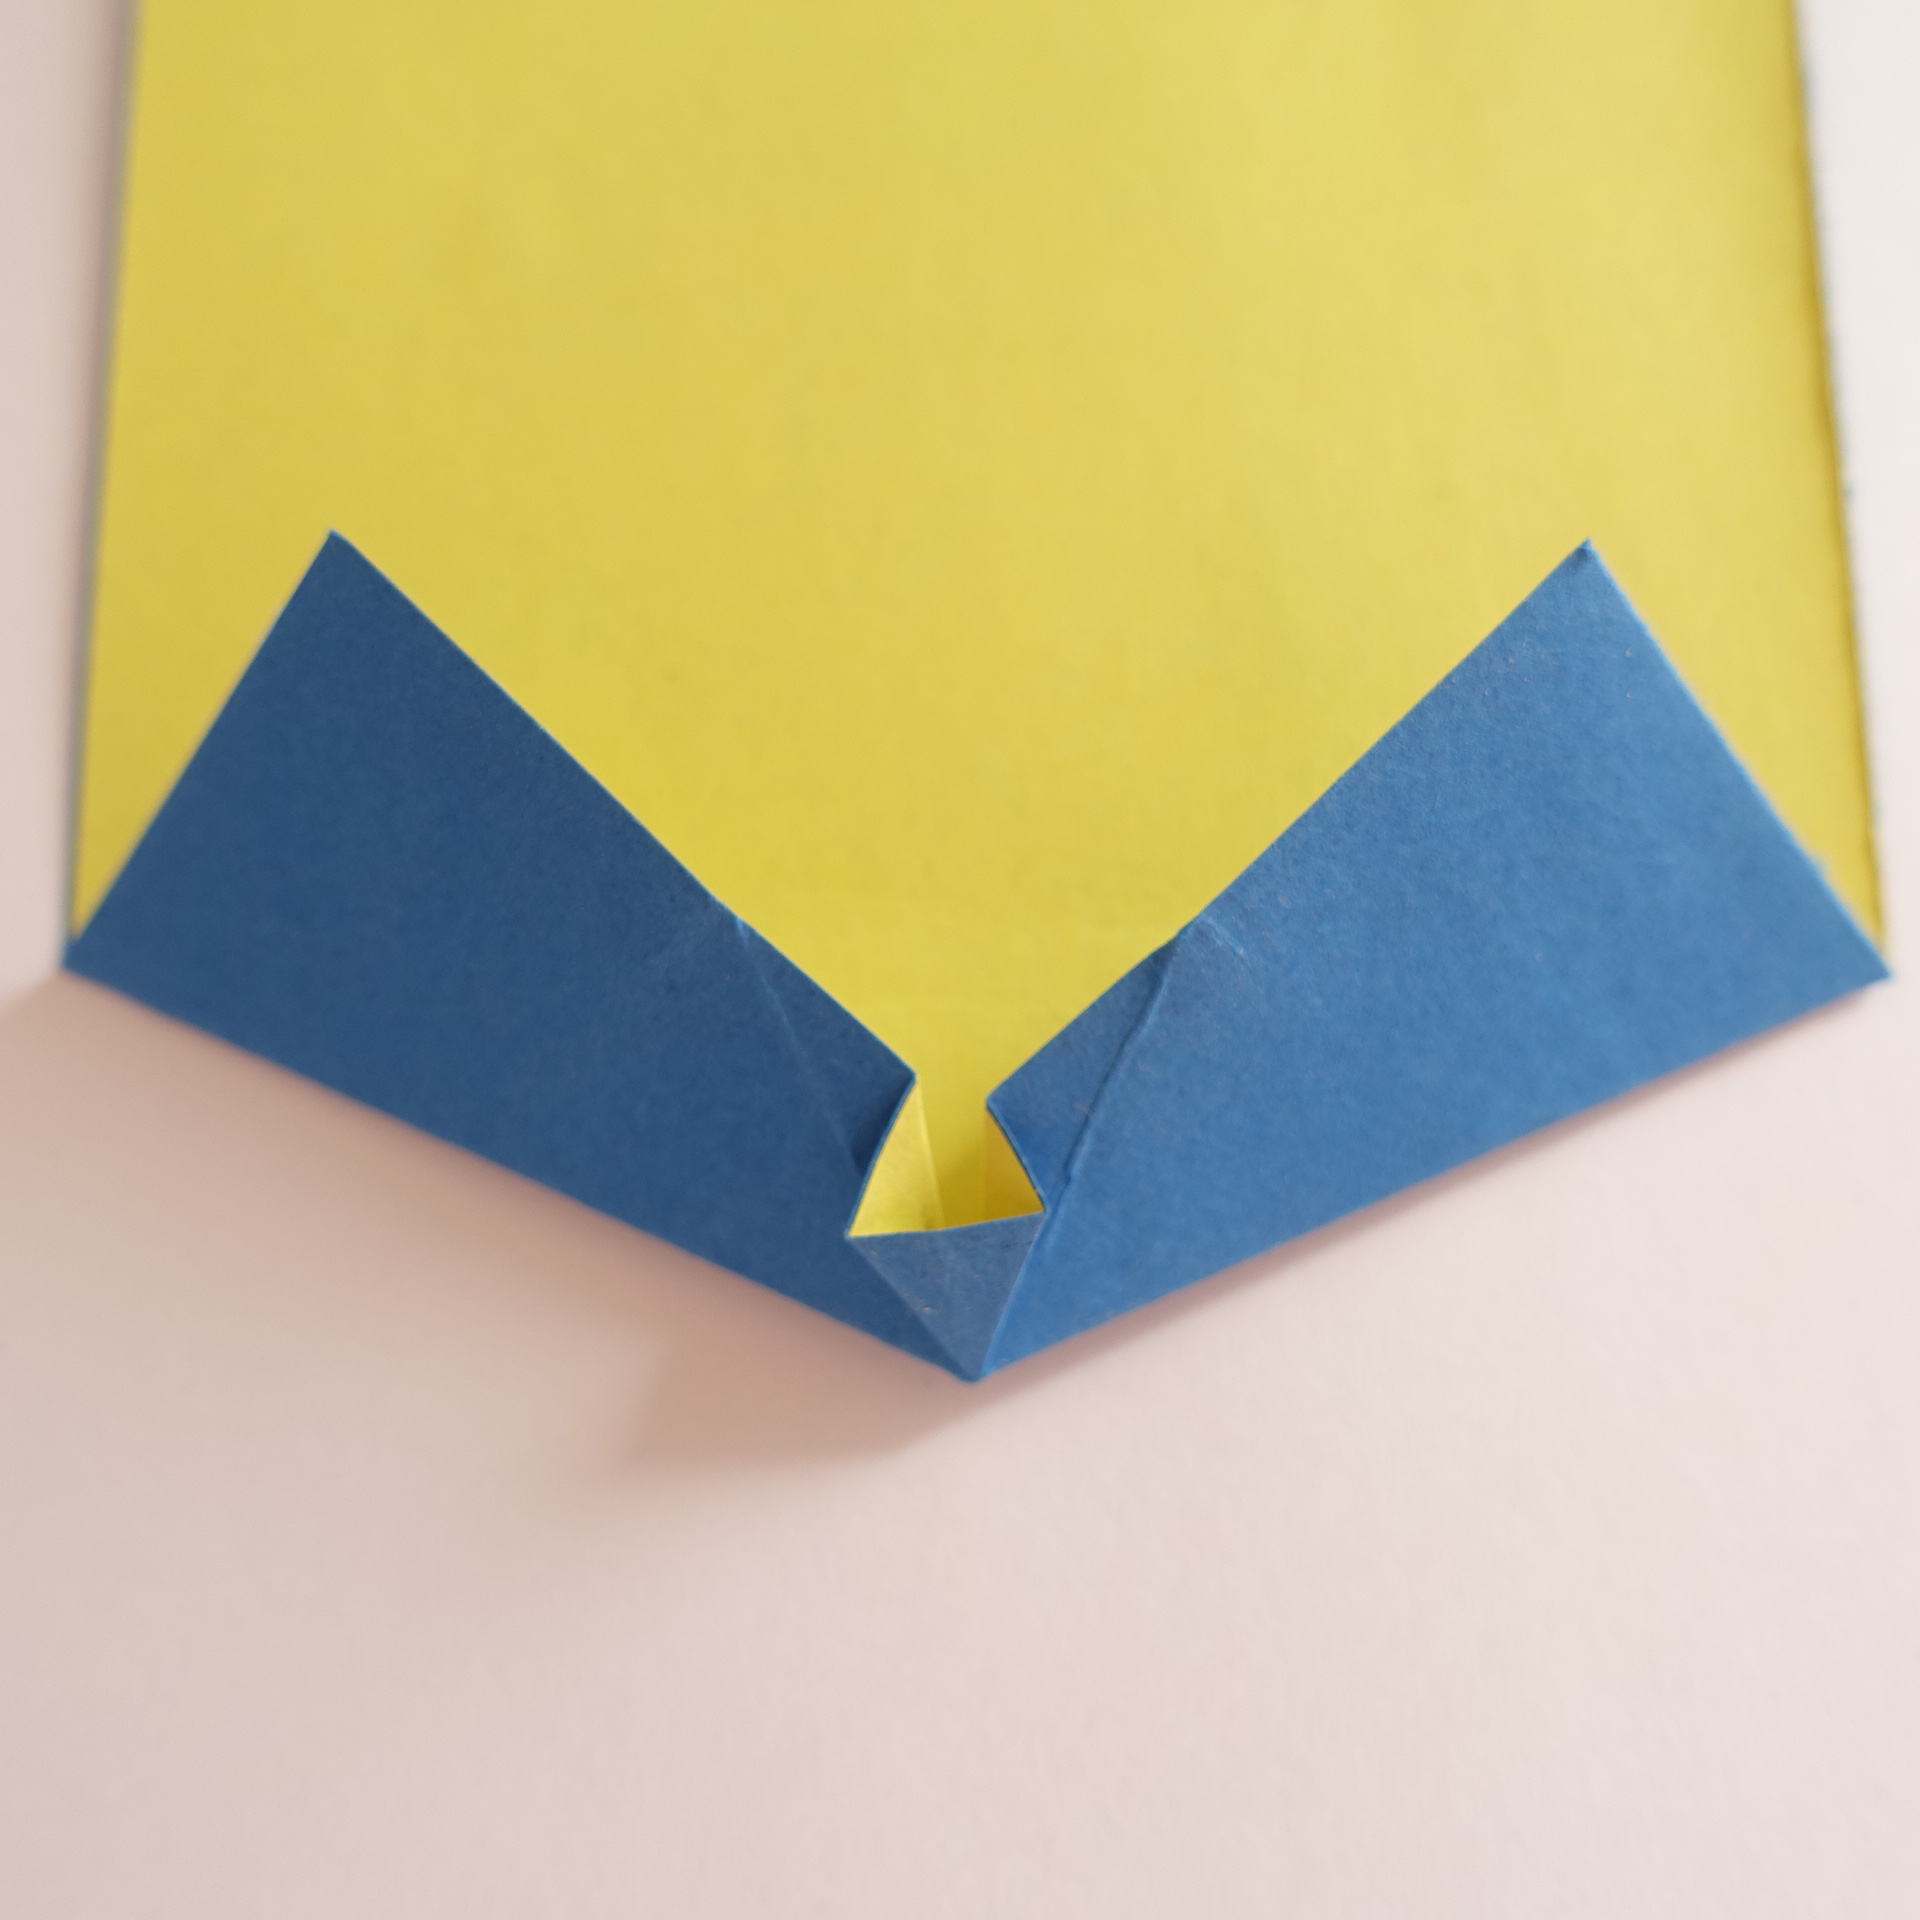
4. Rabbit ear.
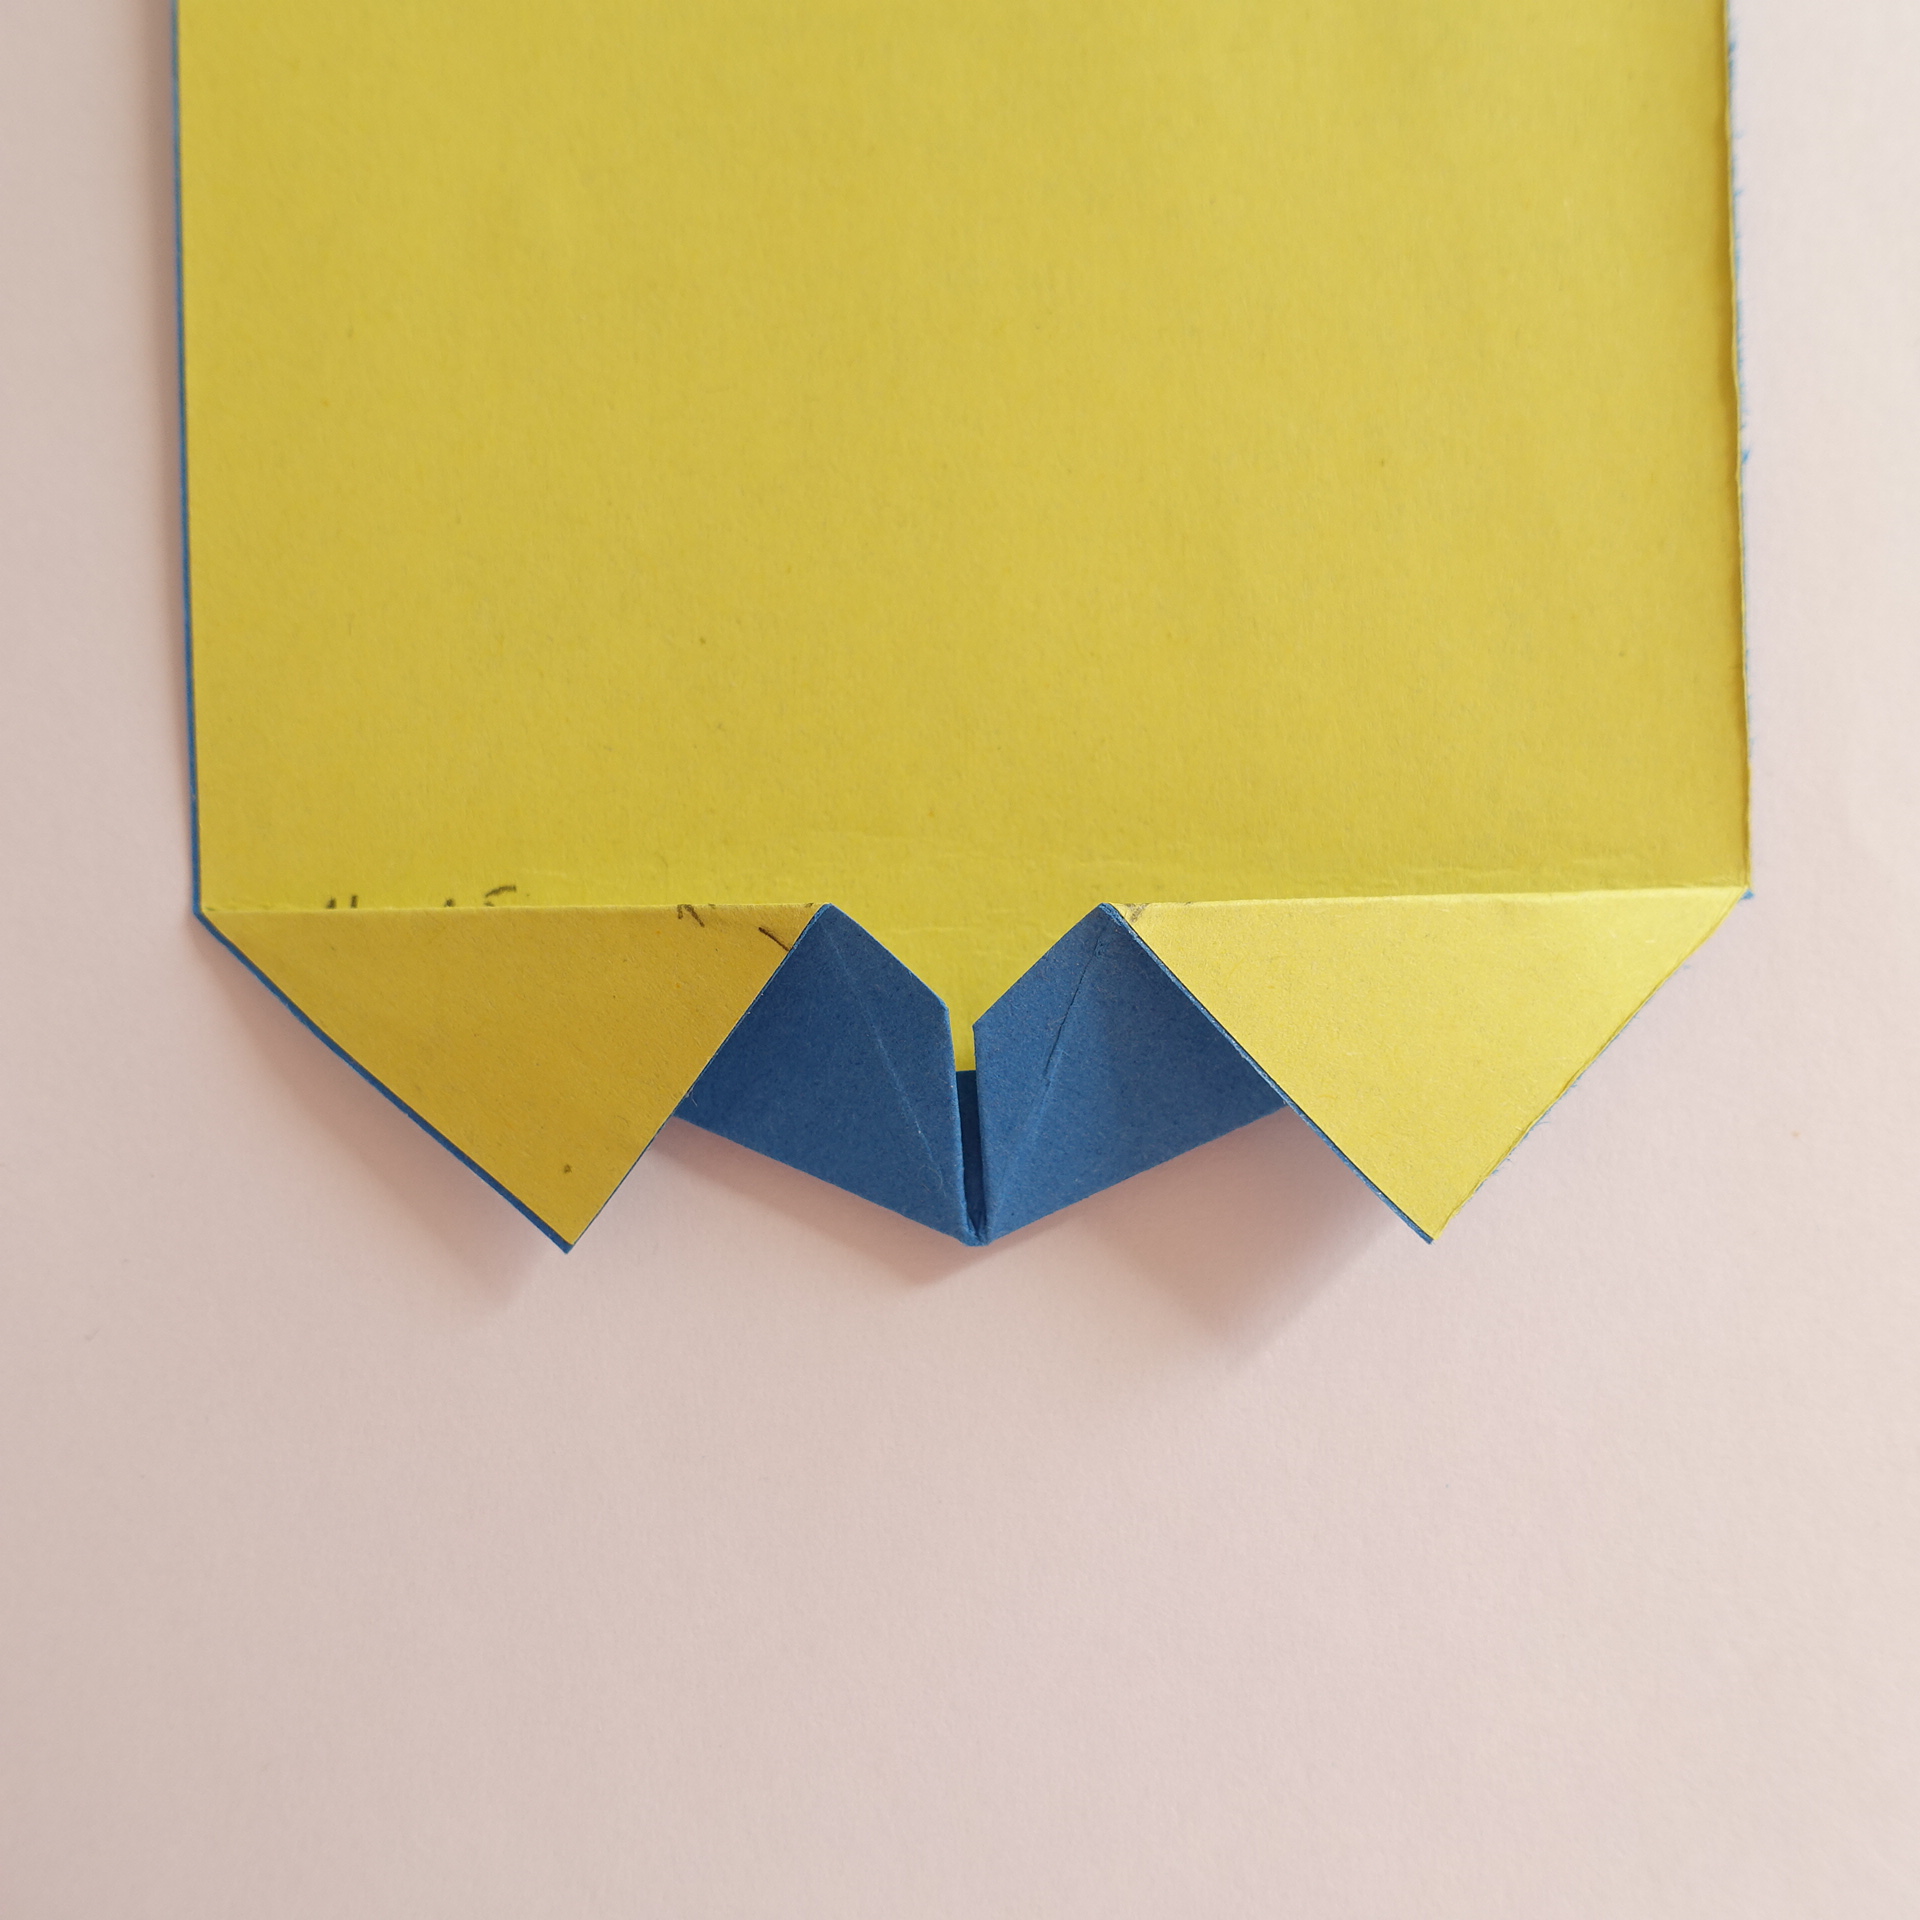
5. Squash fold.
6. Change mountains to valleys and vice versa to hide the blue triangle underneath.
7. Valley fold so that the creases form a roughly horizontal line.
8. Change valley to mountain folds and hide triangular flaps.
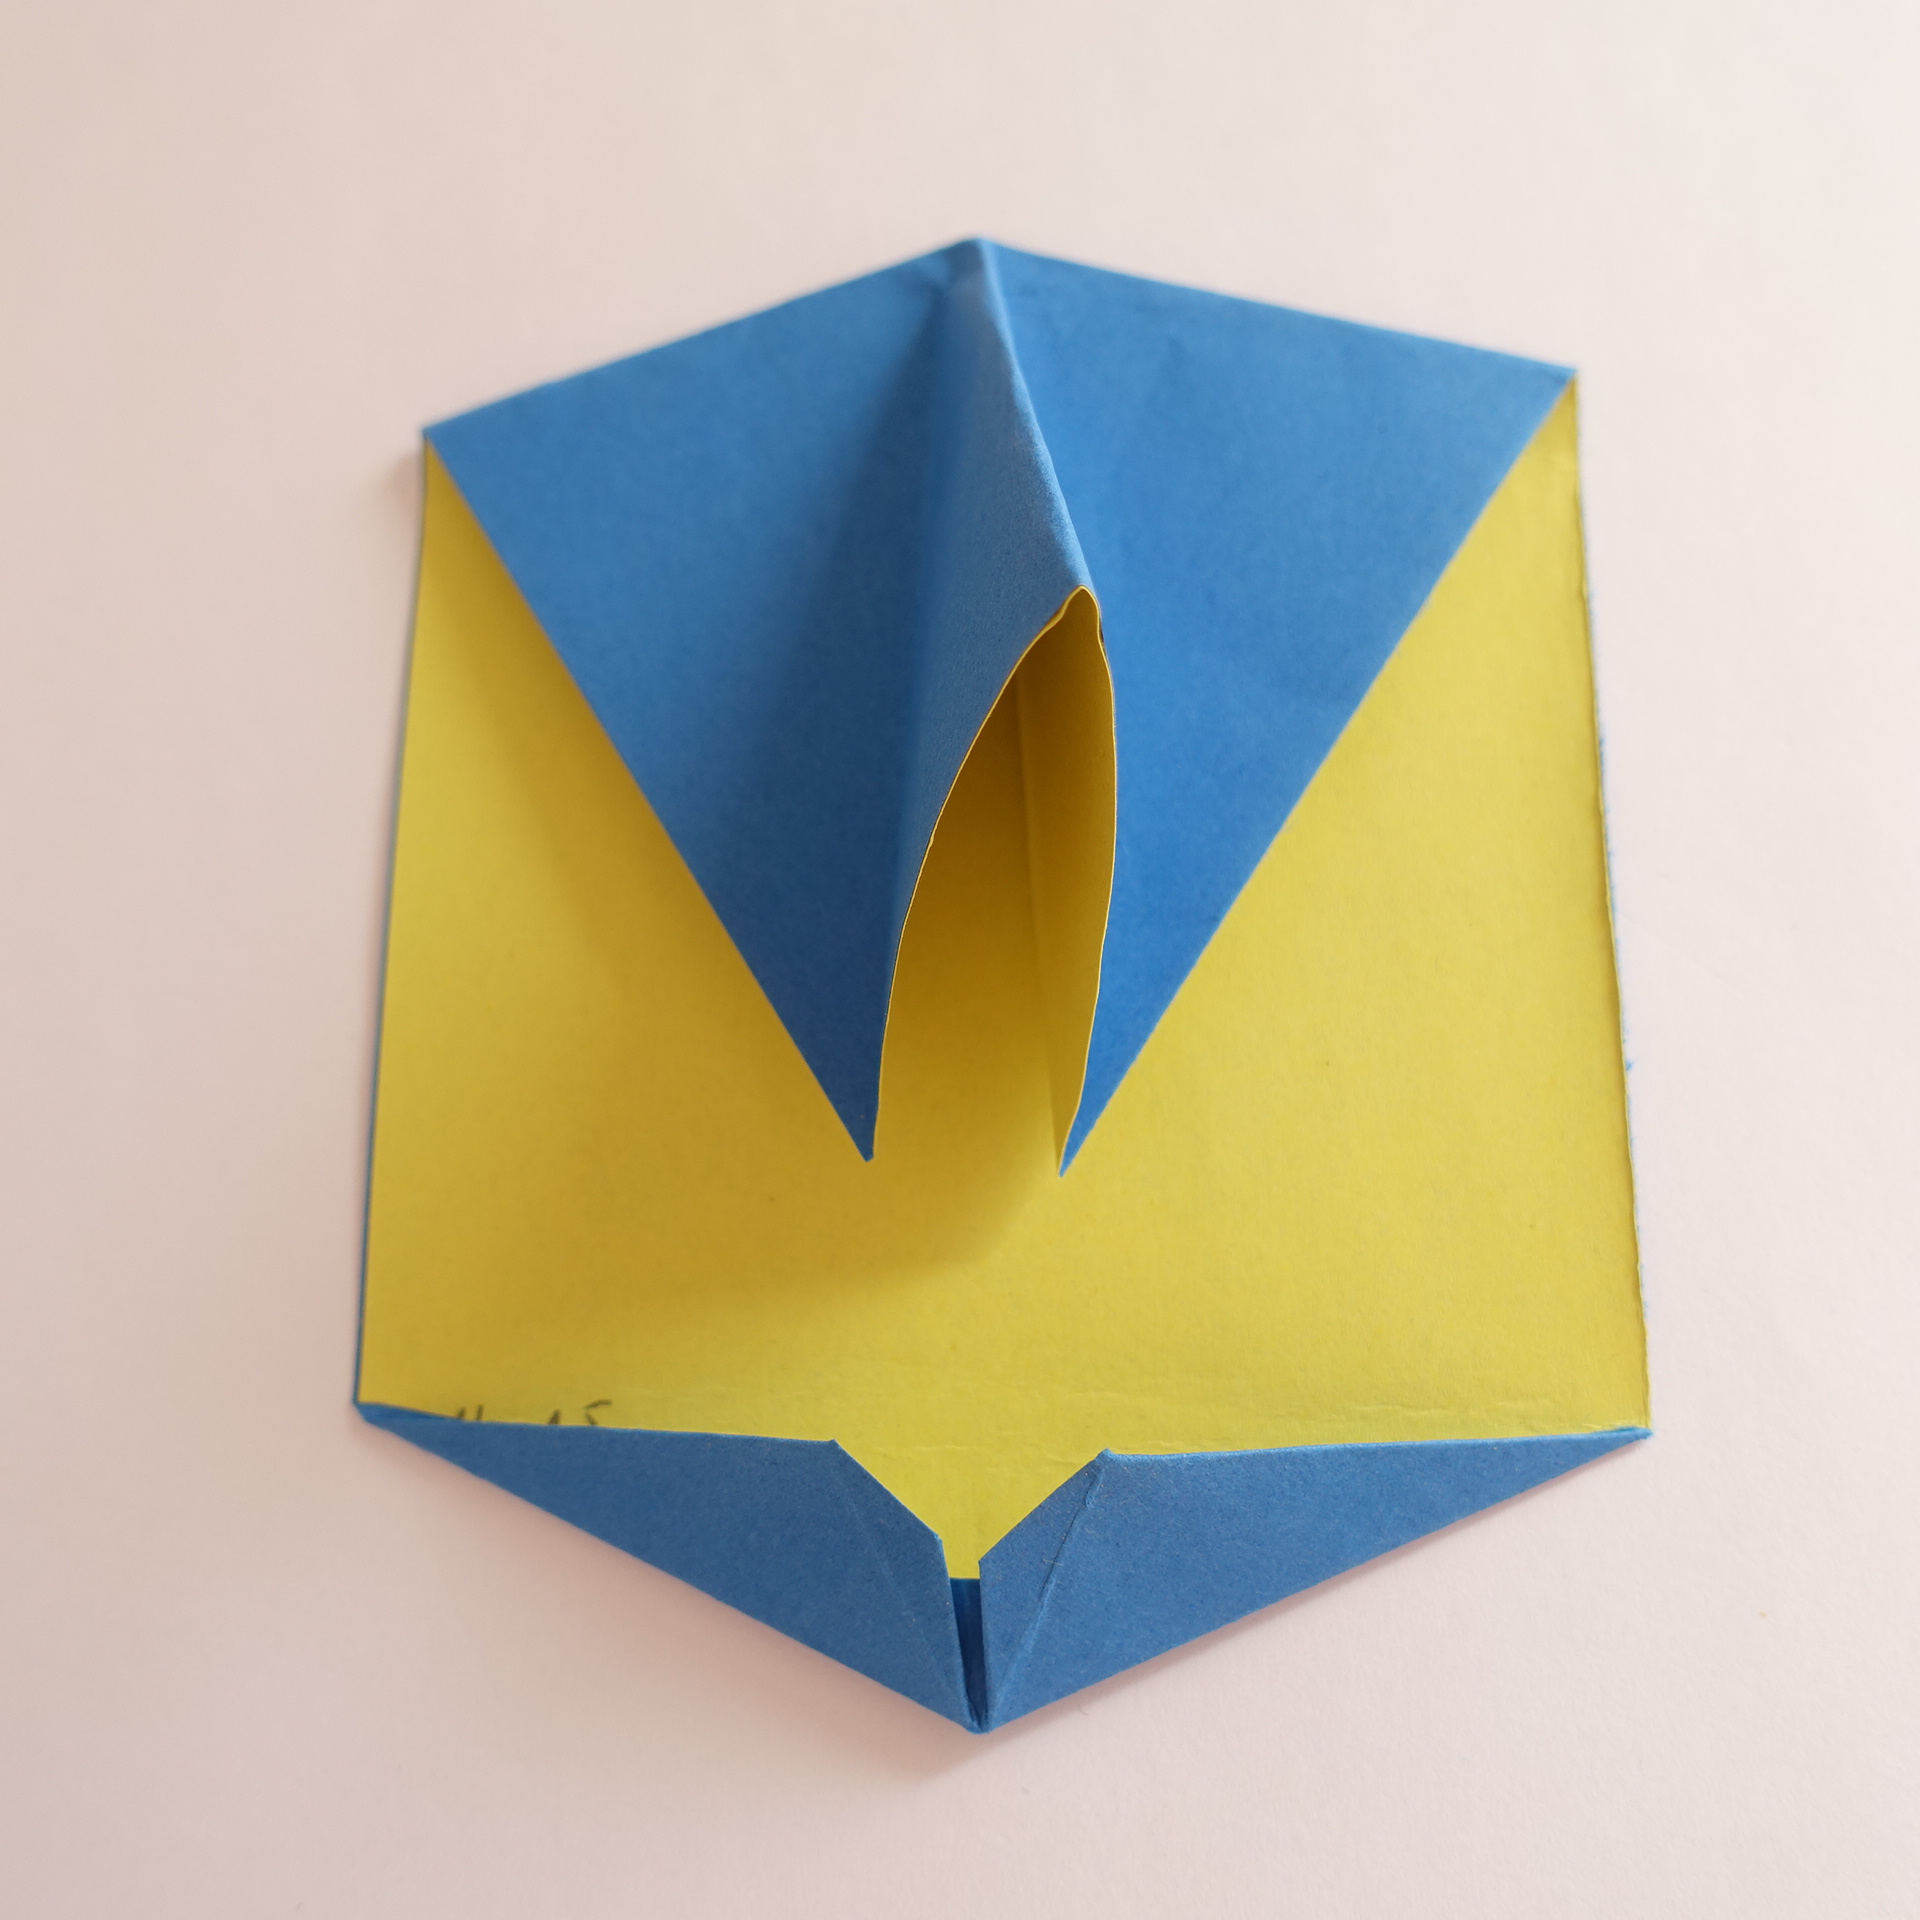
9. Start making a valley fold perpendicular to top edge at its center.
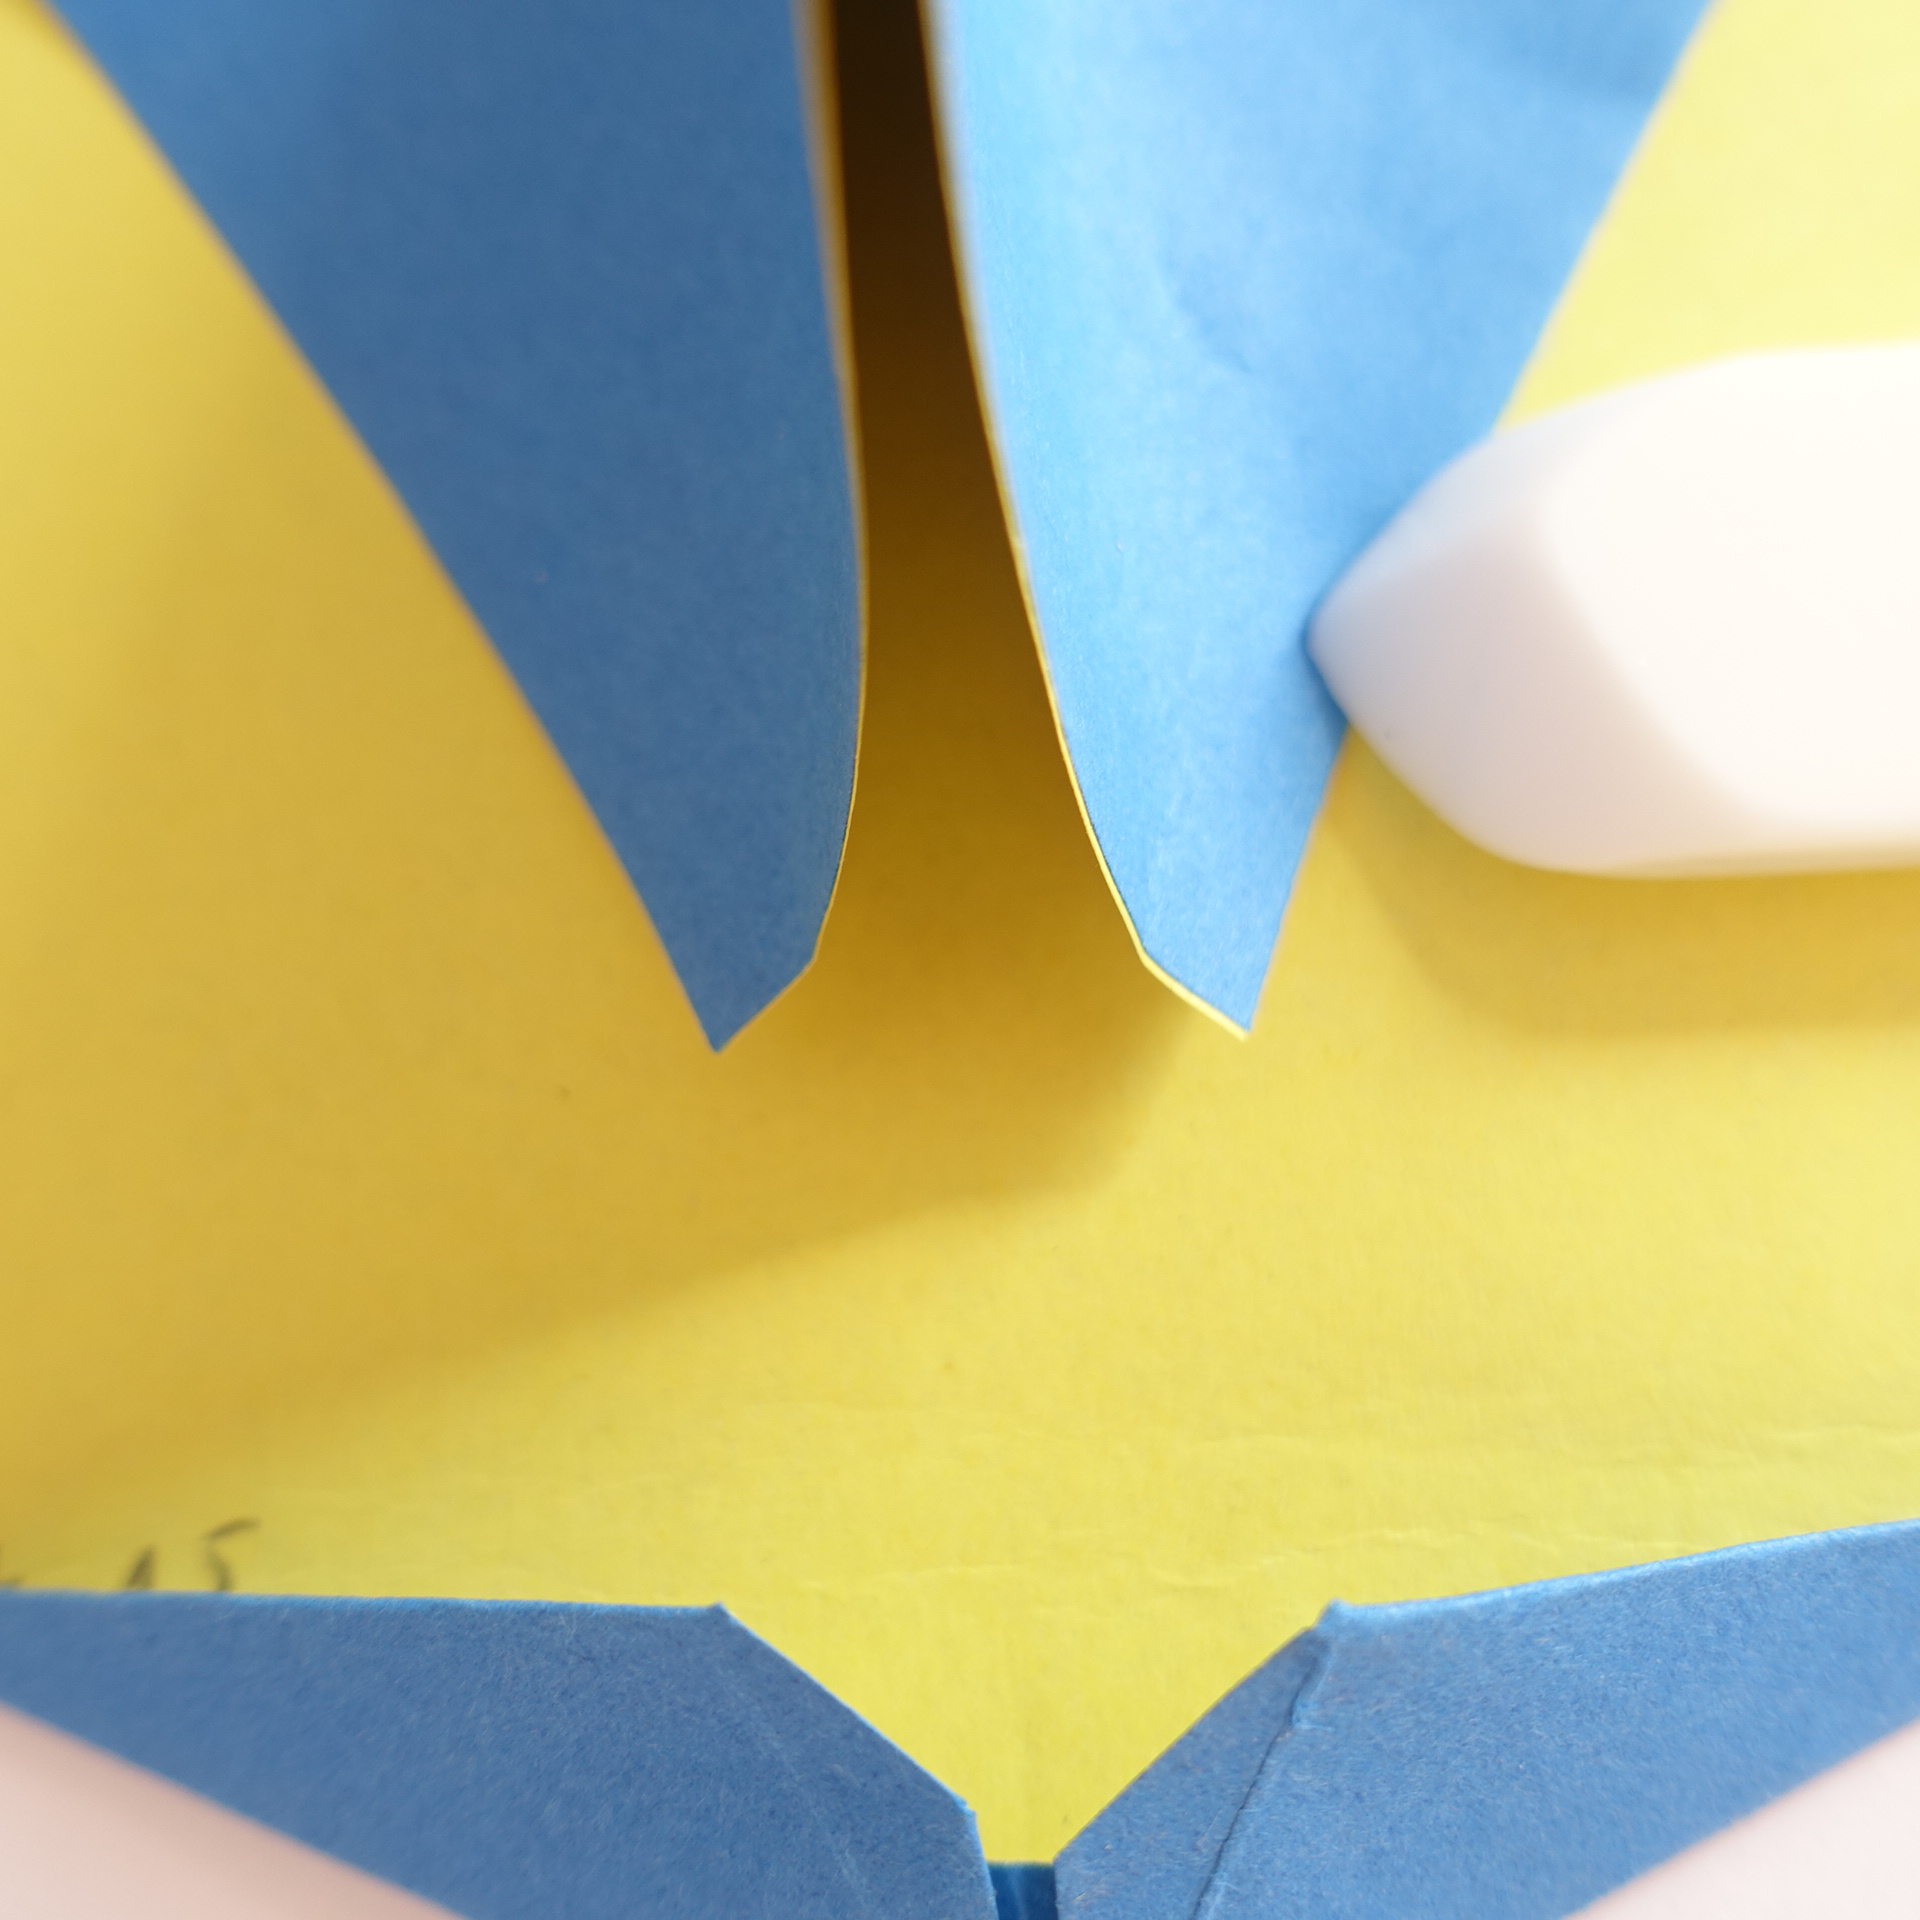
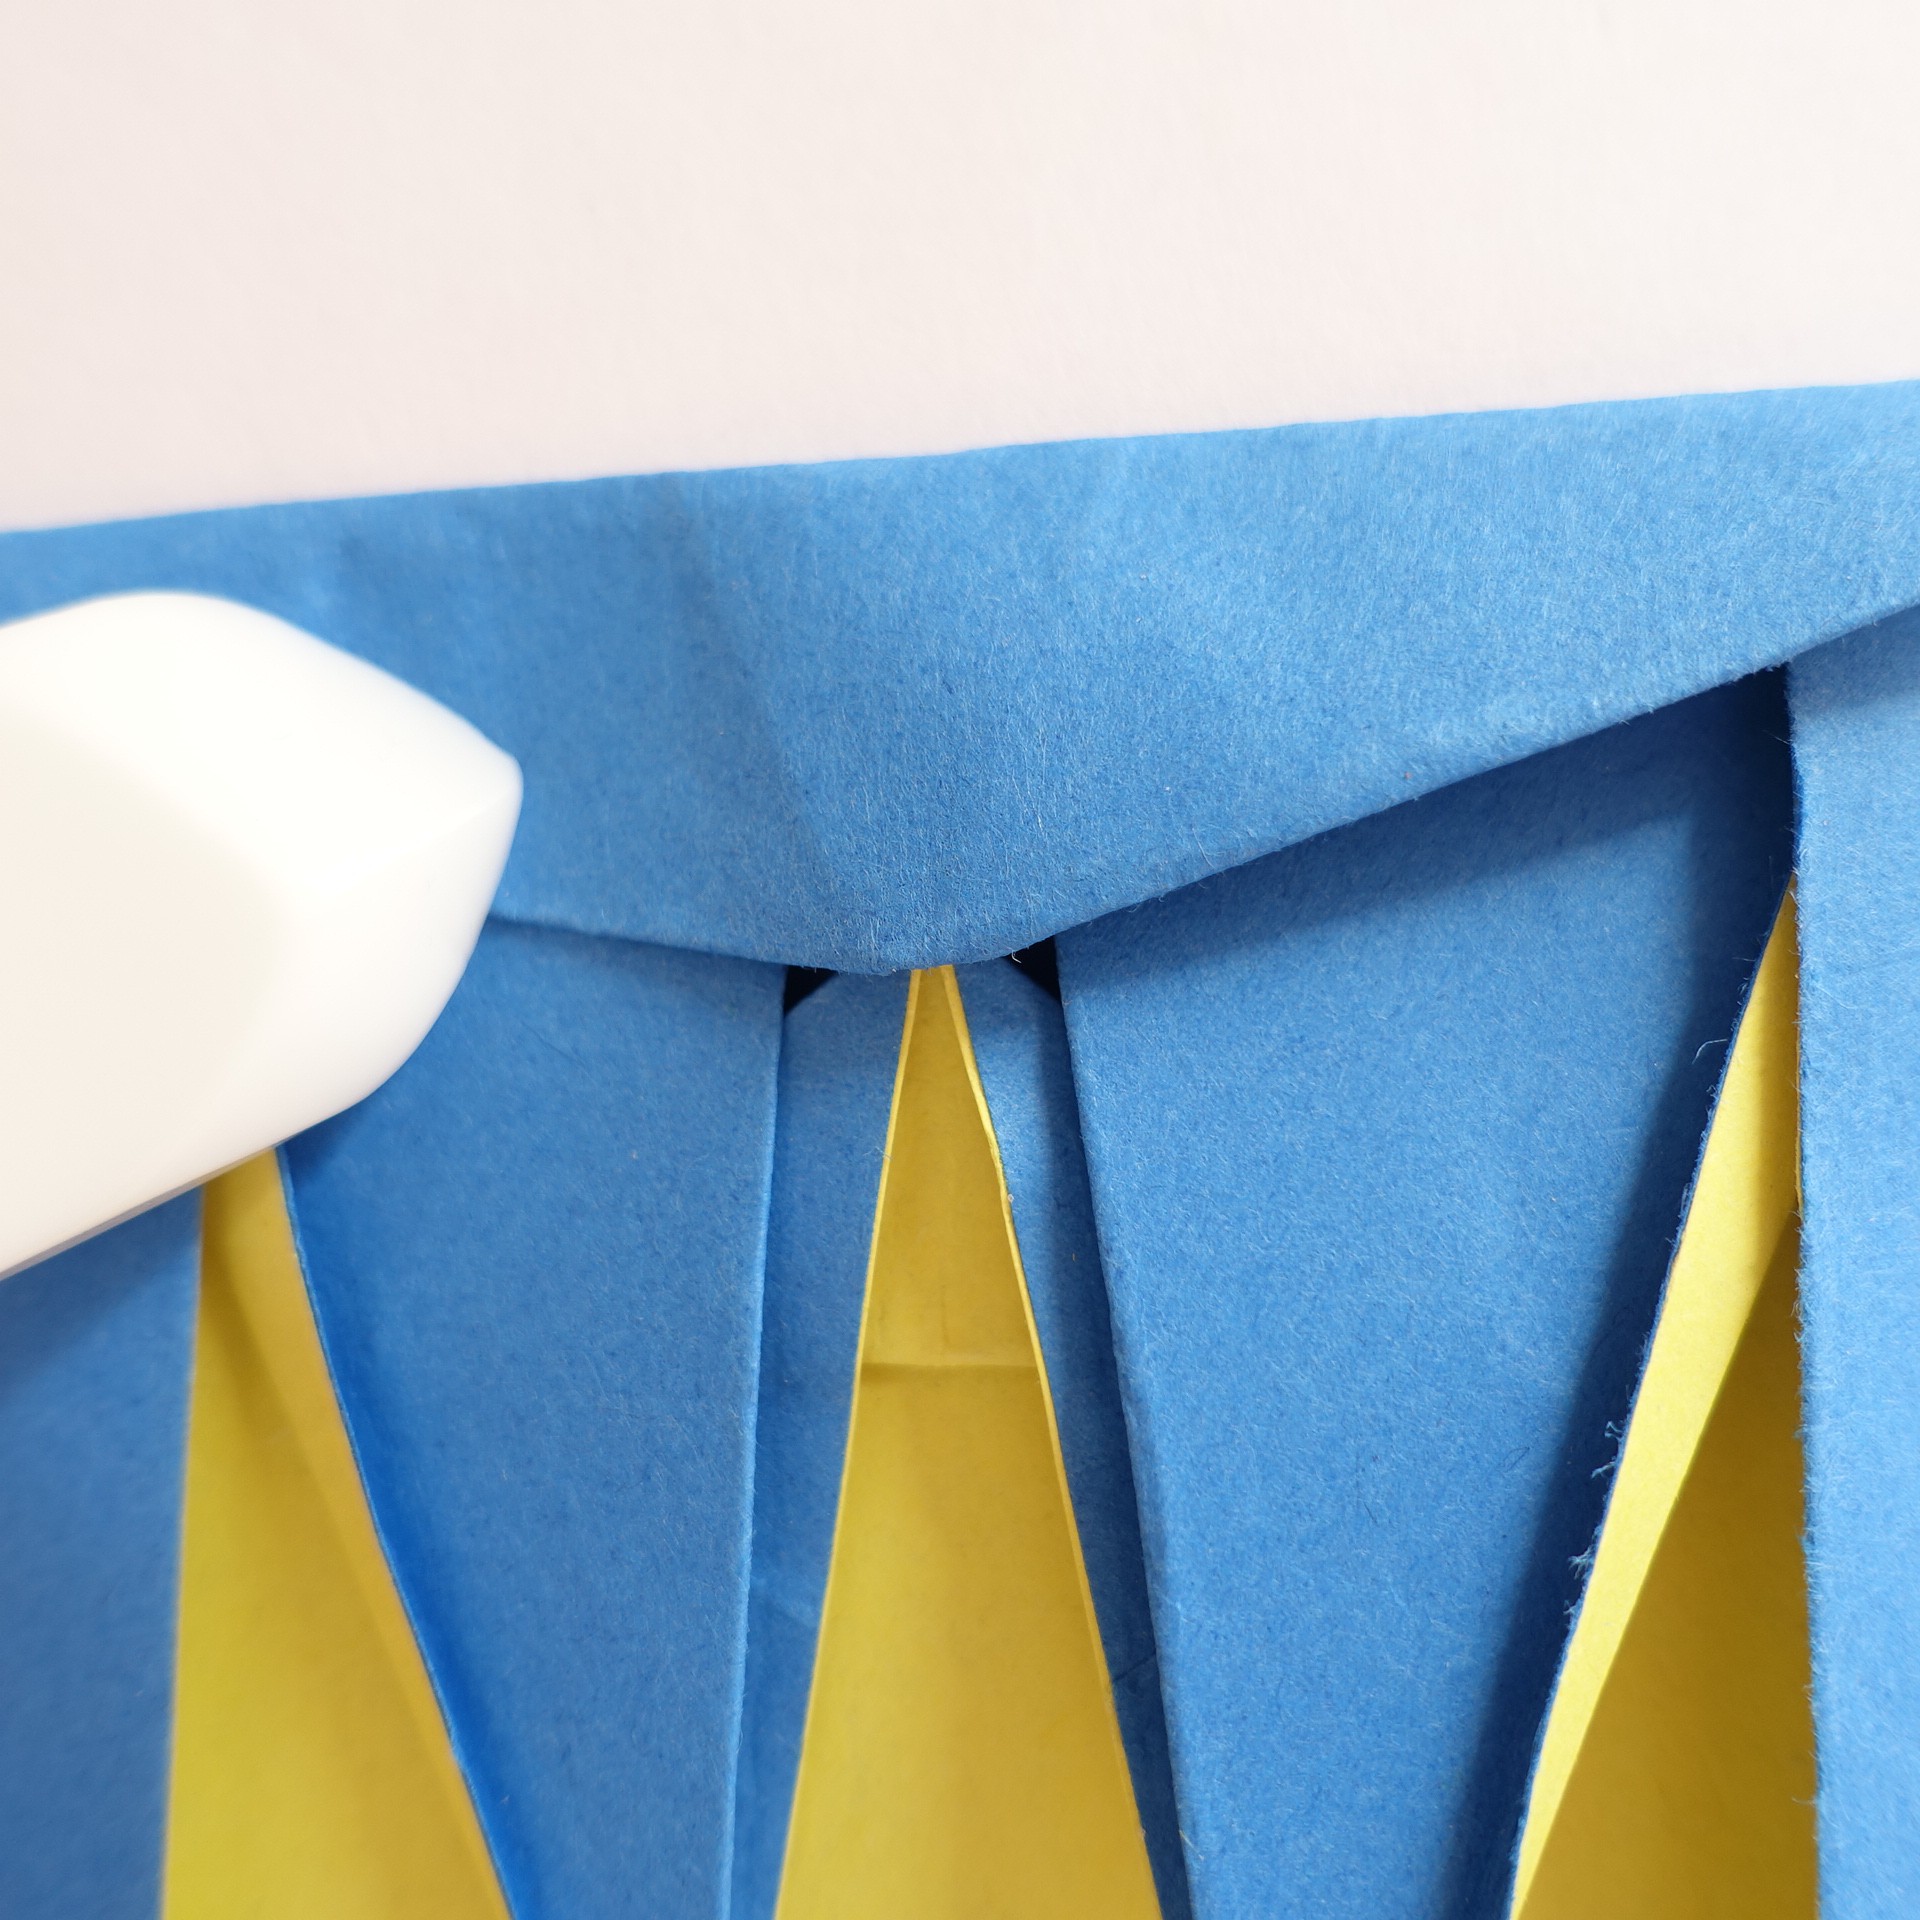
10. This is a kind of rabbit ear fold. Note that the two corners of the sheet are some distance apart: the space between them will form the central spike of the trident. Make a guess how far apart from each other and how far from the bottom they should be.
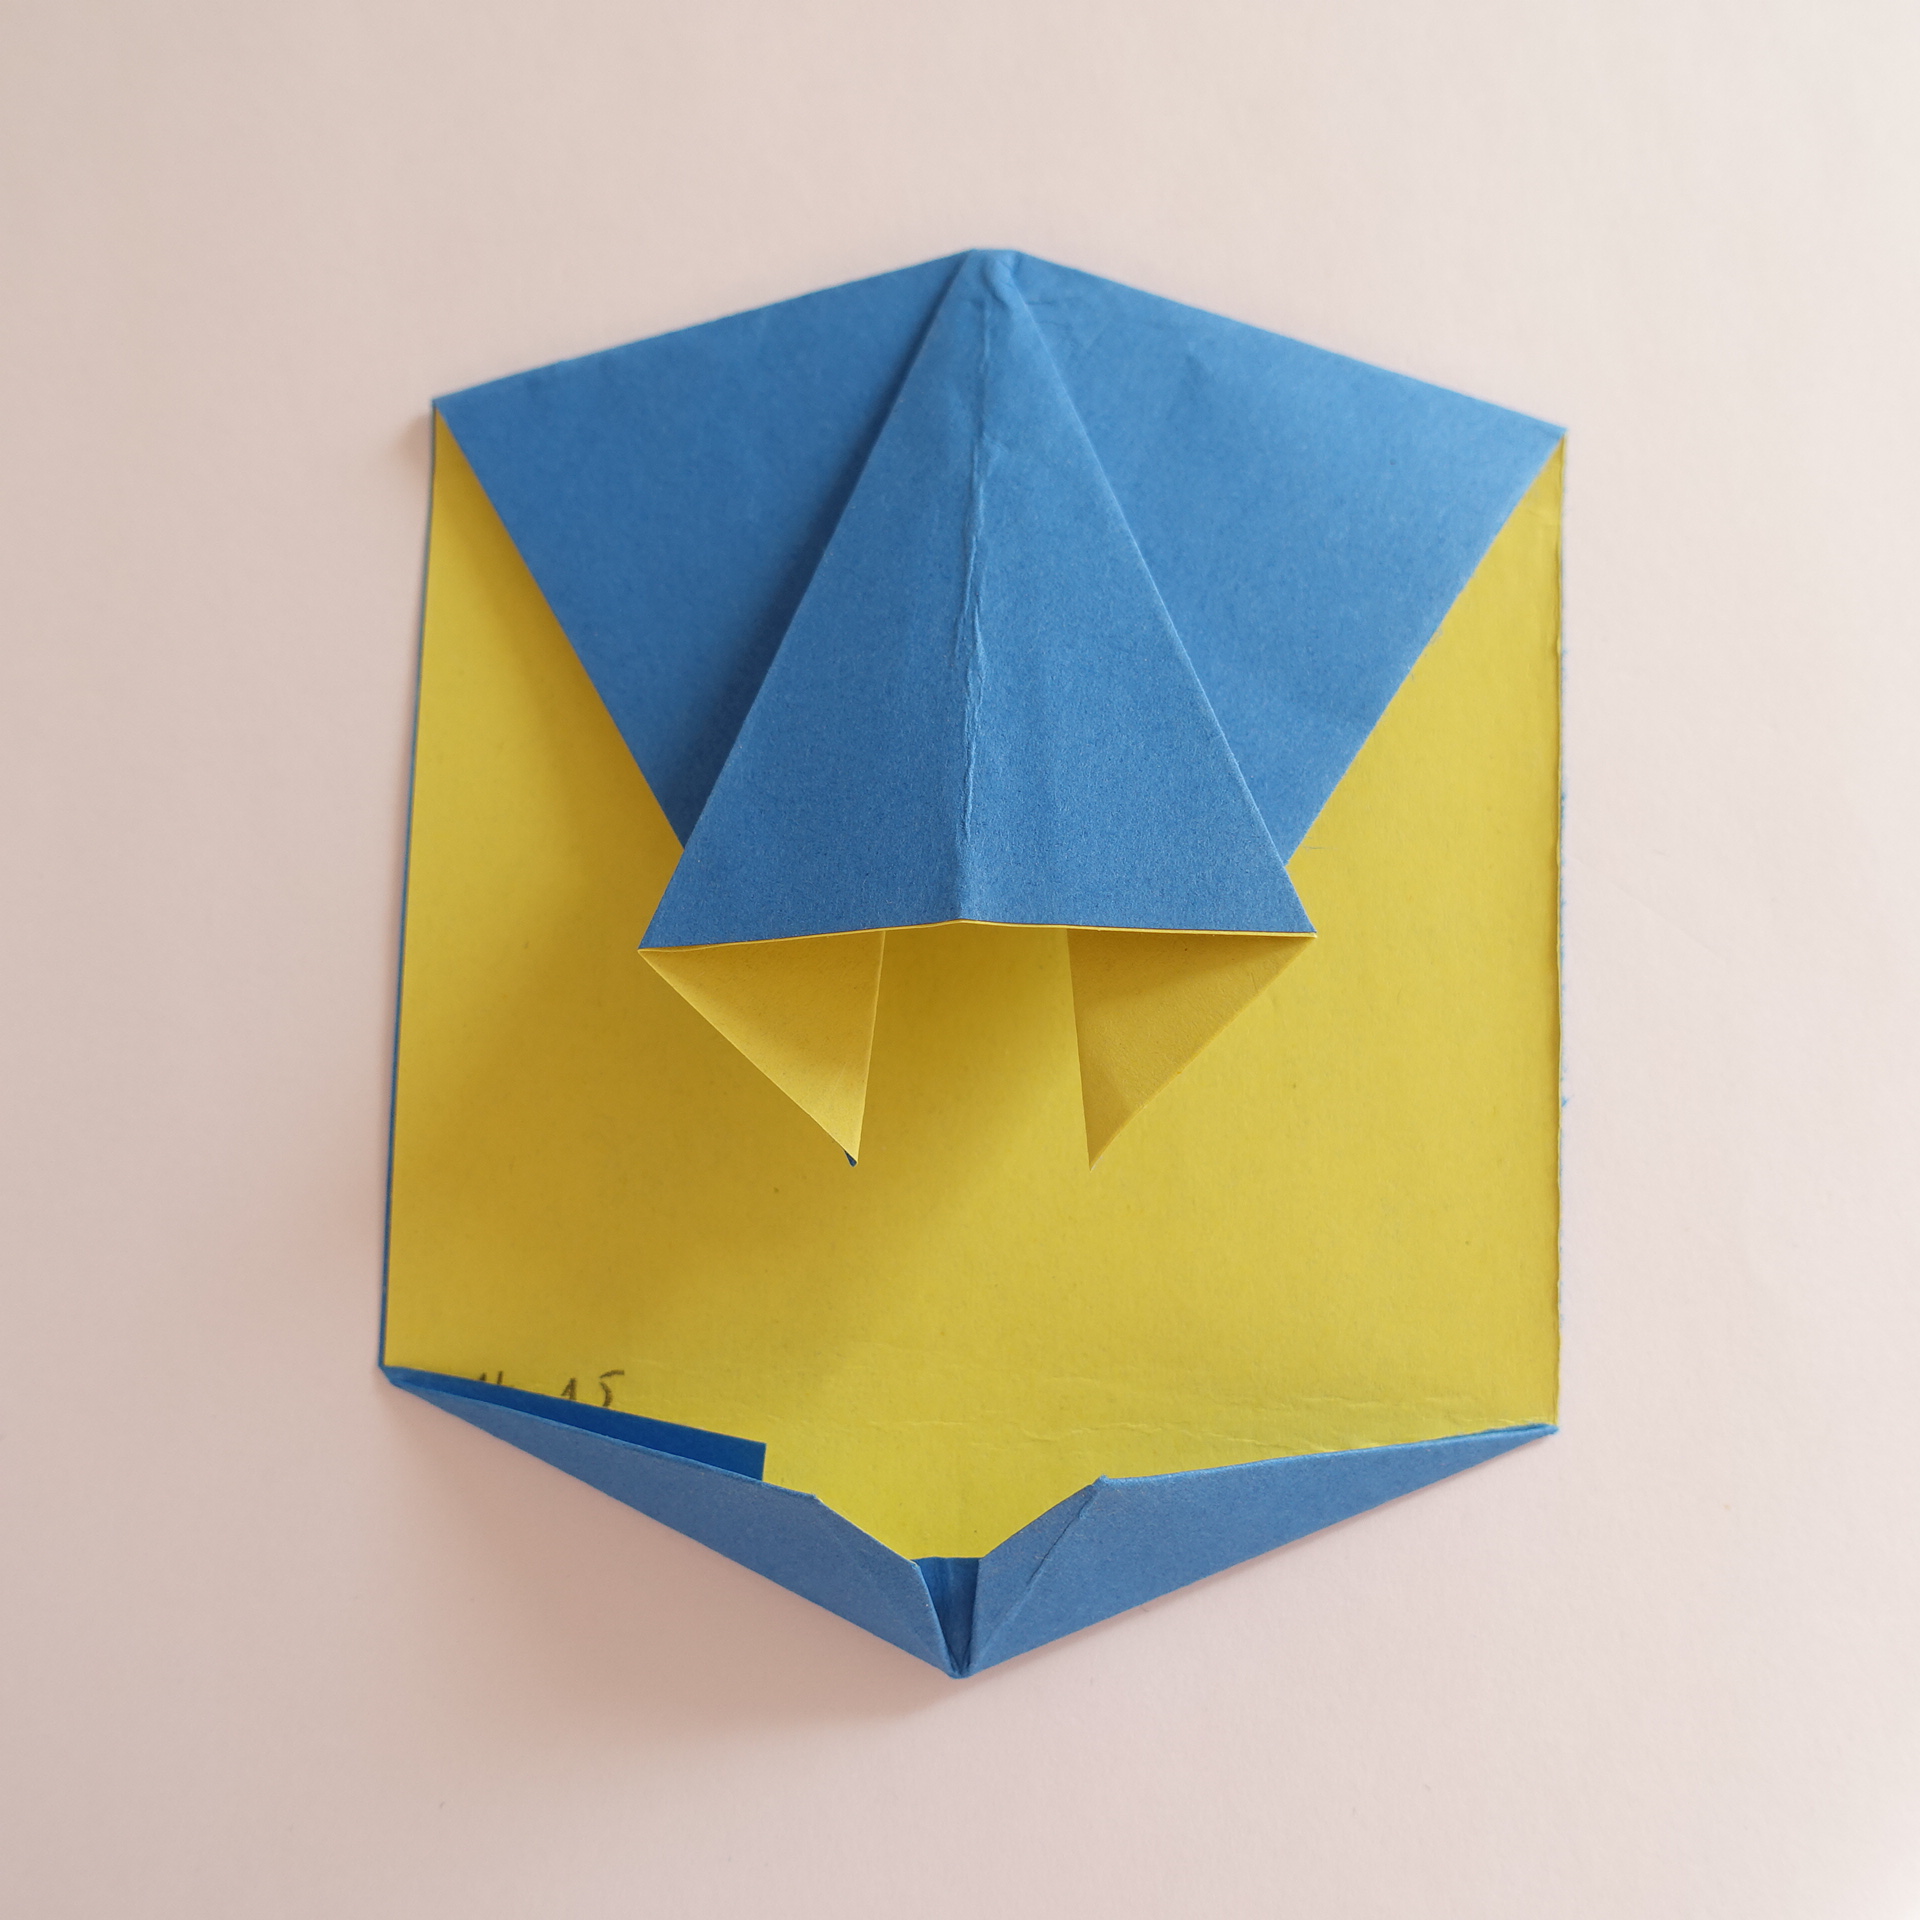
11. Close-up.
12. Crease from the corner to the starting point of the rabbit ear.
13. Repeat step 12 on the right.
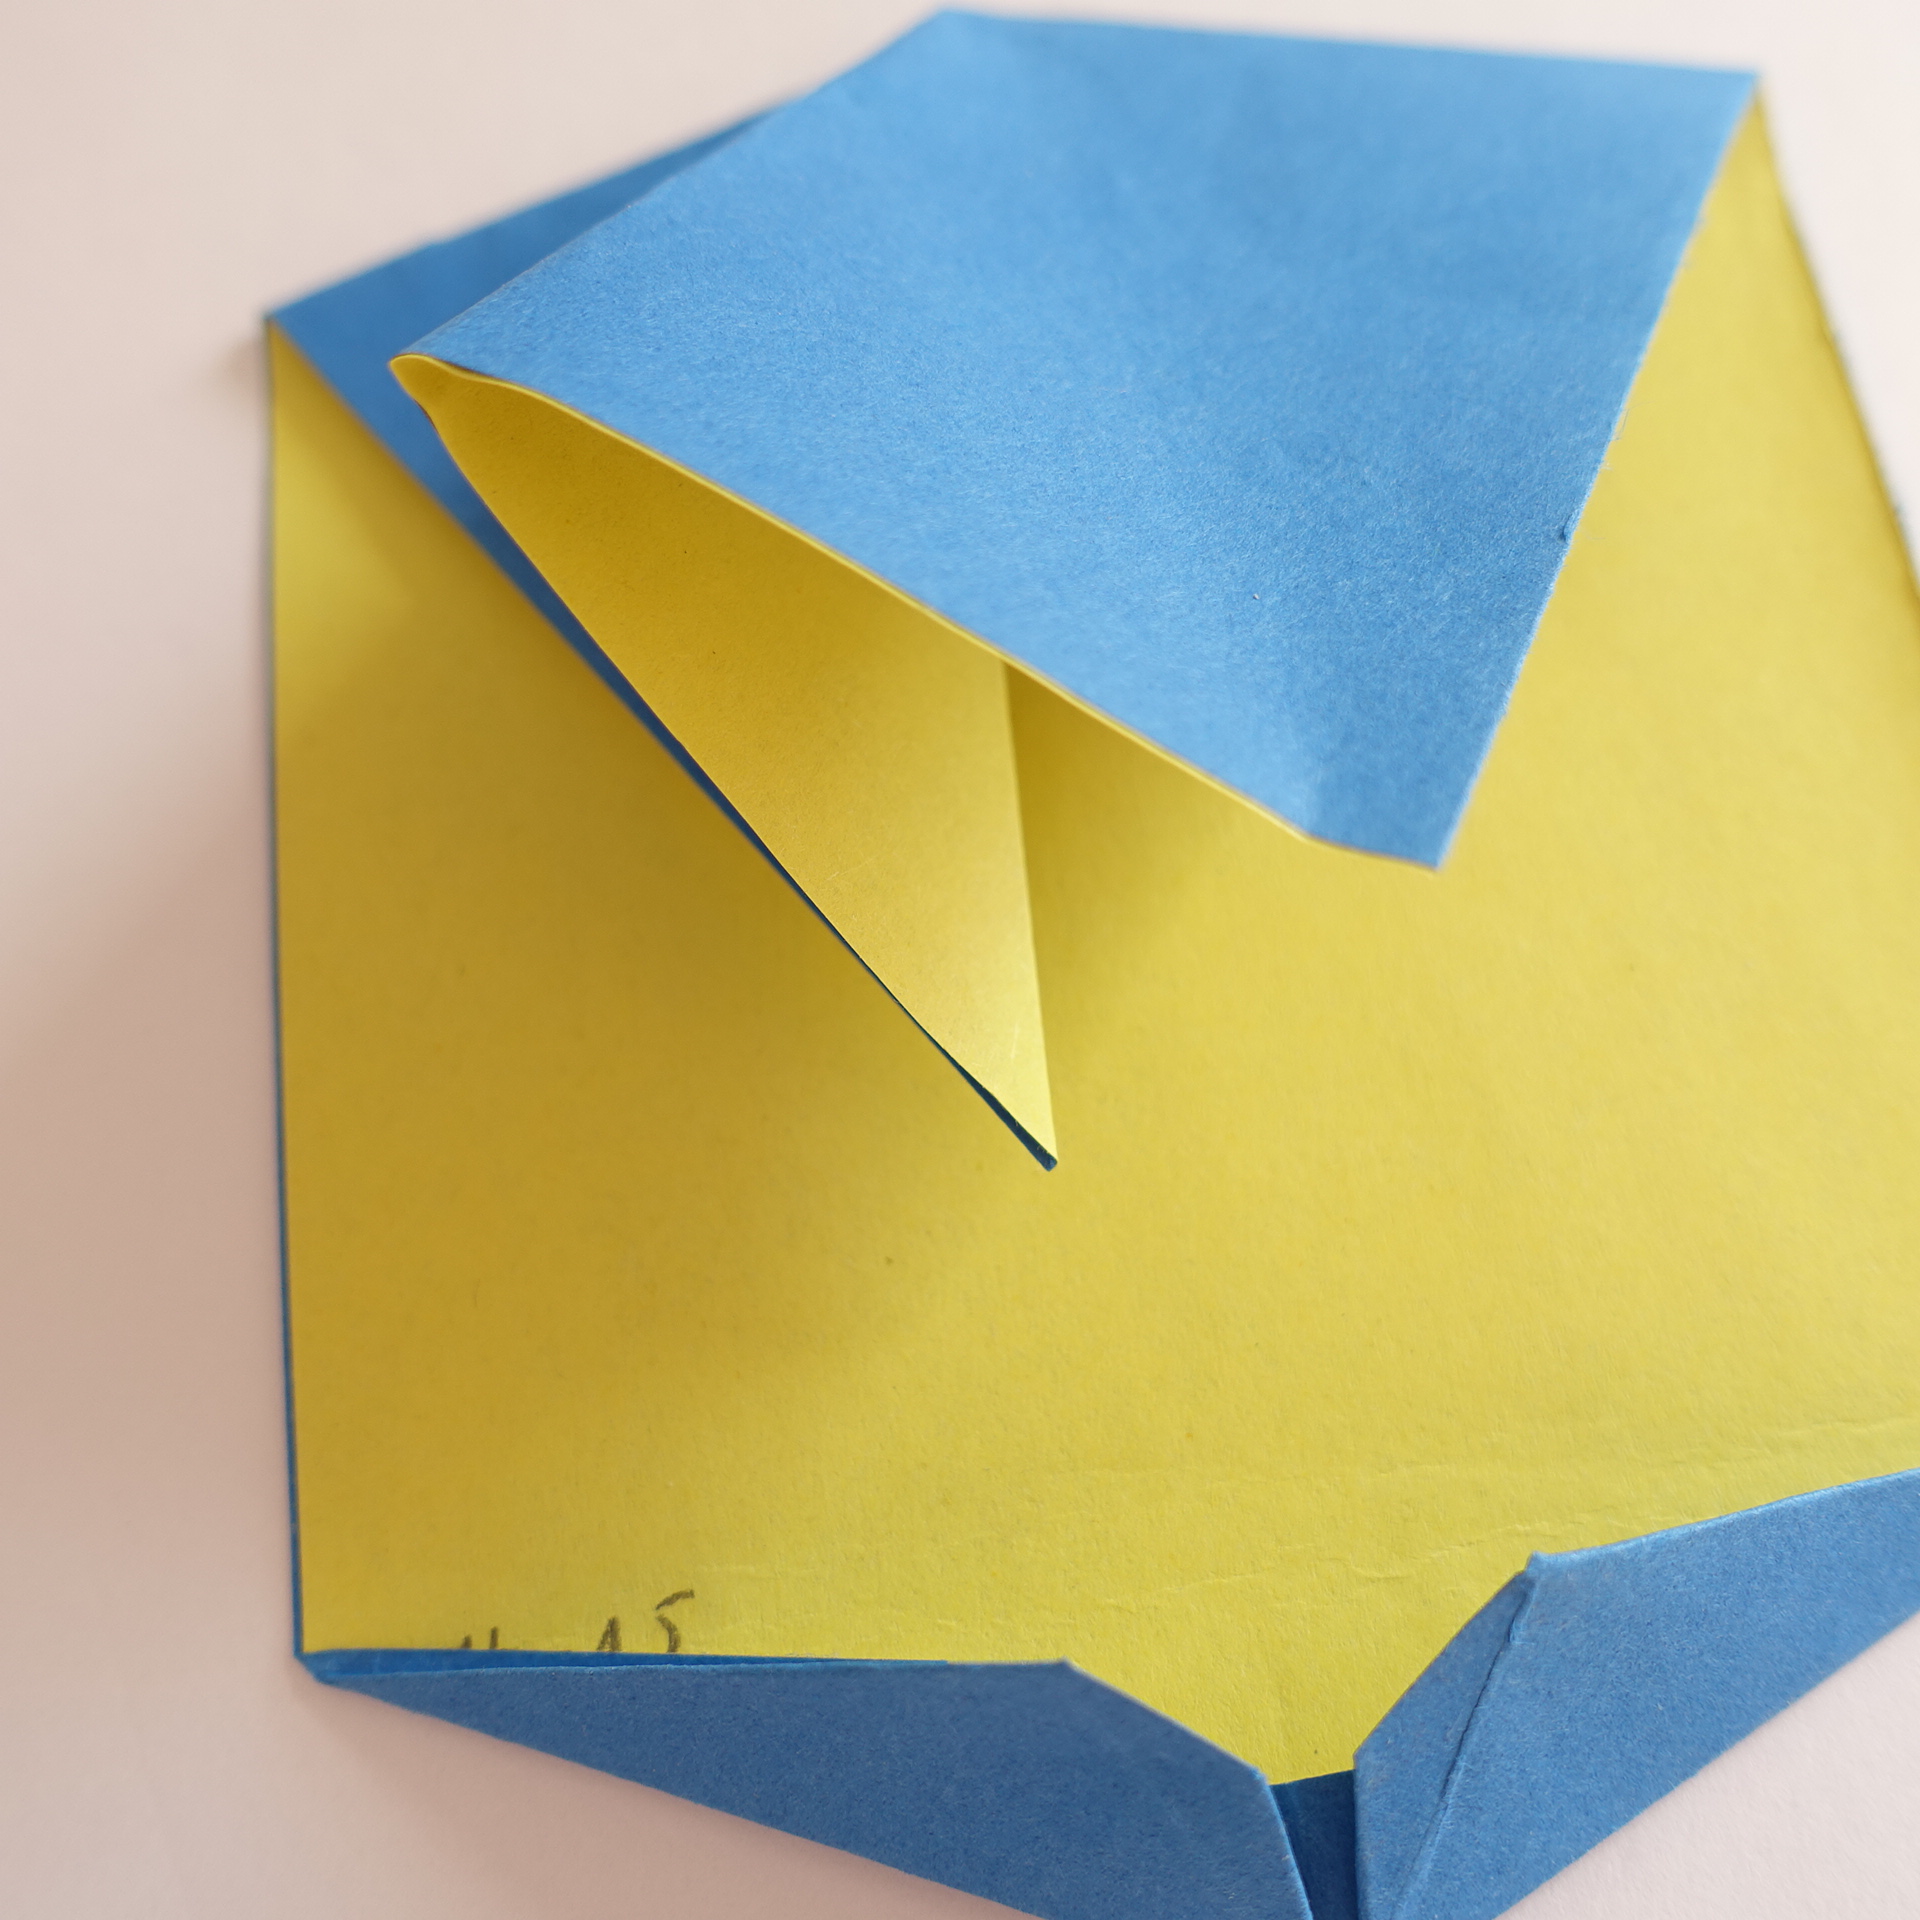
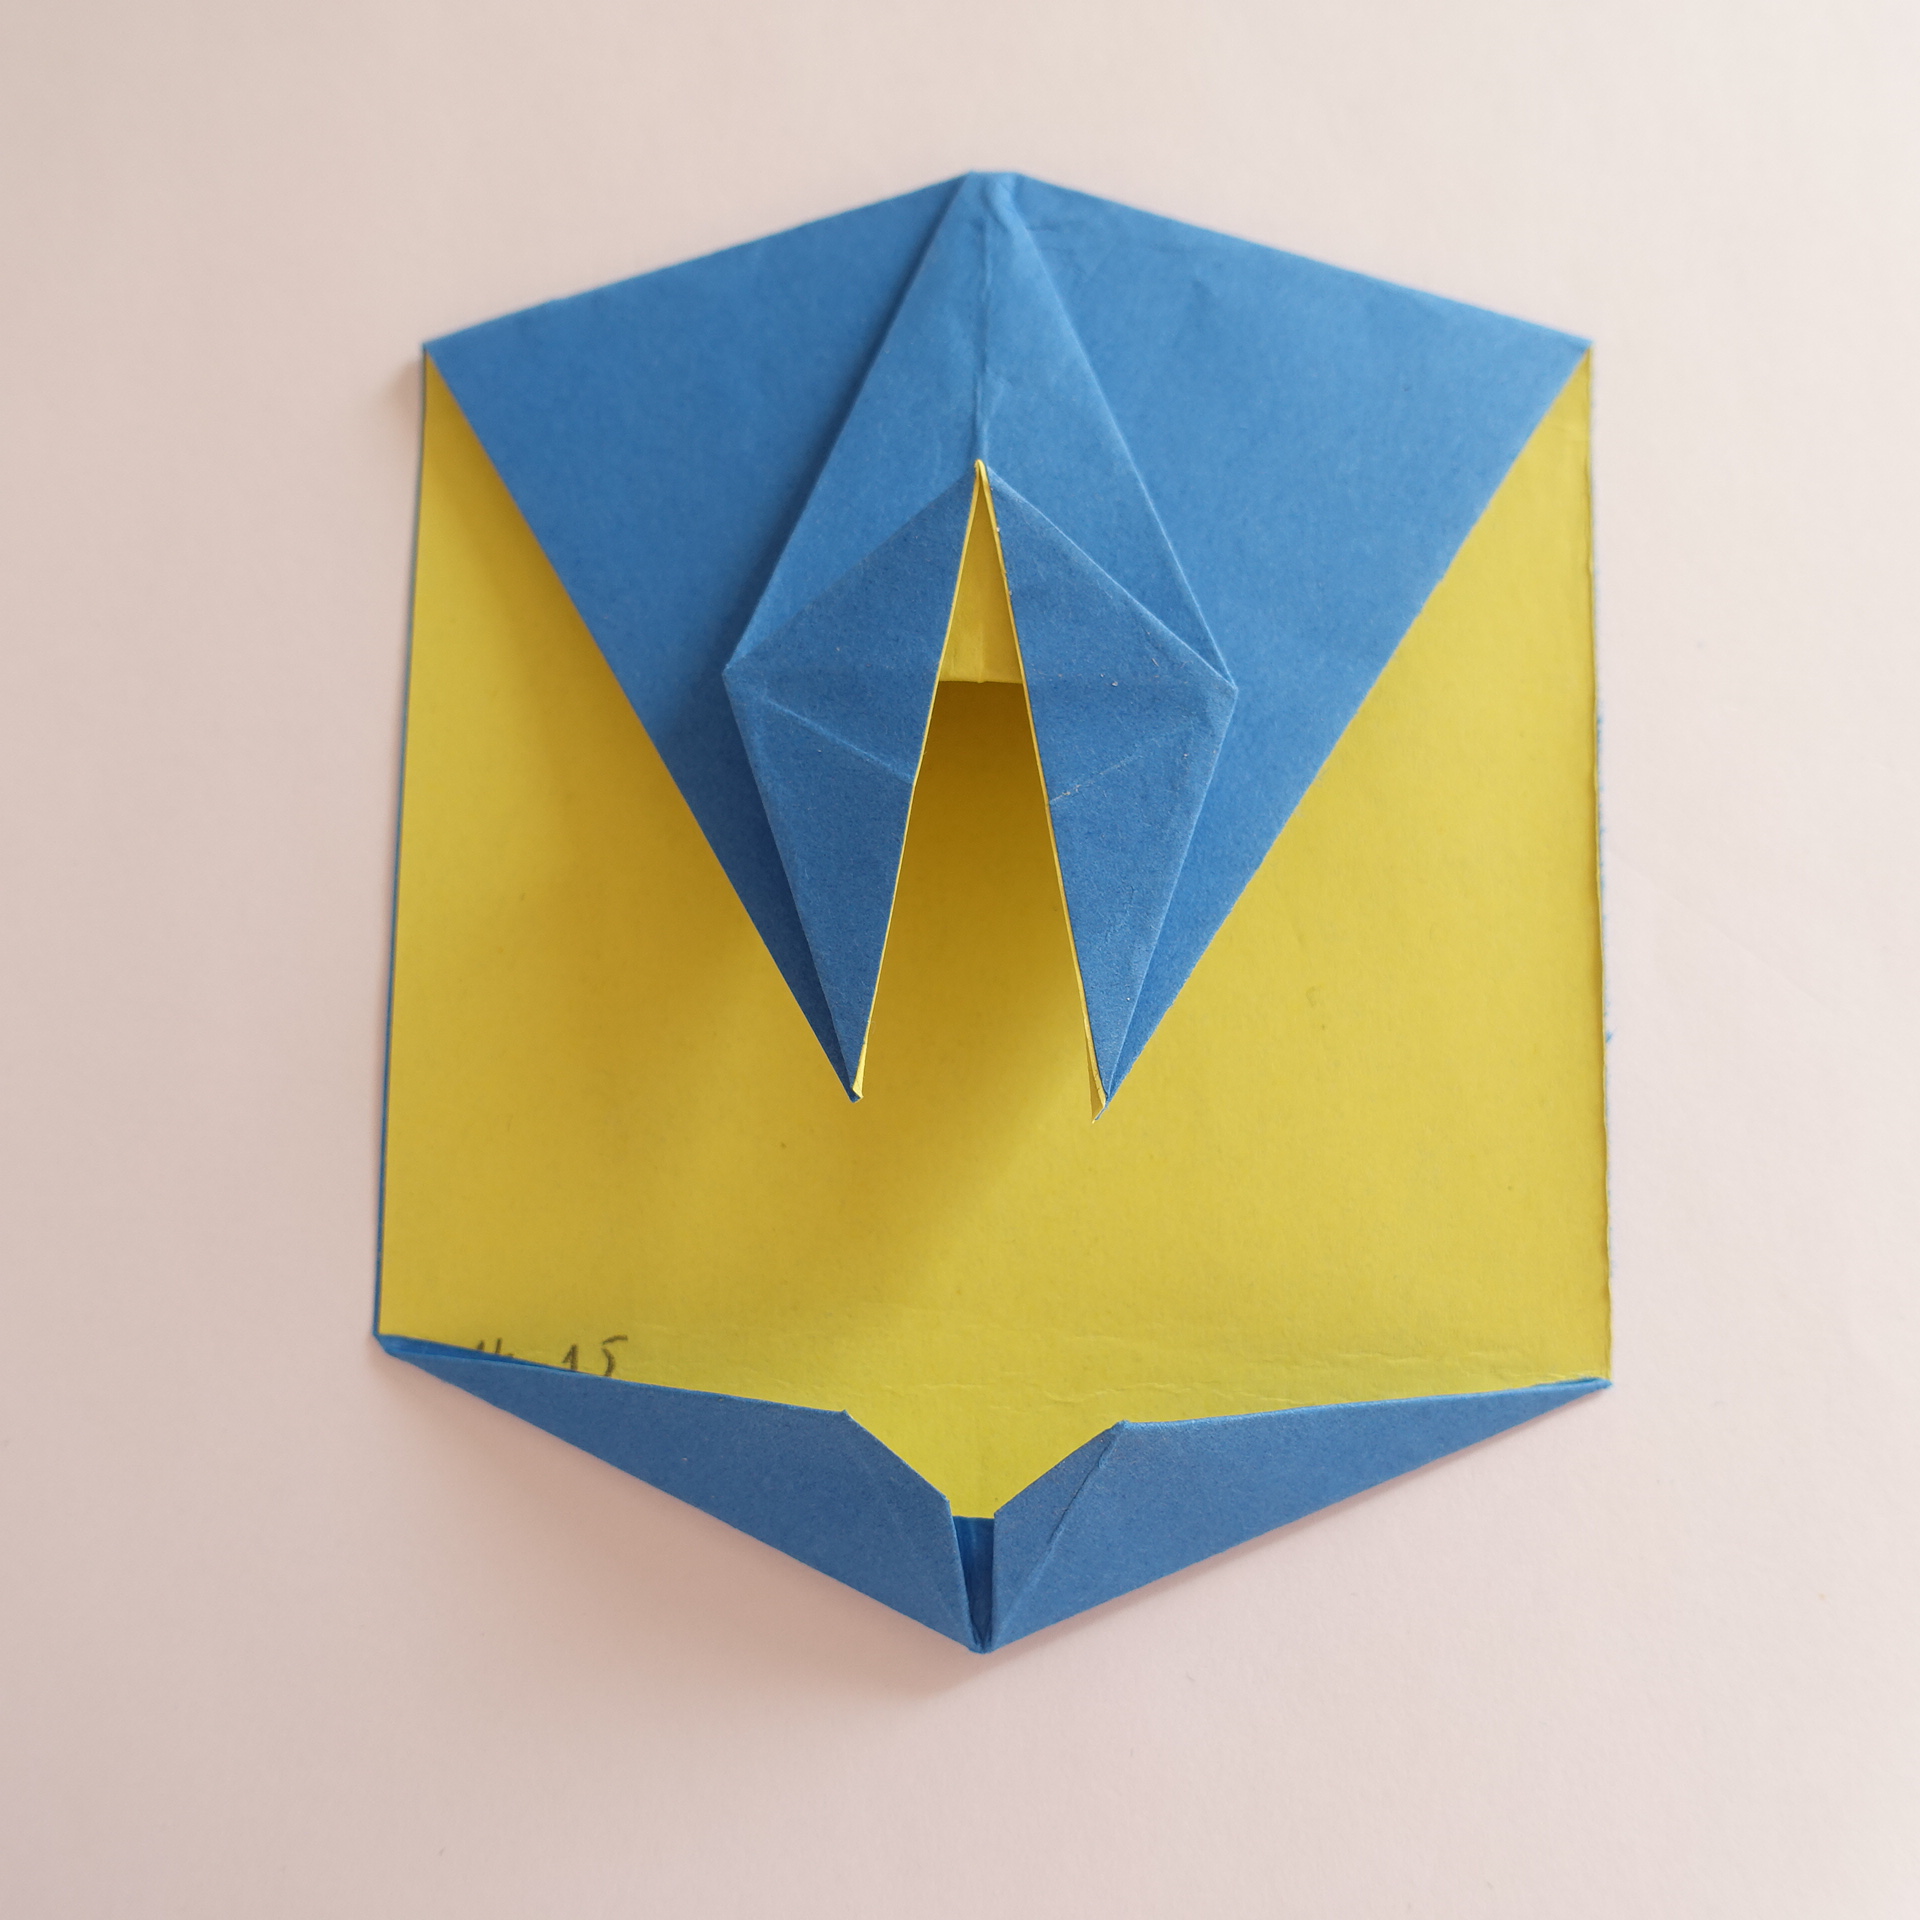
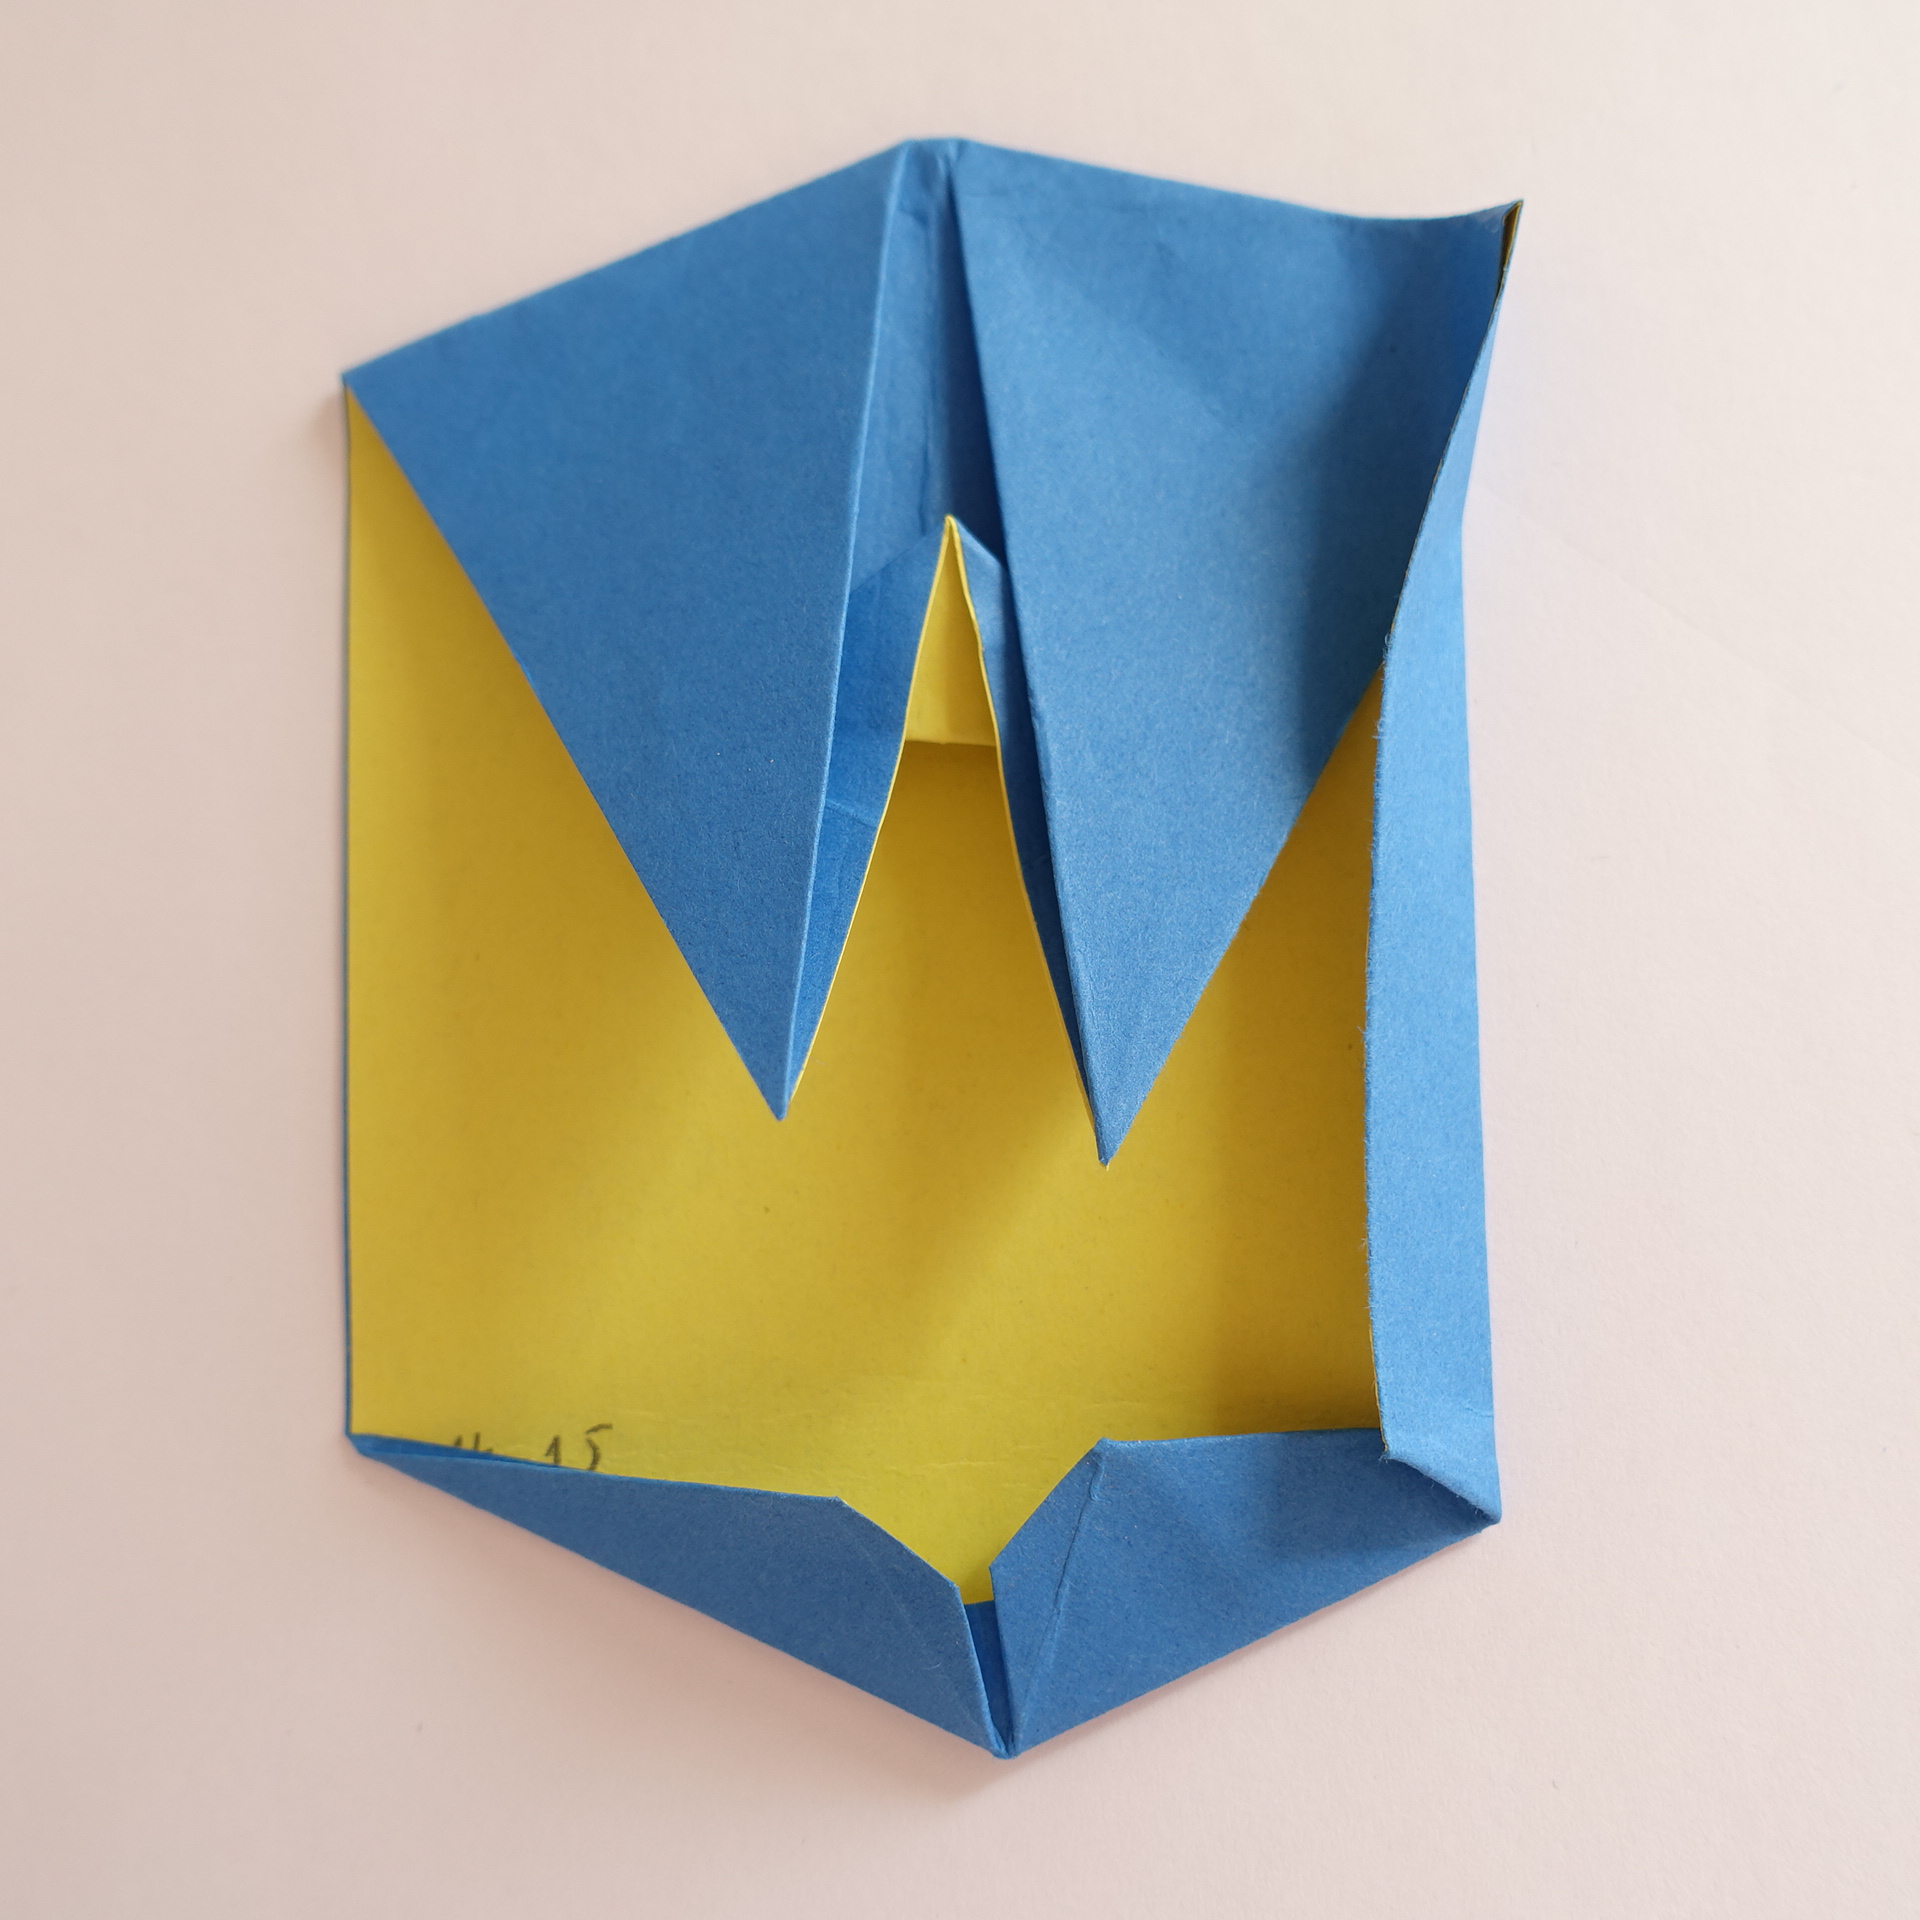
14. Squash fold.
15. Petal fold. Note that the inner edges will not align with the layers below.
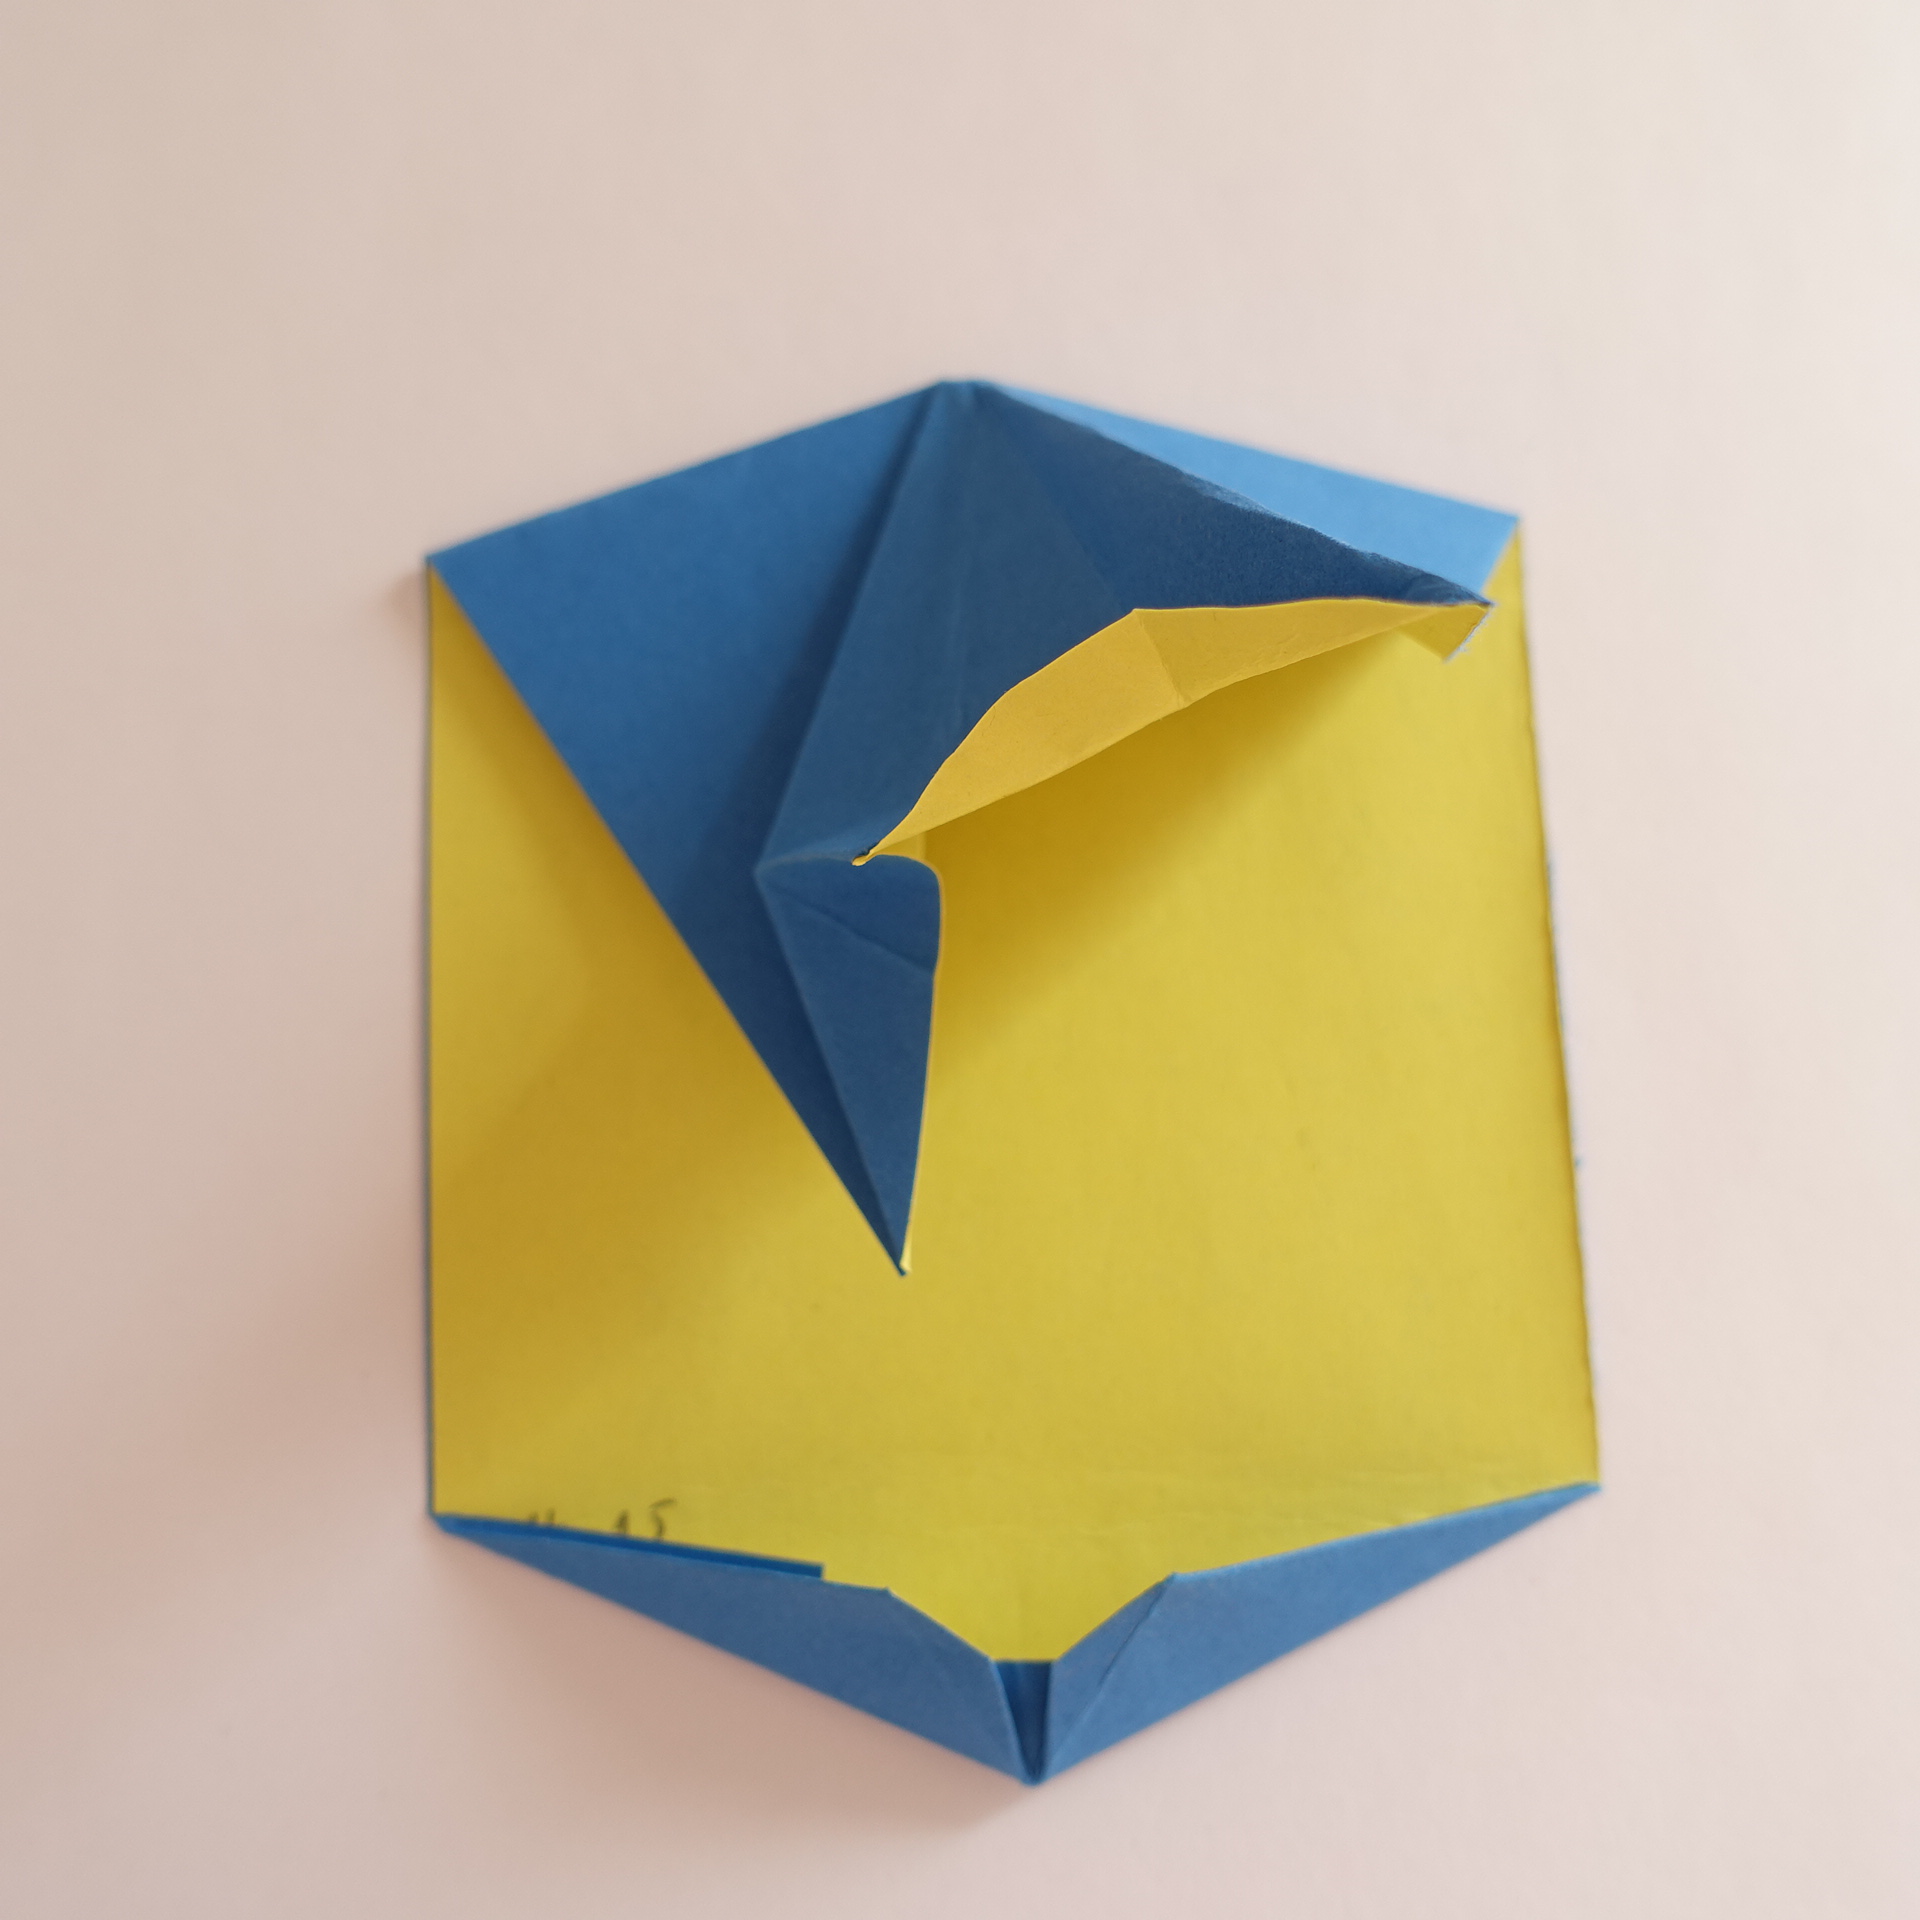
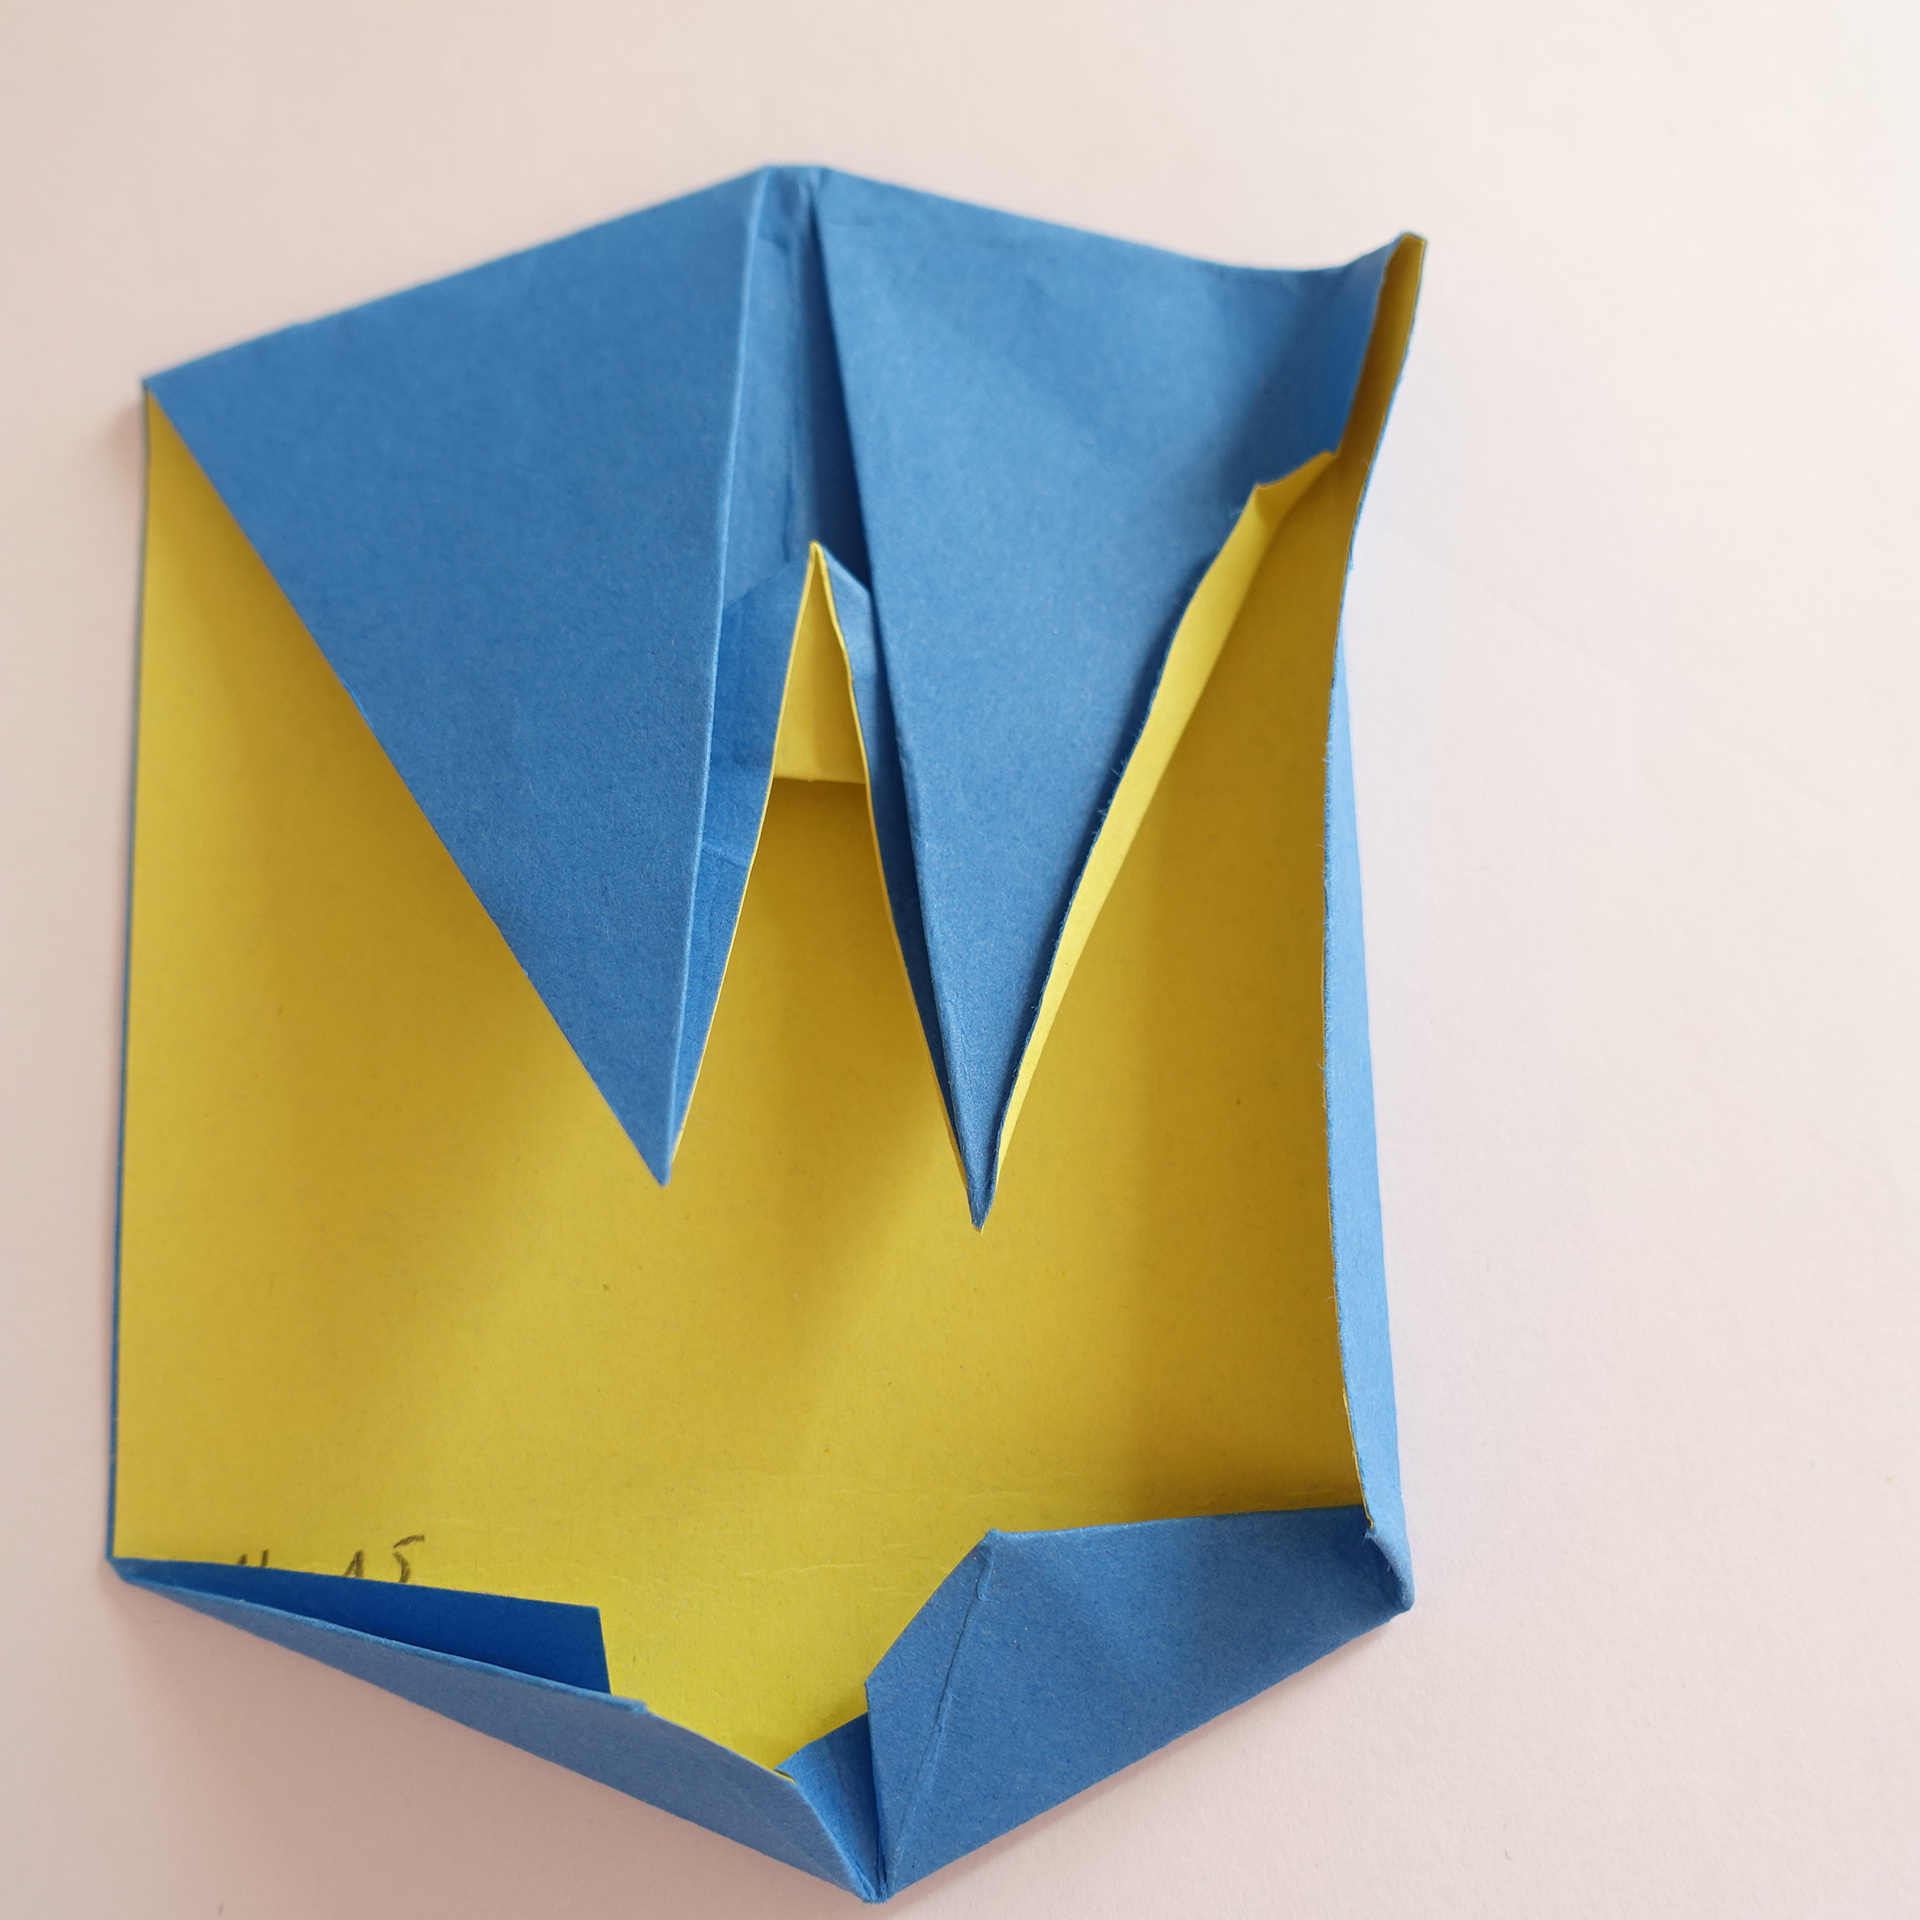
16. Change mountain folds to valleys and vice versa in order to modify the order of layers.
17. Order of layers modified on the right side.
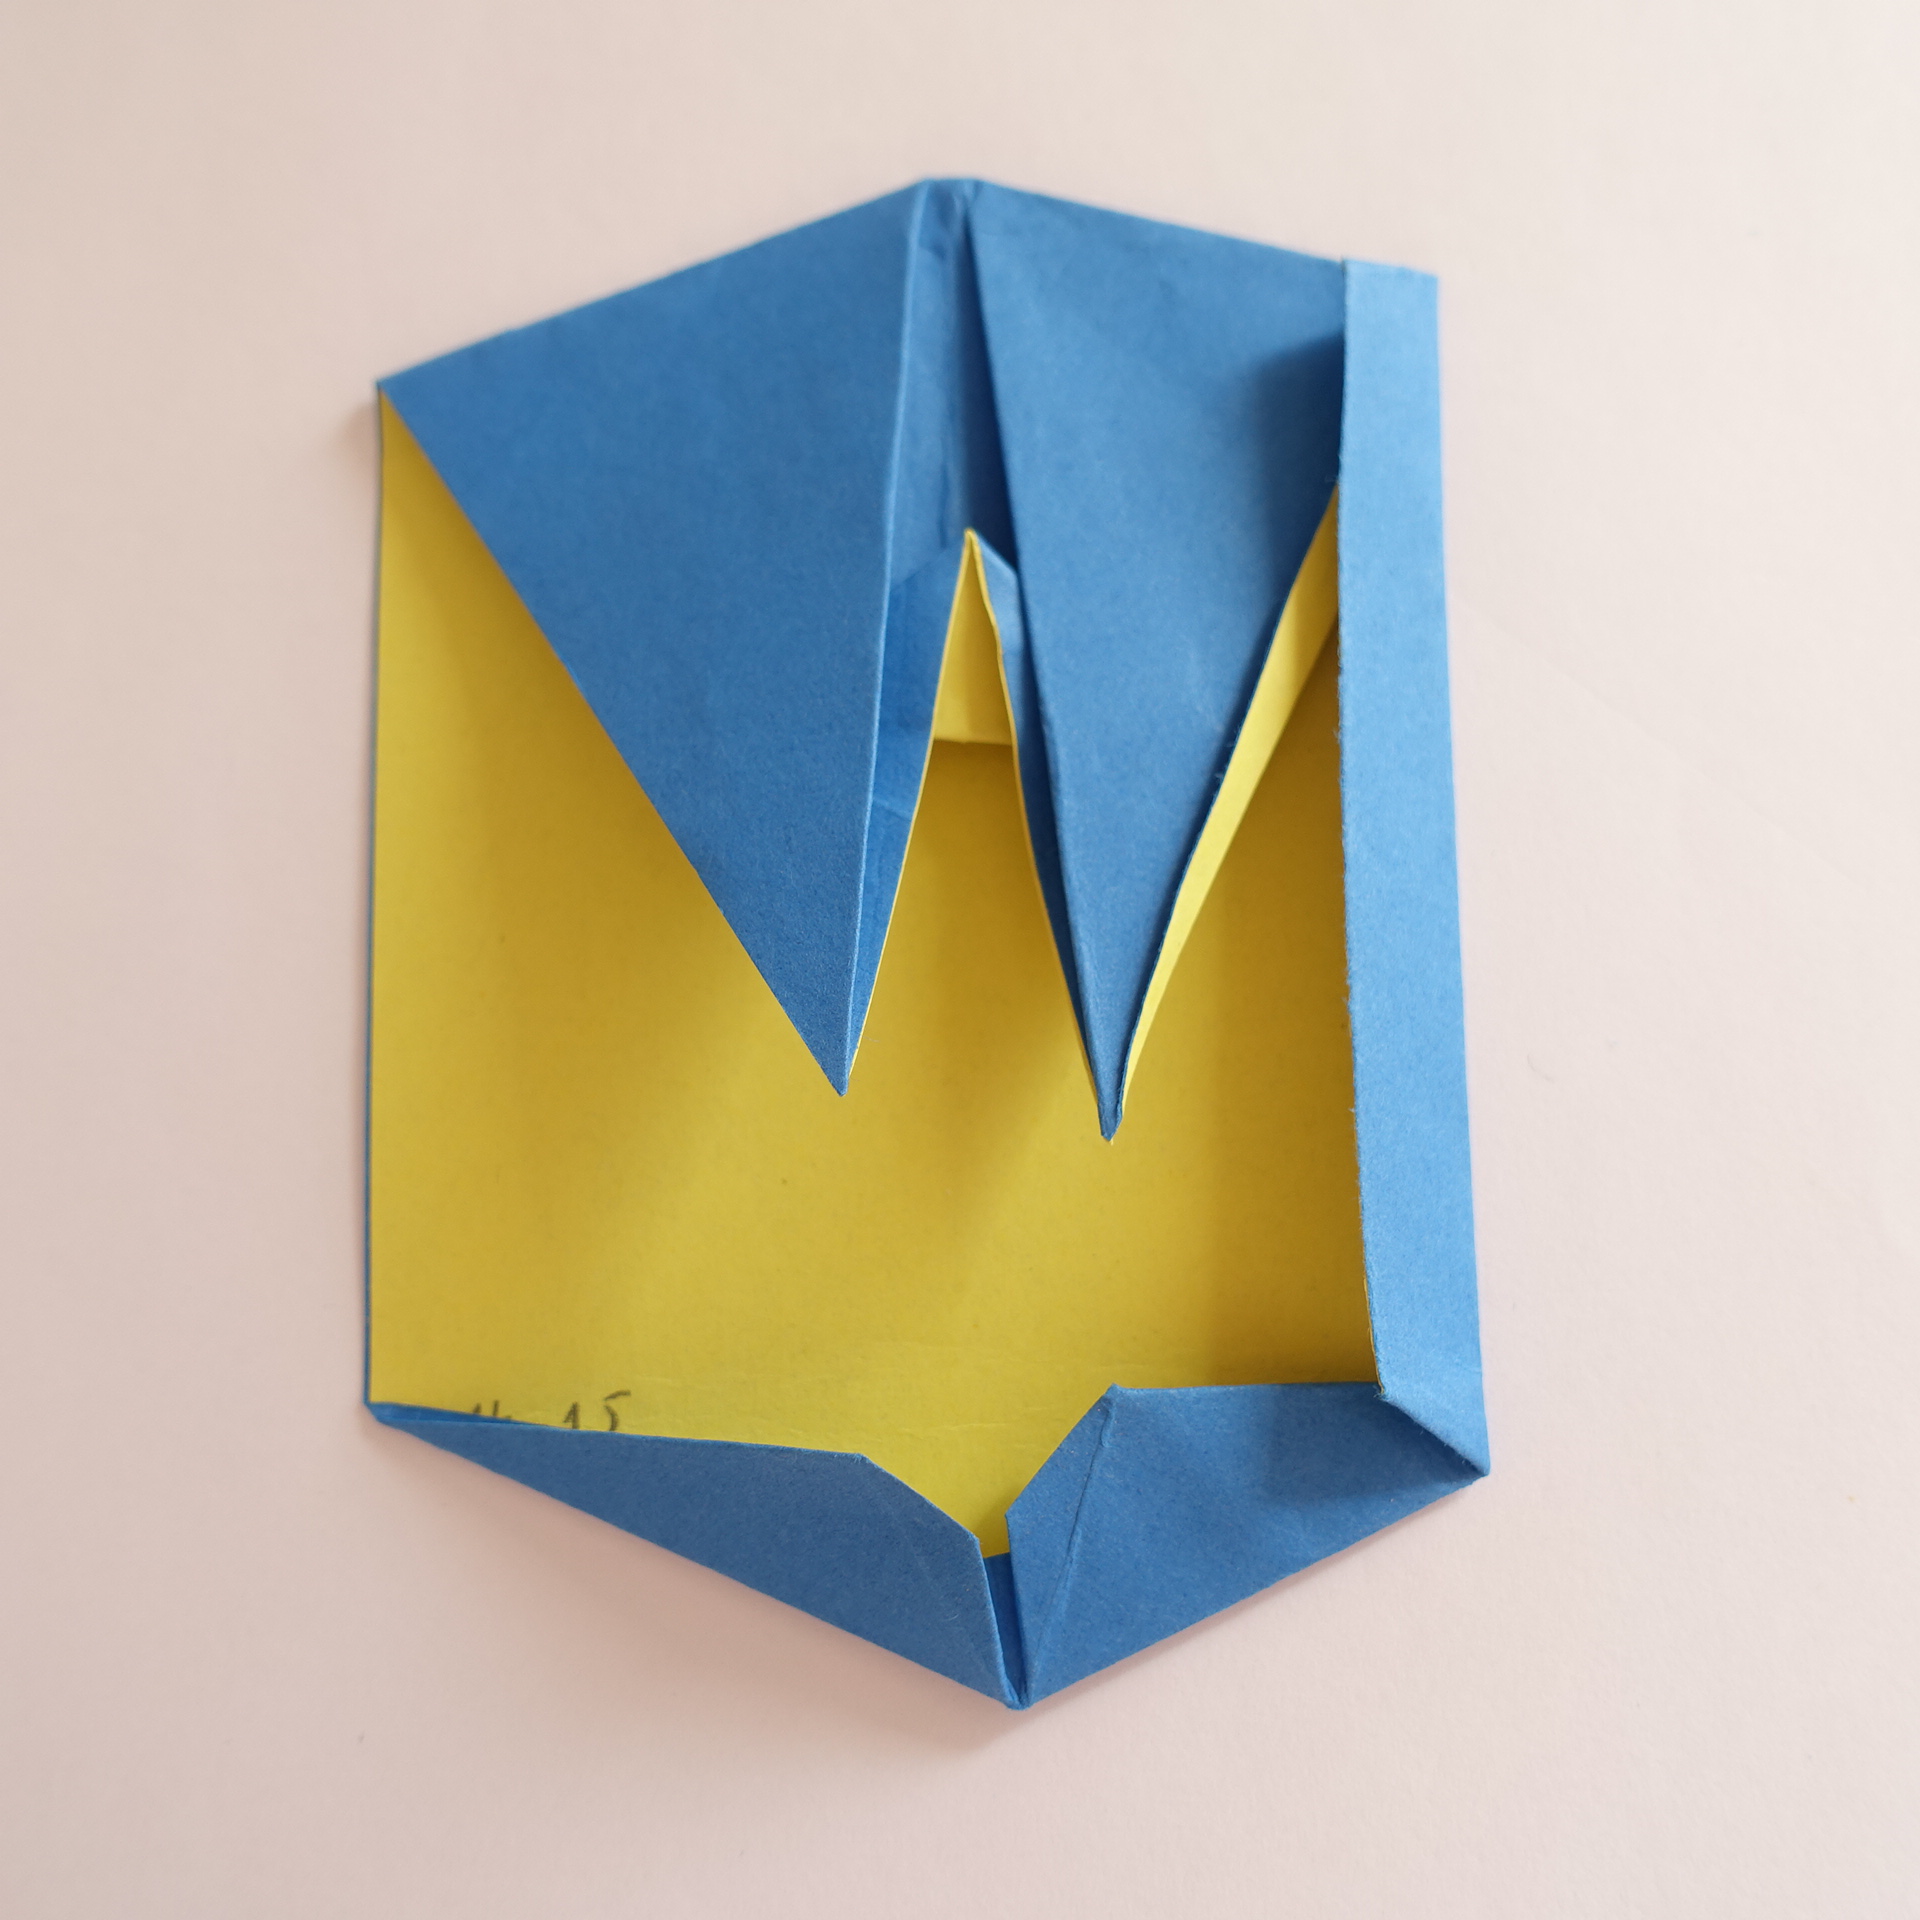
18. Repeat steps 16-17 on the left.
19. Fold the right edge towards center, but keep the upper part not folded yet. Make a guess how far from the edge to fold.
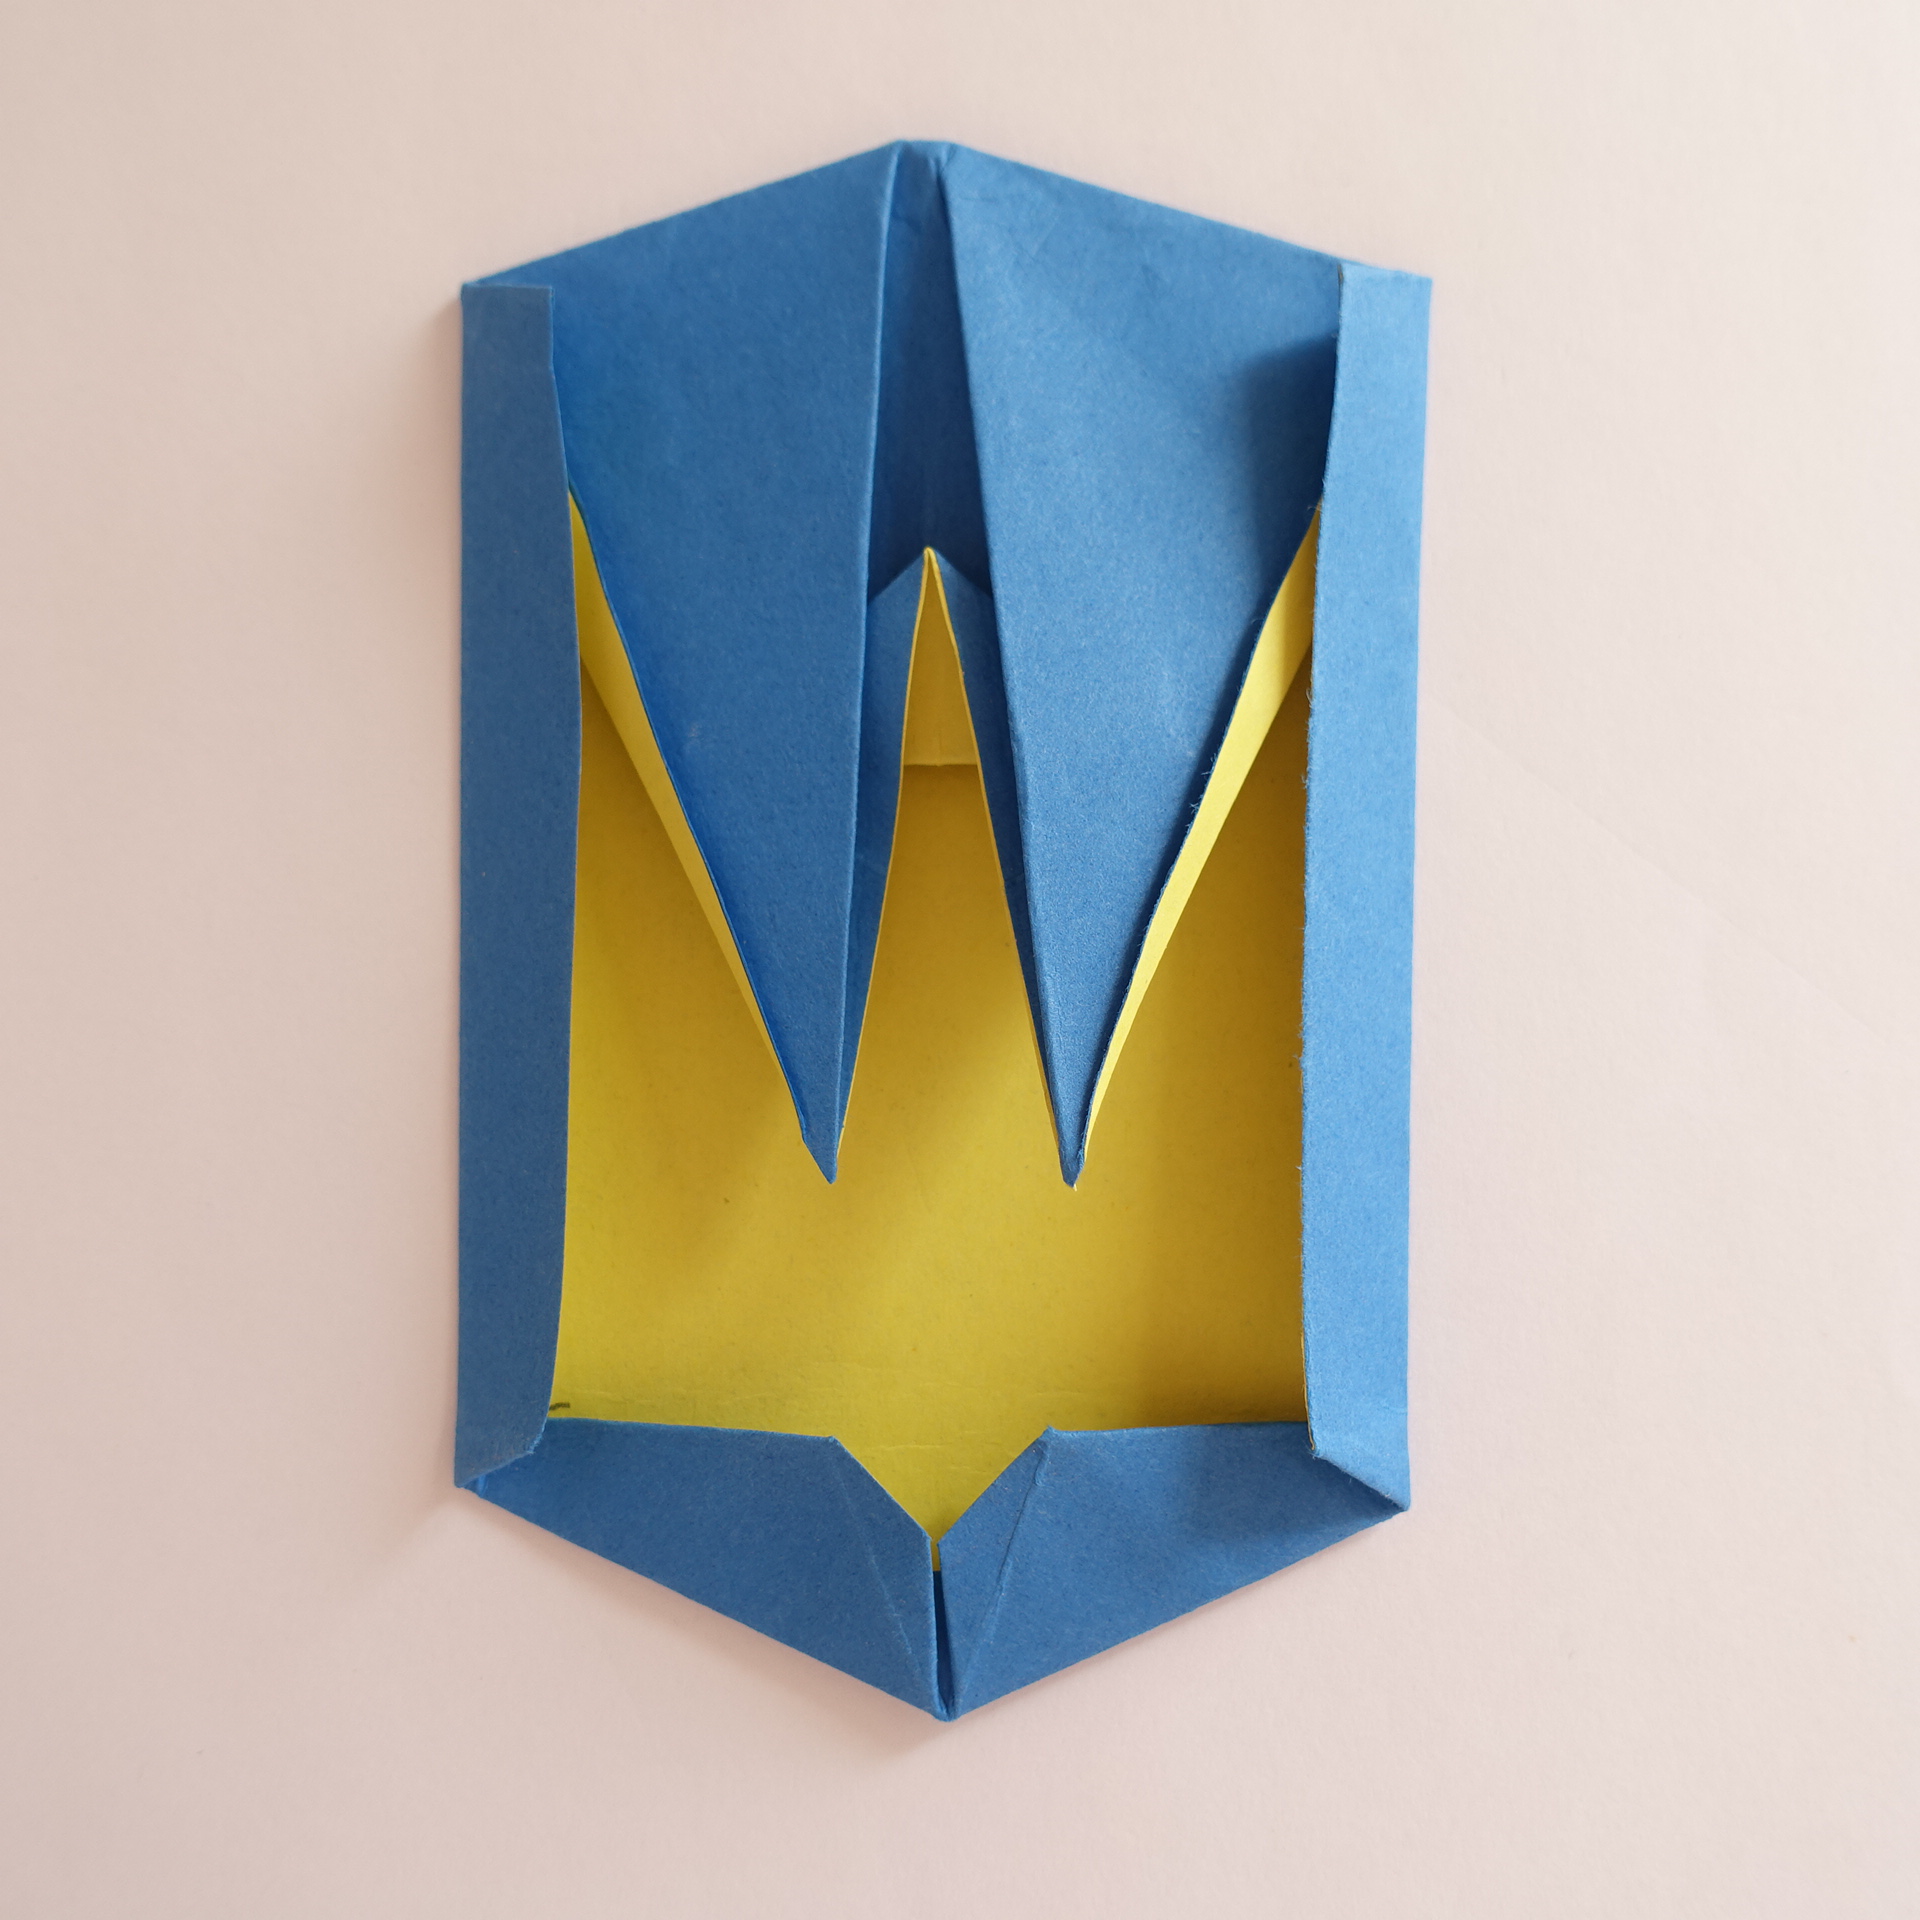
20. After folding previous step, you will see that the right spike is much shorter than the central one. Make it longer by adding the crease as shown and revealing more of the yellow side. Side spikes should be only a little shorter than central one.
21. Flatten, and crease the fold parallel to the edge all the way.
22. Repeat steps 19-21 on the left.
23. Fold down the top part of the model. The tip should go a little further than the tip of the central spike (see next step for close-up).
24. Close-up: tip of top part of the model should go a little further than the tip of central spike.
25. Tuck beneath the top of central spike. Make a strong crease at the top for it to hold. If it still opens, you can fix the top flap in place by placing a drop of glue or a piece of sticky tape below (it’s not pure origami, but practical in some cases).
26. Move on to the bottom part.
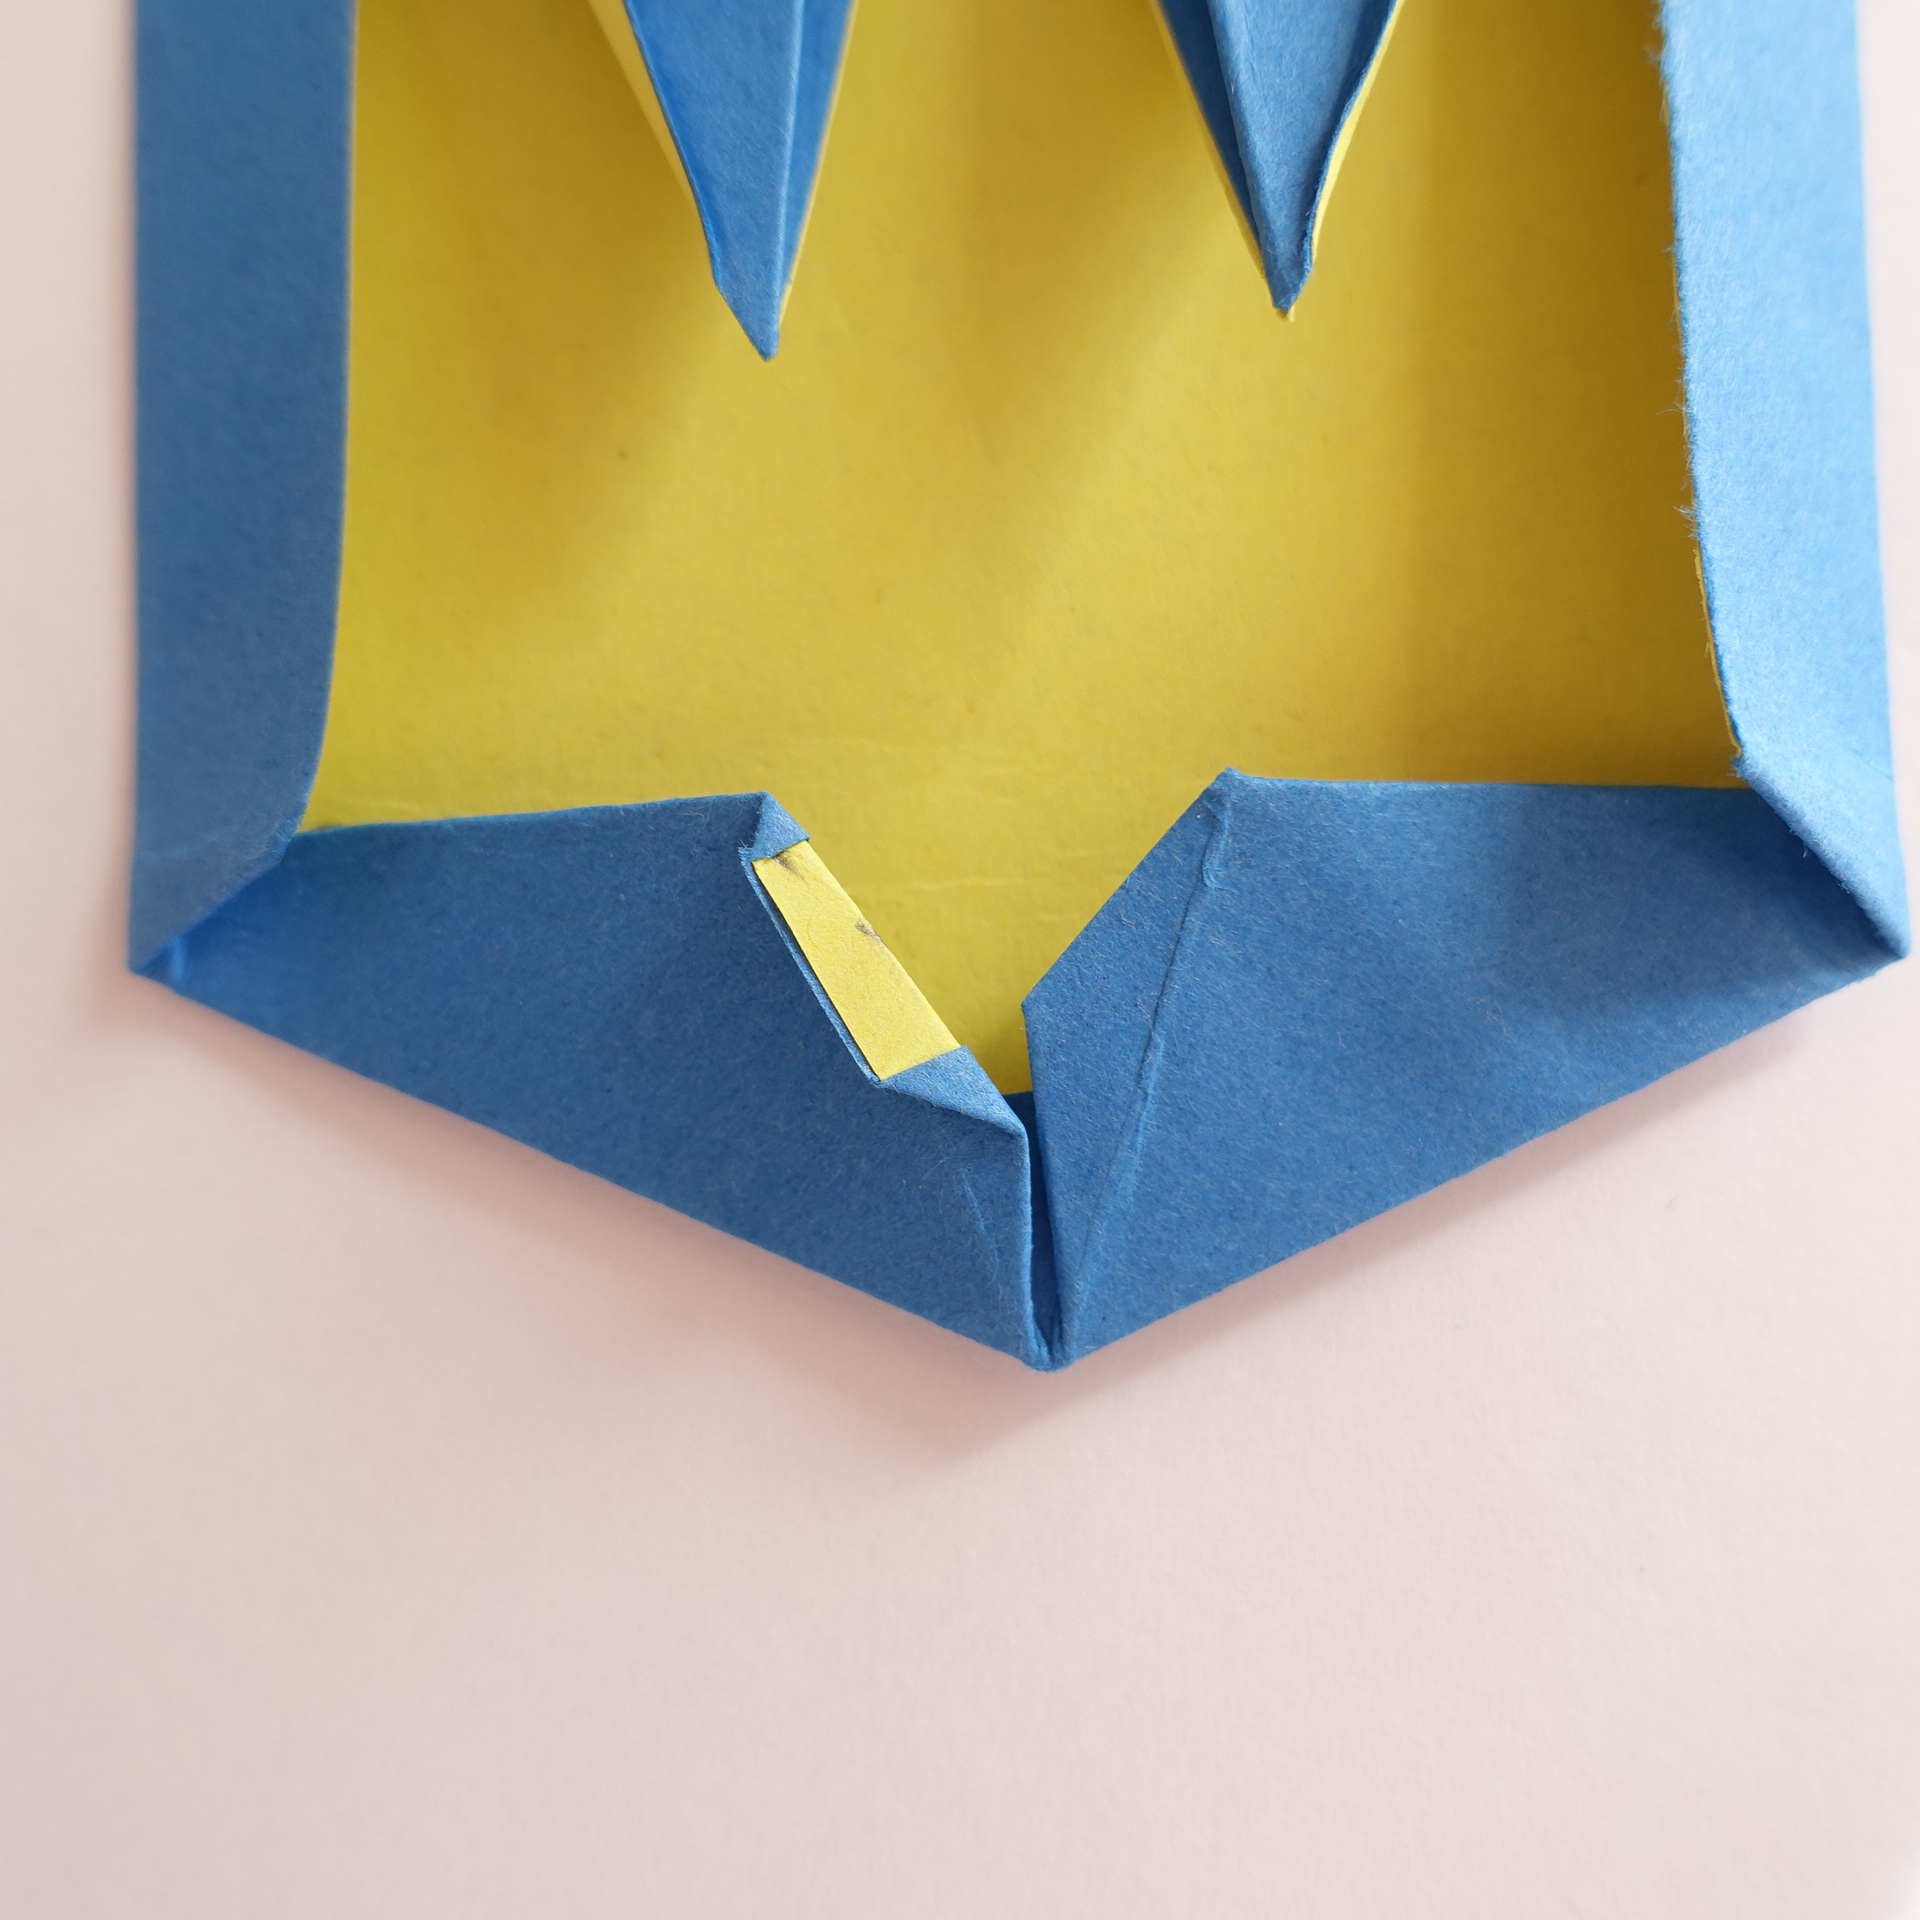
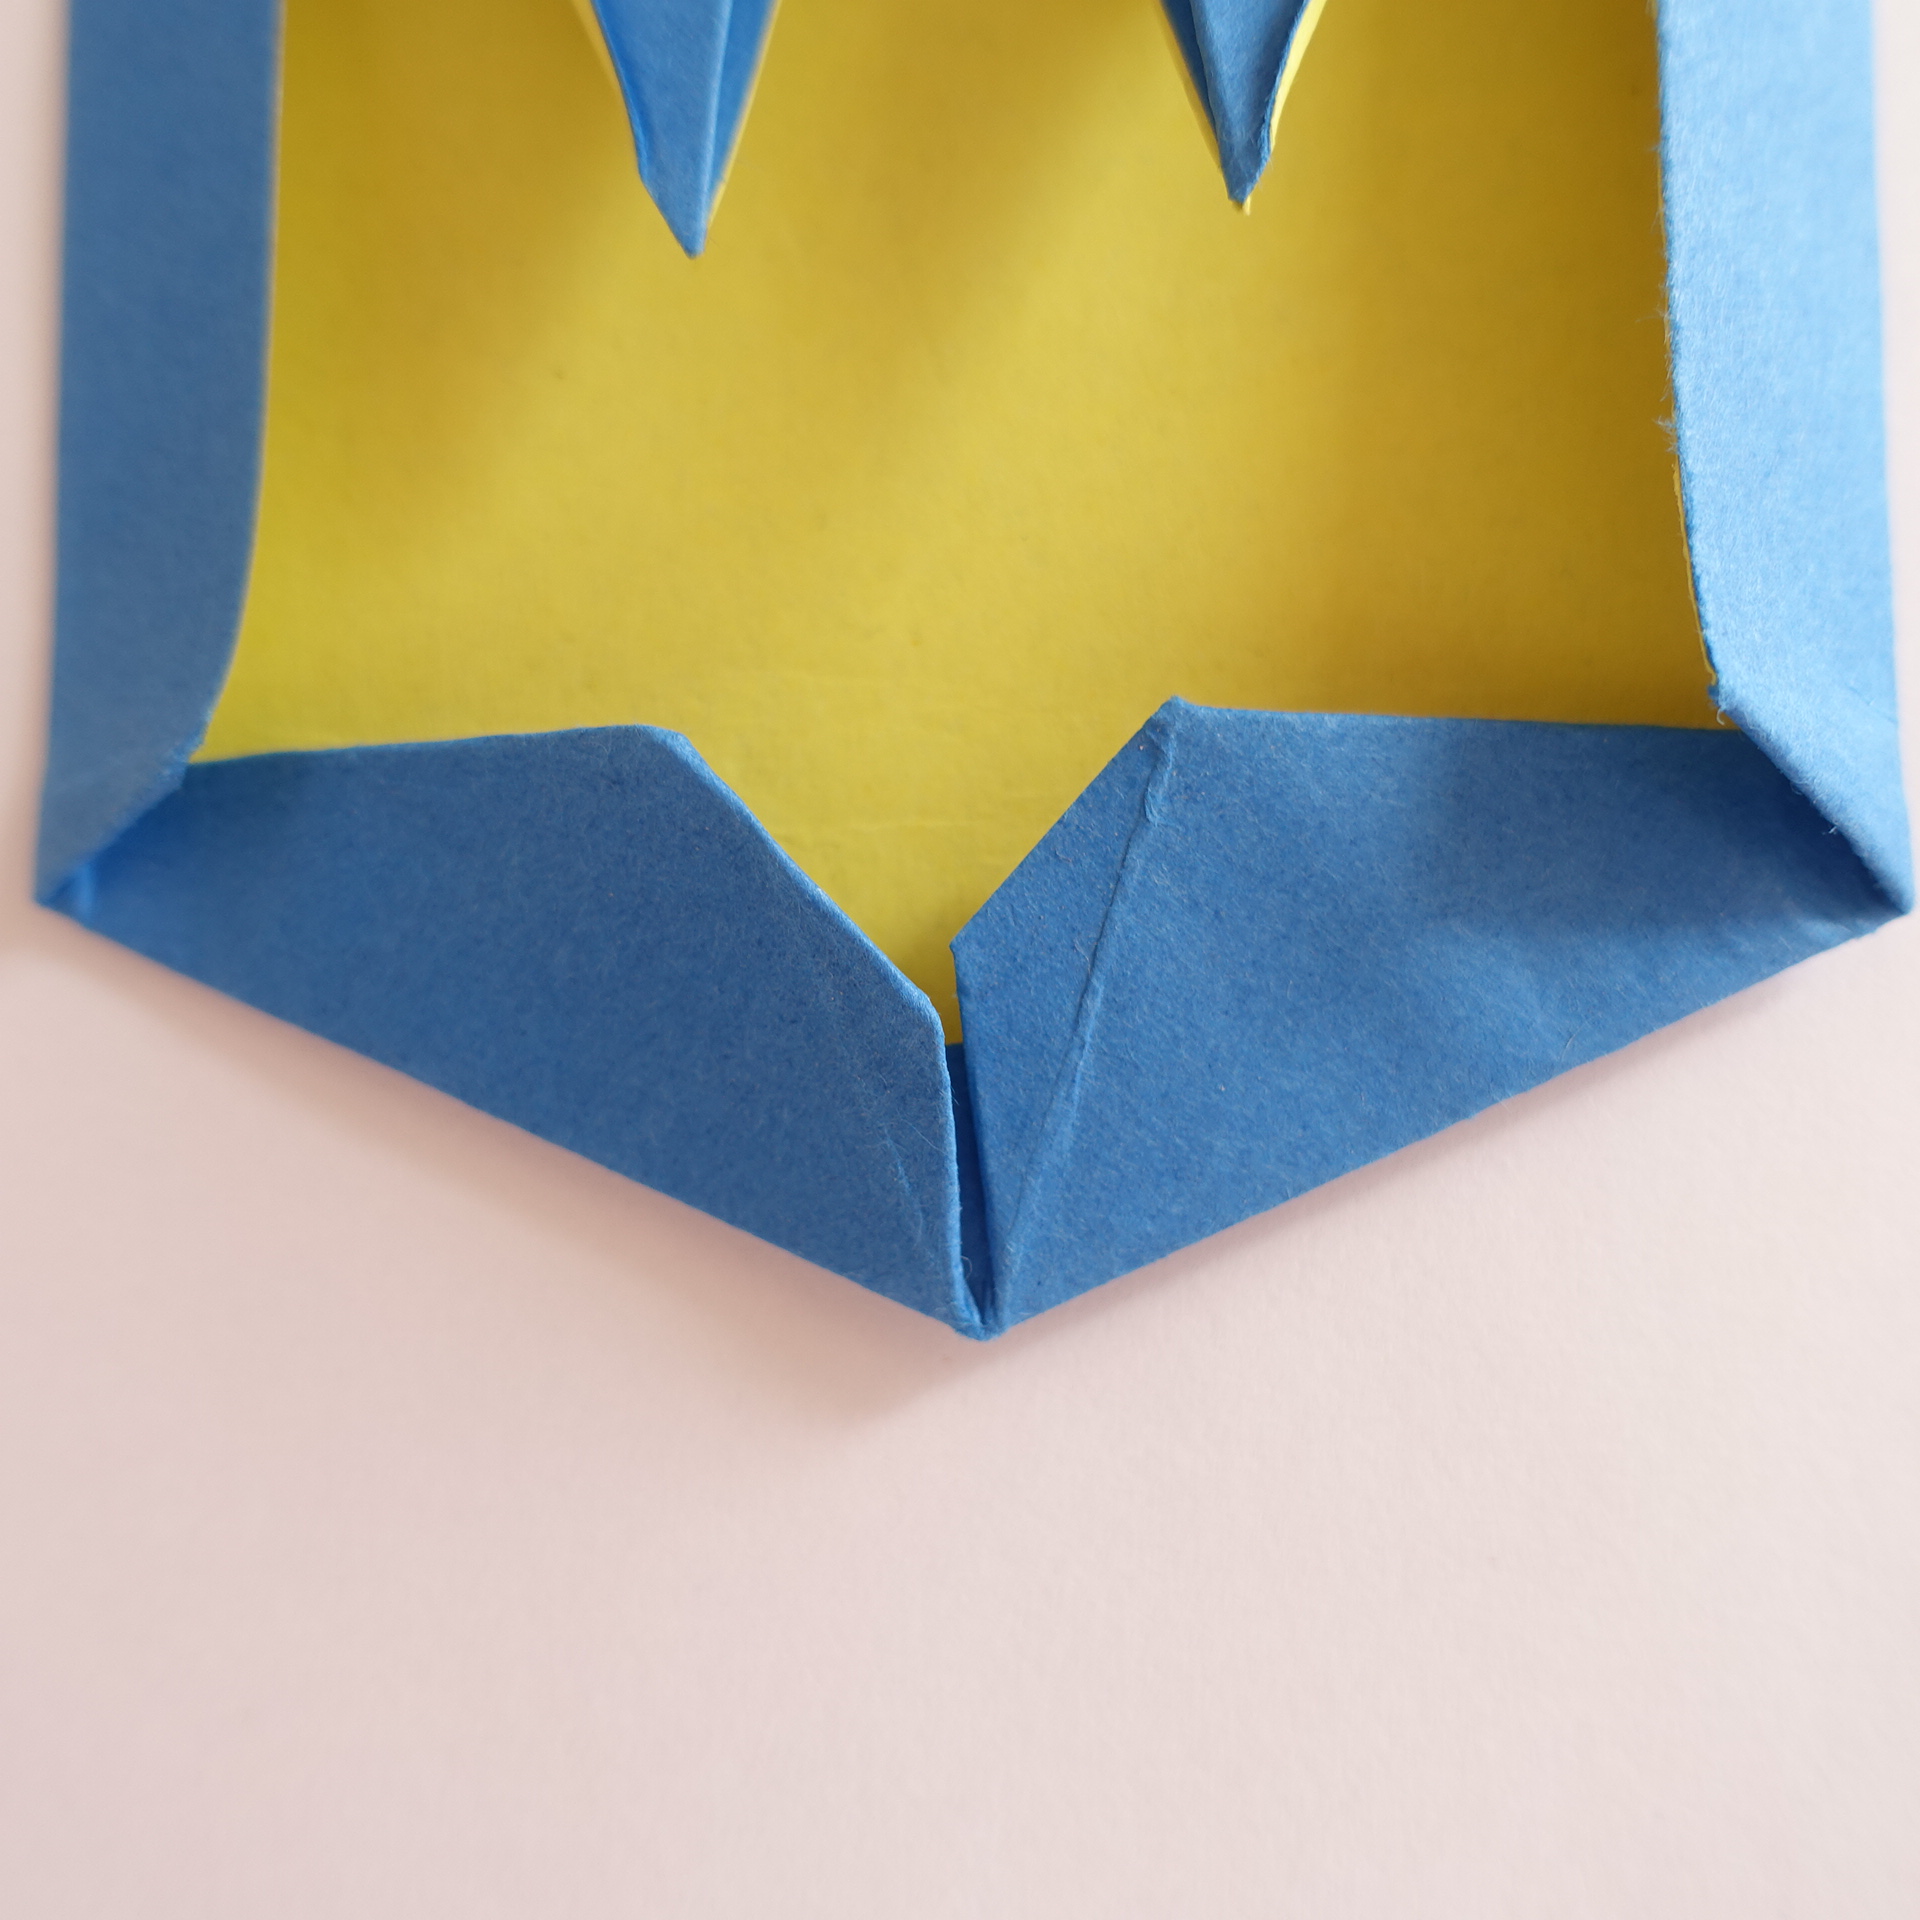
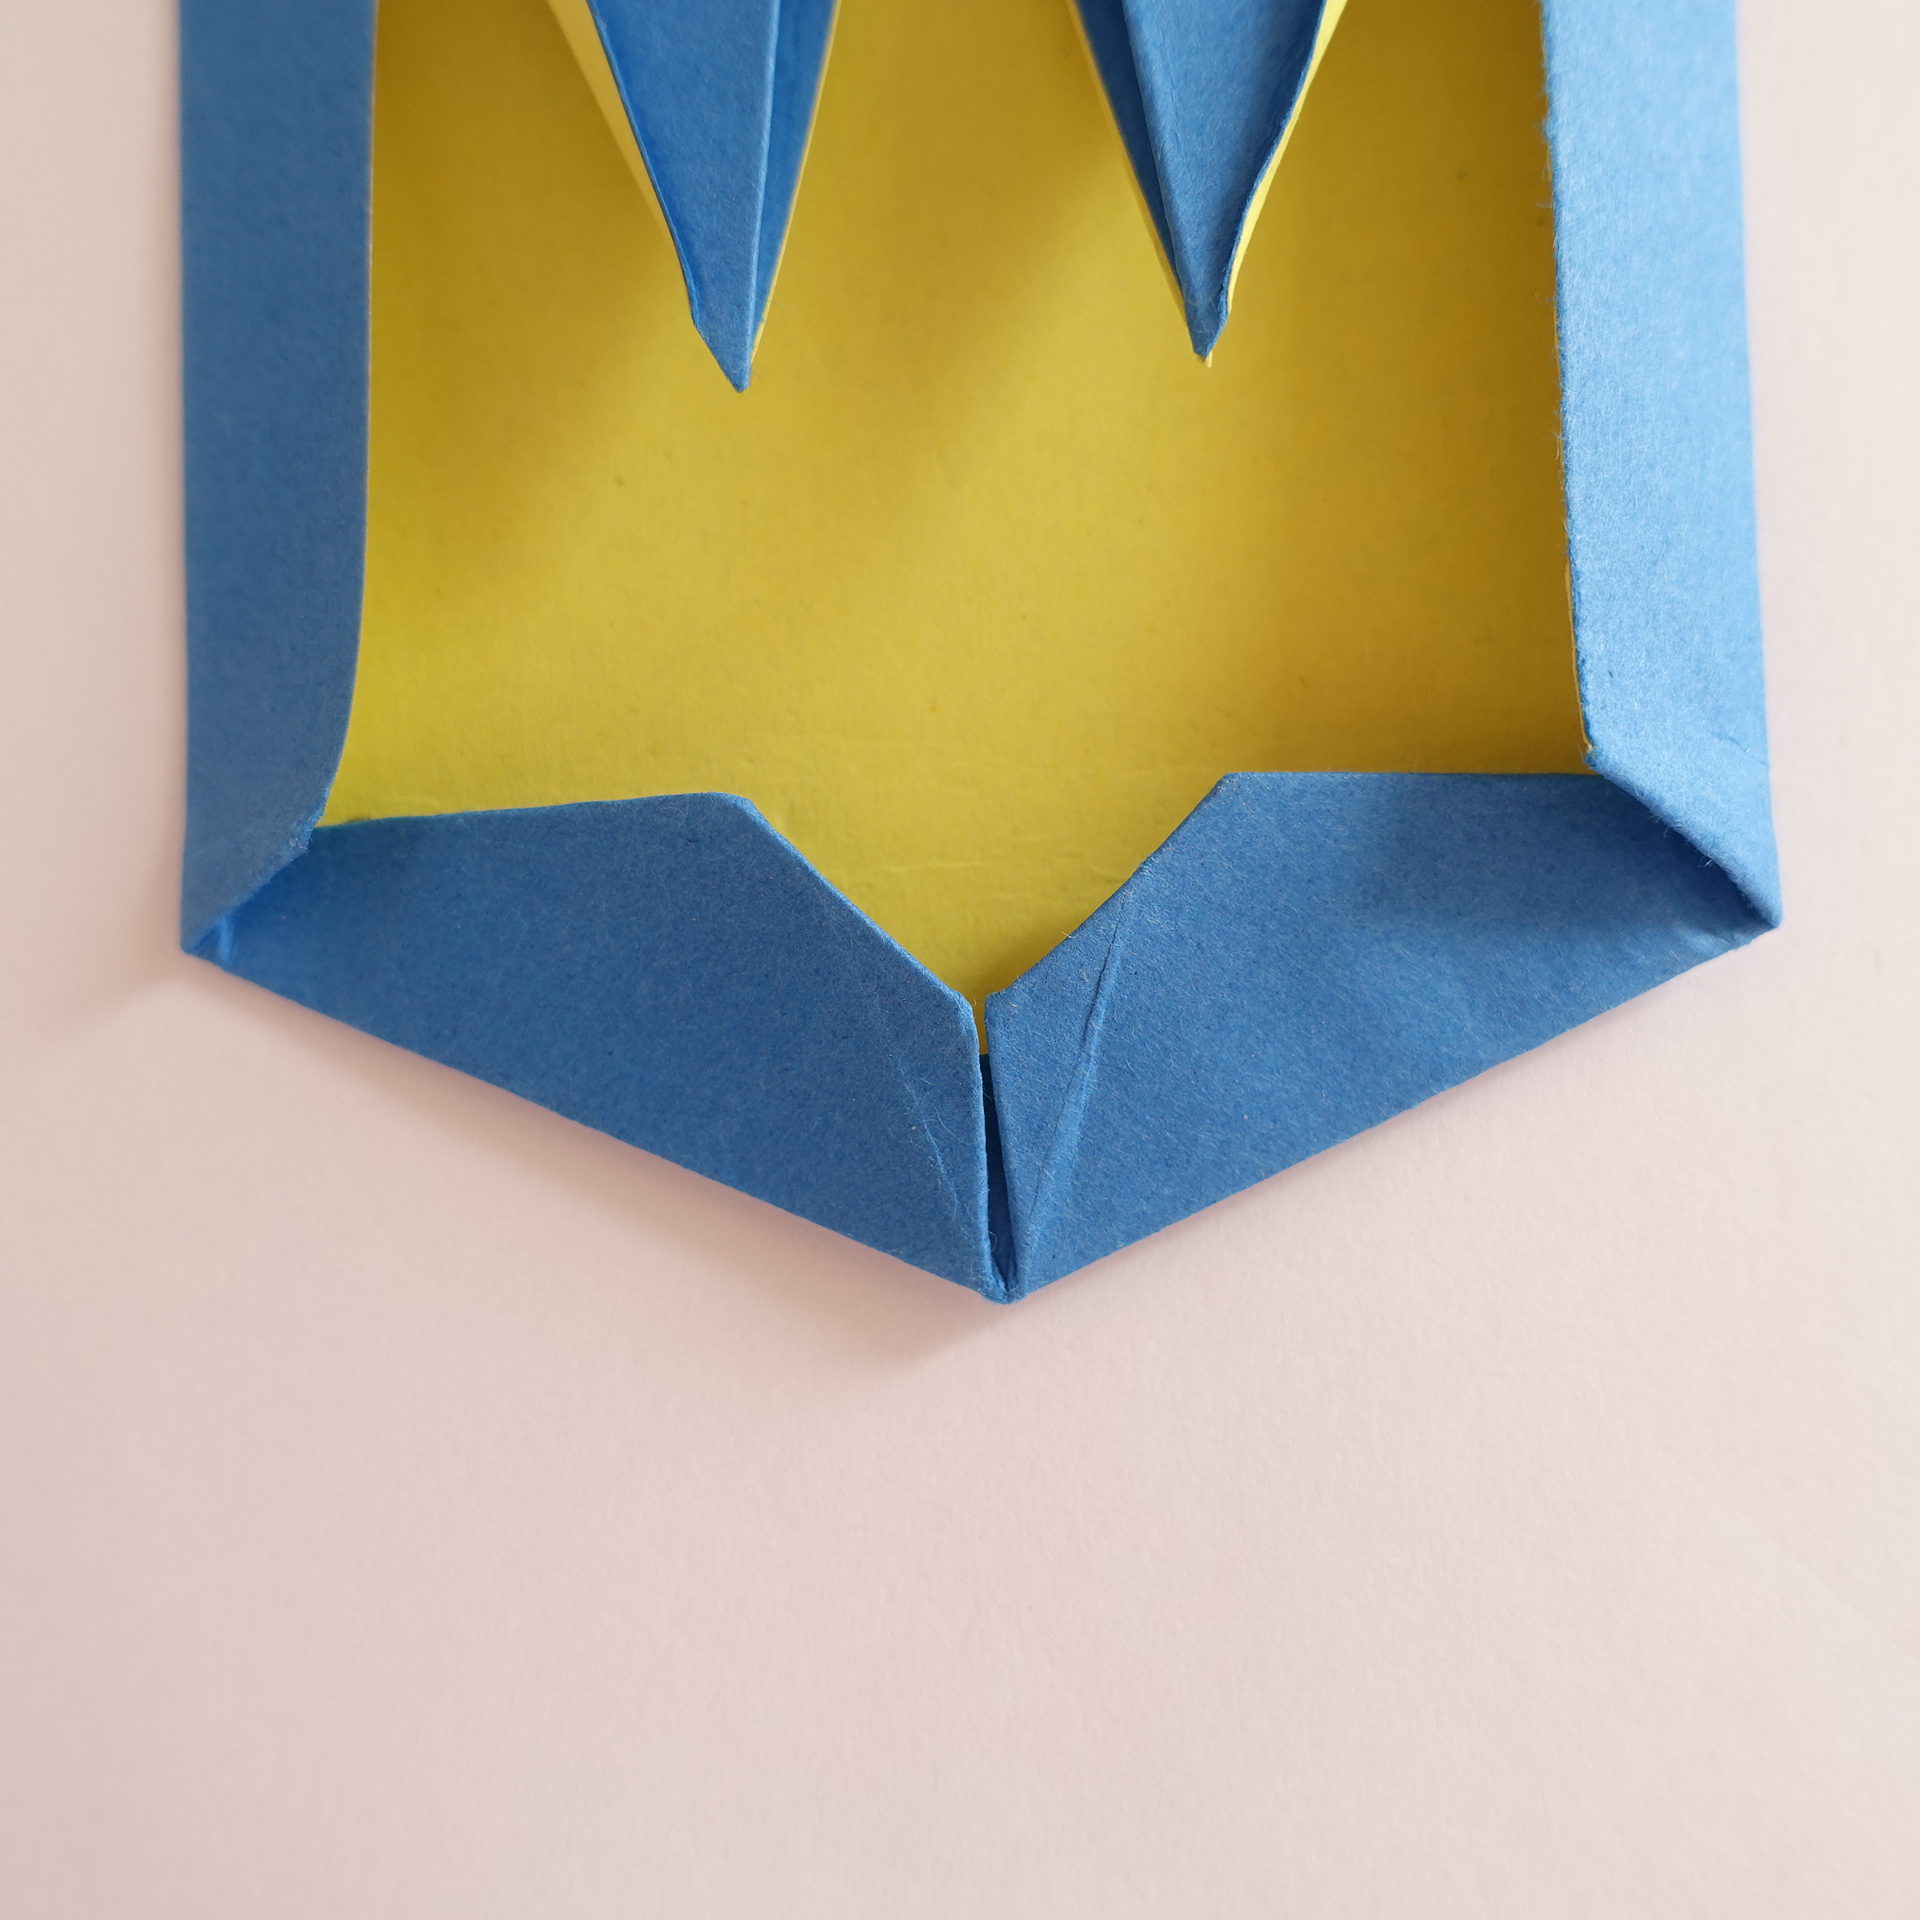
27. Make a valley fold to enlarge the bottom triangle (its width should be about one half of the whole yellow trident.).
28. Change valley fold to mountain.
29. Repeat on right side.
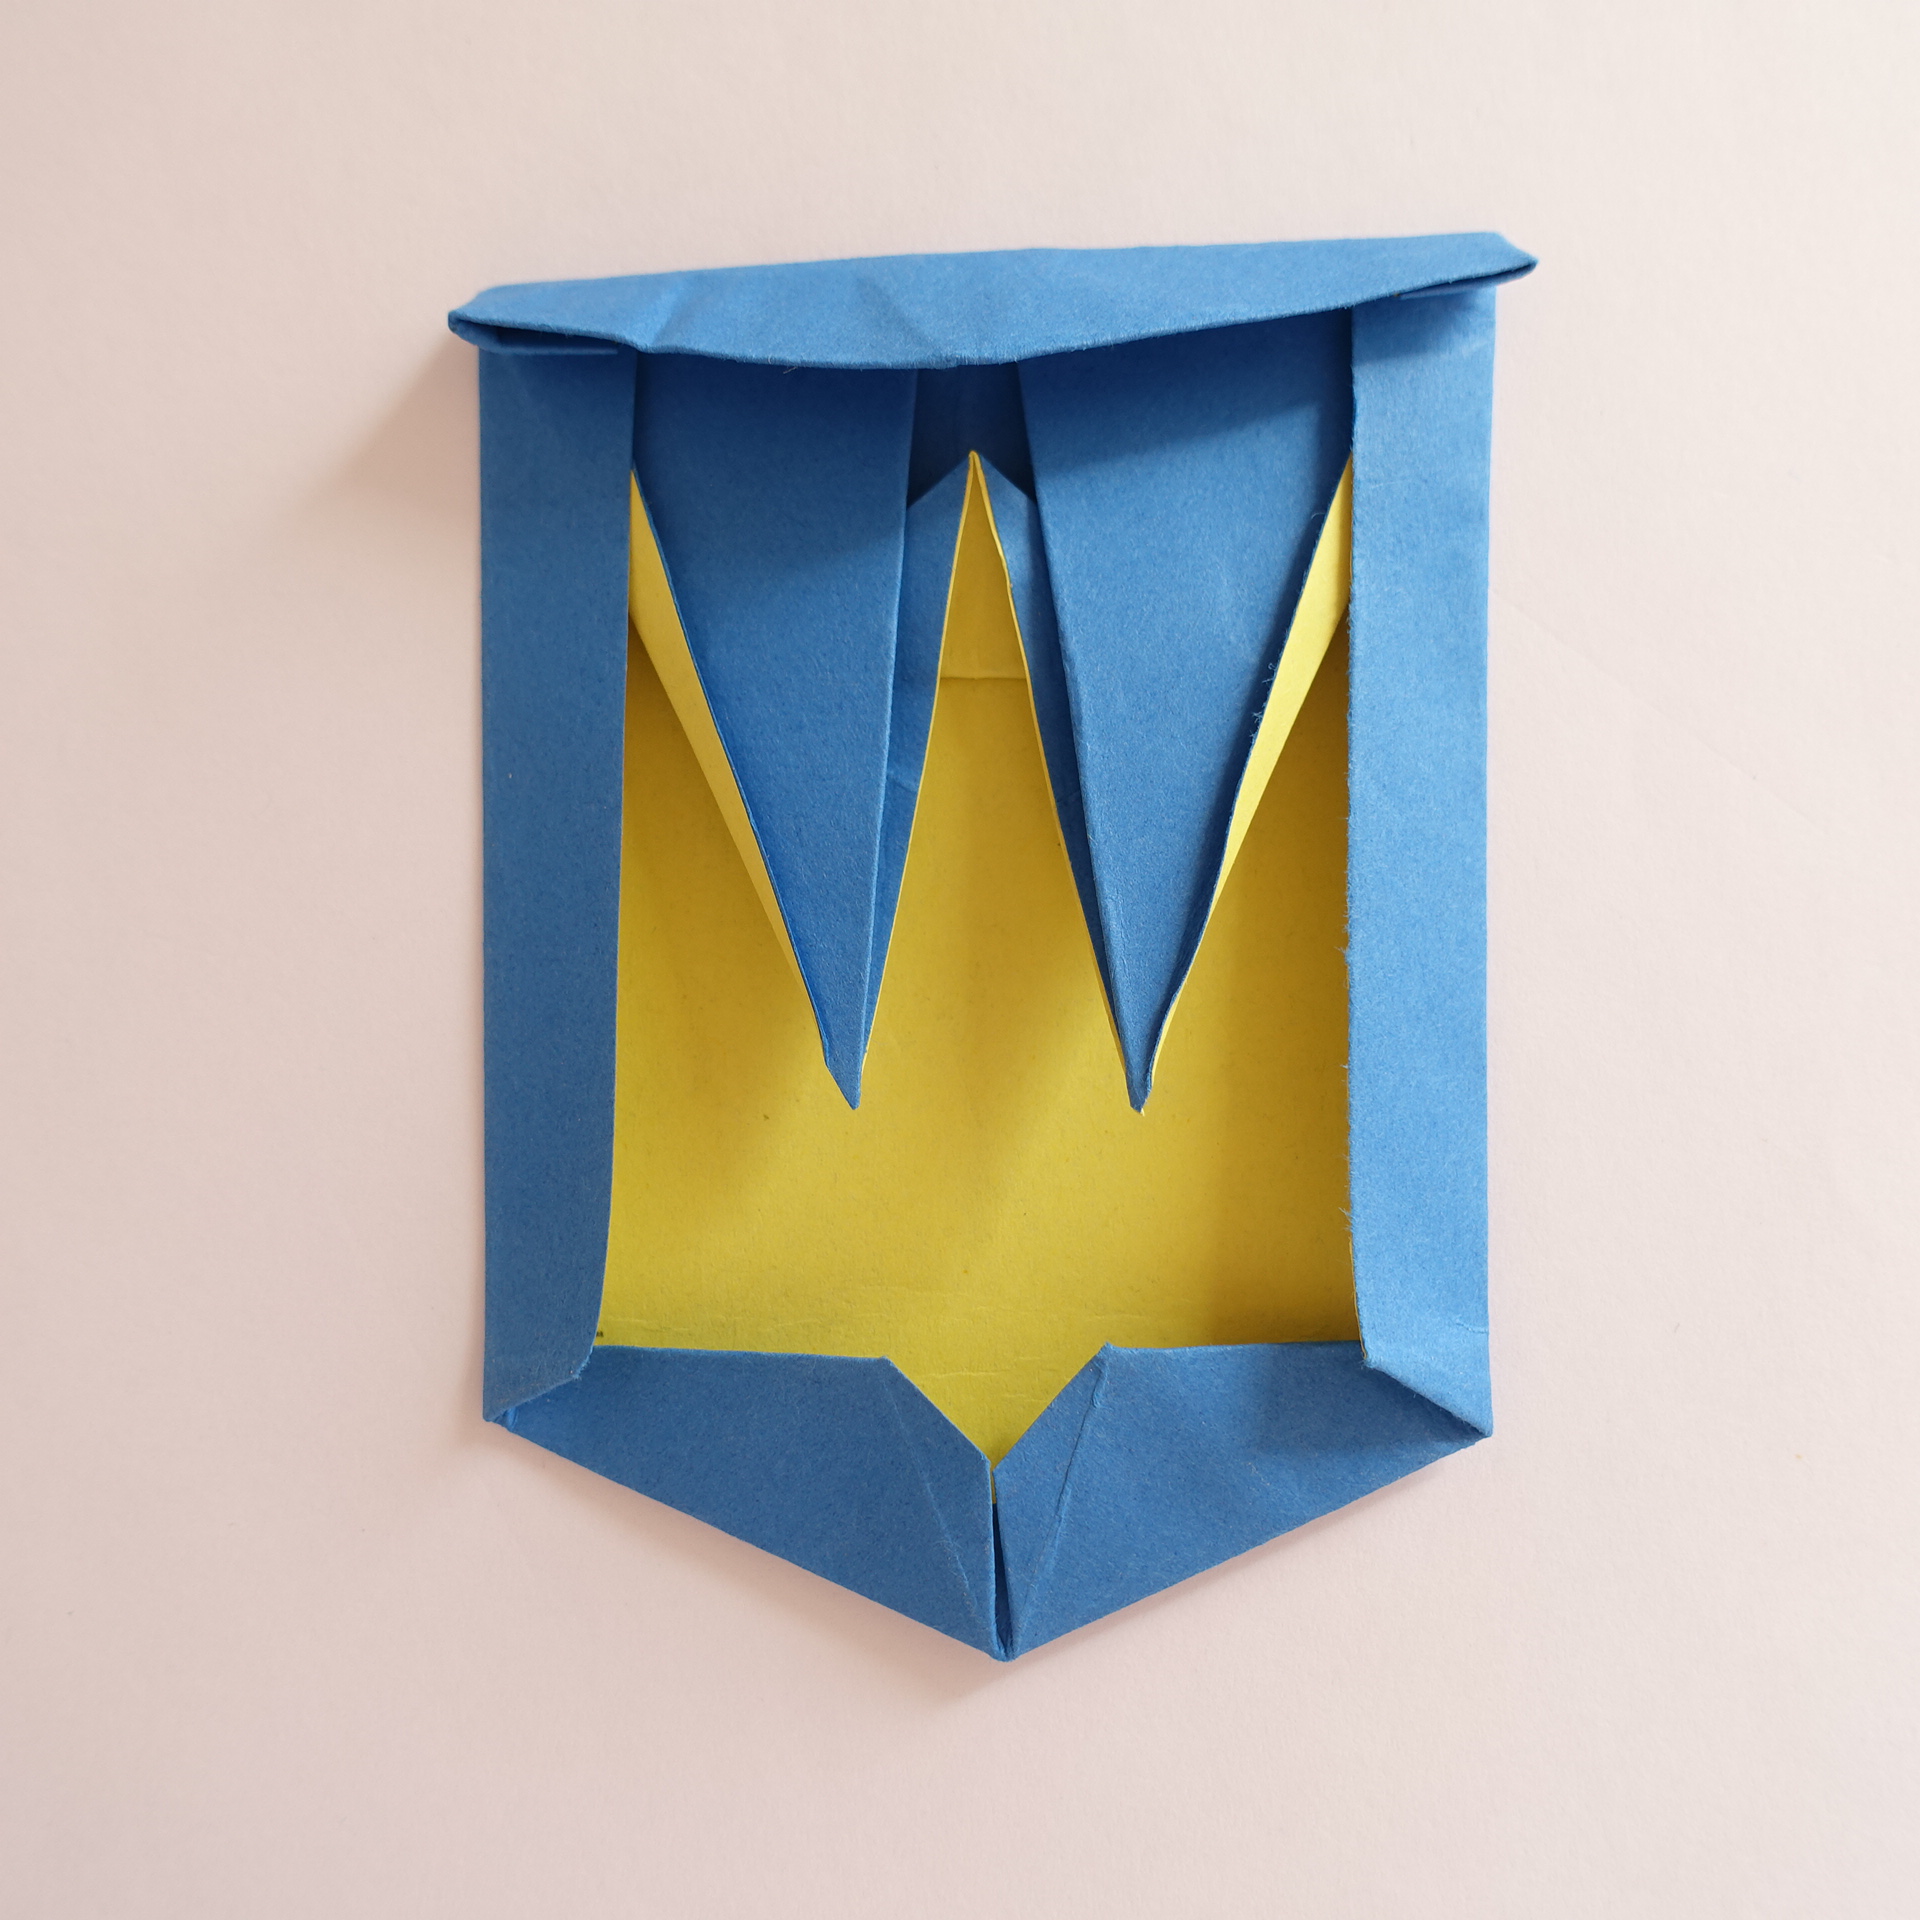
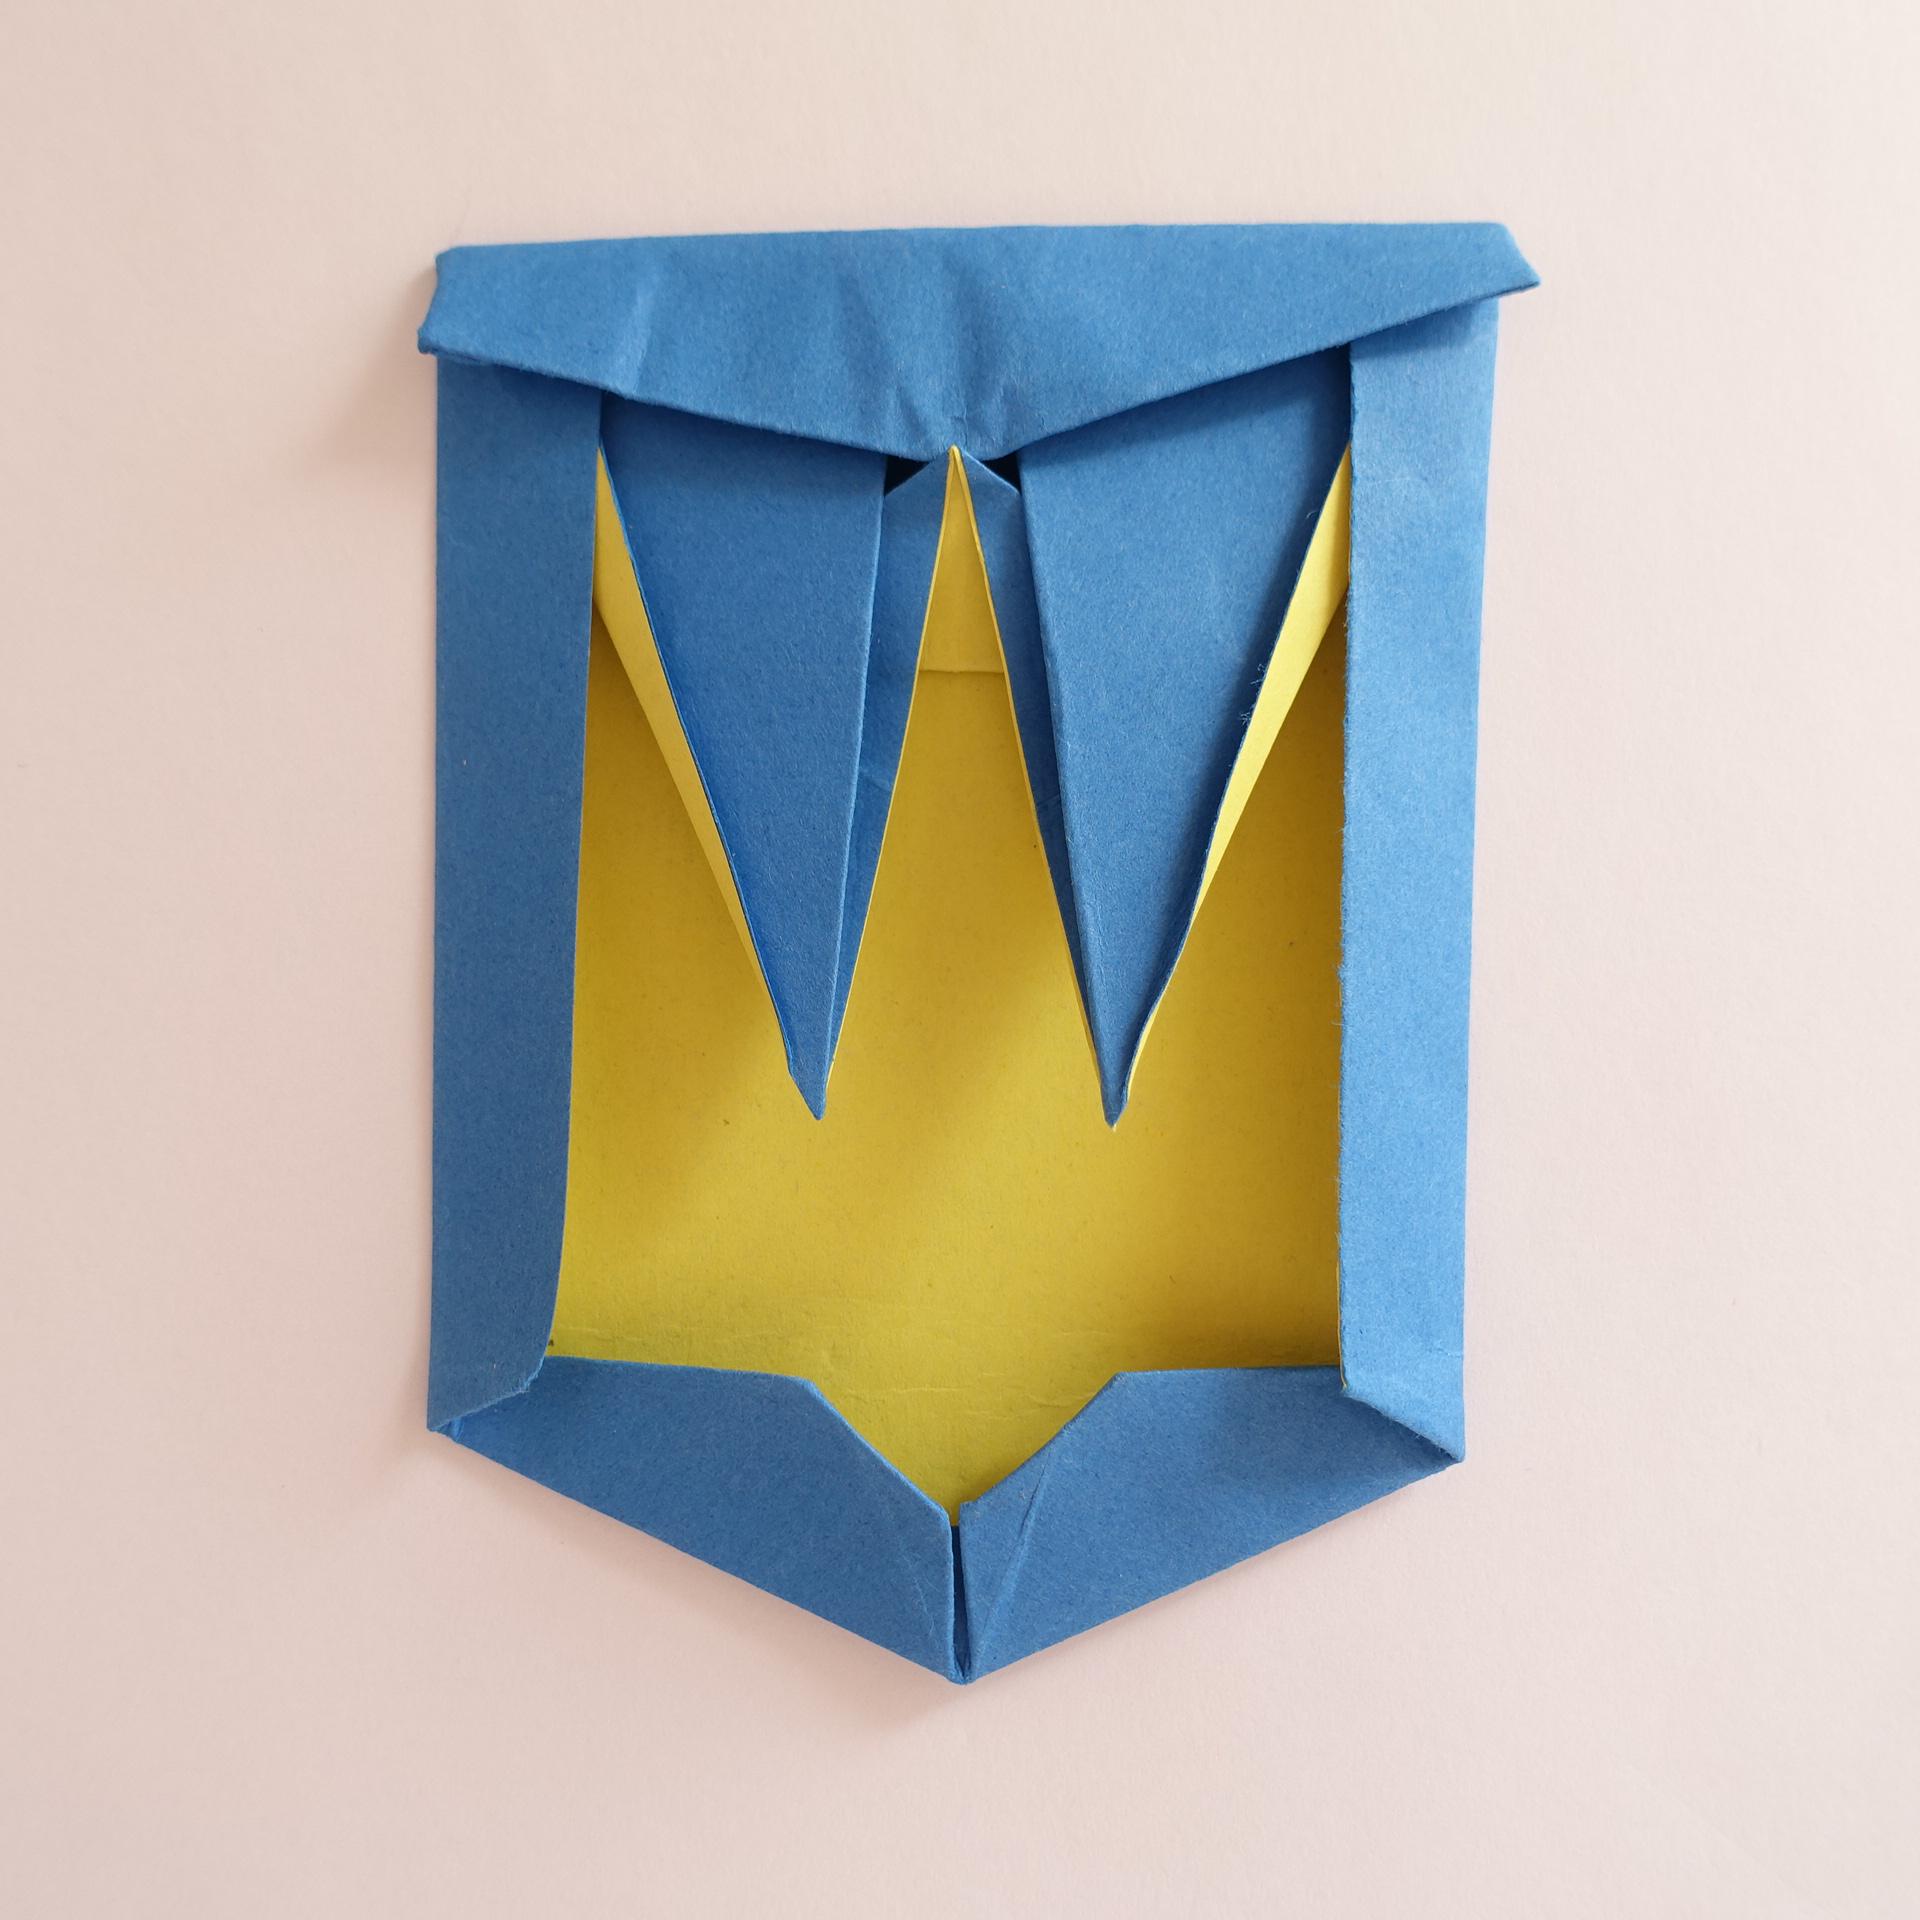
30. Finished model — front.
31. Finished model — back.


Comments