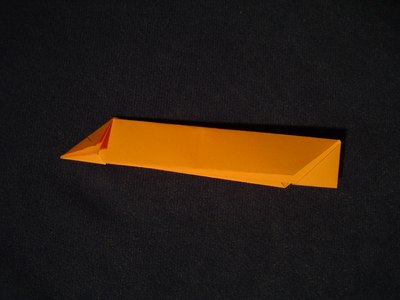
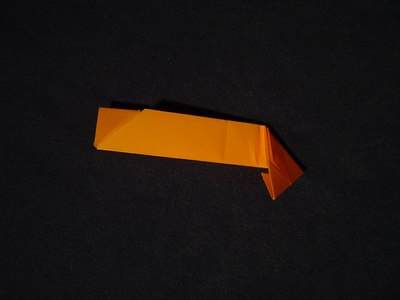
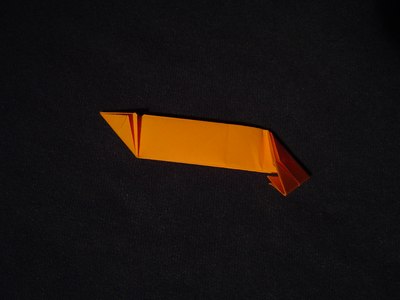
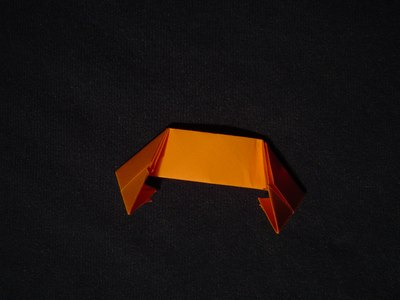
Trapezoid Edge Module (TEM)
Instructions
Model details: Trapezoid Edge Module (by: Michał Kosmulski)
See also: Christmas Ornament, Cube, Hexagonal Prism, Dodecahedron, Truncated Octahedron

Model types: single unit
Location: on this page
Type: Phototutorial

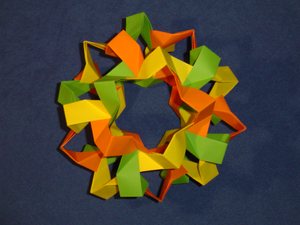
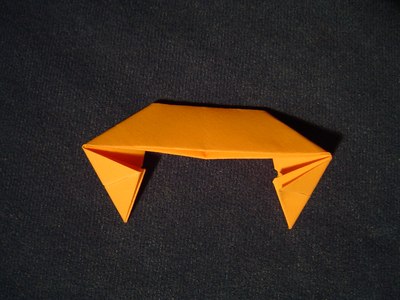
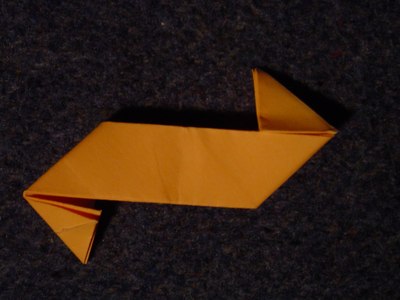
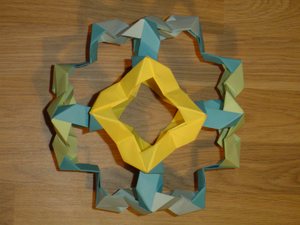
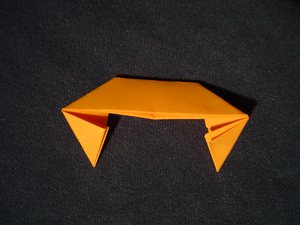
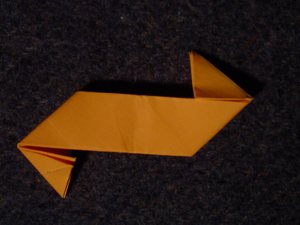
Single TEM unit, symmetric version Single TEM unit, antisymmetric version Usage example: Cube Usage example: Dodecahedron with Inverted Spikes
Images are licensed under the Creative Commons Attribution-NonCommercial 4.0 International License

These are folding instructions for the Trapezoid Edge Module (TEM) module. This module bears some resemblance to Thomas Hull’s PHiZZ unit while the folding process is similar to some variants of Sonobe unit.
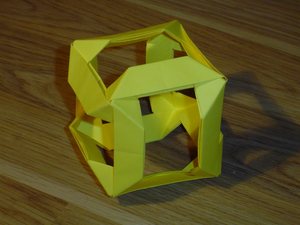
One peculiarity of this unit is that it has an axis of symmetry but no center of symmetry. This means that you can only use it for creating polyhedra whose faces have even numbers of edges. I call this standard version of the module the “symmetric version”. It is, however, possible to make a variant with a center of symmetry (the “antisymmetric version”), which can be used for faces with both even and odd numbers of edges. Such a modification behaves more like a PHiZZ unit.

Folding the units
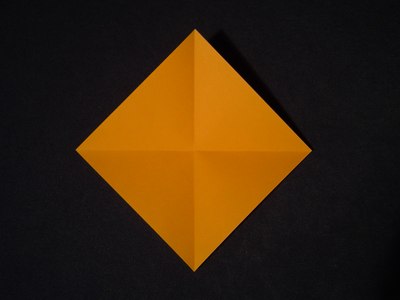
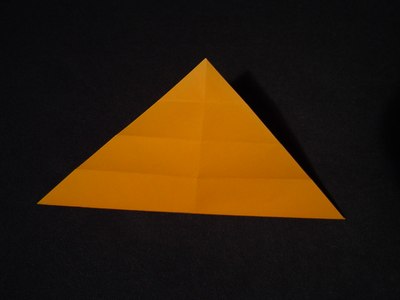
Step 1
1. Start with a square piece of paper. Crease along both diagonals.
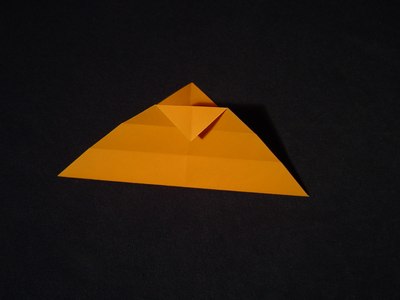
Step 2
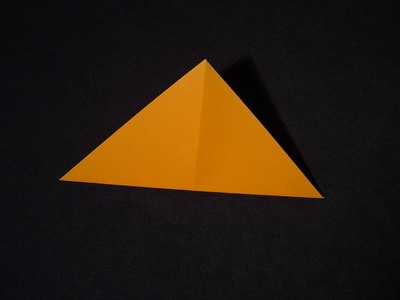
2. Valley fold along one of the creases created in step 1.
Step 3
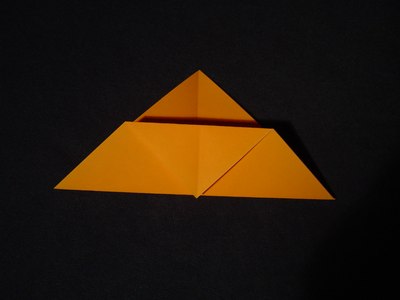
3. Valley fold so the free corner touches the point where diagonals intersect (the middle of the visible triangle’s base).
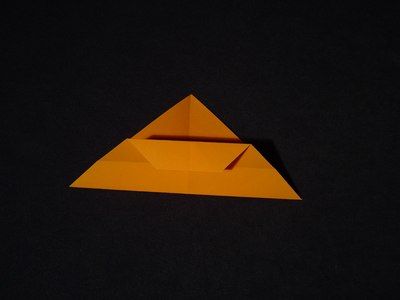
Step 4
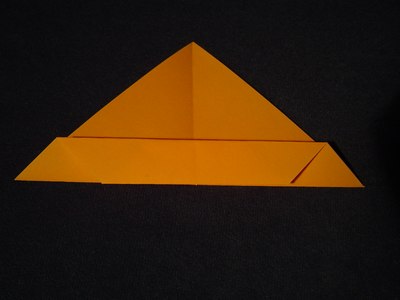
4. Valley fold the trapezoidal region so that the two parallel sides coincide.
Step 5
5. Unfold to the state from step 2.
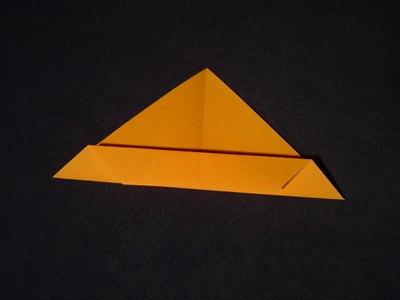
Step 6
6. Valley fold along the first parallel crease (inverting the direction of the crease).
Step 7
7. Valley fold along the second parallel crease.
Step 8
8. Valley fold along the third parallel crease.
Step 9
9. Turn the model to the other side and repeat steps 3-8.
Step 10
10. Unfold.
Step 11
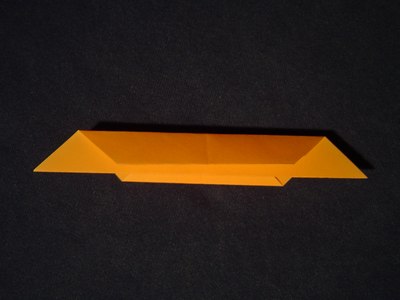
11. Valley fold both free corners.
Step 12
12. Valley fold along the existing crease.
Step 13
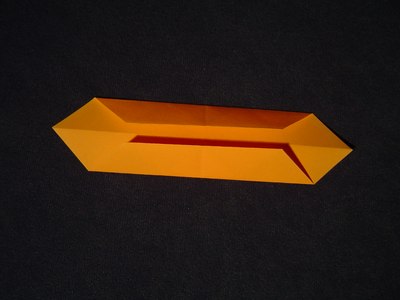
13. Valley fold the corner. Note that in this diagram you don’t fold along the existing crease, but perpendicular to it. I find that this produces more stable models, as later on, the pocket into which the flap of another module is inserted has only one opening. Doing this the other way round produces a pocket which actually has two openings (between three sheets of paper), which looks worse than a single pocket, especially with thick paper.
Step 14
14. Valley fold.
Step 15
15. Turn the model to the other side and rotate.
Step 16
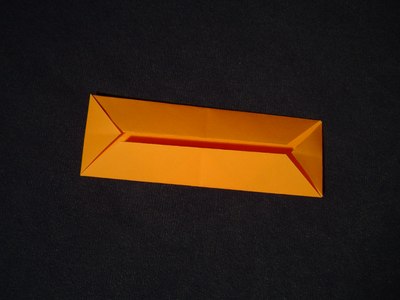
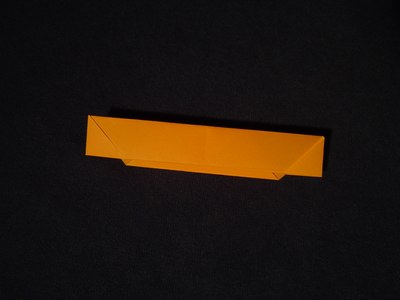
16. Valley fold the corner. If you fold in the same direction (i.e. along or perpendicular to the existing crease) you chose in step 13, you will get the symmetric version of the module (this is shown in the image above; finished look shown in steps 17 and 18). If you choose the other direction, you will get the antisymmetric variant (finished look shown in step 19).
Step 17
17. Valley fold. The module is now ready (symmetric version shown).
Step 18
18. View of finished module (symmetric version) after turning to the other side.
Step 19
19. View of finished module in case you chose the antisymmetric version.

Assembly

TEM can be used to fold polyhedra in which exactly three edges meet at each vertex. Additionally, the symmetric version has the limitation that it only allows creating polyhedra whose all faces are polygons with even numbers of edges.
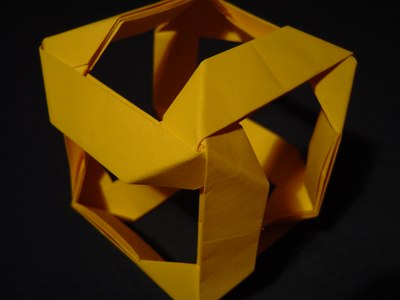
Close-up of cube vertex
Close-up of three connected modules. Note how in the symmetric version of the unit, the handedness of neighboring vertices changes. When using the anti-symmetric version of the module, all vertices have the same handedness.

Modules are connected by putting one module’s flap into another module’s pocket and joining exactly three modules in each vertex. Each vertex looks similar to a triangular pyramid. The connection mechanism is therefore very similar to connecting PHiZZ units or Sonobes (in spiked models). If the module’s part which forms the polyhedron’s edge is kept rigid, you will only be able to create cubes and other shapes with square faces (the latter requires some modifications to the chirality of the flaps). You can, however, fold the module in half along an existing crease, which allows making more complex shapes. For the antisymmetric version of the unit, this is the most common mode of use.

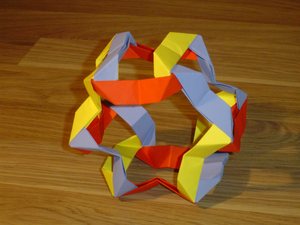
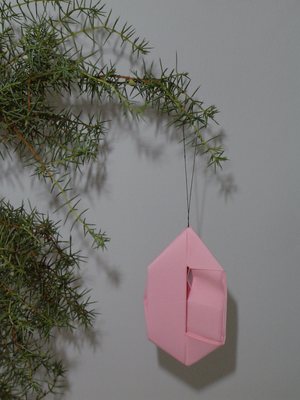
Cube Hexagonal Prism Truncated Octahedron Usage example: Dodecahedron with Inverted Spikes Christmas Ornament

Continue adding edges until the polyhedron of your choice is ready. The examples here include a cube, a hexagonal prism and a Christmas decoration made with the symmetric version of Trapezoid Edge Module as well as a truncated octahedron and a dodecahedron made with the antisymmetric variant. Note how the modules have been folded in the middle in some models in order to create faces with angles other than 90°.

Published:

Comments