Star Ananke
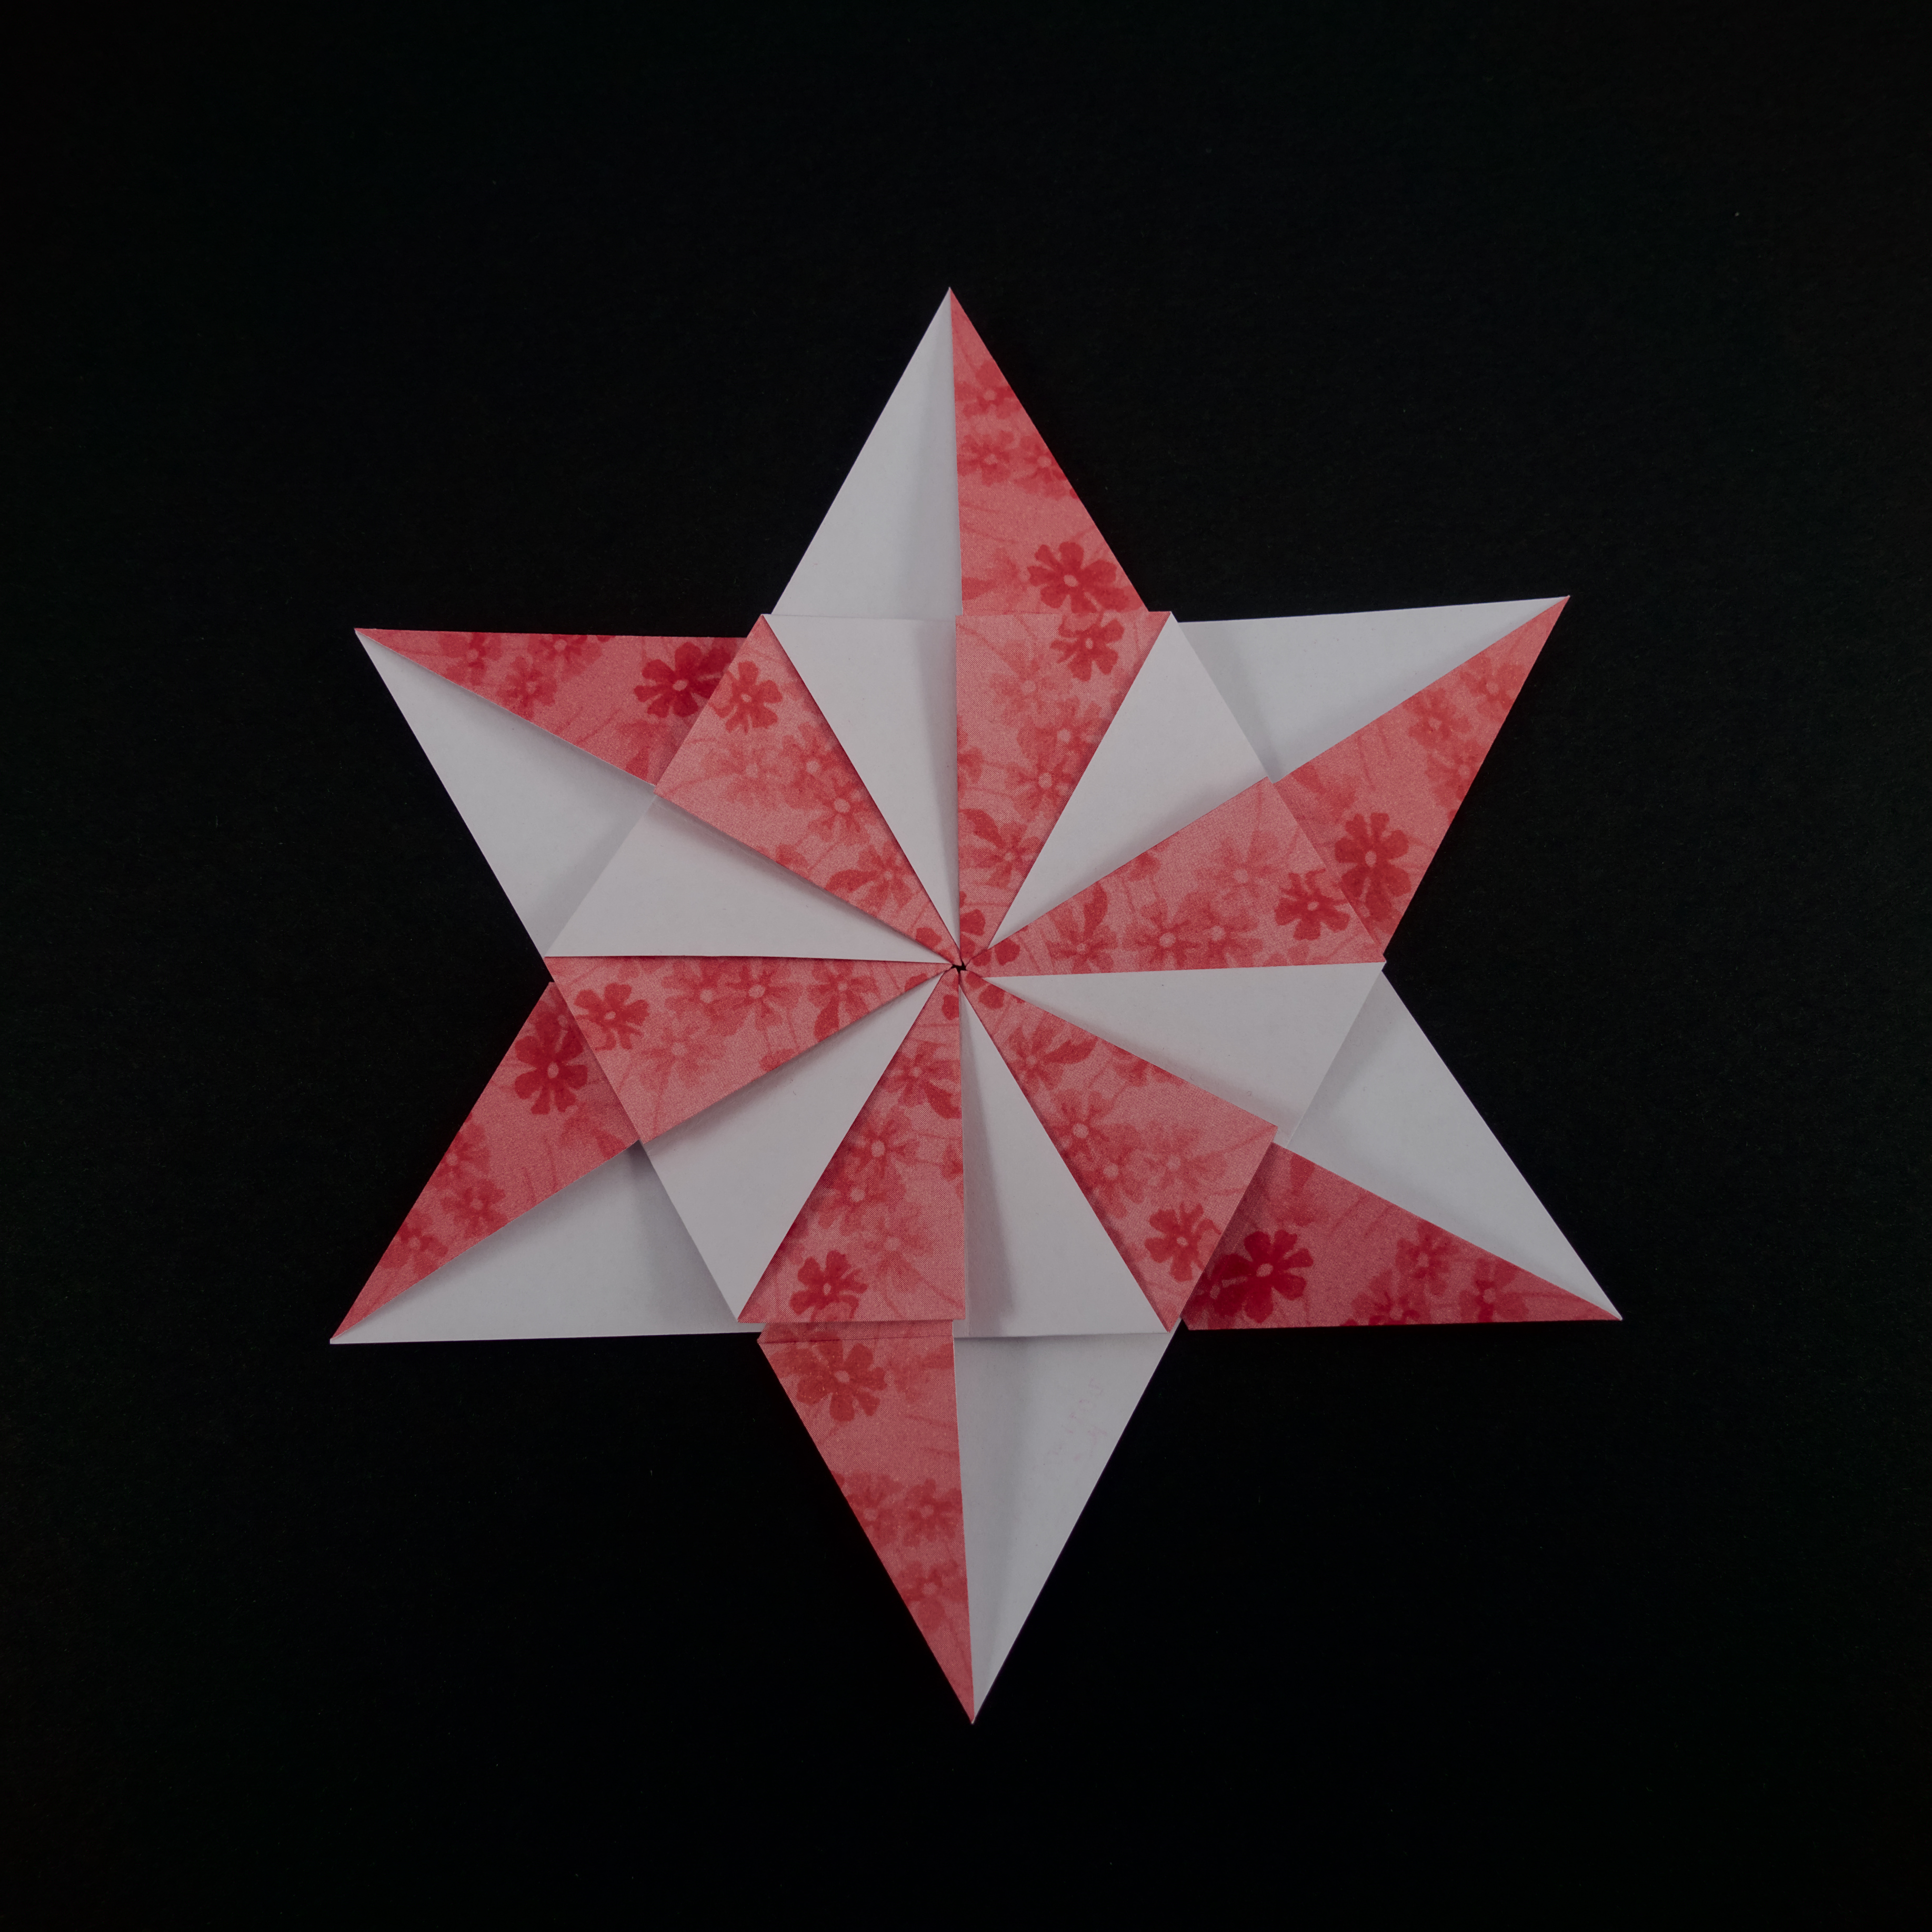

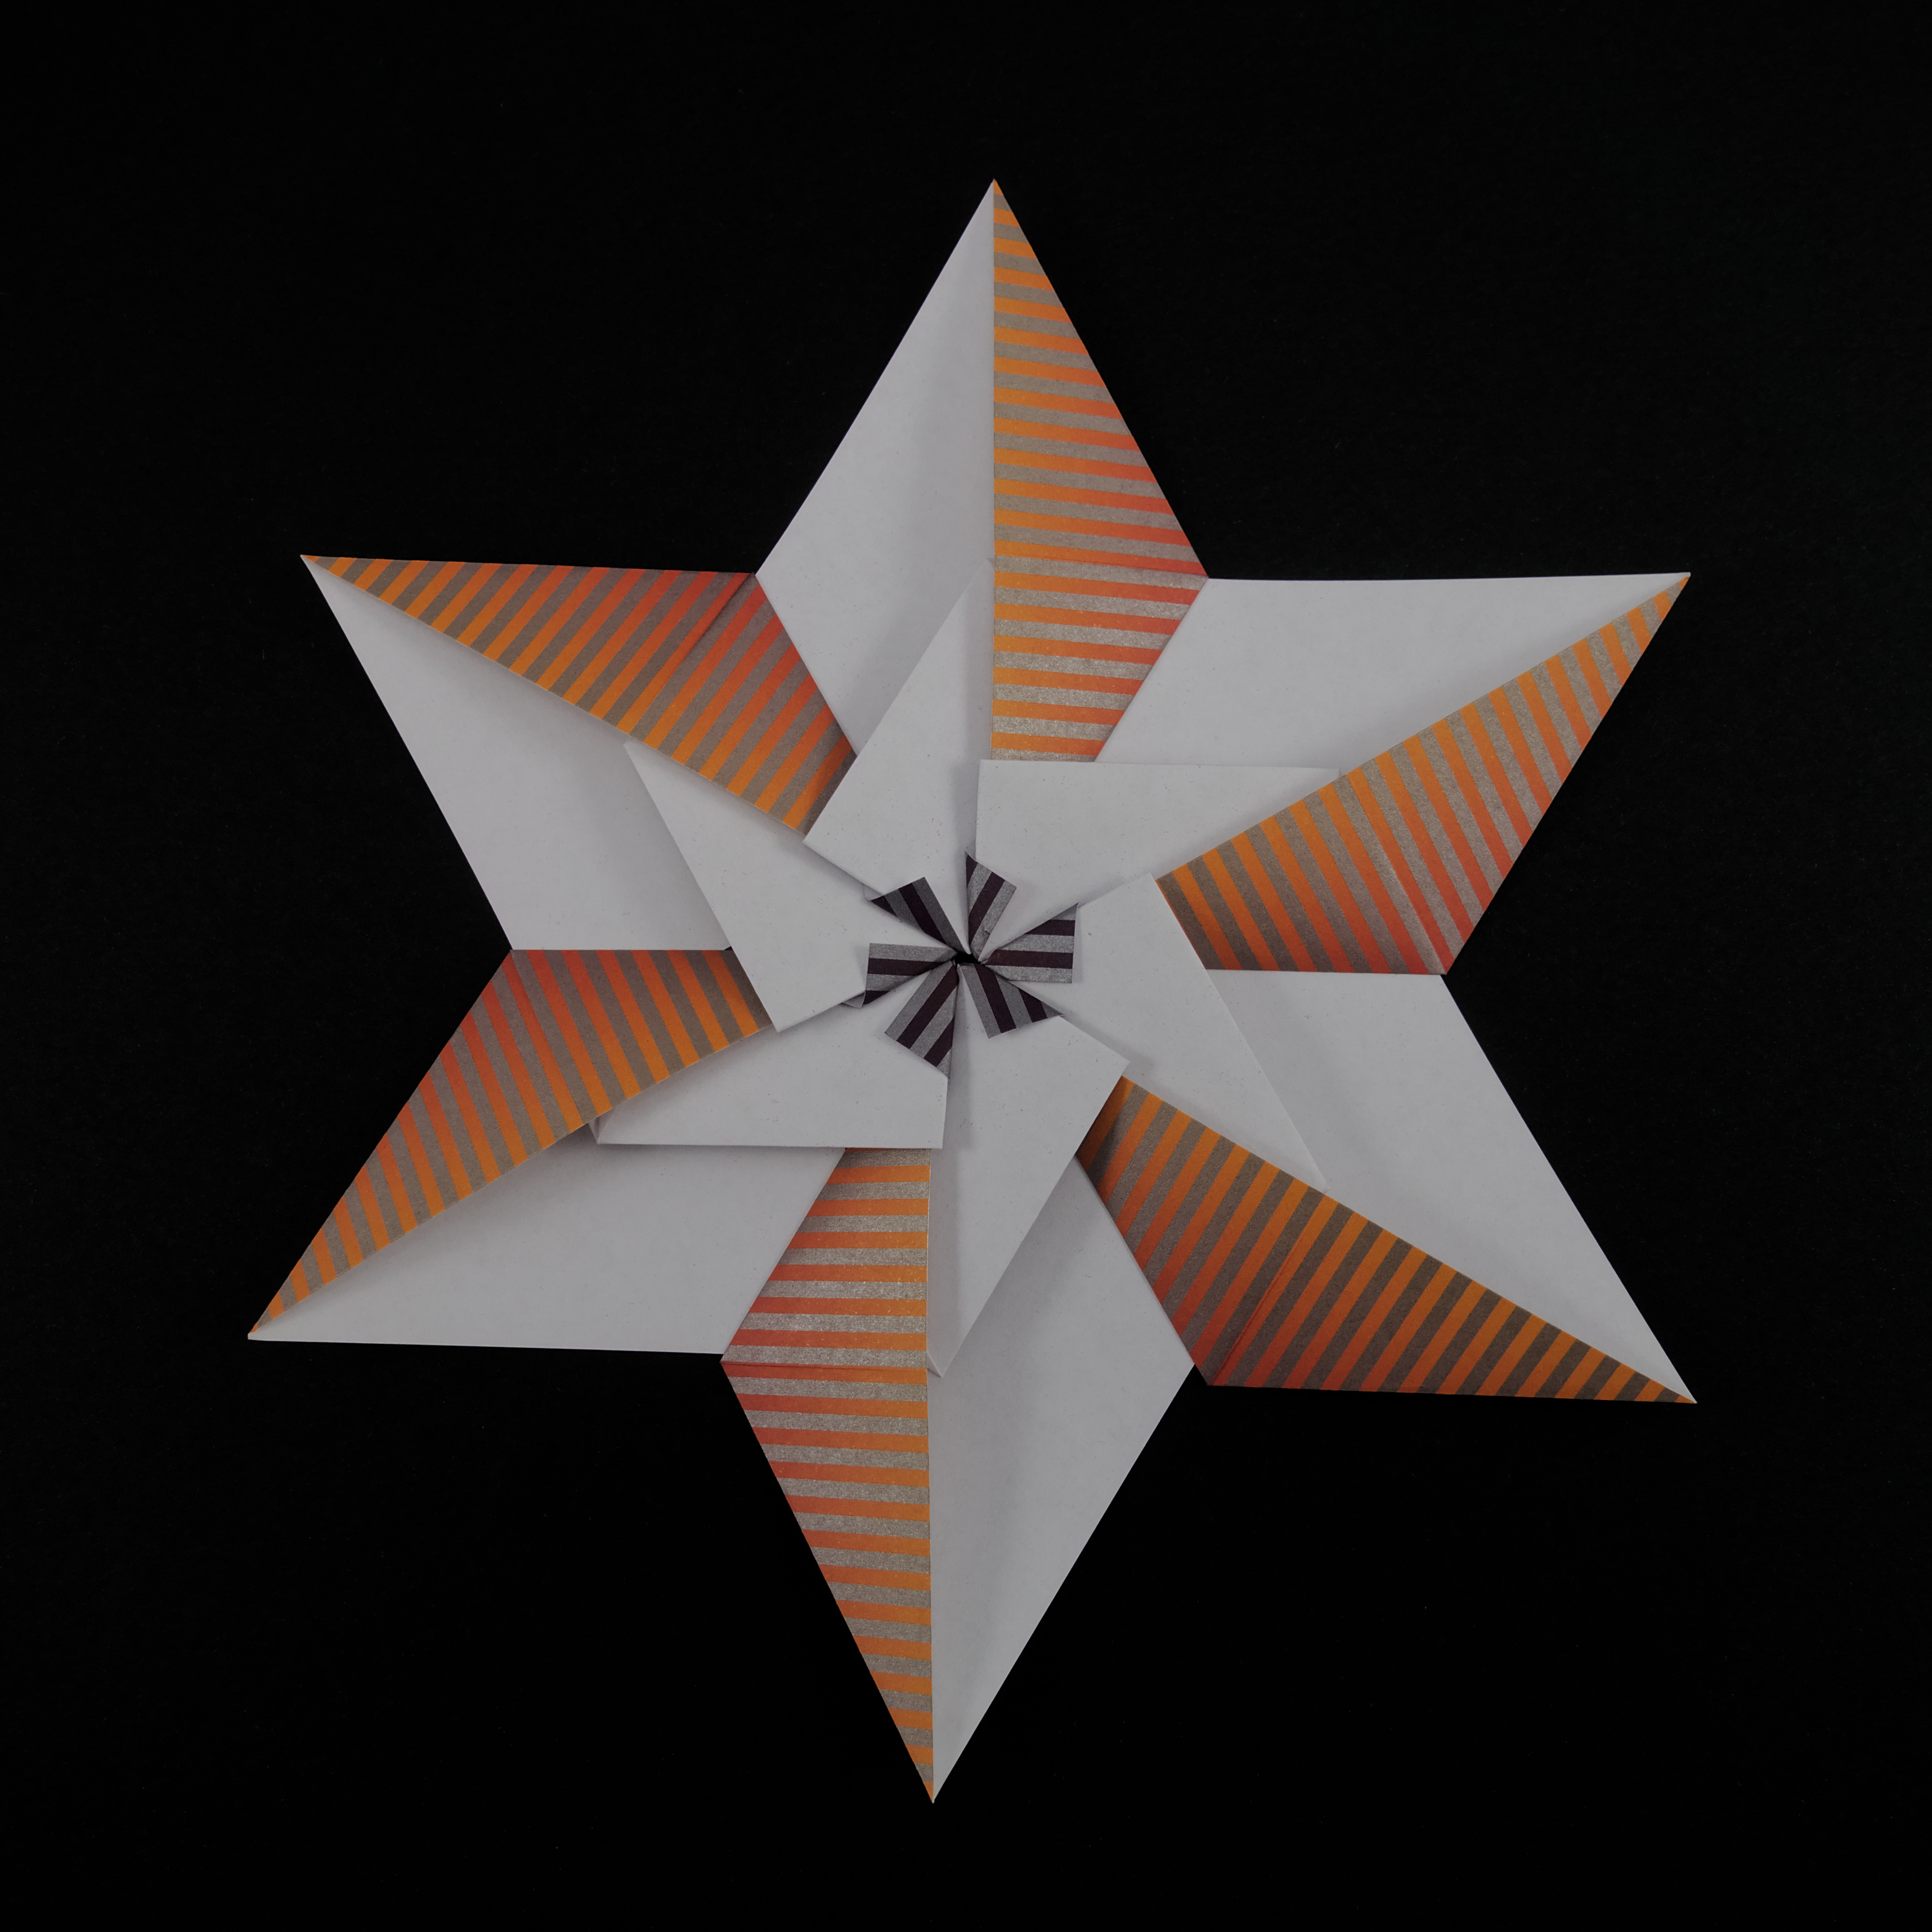
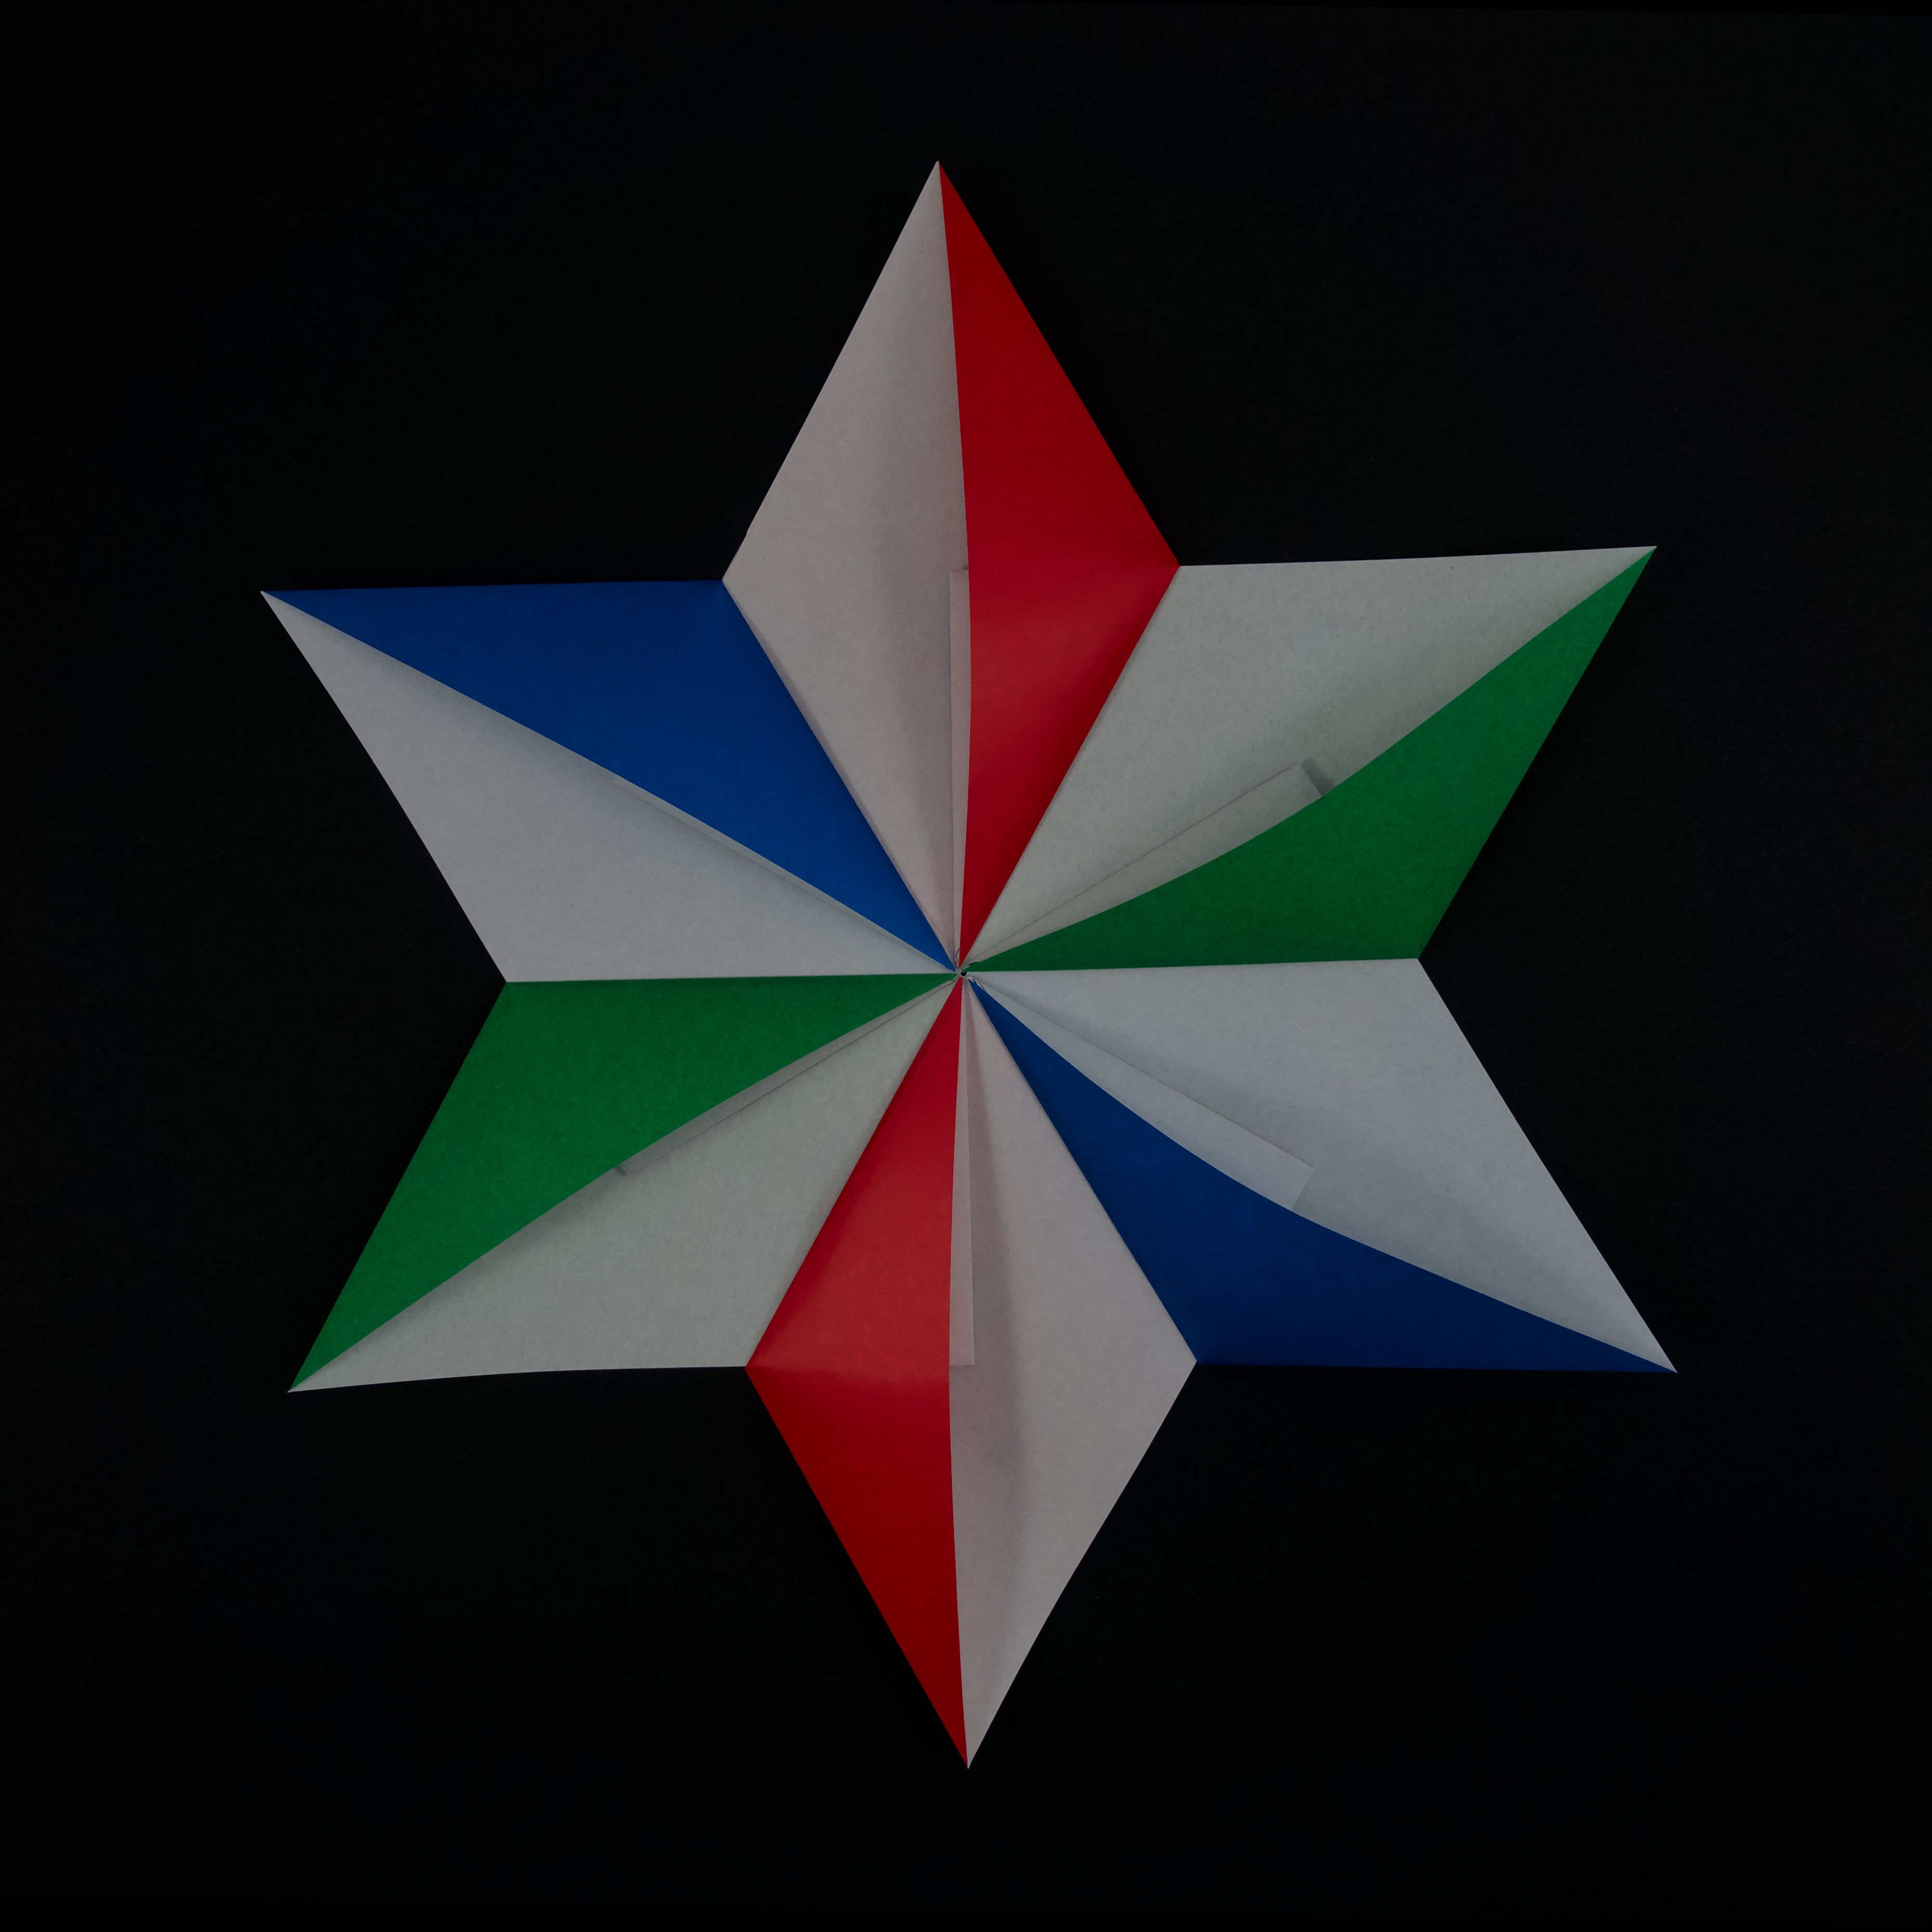
Star Ananke has many variants, most of them just minor changes in the folding process but affecting the look of the final model.
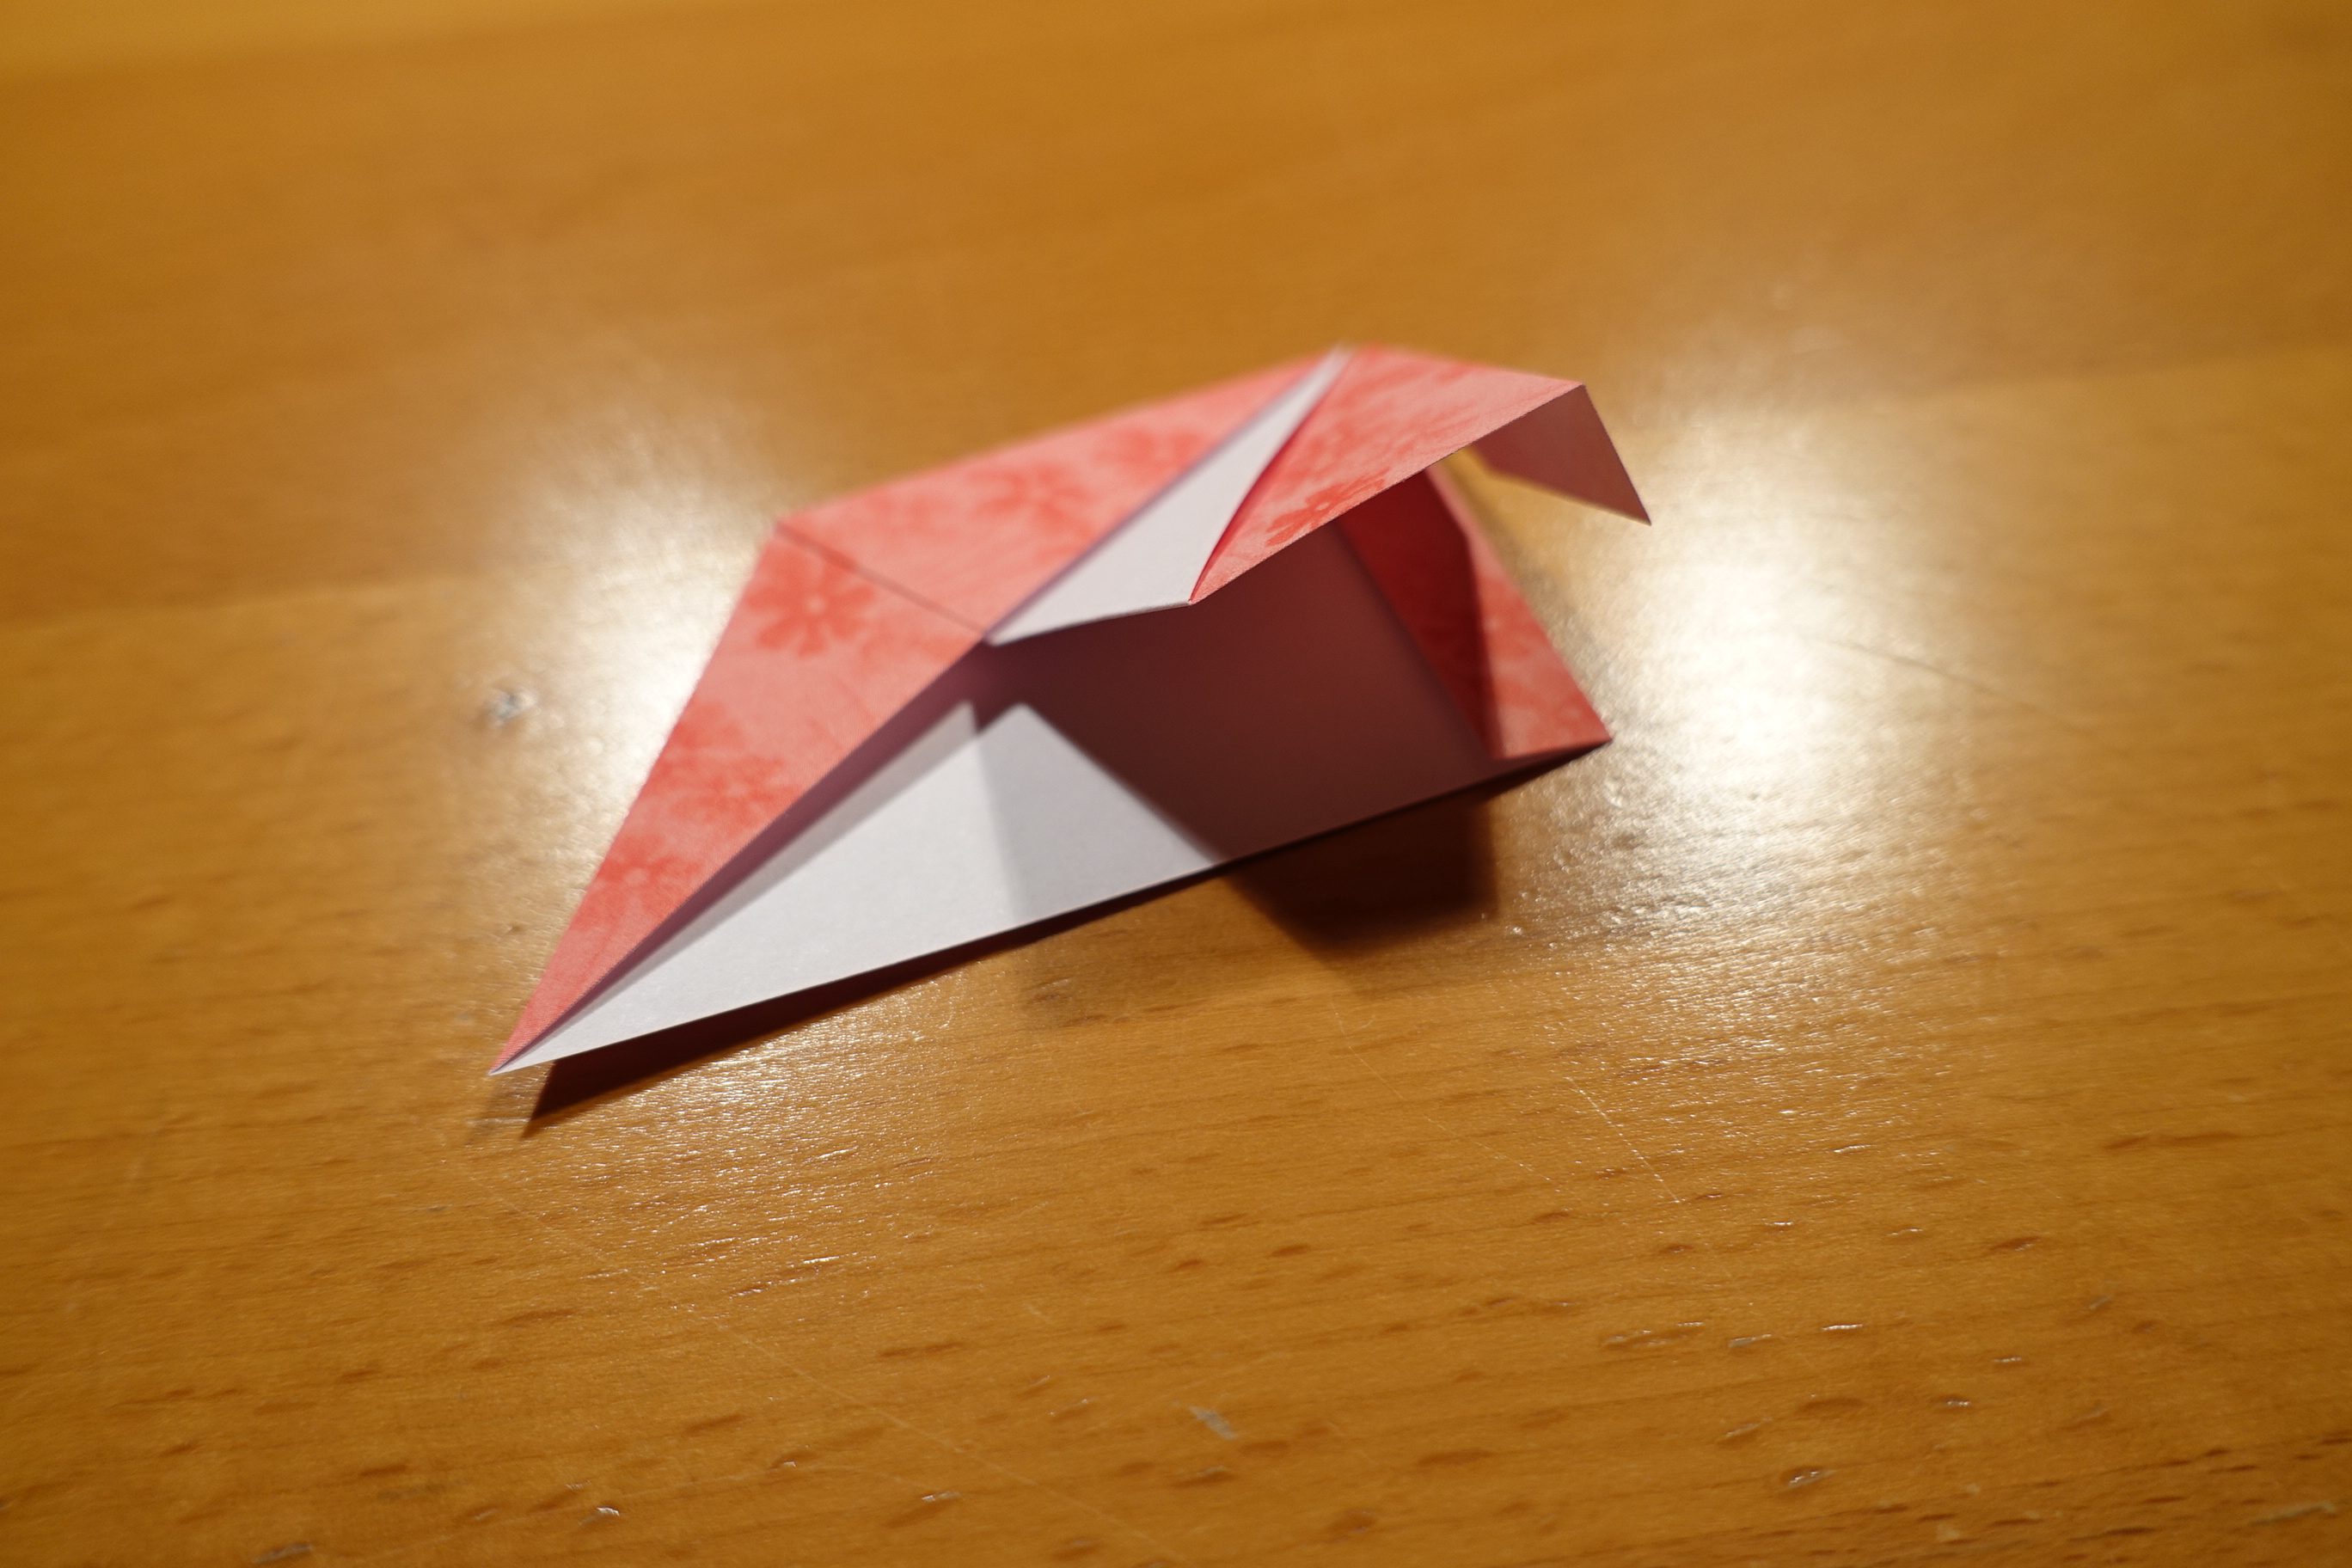
Photo tutorial
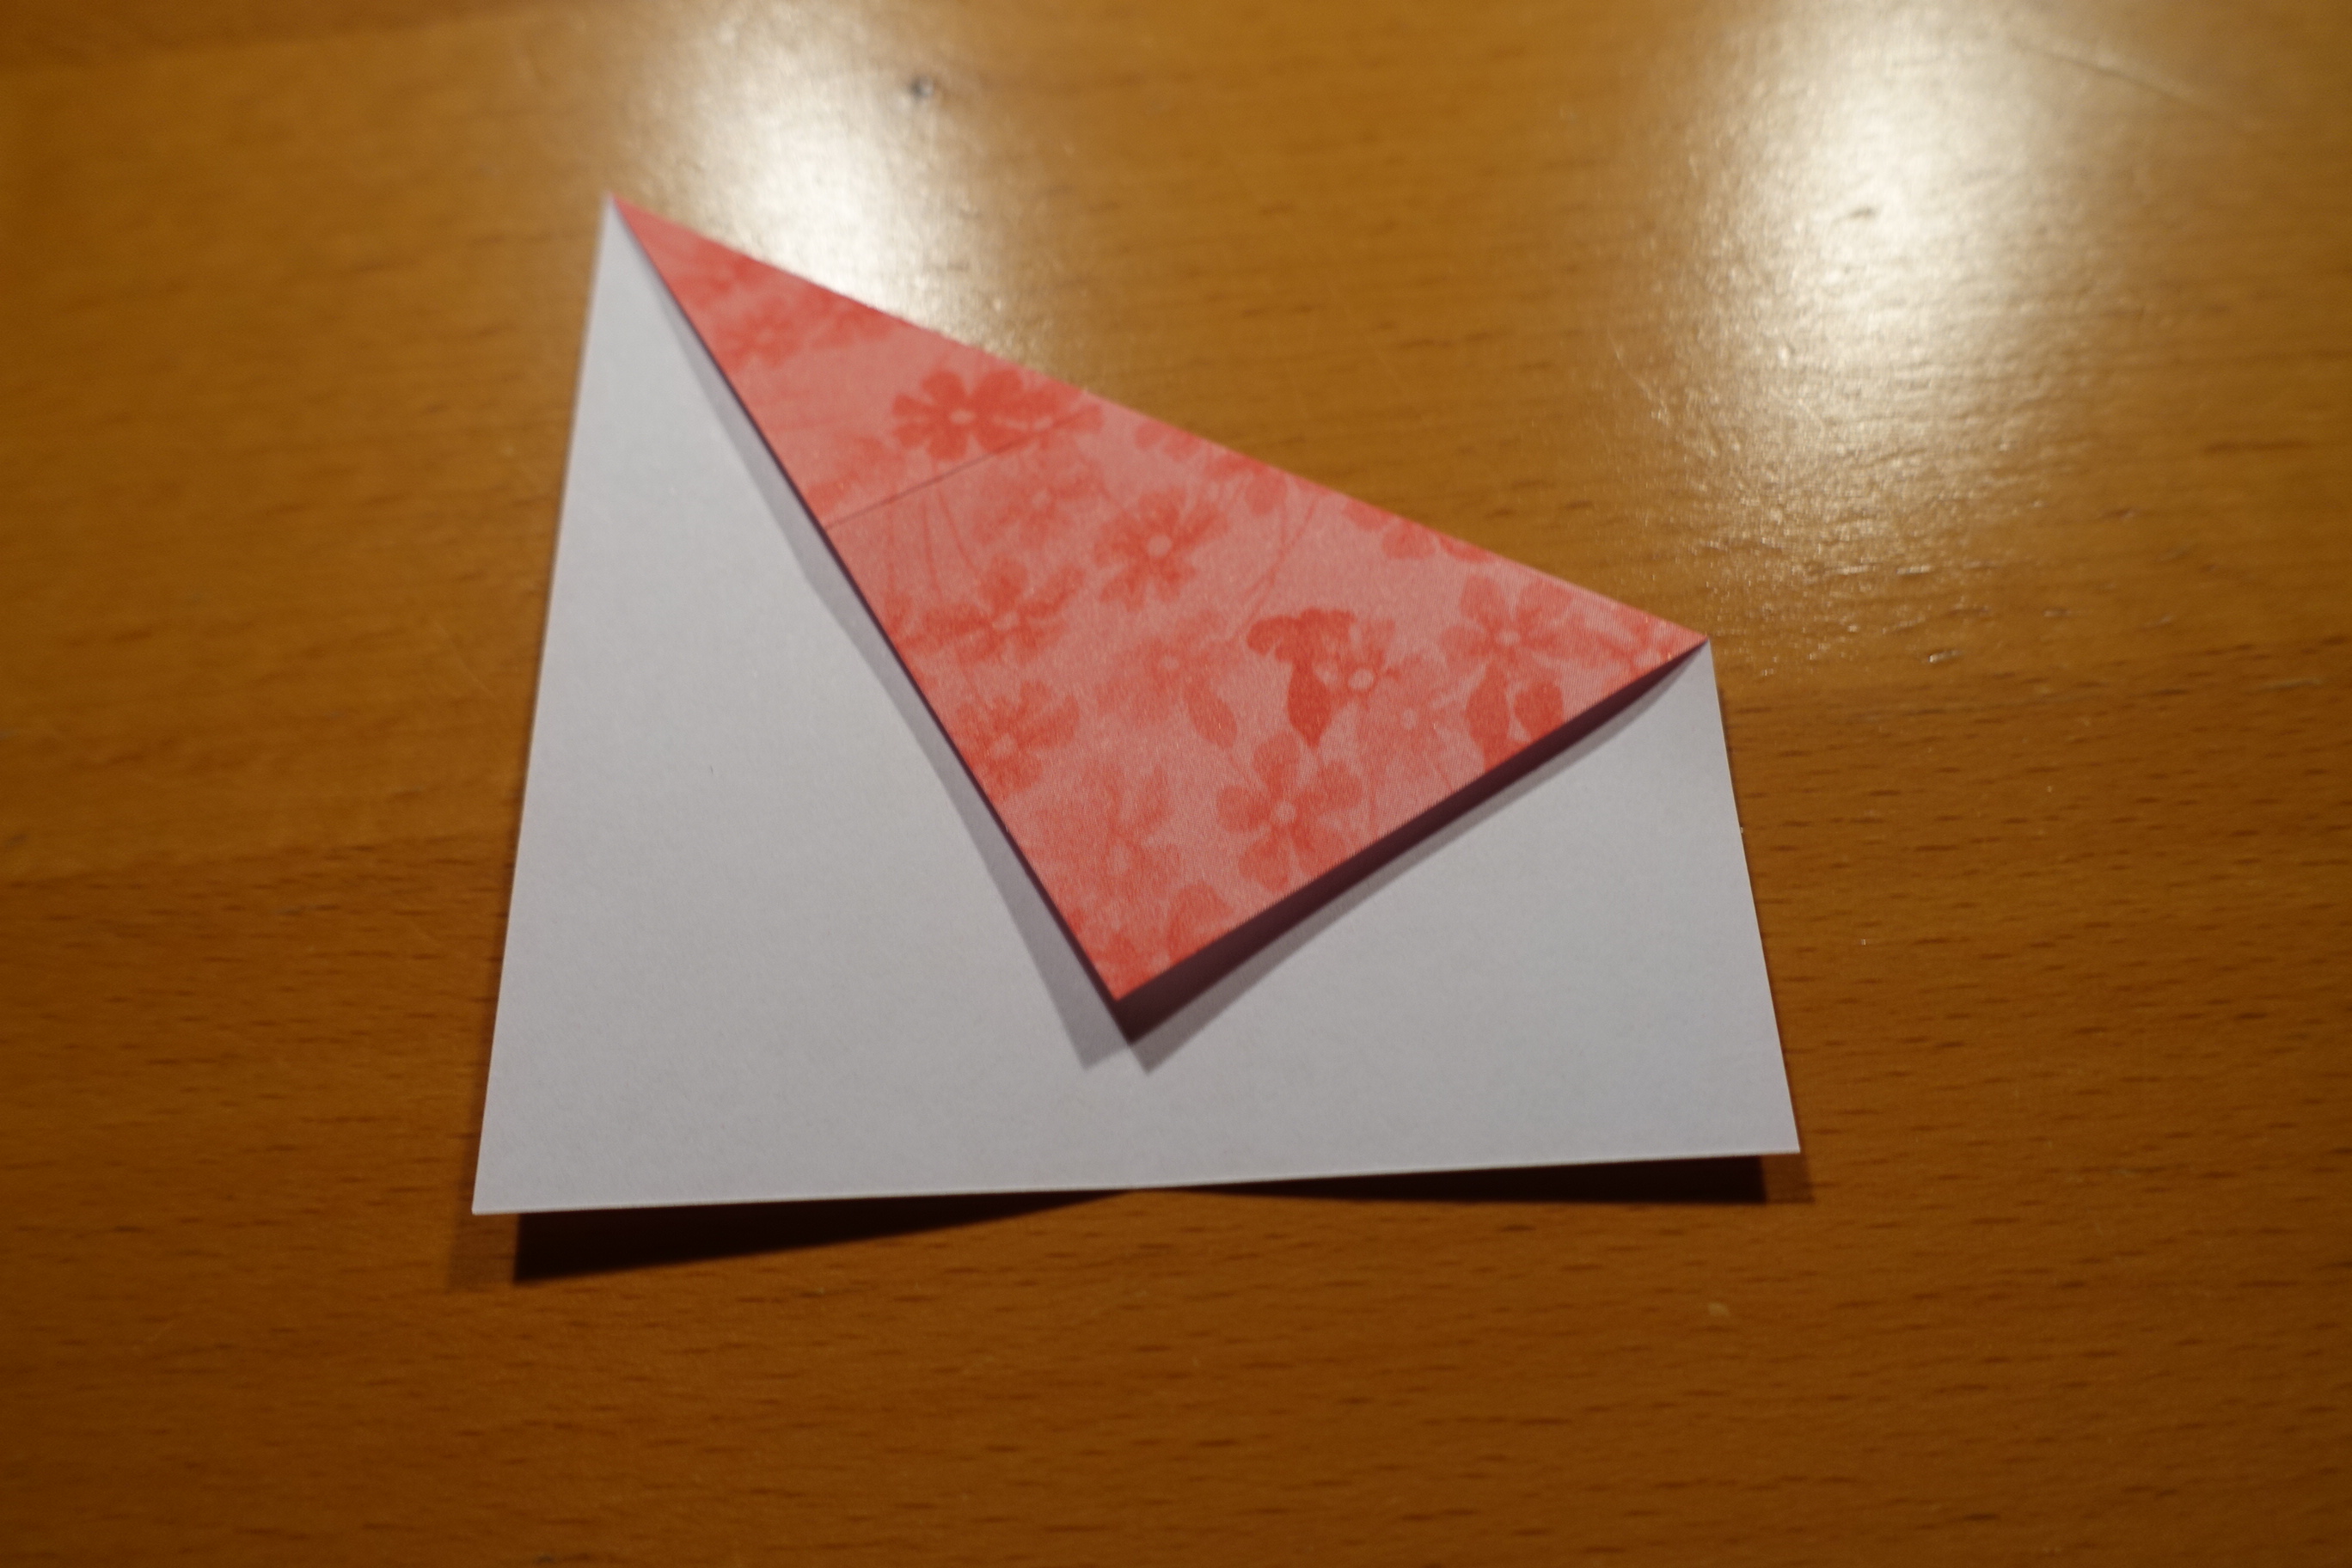
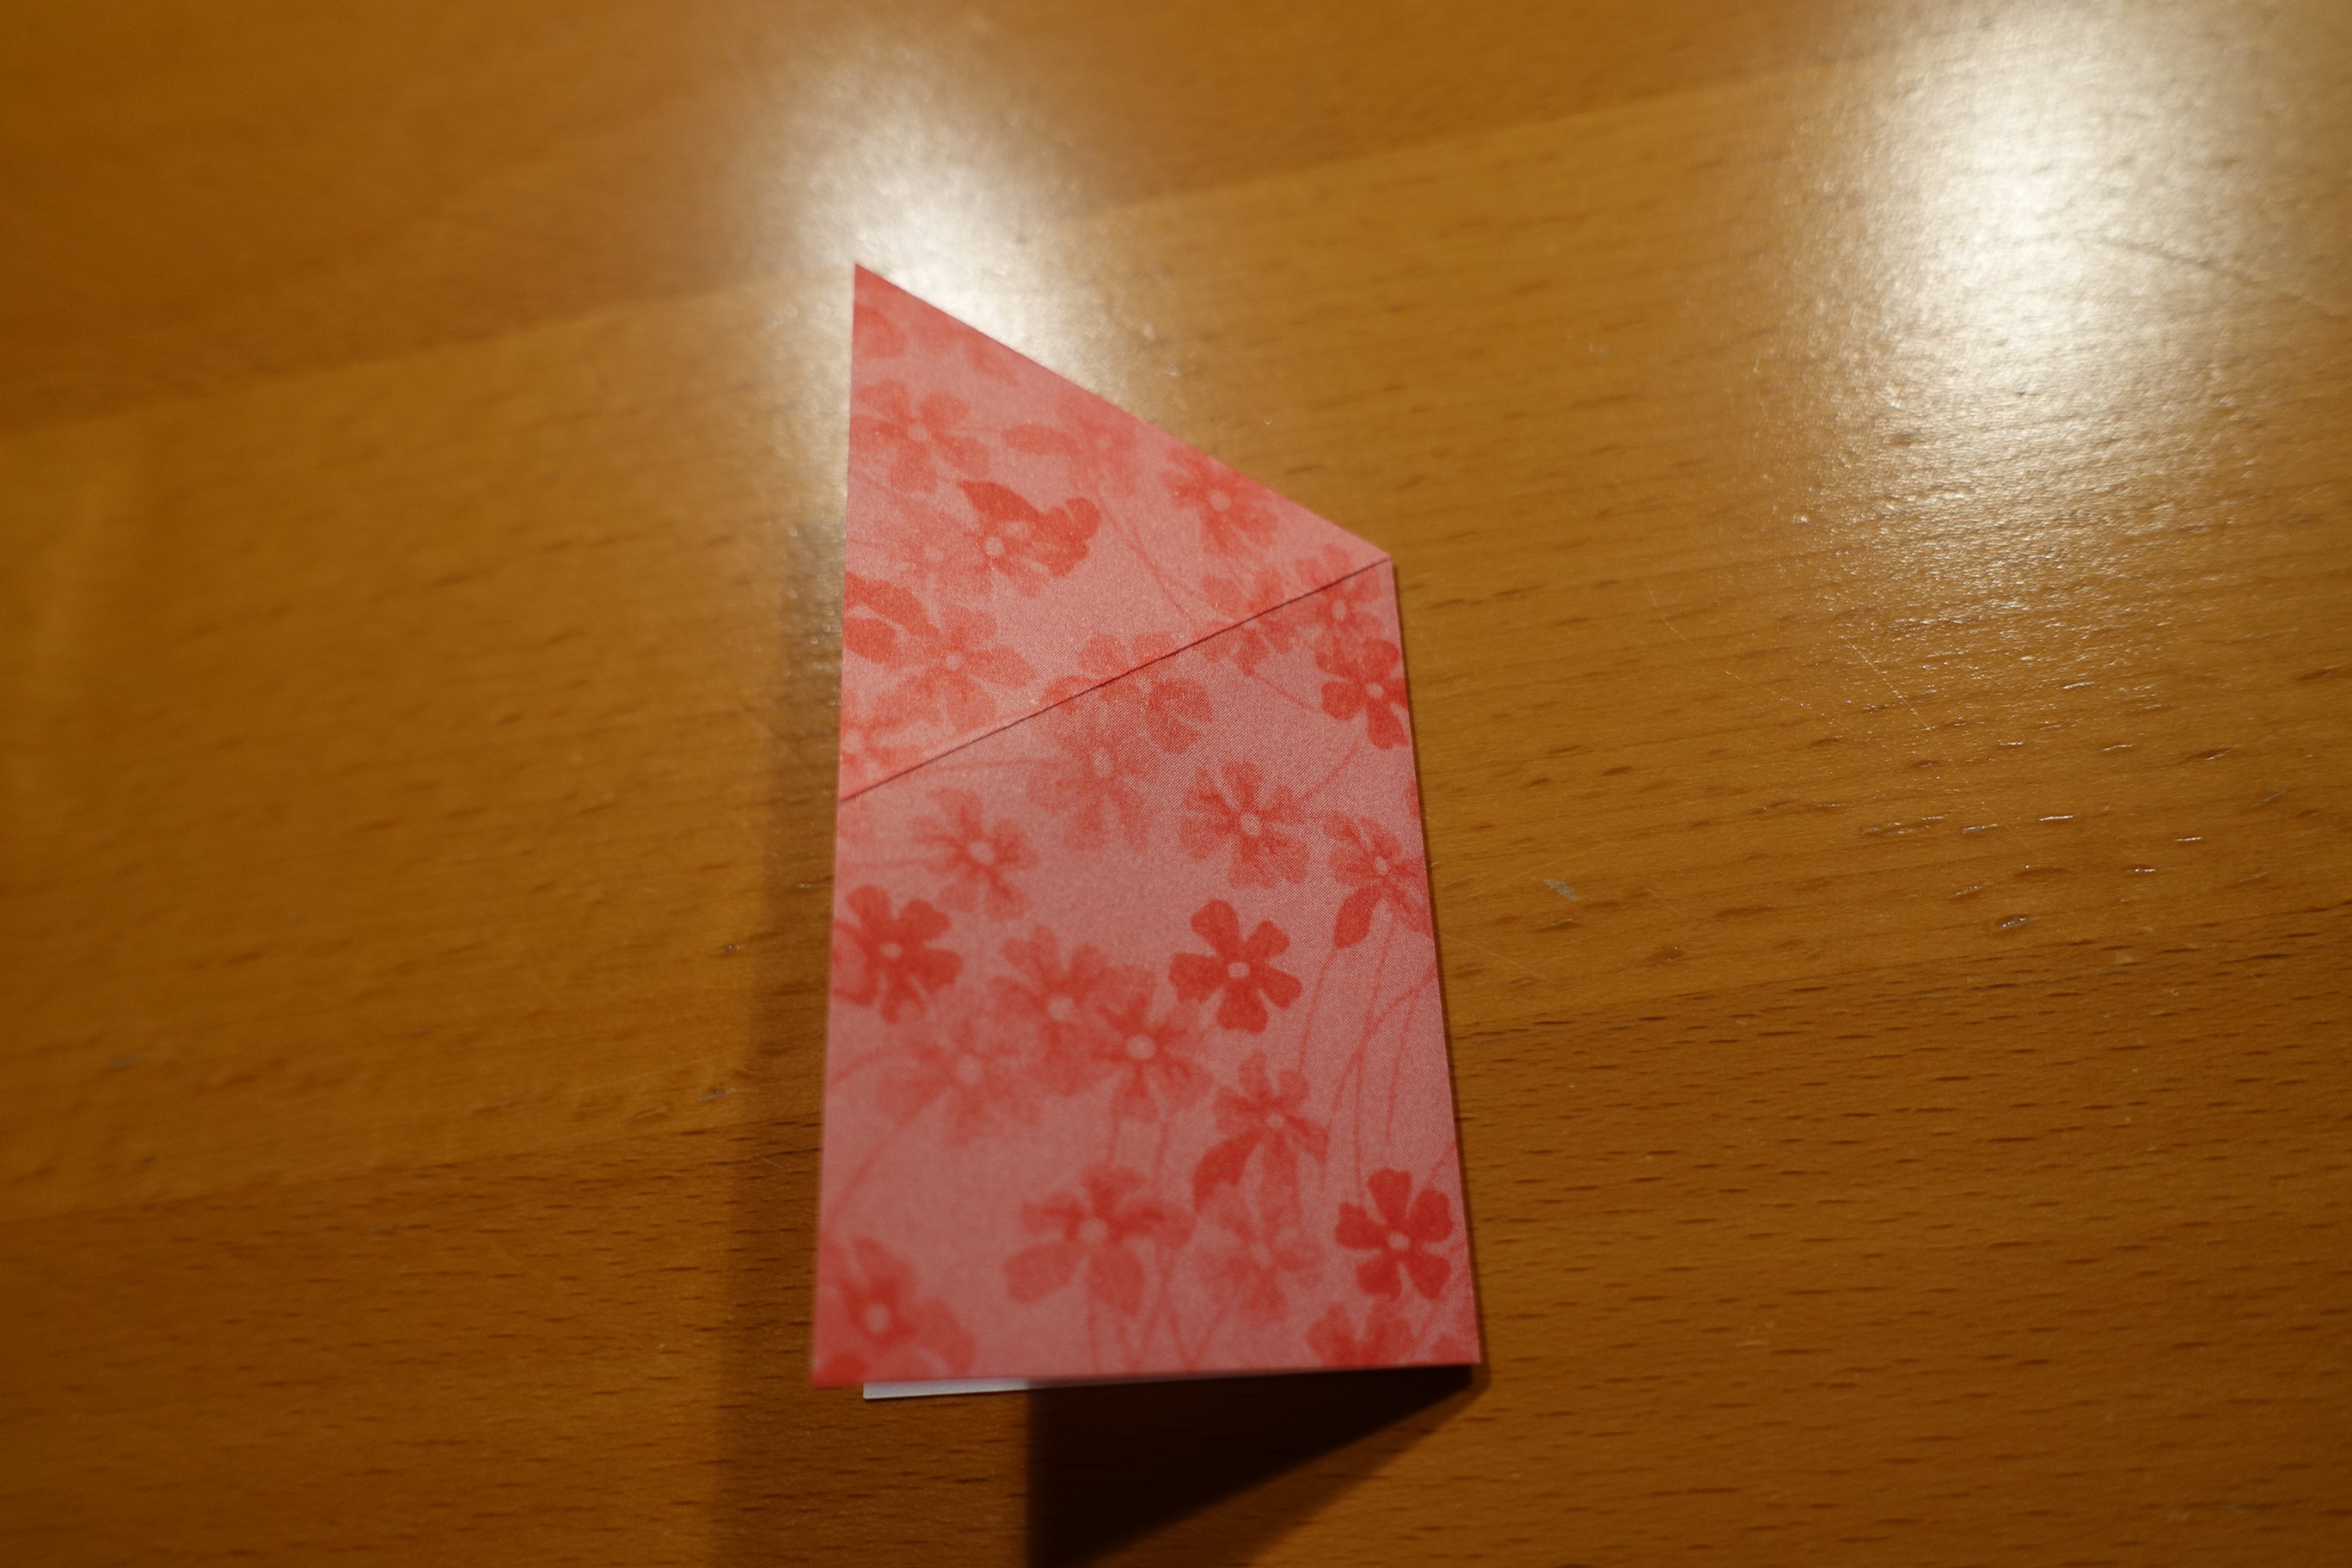
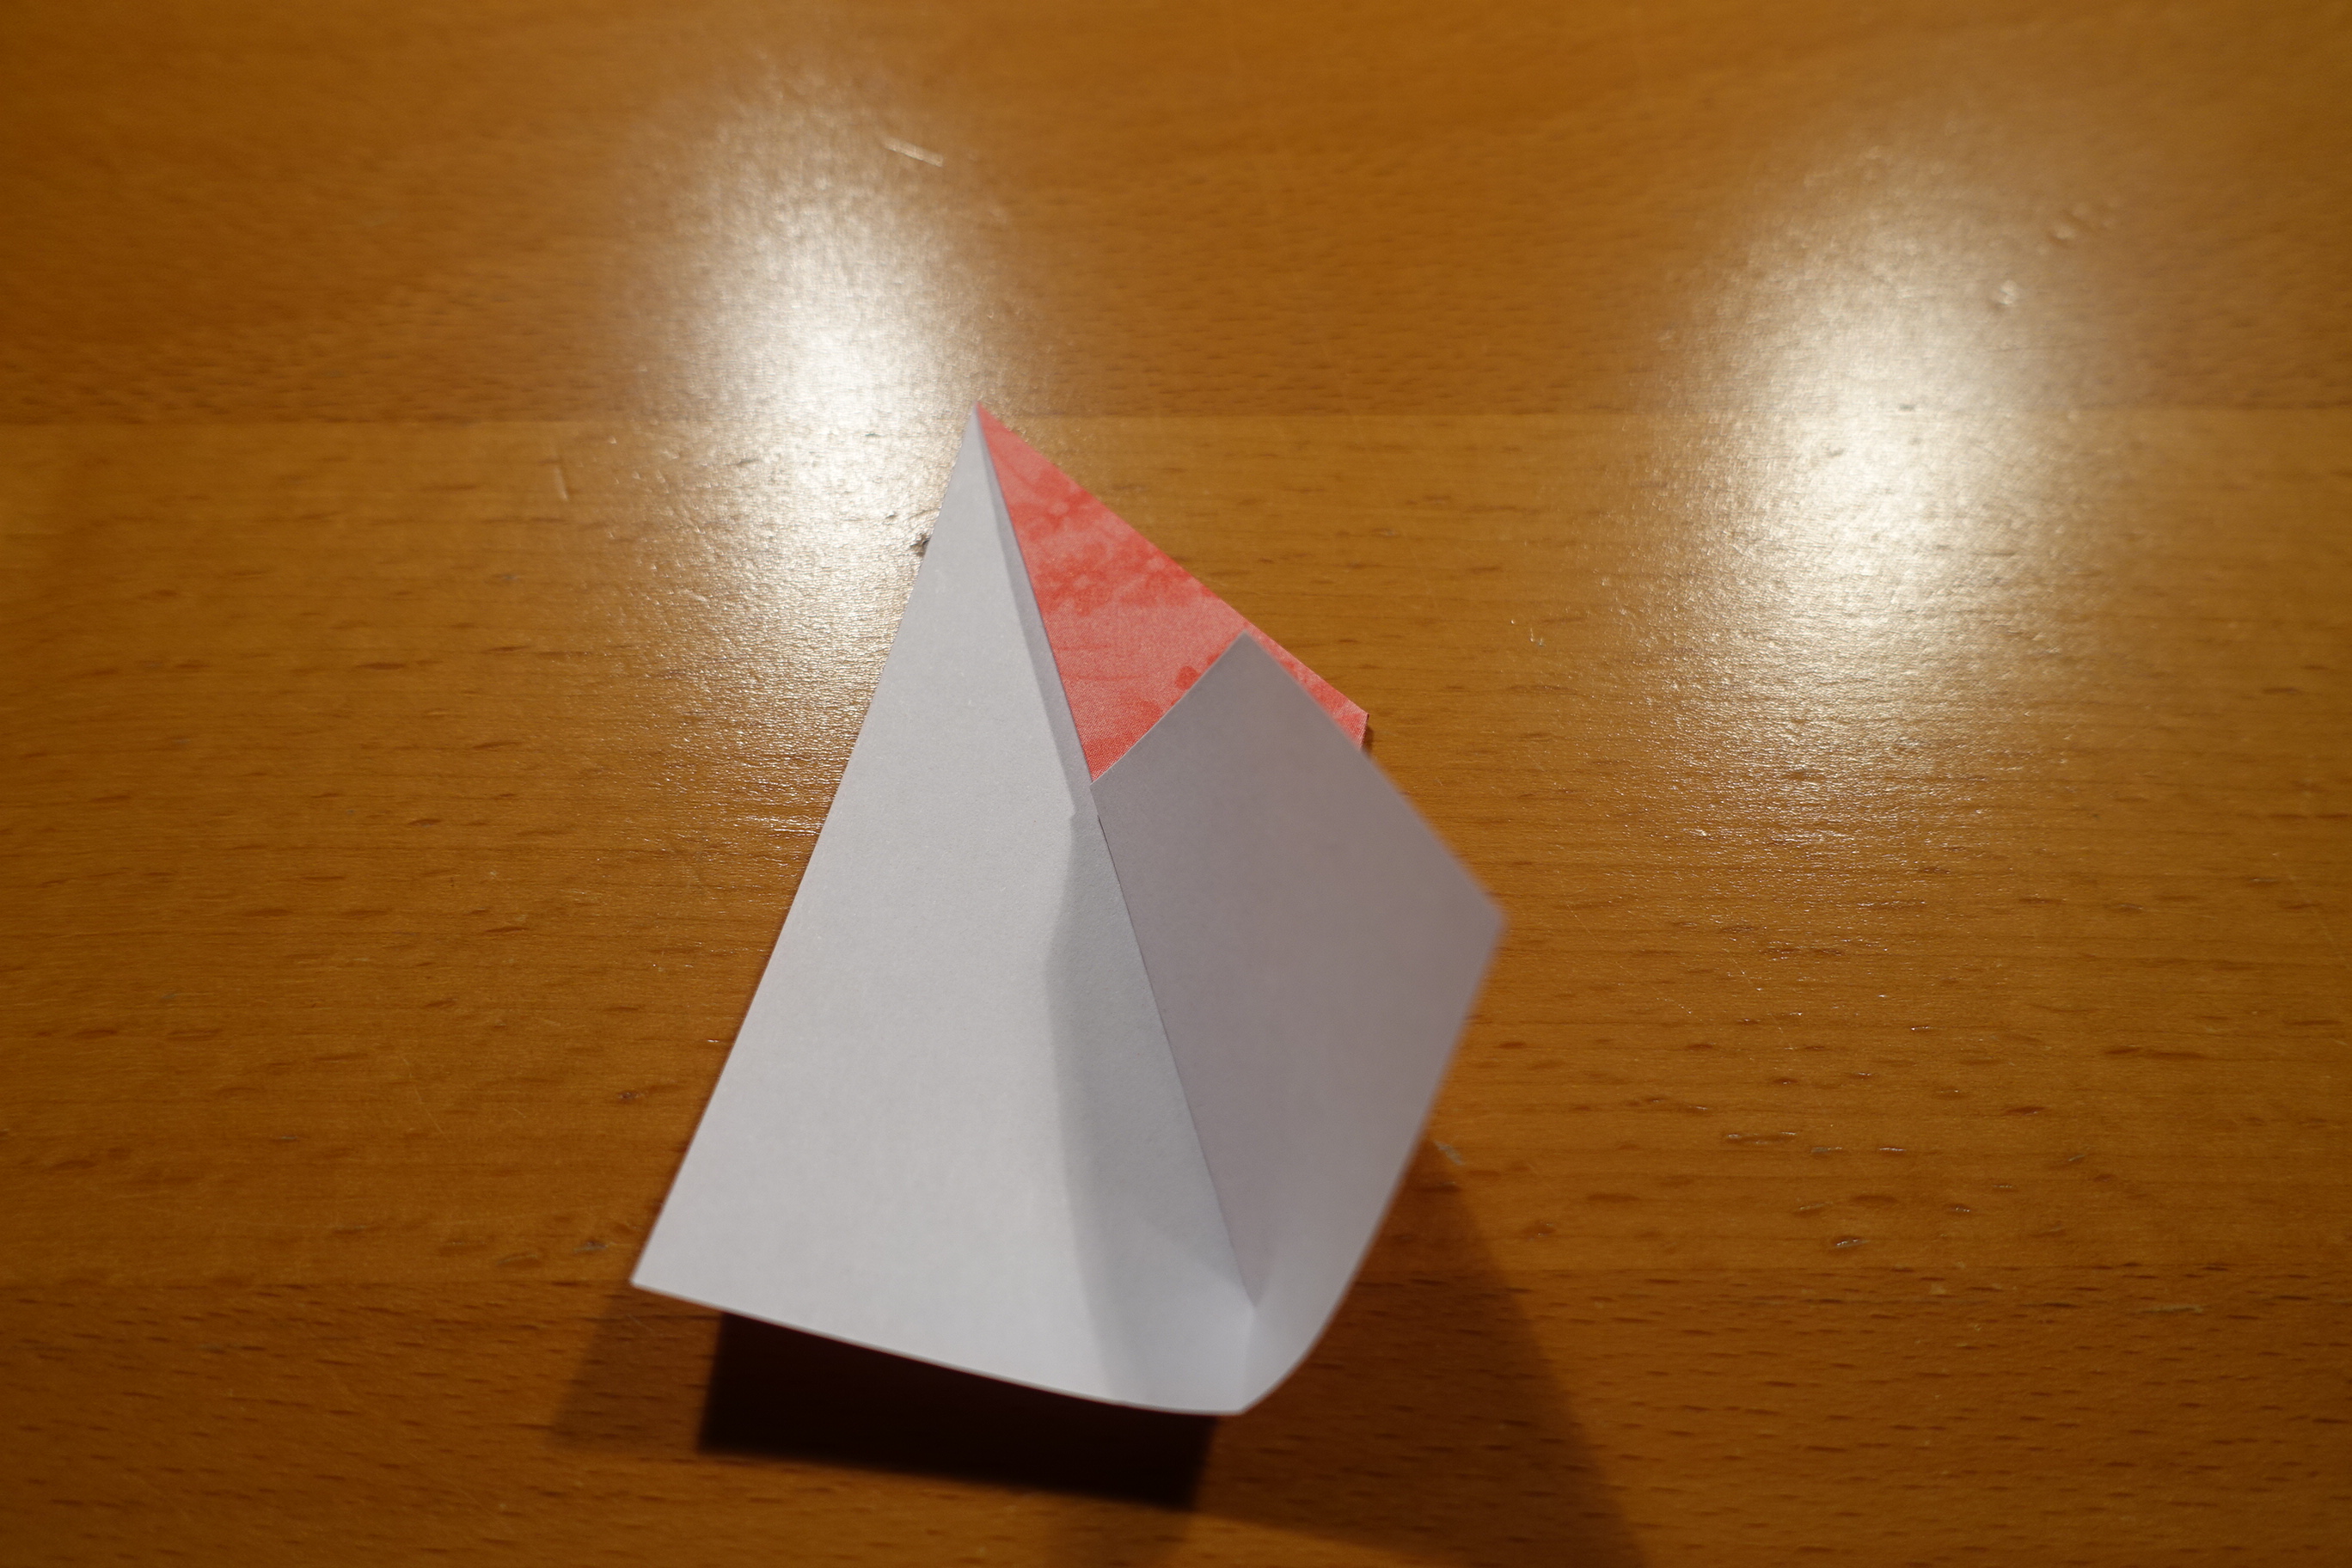
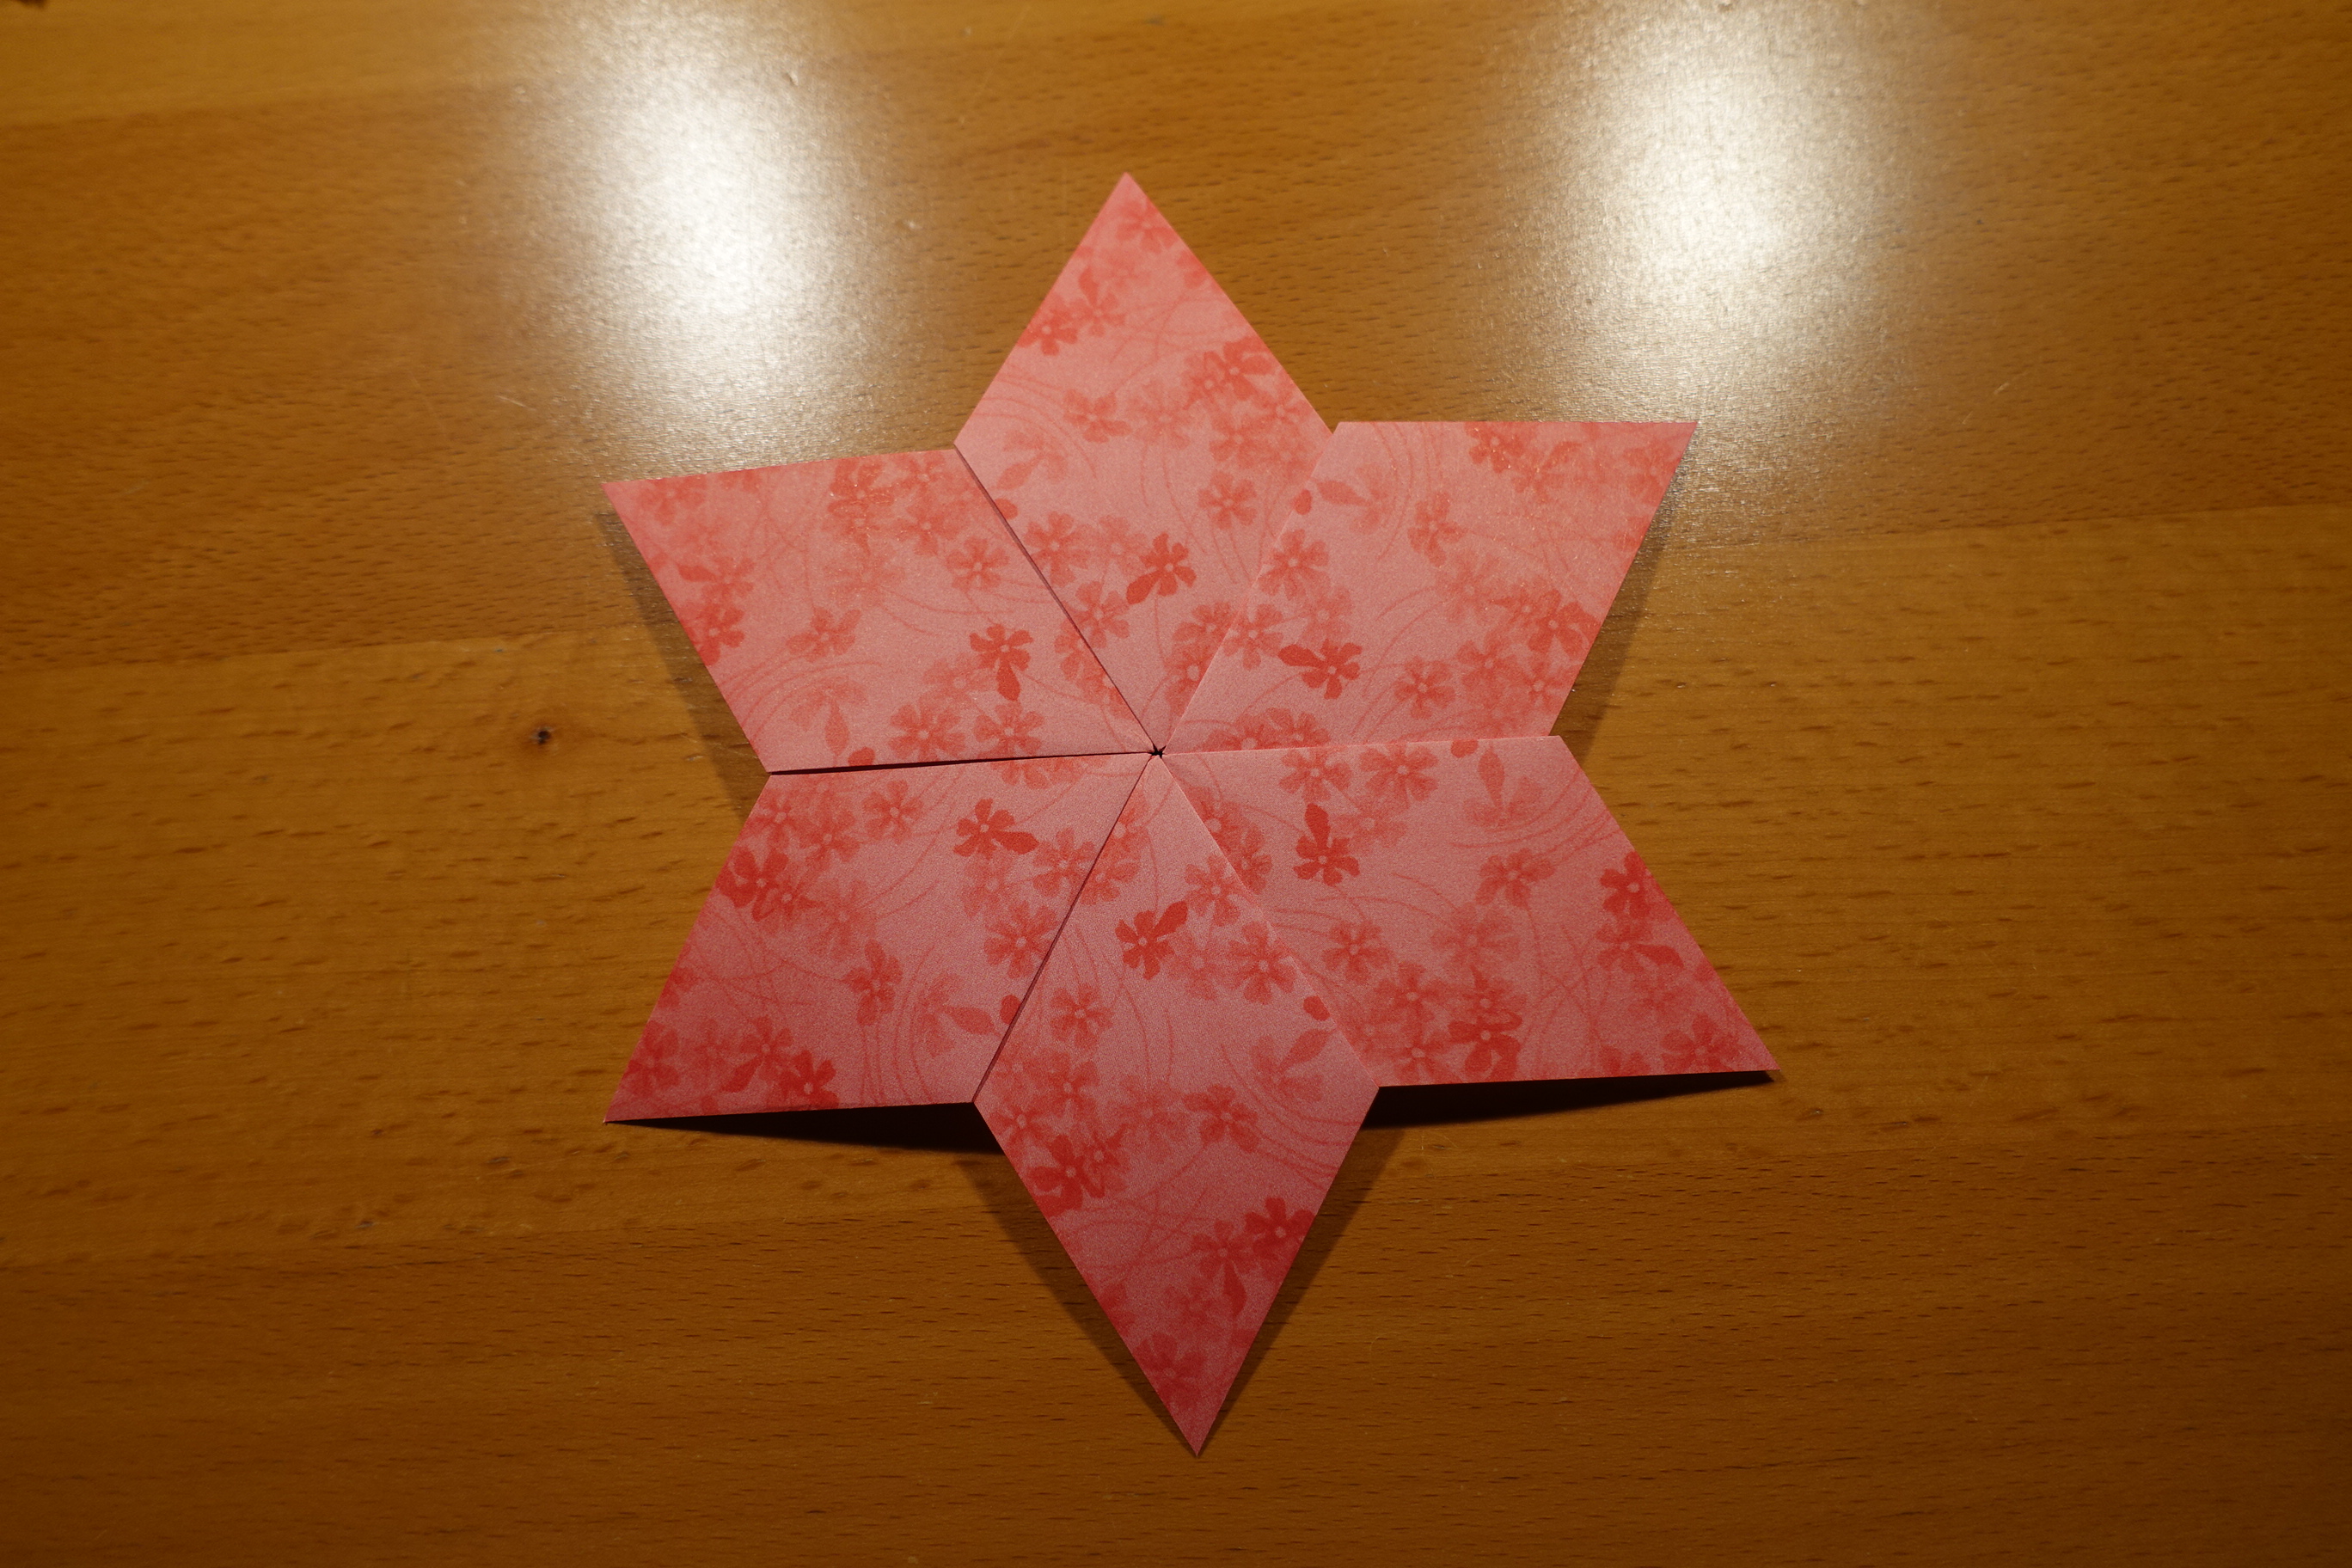
This is a photo tutorial for Star Ananke variant A. Other variants can be derived from it, usually by adding just a few creases. Specific instructions may ba available as links from the other variants’ pages.
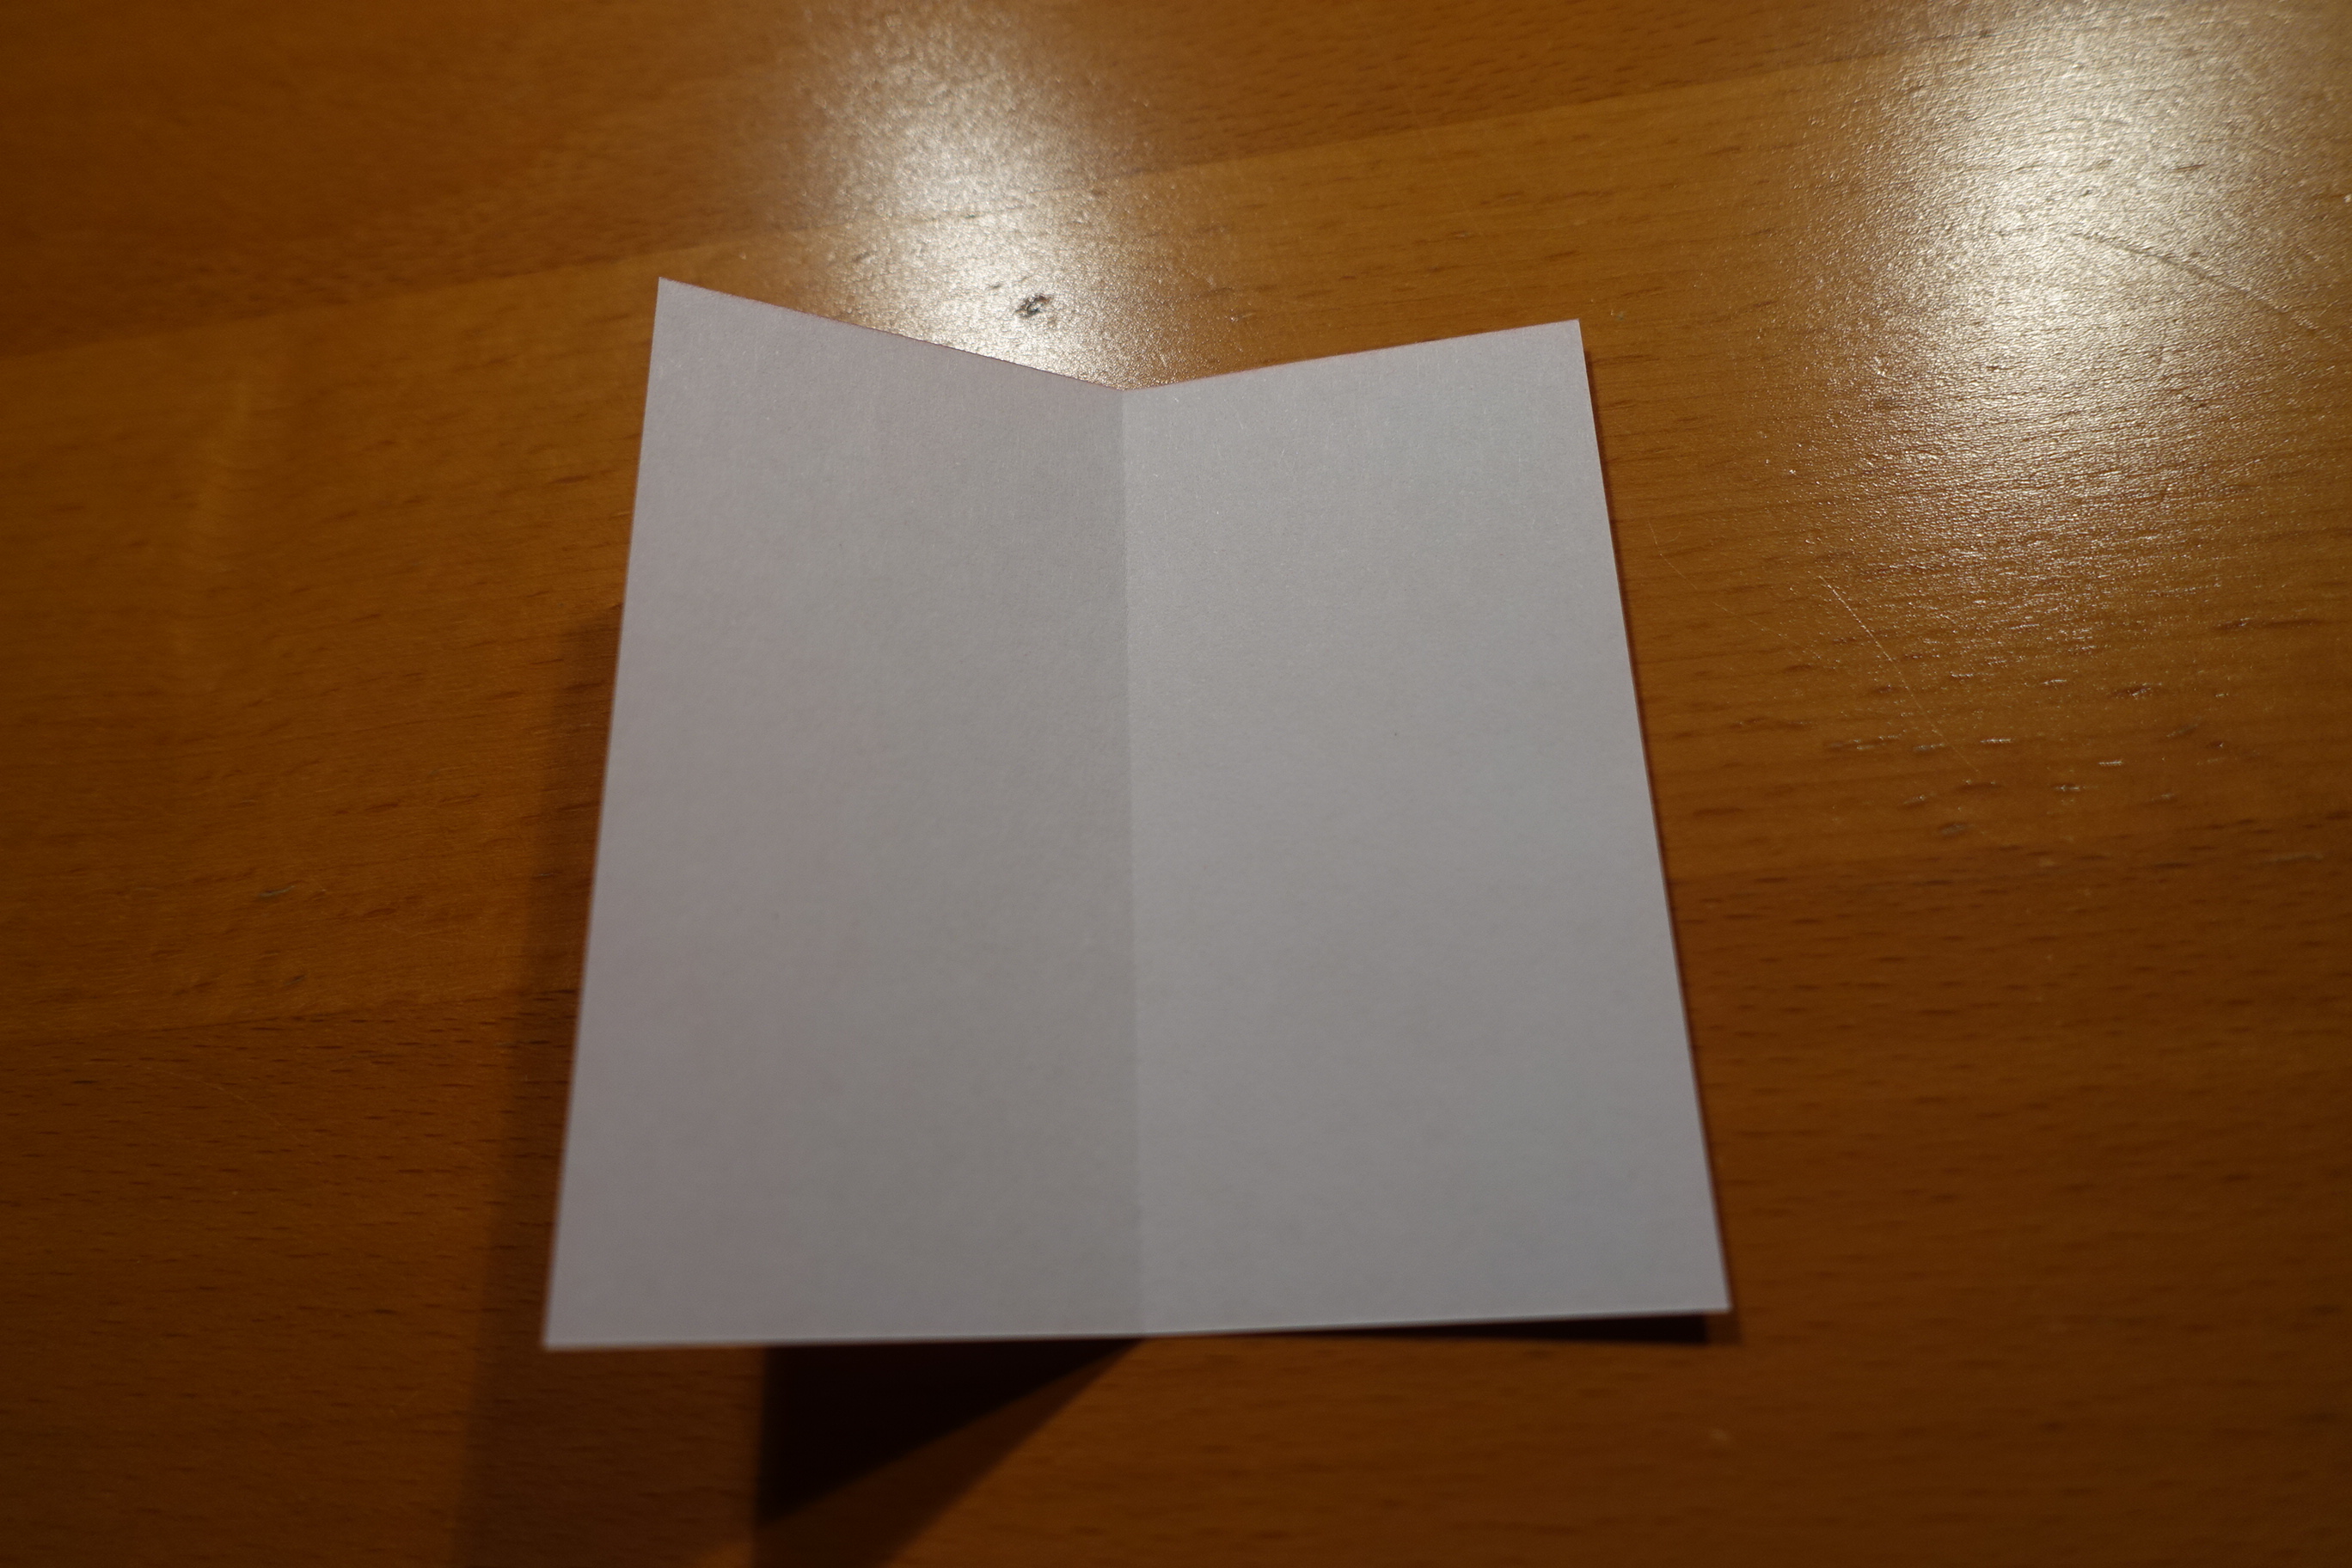
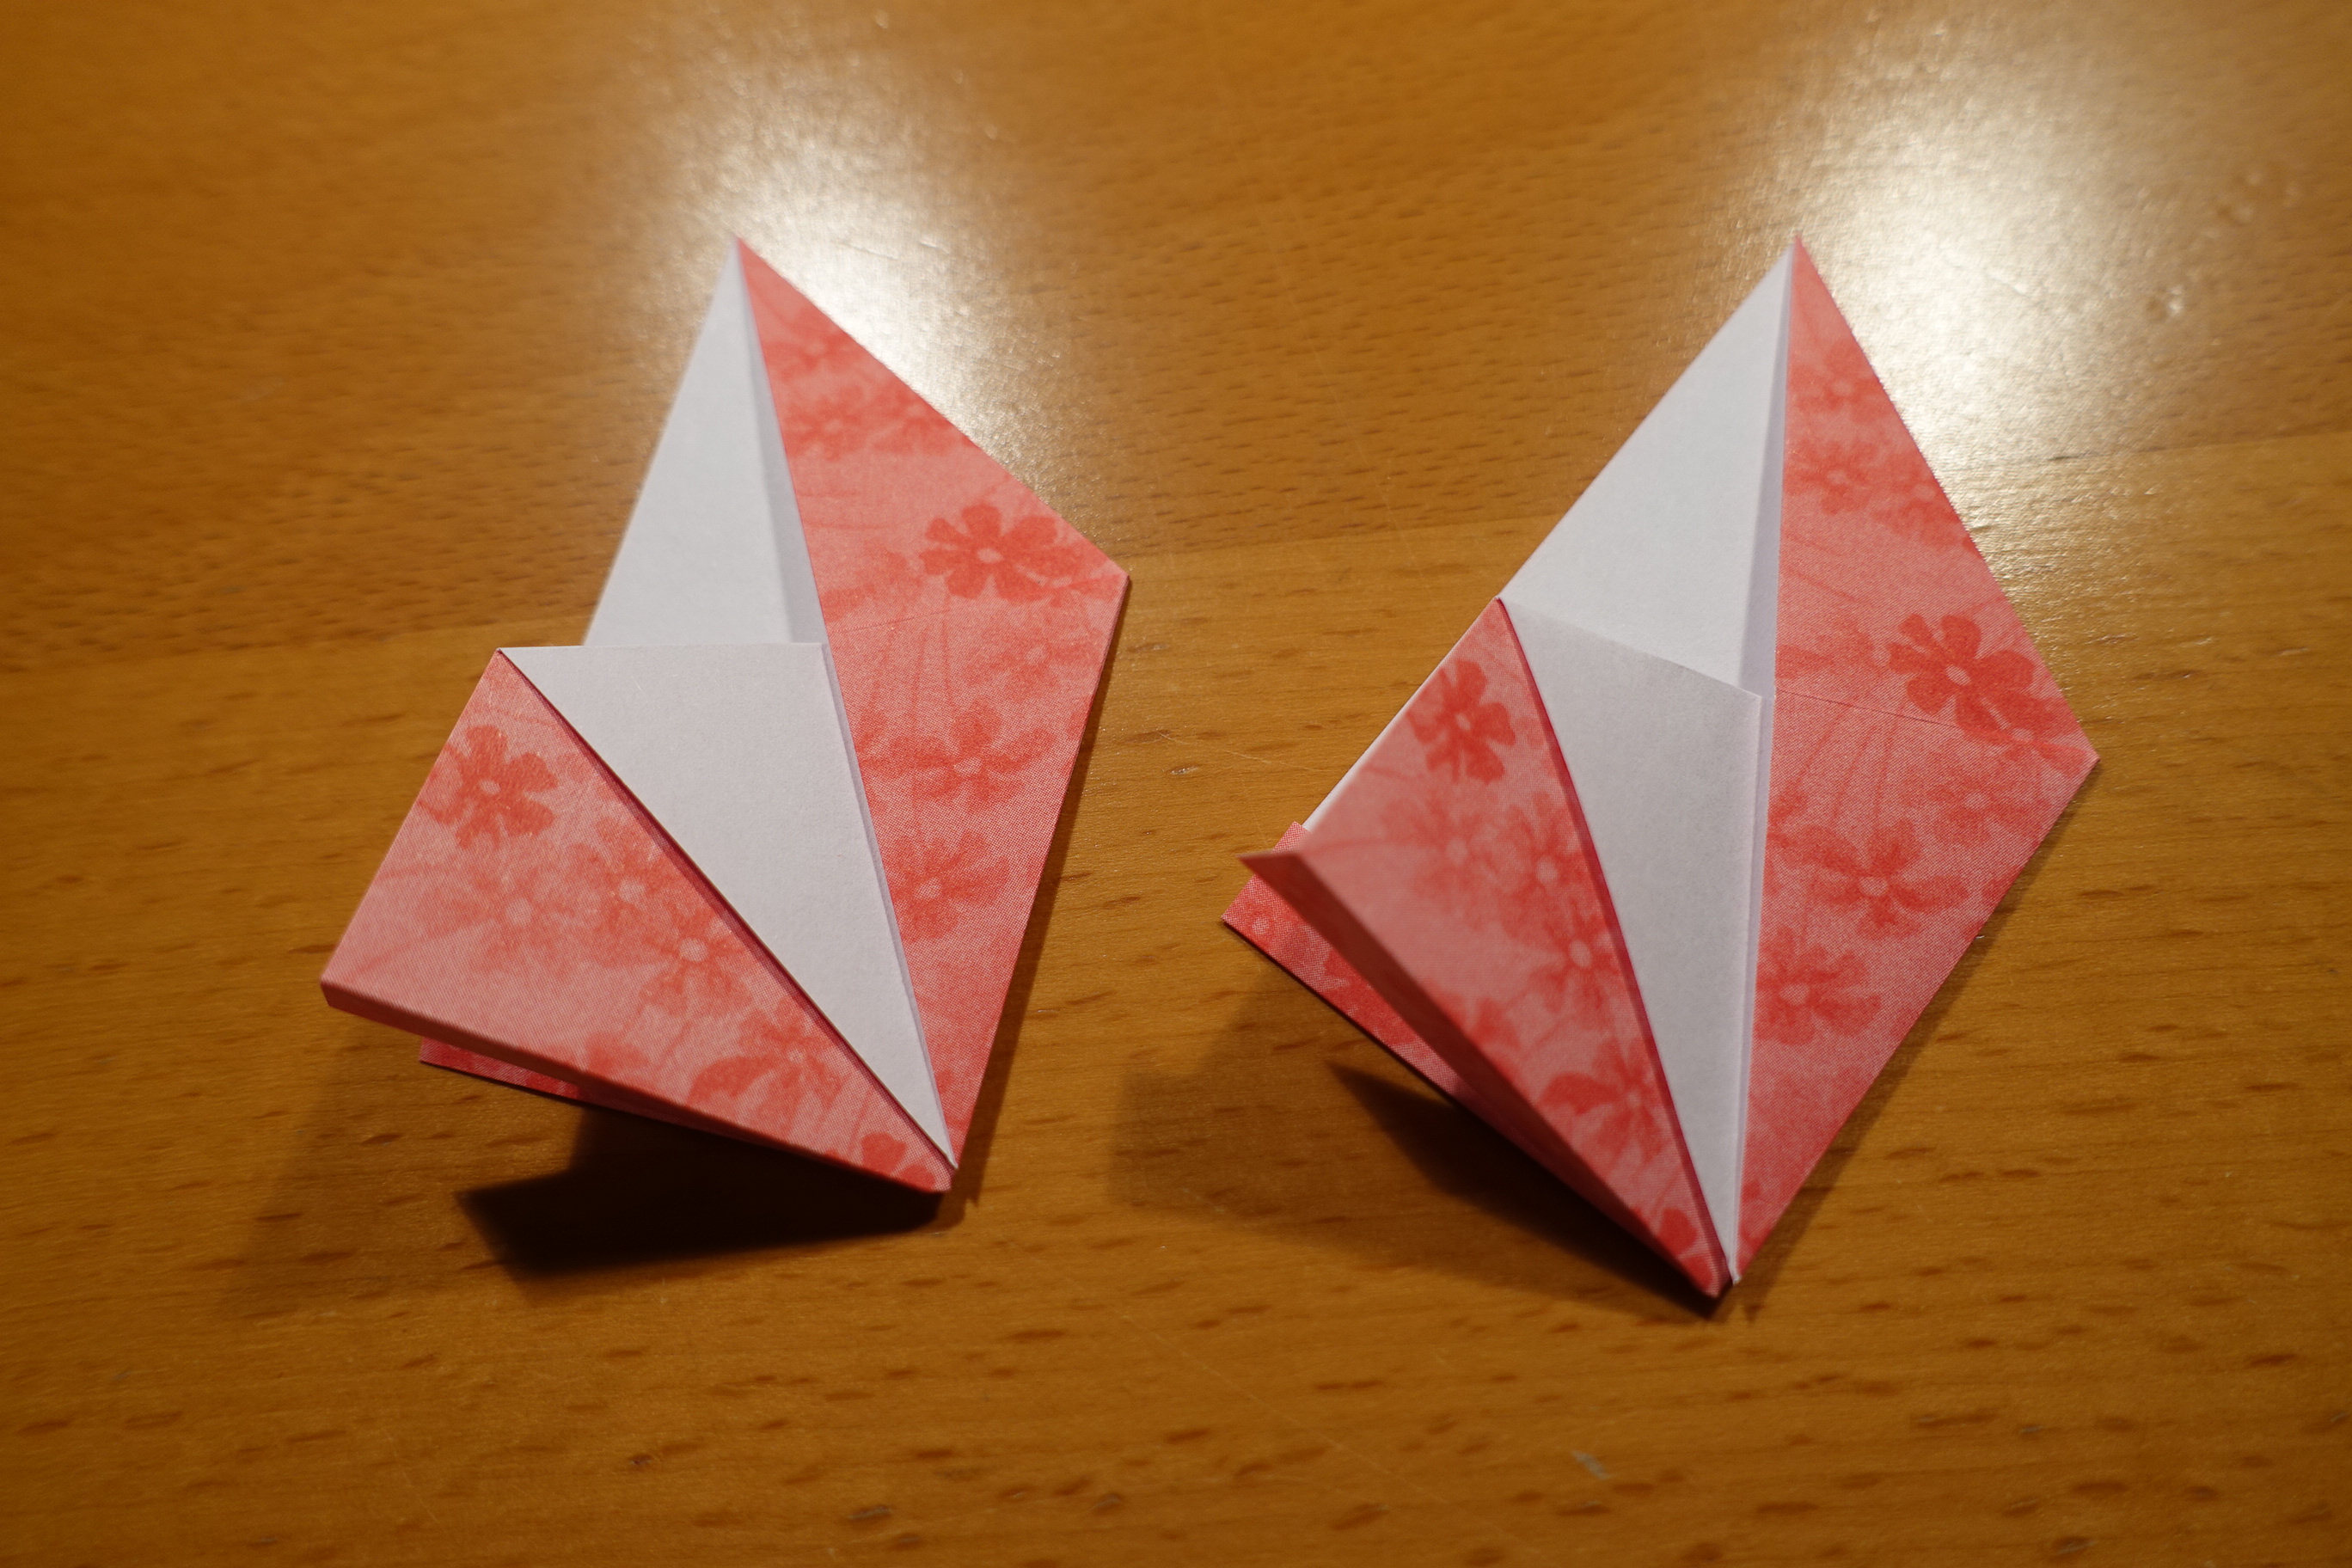
Folding the units
You will need 6 units for this model.
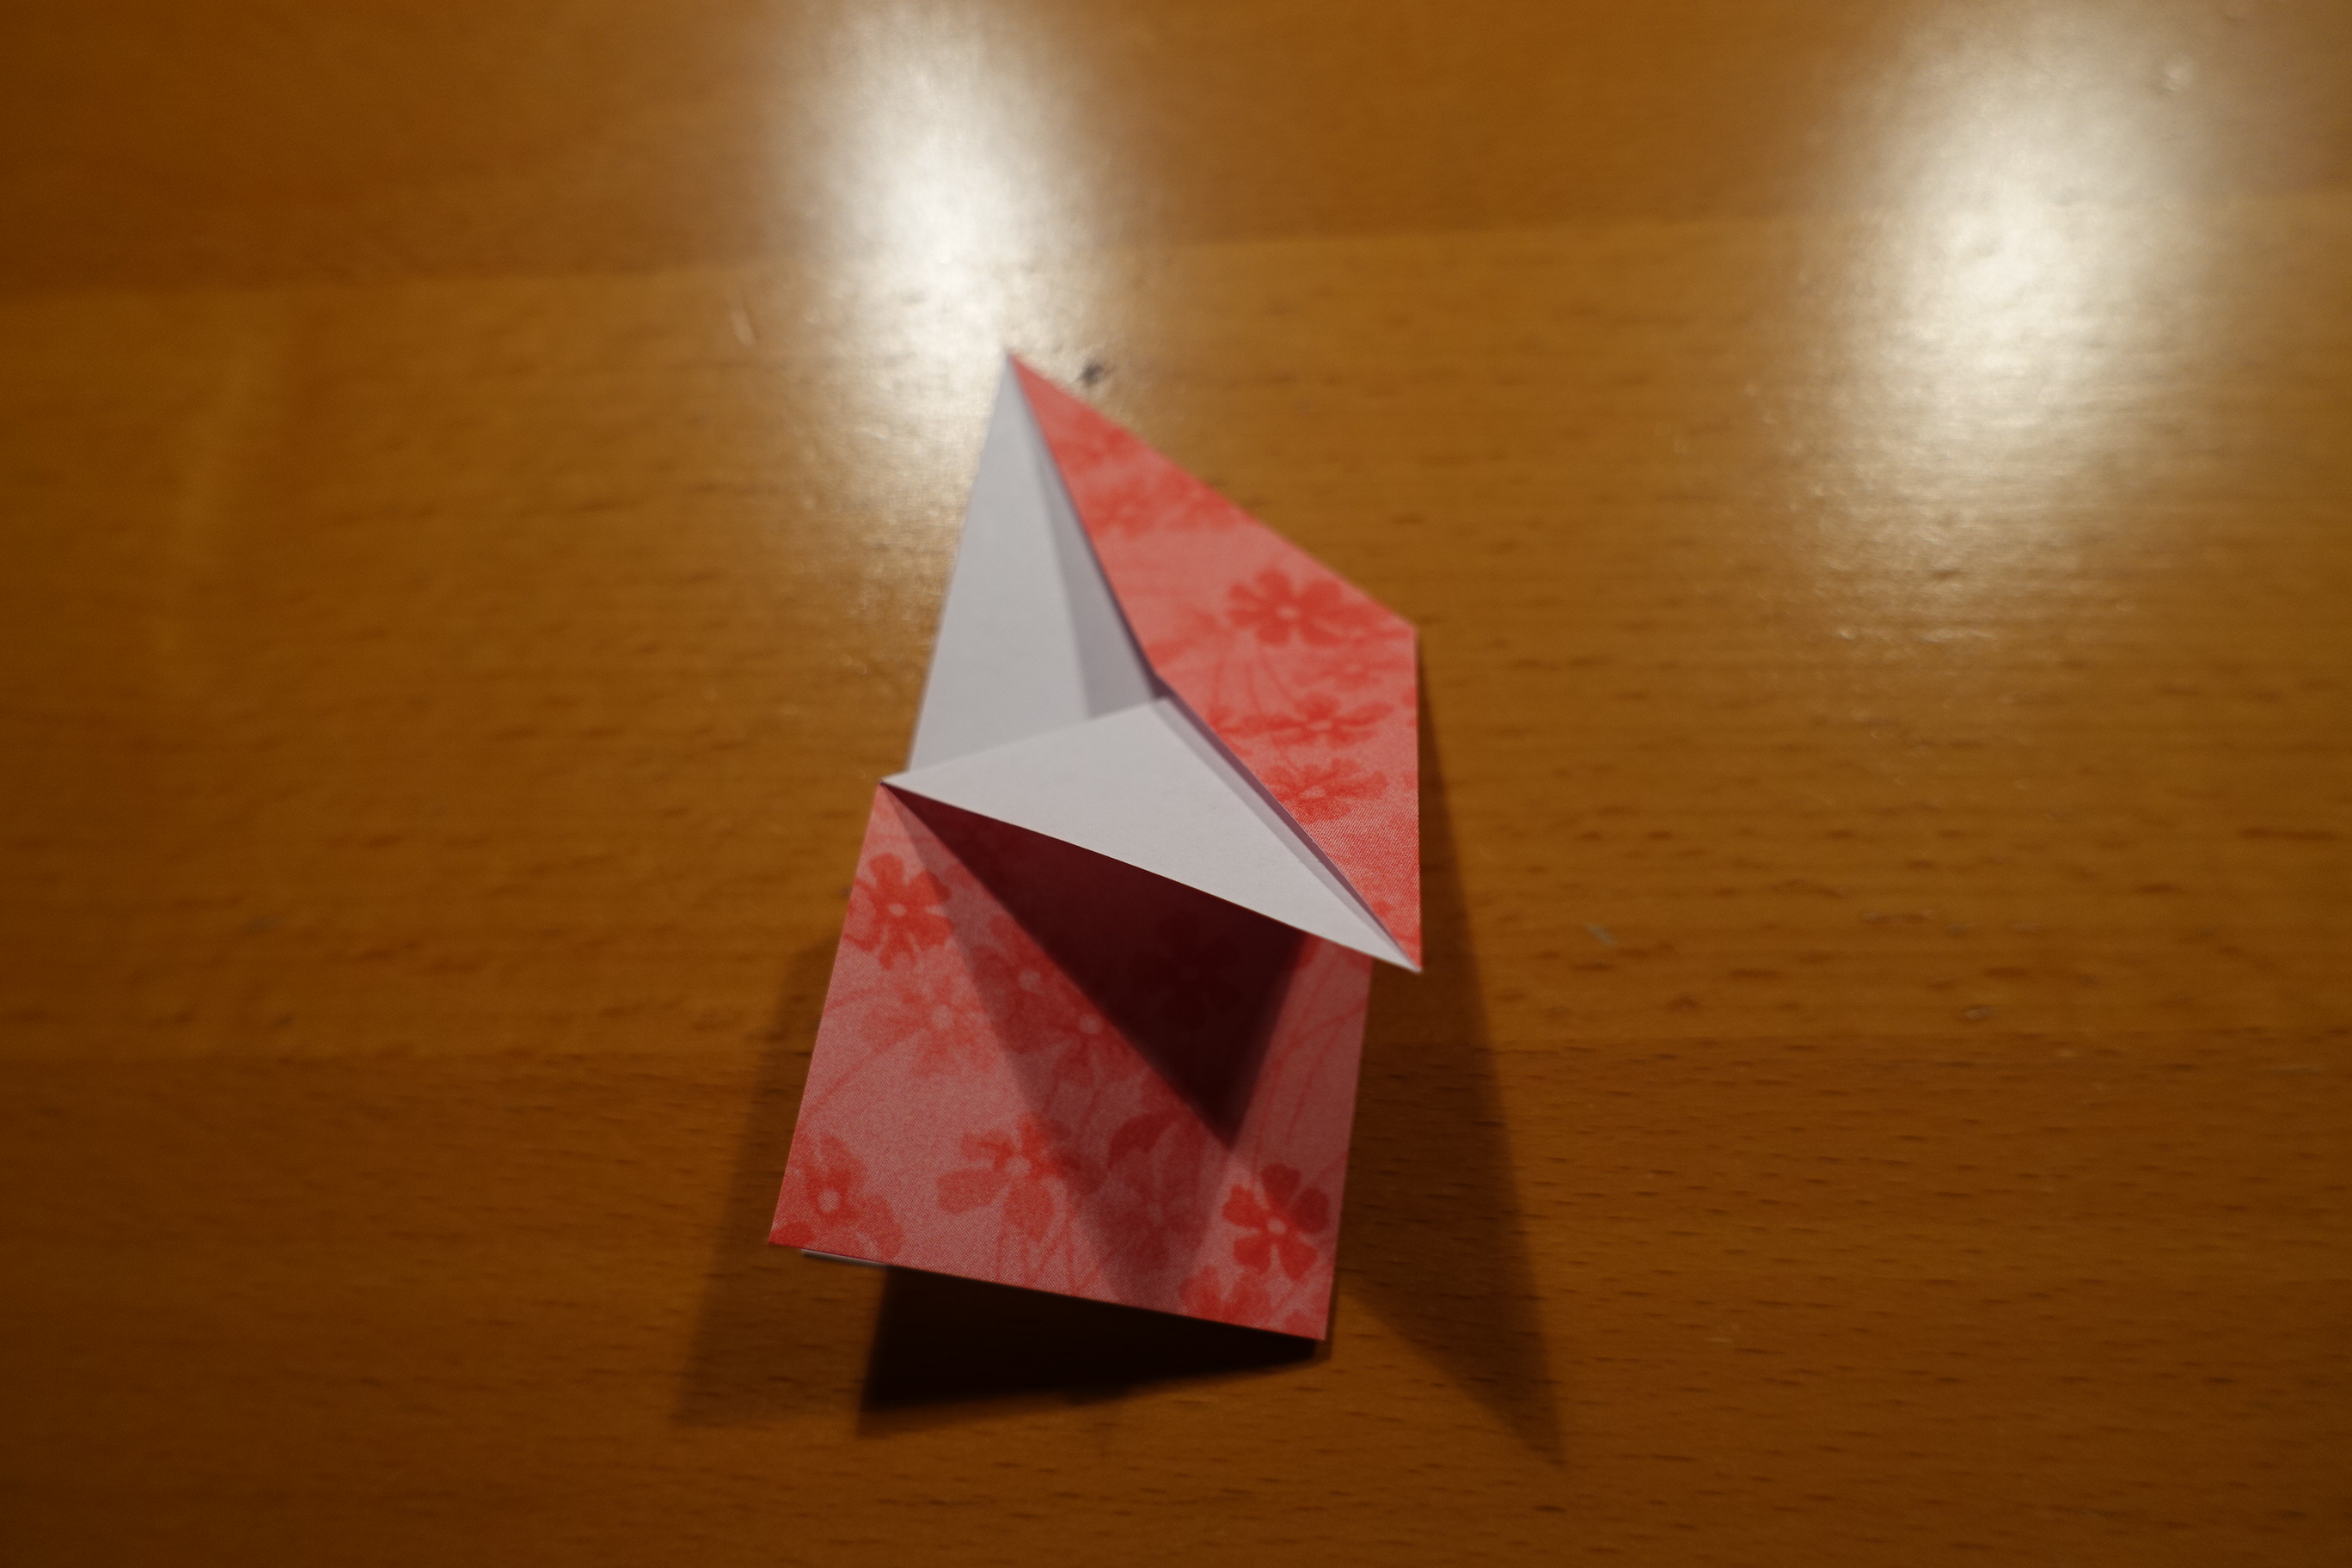


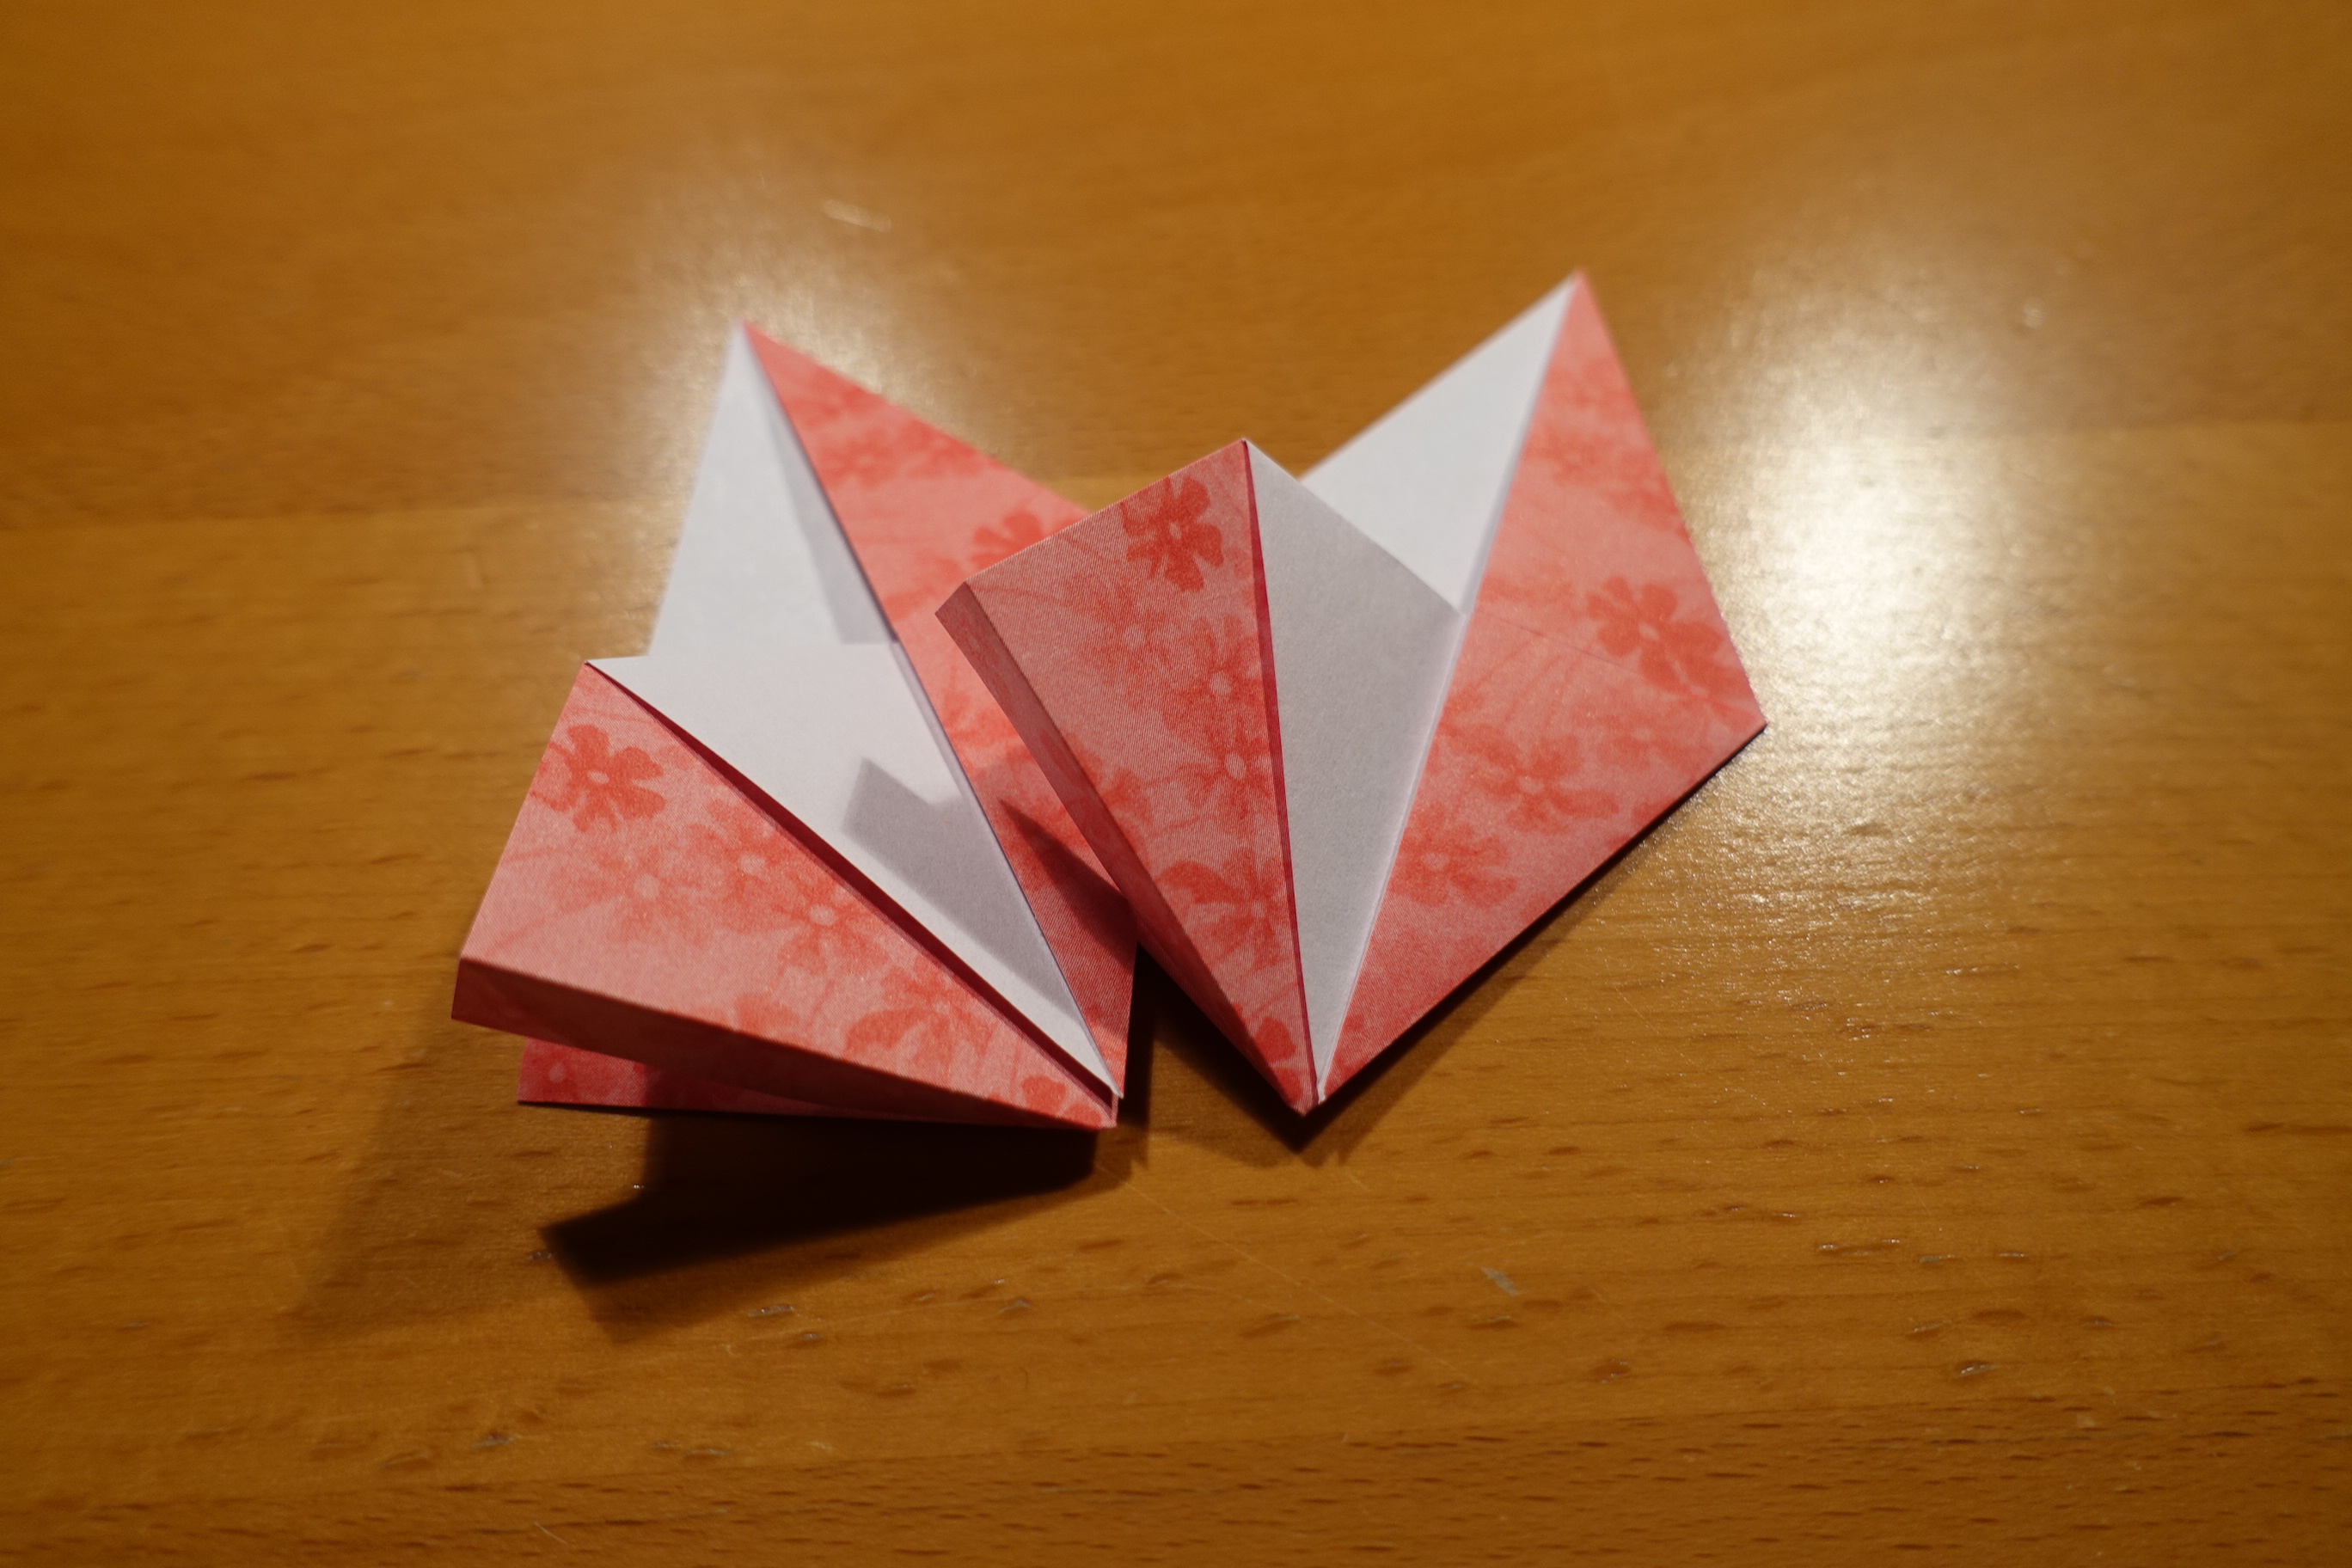
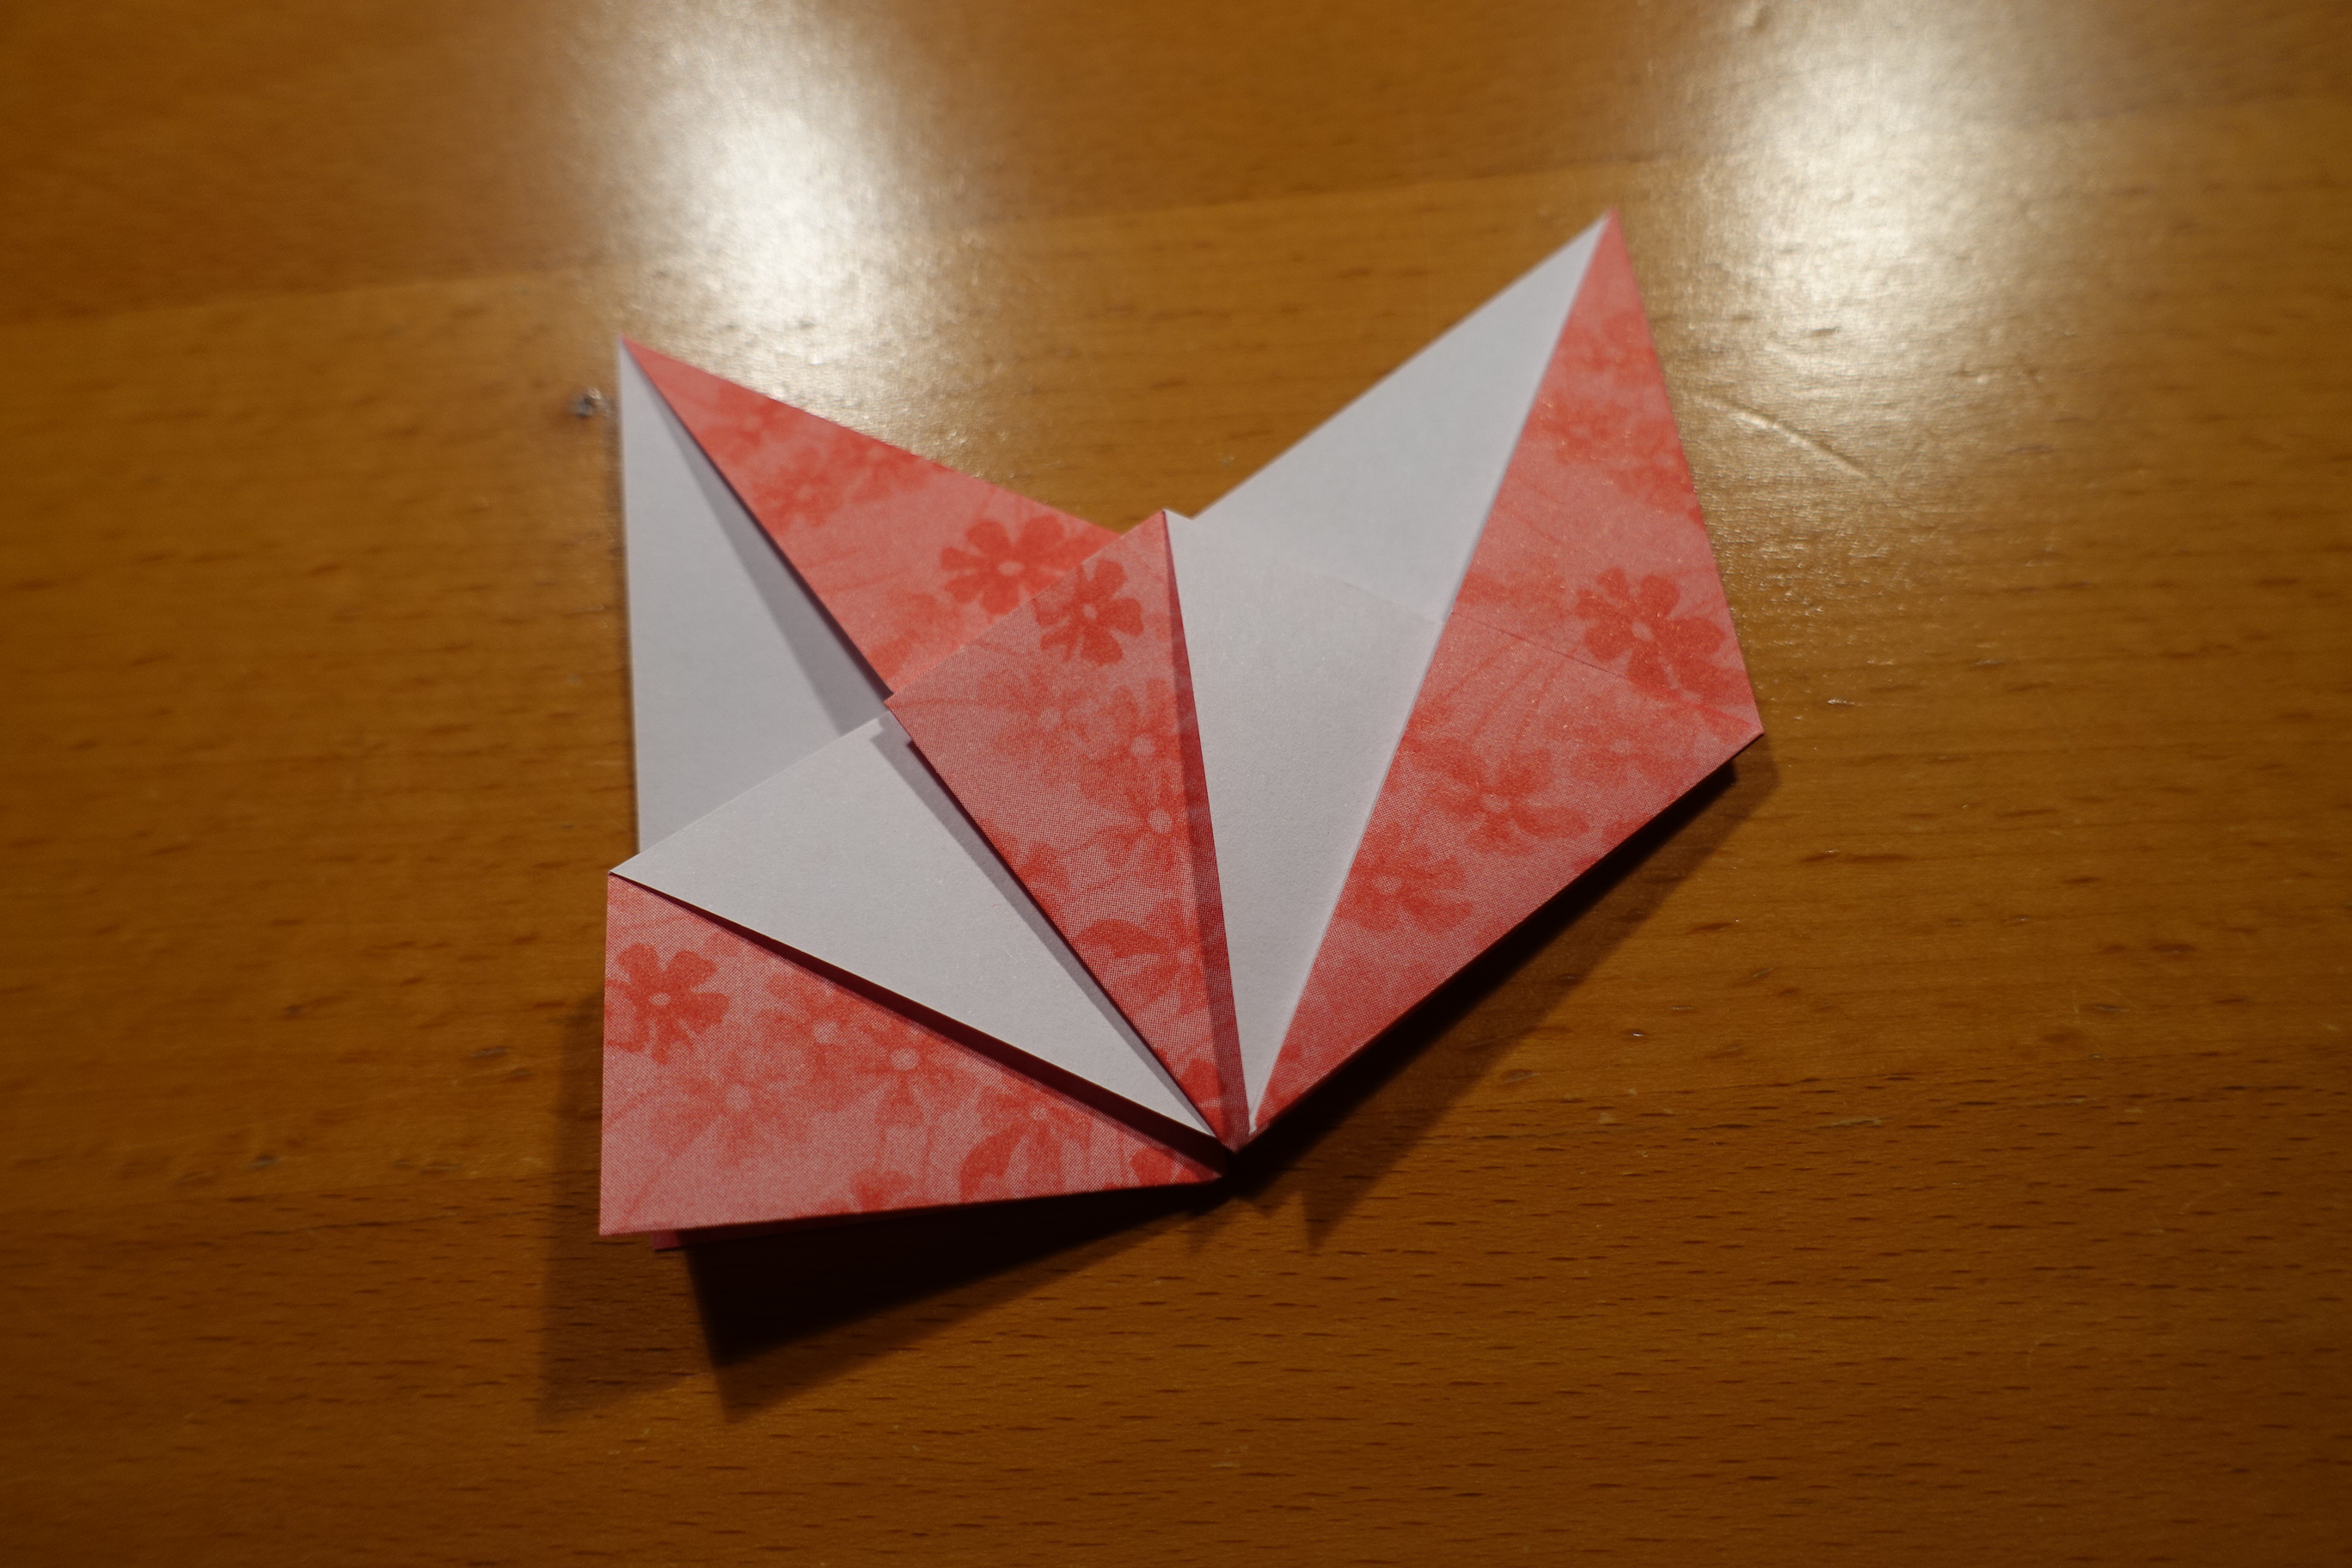
Connecting the units

Comments