Stacked Whirlwind Molecule / Tessellation
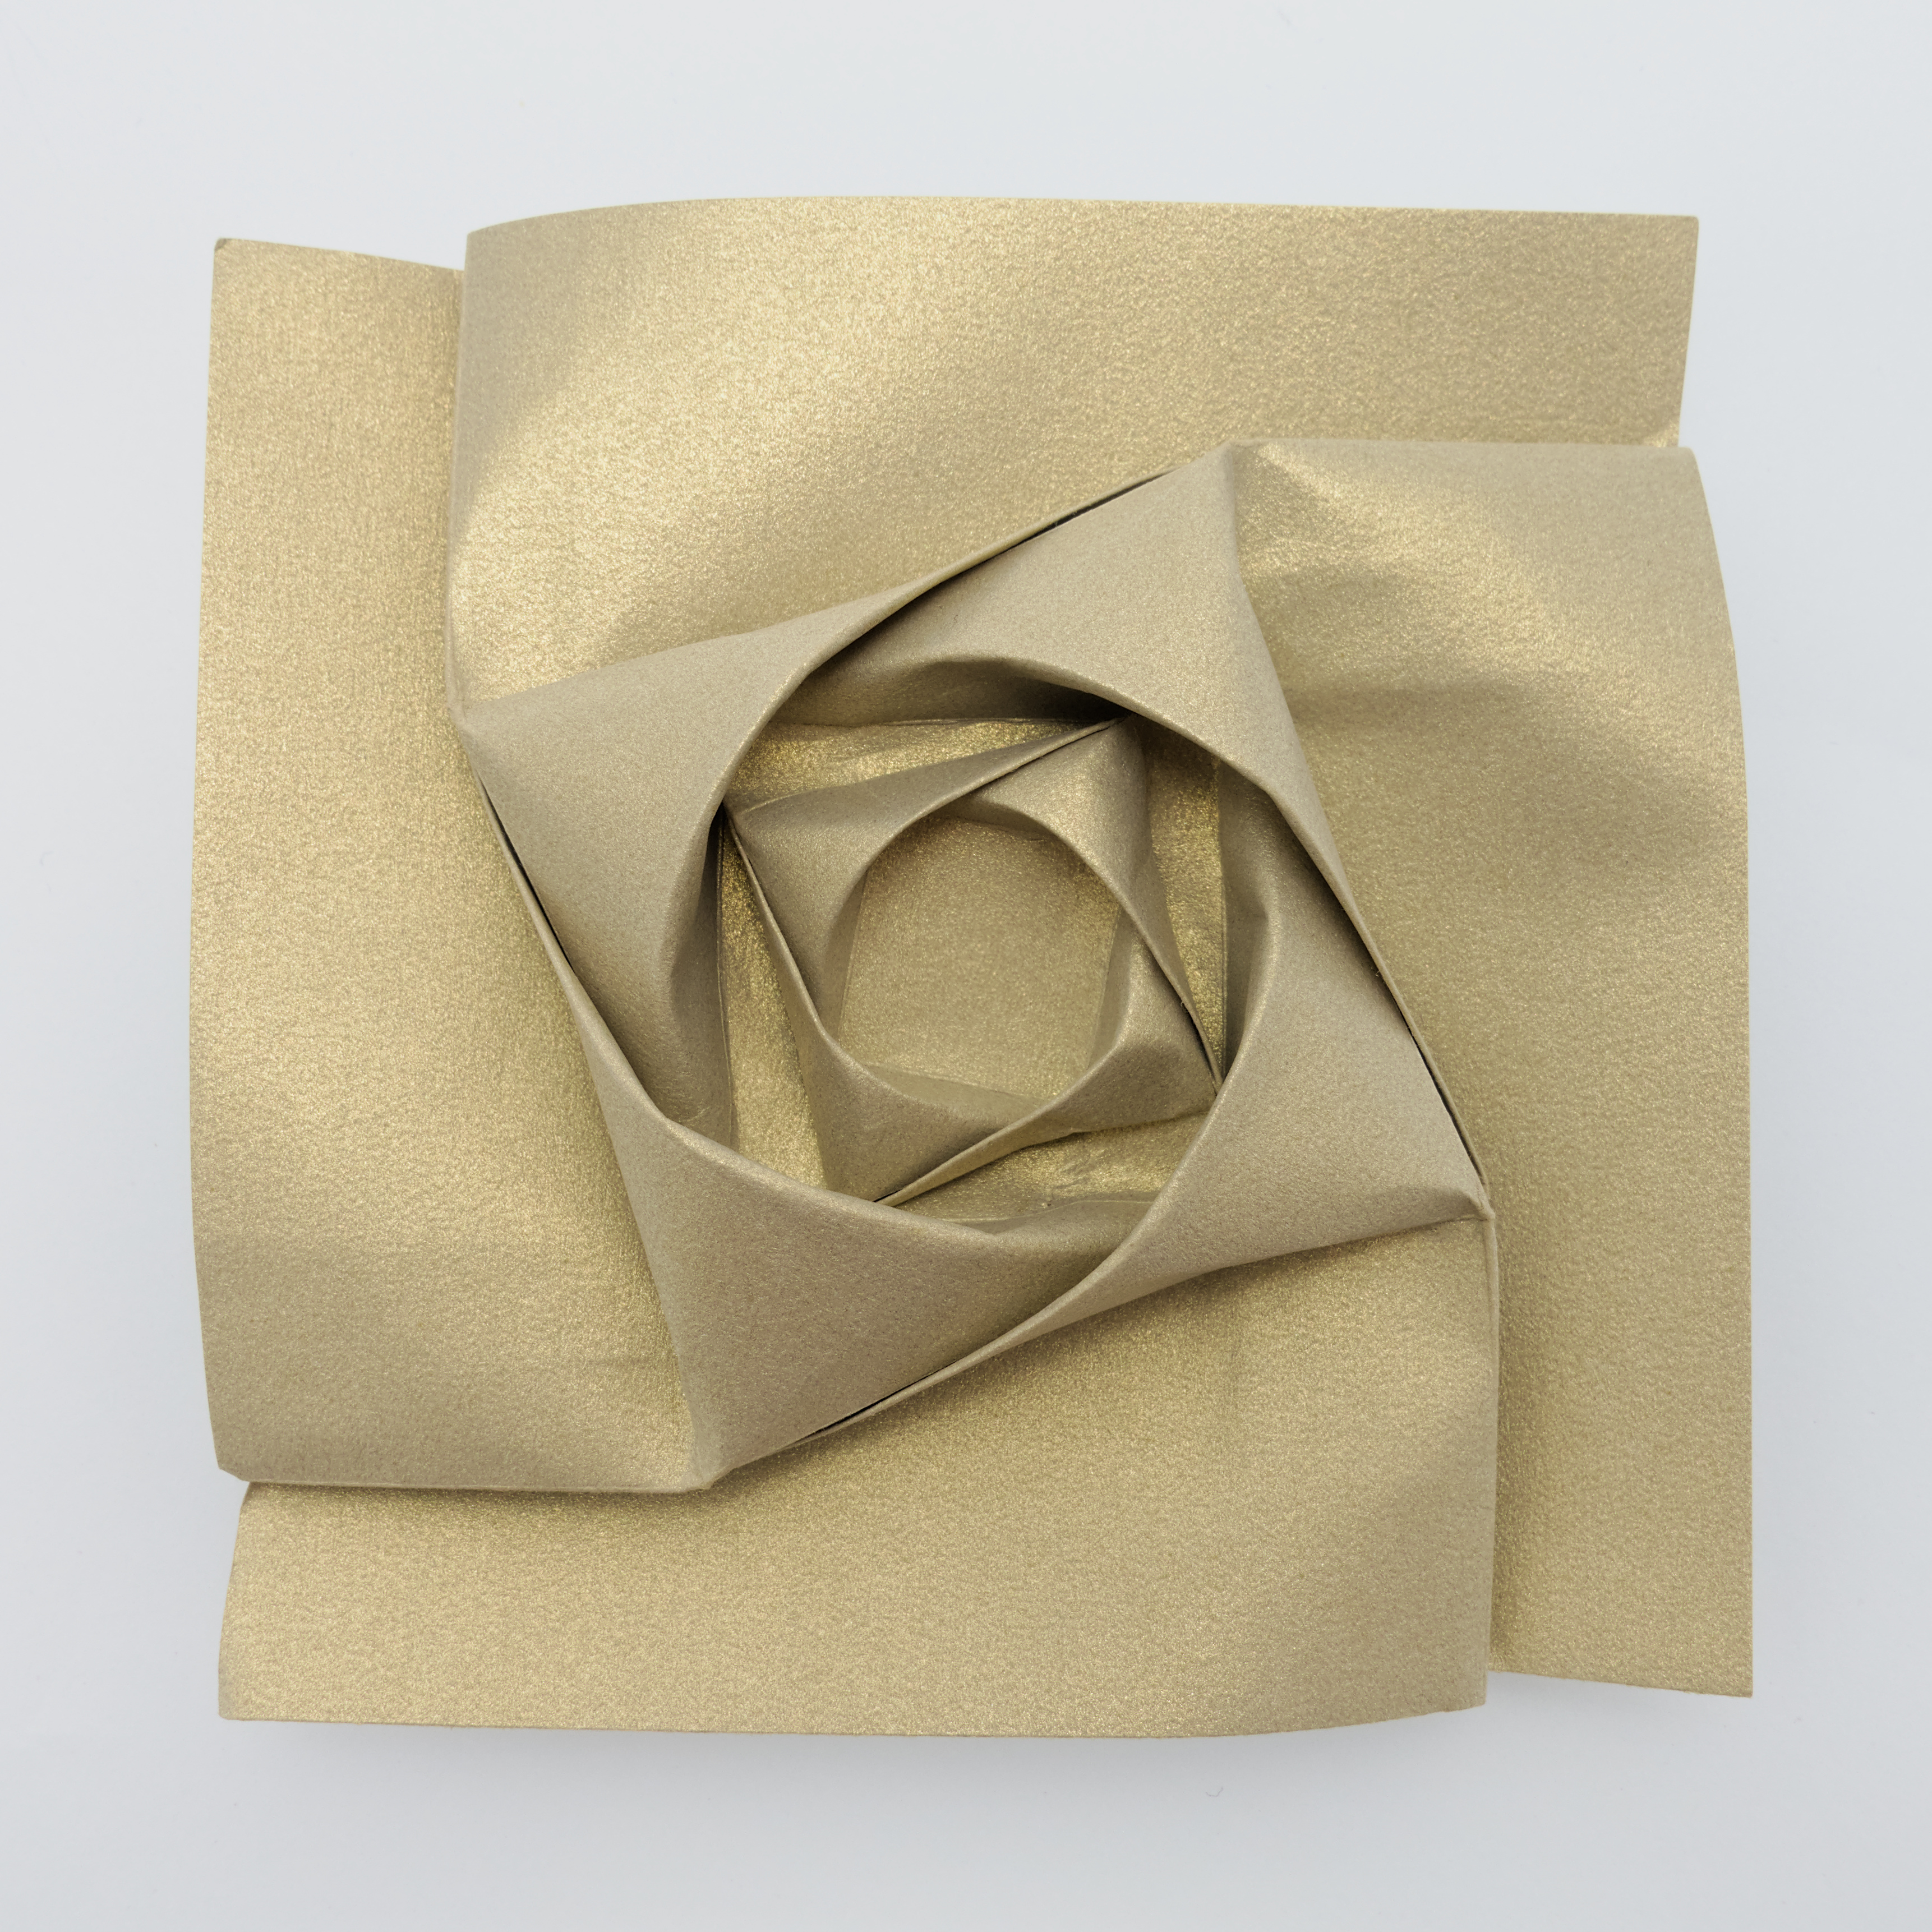
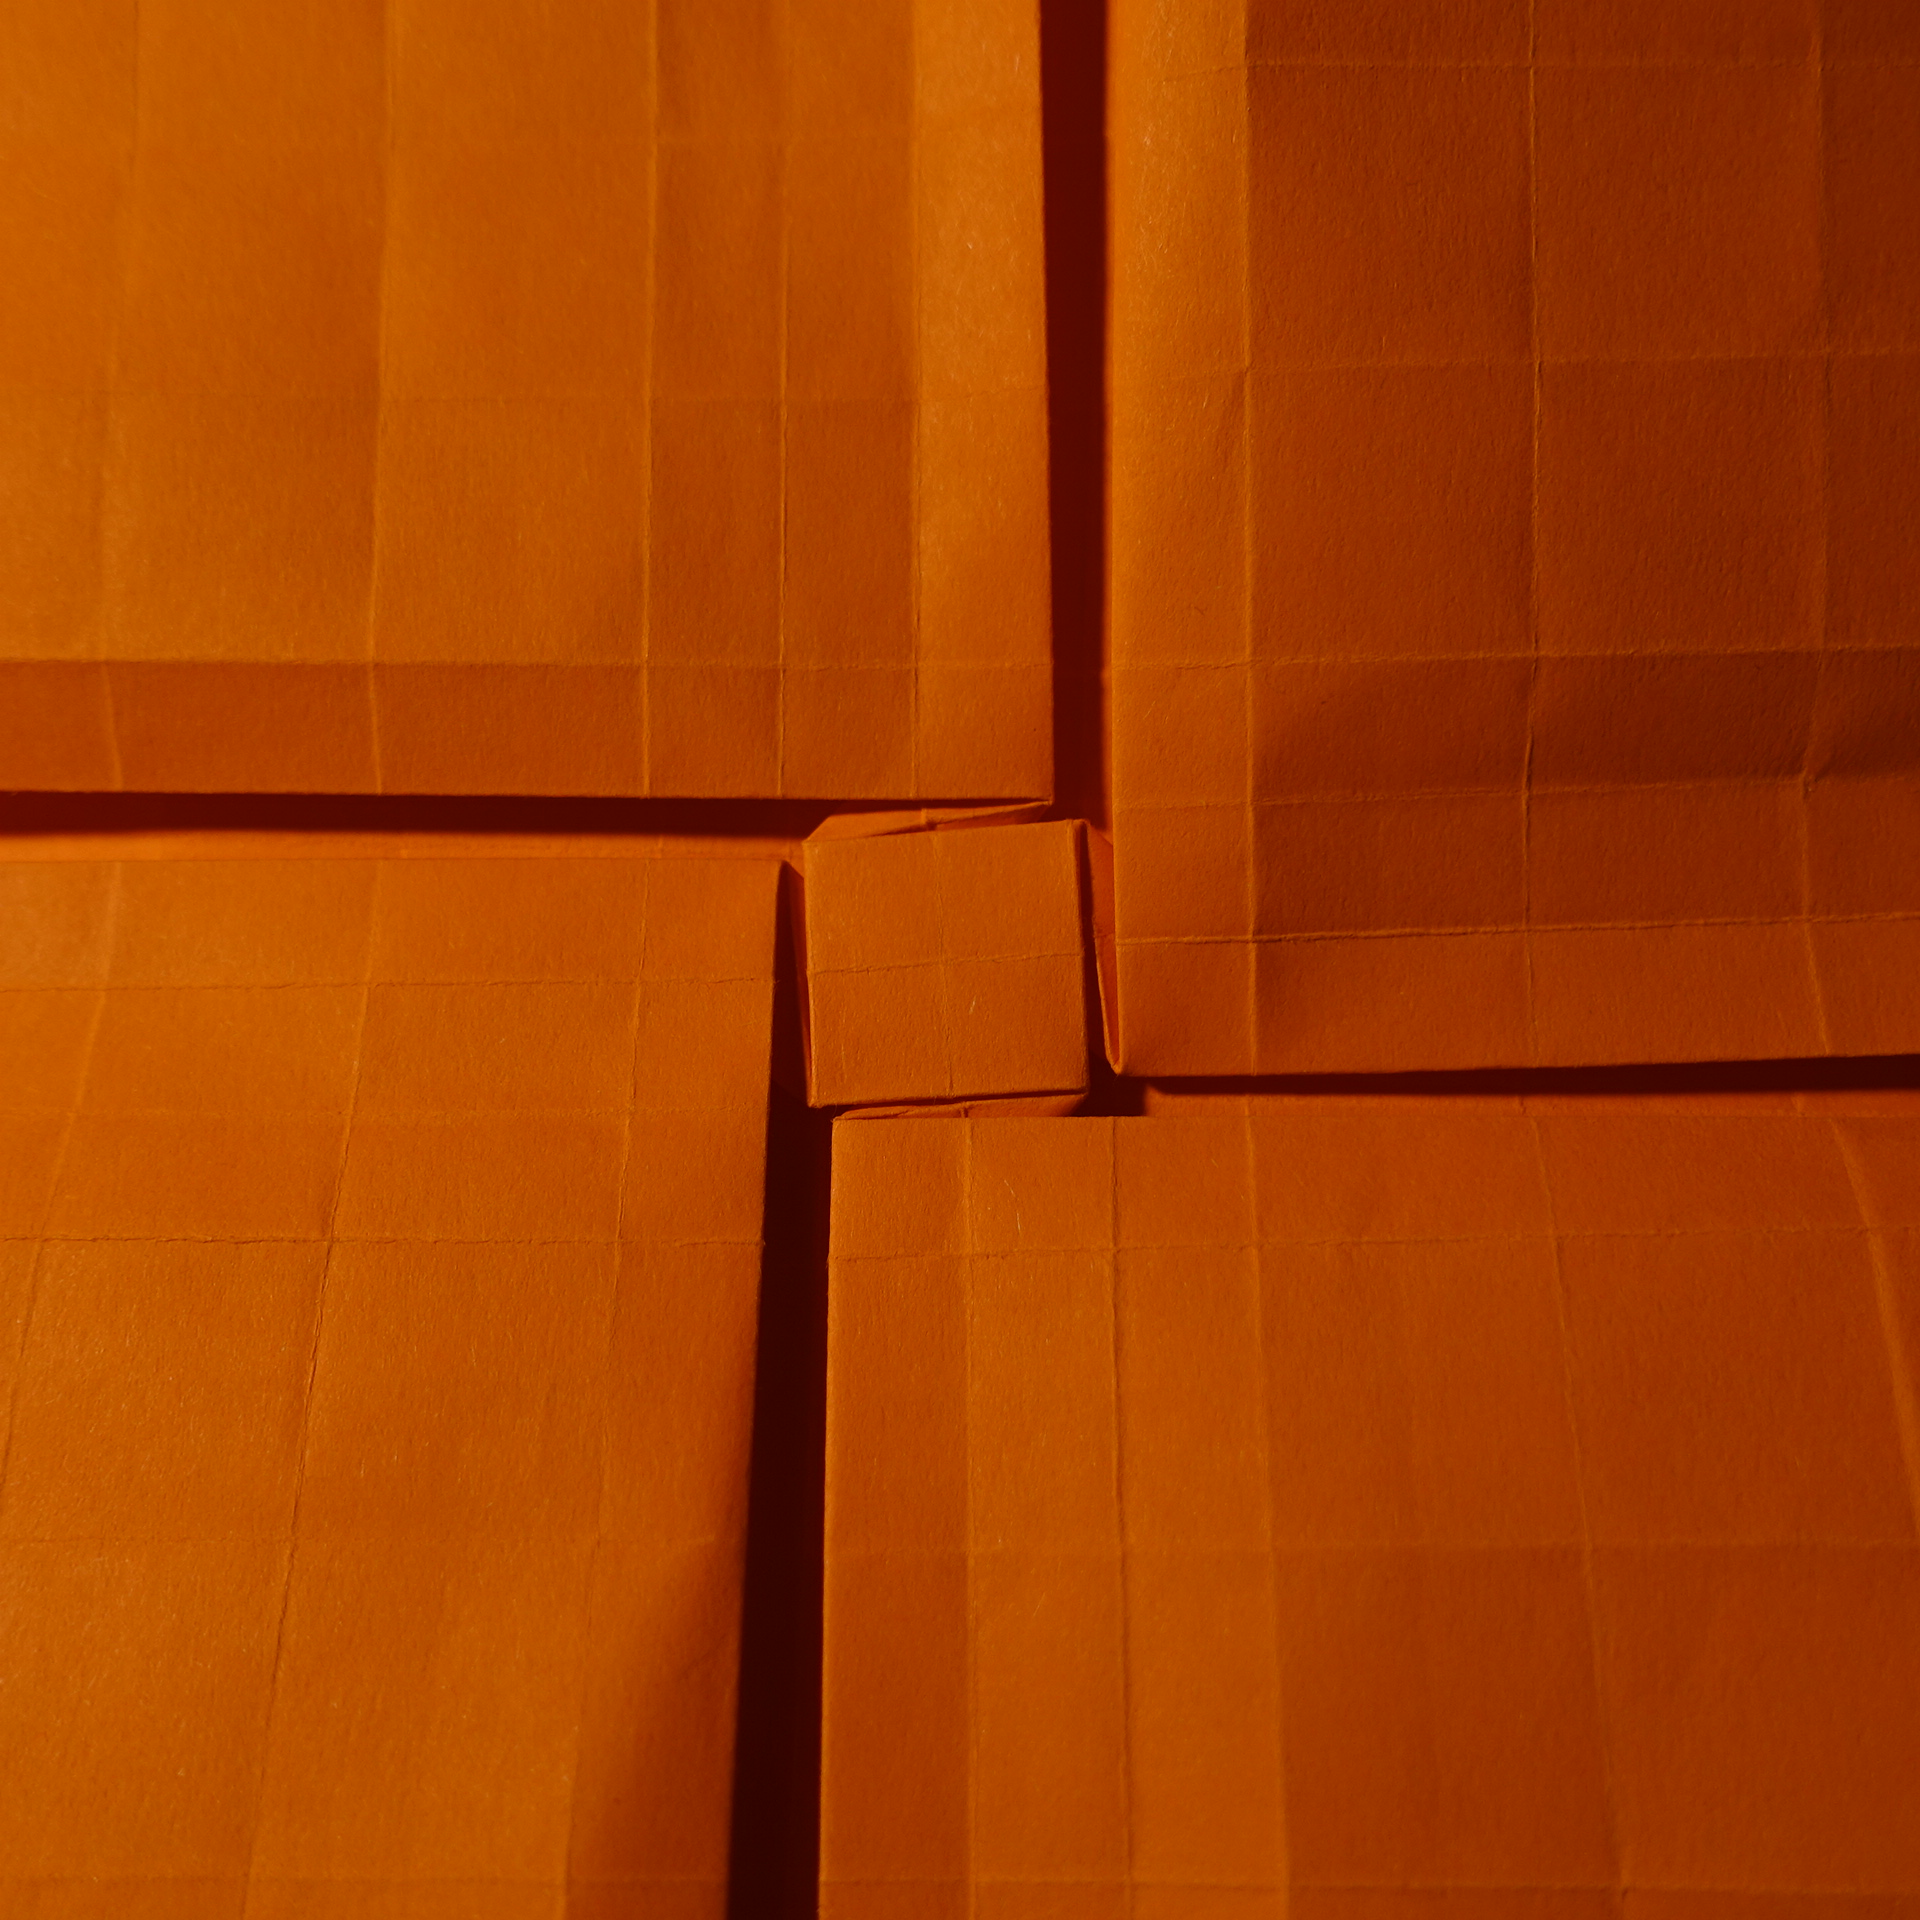
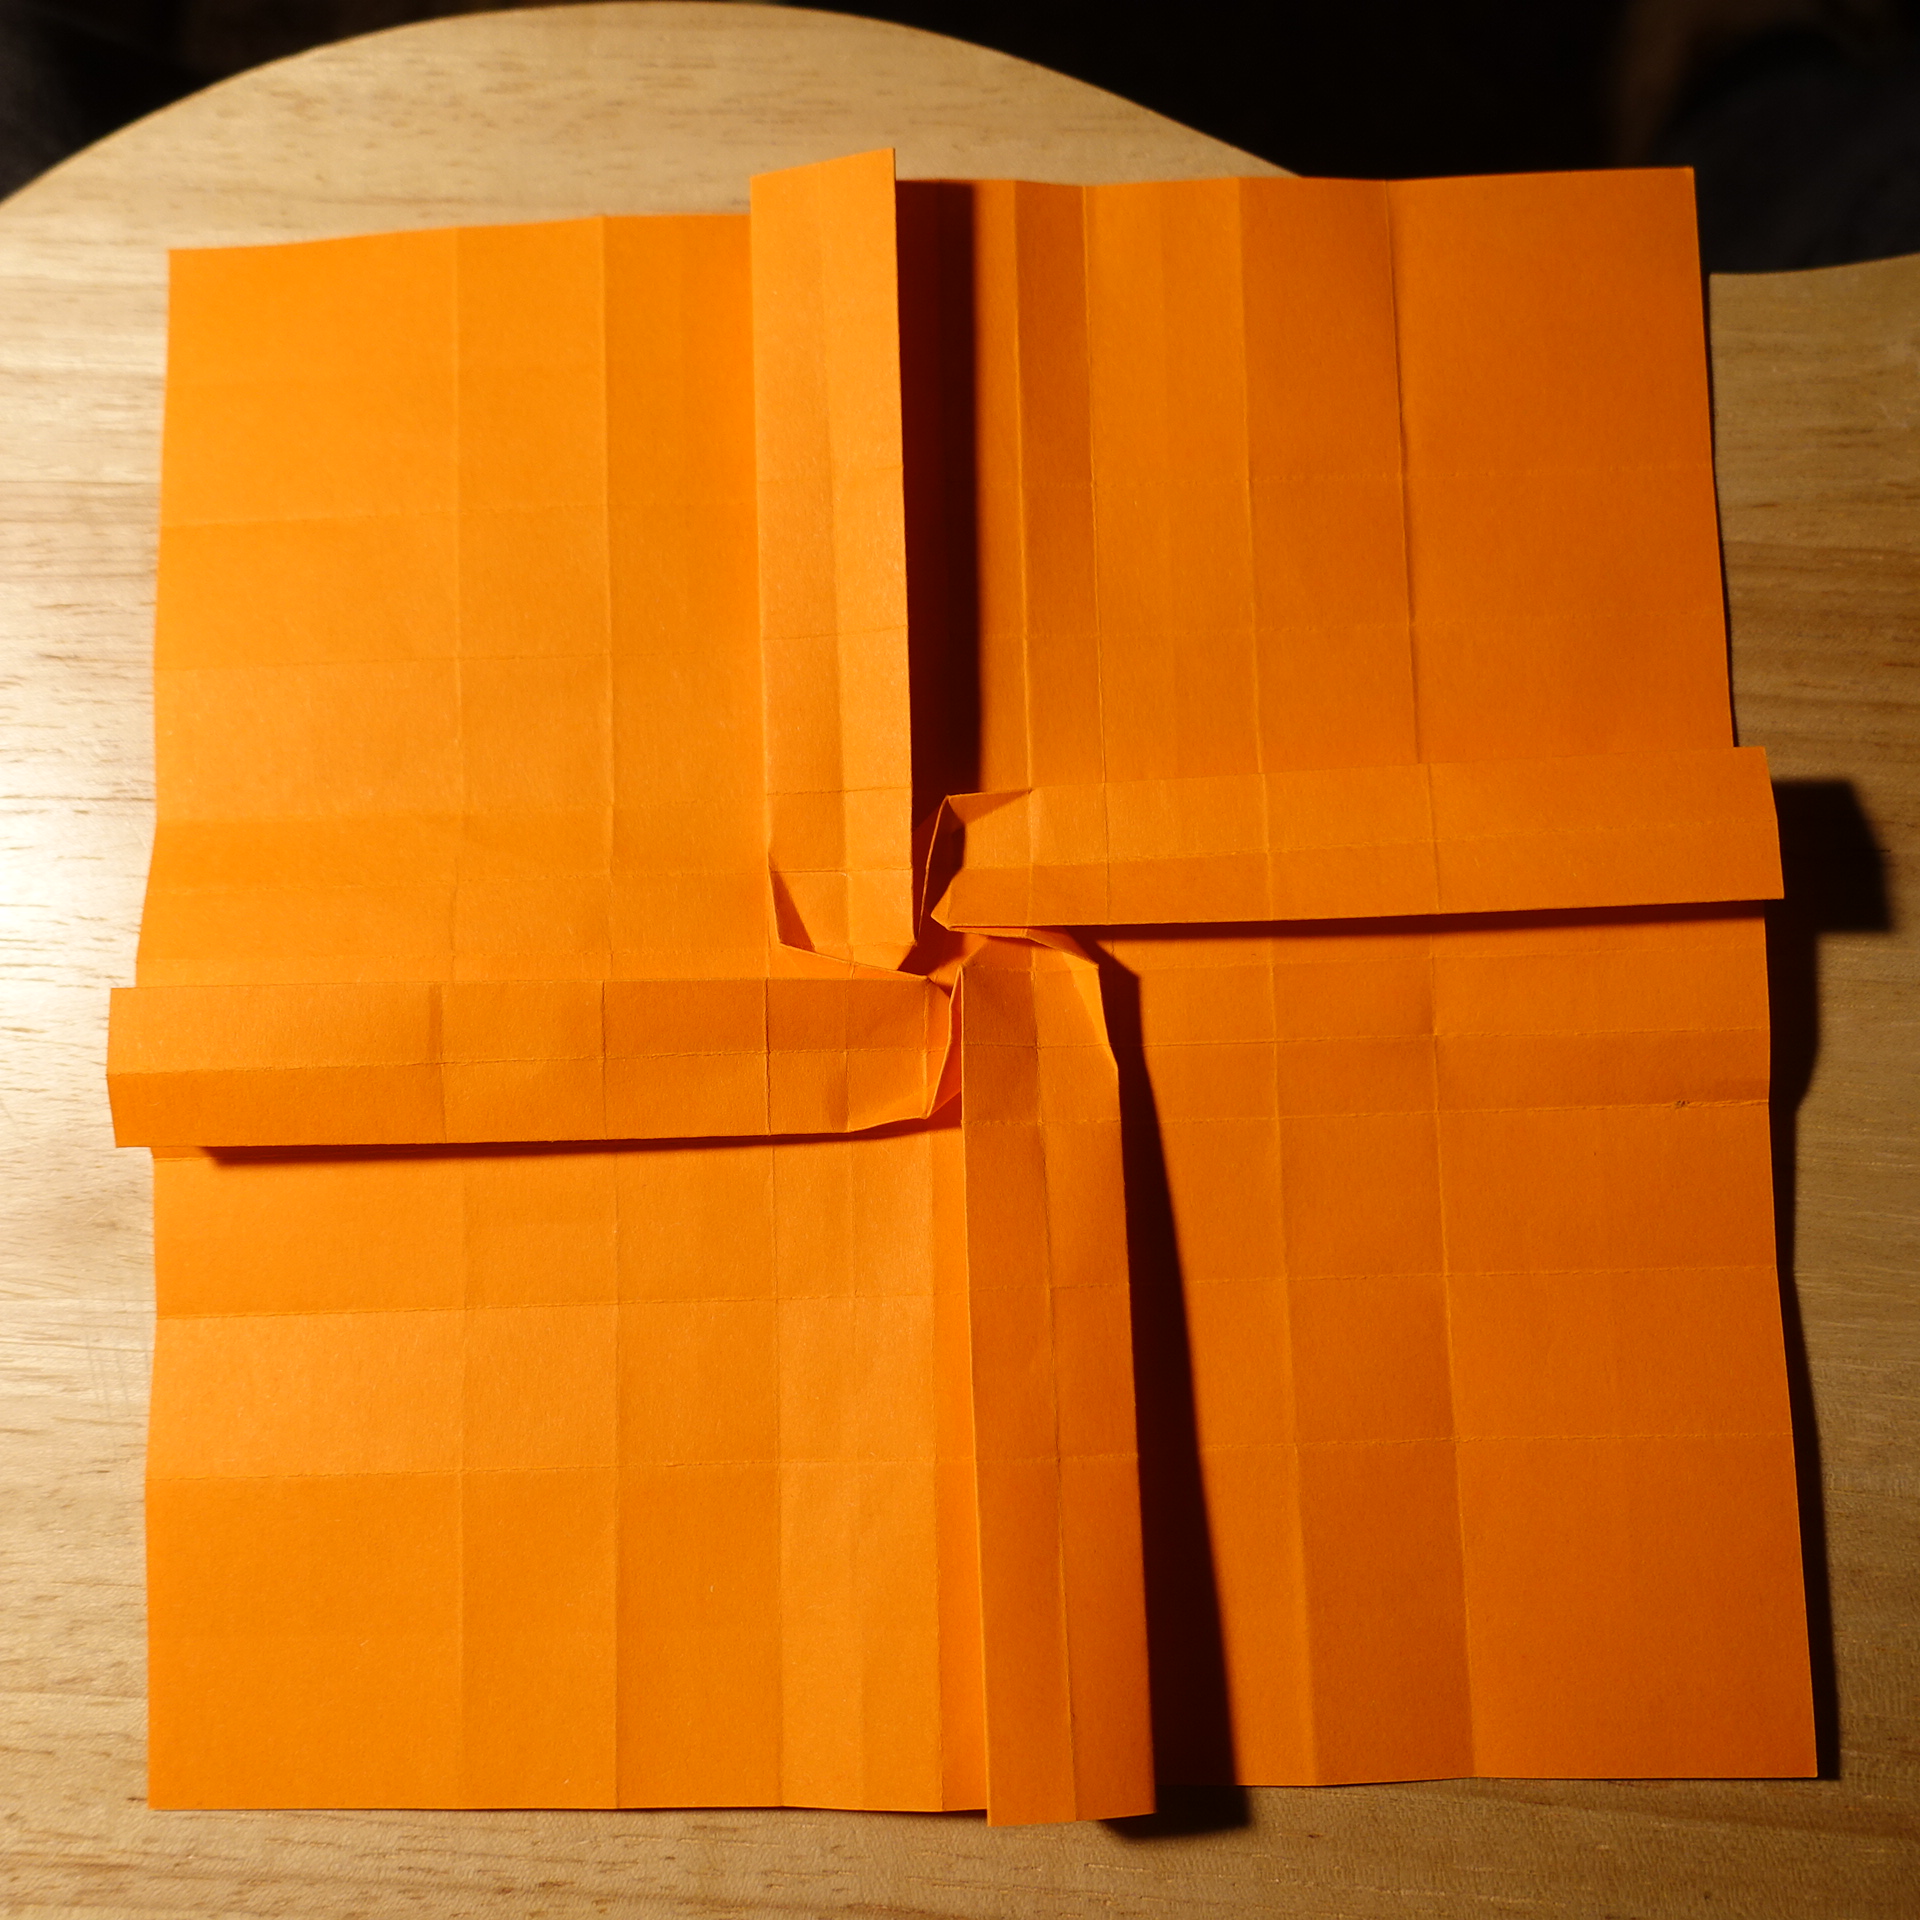
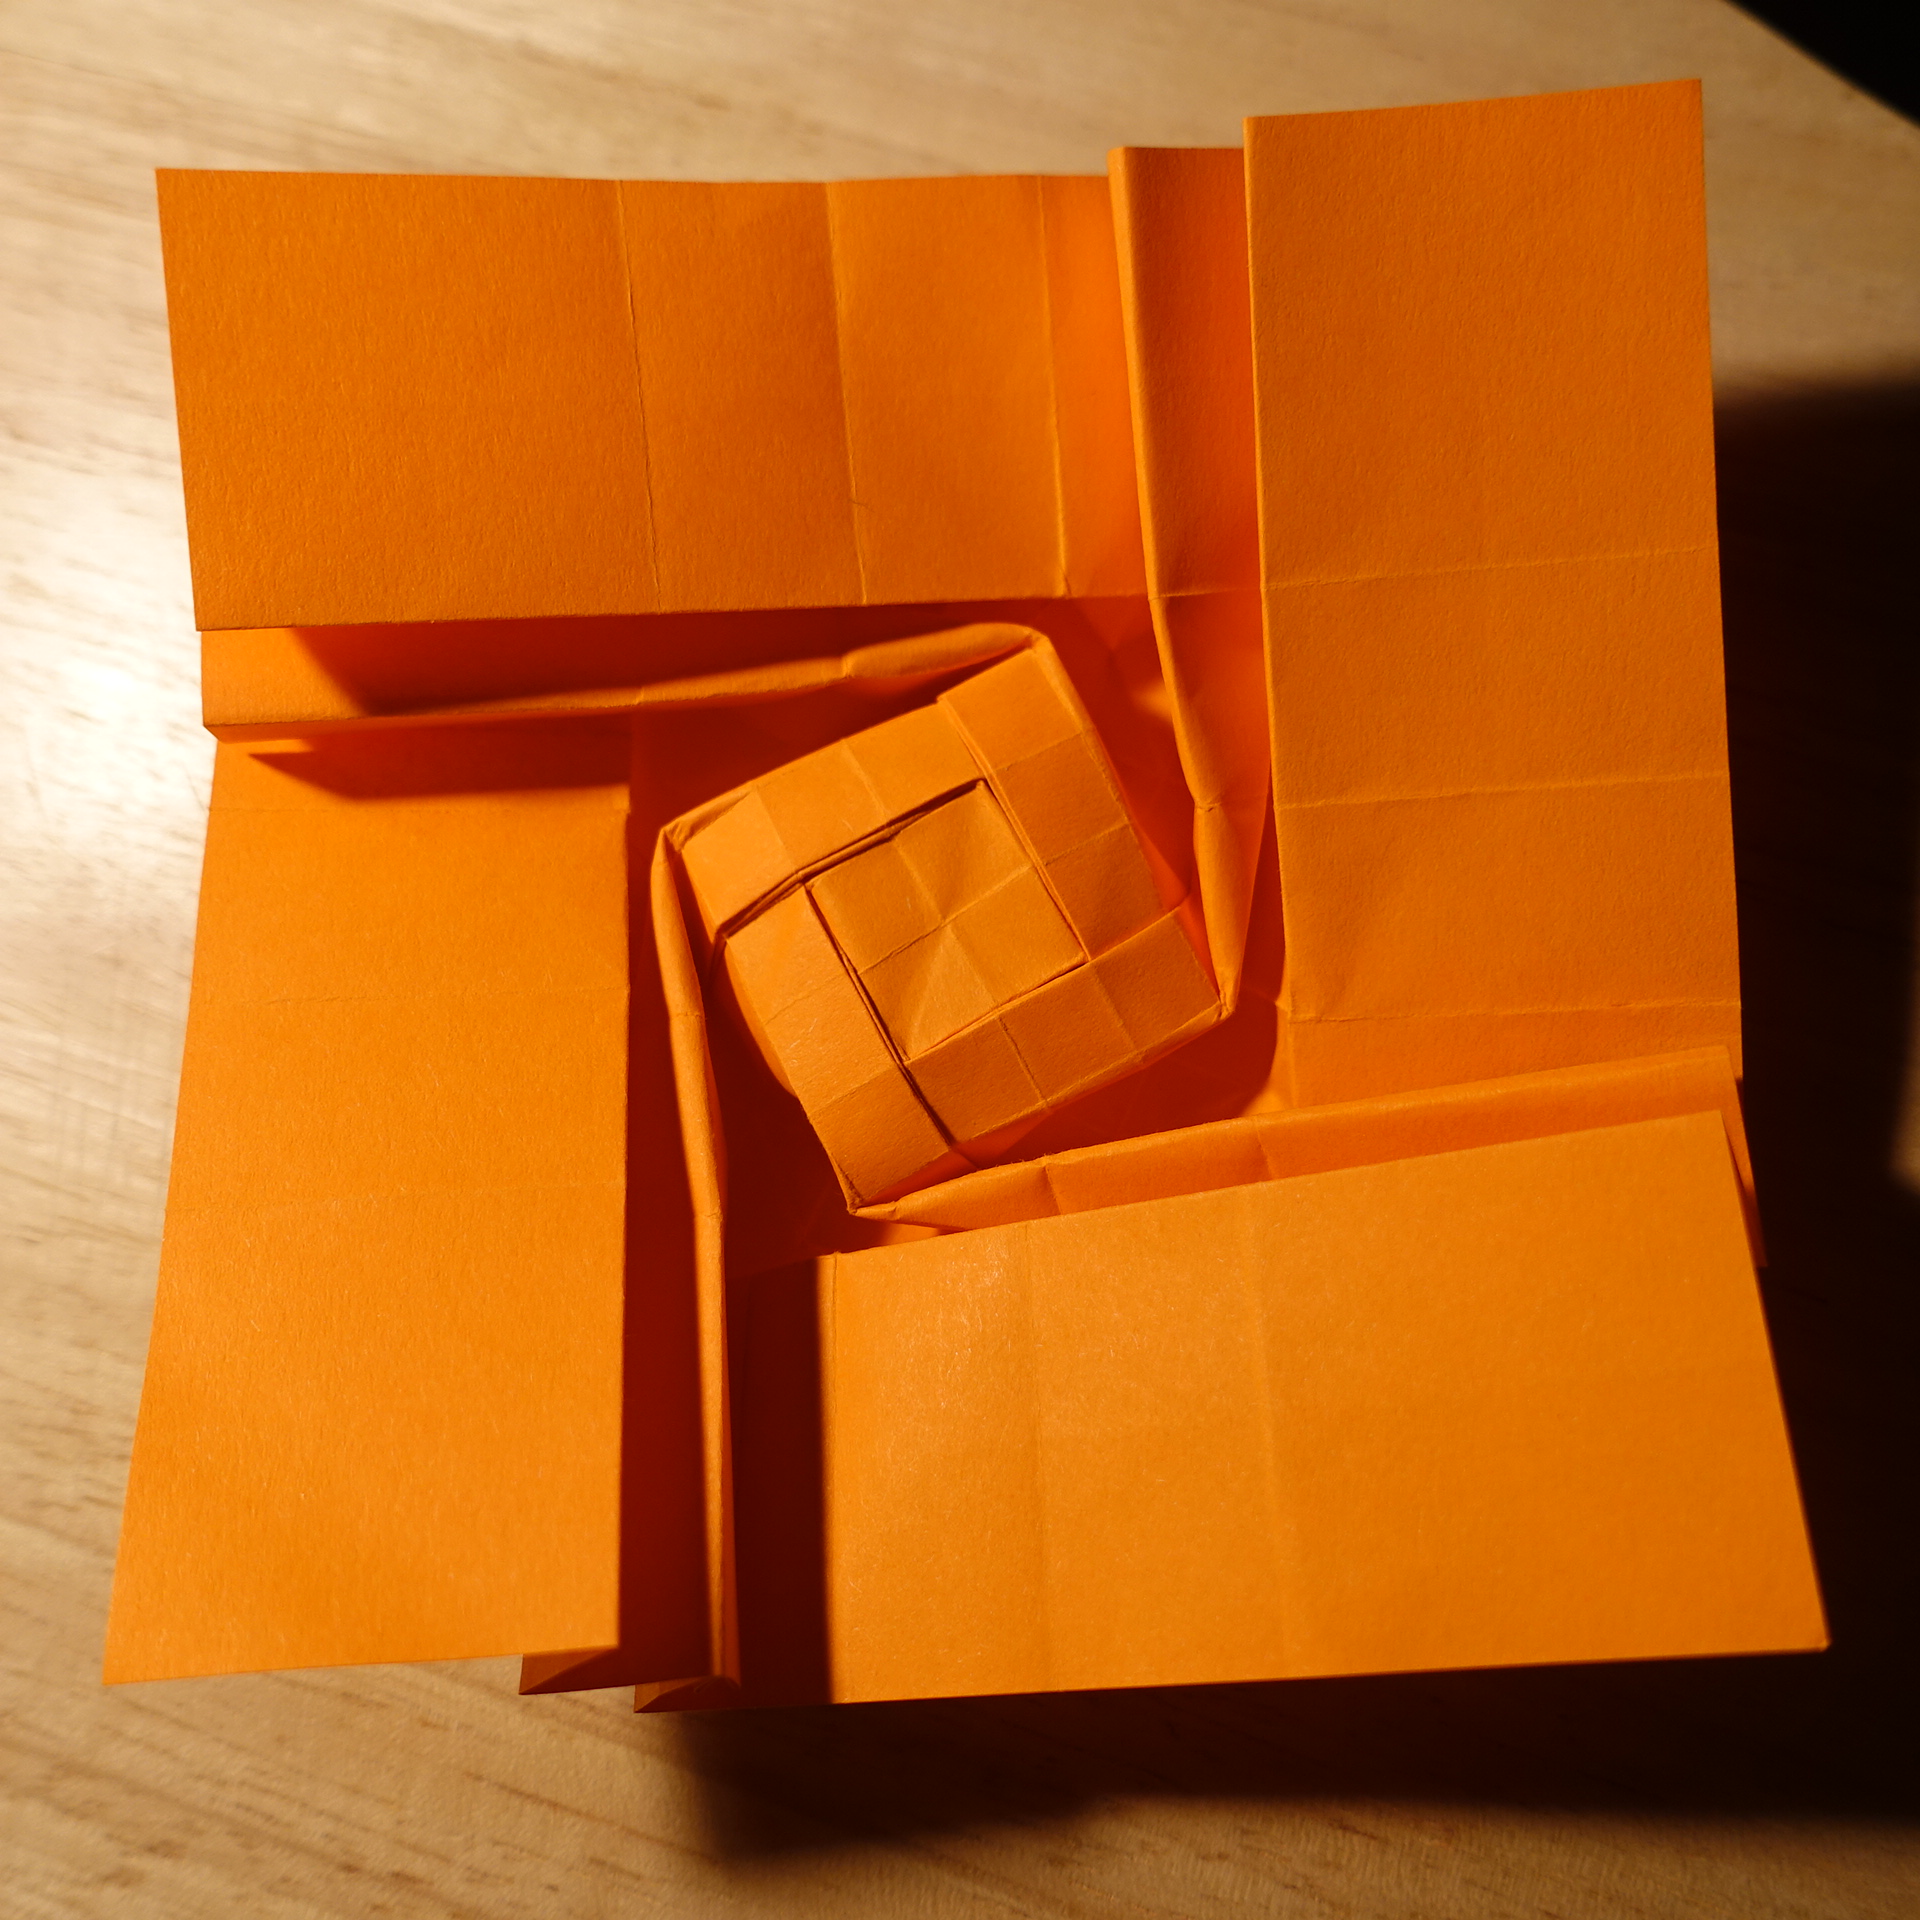
This design is a fractal extension of the regular Whirlwind Tessellation, which uses an 8×8 grid. The fractal molecule is folded starting from the inside and working your way outwards. The example here shows two levels, but any larger number can be folded in the same manner. The general idea is to first fold the small molecule, but keep it in its flat state, then treat the resulting square with the small molecule in the middle as the starting sheet for folding a larger molecule, in which the part taken by the small molecule corresponds to the central 2×2 area of the grid for the big molecule. Once done, you can repeat the process and again treat the flat larger molecule as the central 2×2 part of the grid for a yet larger one, etc. Once all levels are folded into their flat form, you can open up and make them 3D one by one, starting with the largest.
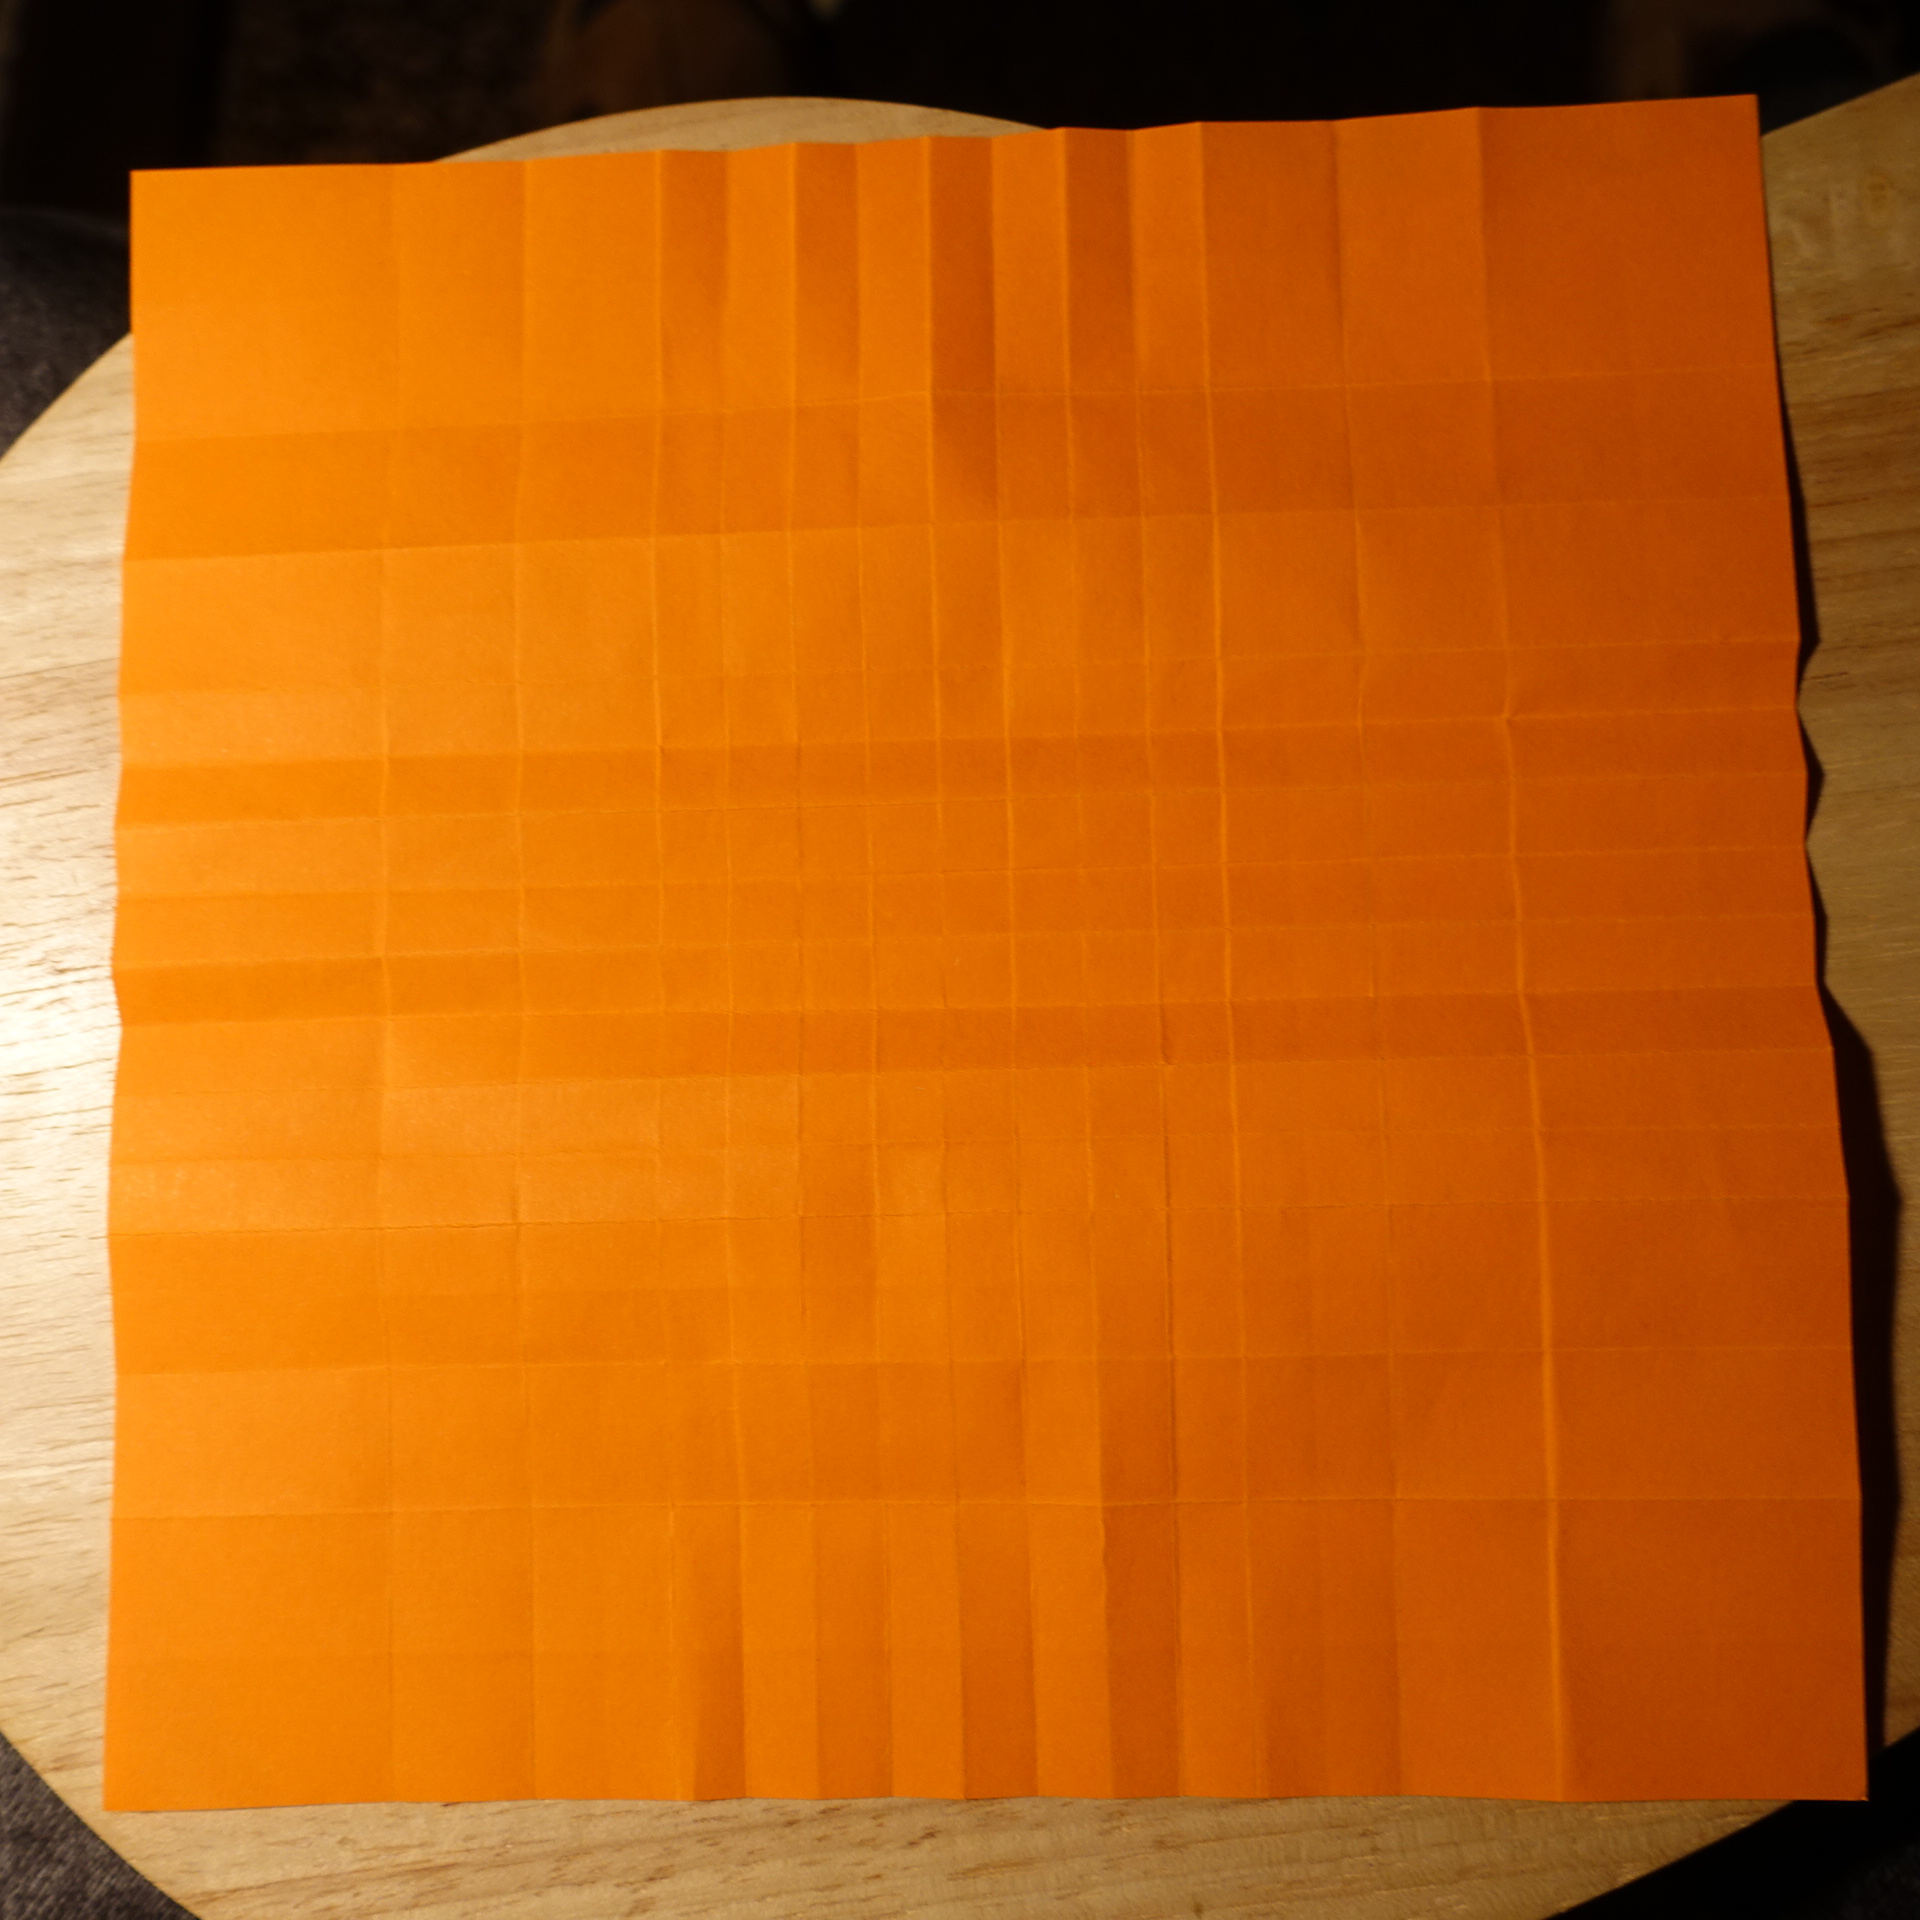
For a level-2 molecule, as shown here, you need a 24×24 grid (this includes a 2-unit margin on each side). The calculation is as follows: the smallest molecule uses 8×8 grid units and is 4×4 grid units collapsed. Since this should correspond to 2×2 grid units of the grid for the larger molecule, the level 2 molecule needs an 8 + 6⋅(4/2) = 20 grid units. Together with 2 units of margin on each side this results in the 24-grid mentioned above.
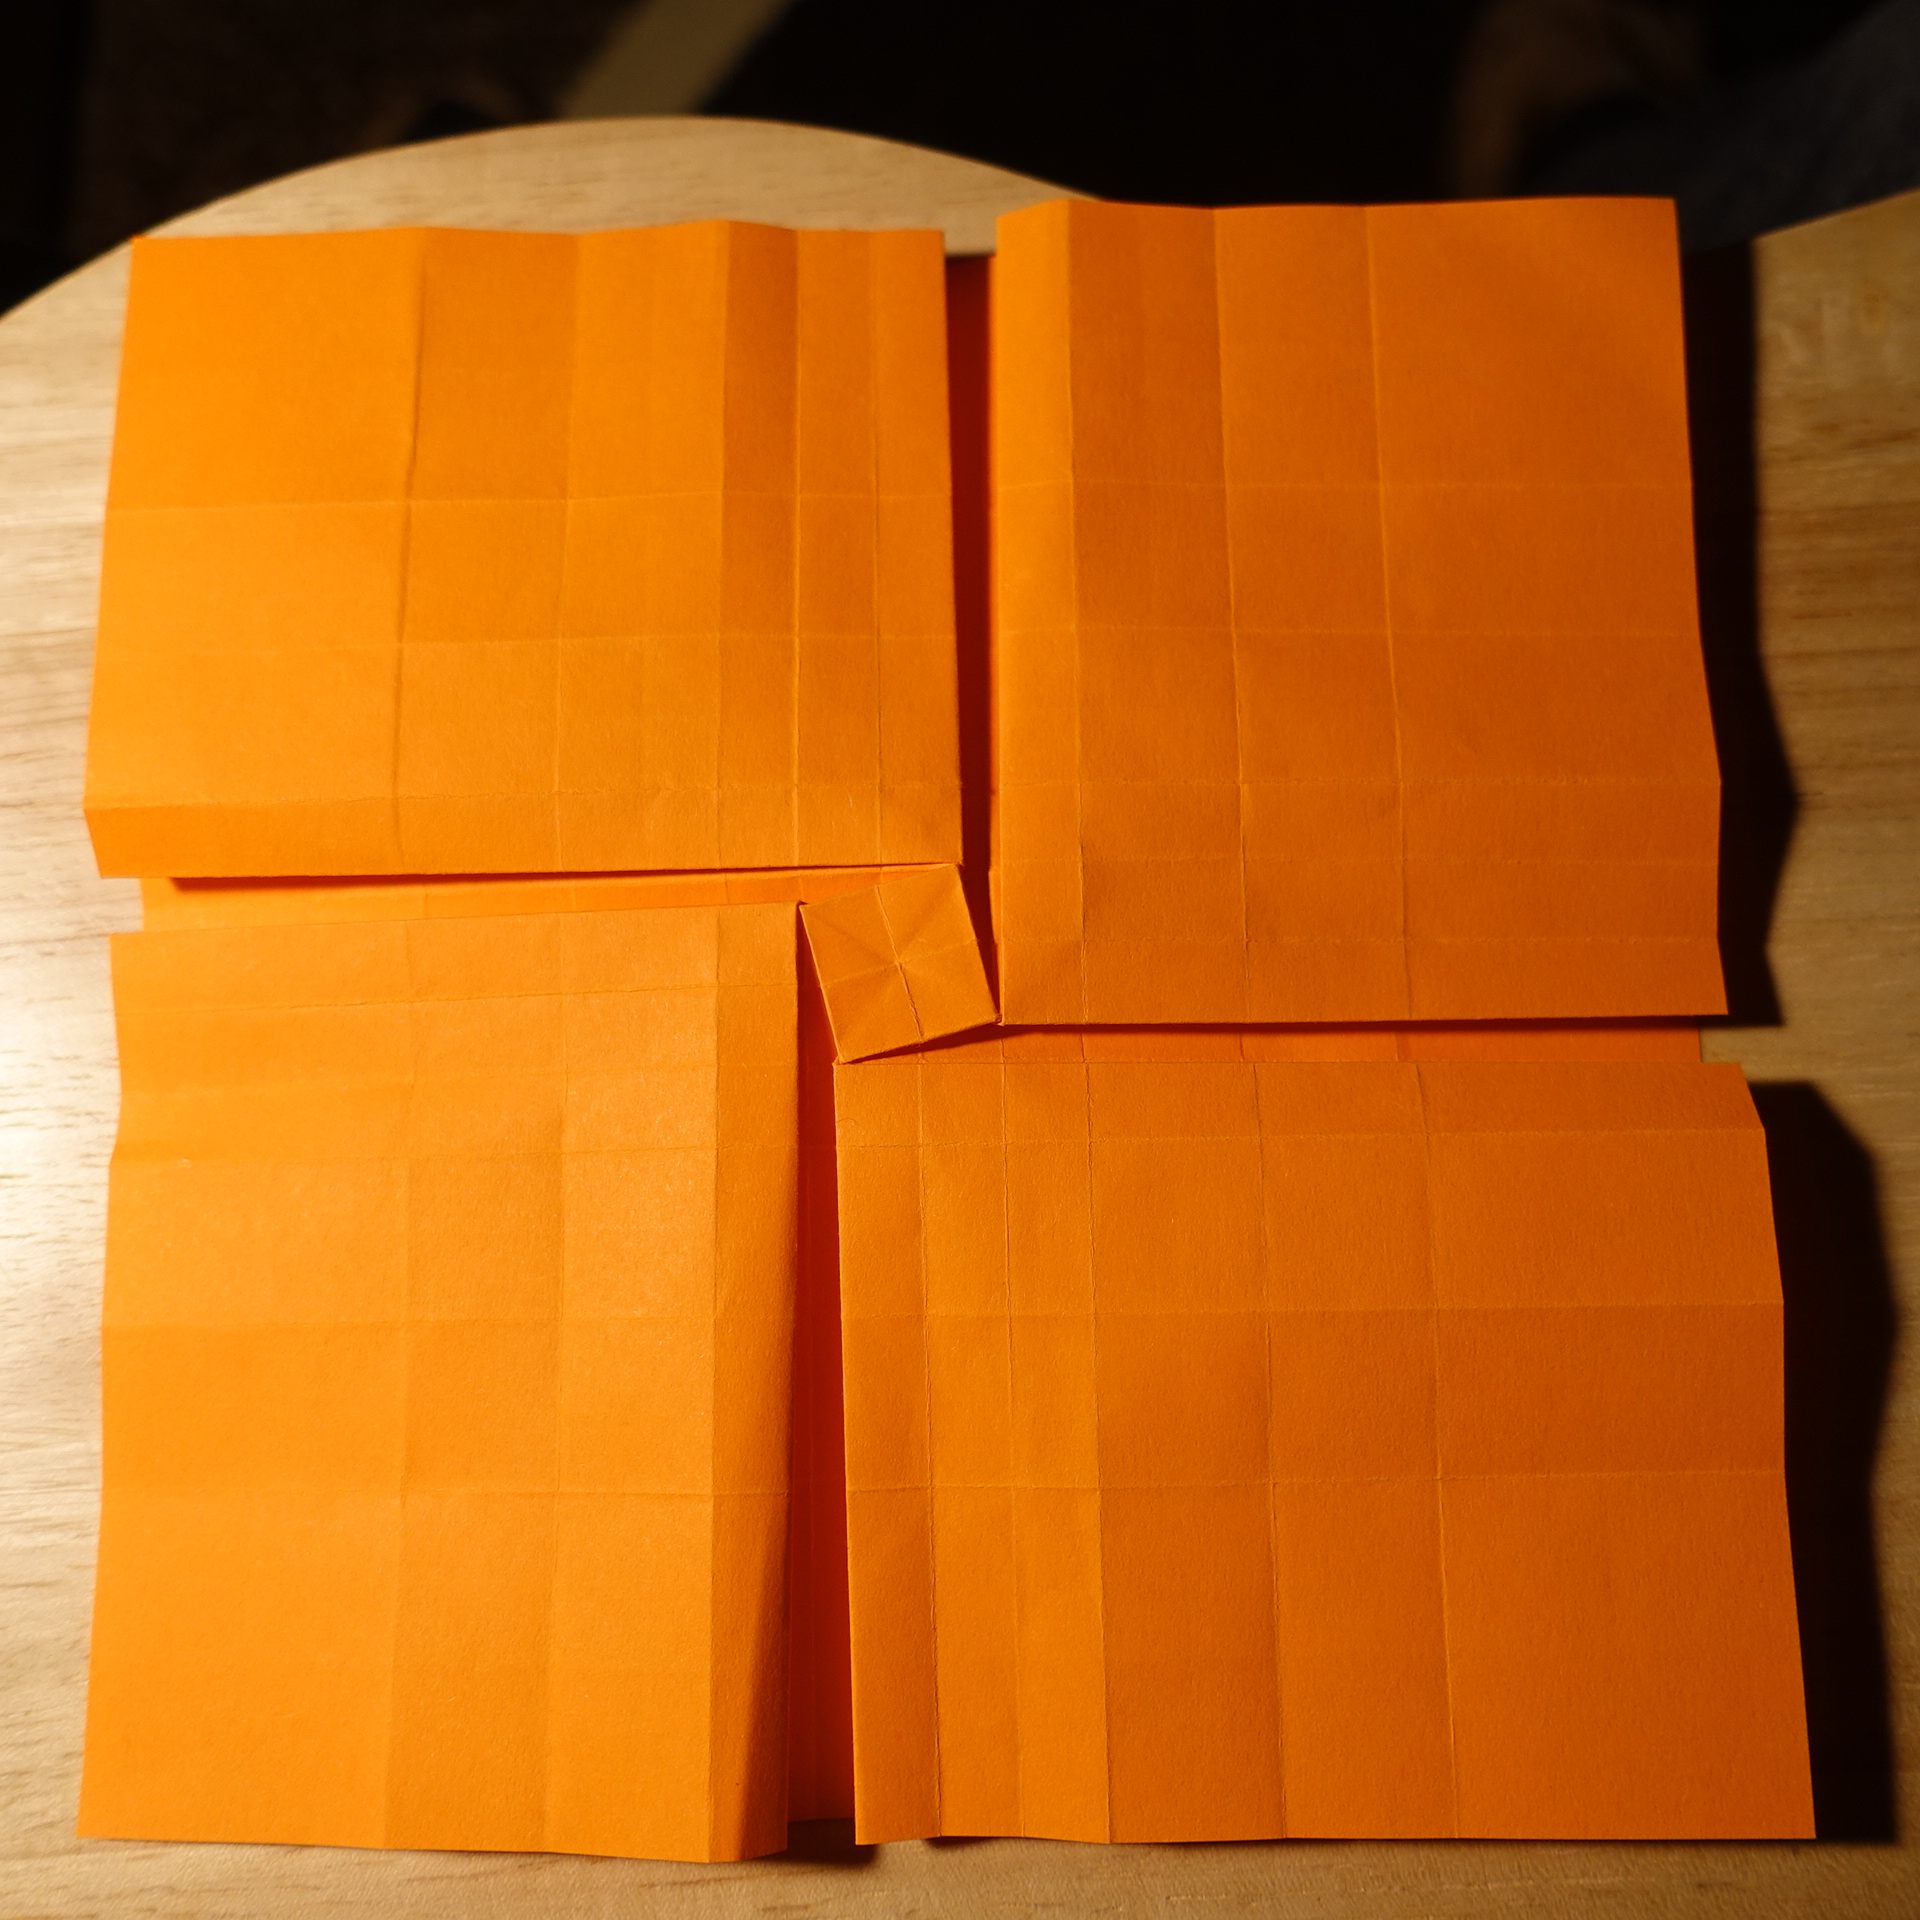
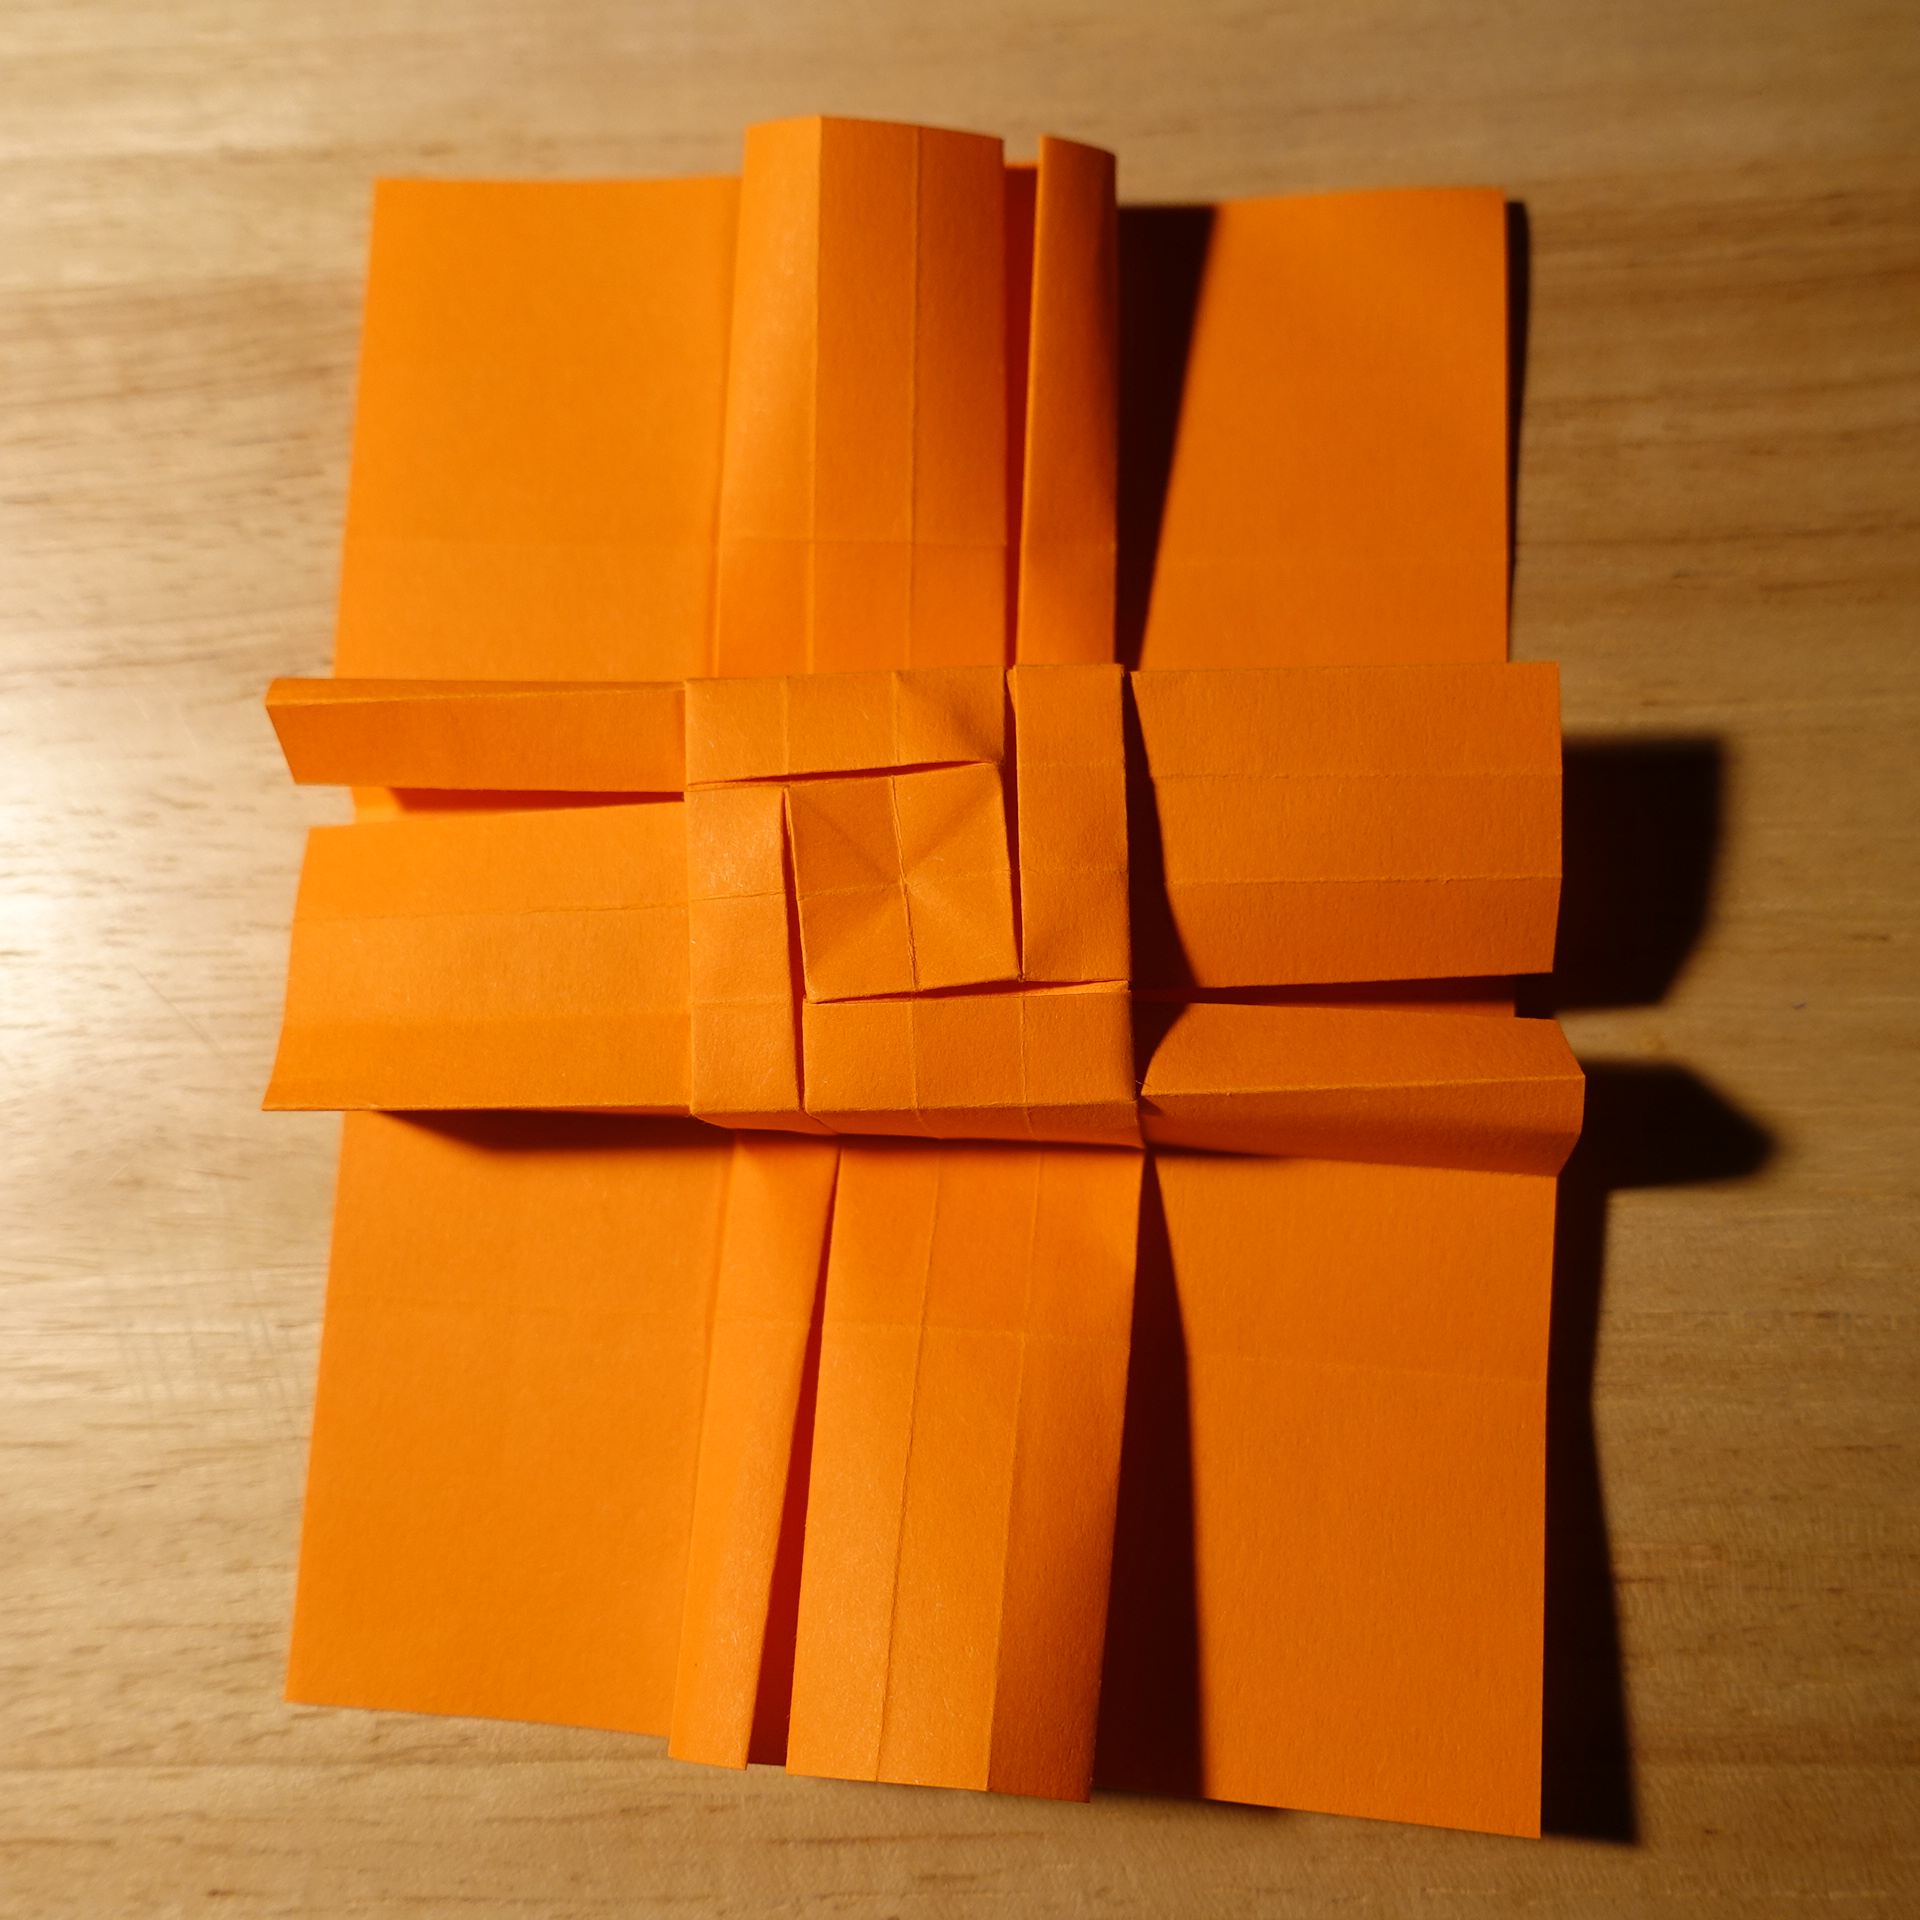
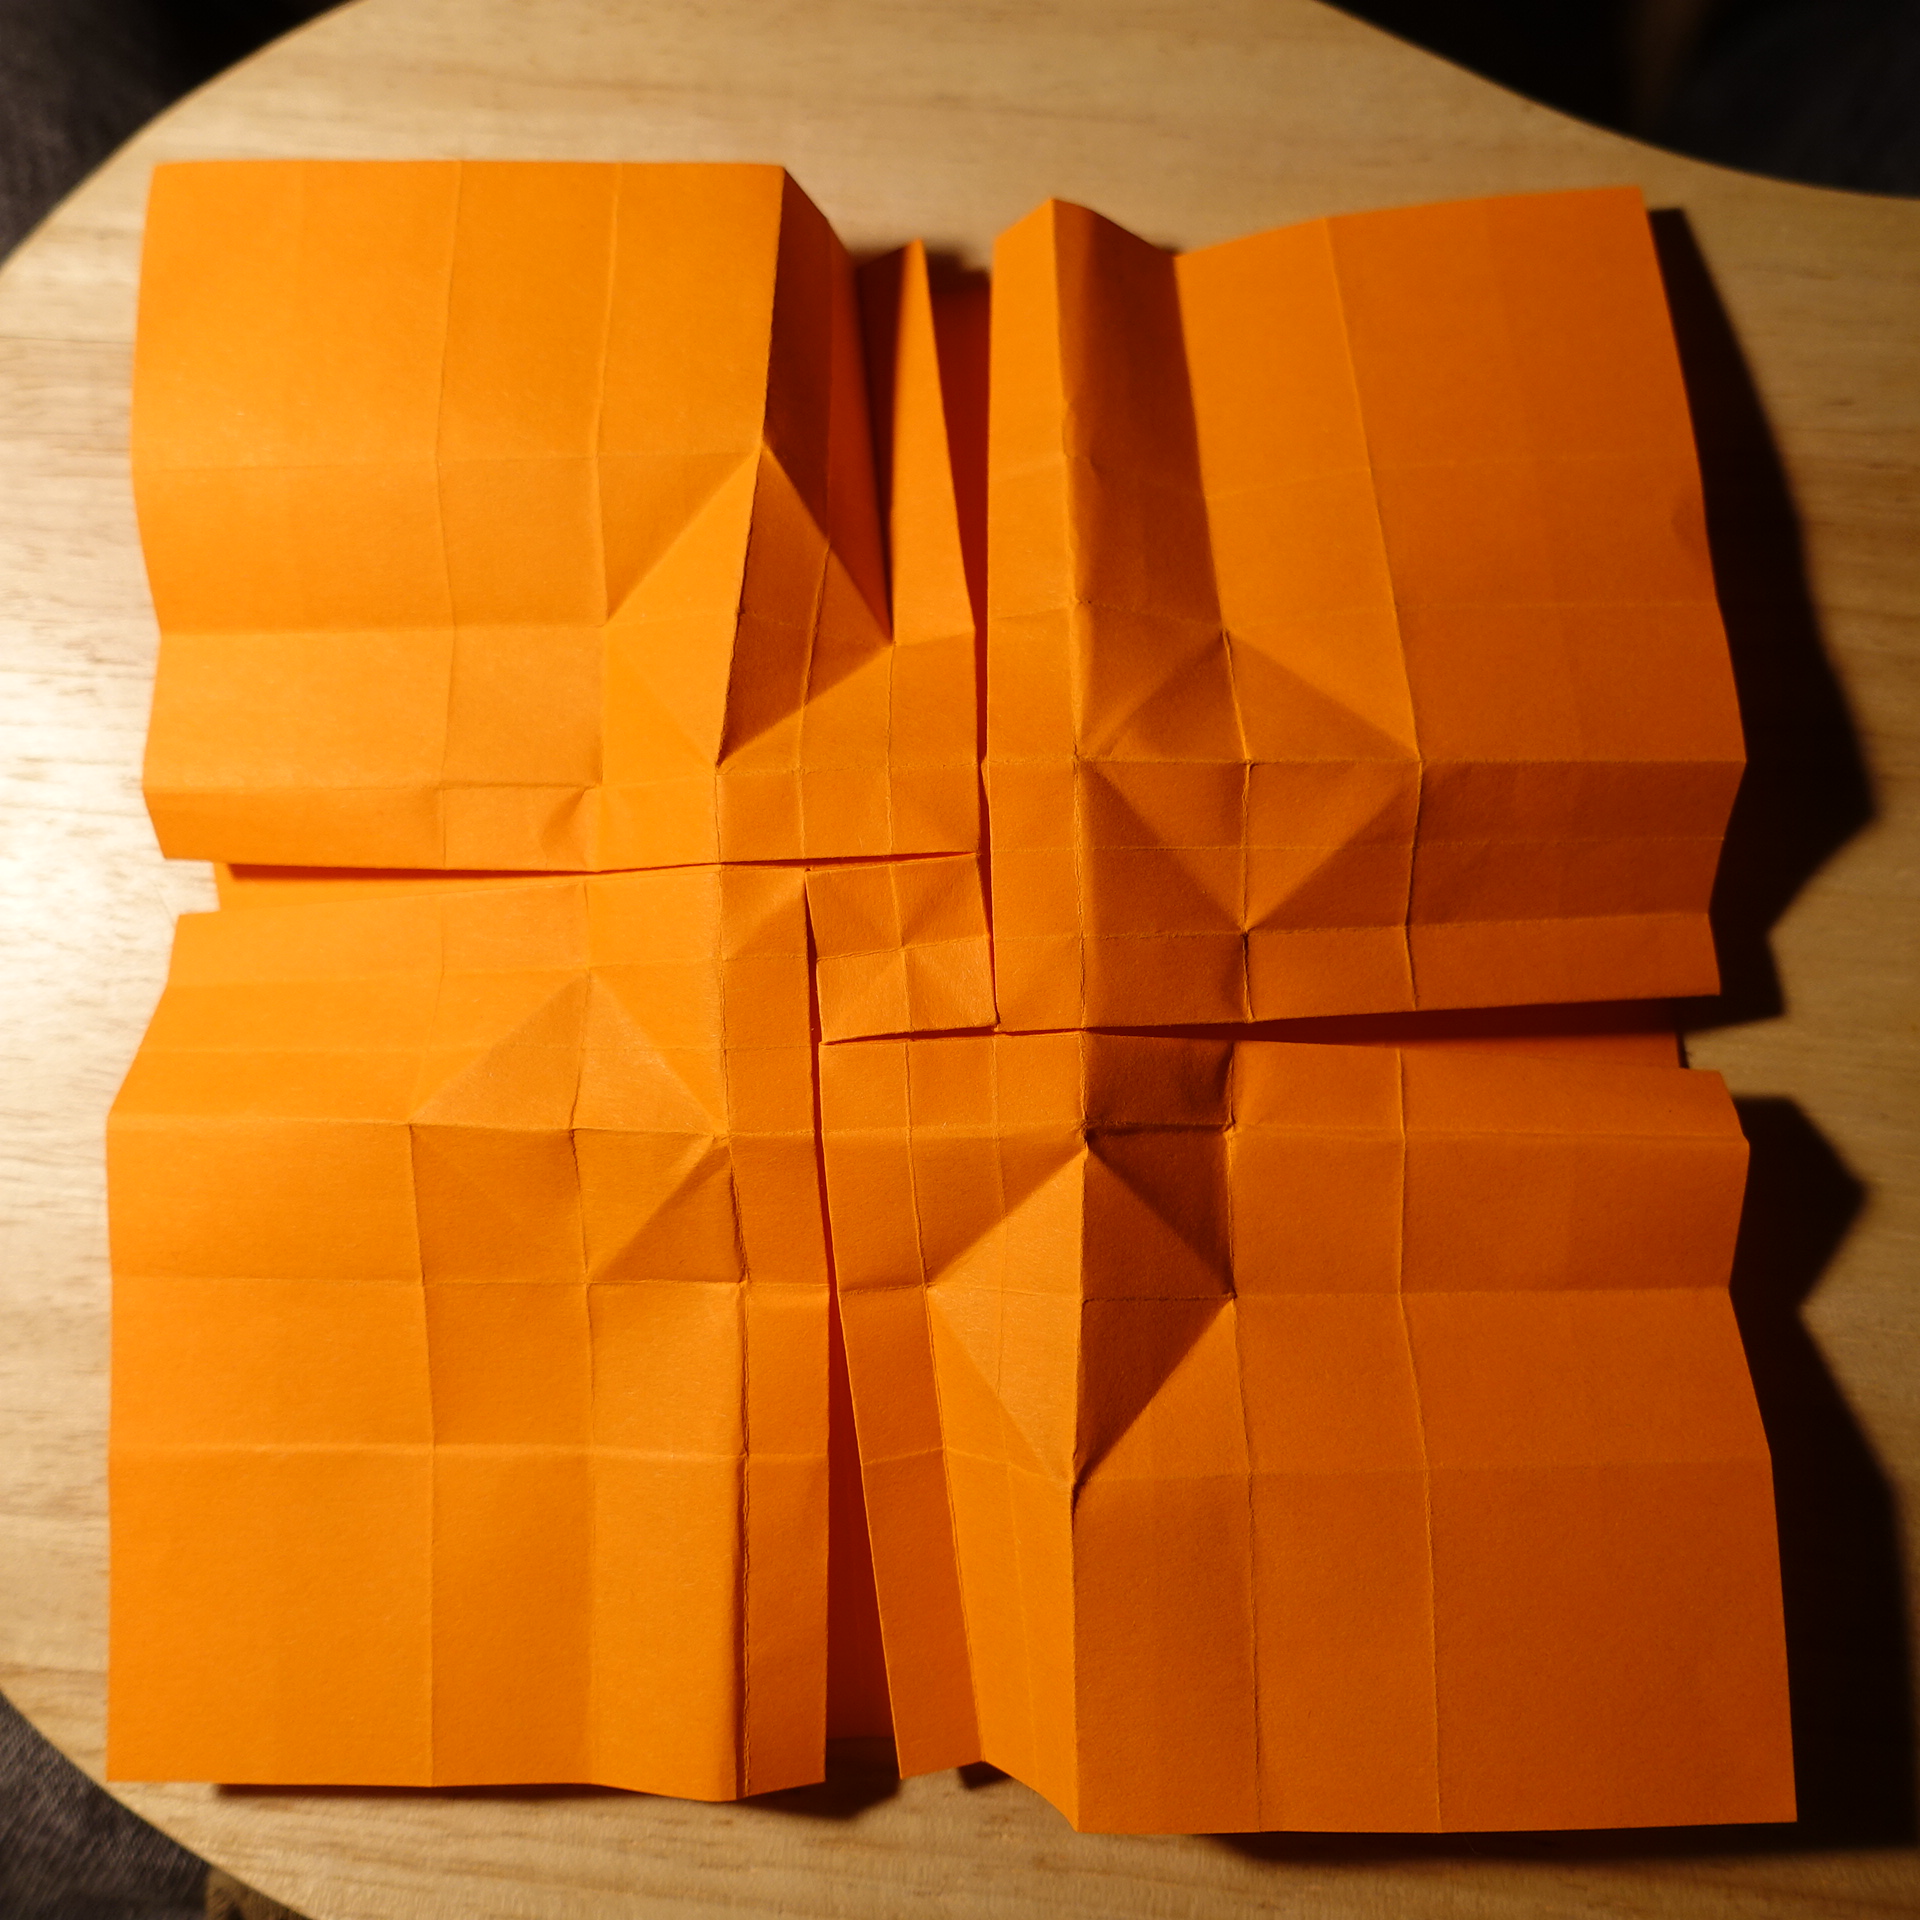
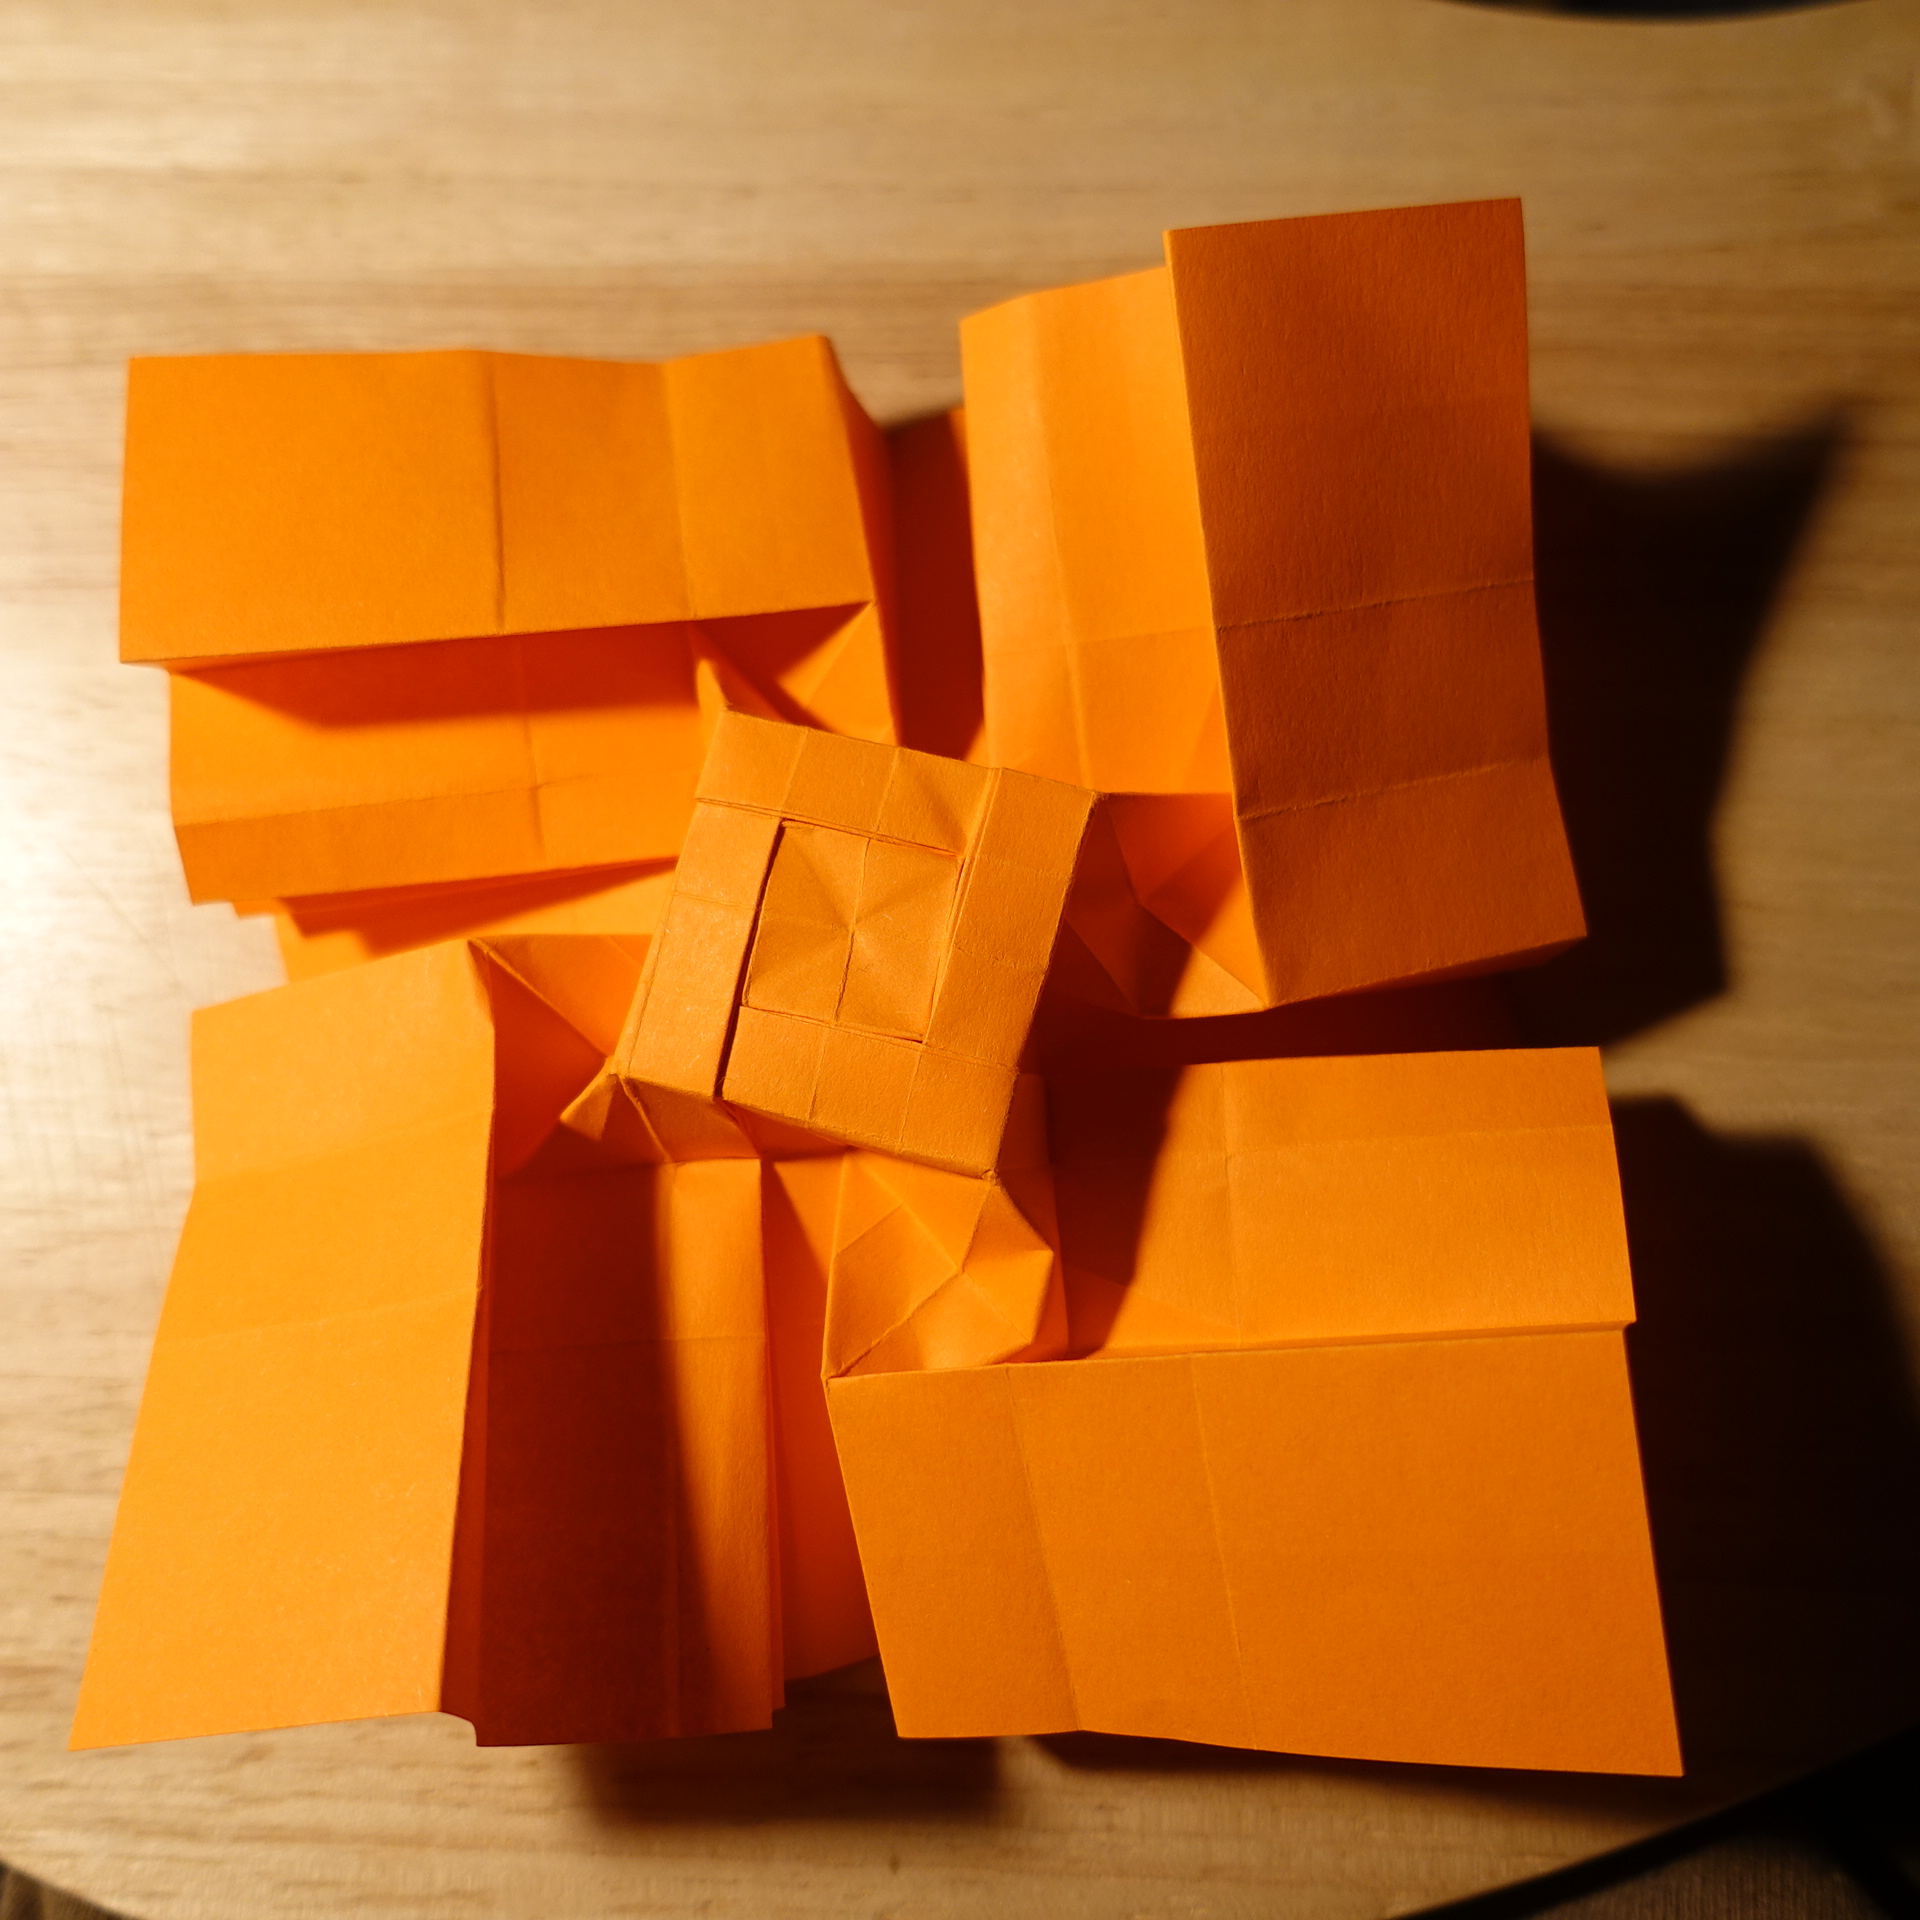
The phototutorial below is of poor quality, it’s basically my personal notes on this model. The initial twist in the center is the same as in the models of Woven Triangles Family if that helps.


Comments