Since I’m too lazy to draw nice diagrams, I just made photographs of the module at different stages of folding. The module is quite simple, so I hope such
pictures are clear enough. (later note: when I first wrote the line above, I had never run across an origami photo tutorial on the web)
Folding the units
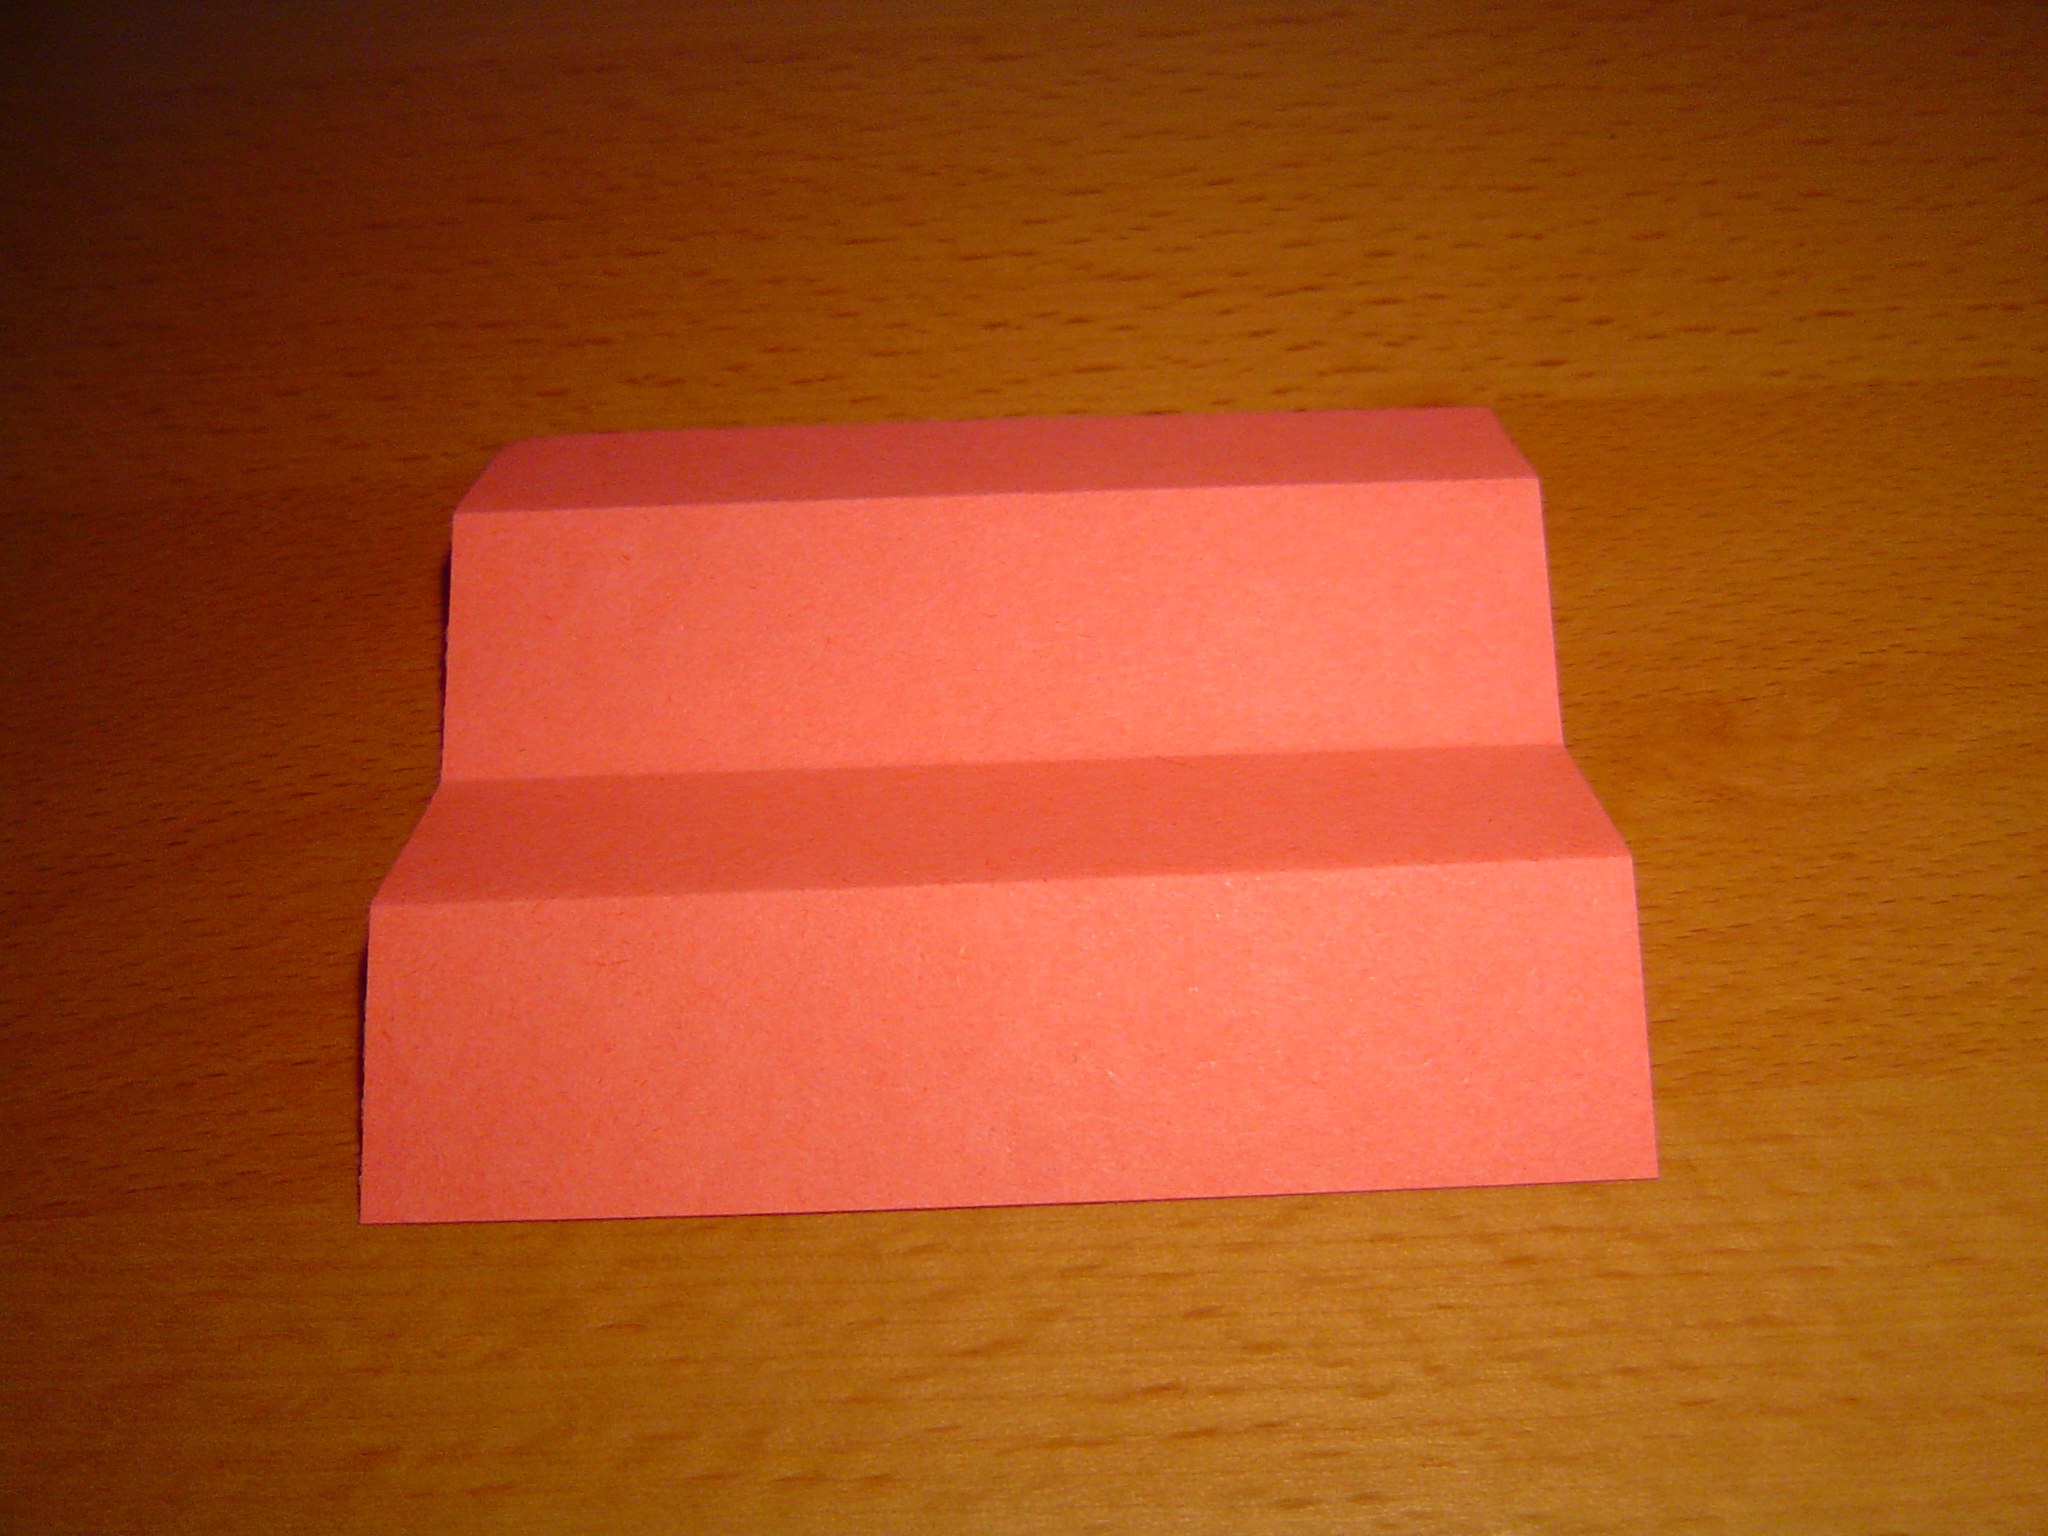
1. Start with a square piece of paper. Valley fold the sheet in half, then make two mountain folds to divide it into fourths (“accordion pleat”).
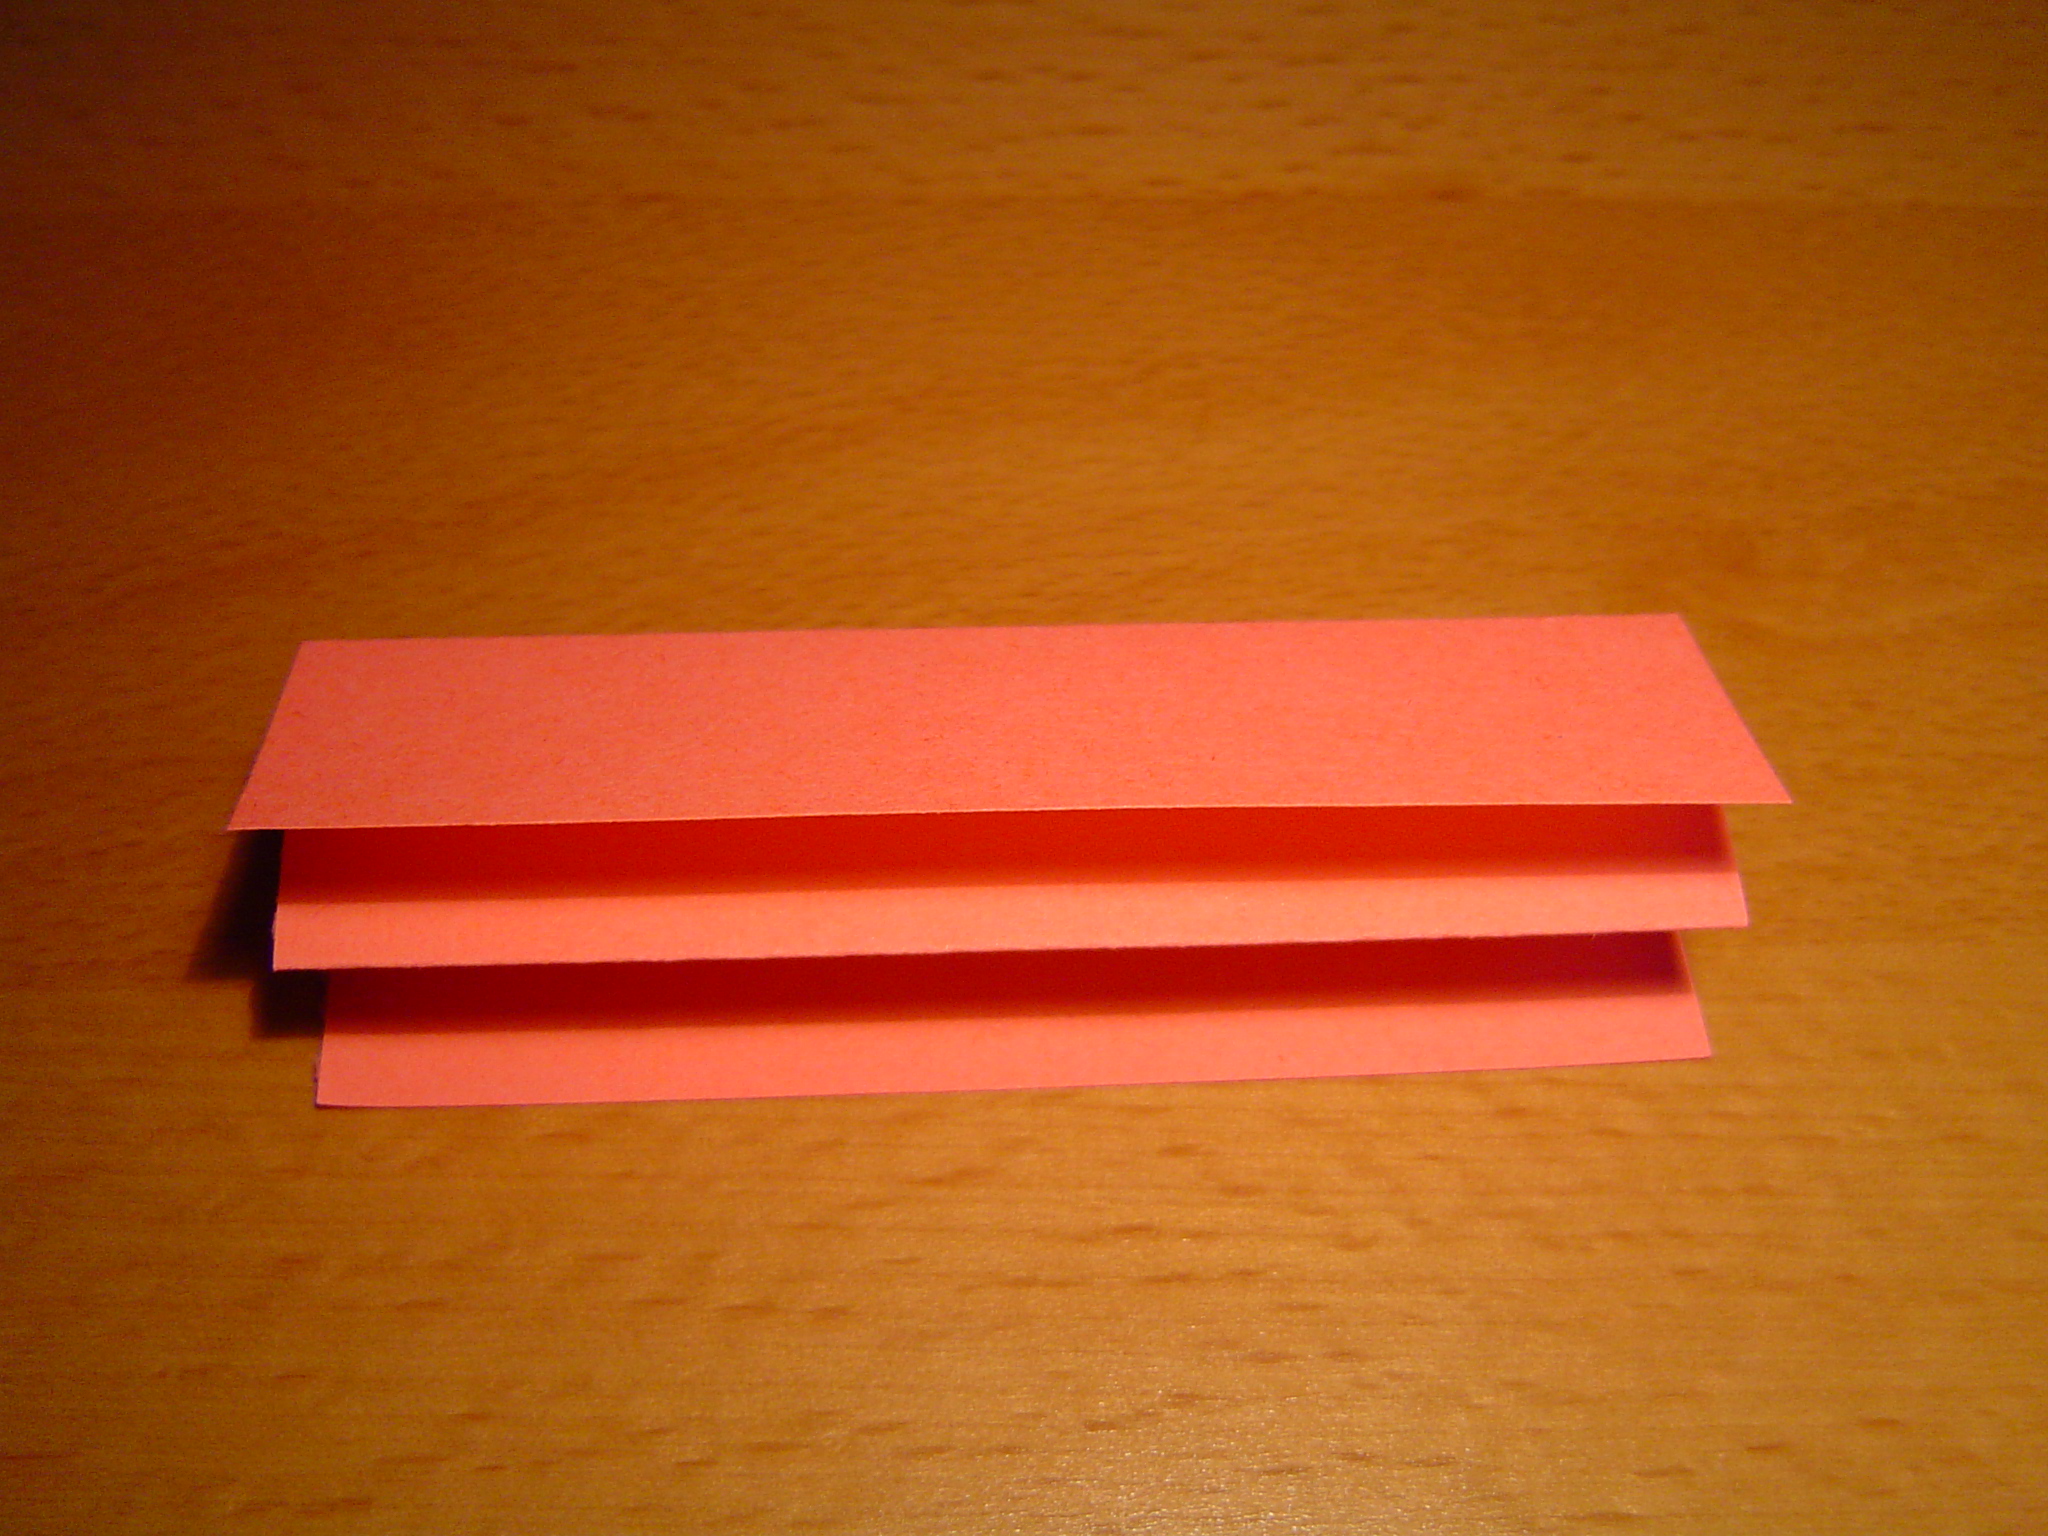
2. Fold along the creases created in step 1.
3. Valley fold the left corner (45°).
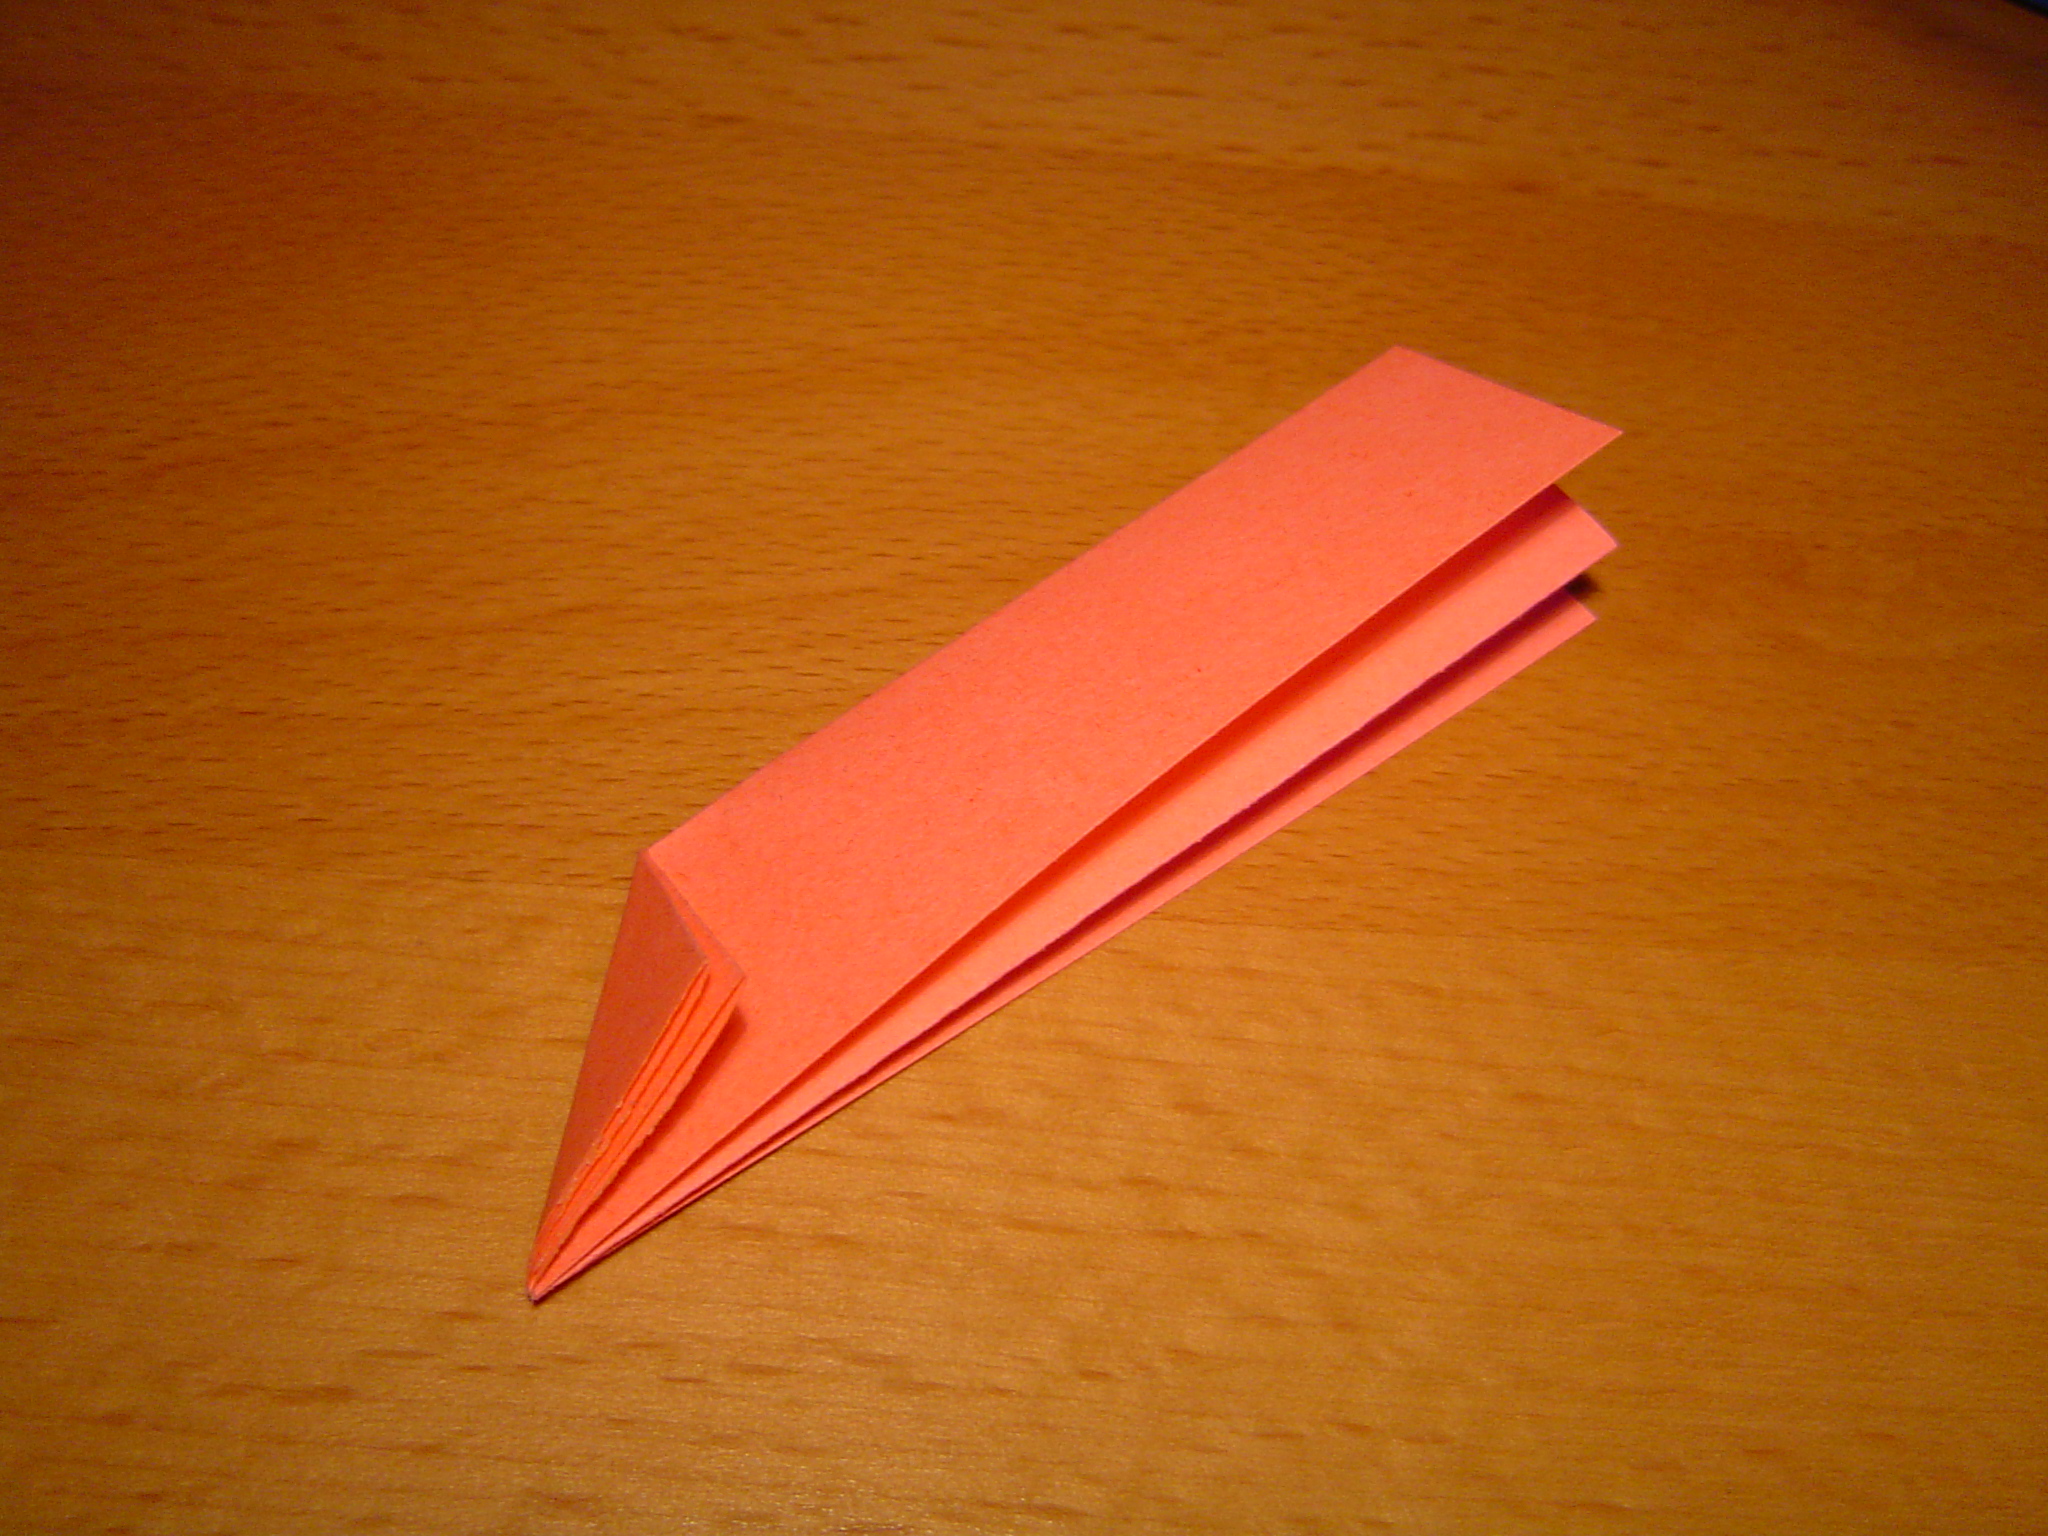
4. Valley fold.
5. Mountain fold.
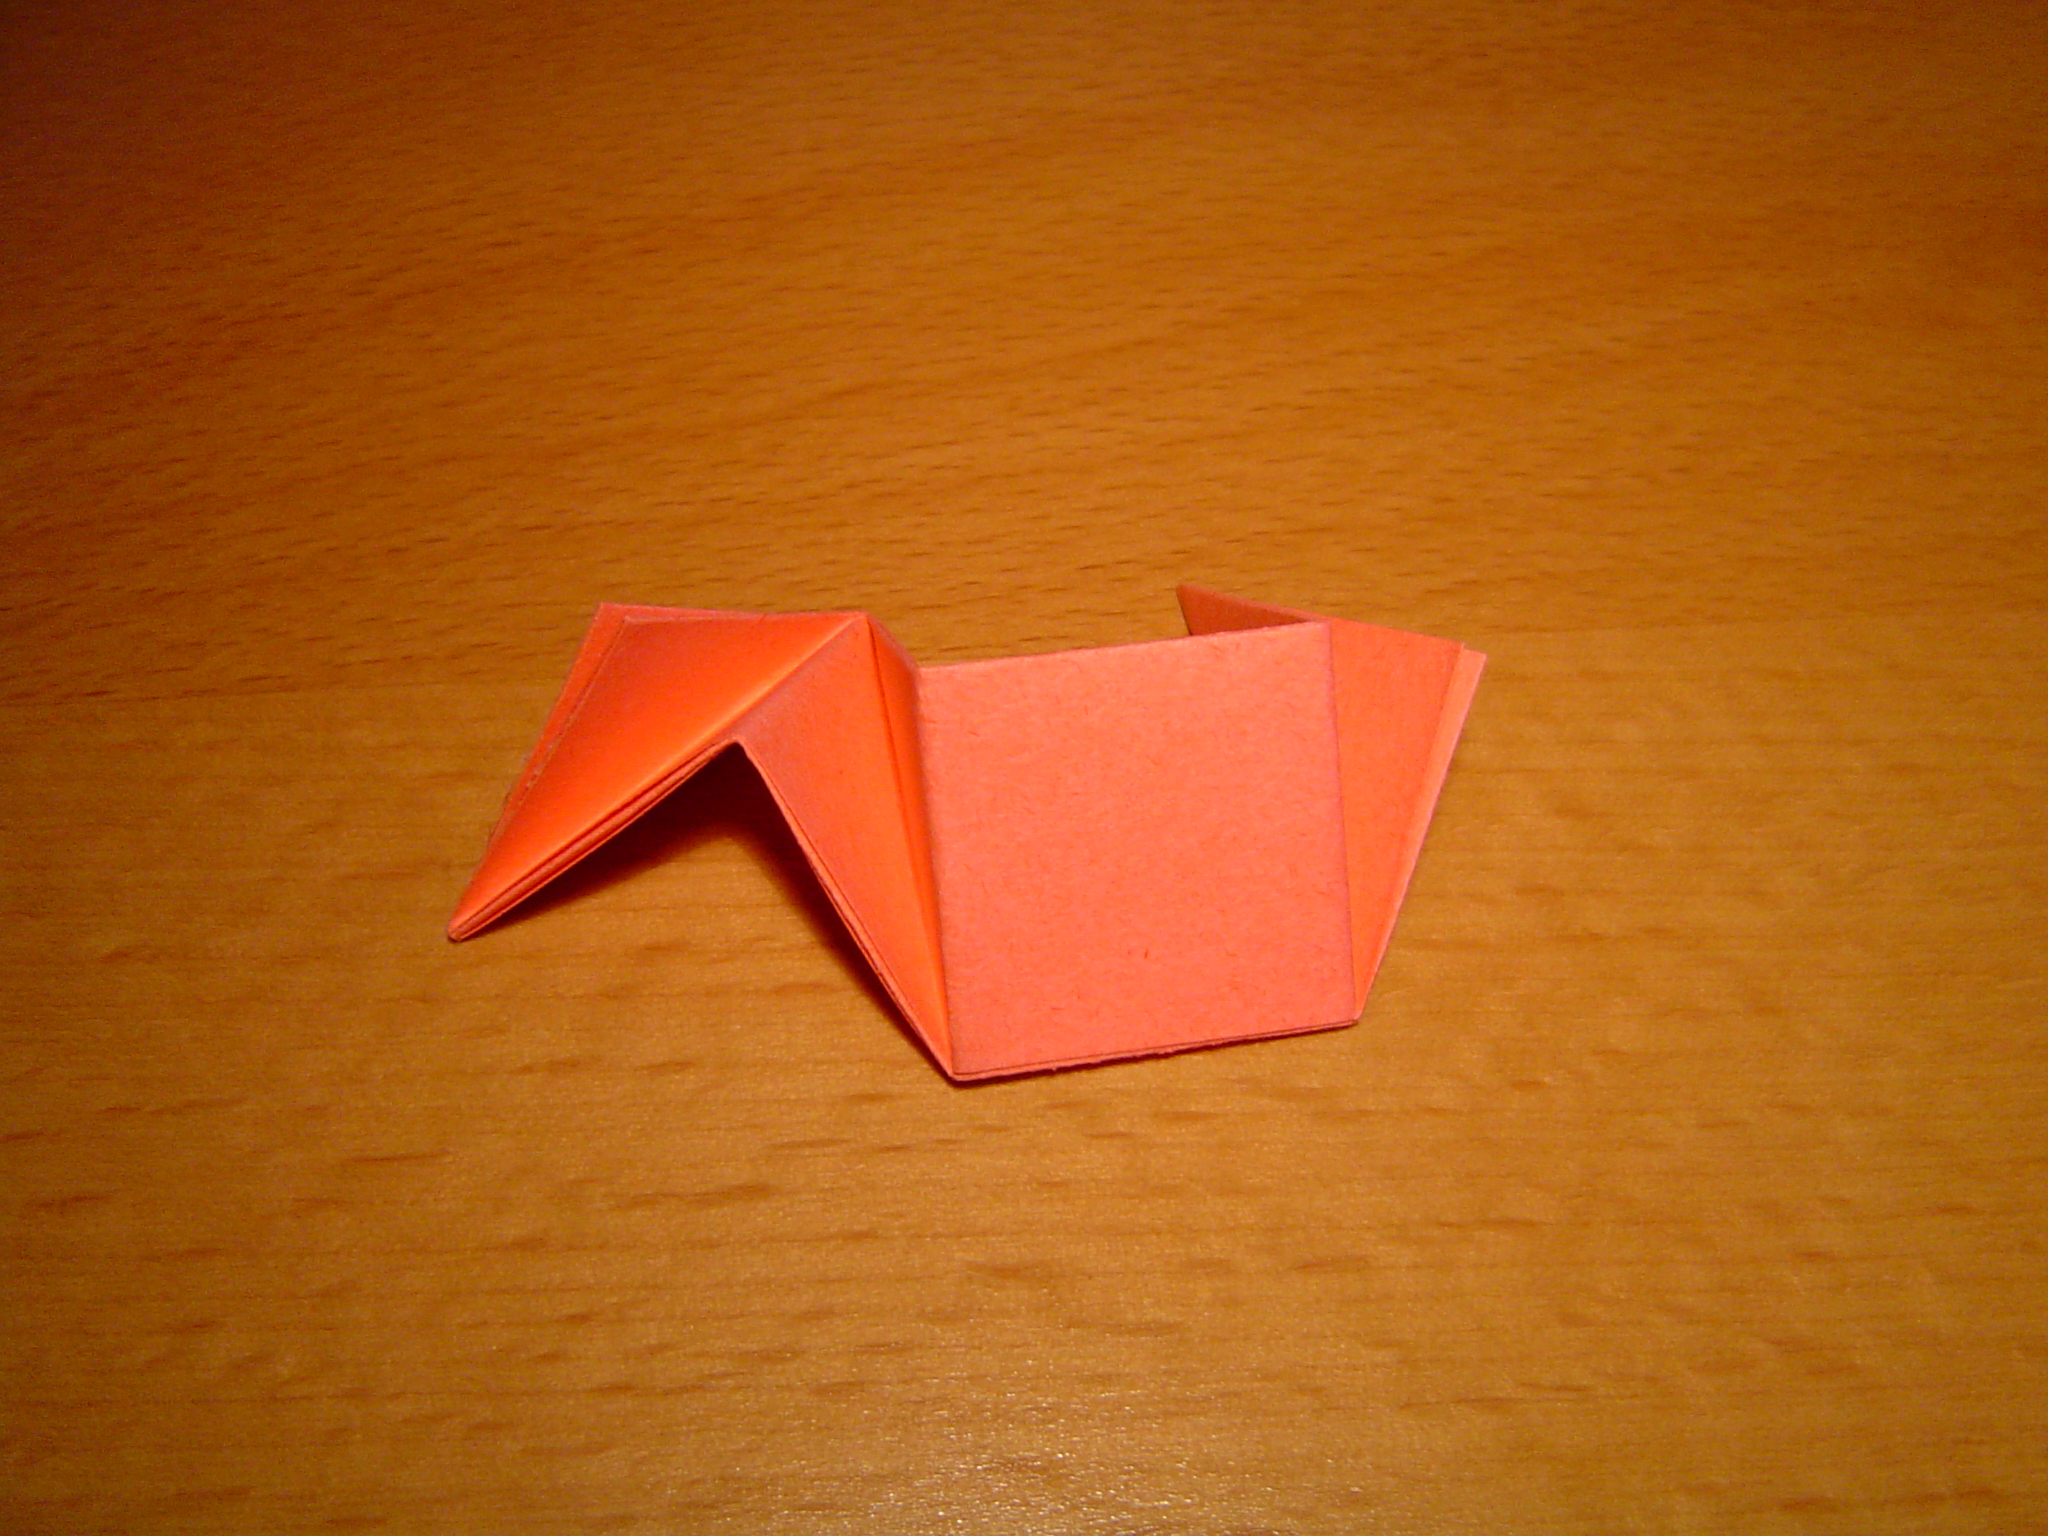
6. Valley fold the loose end (45°).
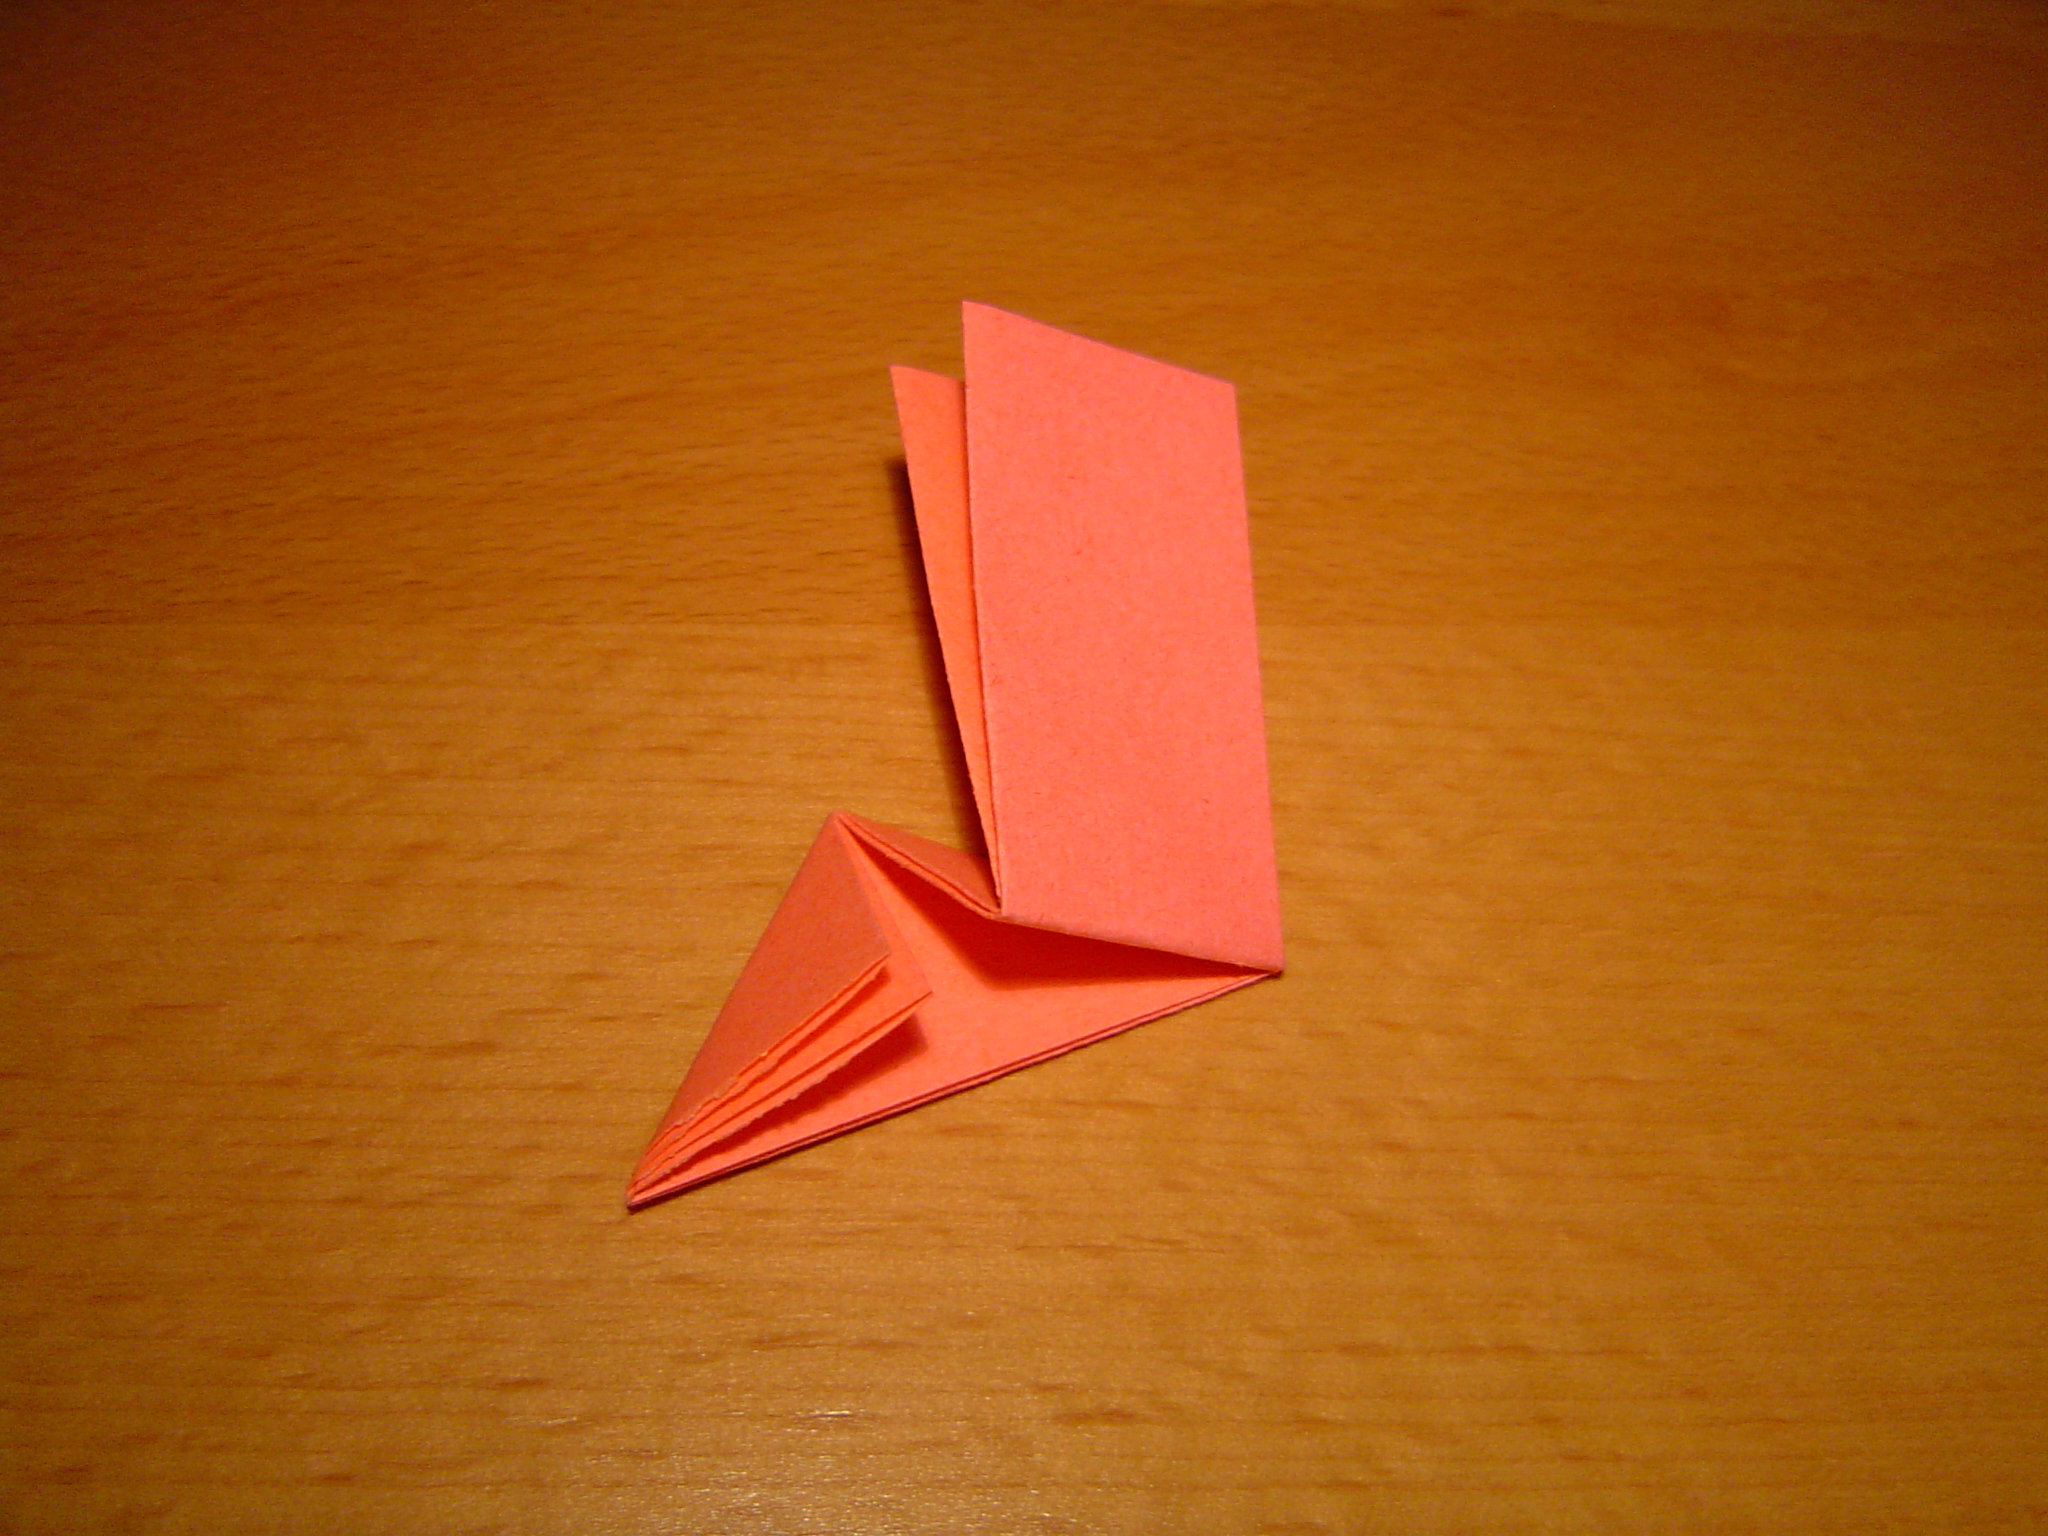
7. Unfold along the crease created in step 5.
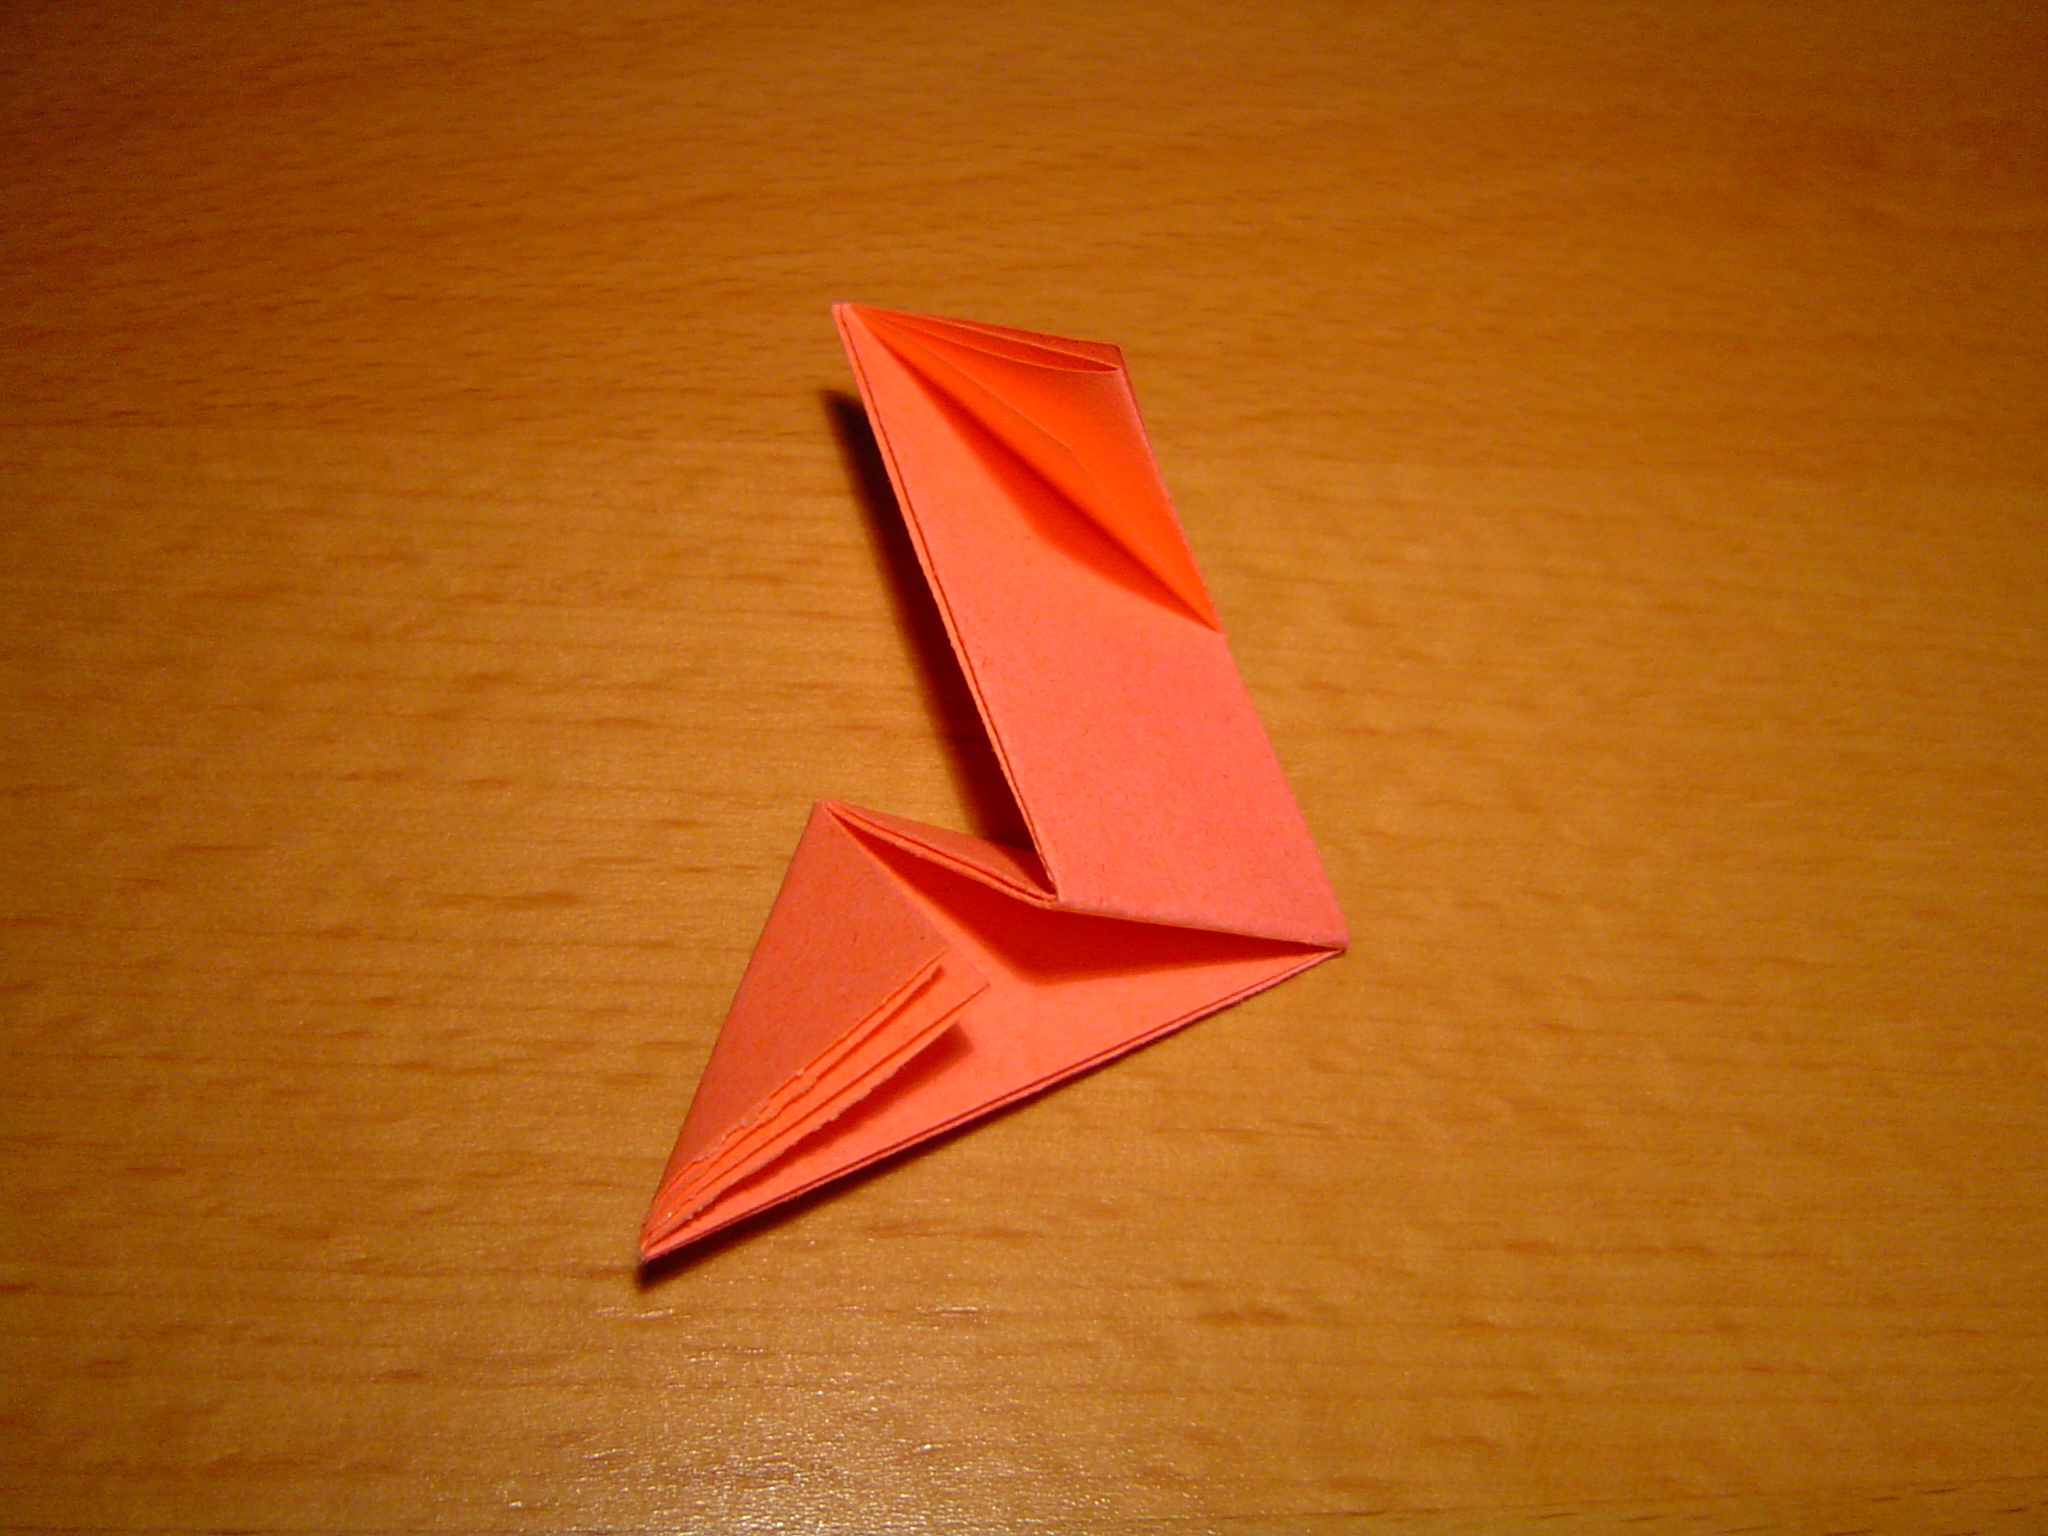
8. Valley fold.
9. Fold again along the crease created in step 5.
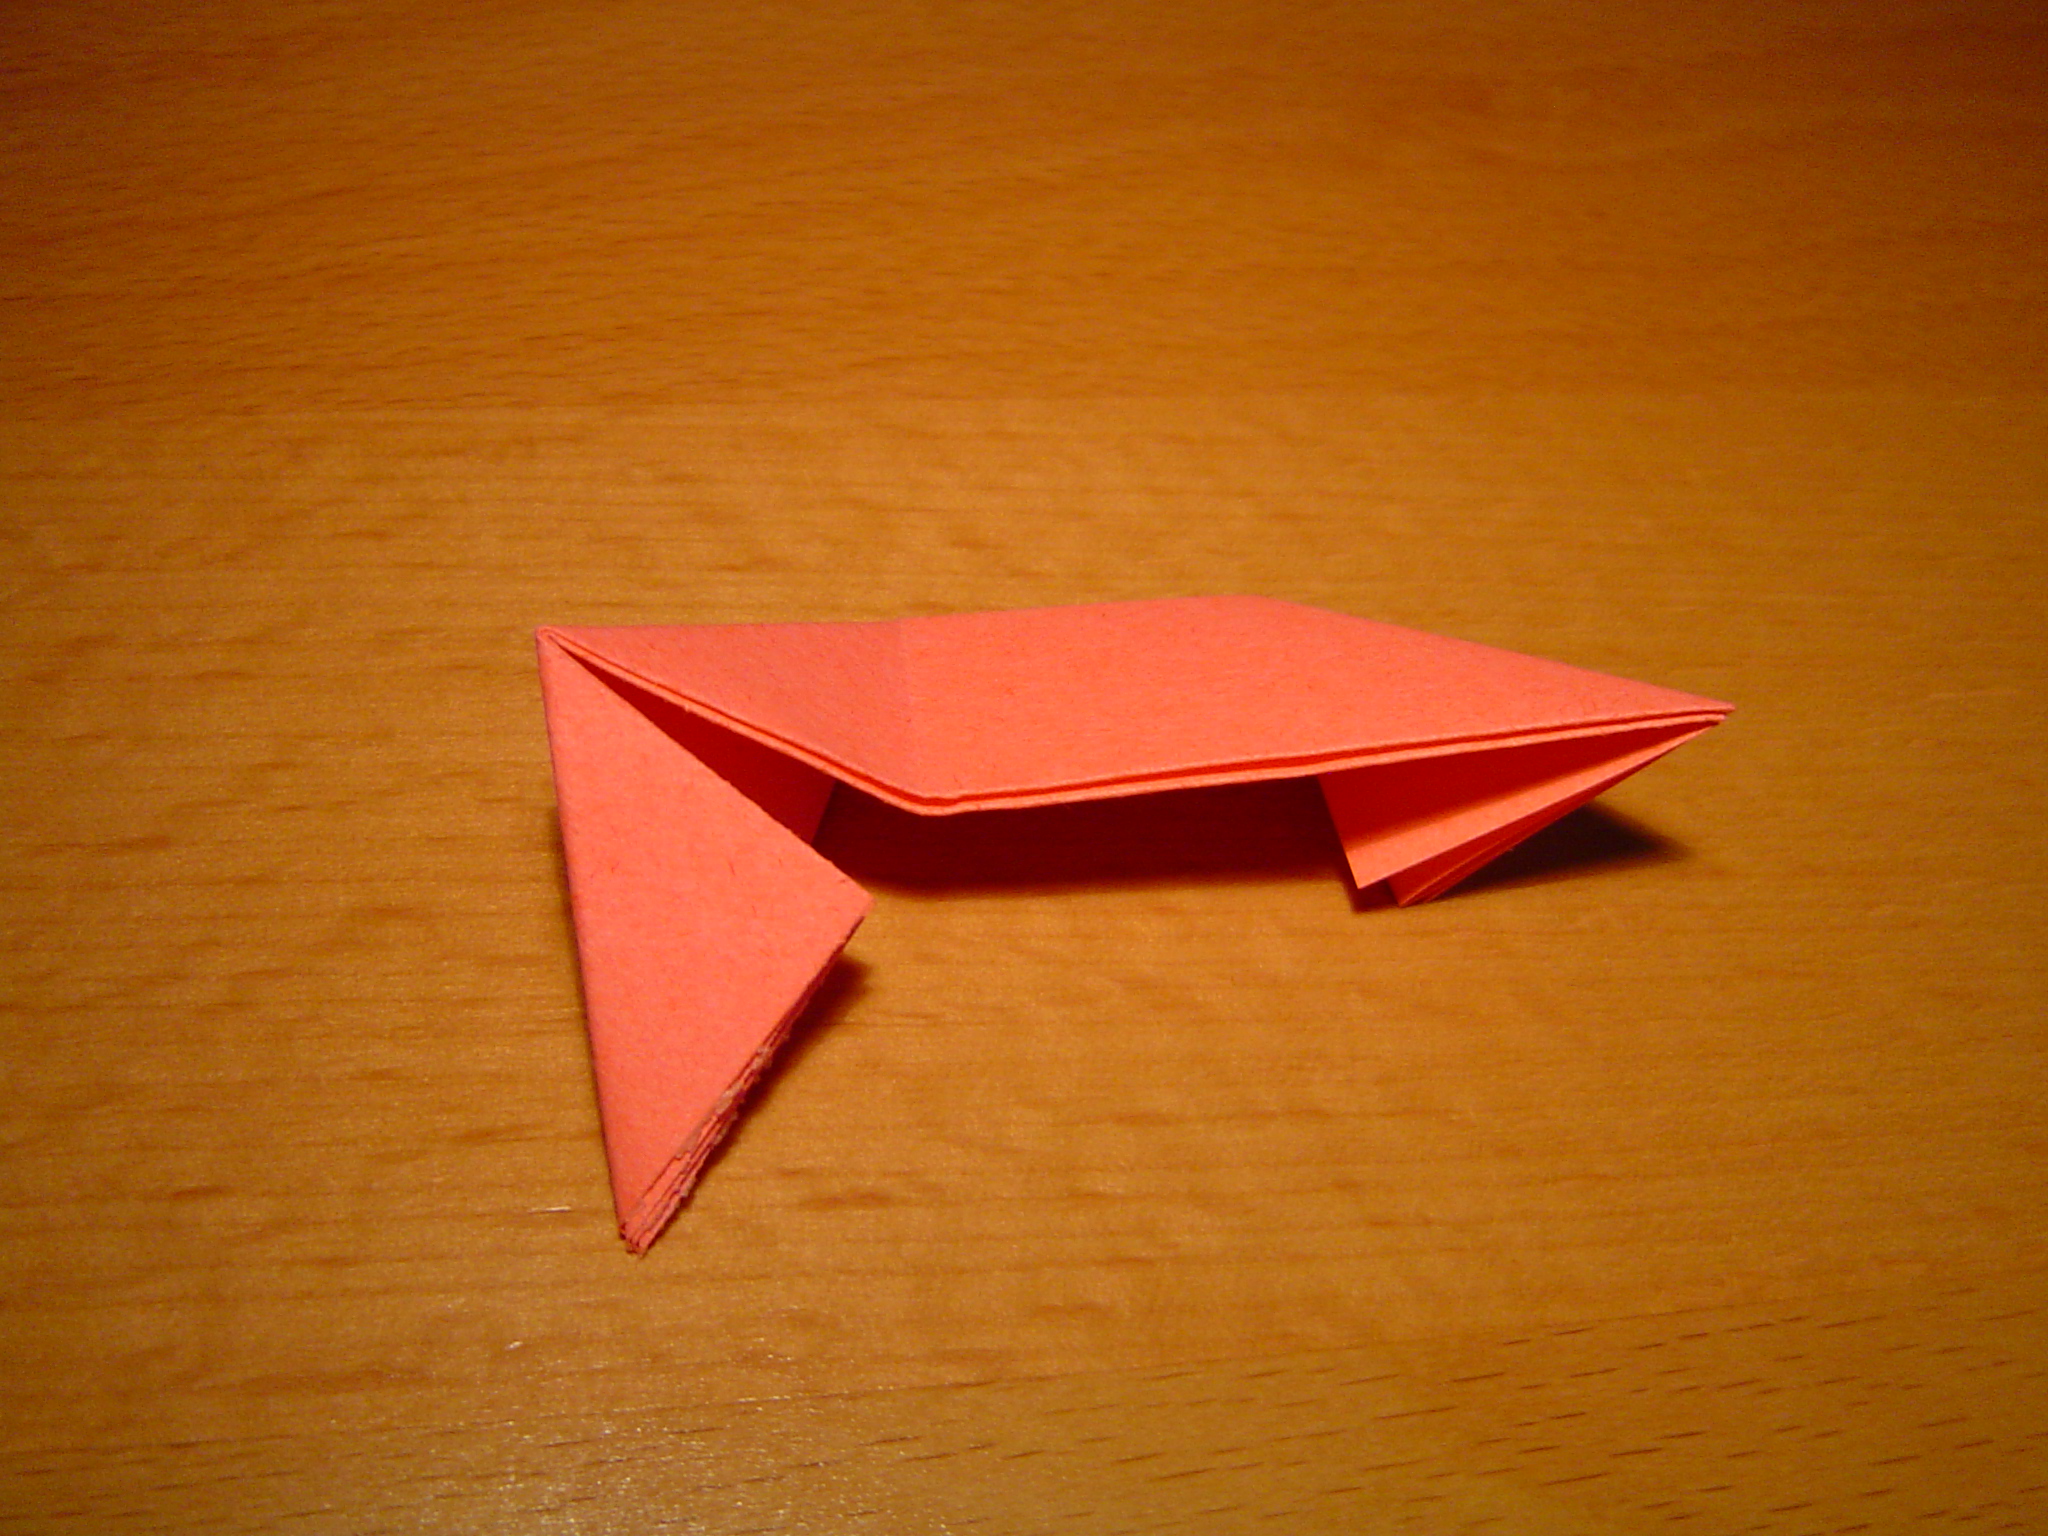
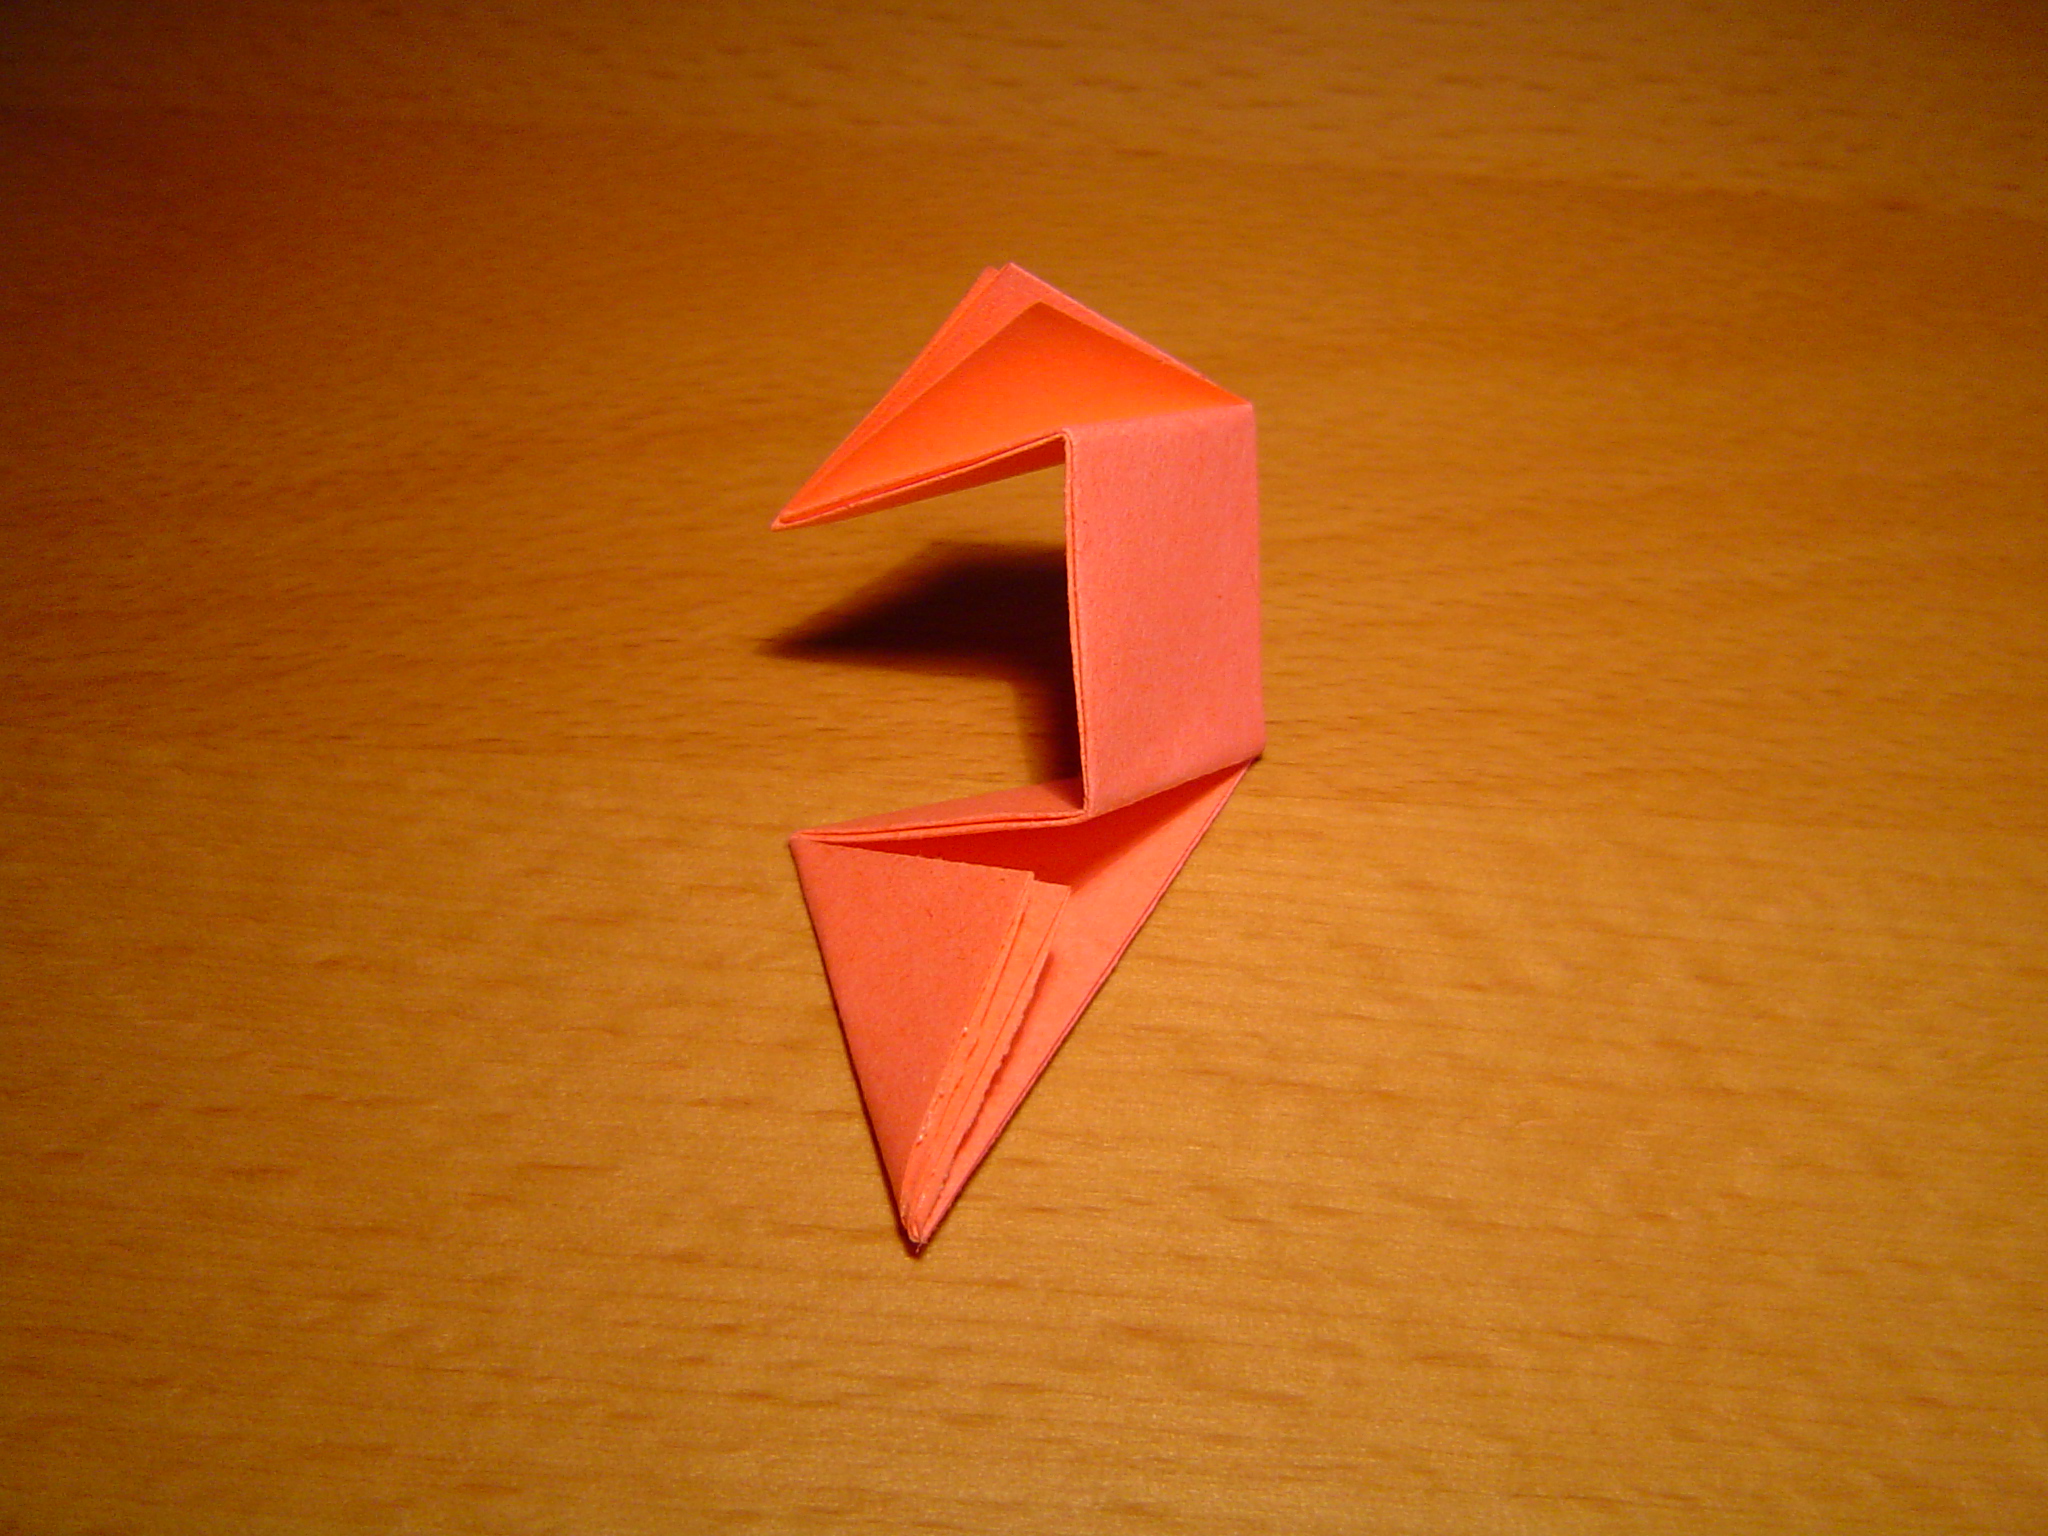
10. Mountain fold the larger isosceles triangle in half.
11. Finished module (rotated).
Assembly
Oxi modules can be used to fold any polyhedra such that exactly three edges meet at each vertex. Additionally, the pathologic case of just two edges meeting
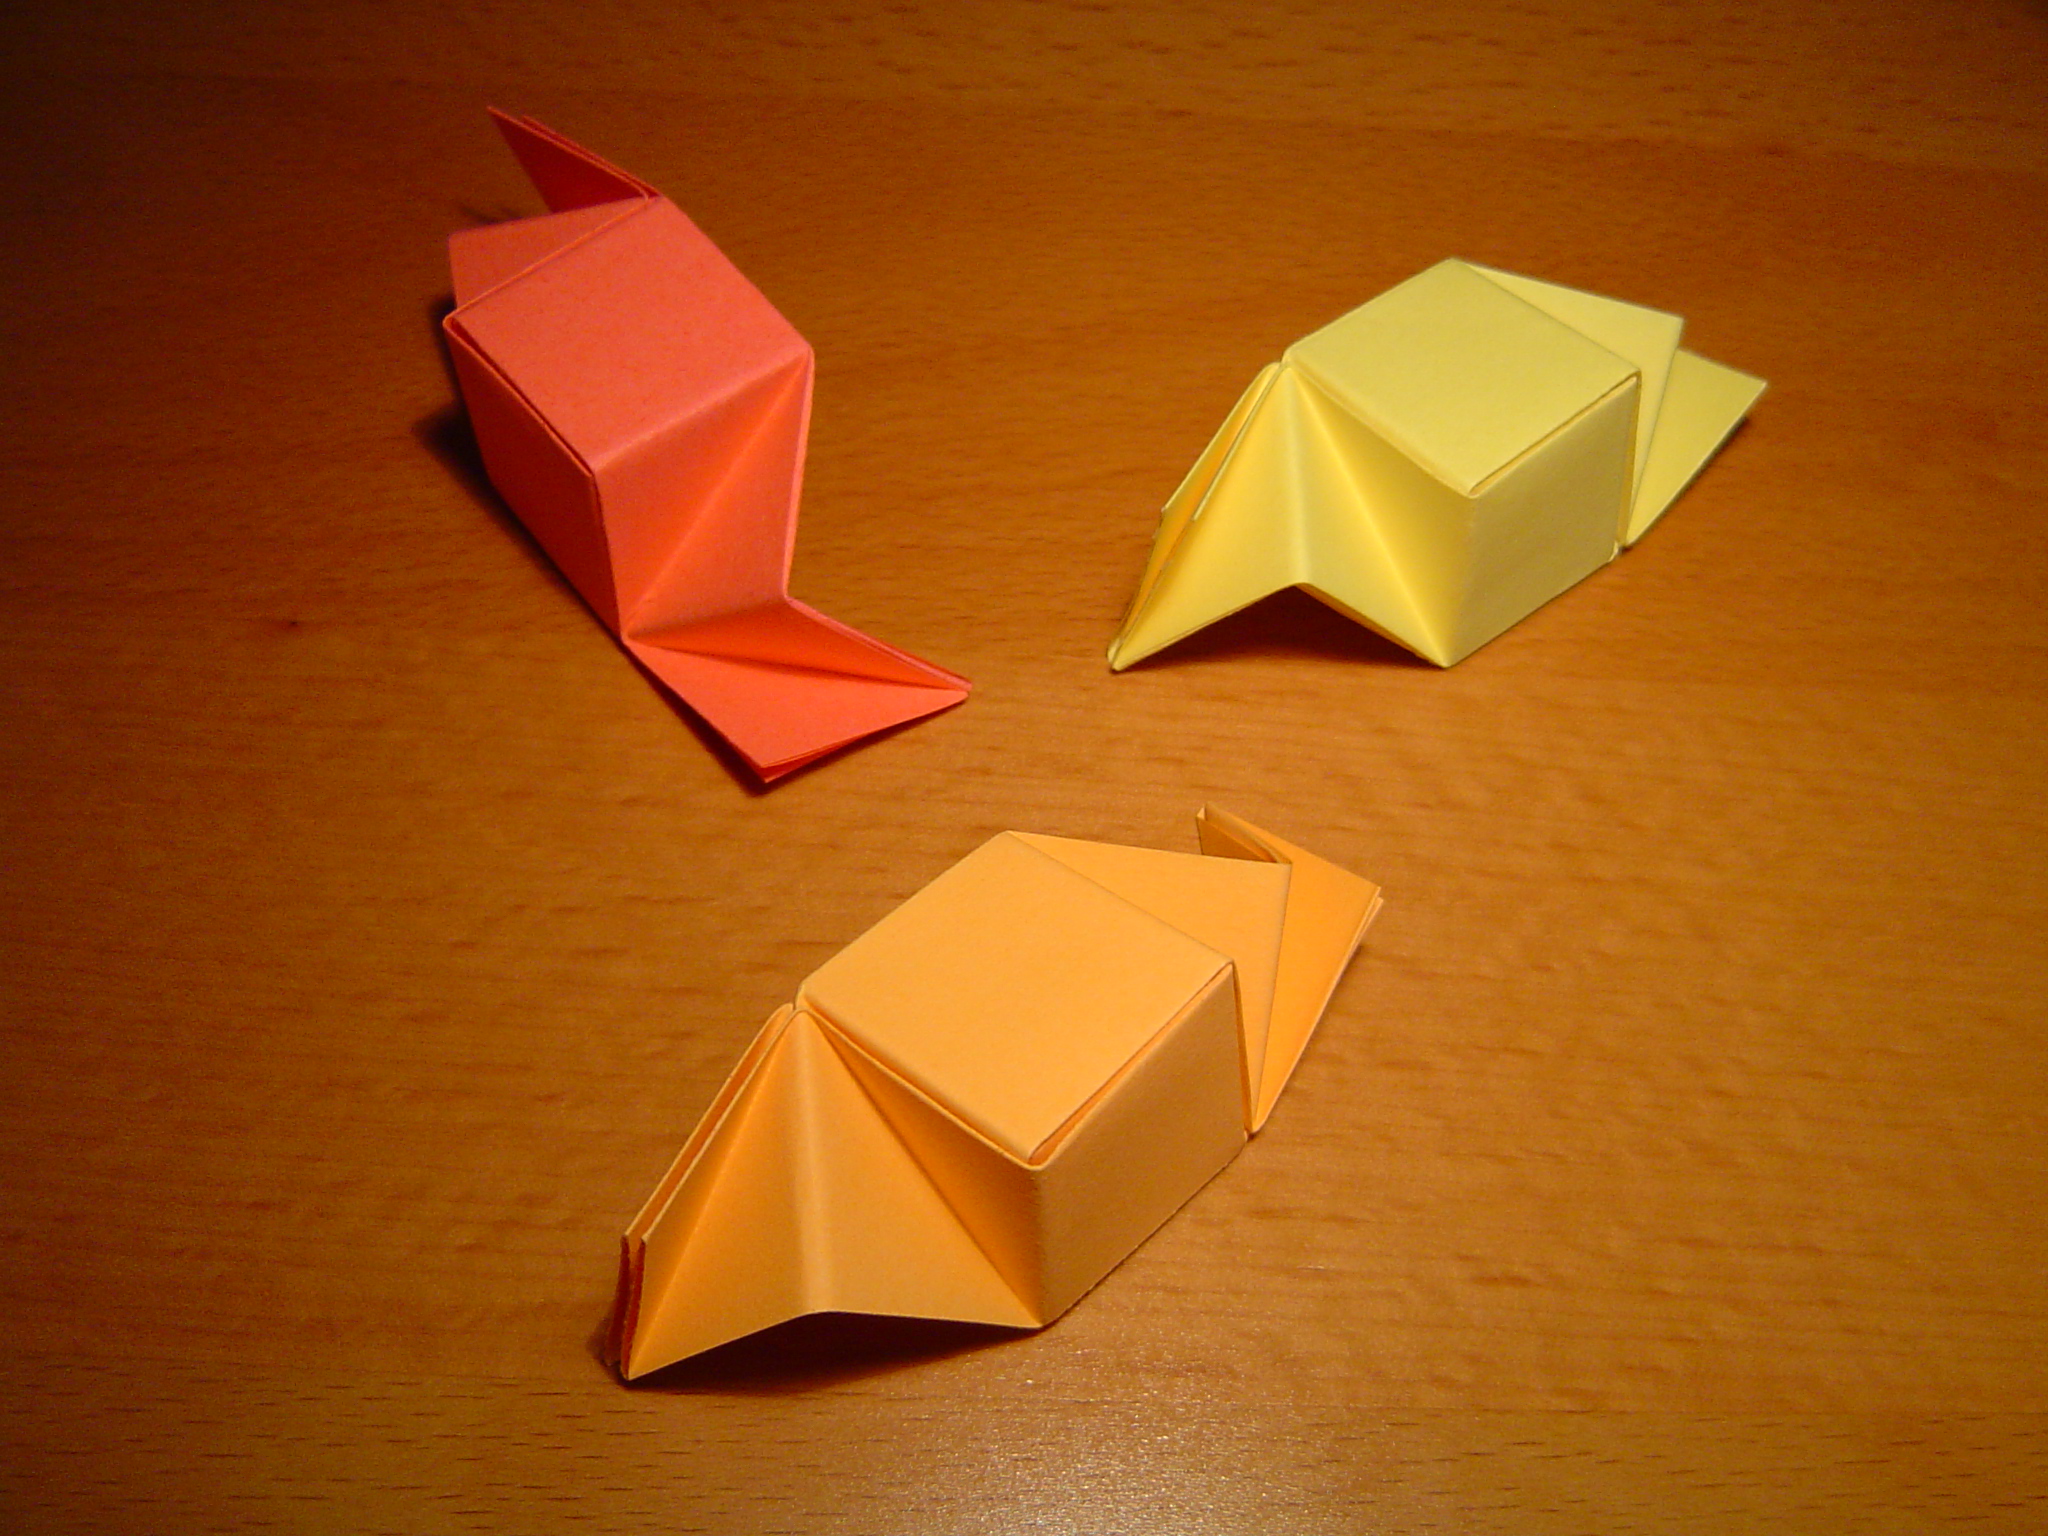
in a vertex, creating a chain of units, can aso be handled. During assembly, first two units are connected together in order to form a single egde of the
polyhedron, and then a number of these two-unit assemblies (macro-modules) are connected to each other, forming the complete model. Each edge looks like
a gable roof and each vertex is similar to a triangular pyramid.
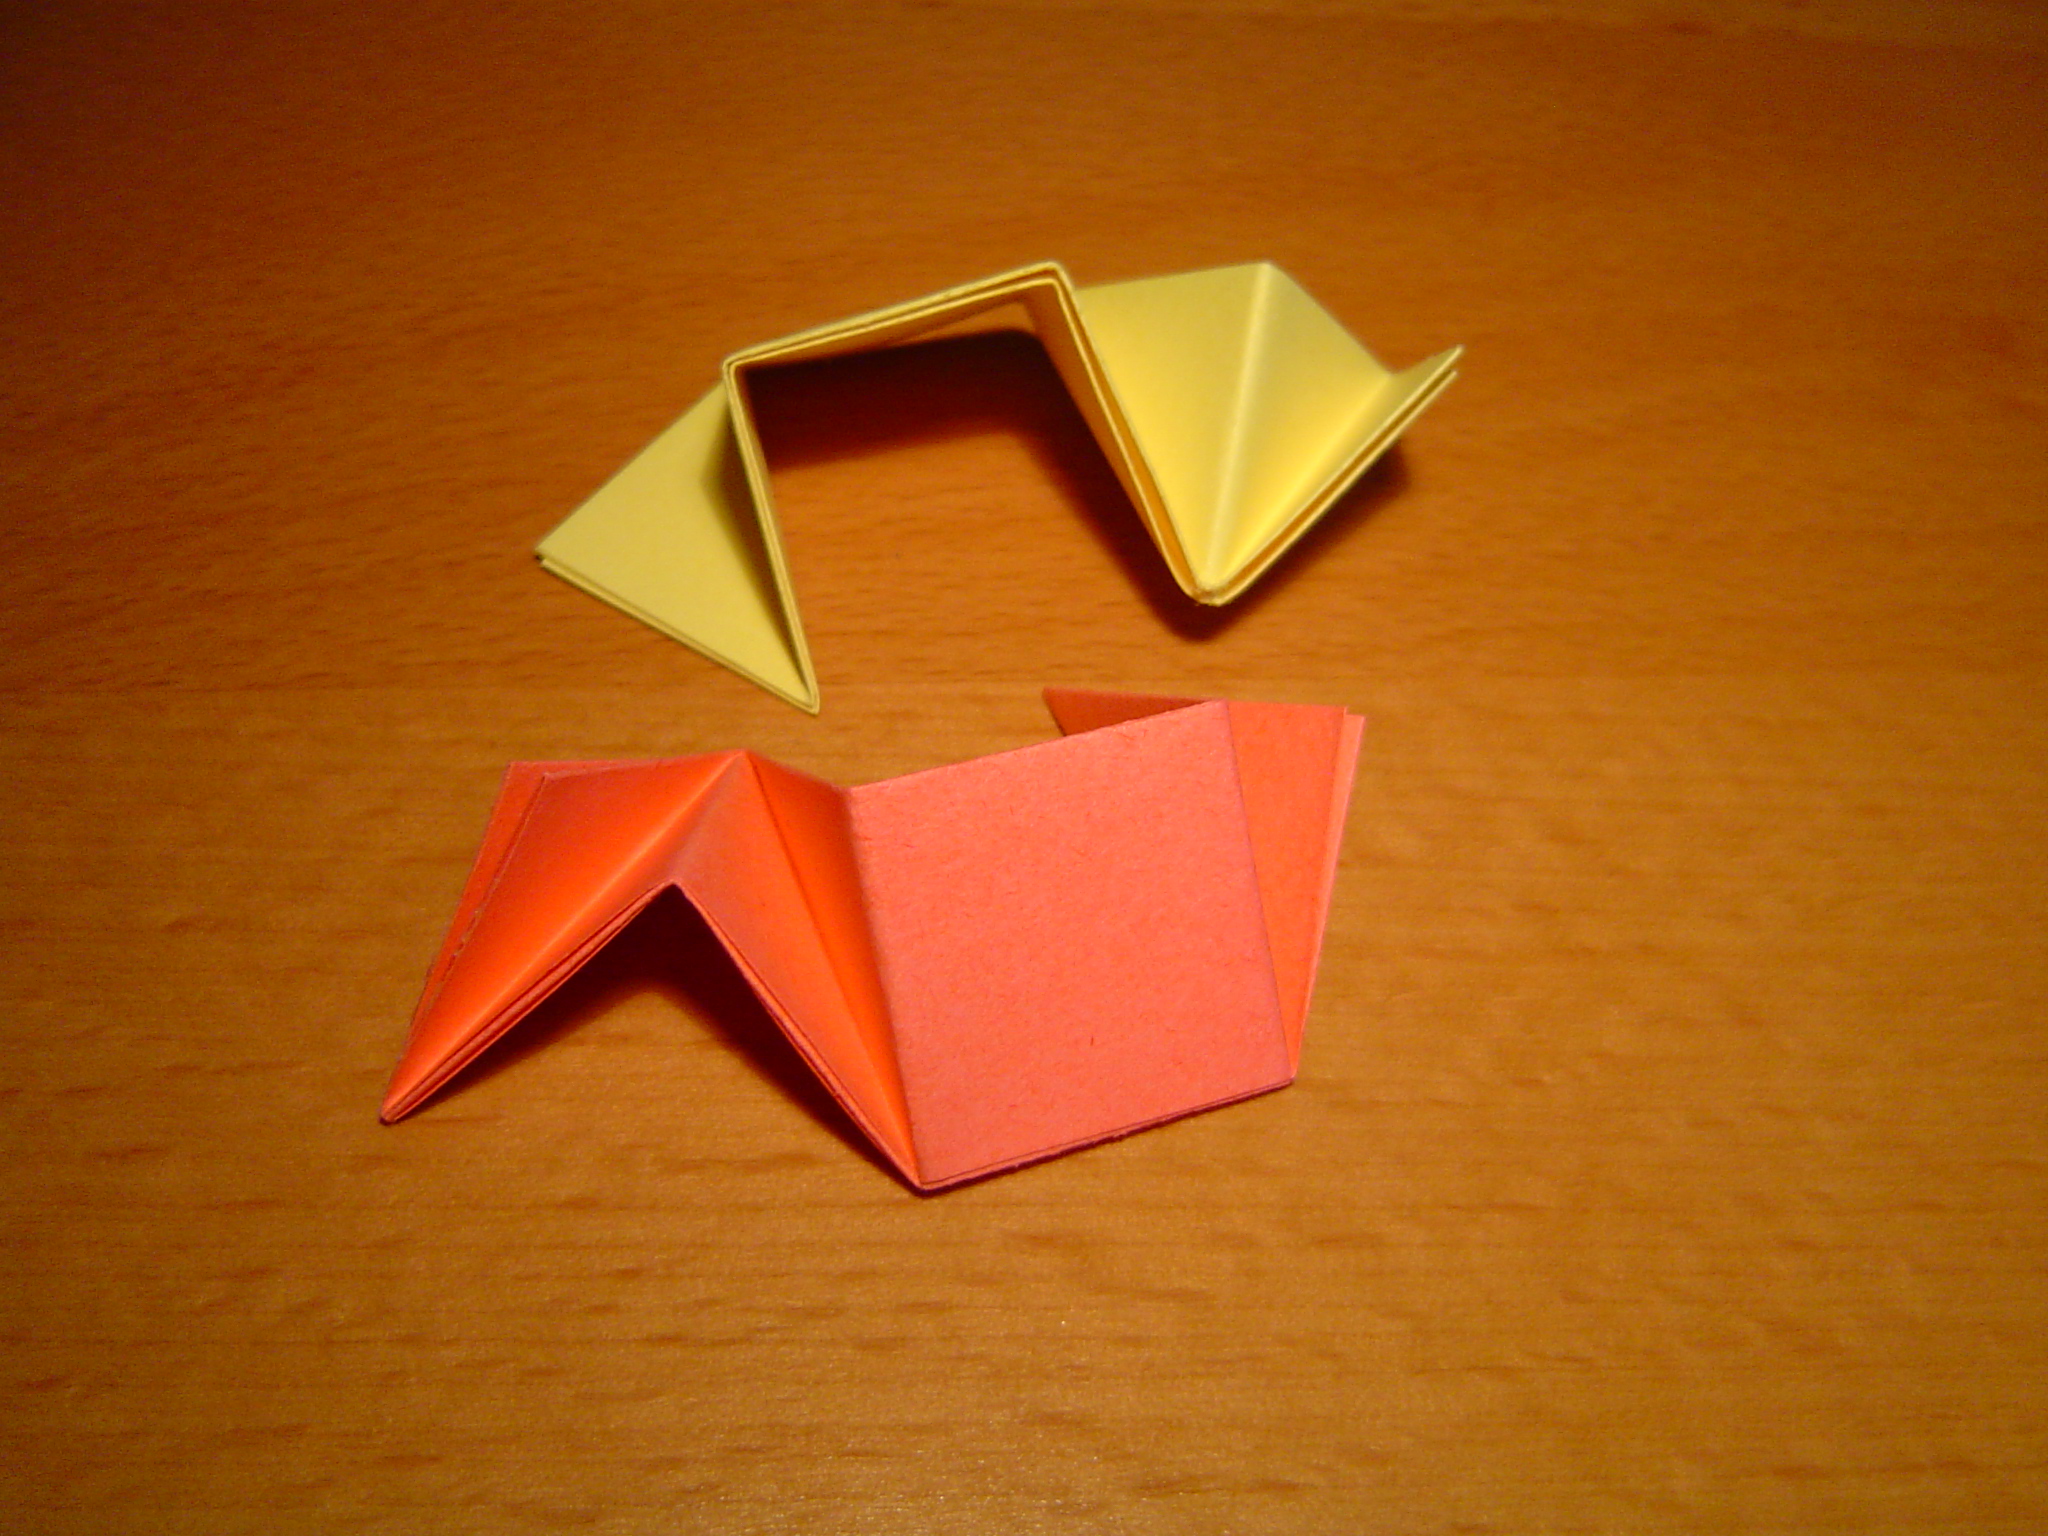
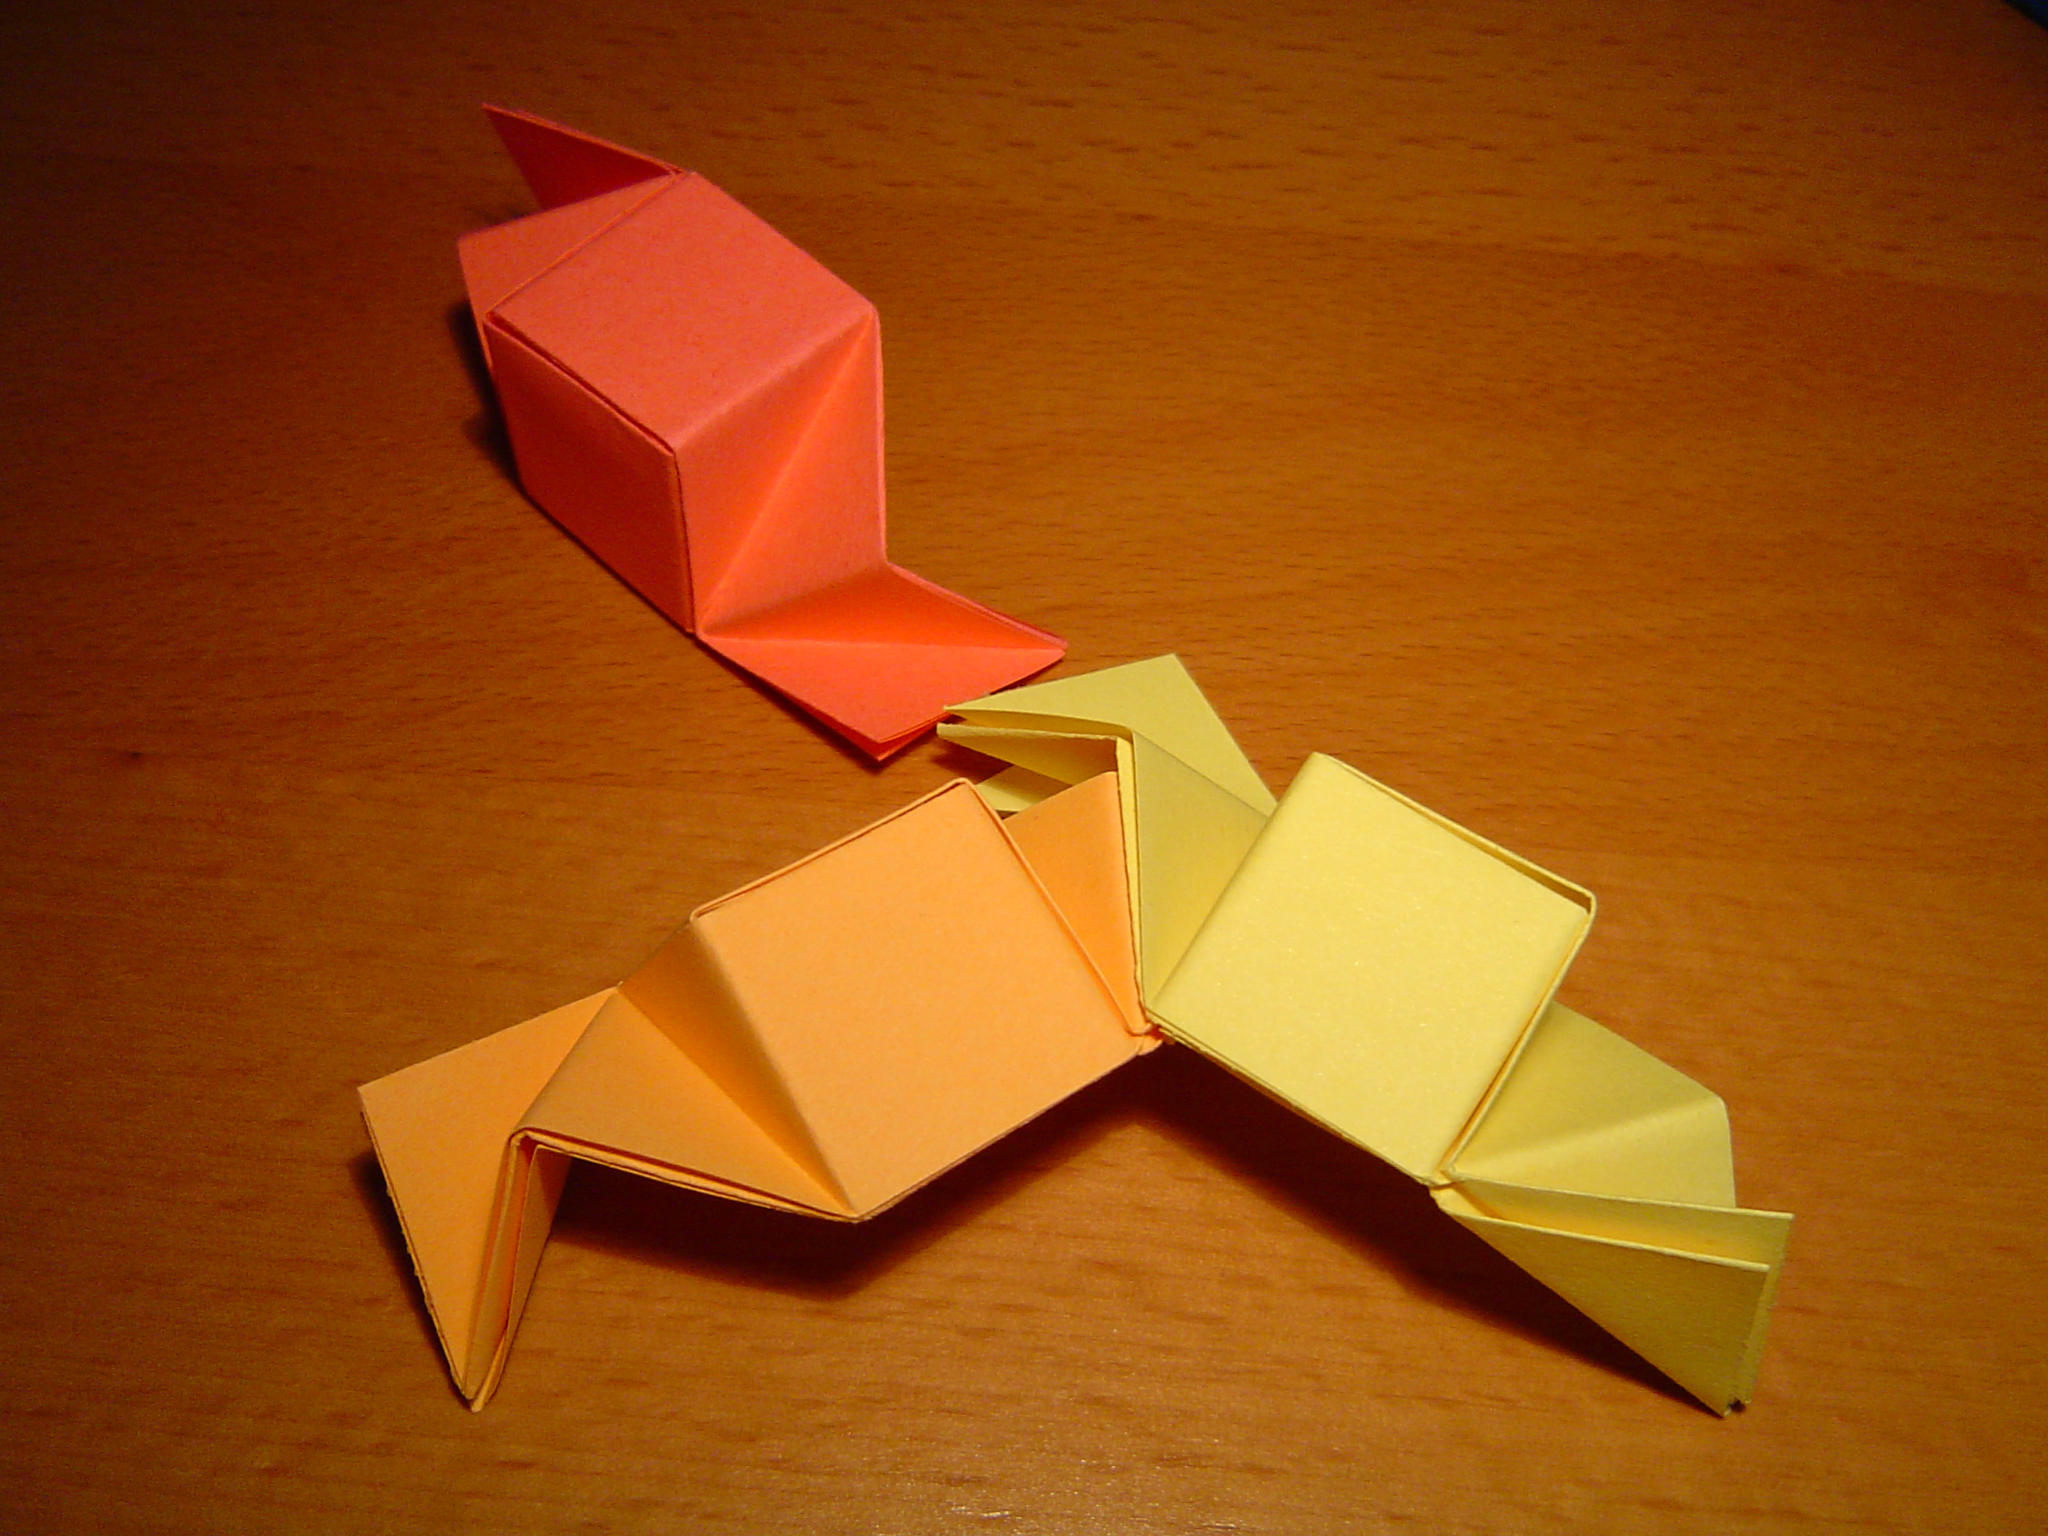
12. Prepare two modules and put them next to each other as shown in the picture. Usually, each edge is made of two modules of same color but here modules of different color are used in order to make the pictures clearer.
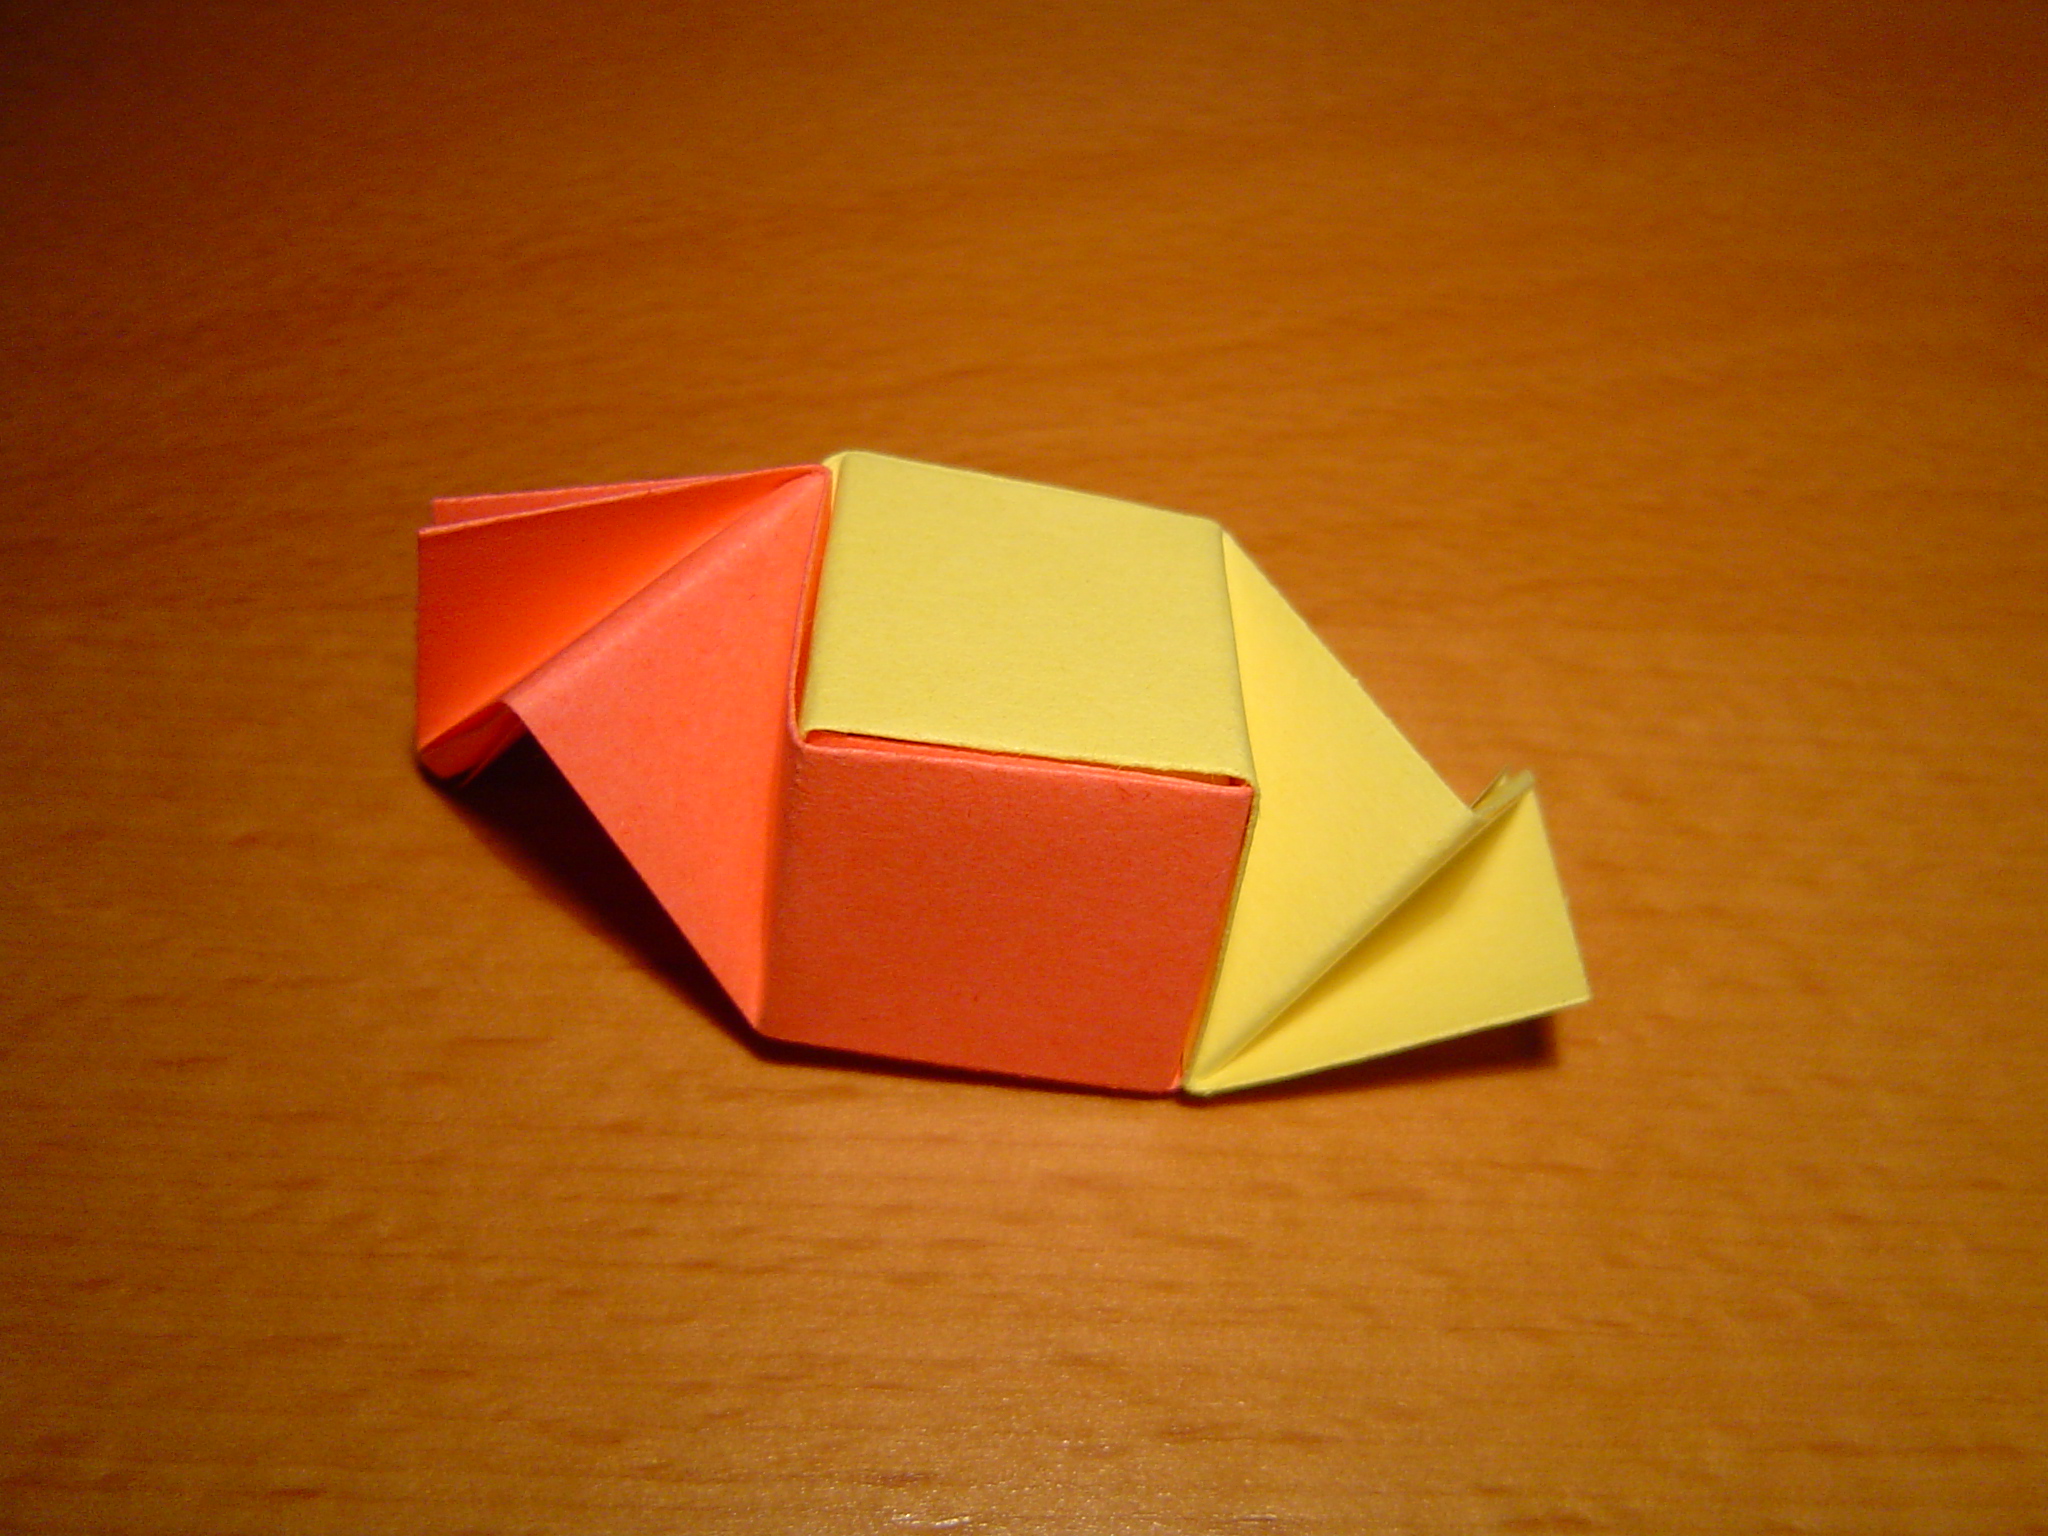
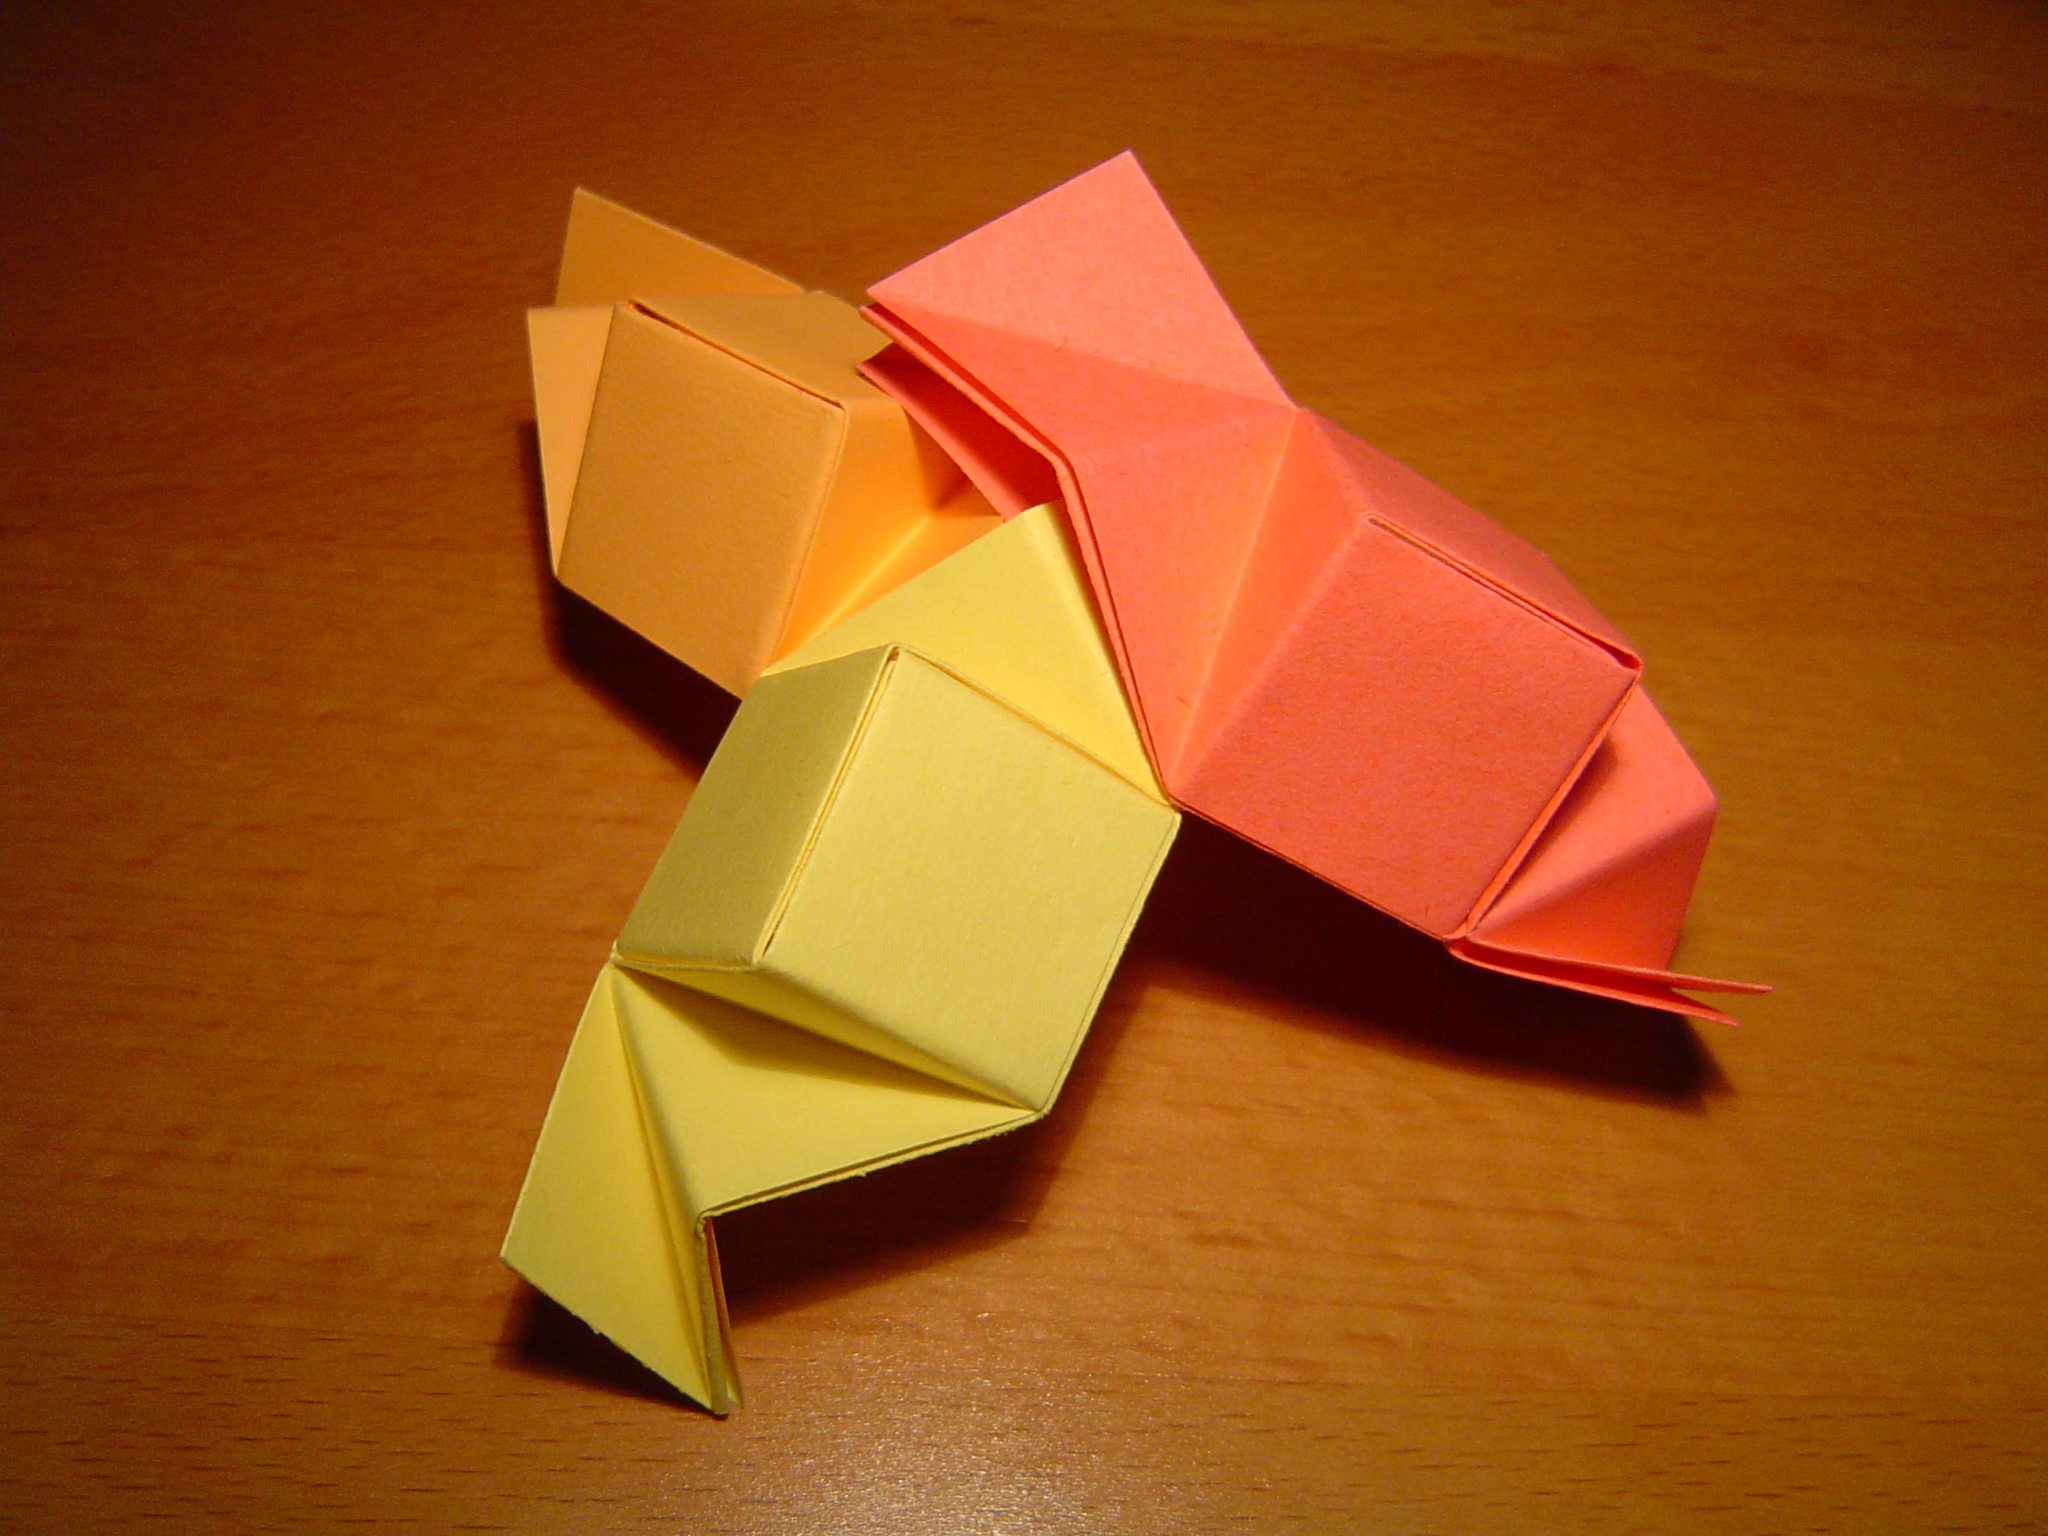
13. Put the triangular flap of one module inside the other module’s pocket.
14. Repeat step 13 on the other side. A single edge of the model is now complete.
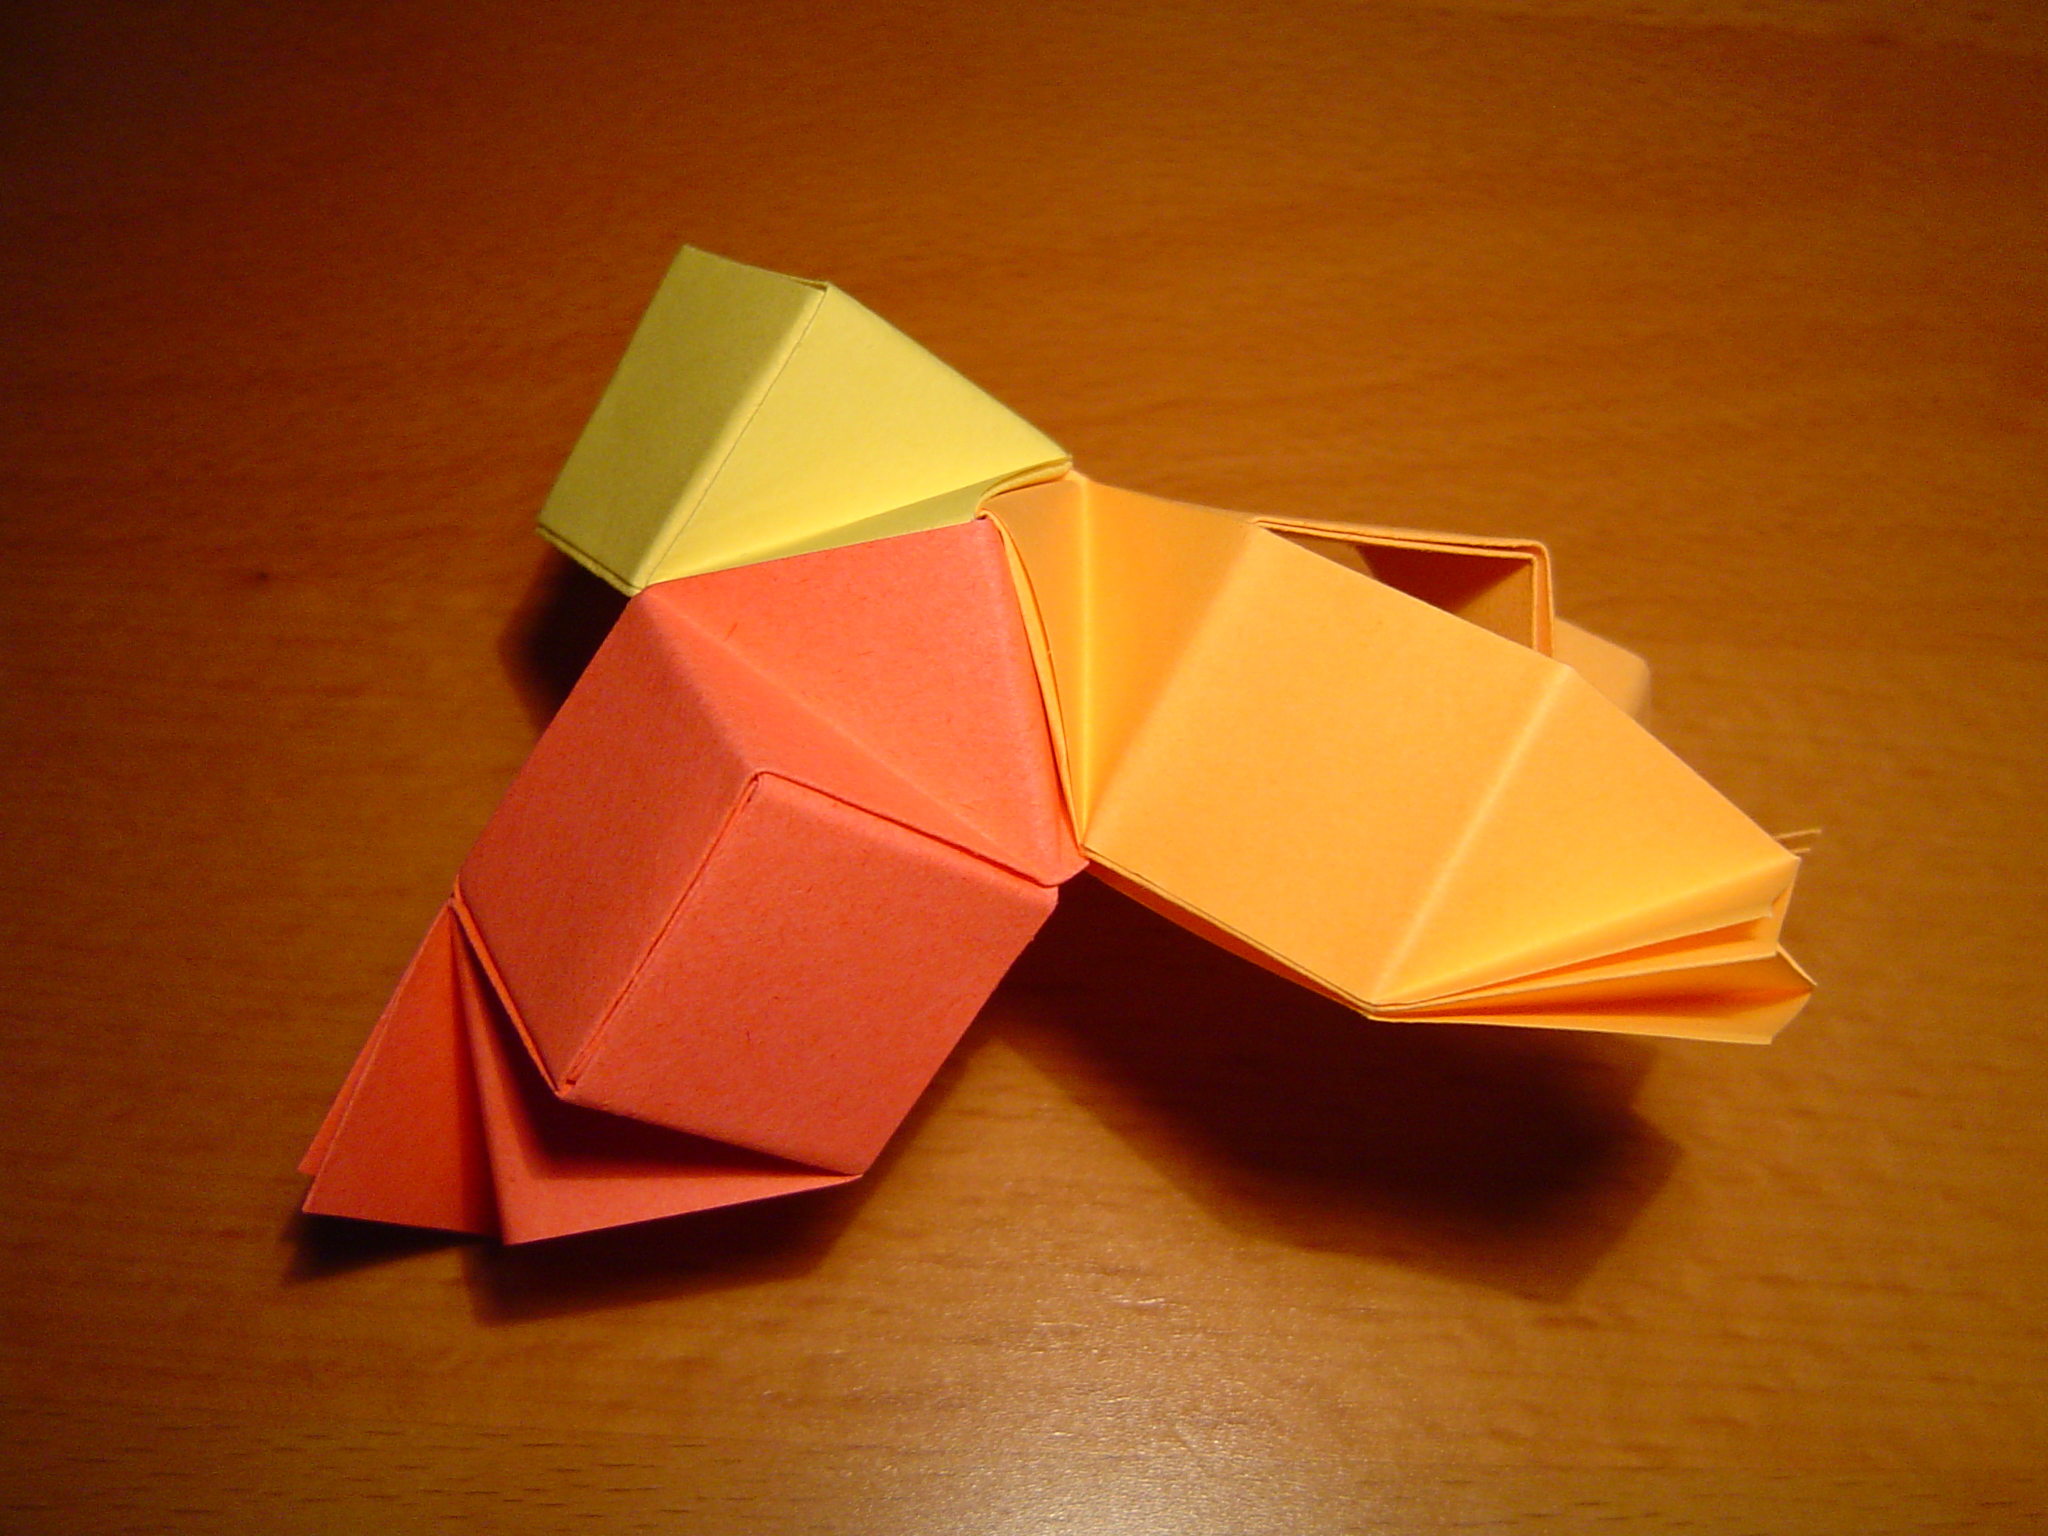
15. In each vertex, three edges meet. From this picture on, each edge consisting of two modules is a single color.
16. First, join two modules by putting one module’s flap into the other’s pocket.
17. Attach the third module to the second one.
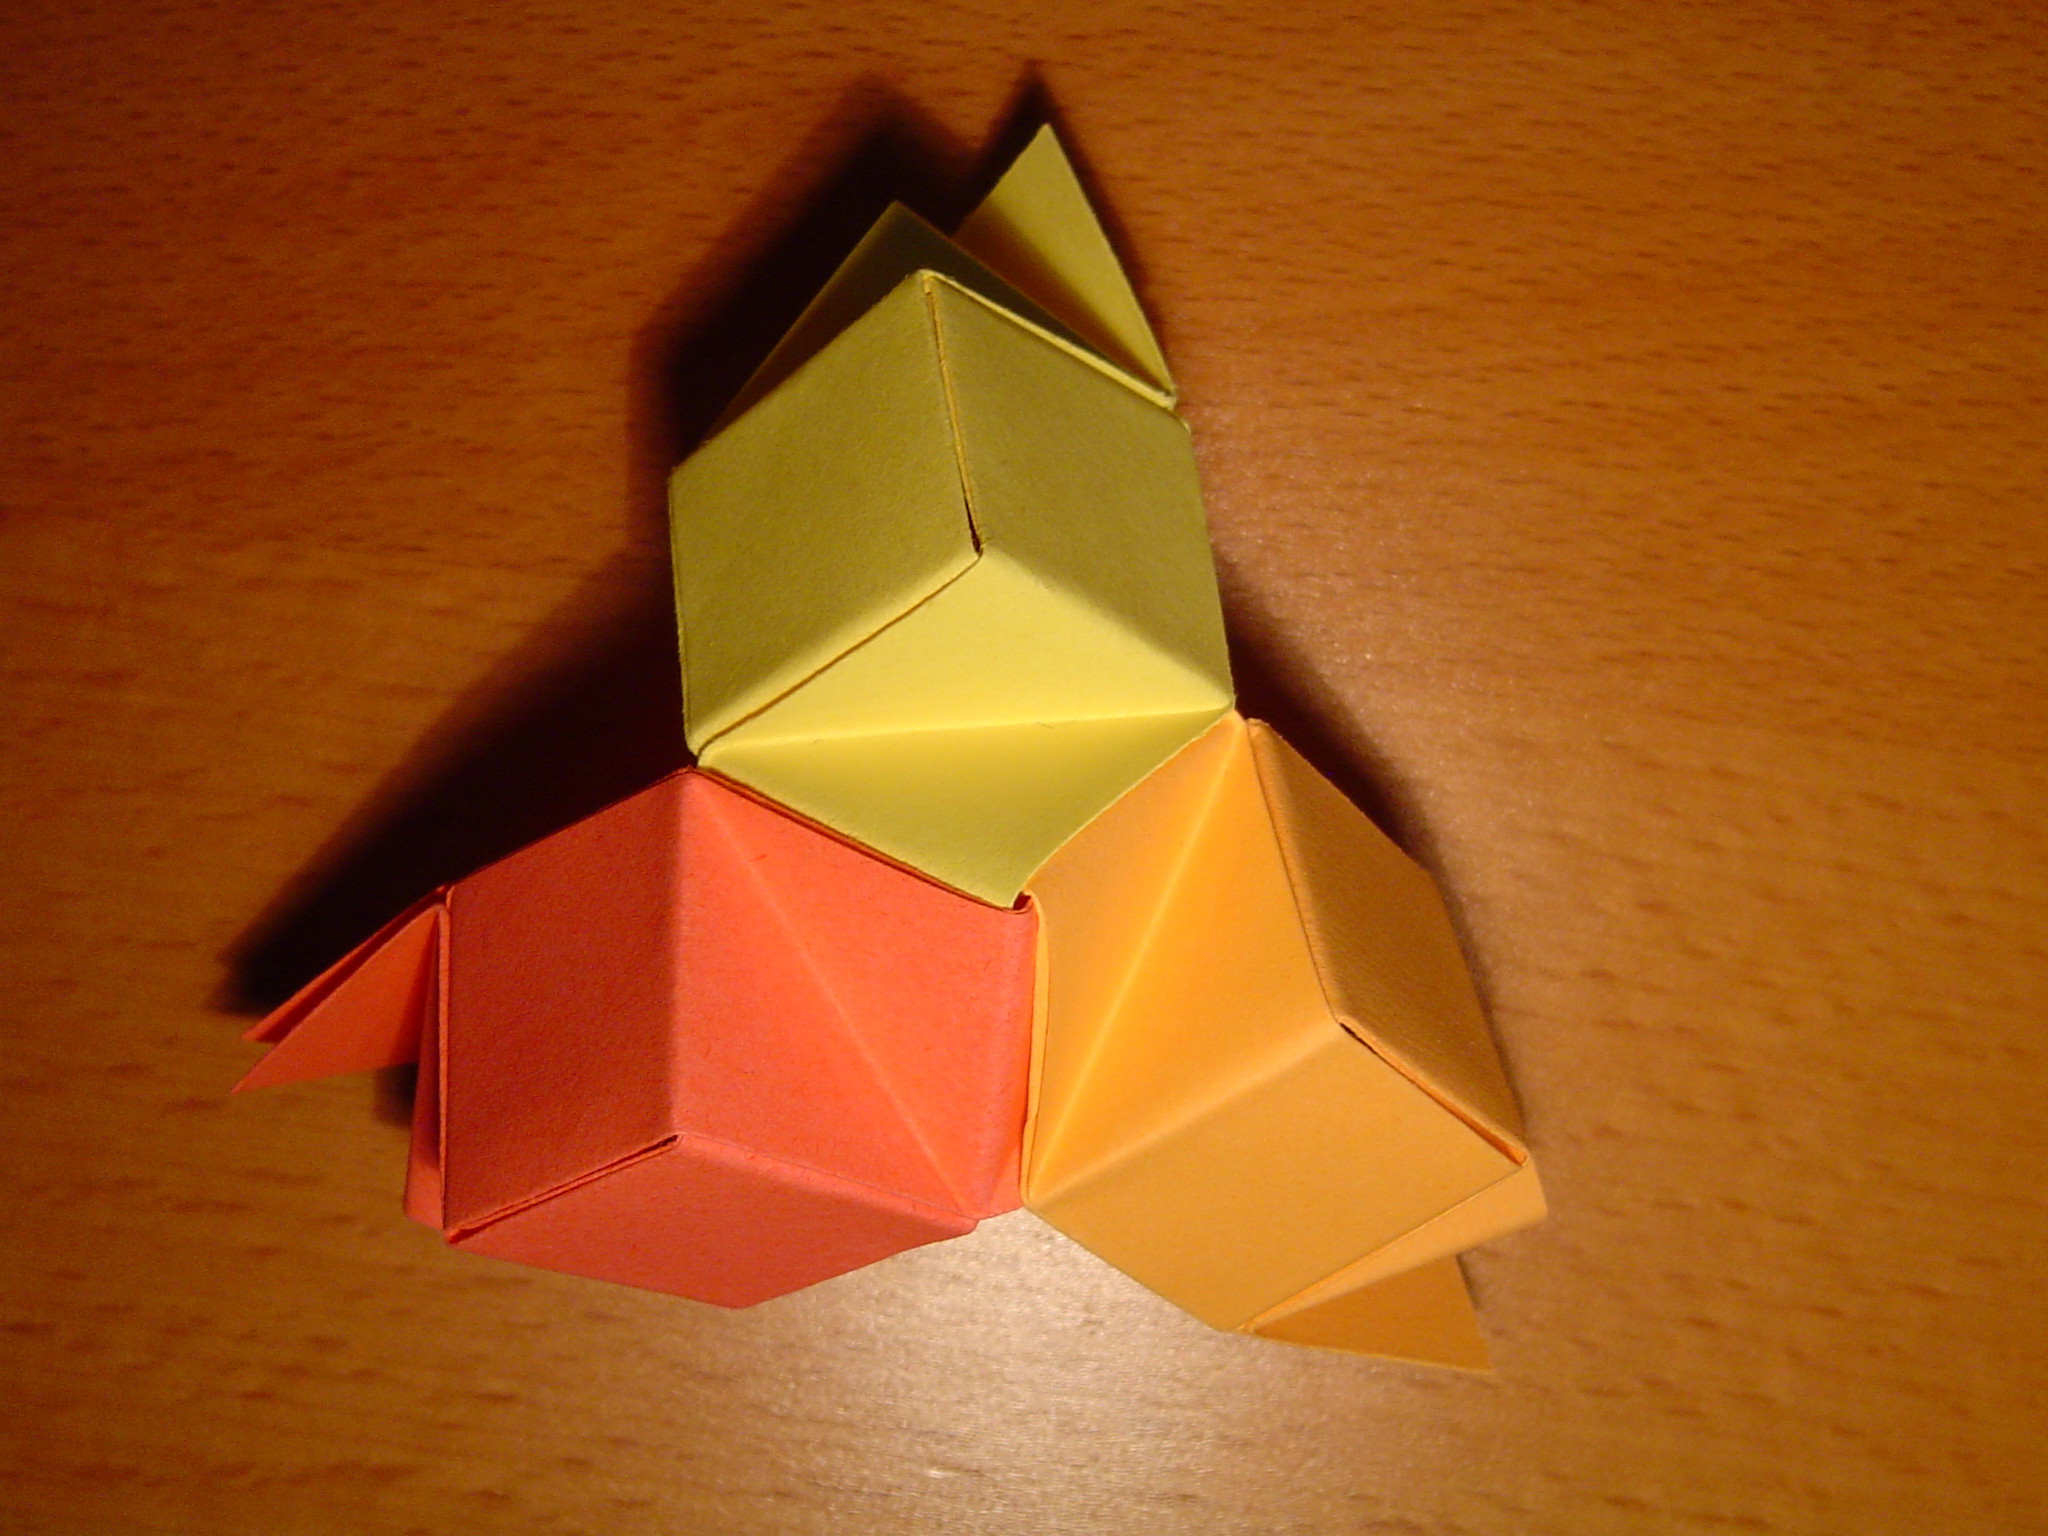
18. In order to complete the vertex (i.e. close it by attaching the first module back to the third), you will have to partially unfold the modules forming the third edge (orange in the picture).
19. Join the two modules of the orange edge back together. One vertex of the polyhedron is now complete.
20. The complete vertex seen from above.
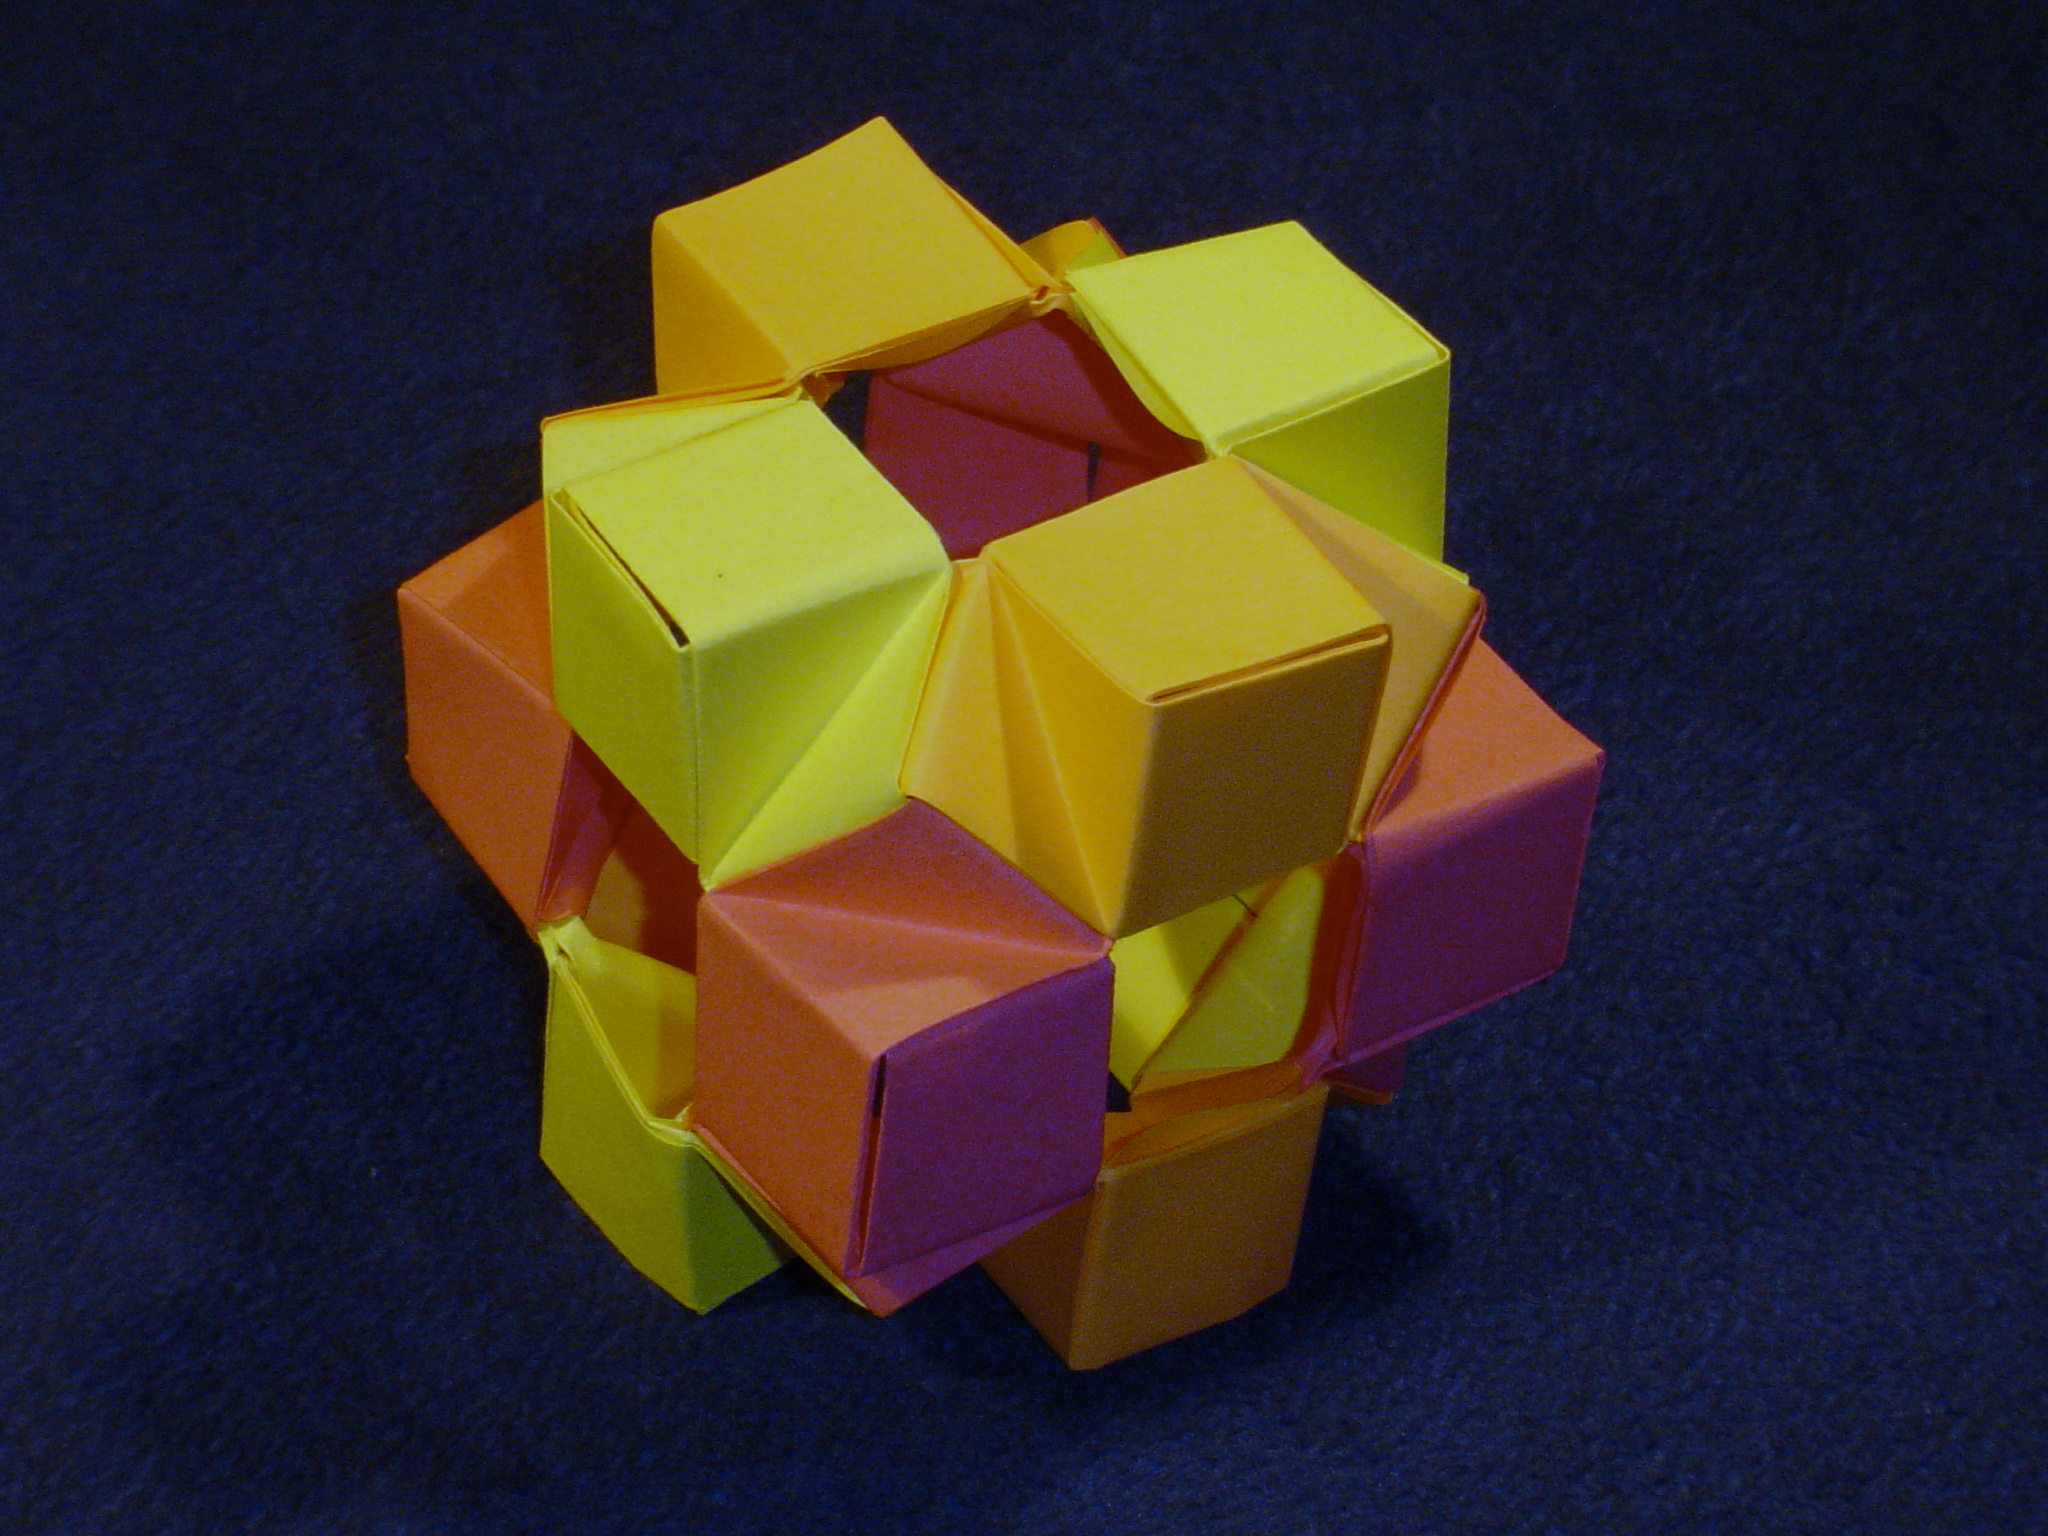
21. Continue adding edges until the polyhedron of your choice is ready. A cube, made of 24 units, is shown here.


Comments