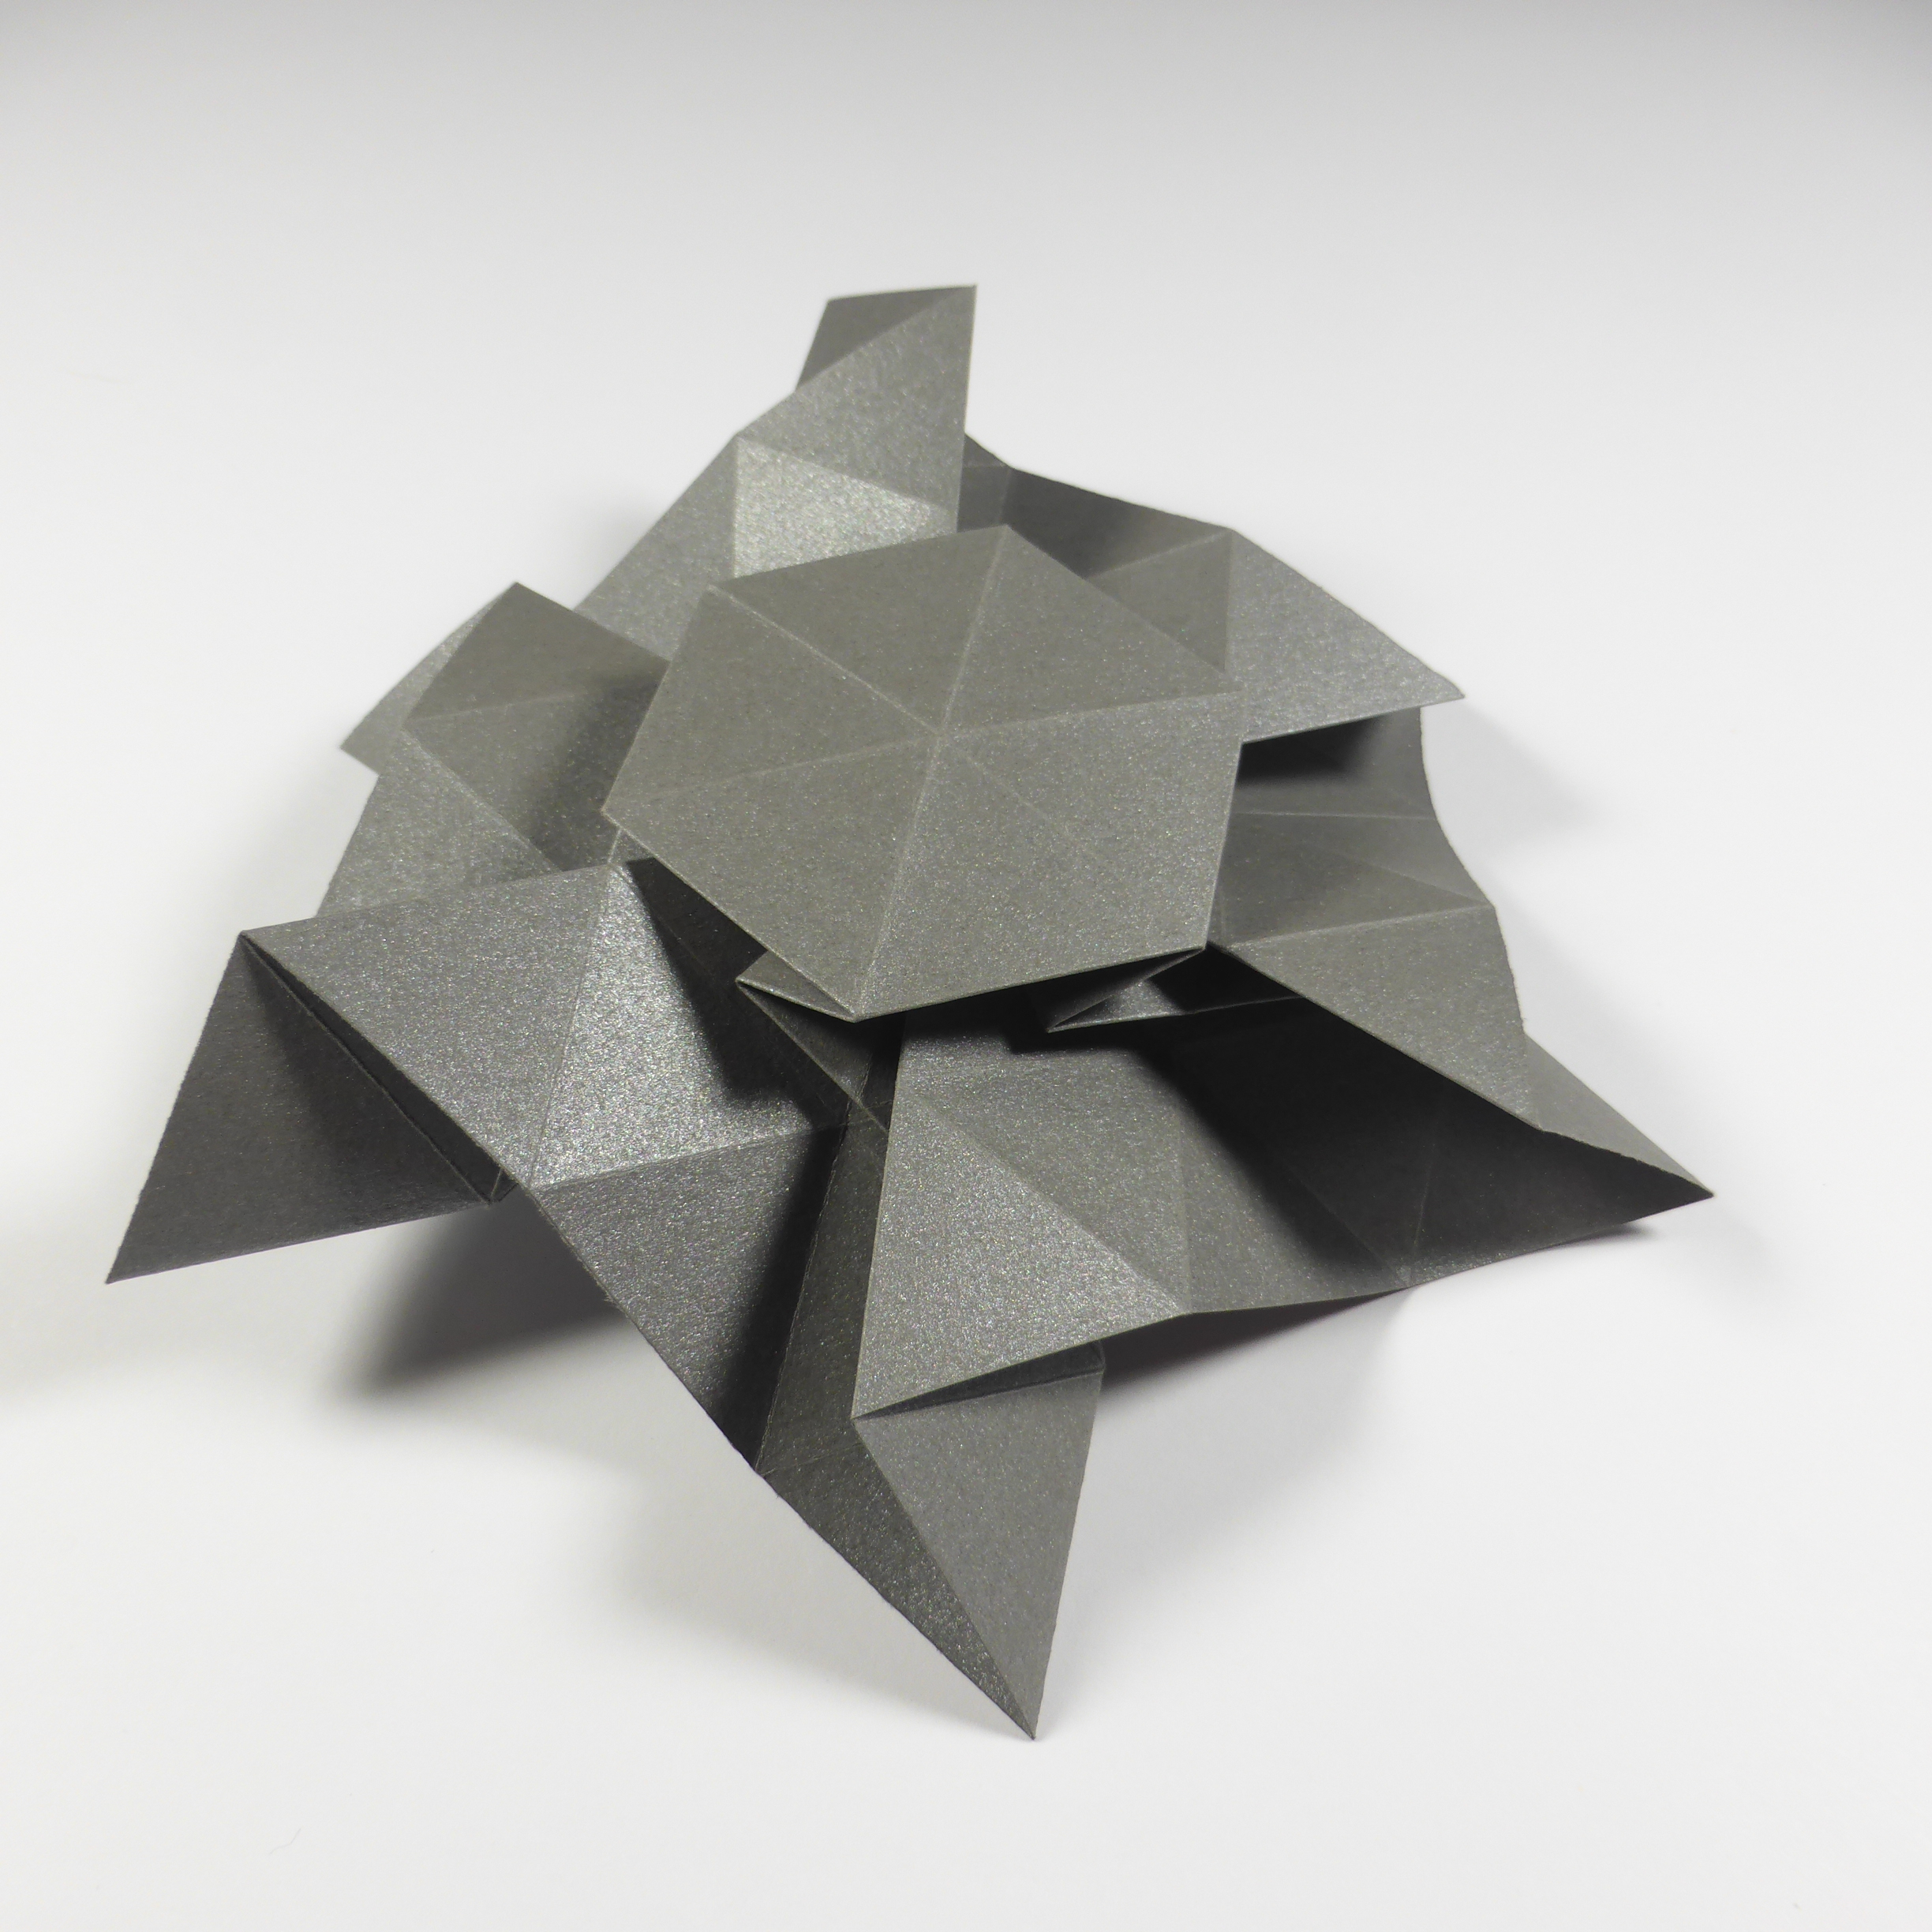
Lucky Star Fractal

Instructions
Model details: Lucky Star Fractal (by: Andrew Hudson, Aneta Origami, Haligami (Halina Rościszewska-Narloch), Michał Kosmulski, other/uknown, Shuzo Fujimoto)
See also: Lucky Star Fractal (level 3), Lucky Star Fractal (Open Back), Lucky Star Fractal (level 7), Lucky Star Fractals (10 different colors), Hex Twist Star (CFW 104)

Model types: single-sheet stars, tessellated stars, recursive and periodic tessellations
Location: on this page, in print media
Type: Crease Pattern, Phototutorial

Lucky Star Fractal (level 3)
Lucky Star Fractal (level 5)
Lucky Star Fractal, Open Back variant (level 5)
Lucky Star Fractal Tessellation

Below you can find instructions for folding Lucky Star Fractal, an interesting recursive model designed independently my multiple people, including myself.

In print media

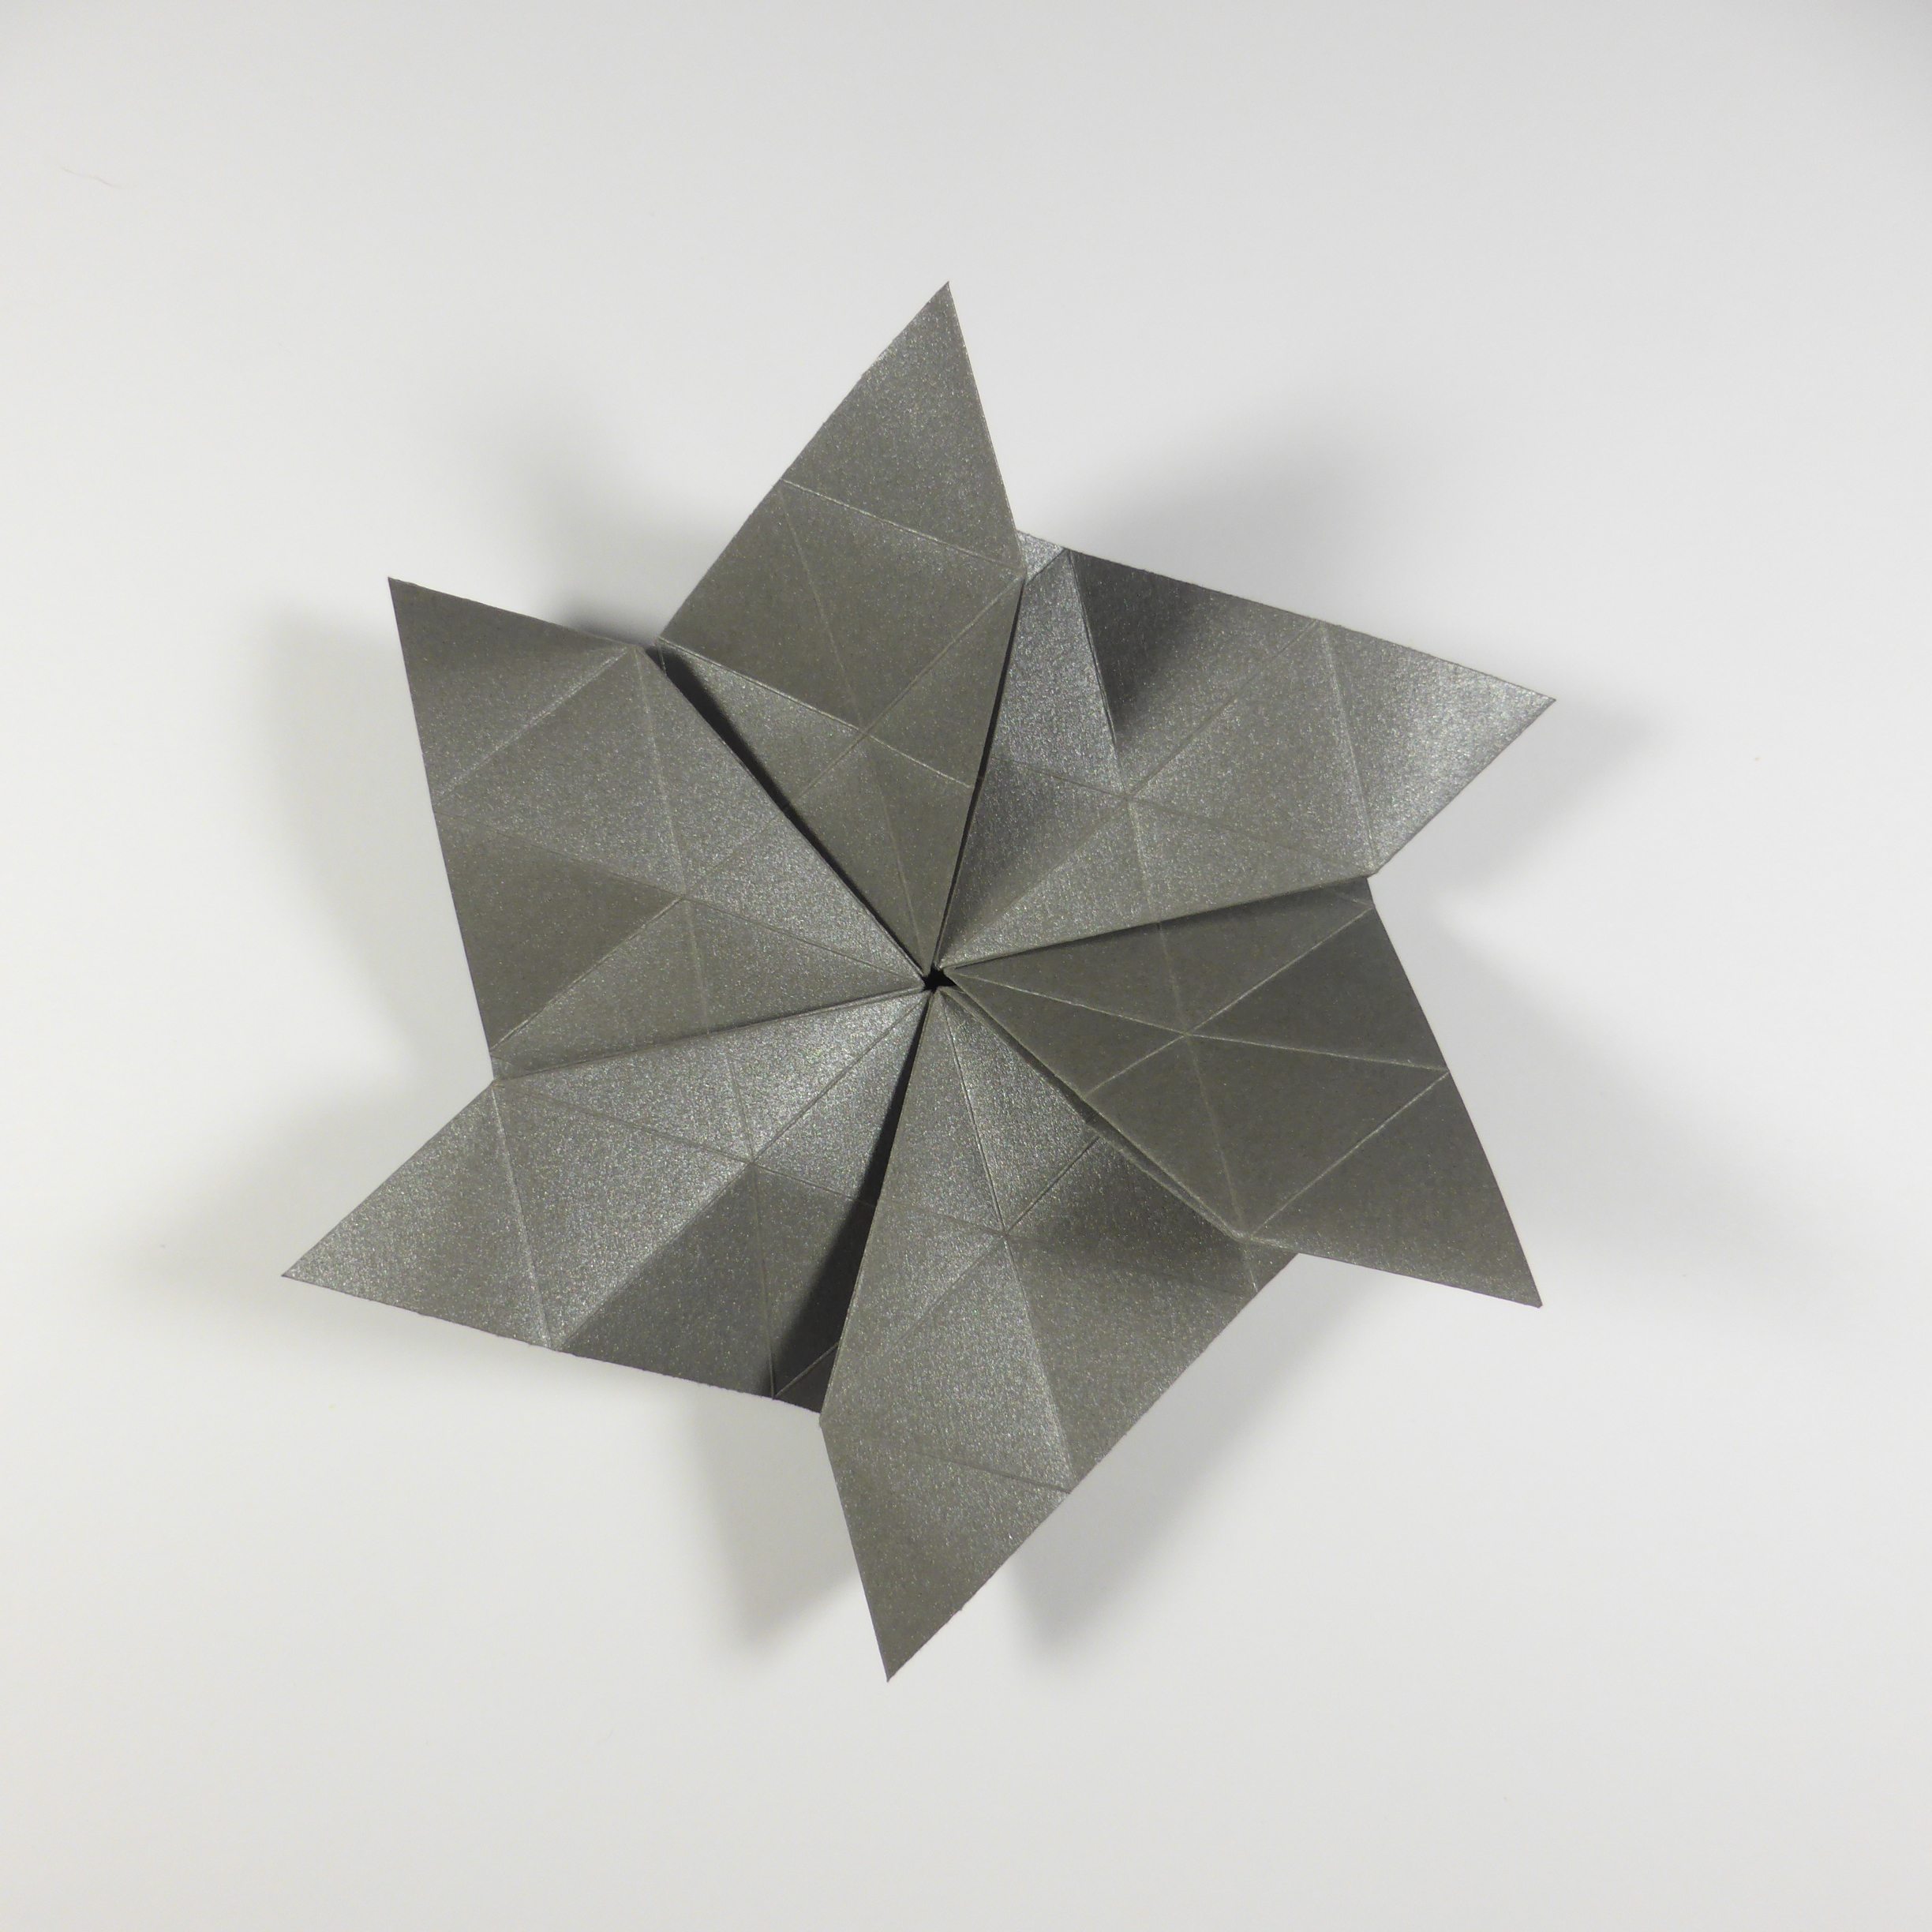
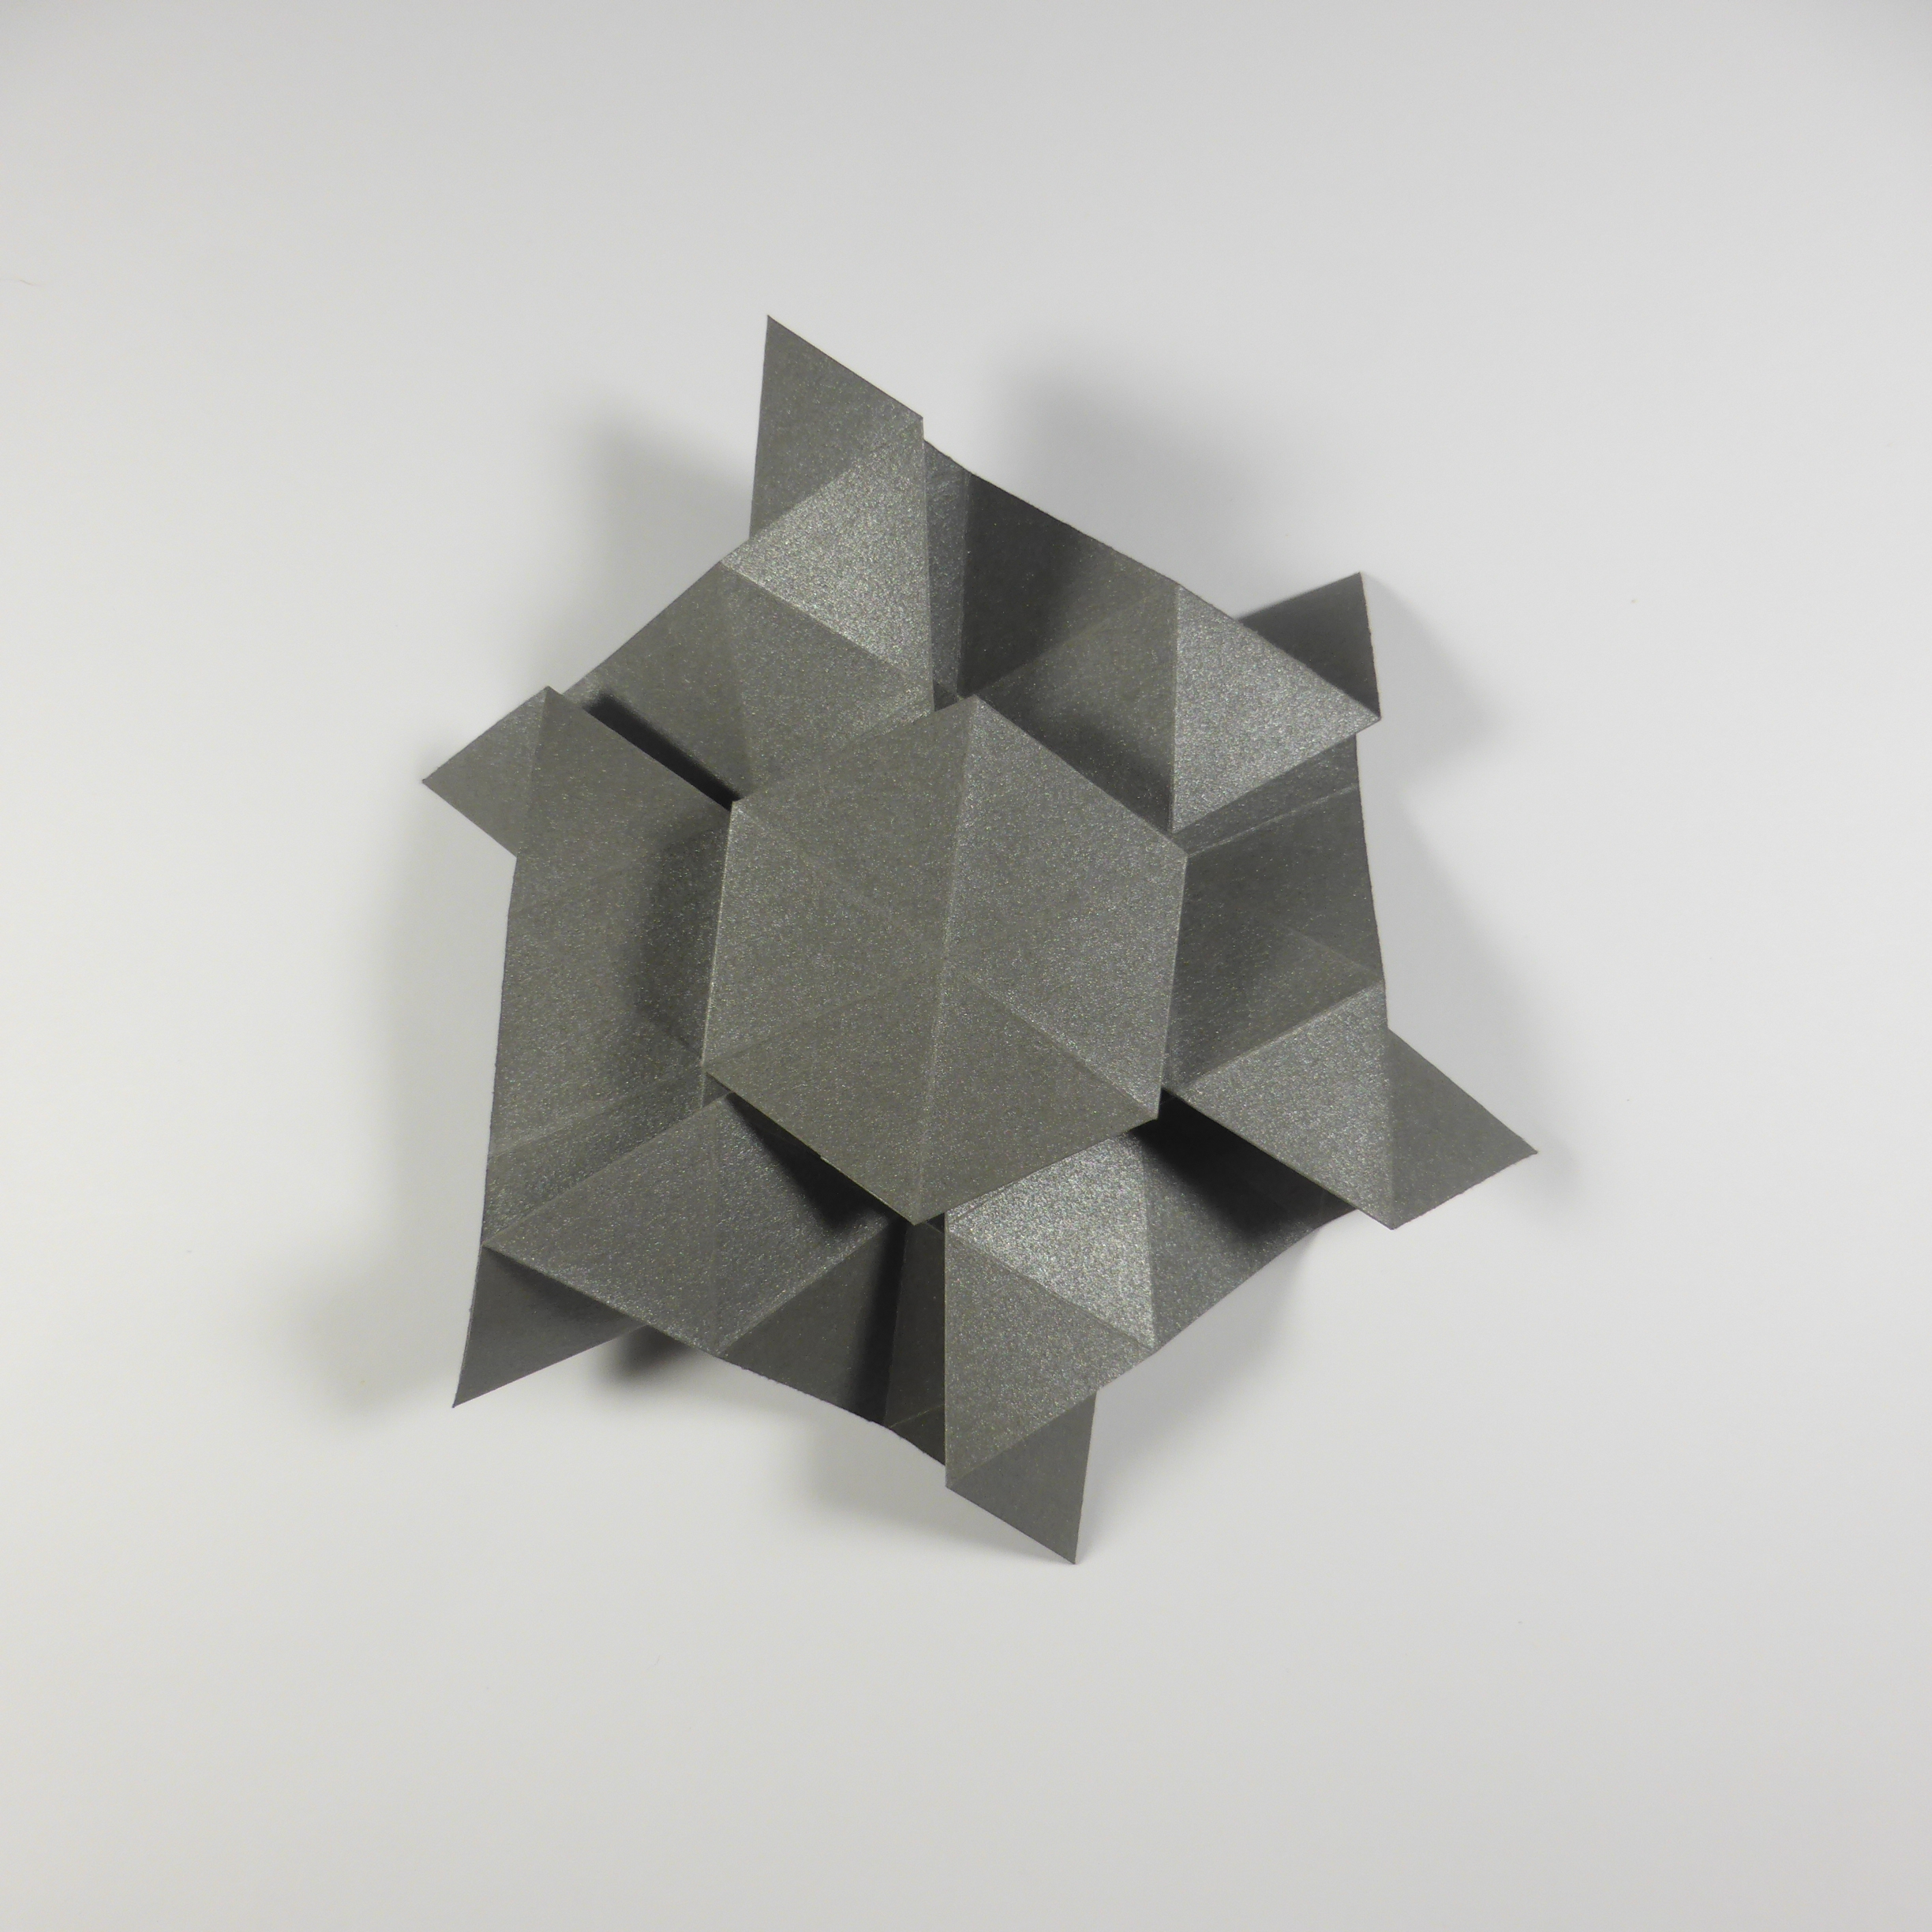
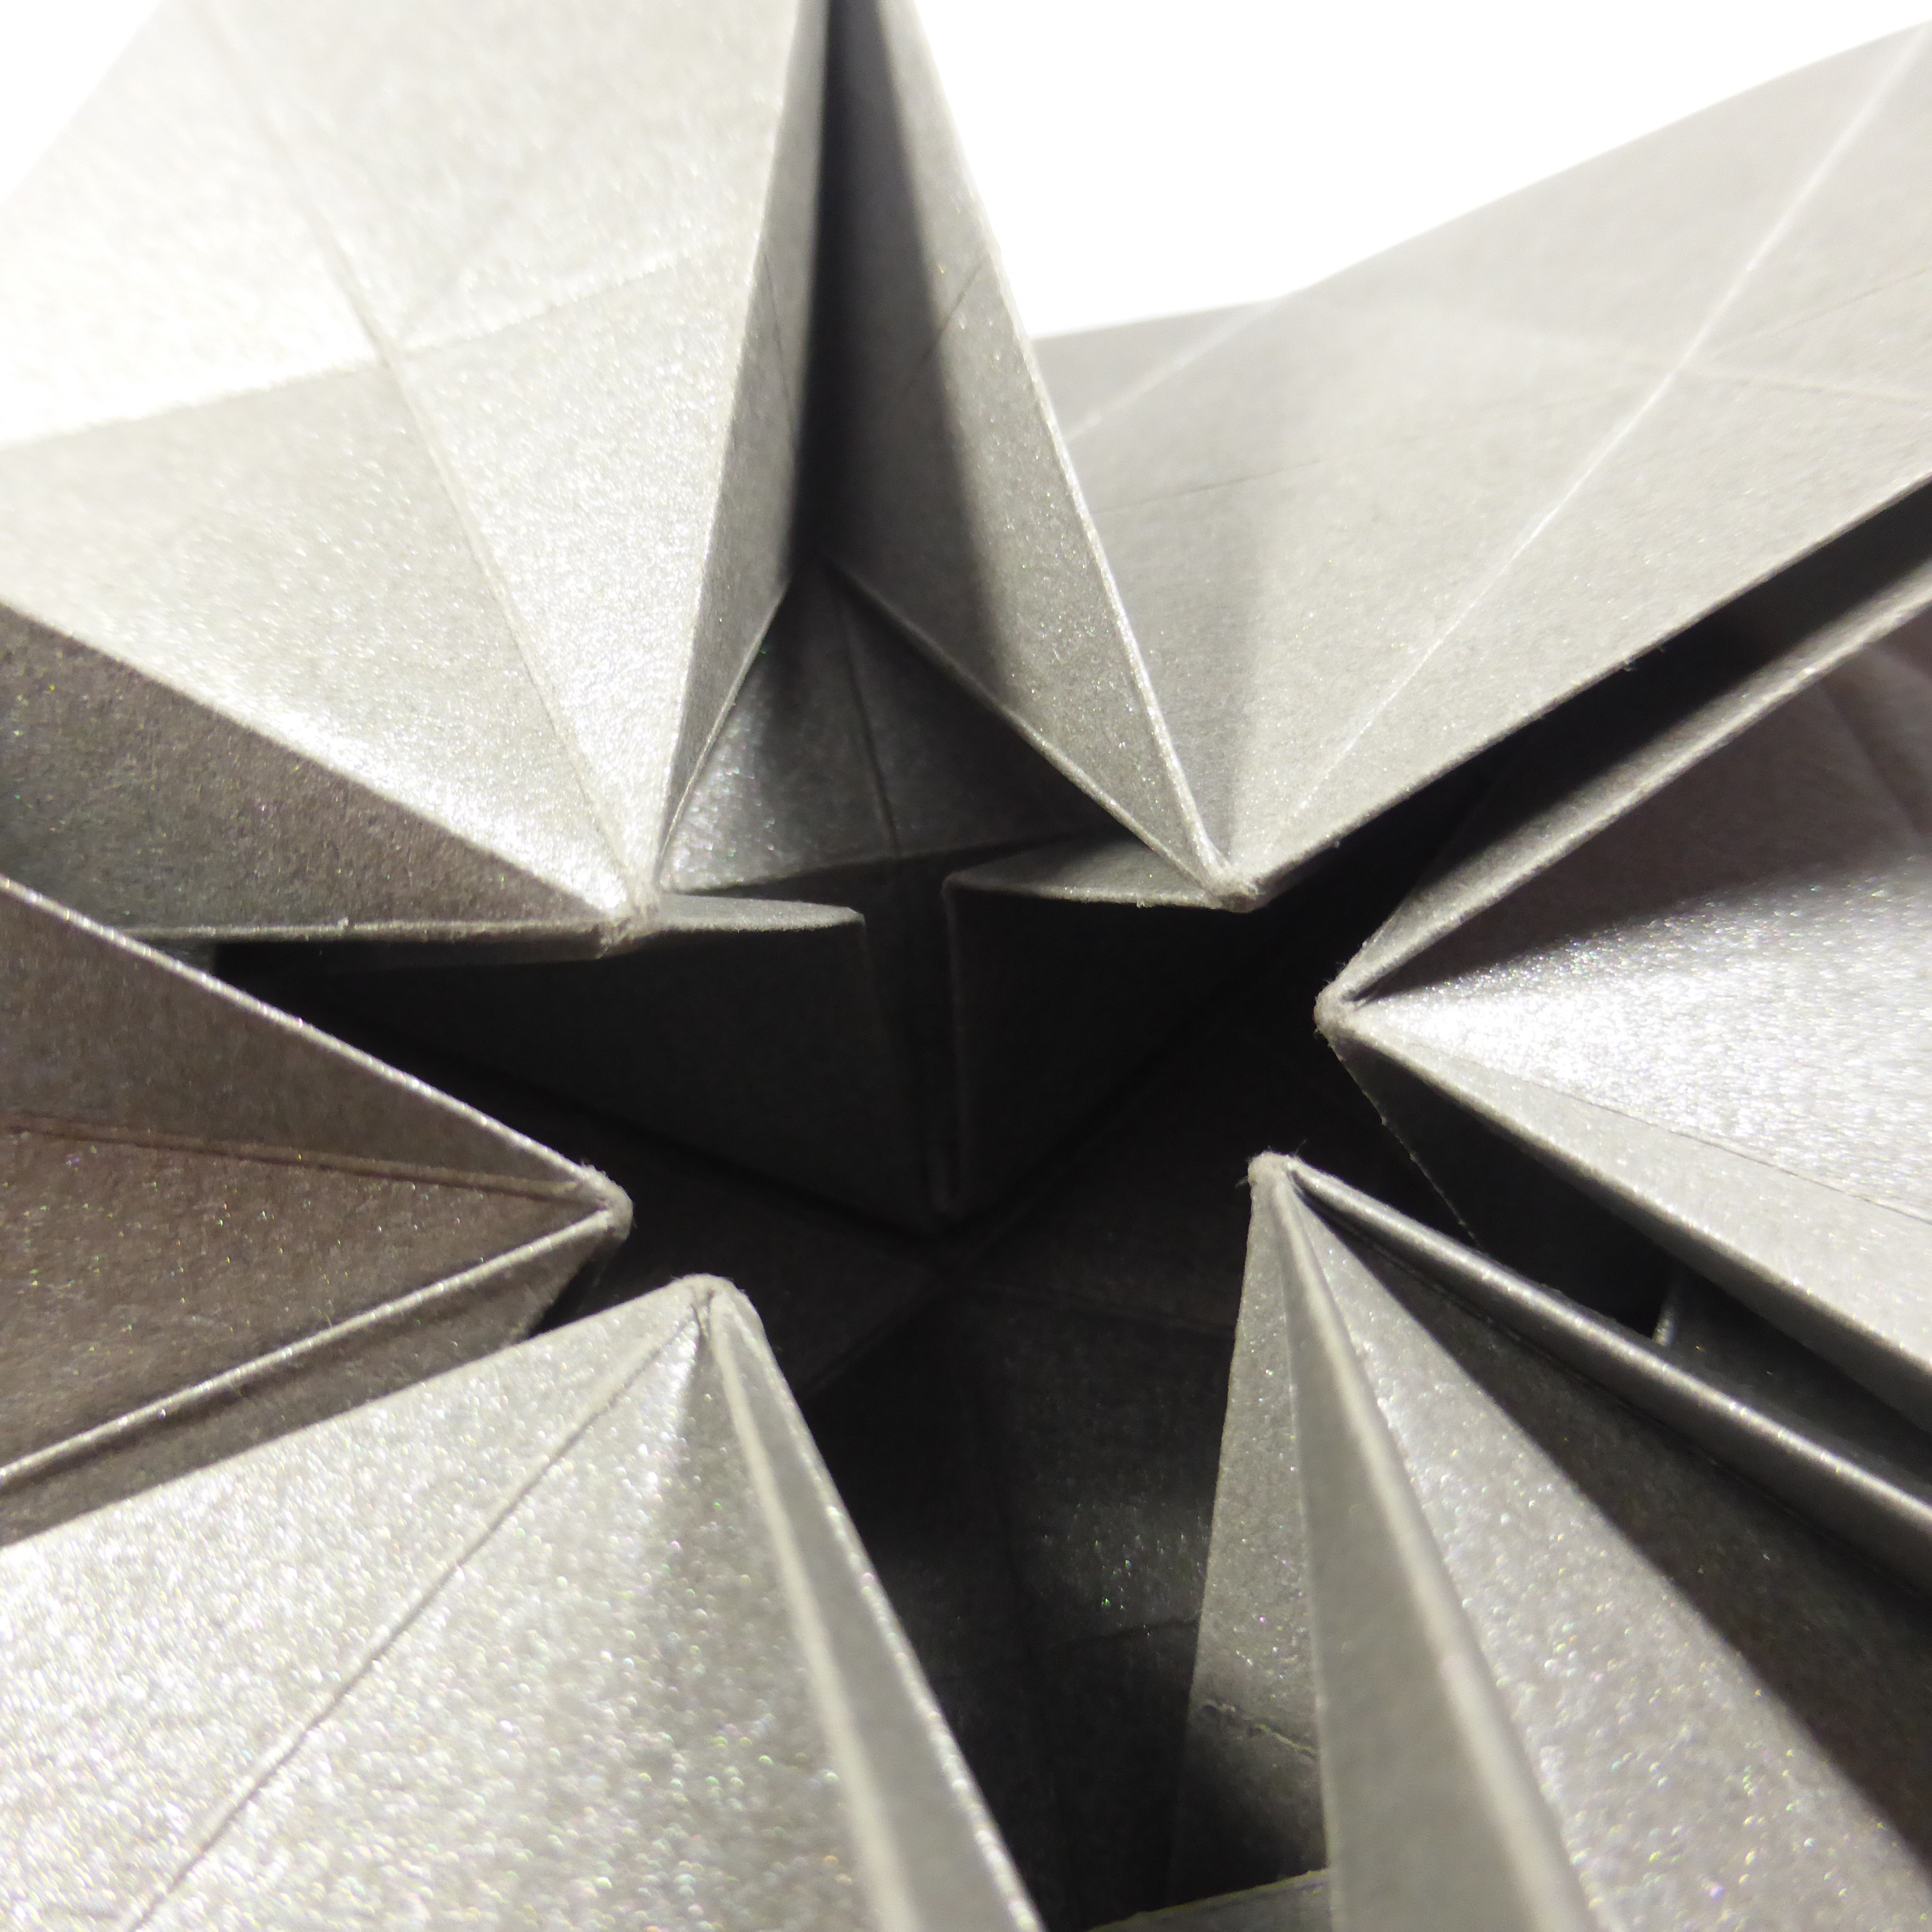
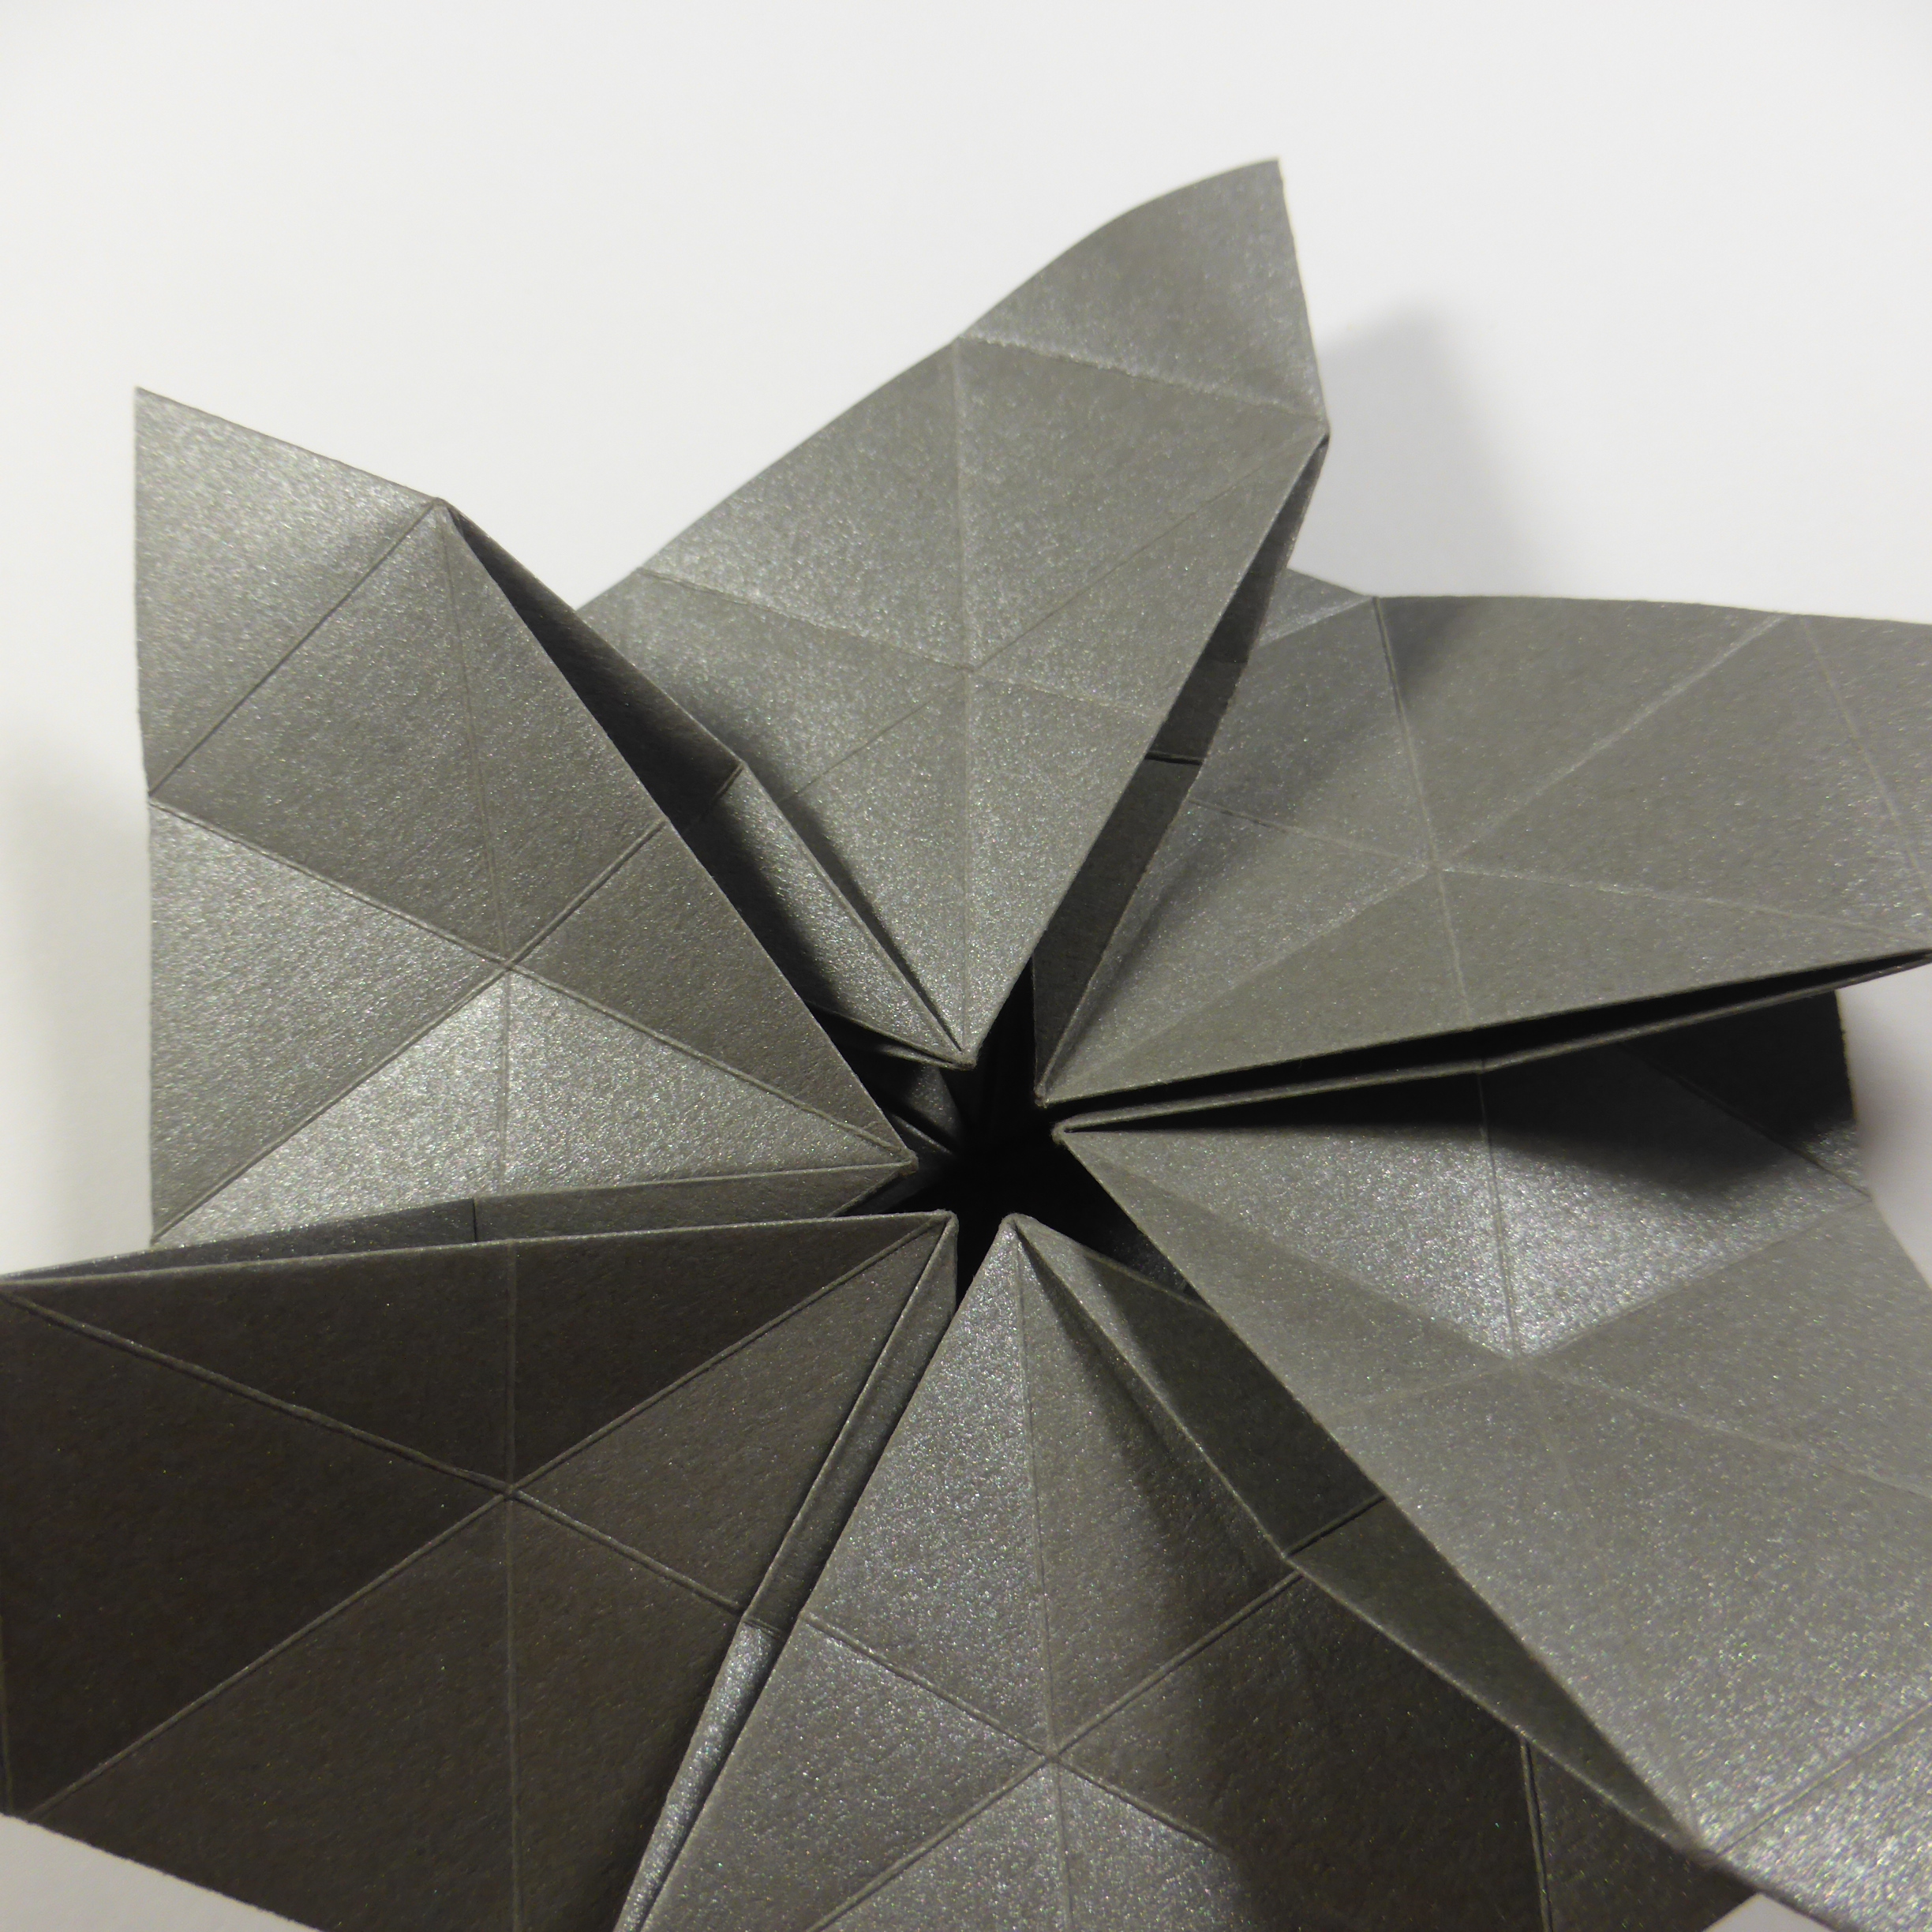
This model is listed in Shuzo Fujimoto’s Twist Origami I on page 17. There is a crease pattern and drawings of the front and back of the finished model. There are also textual instructions in Japanese. Google Translate output gibberish for the text, but it seems to refer to the spikes on the back side of the model (hidden in the closed back variant, visible as a flower-like shape in the open back variant).
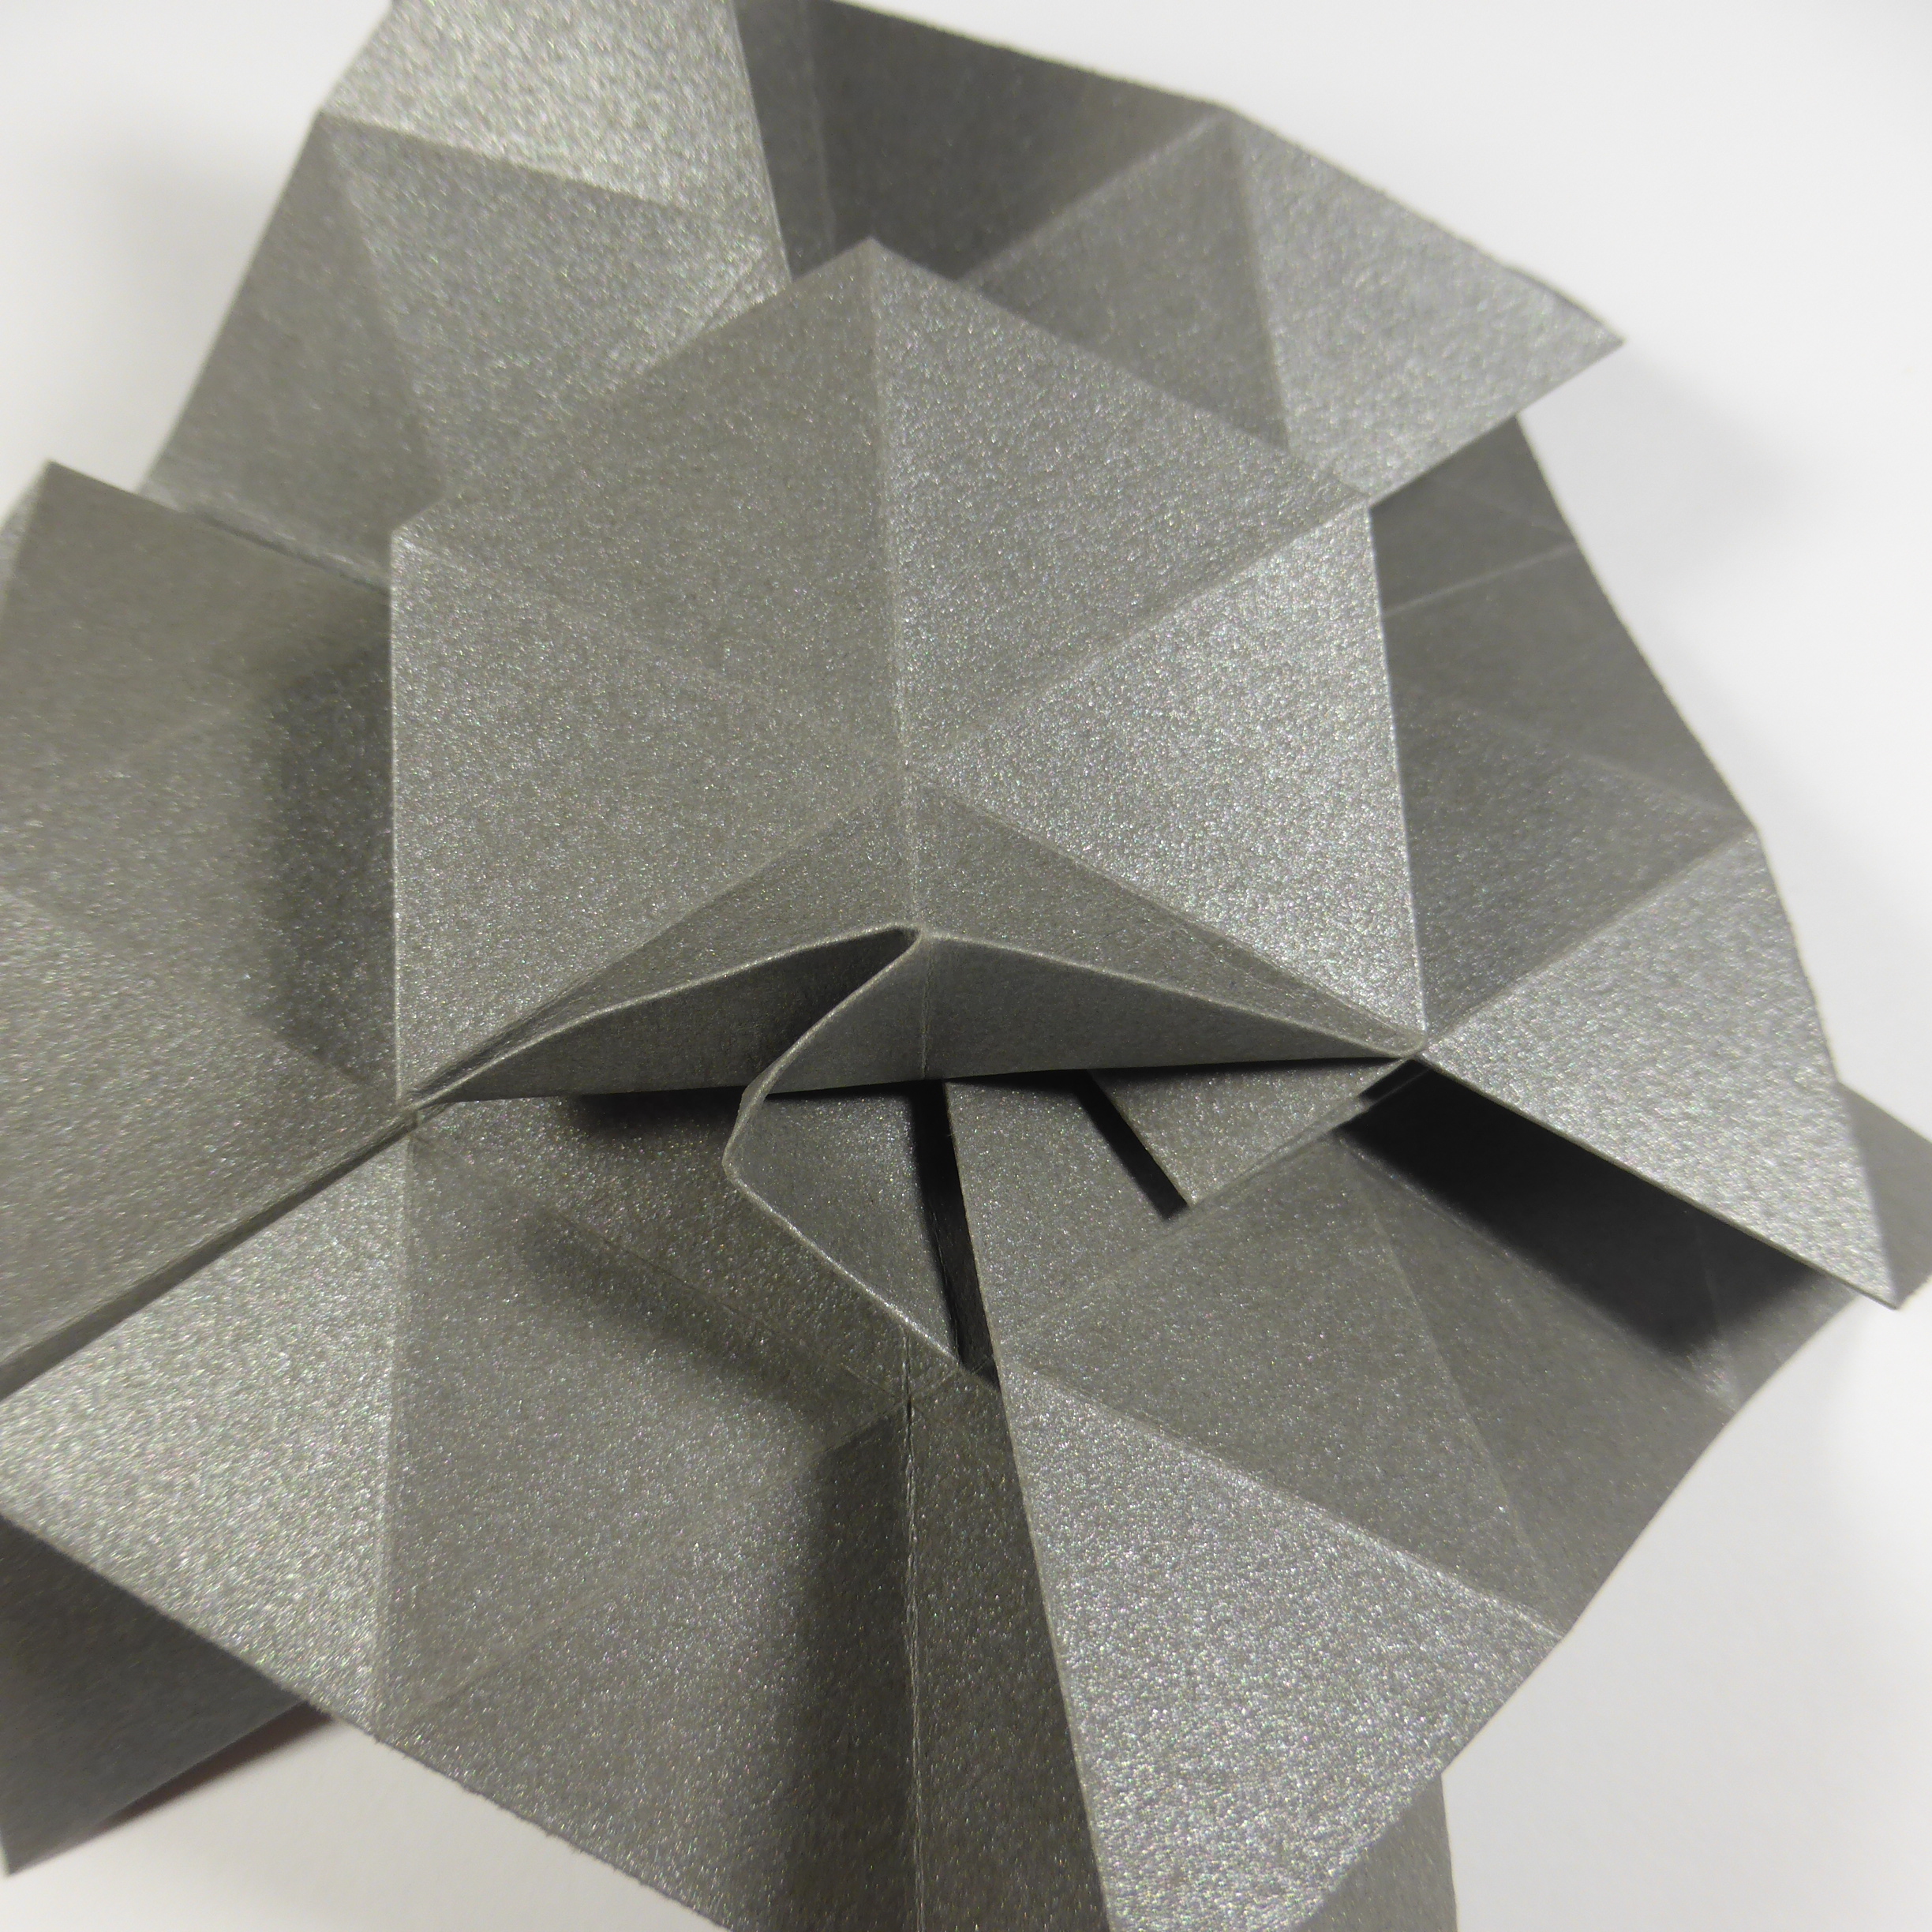
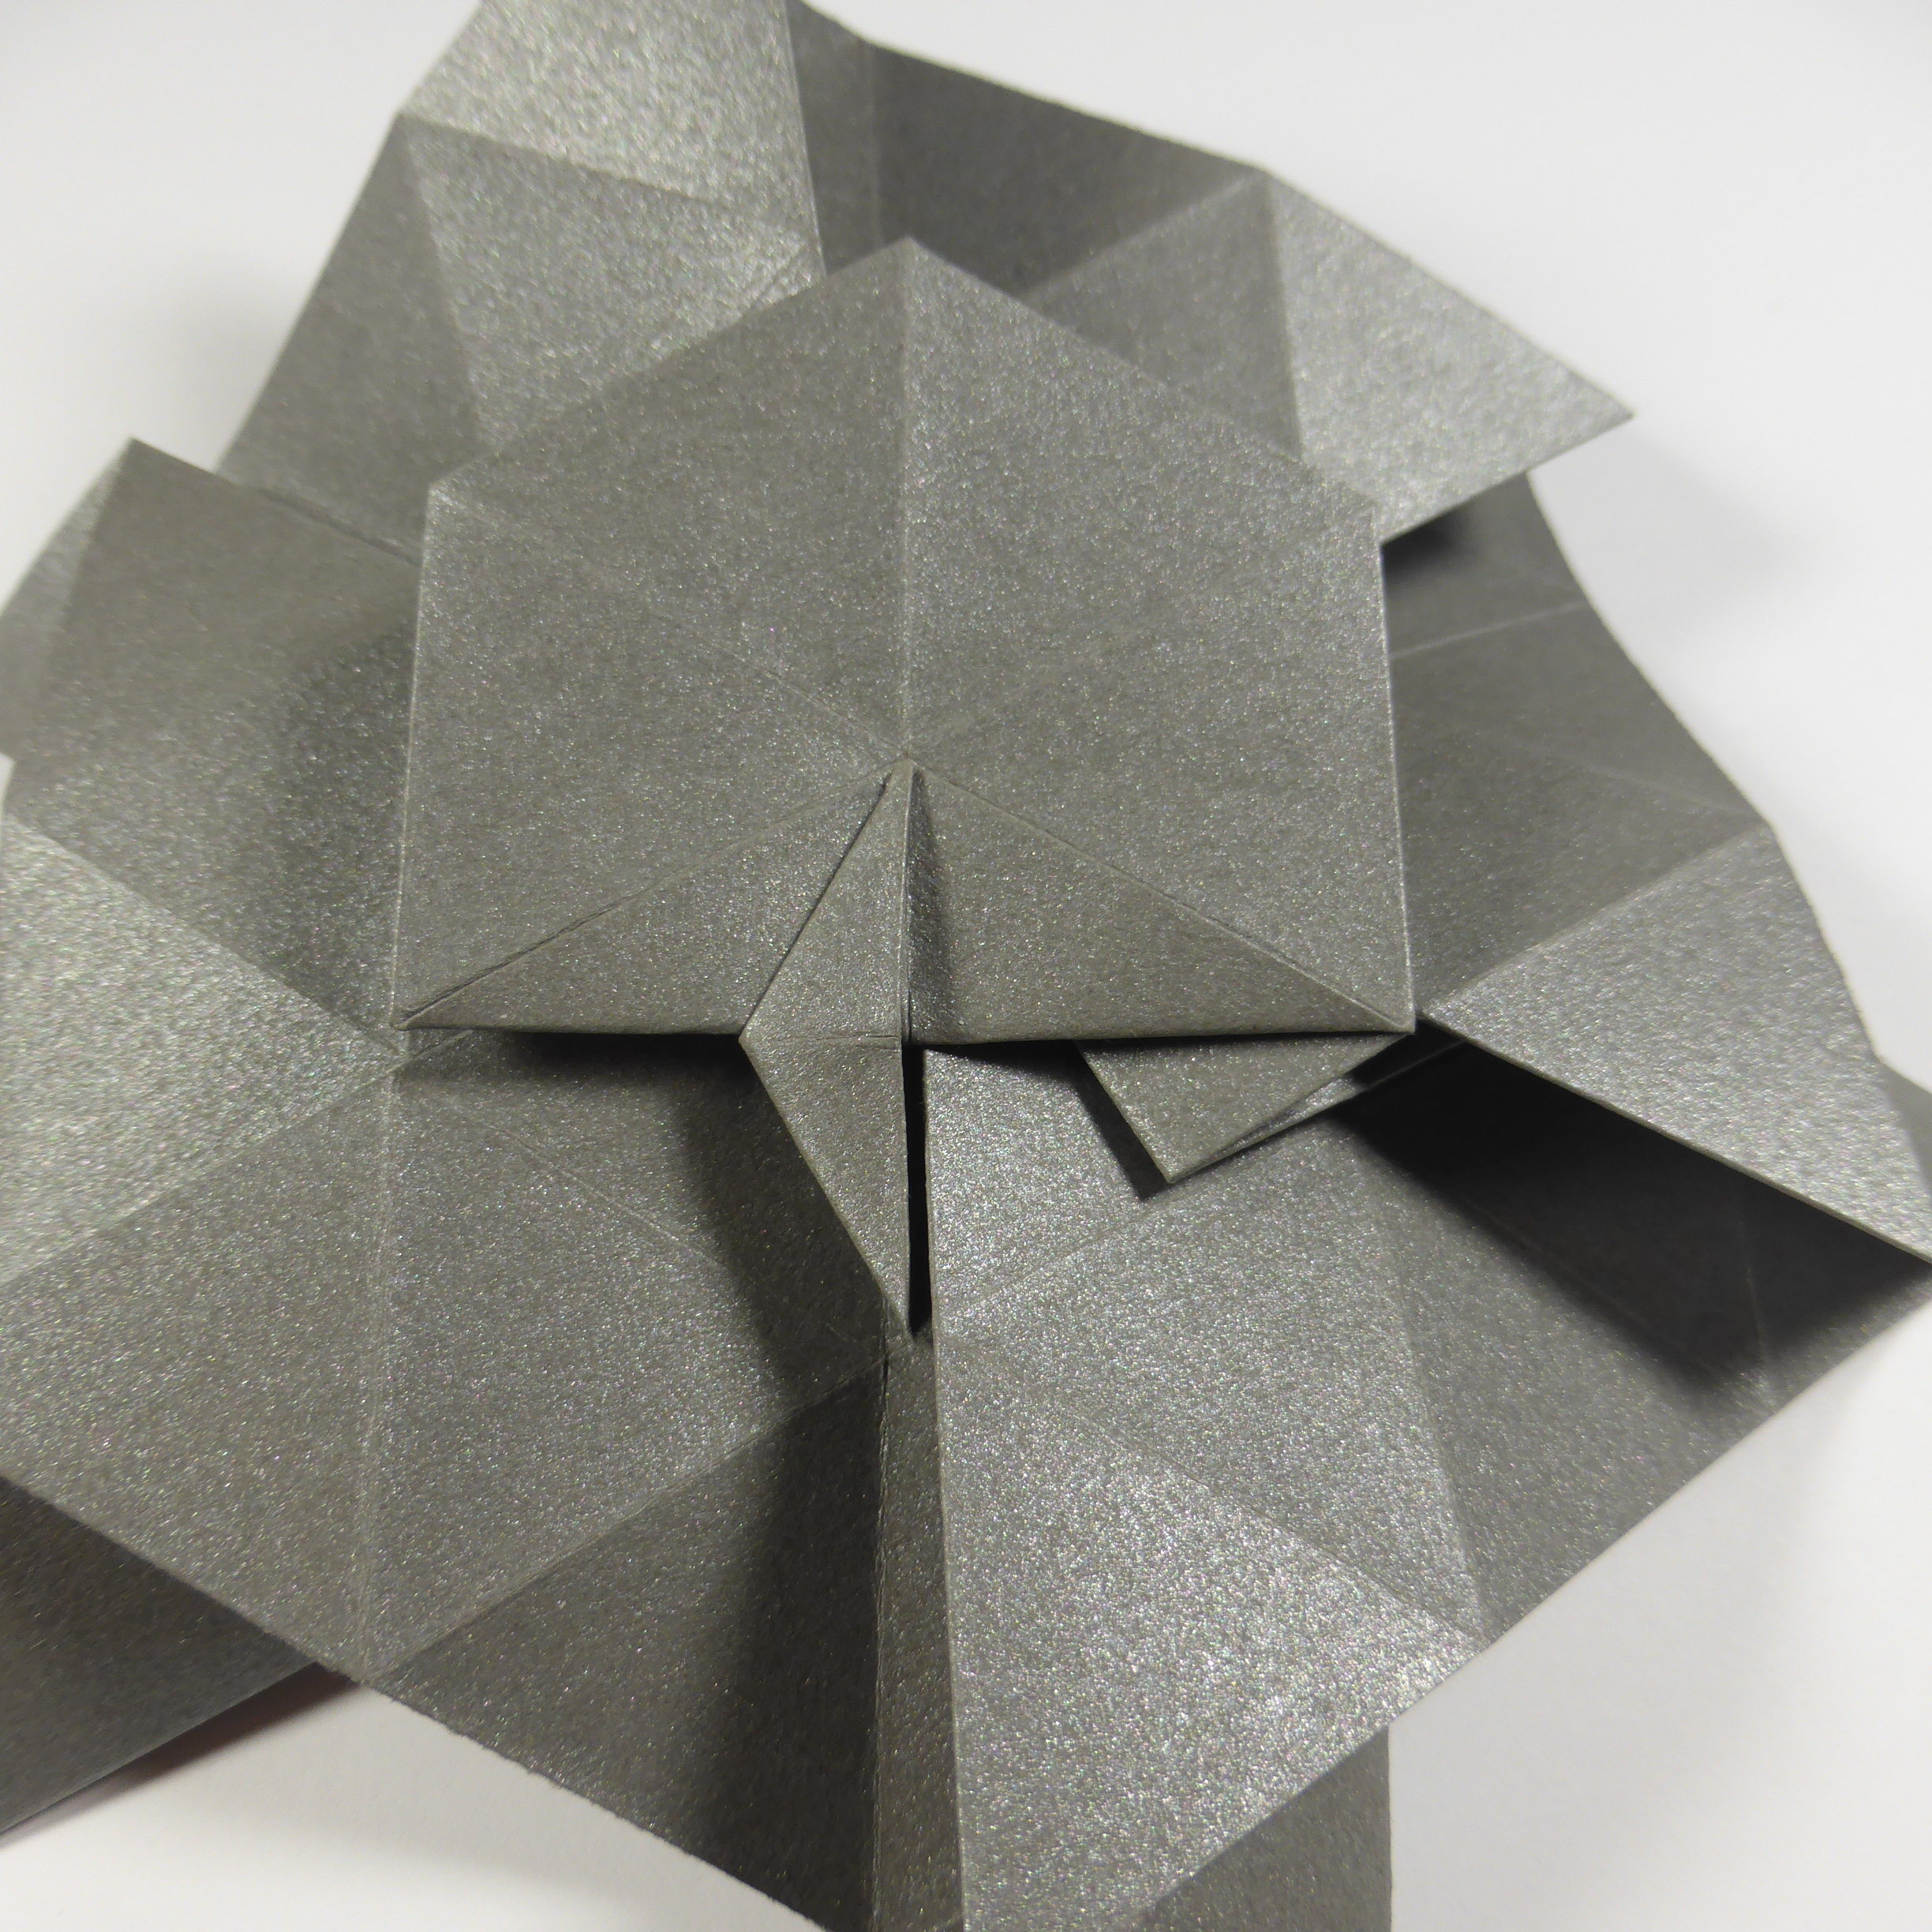
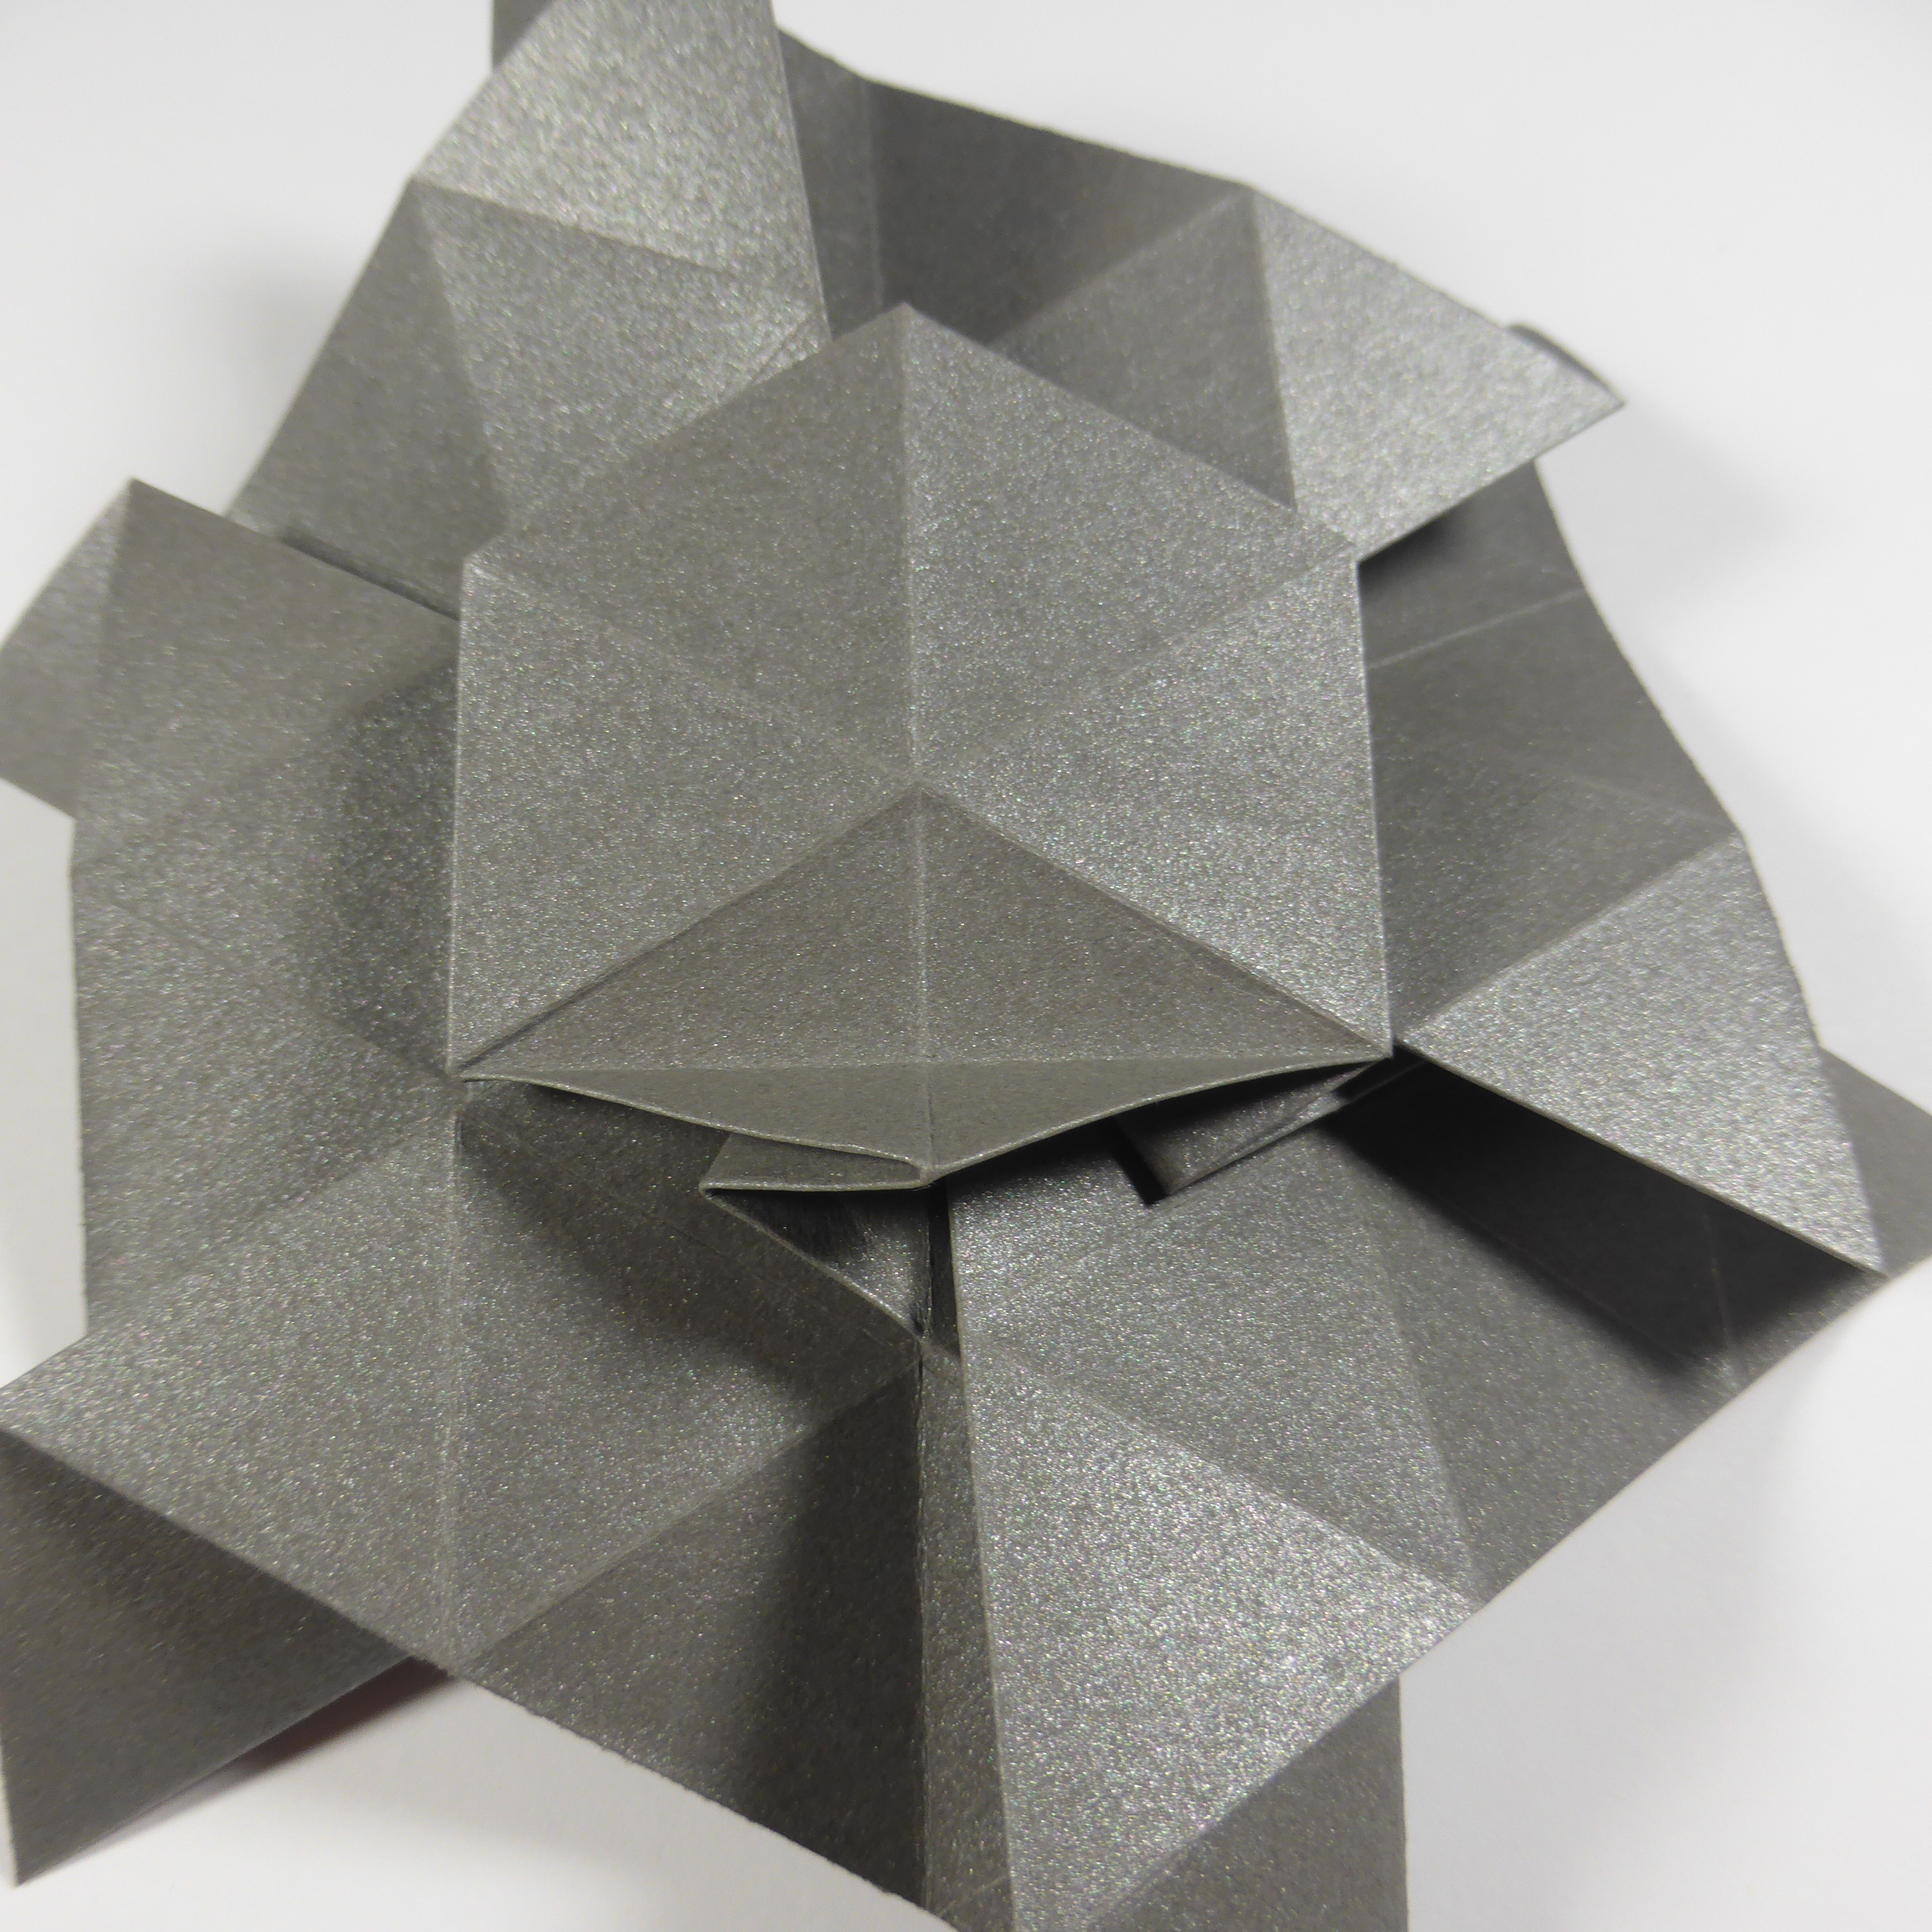
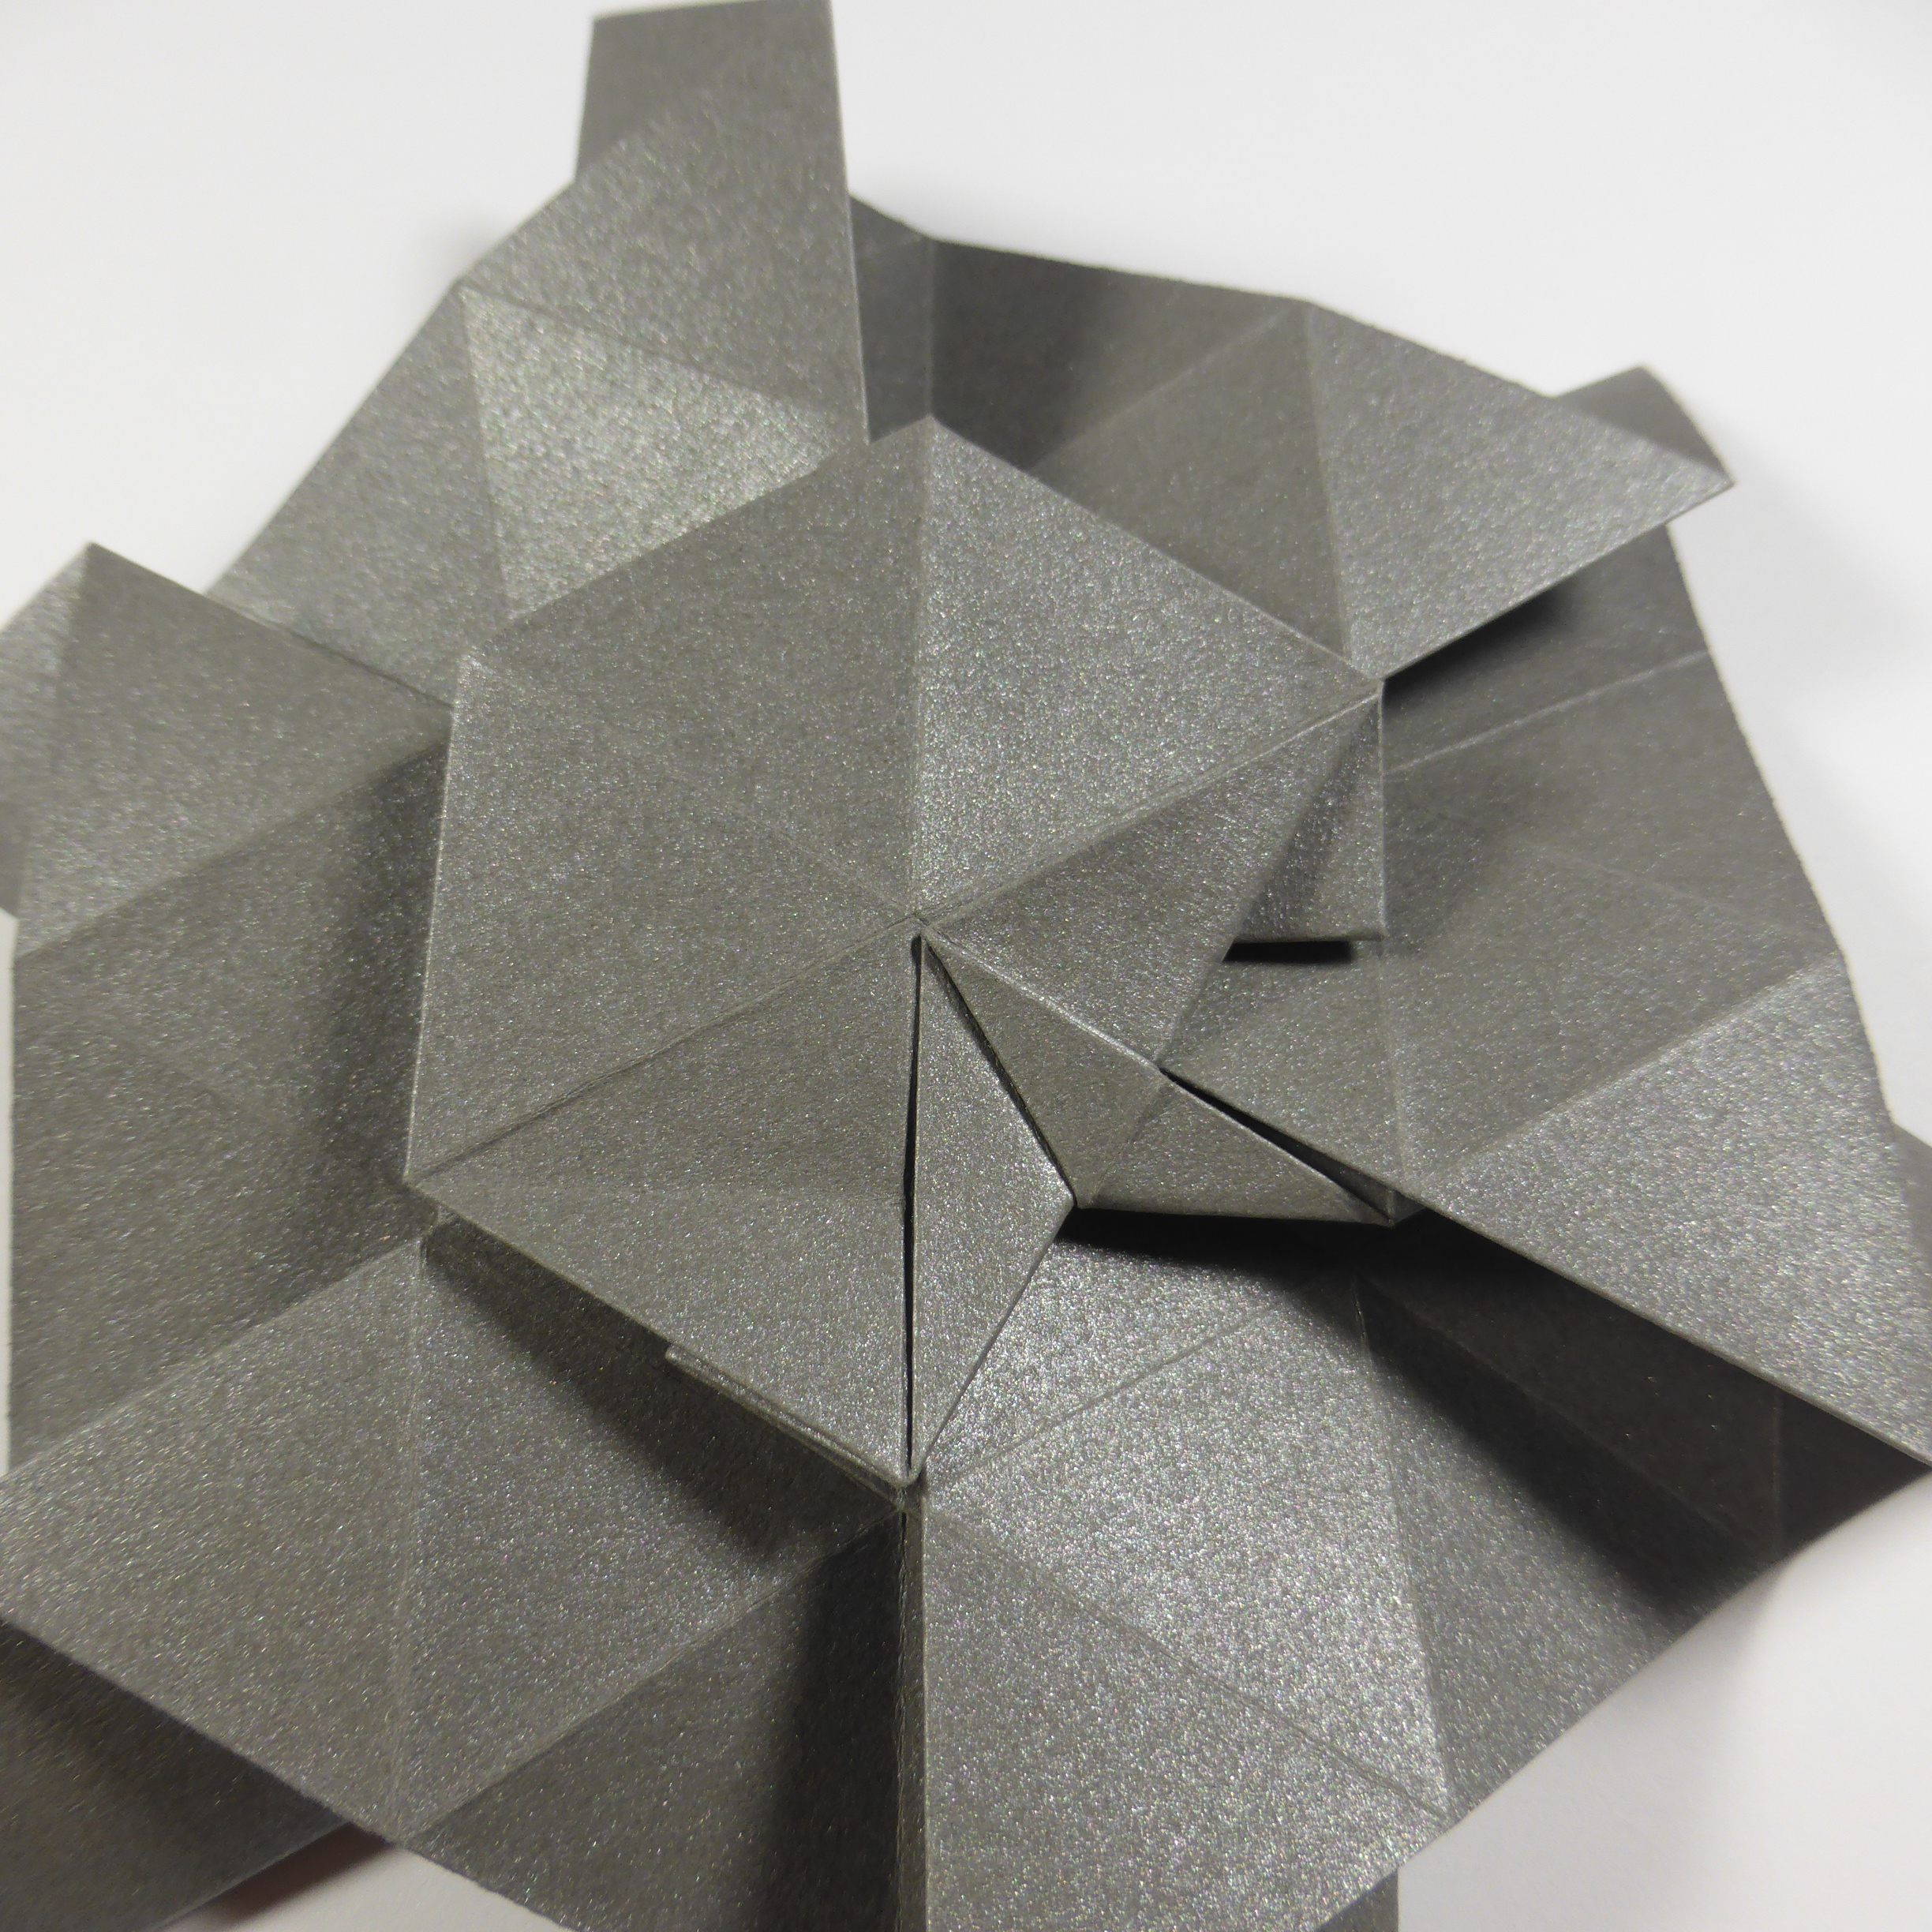
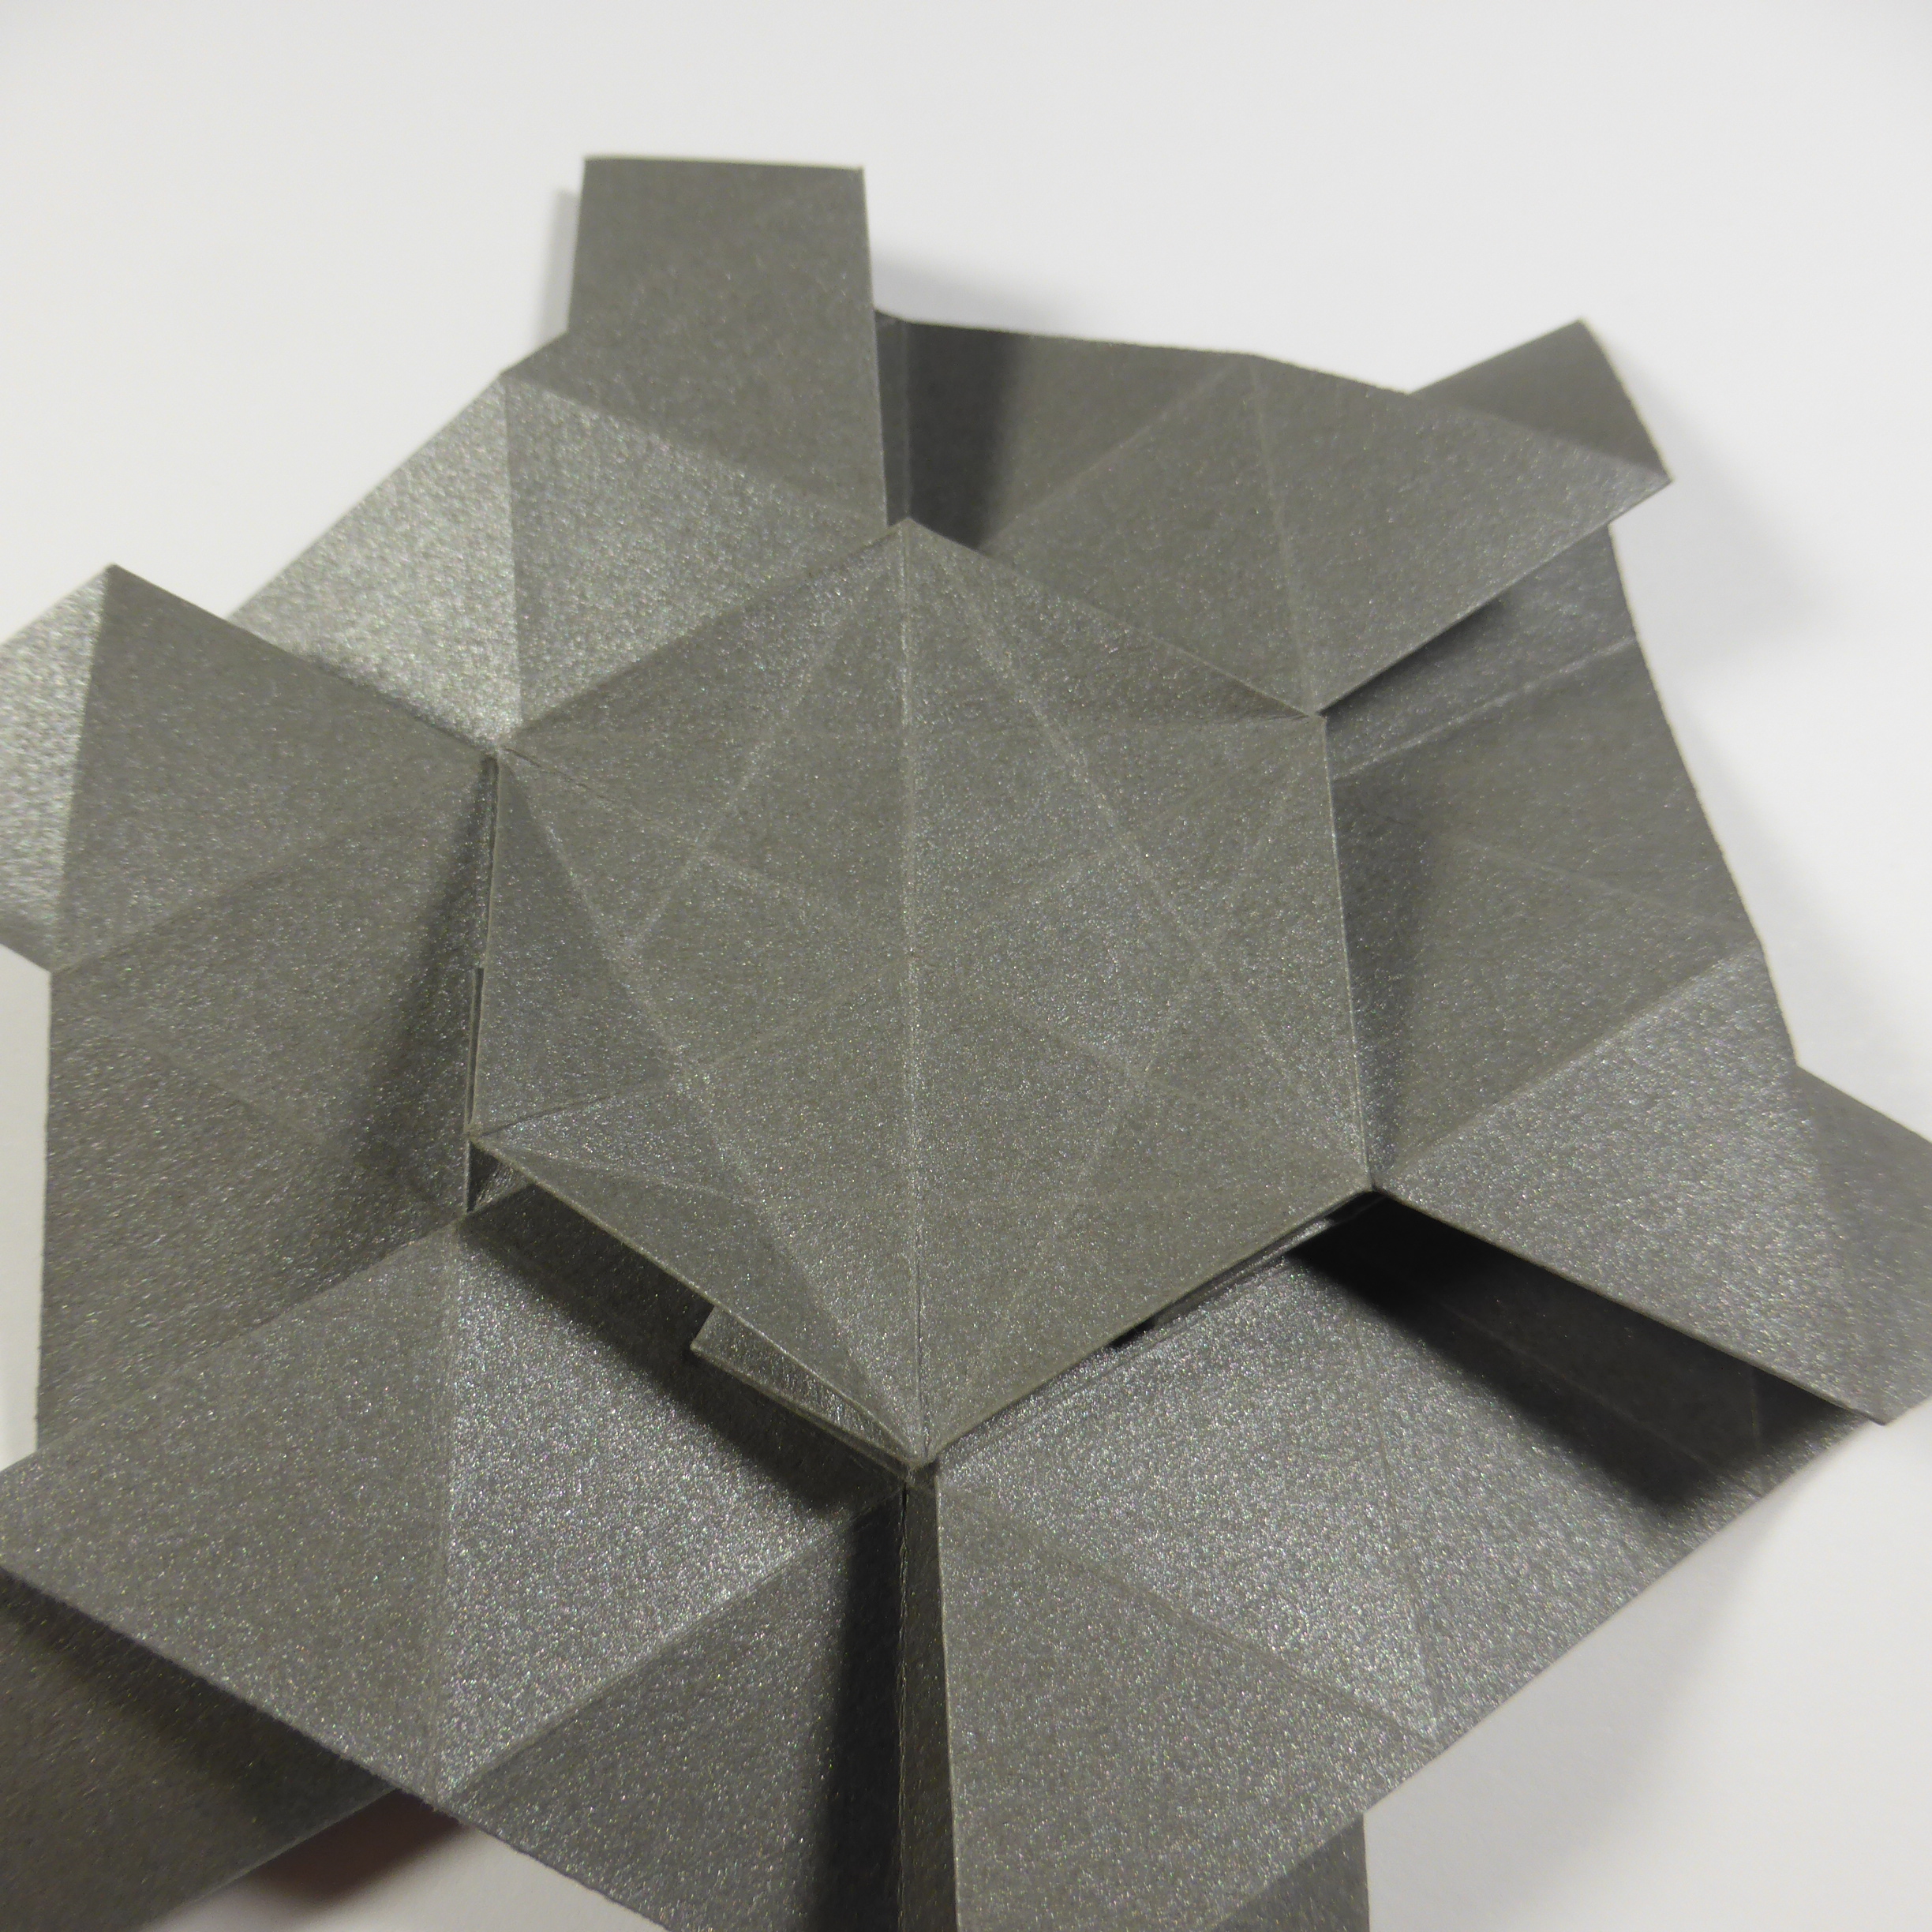
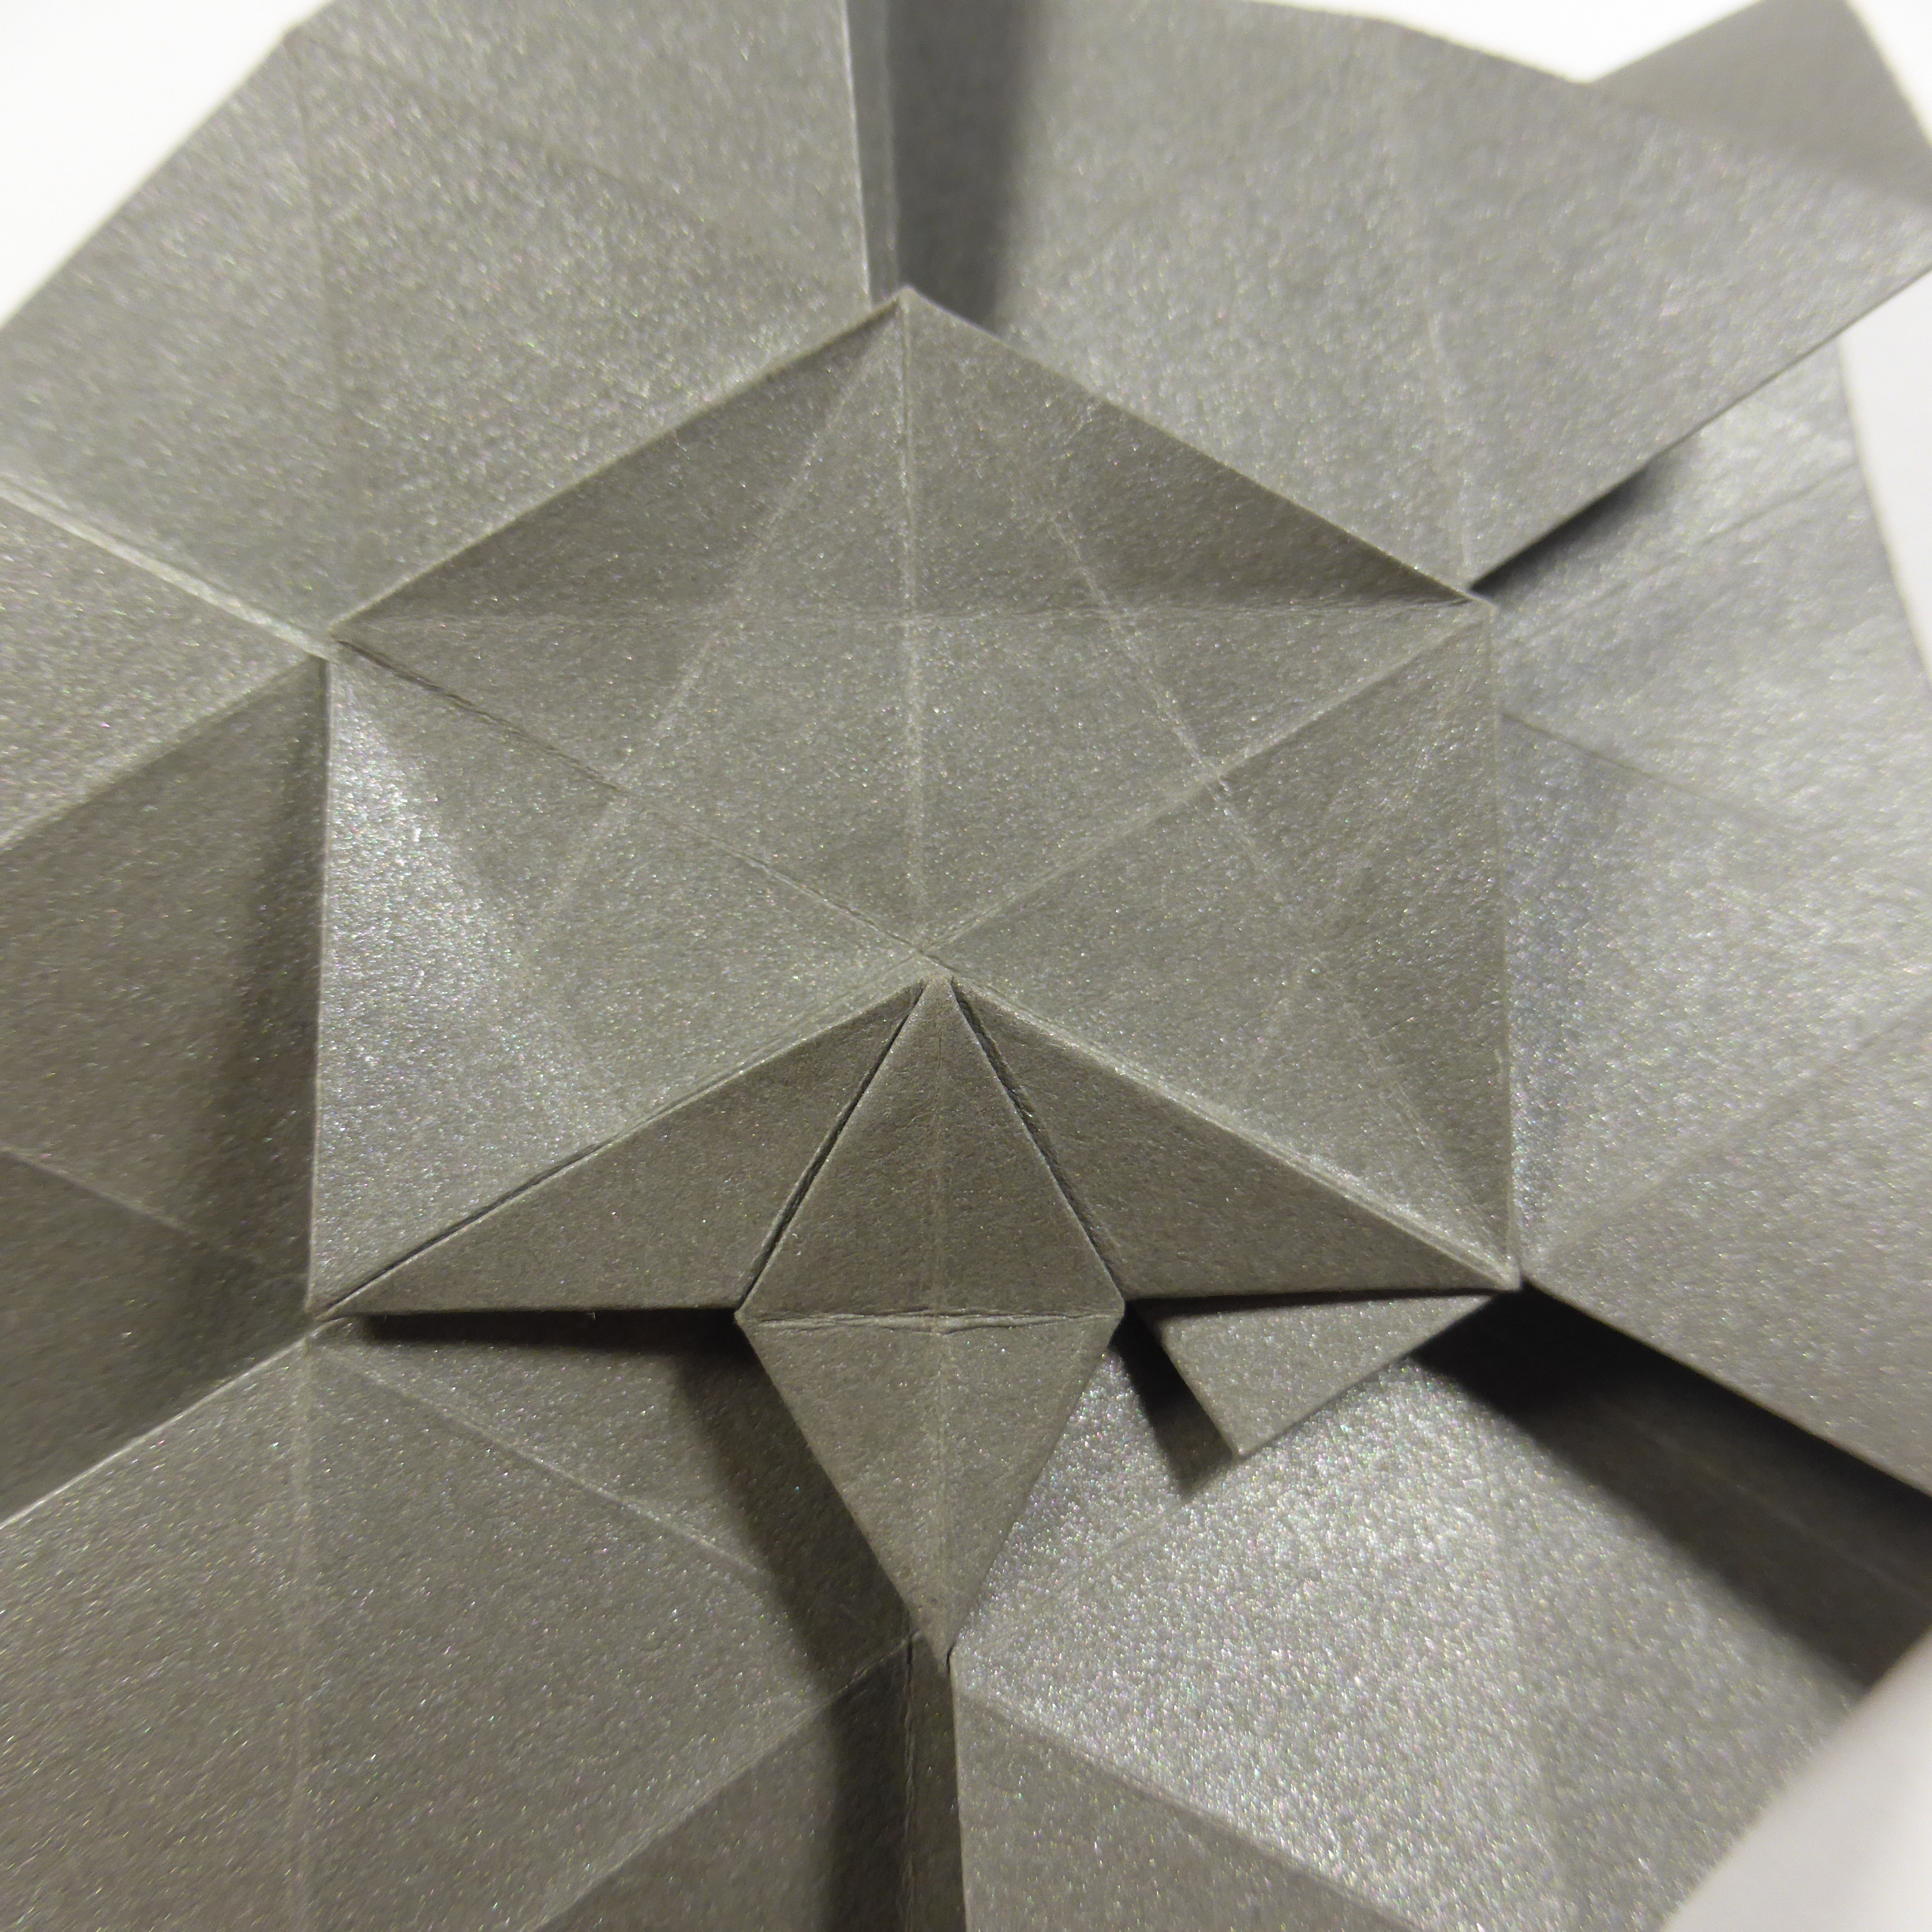
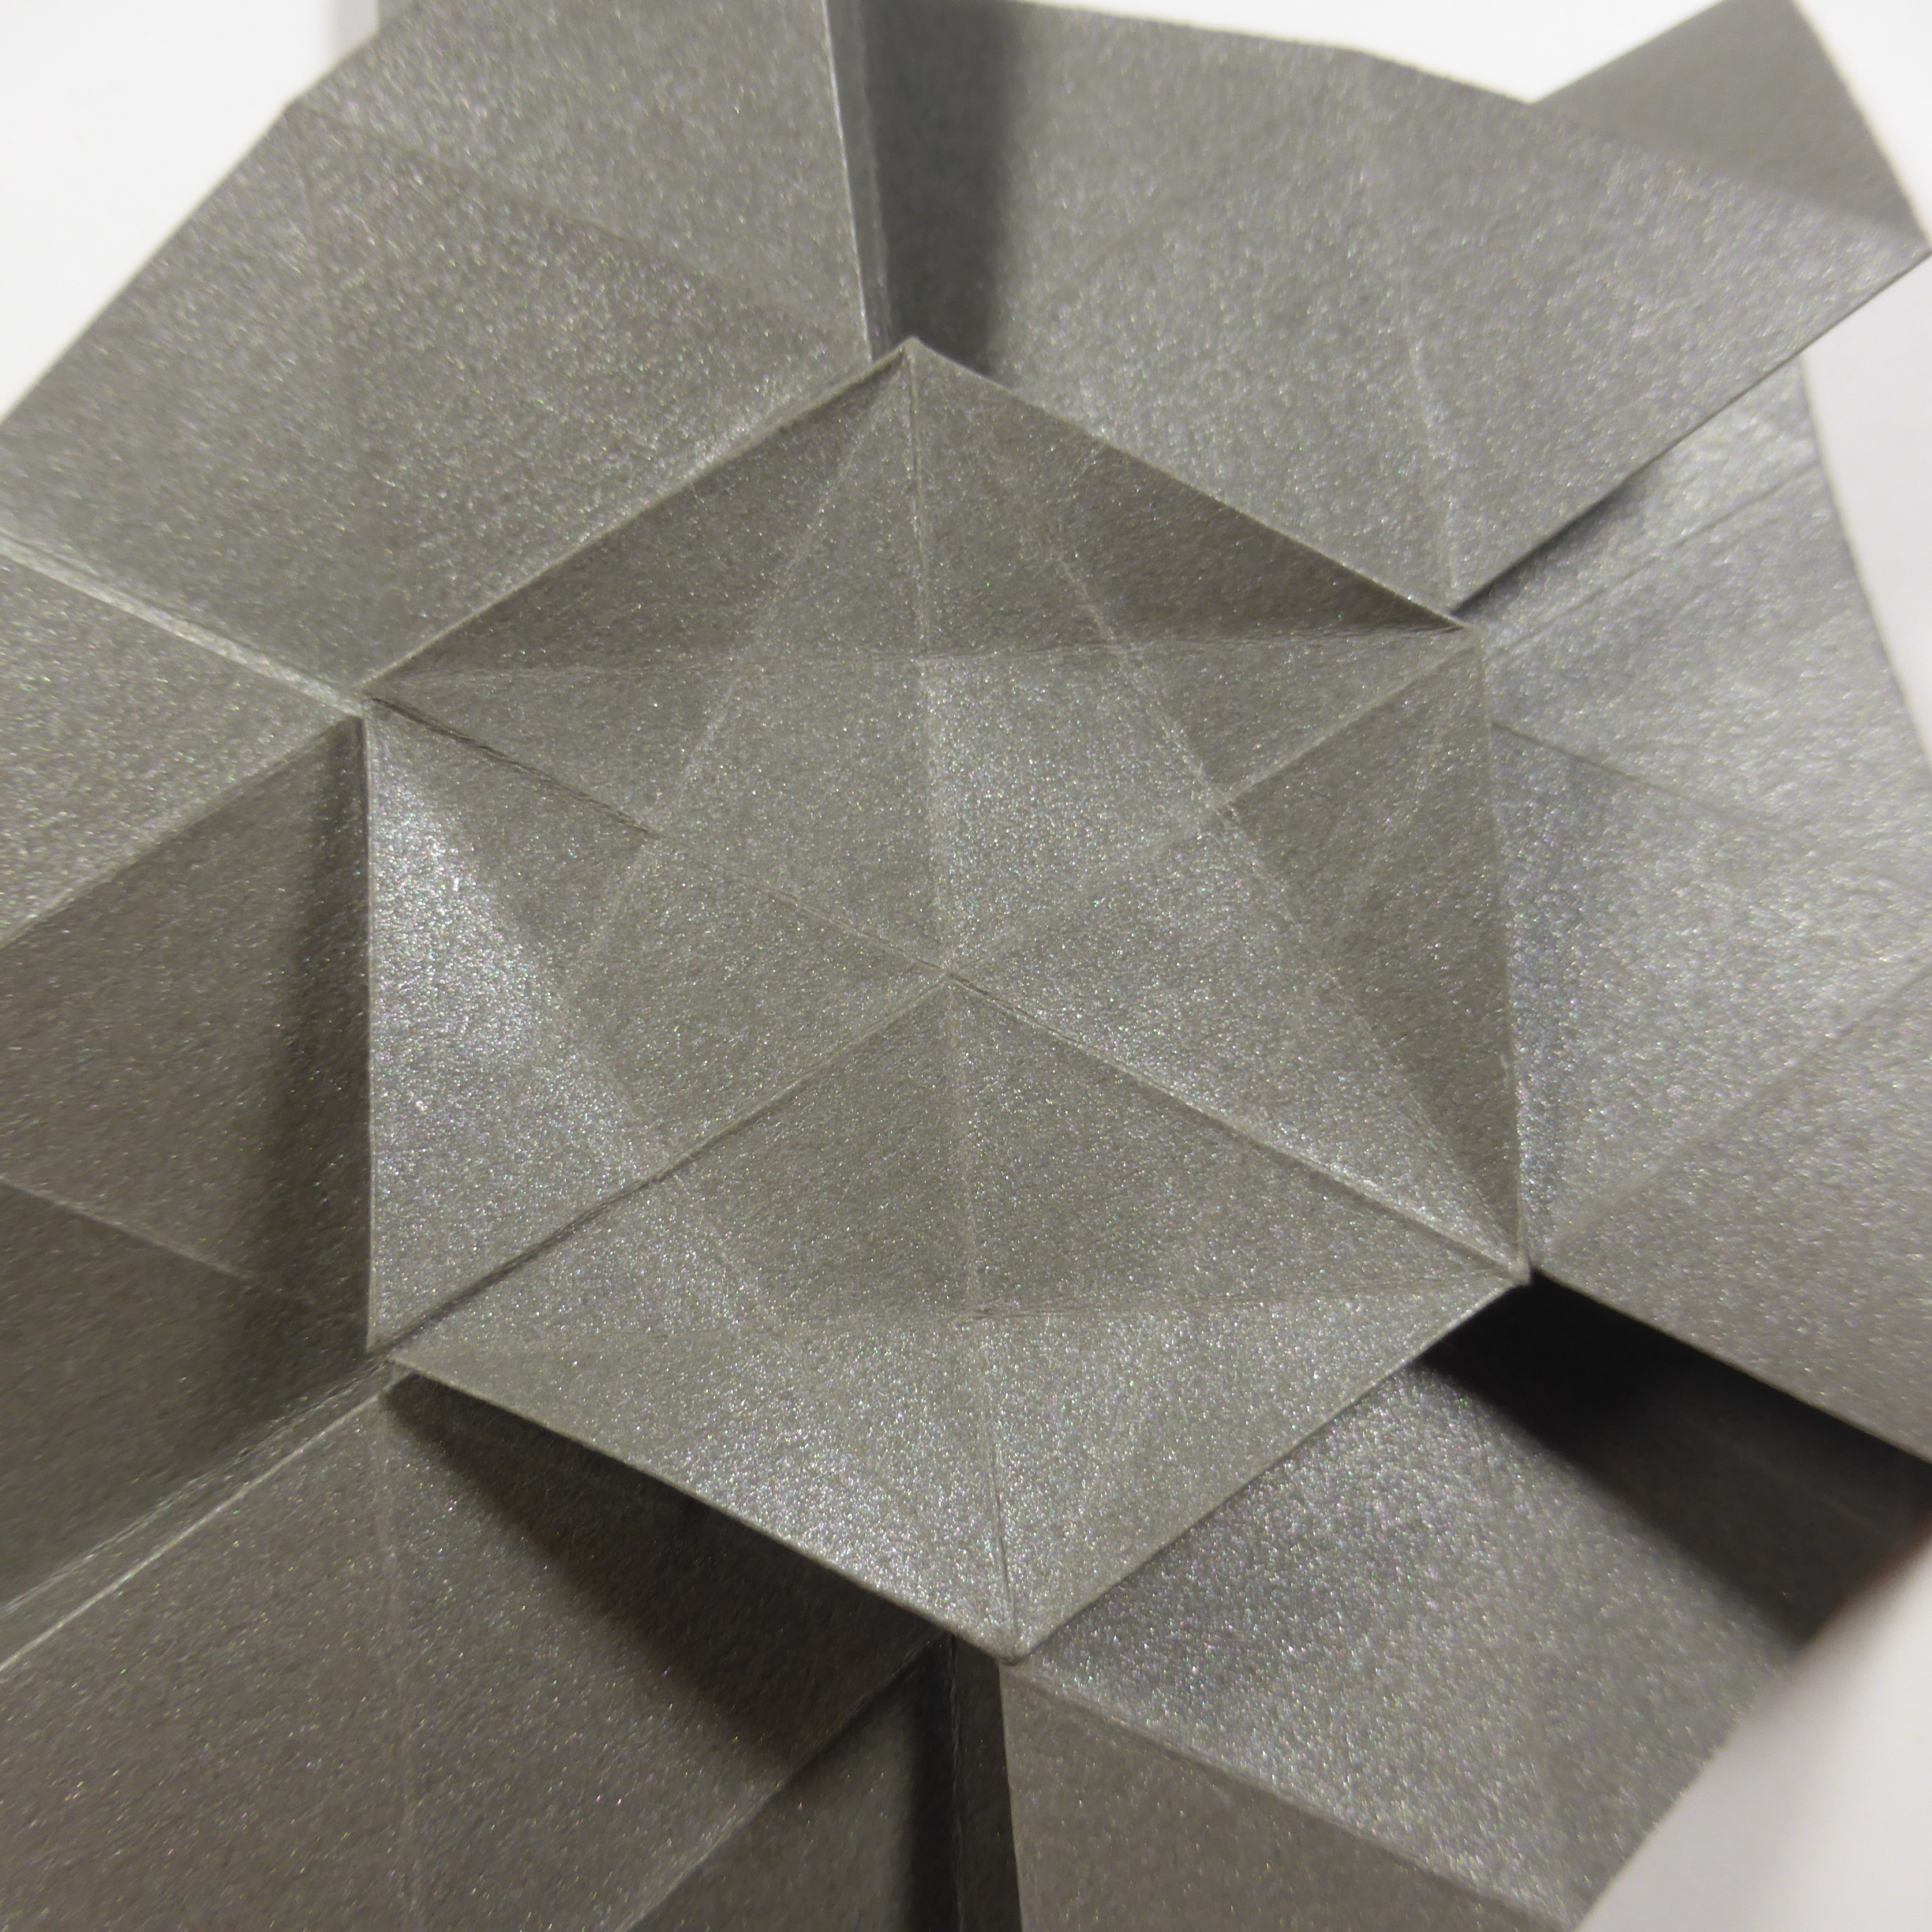
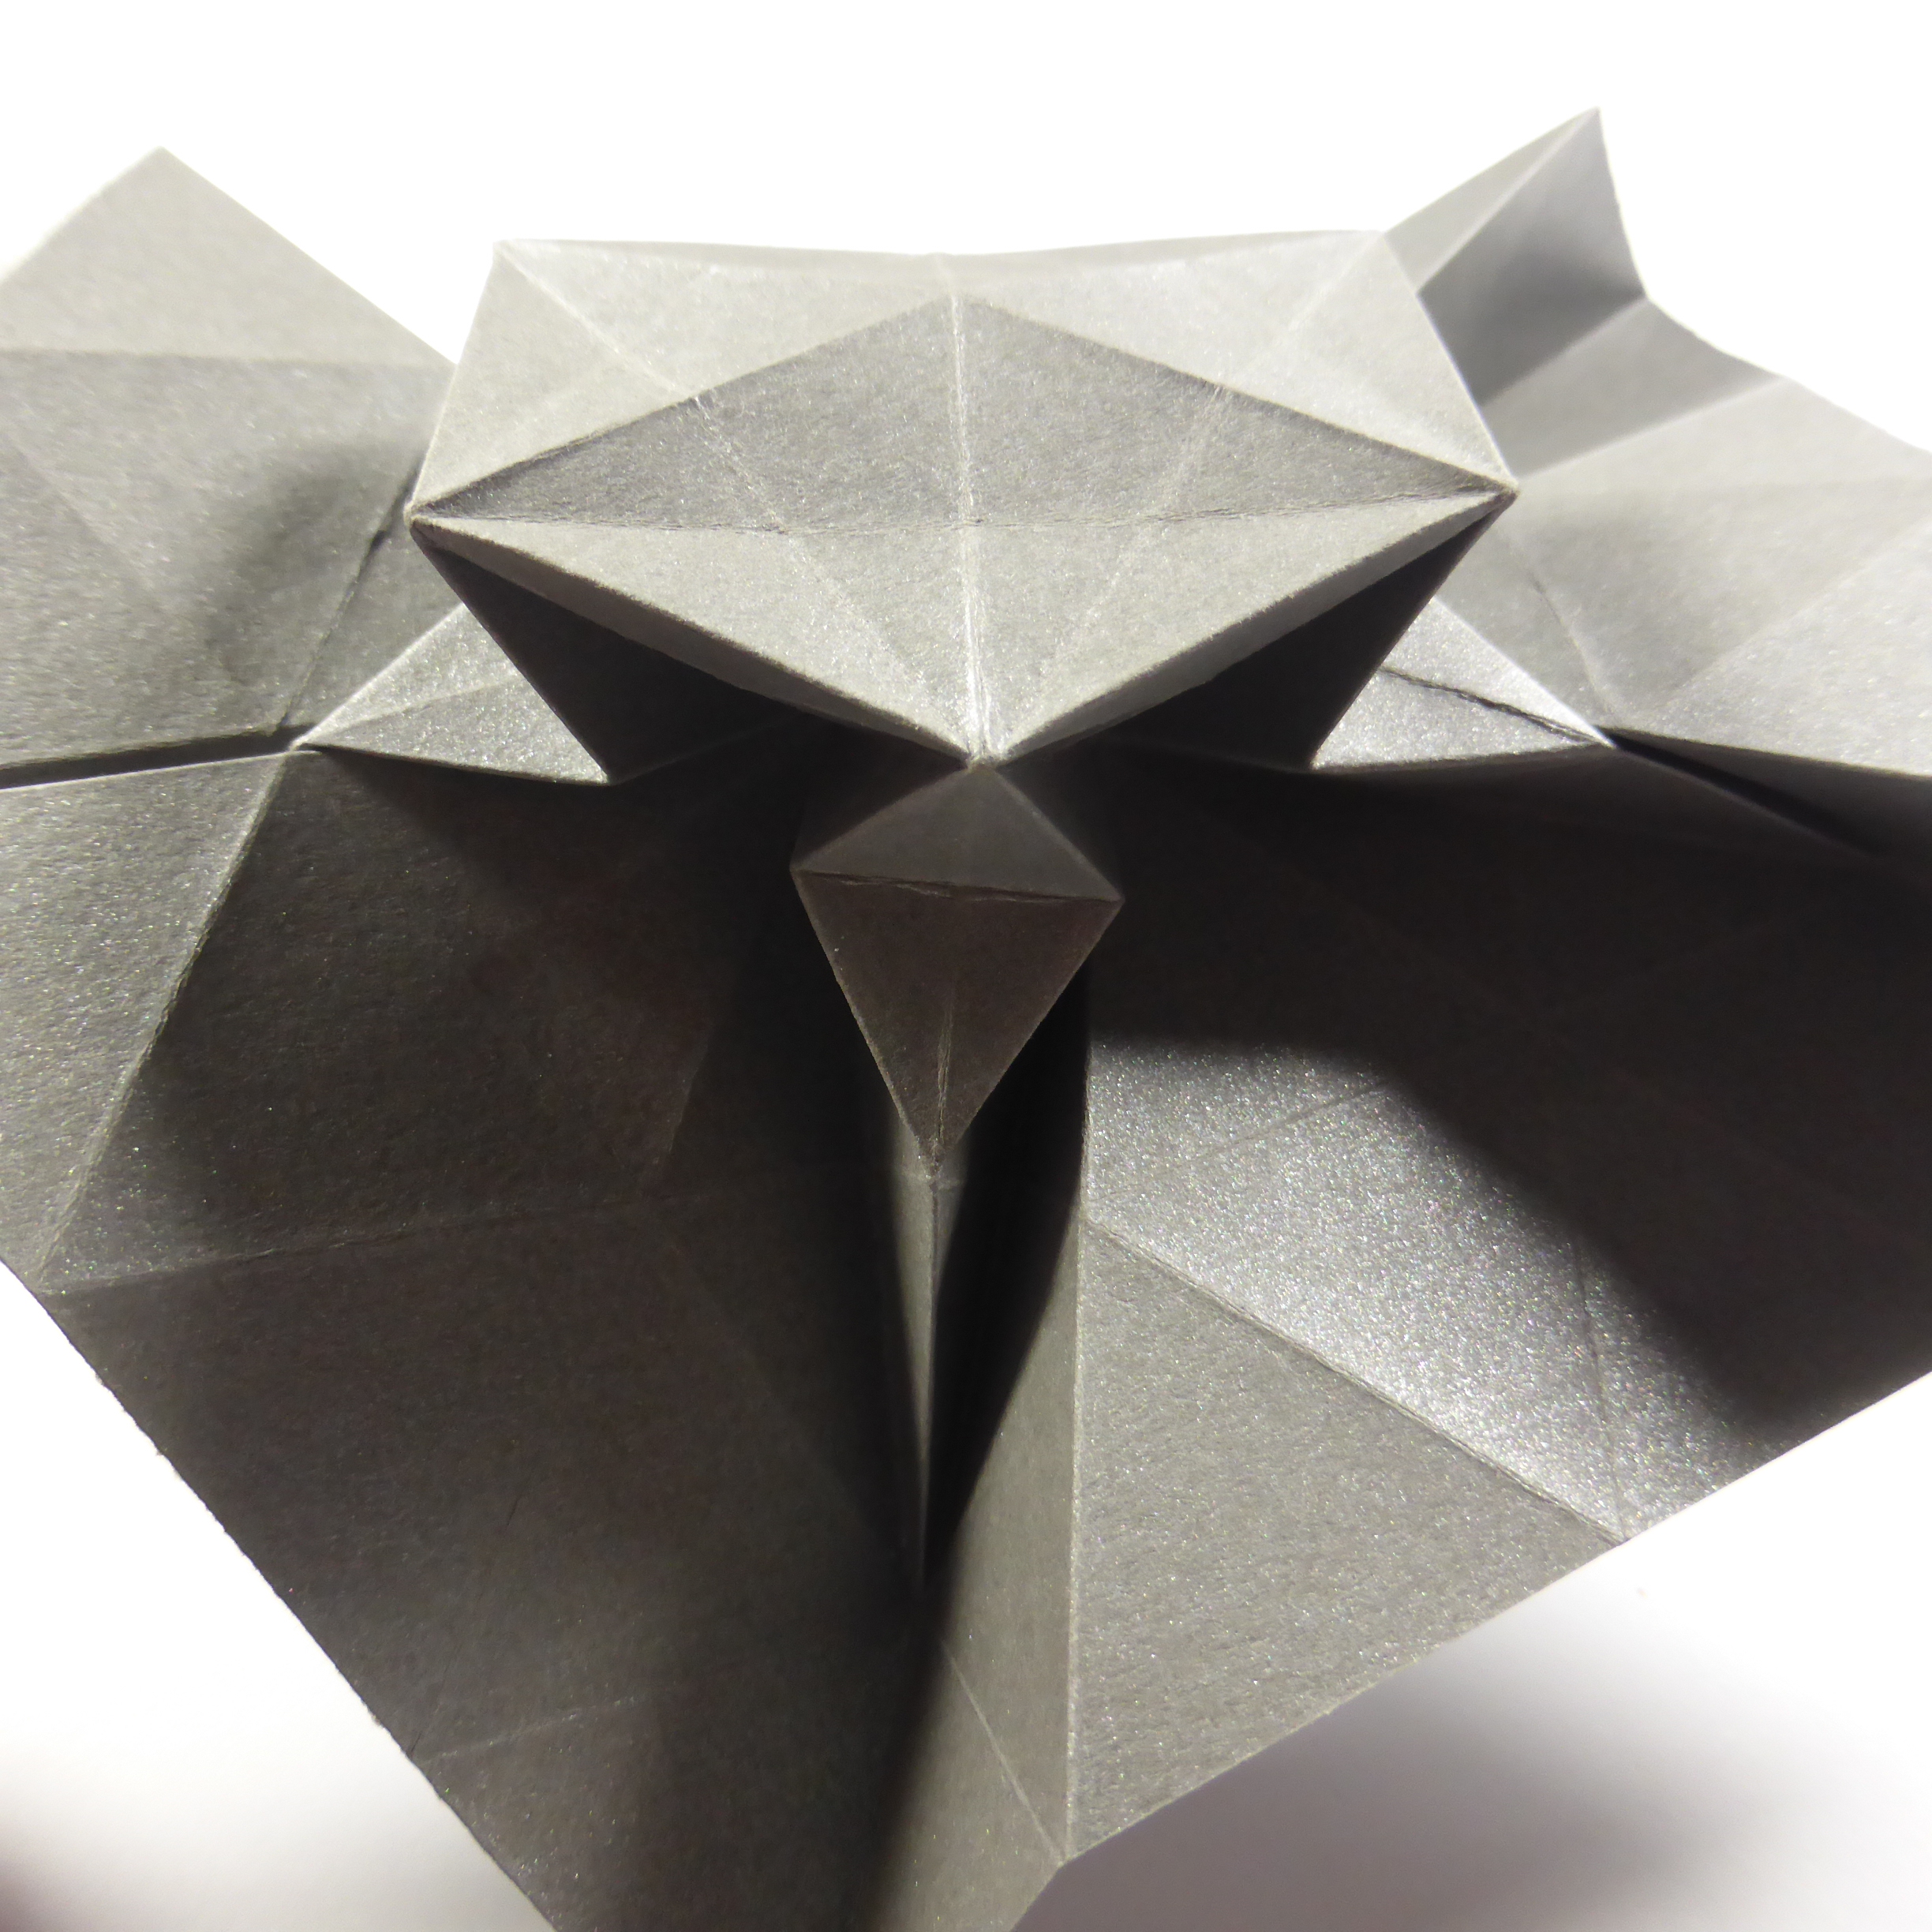
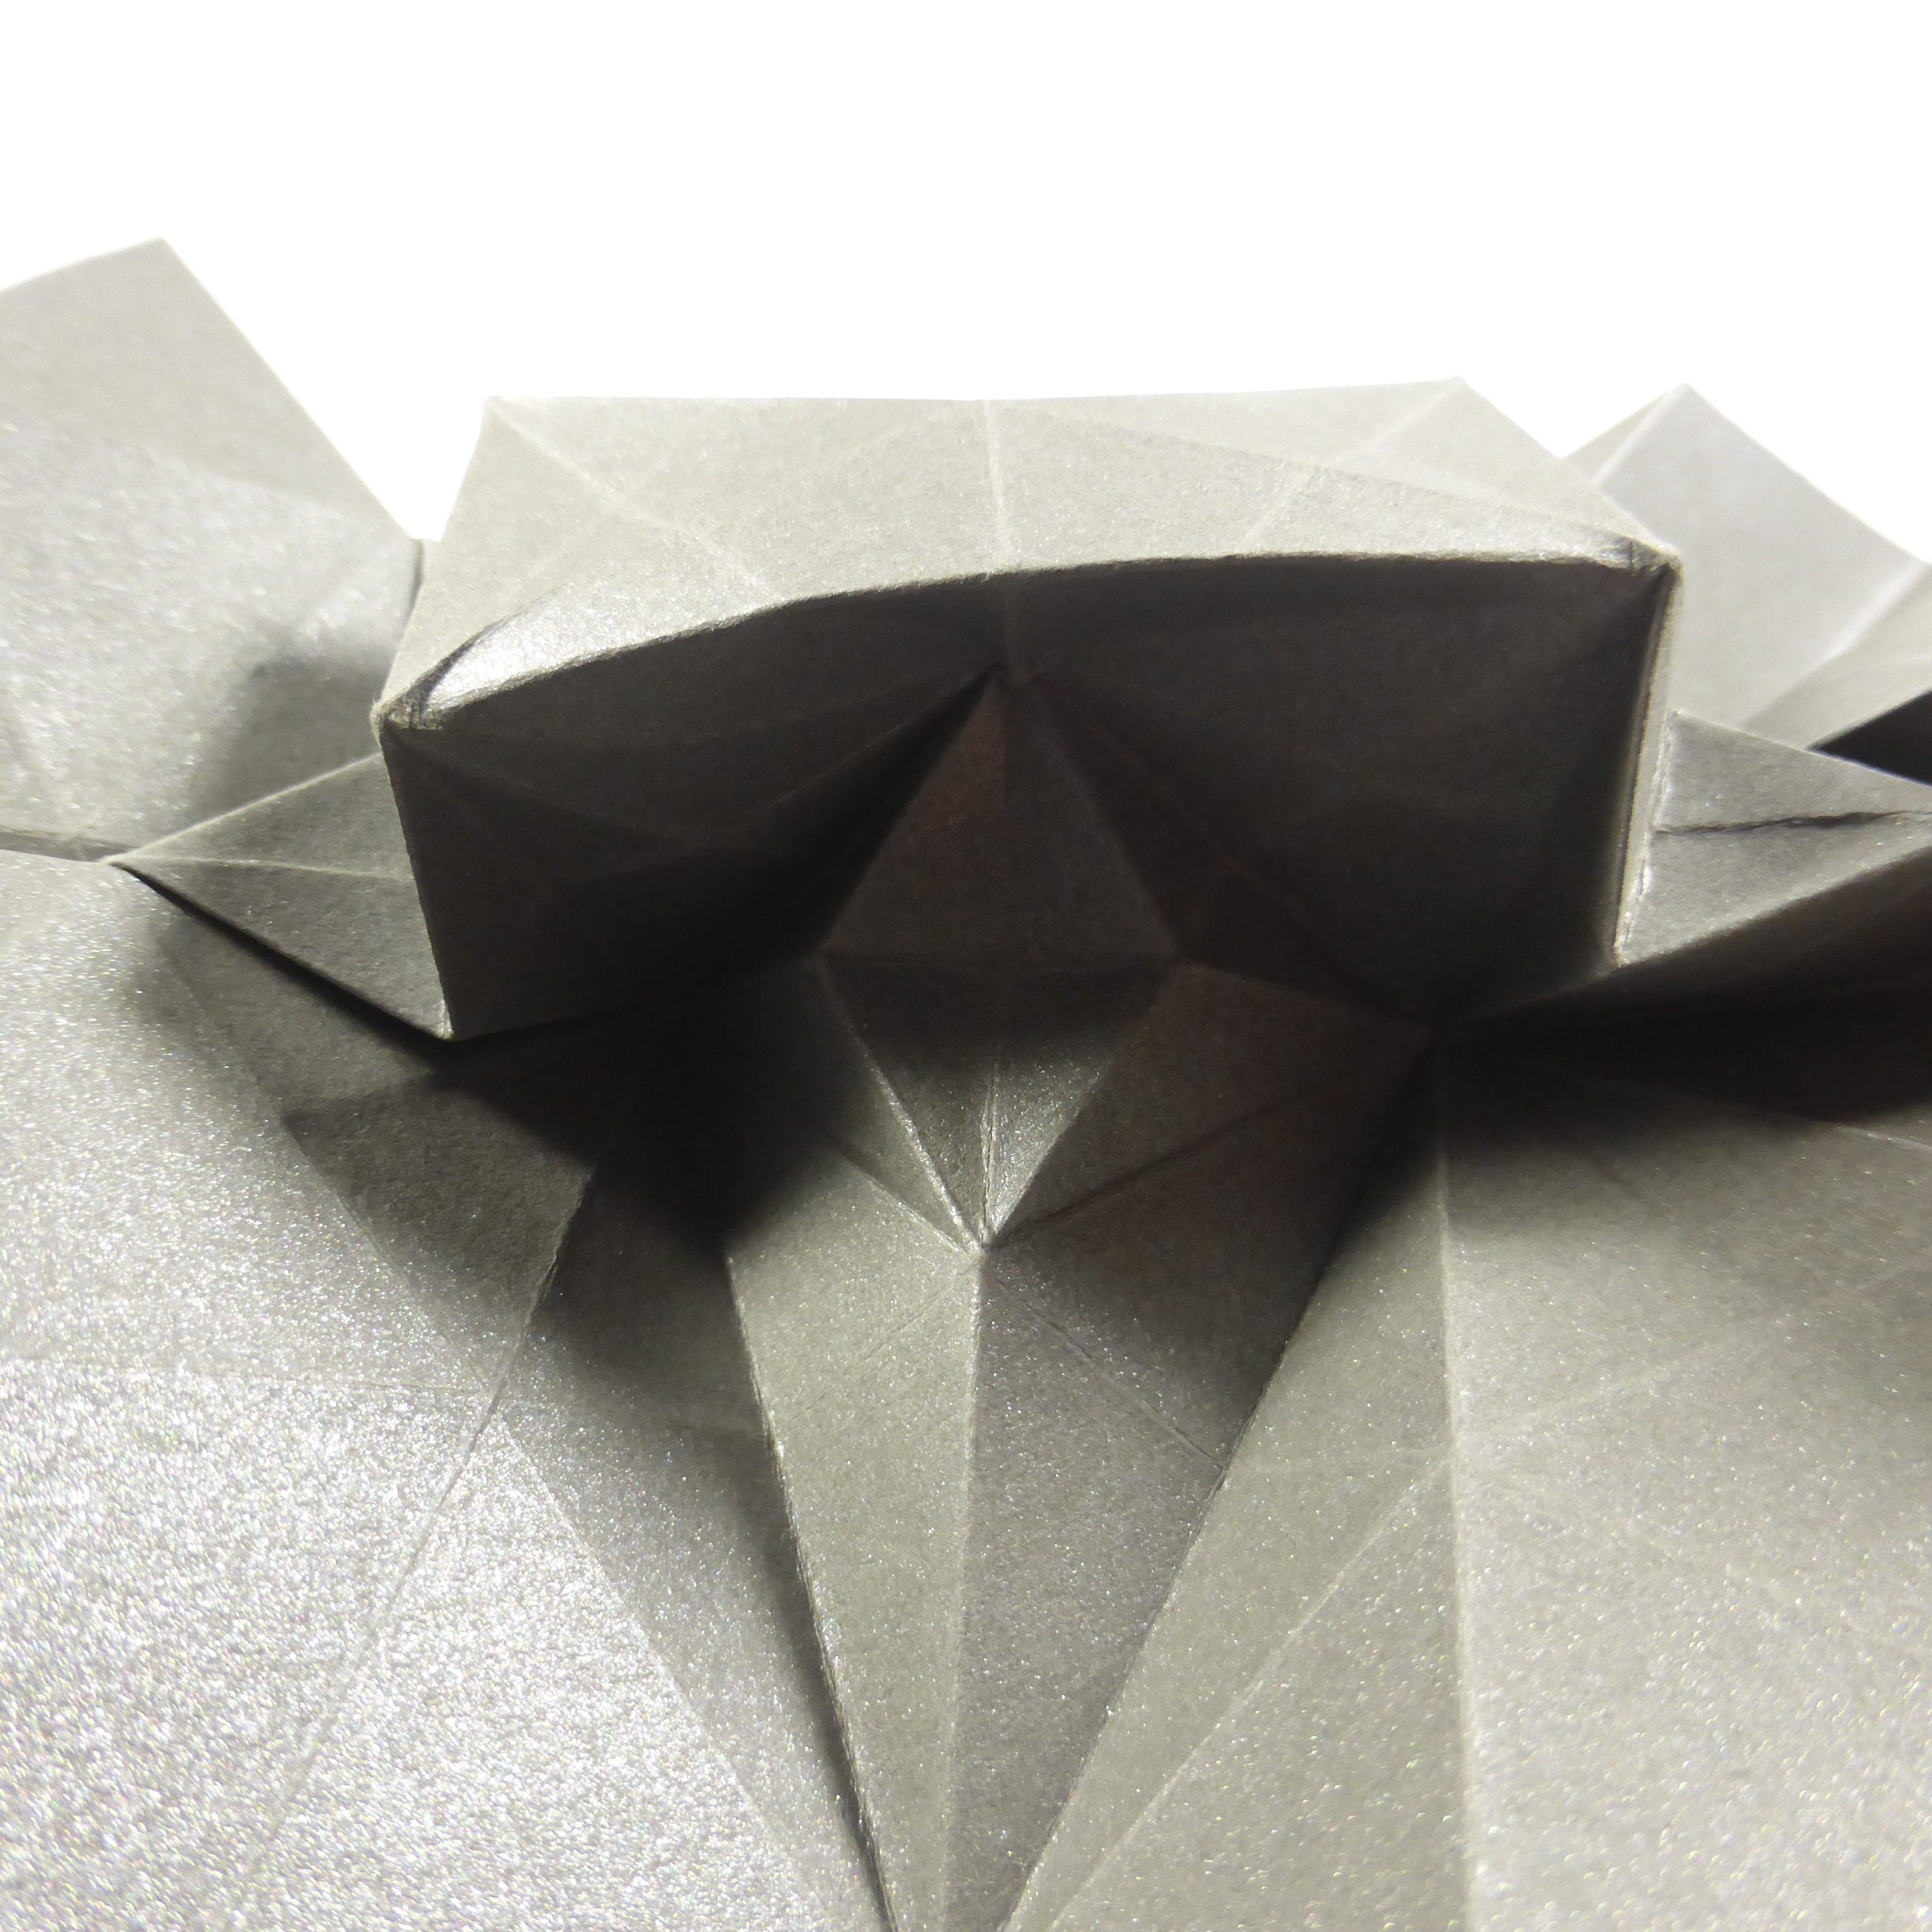
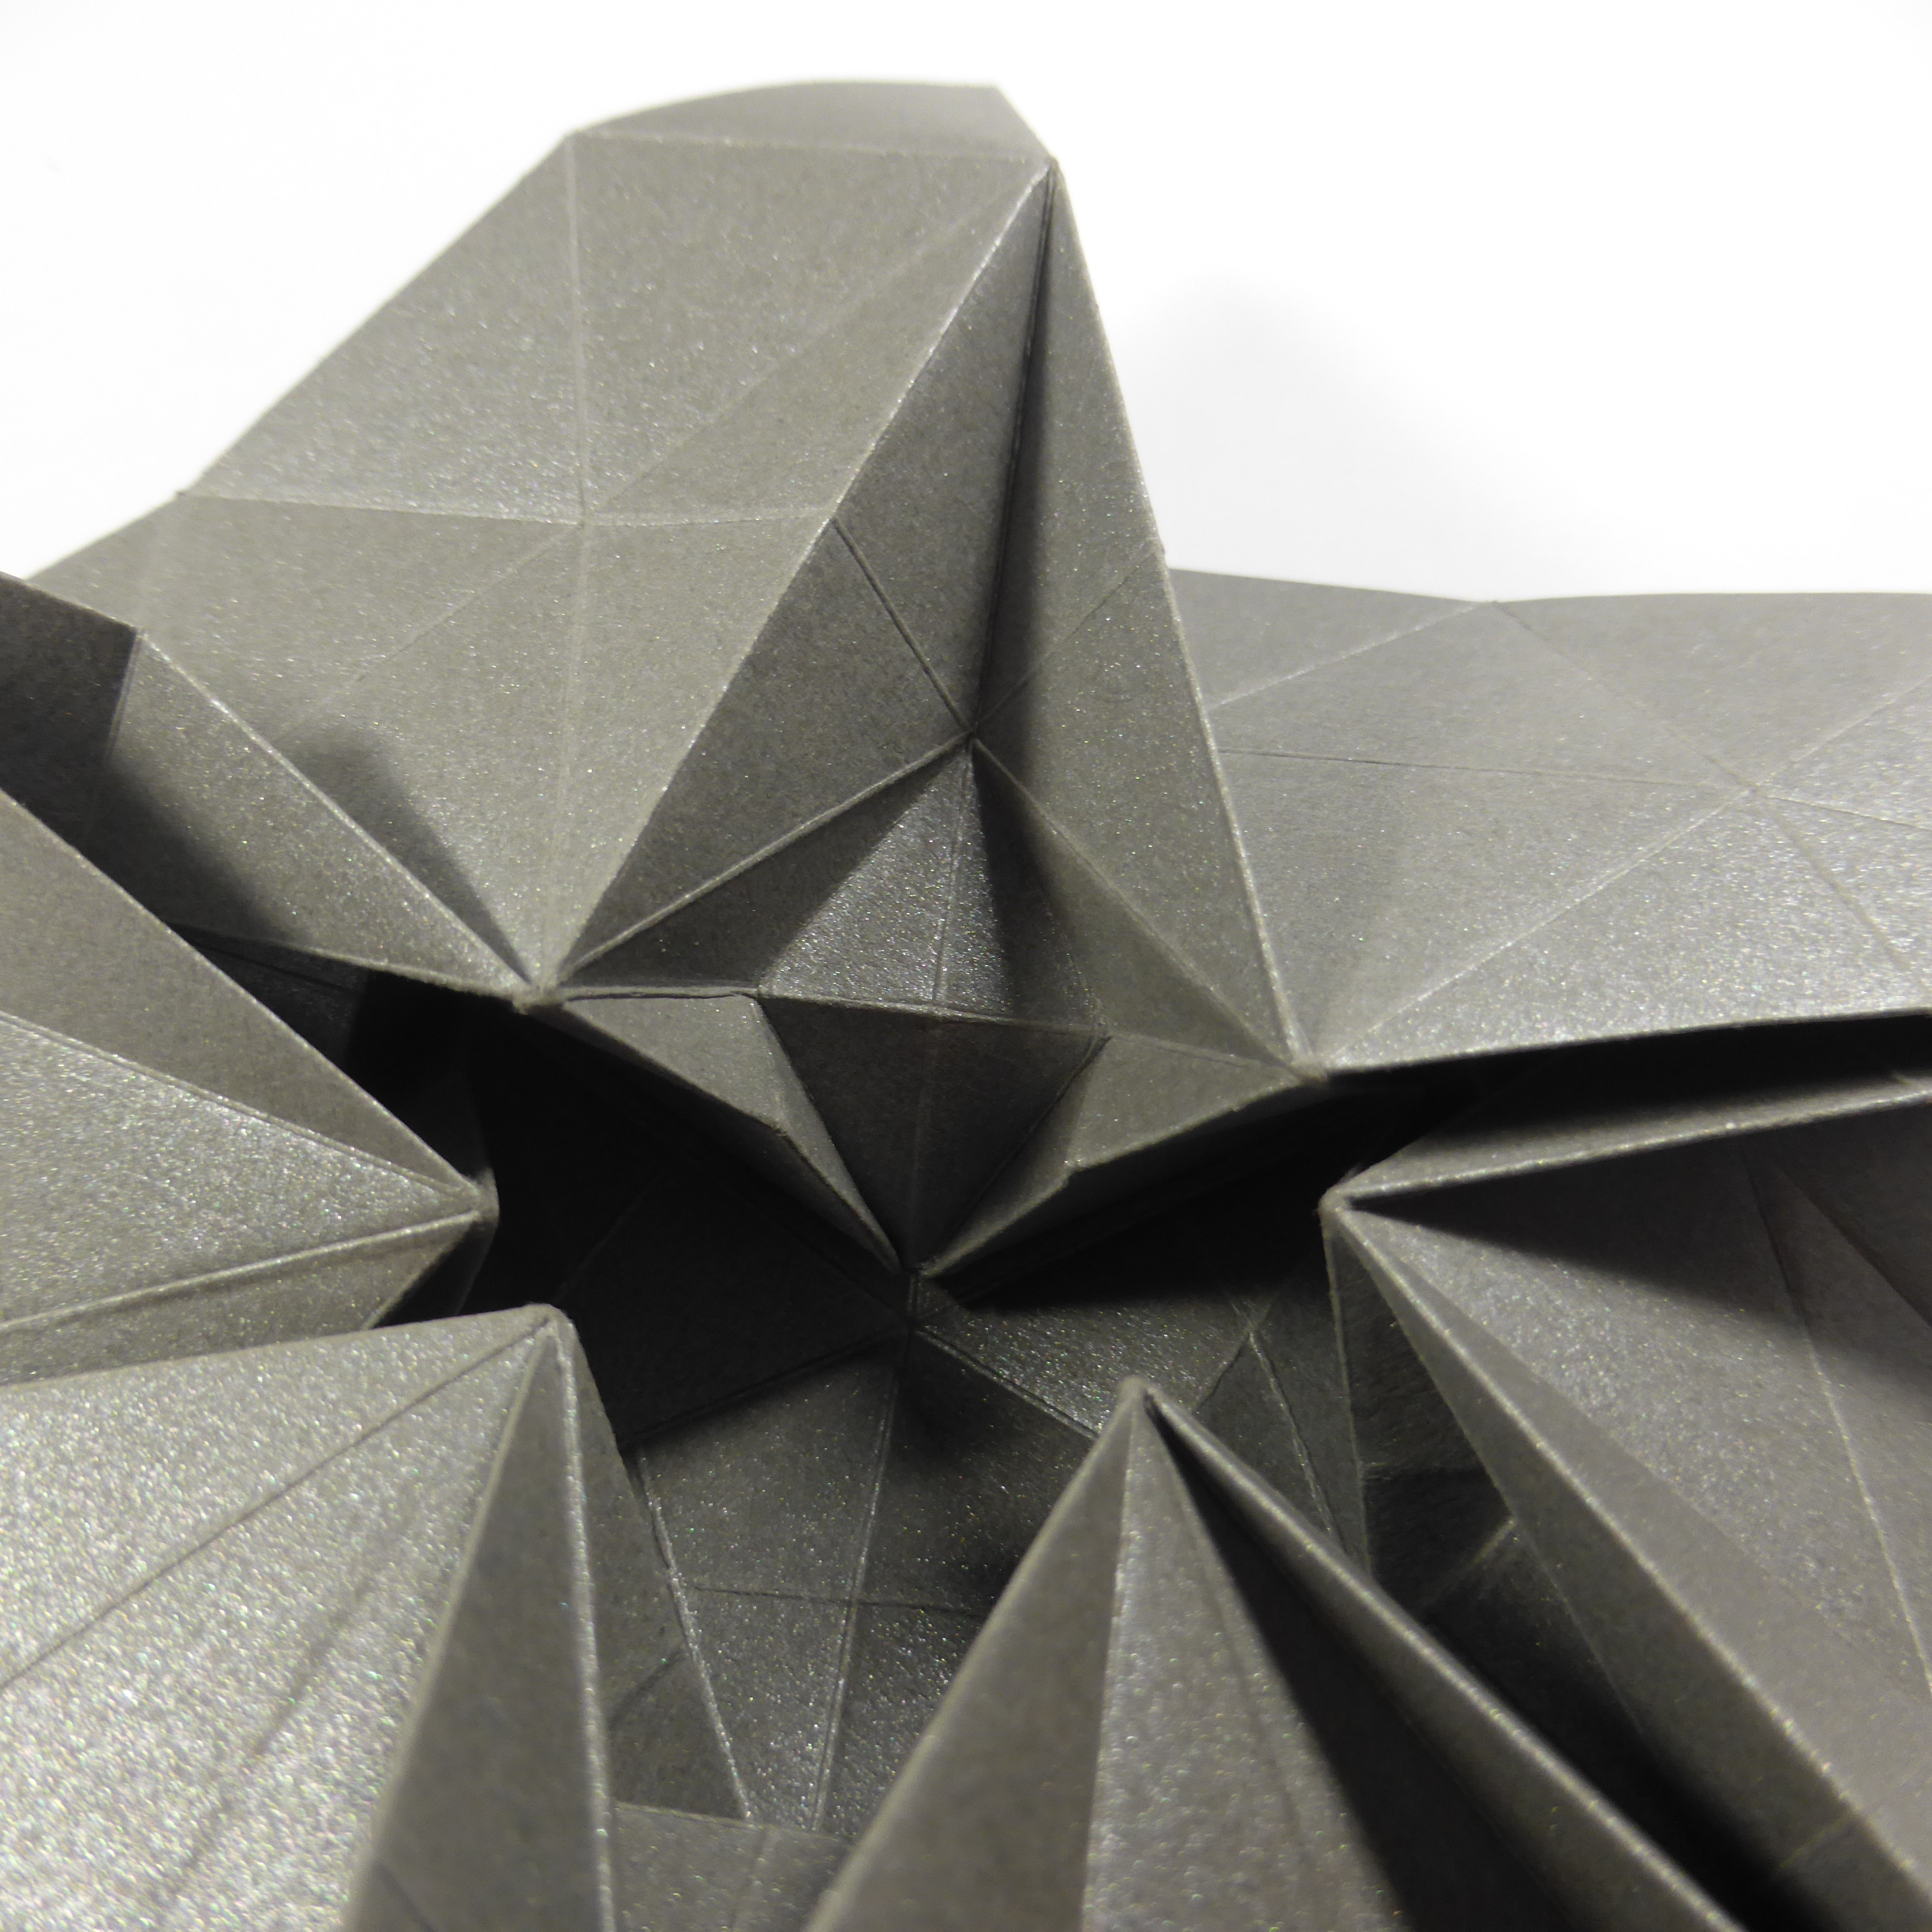
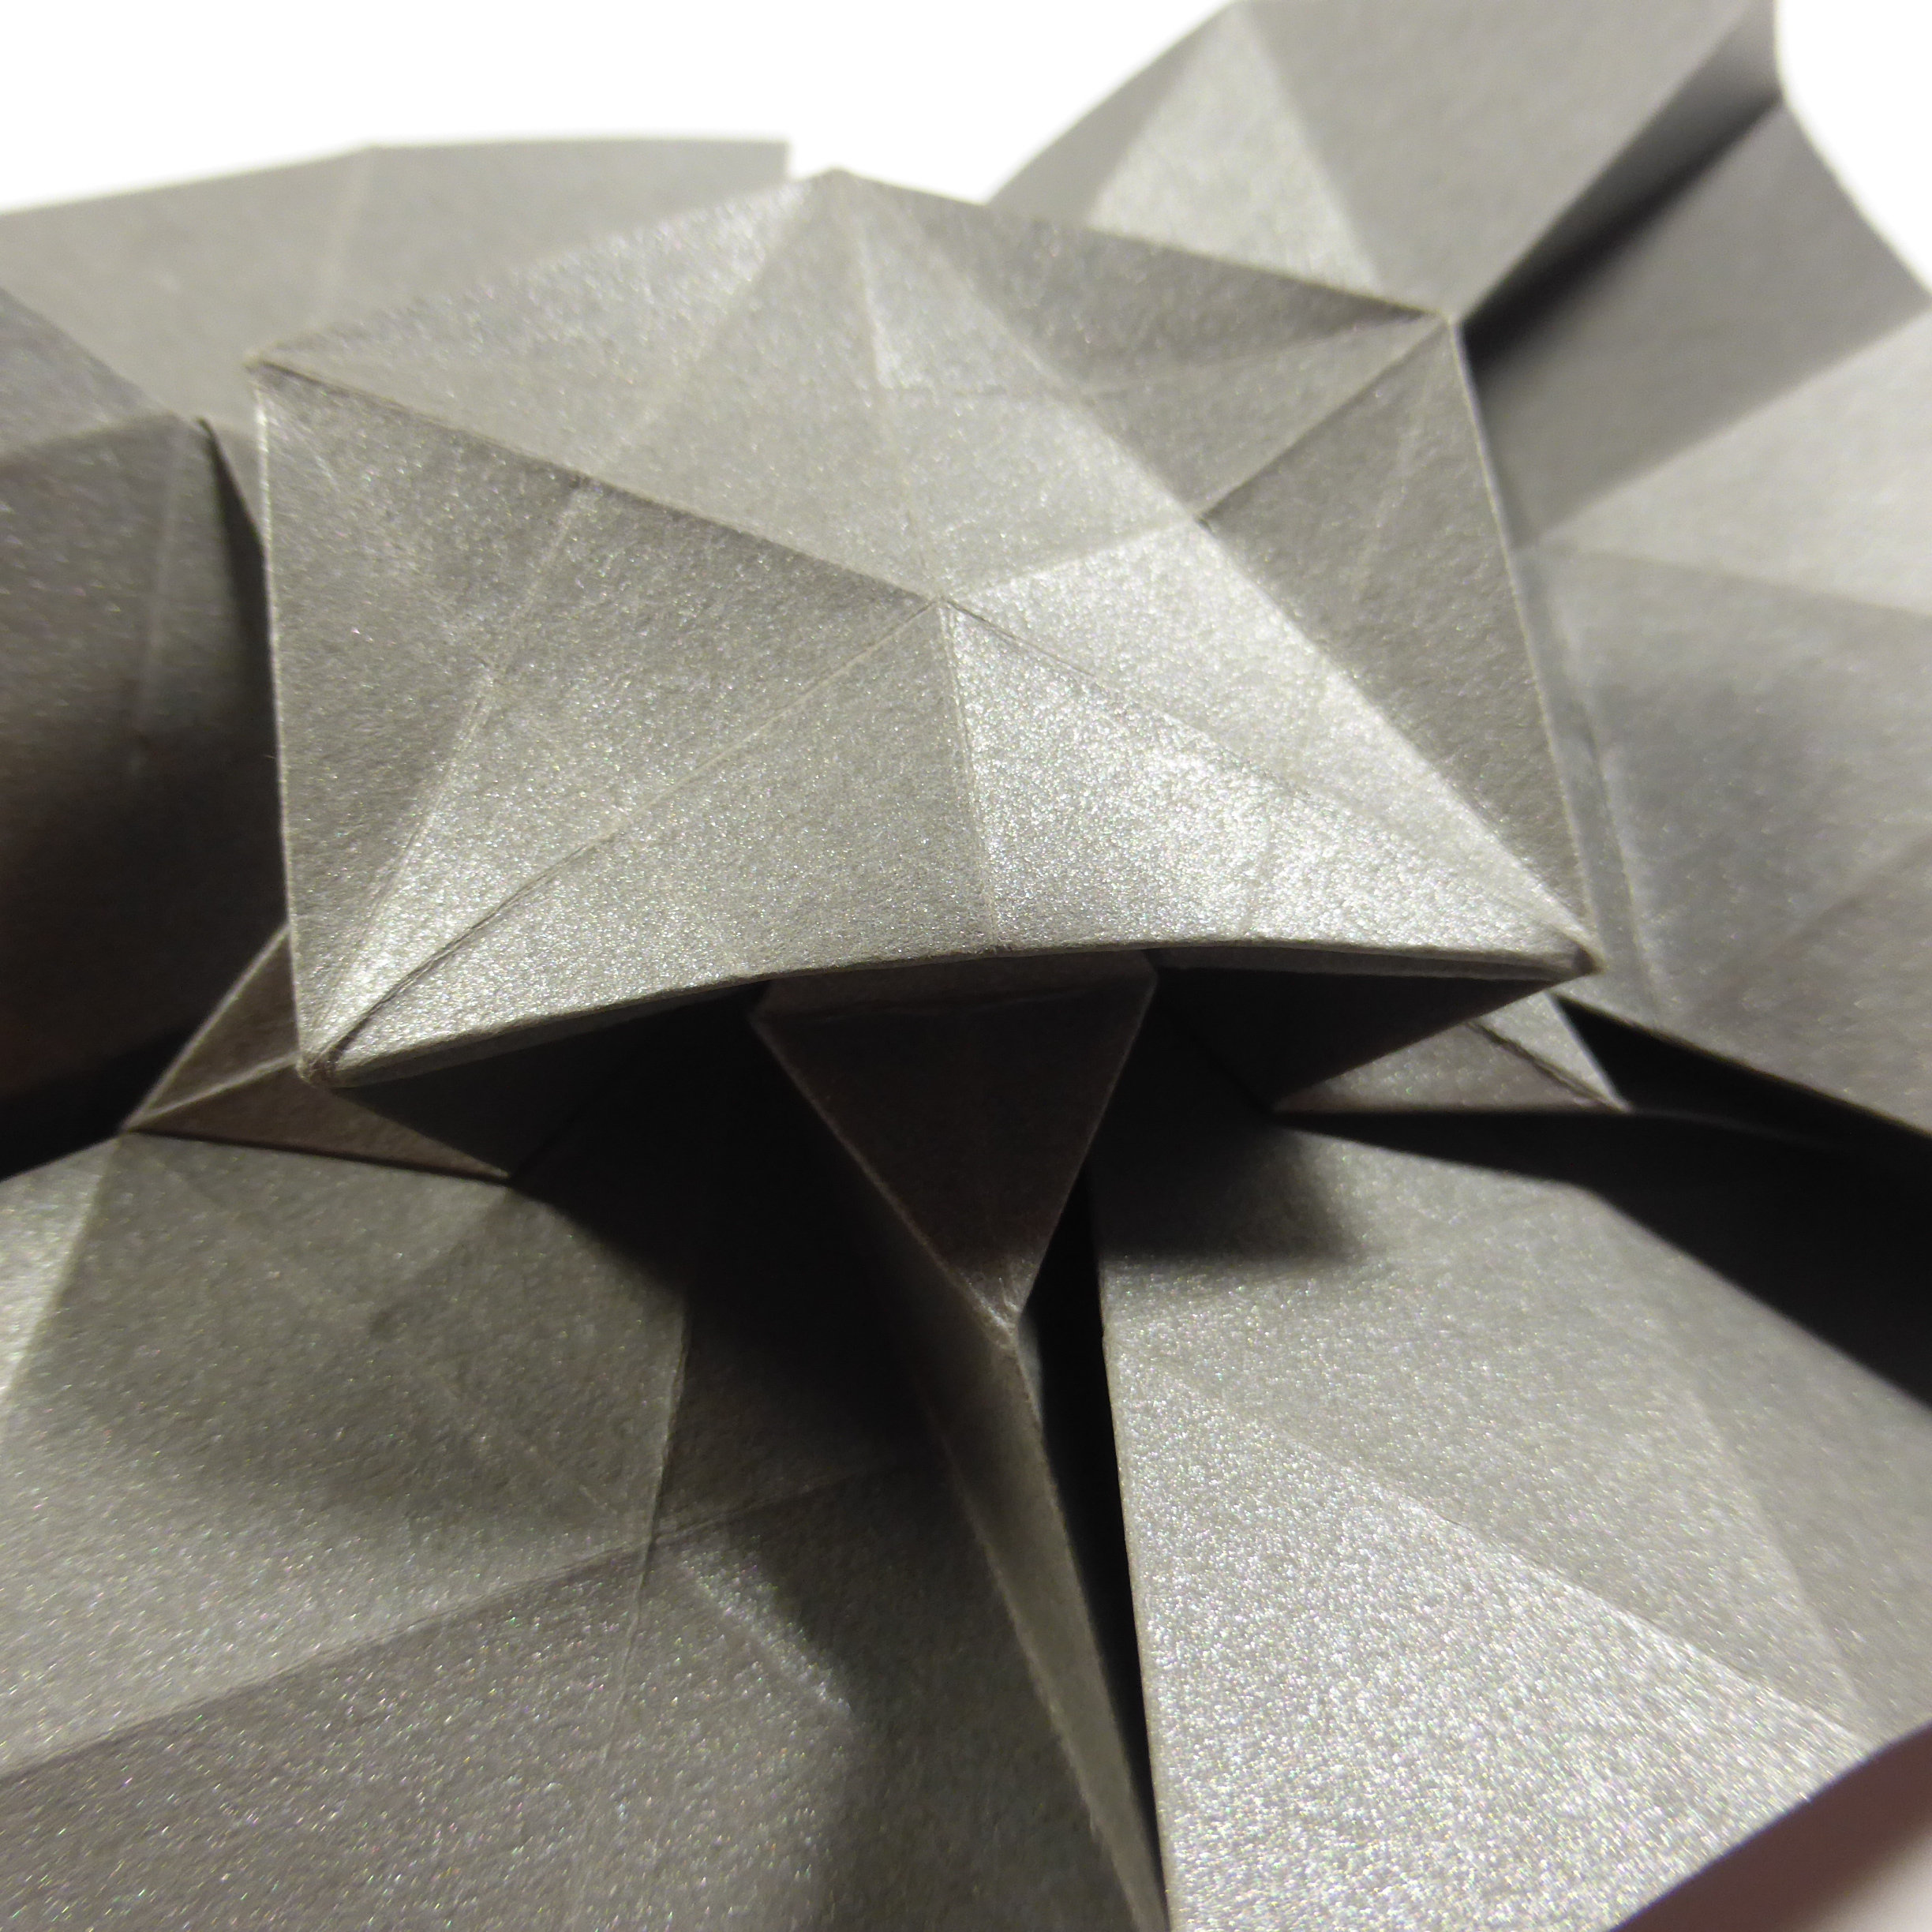
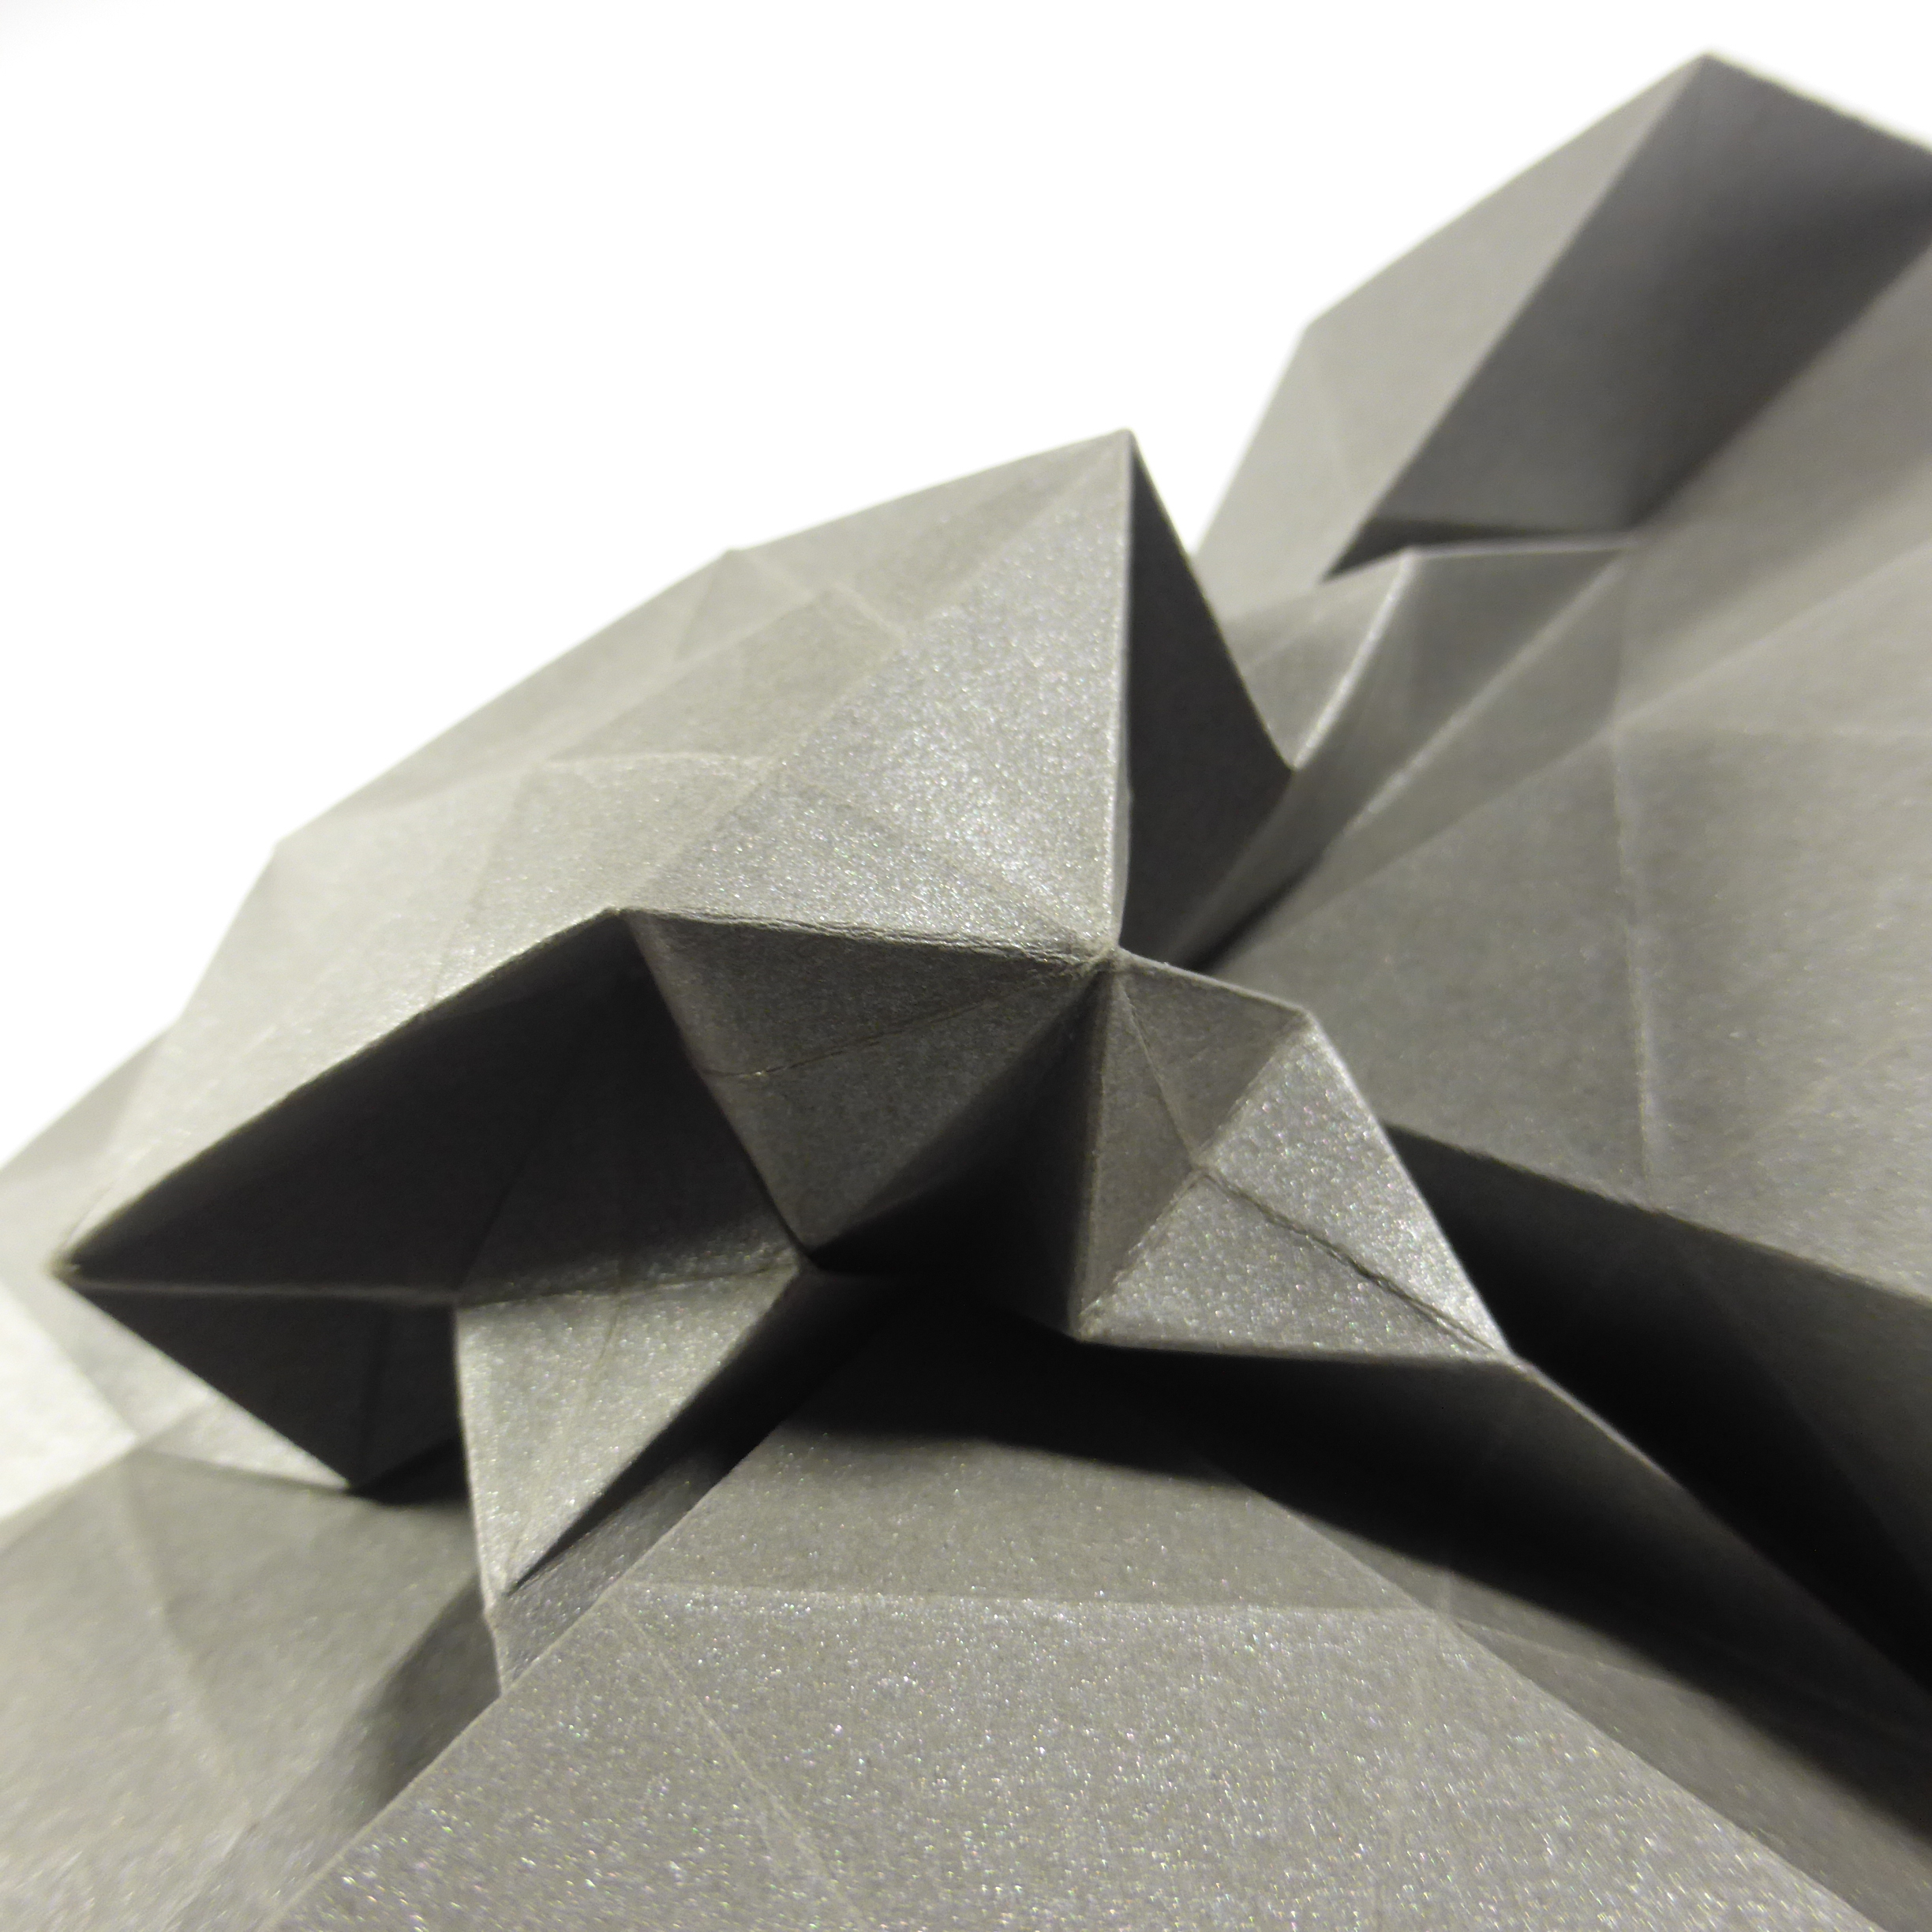
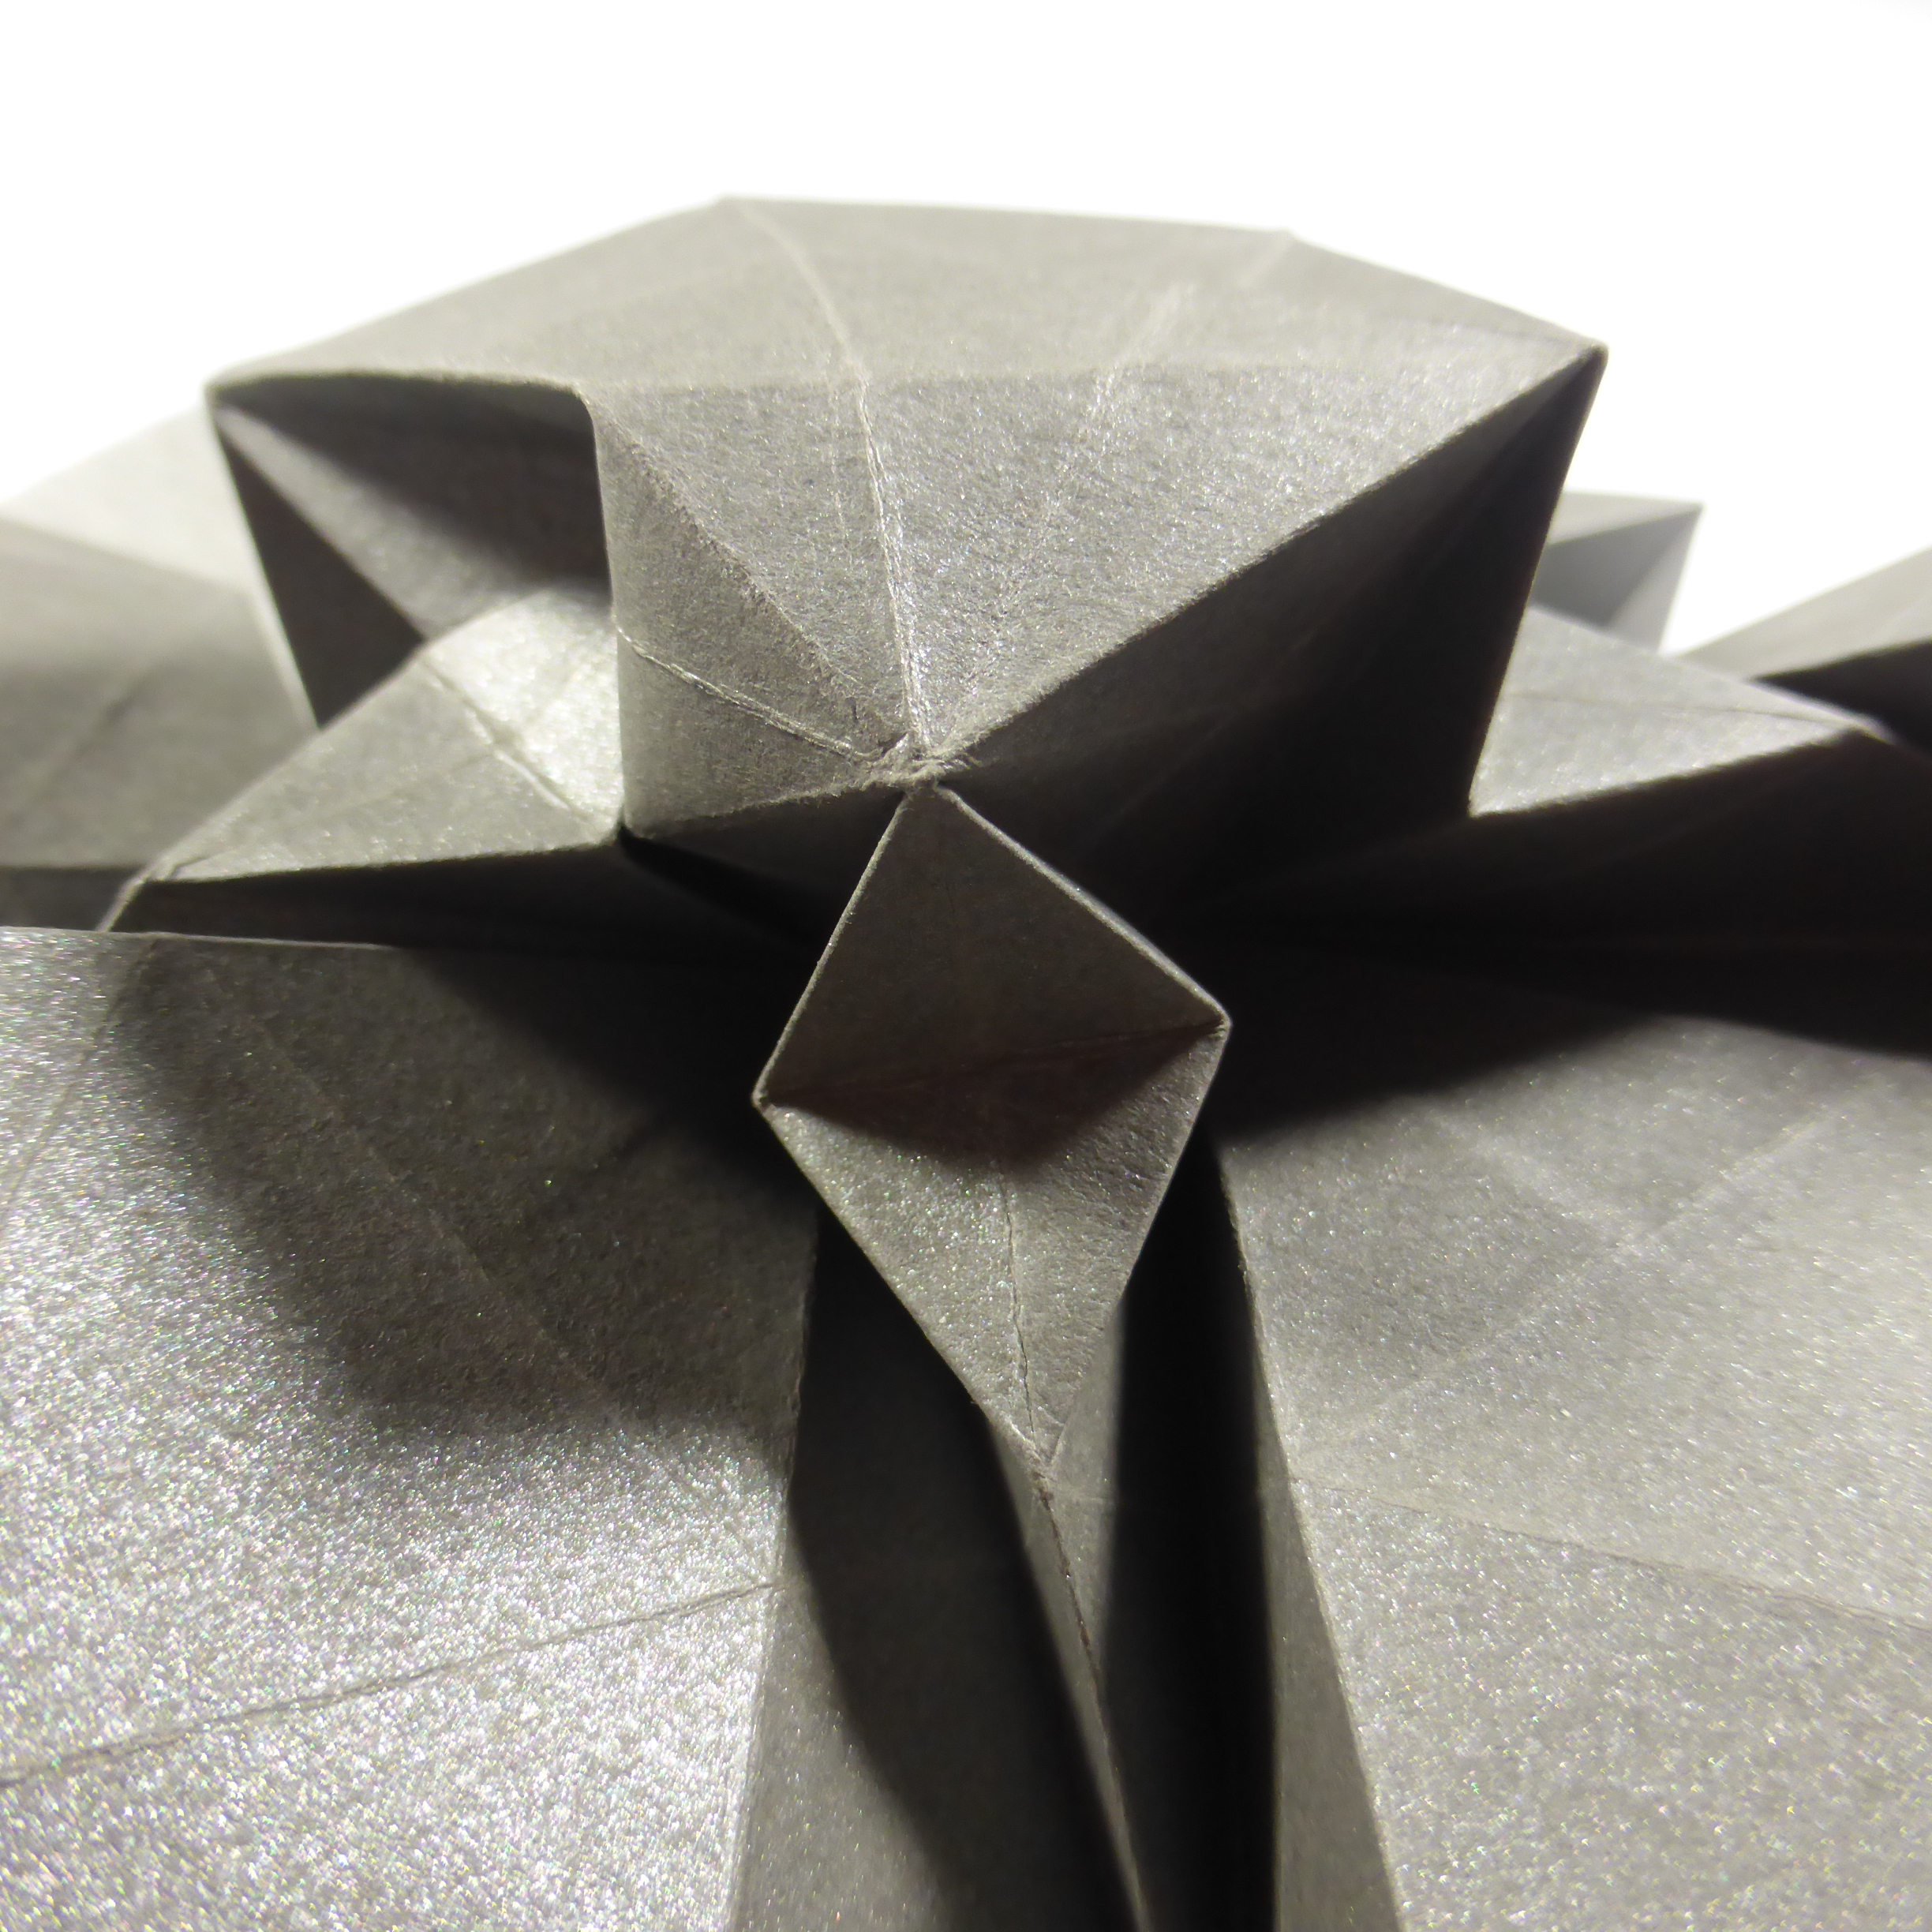
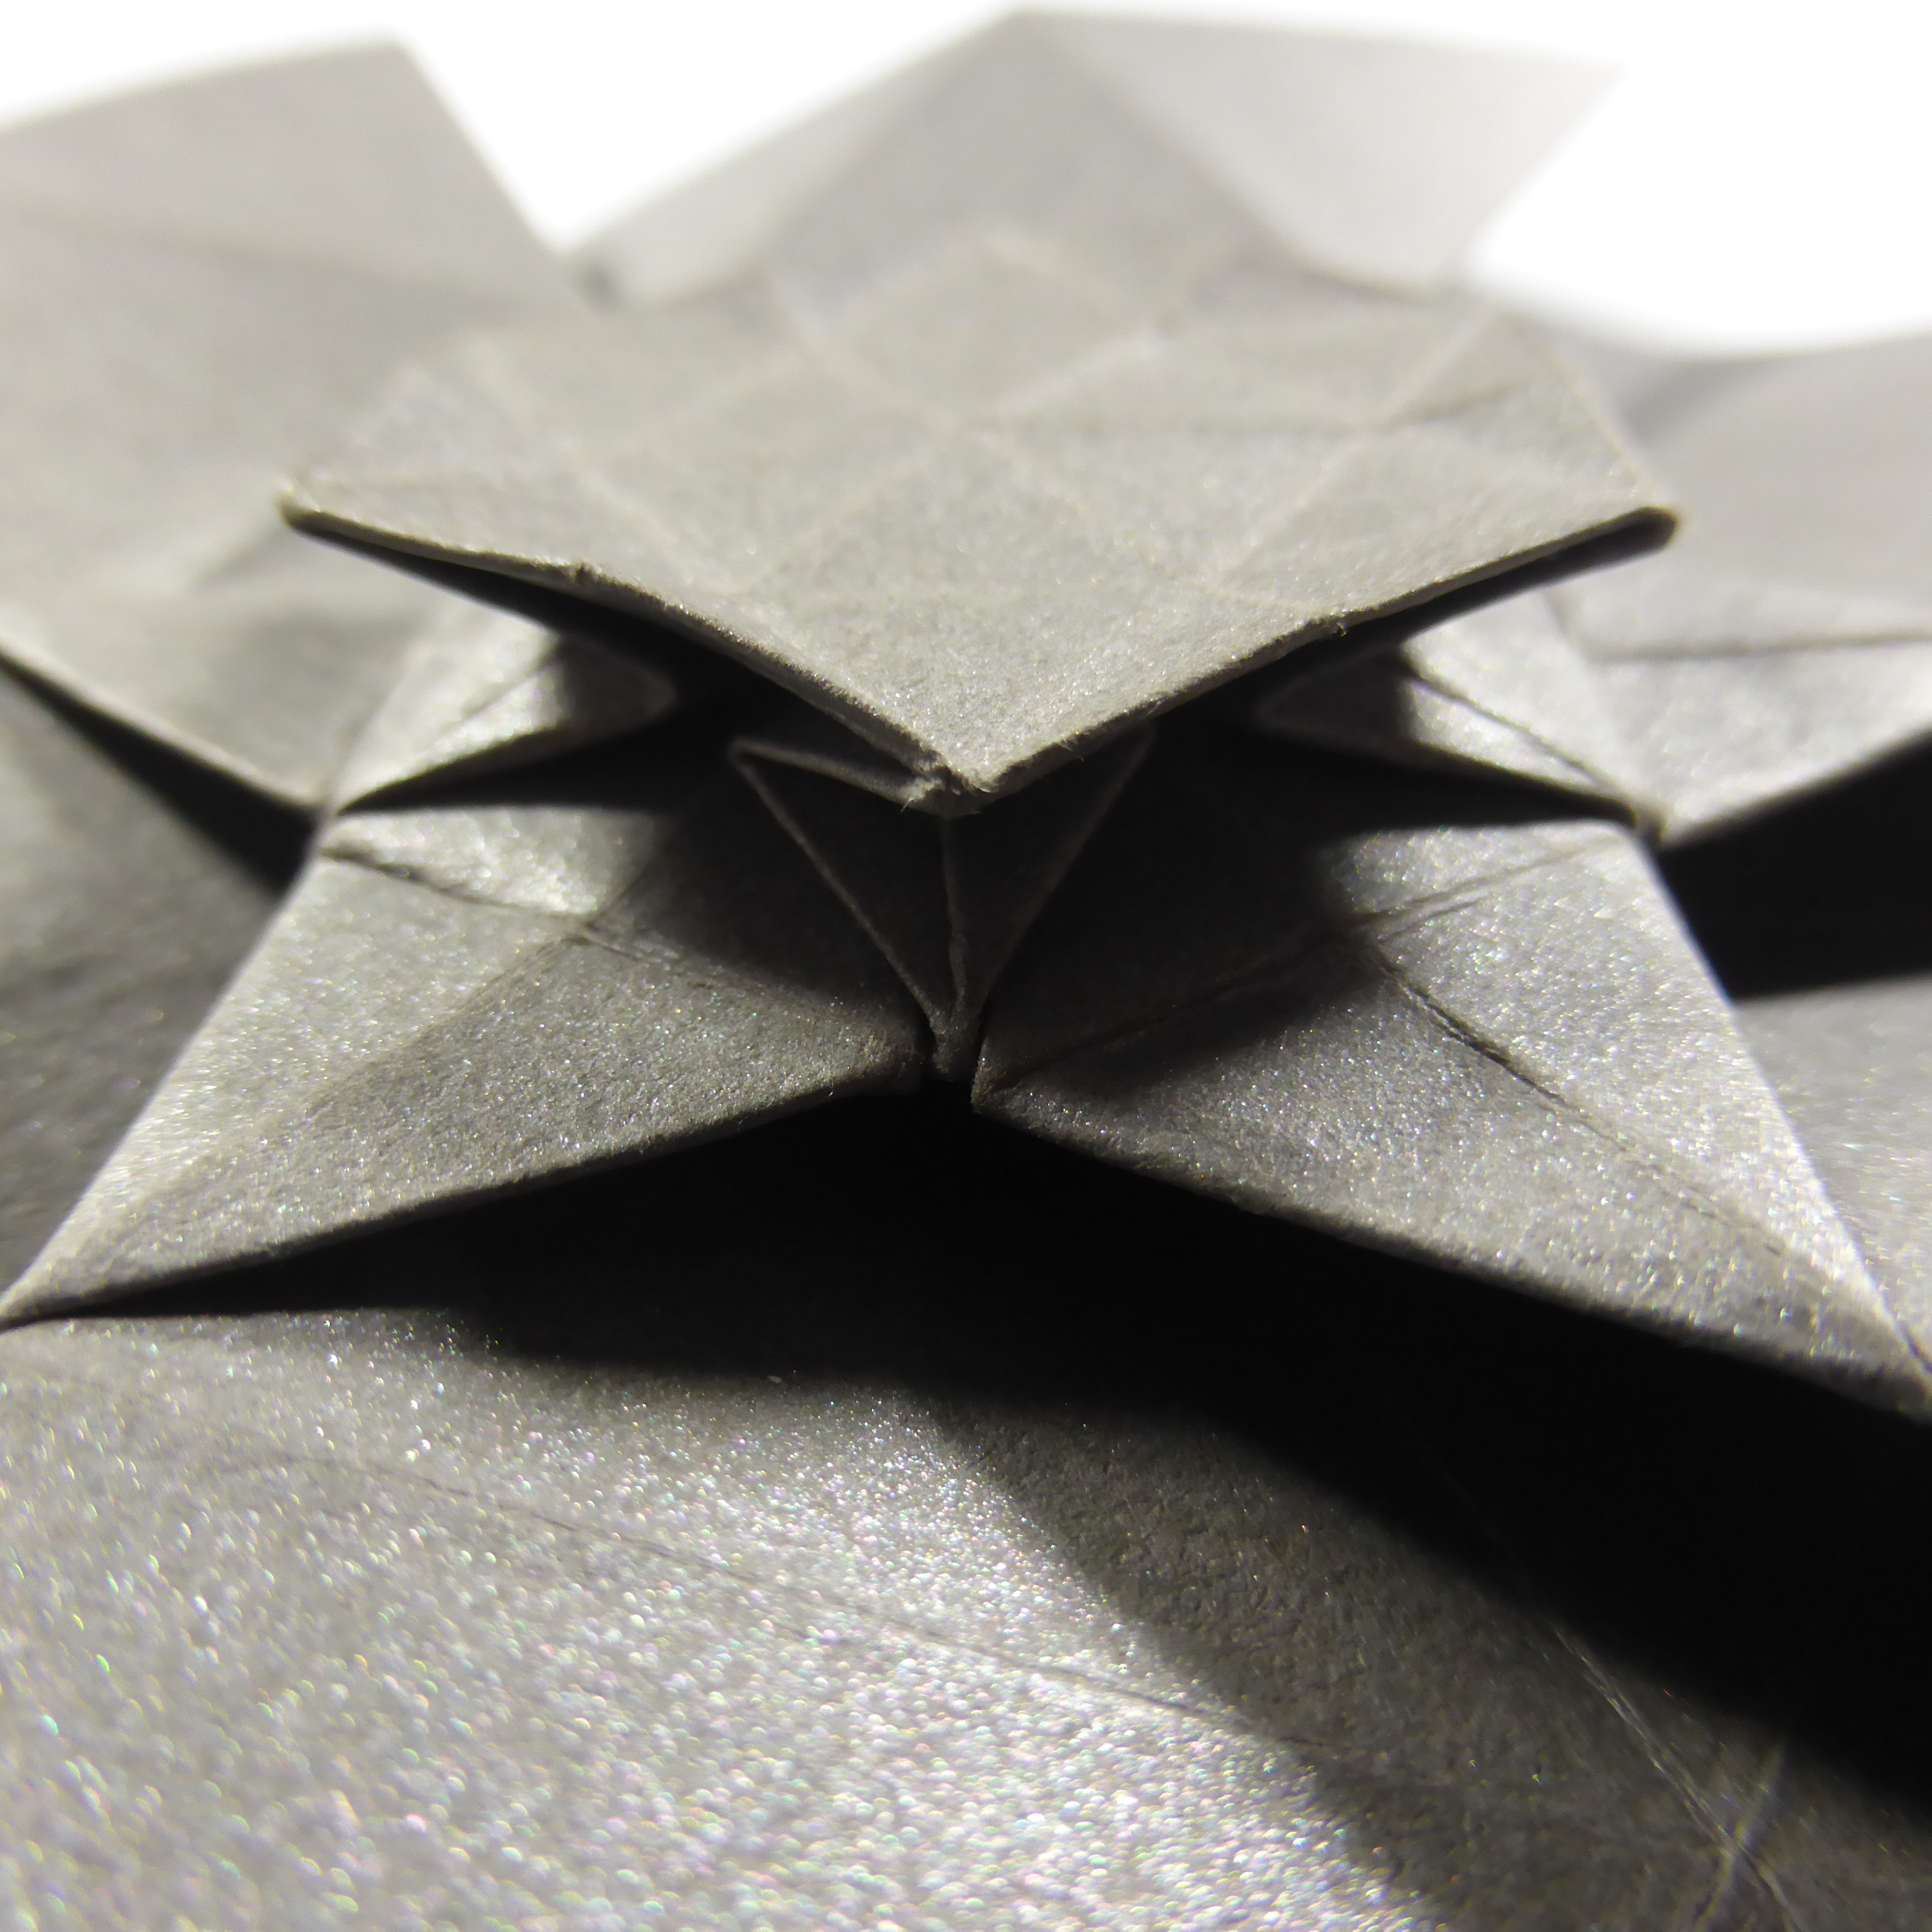
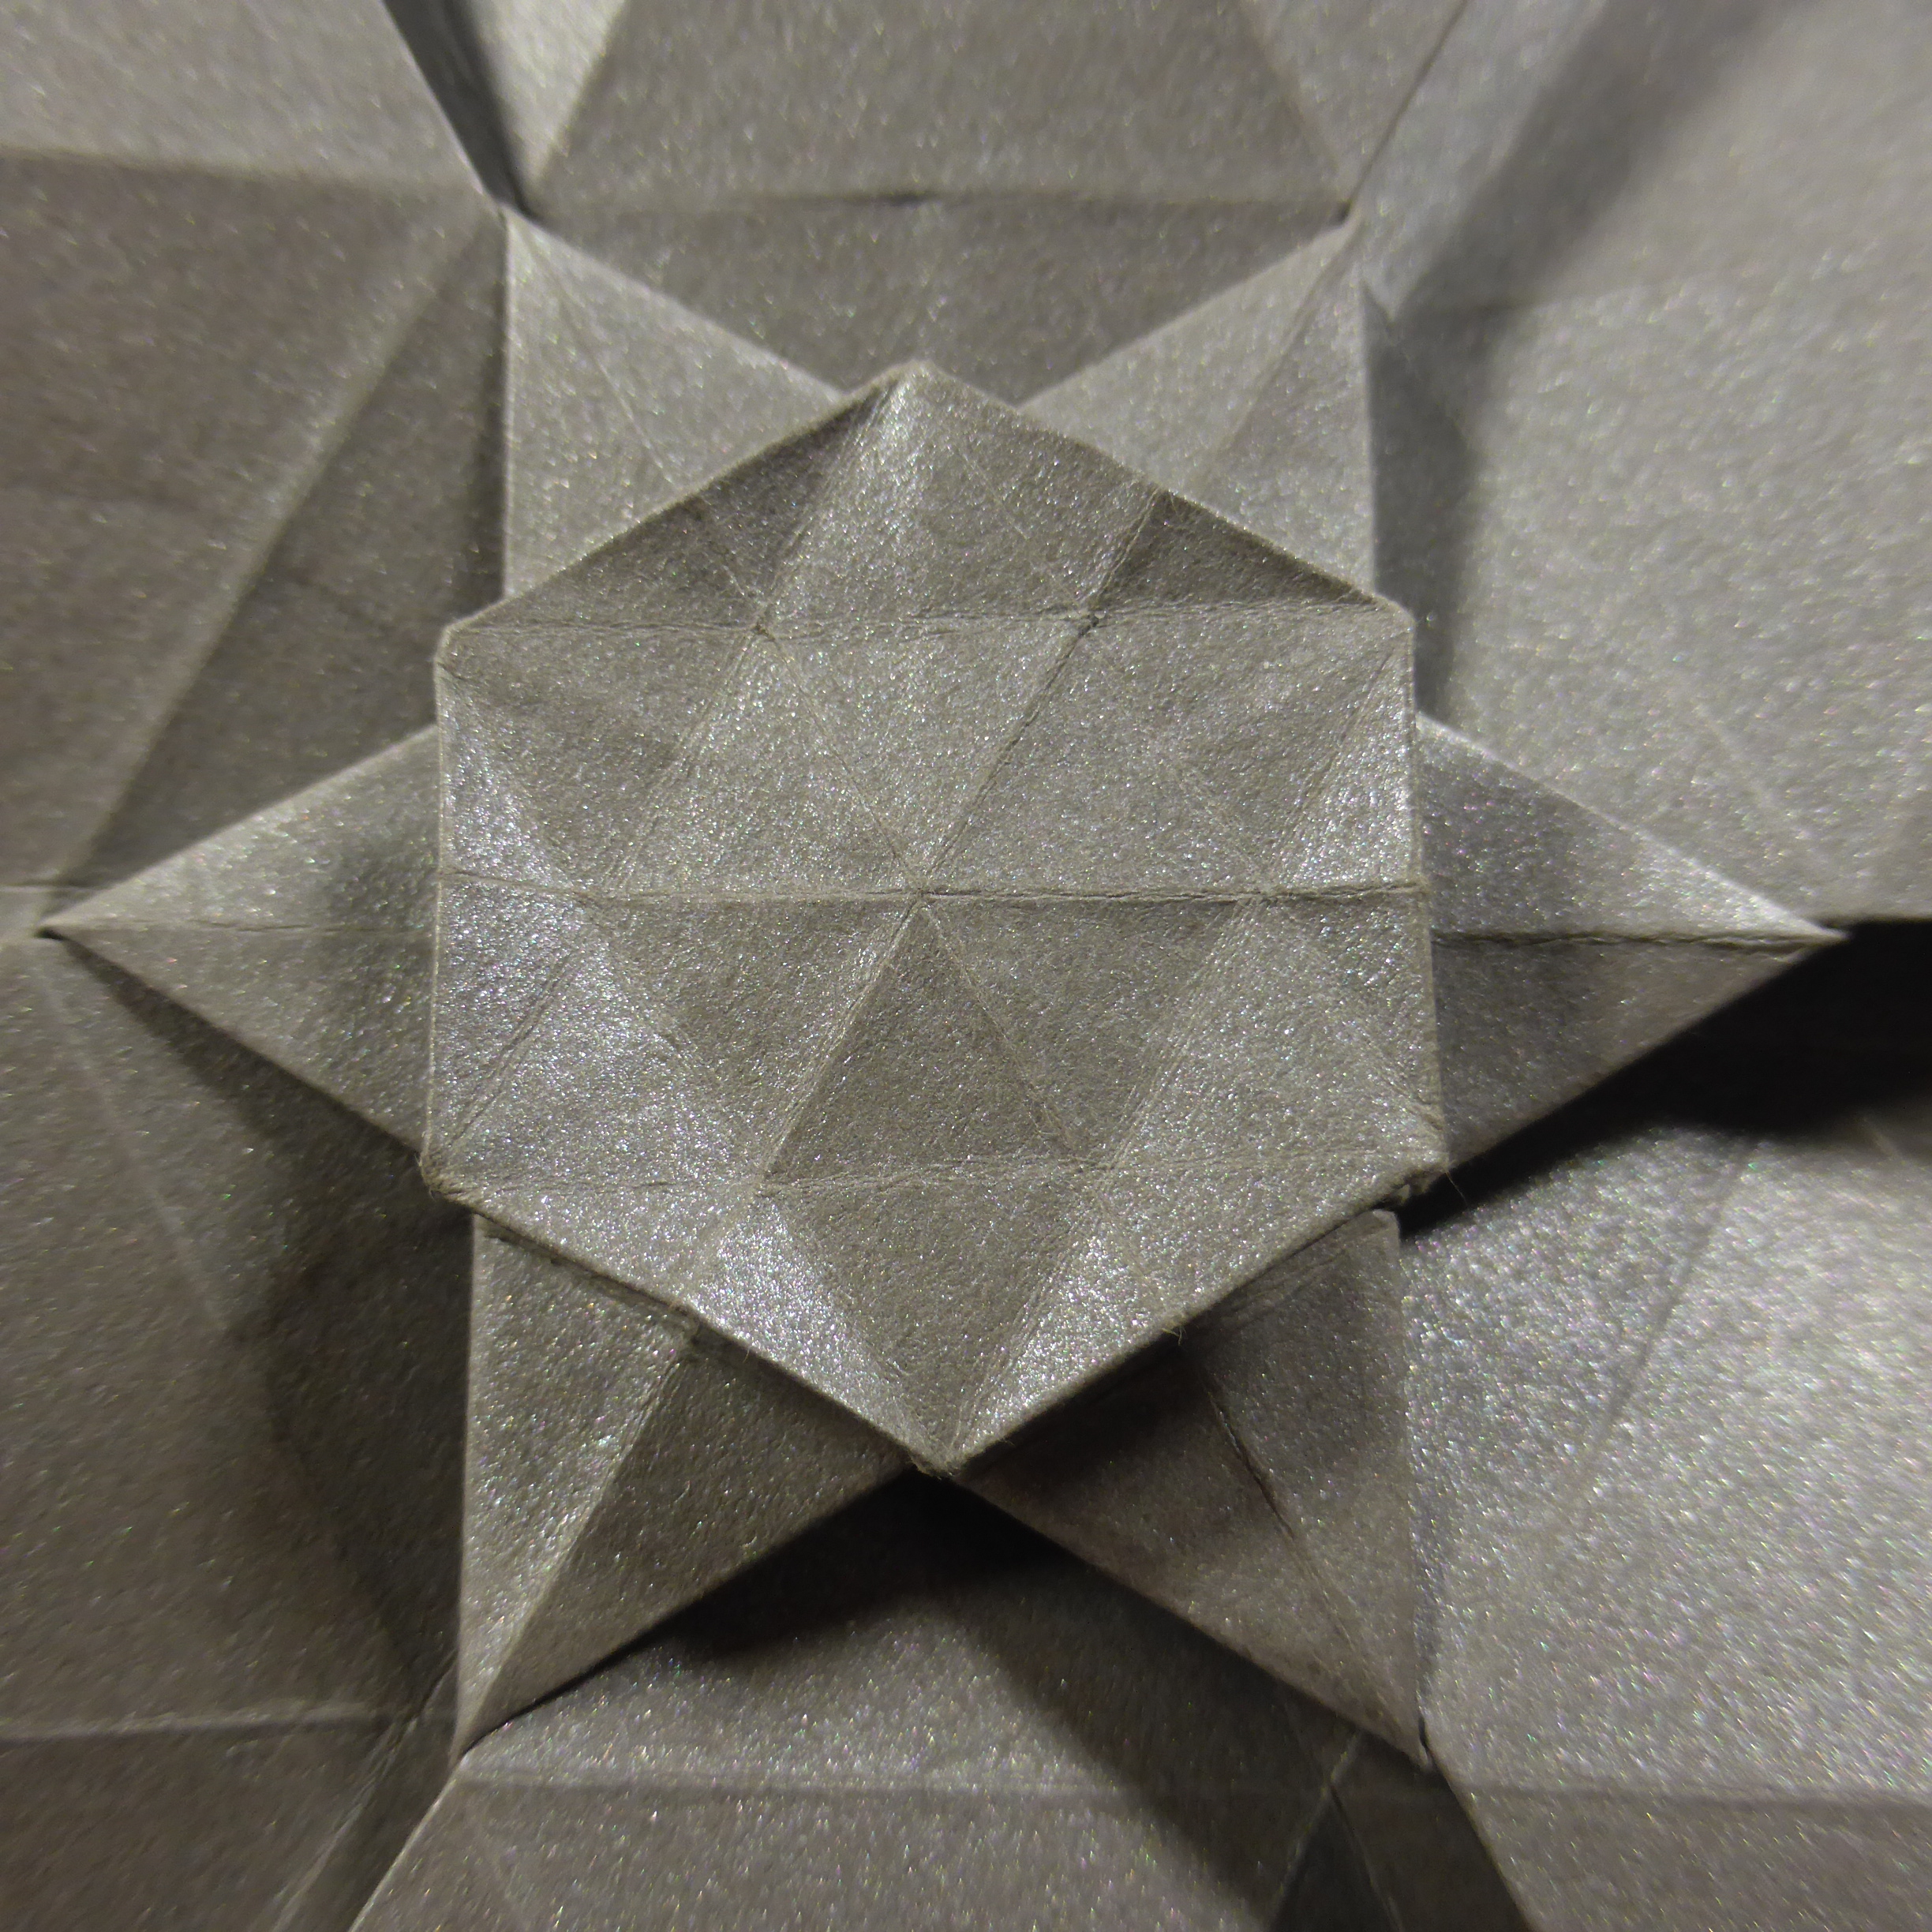
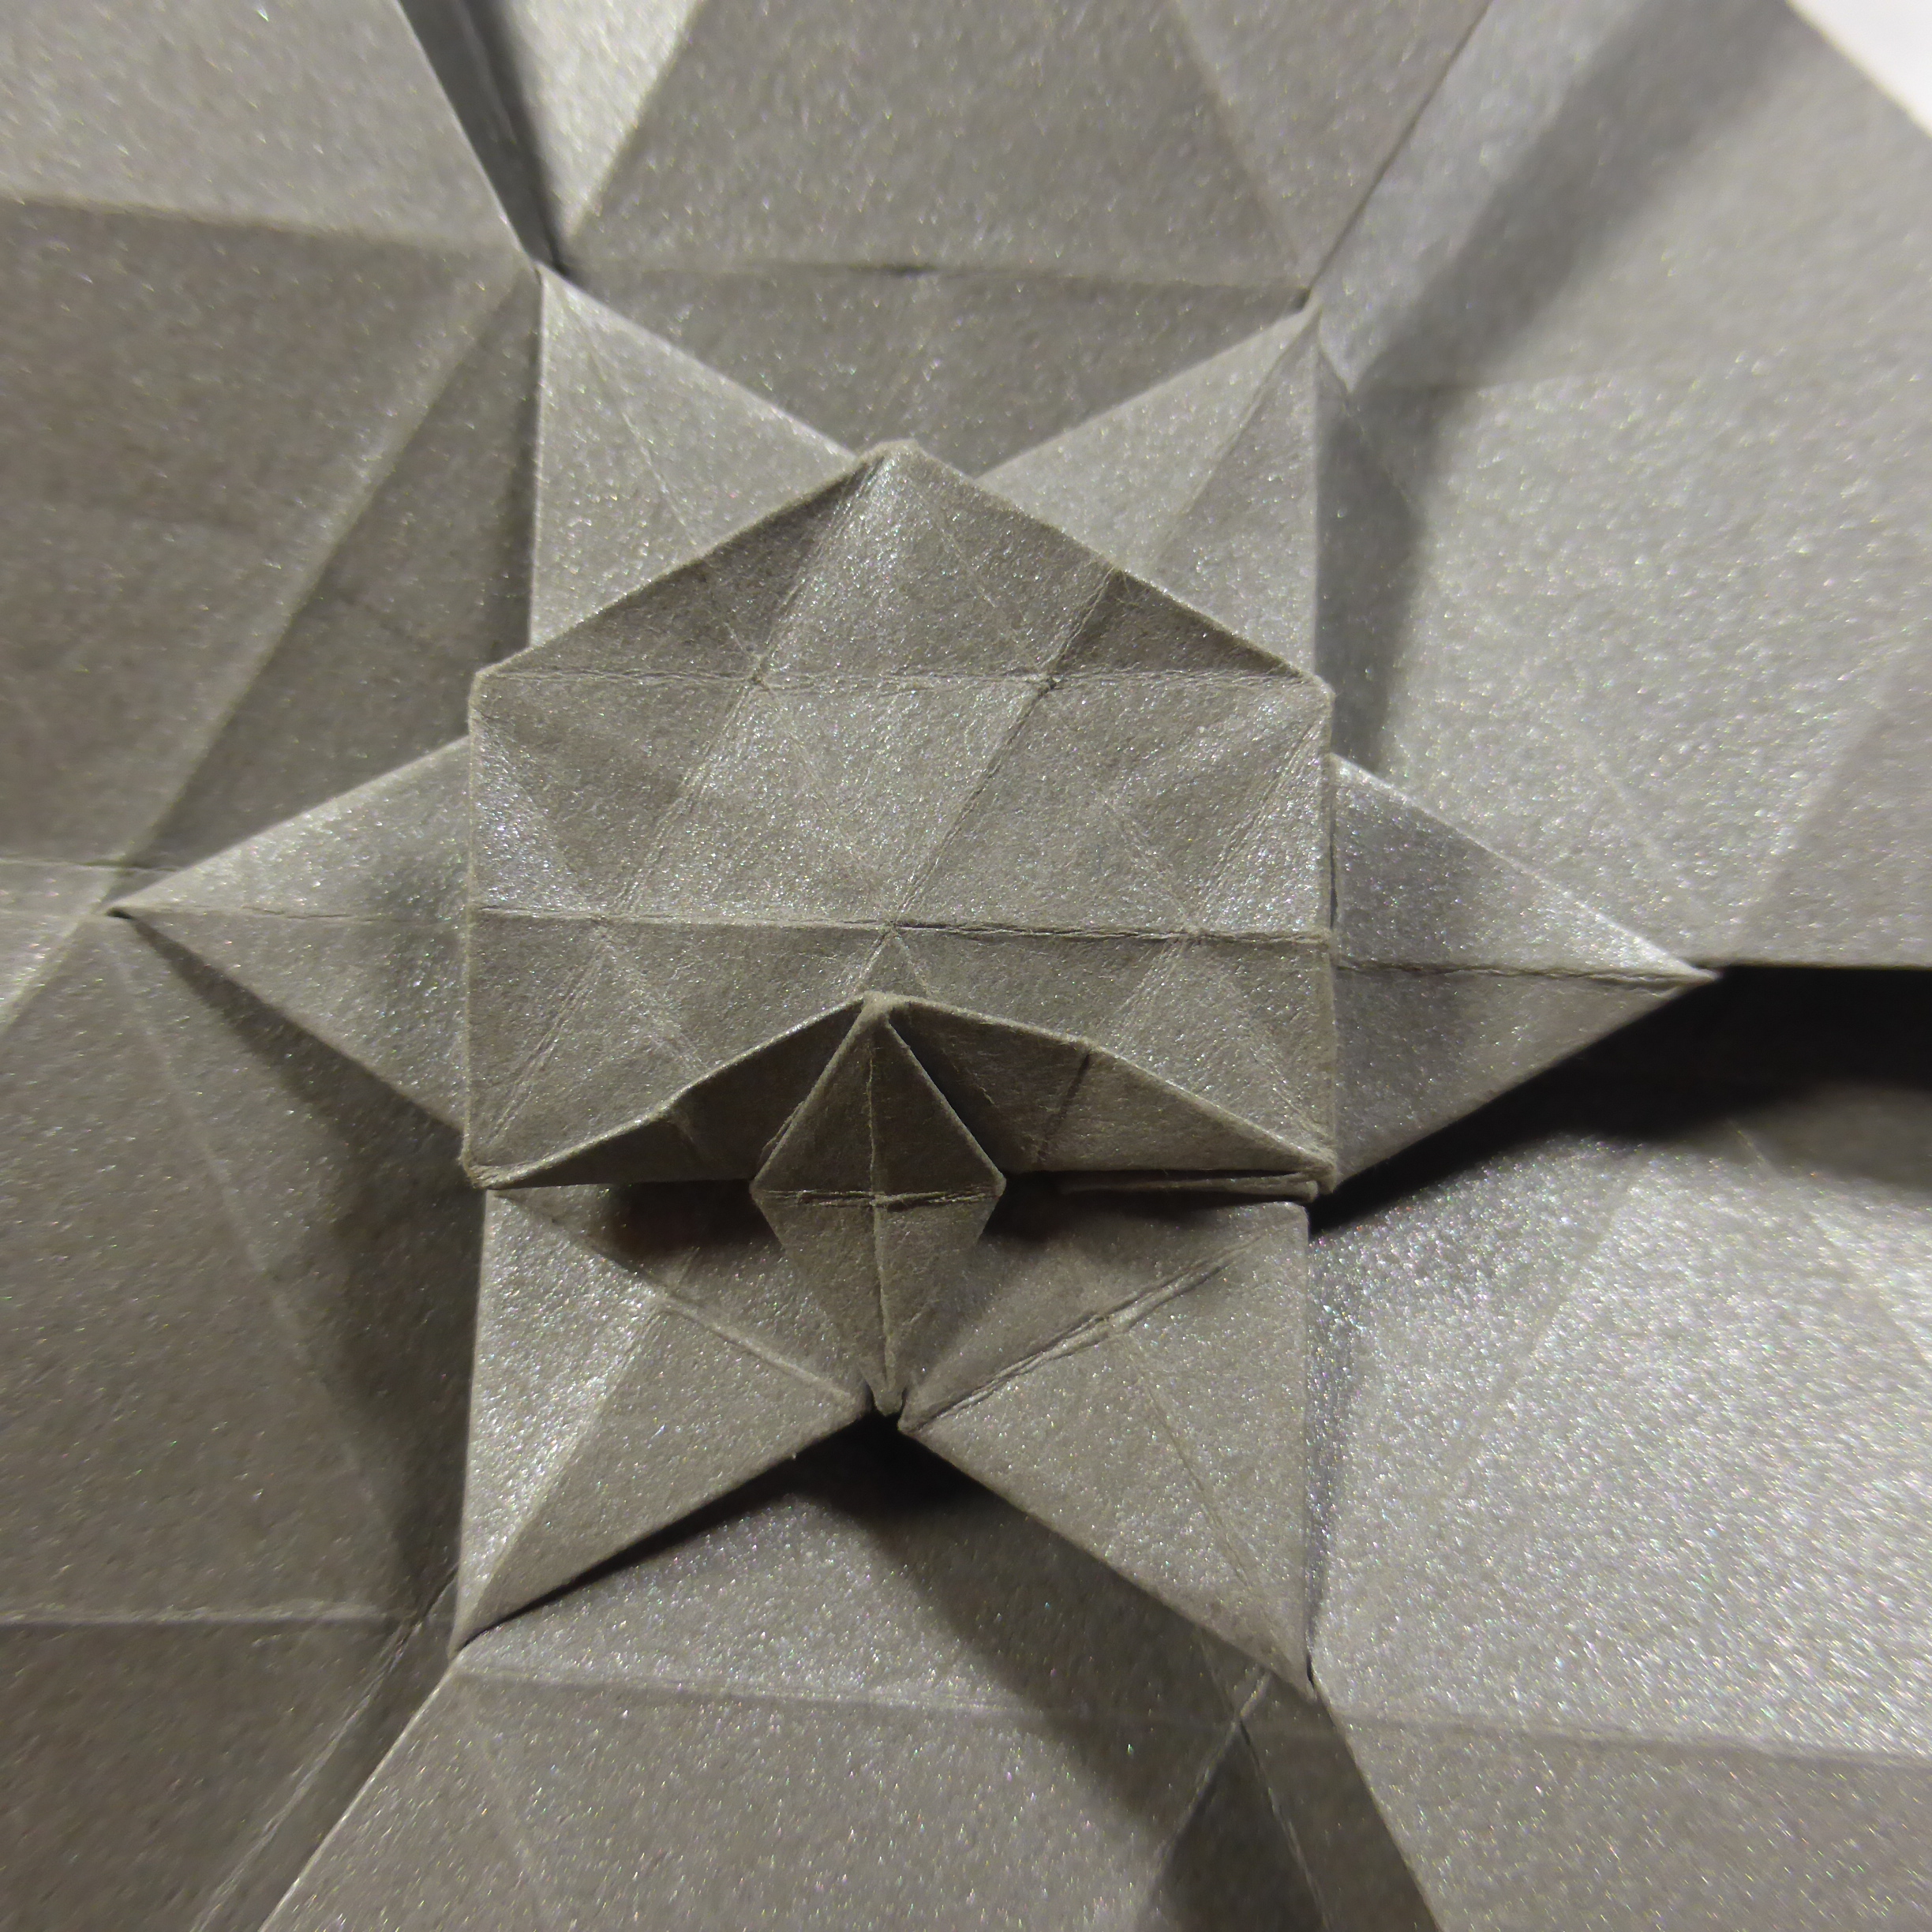
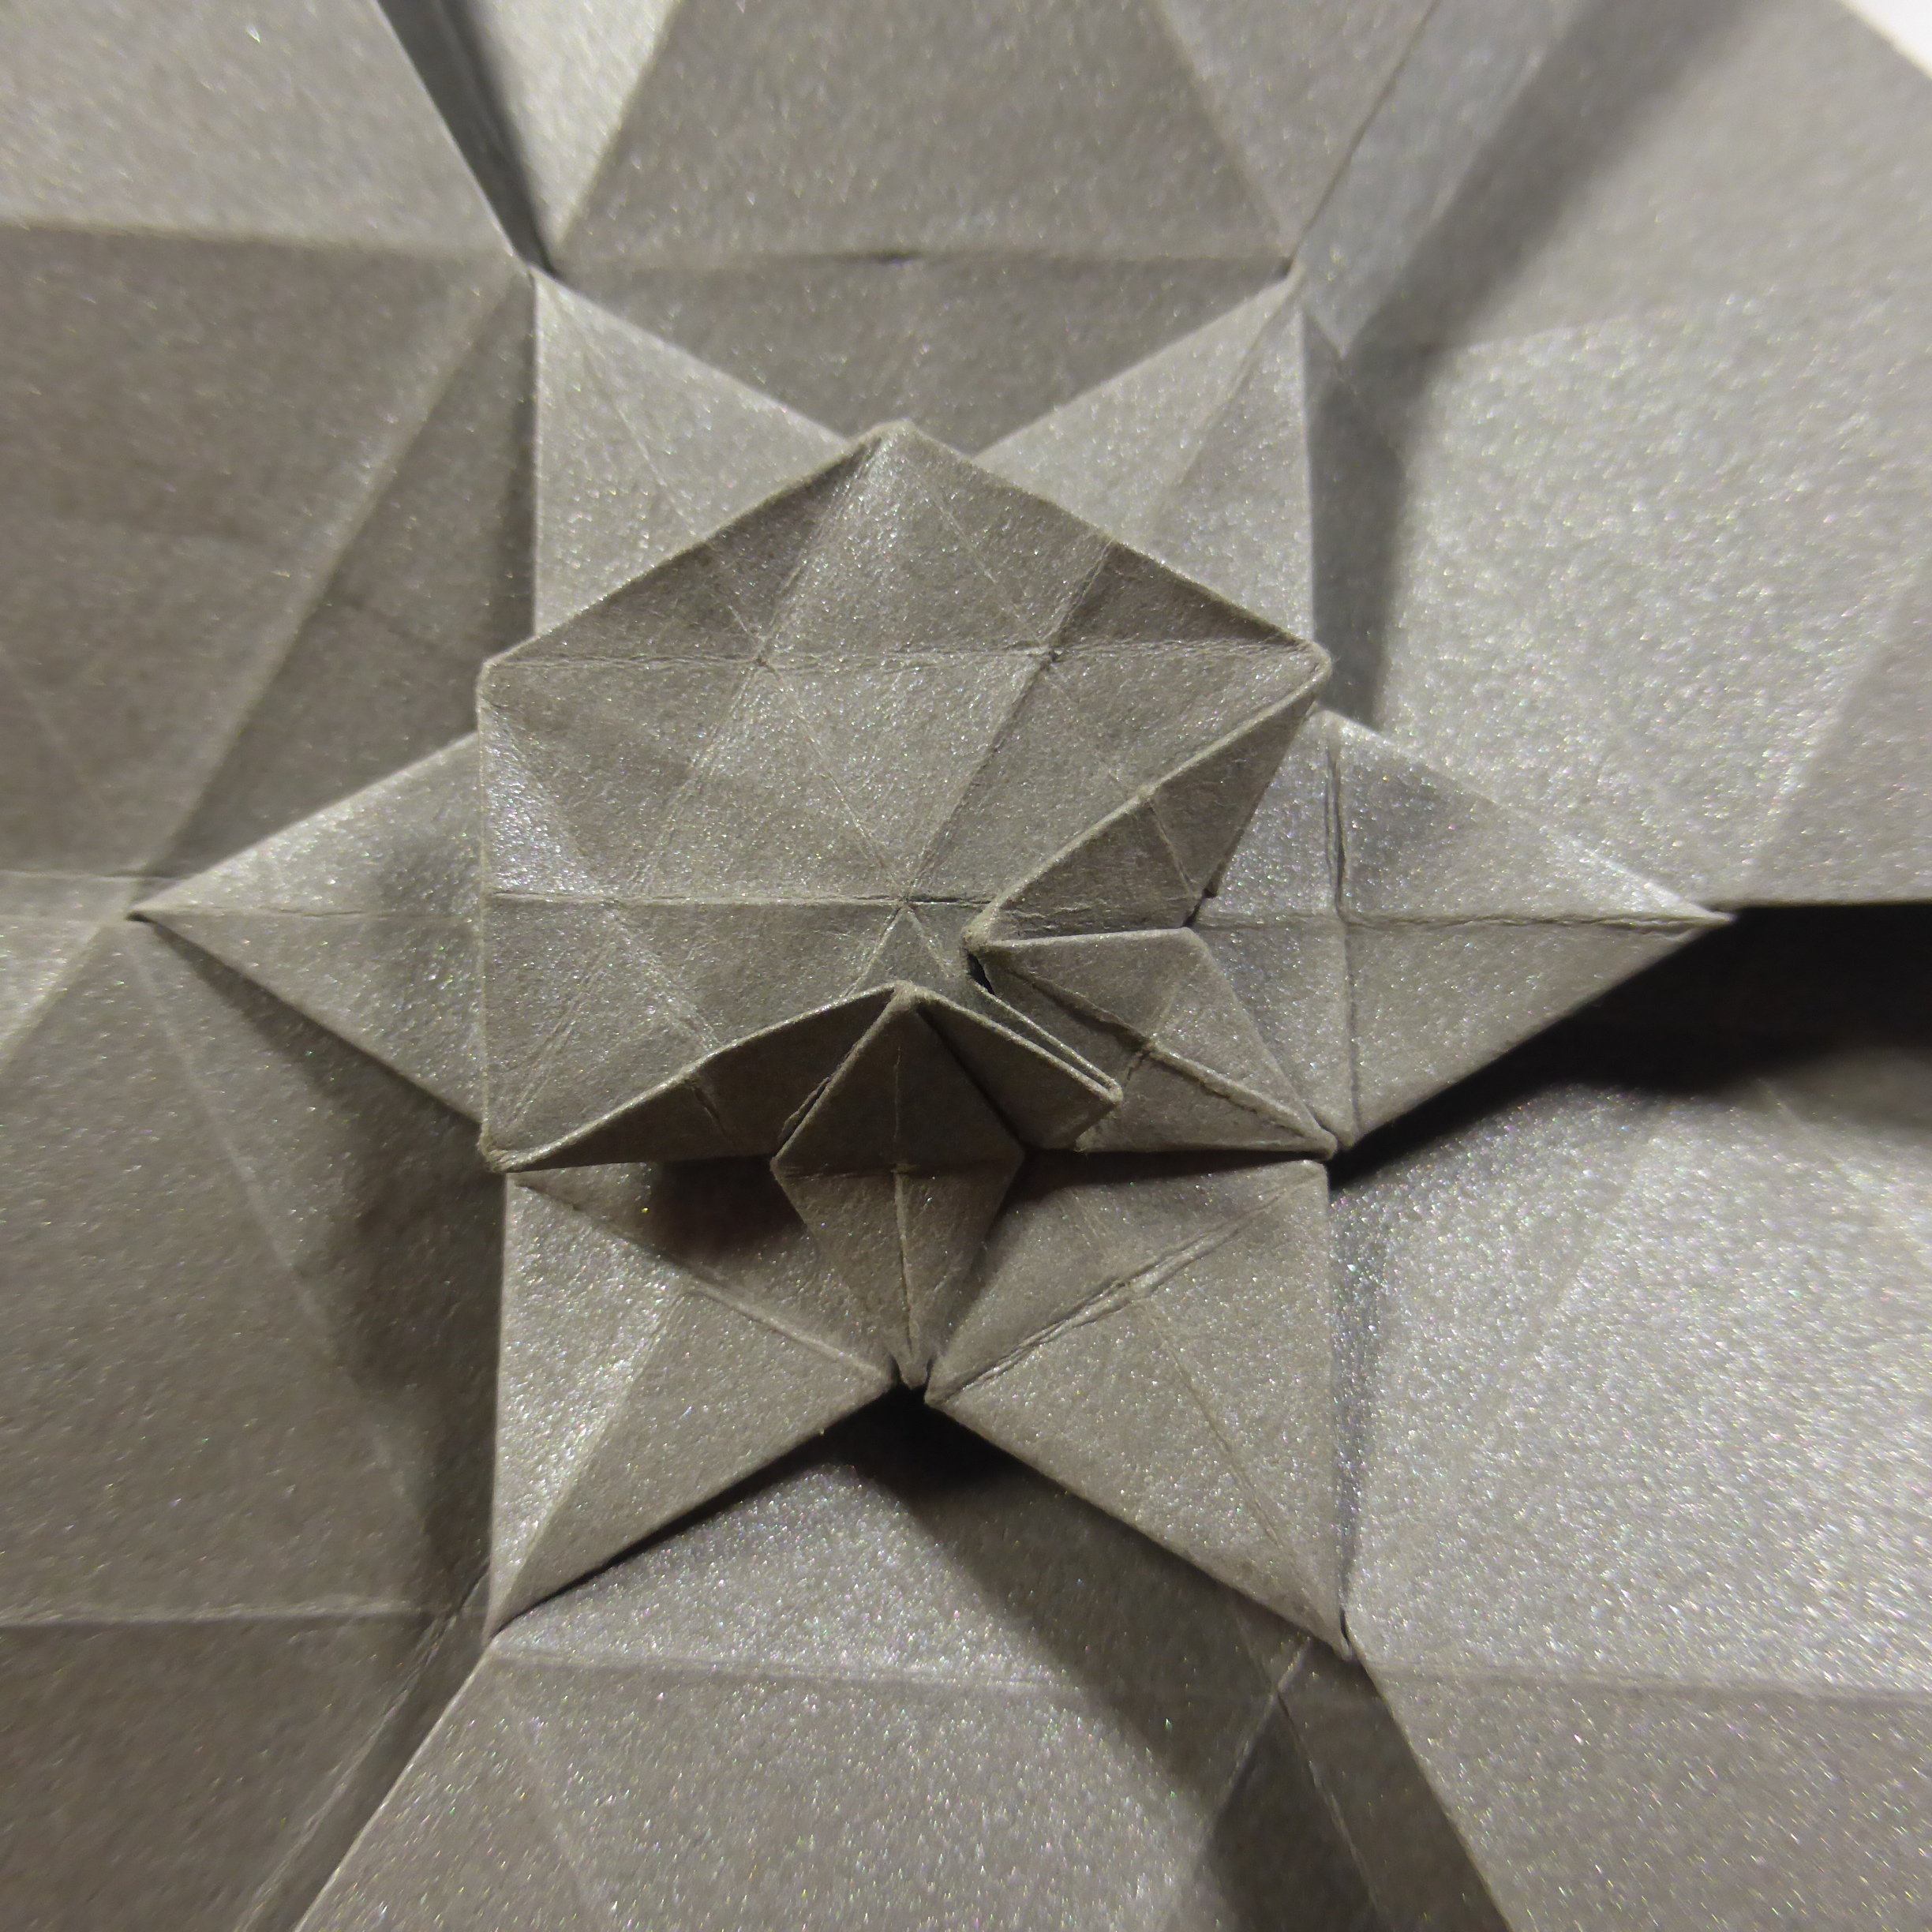
Phototutorial

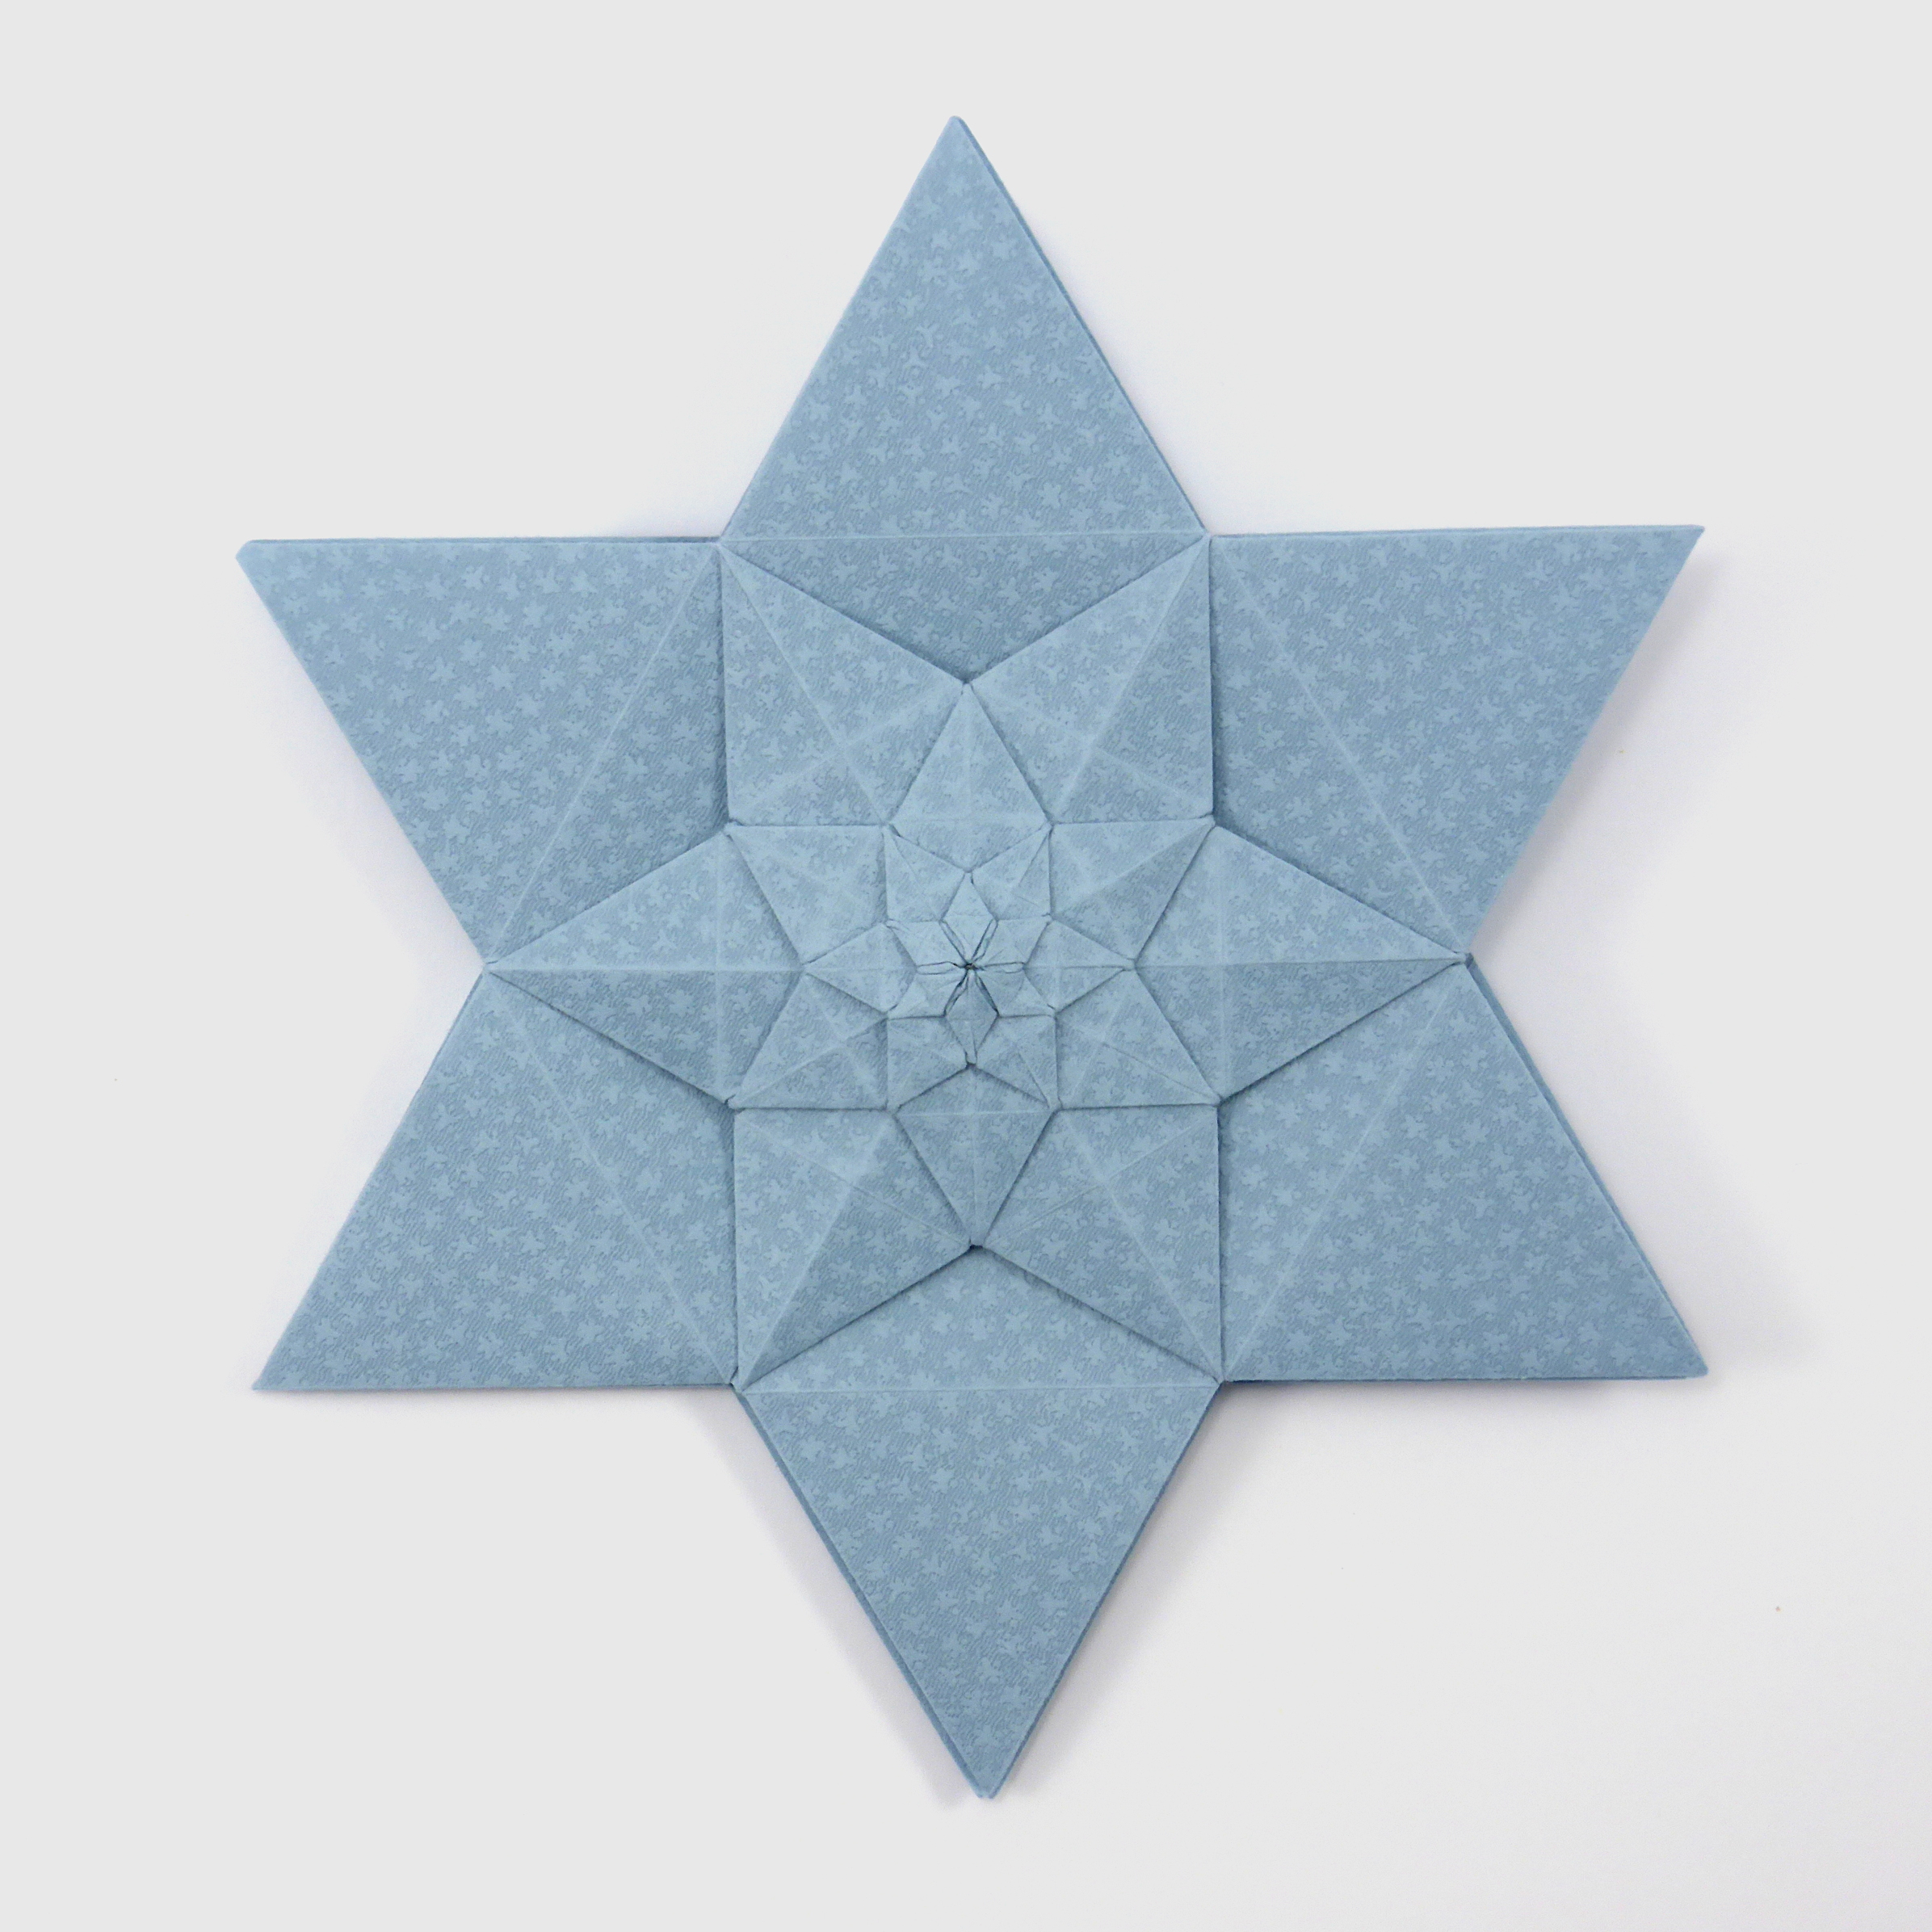
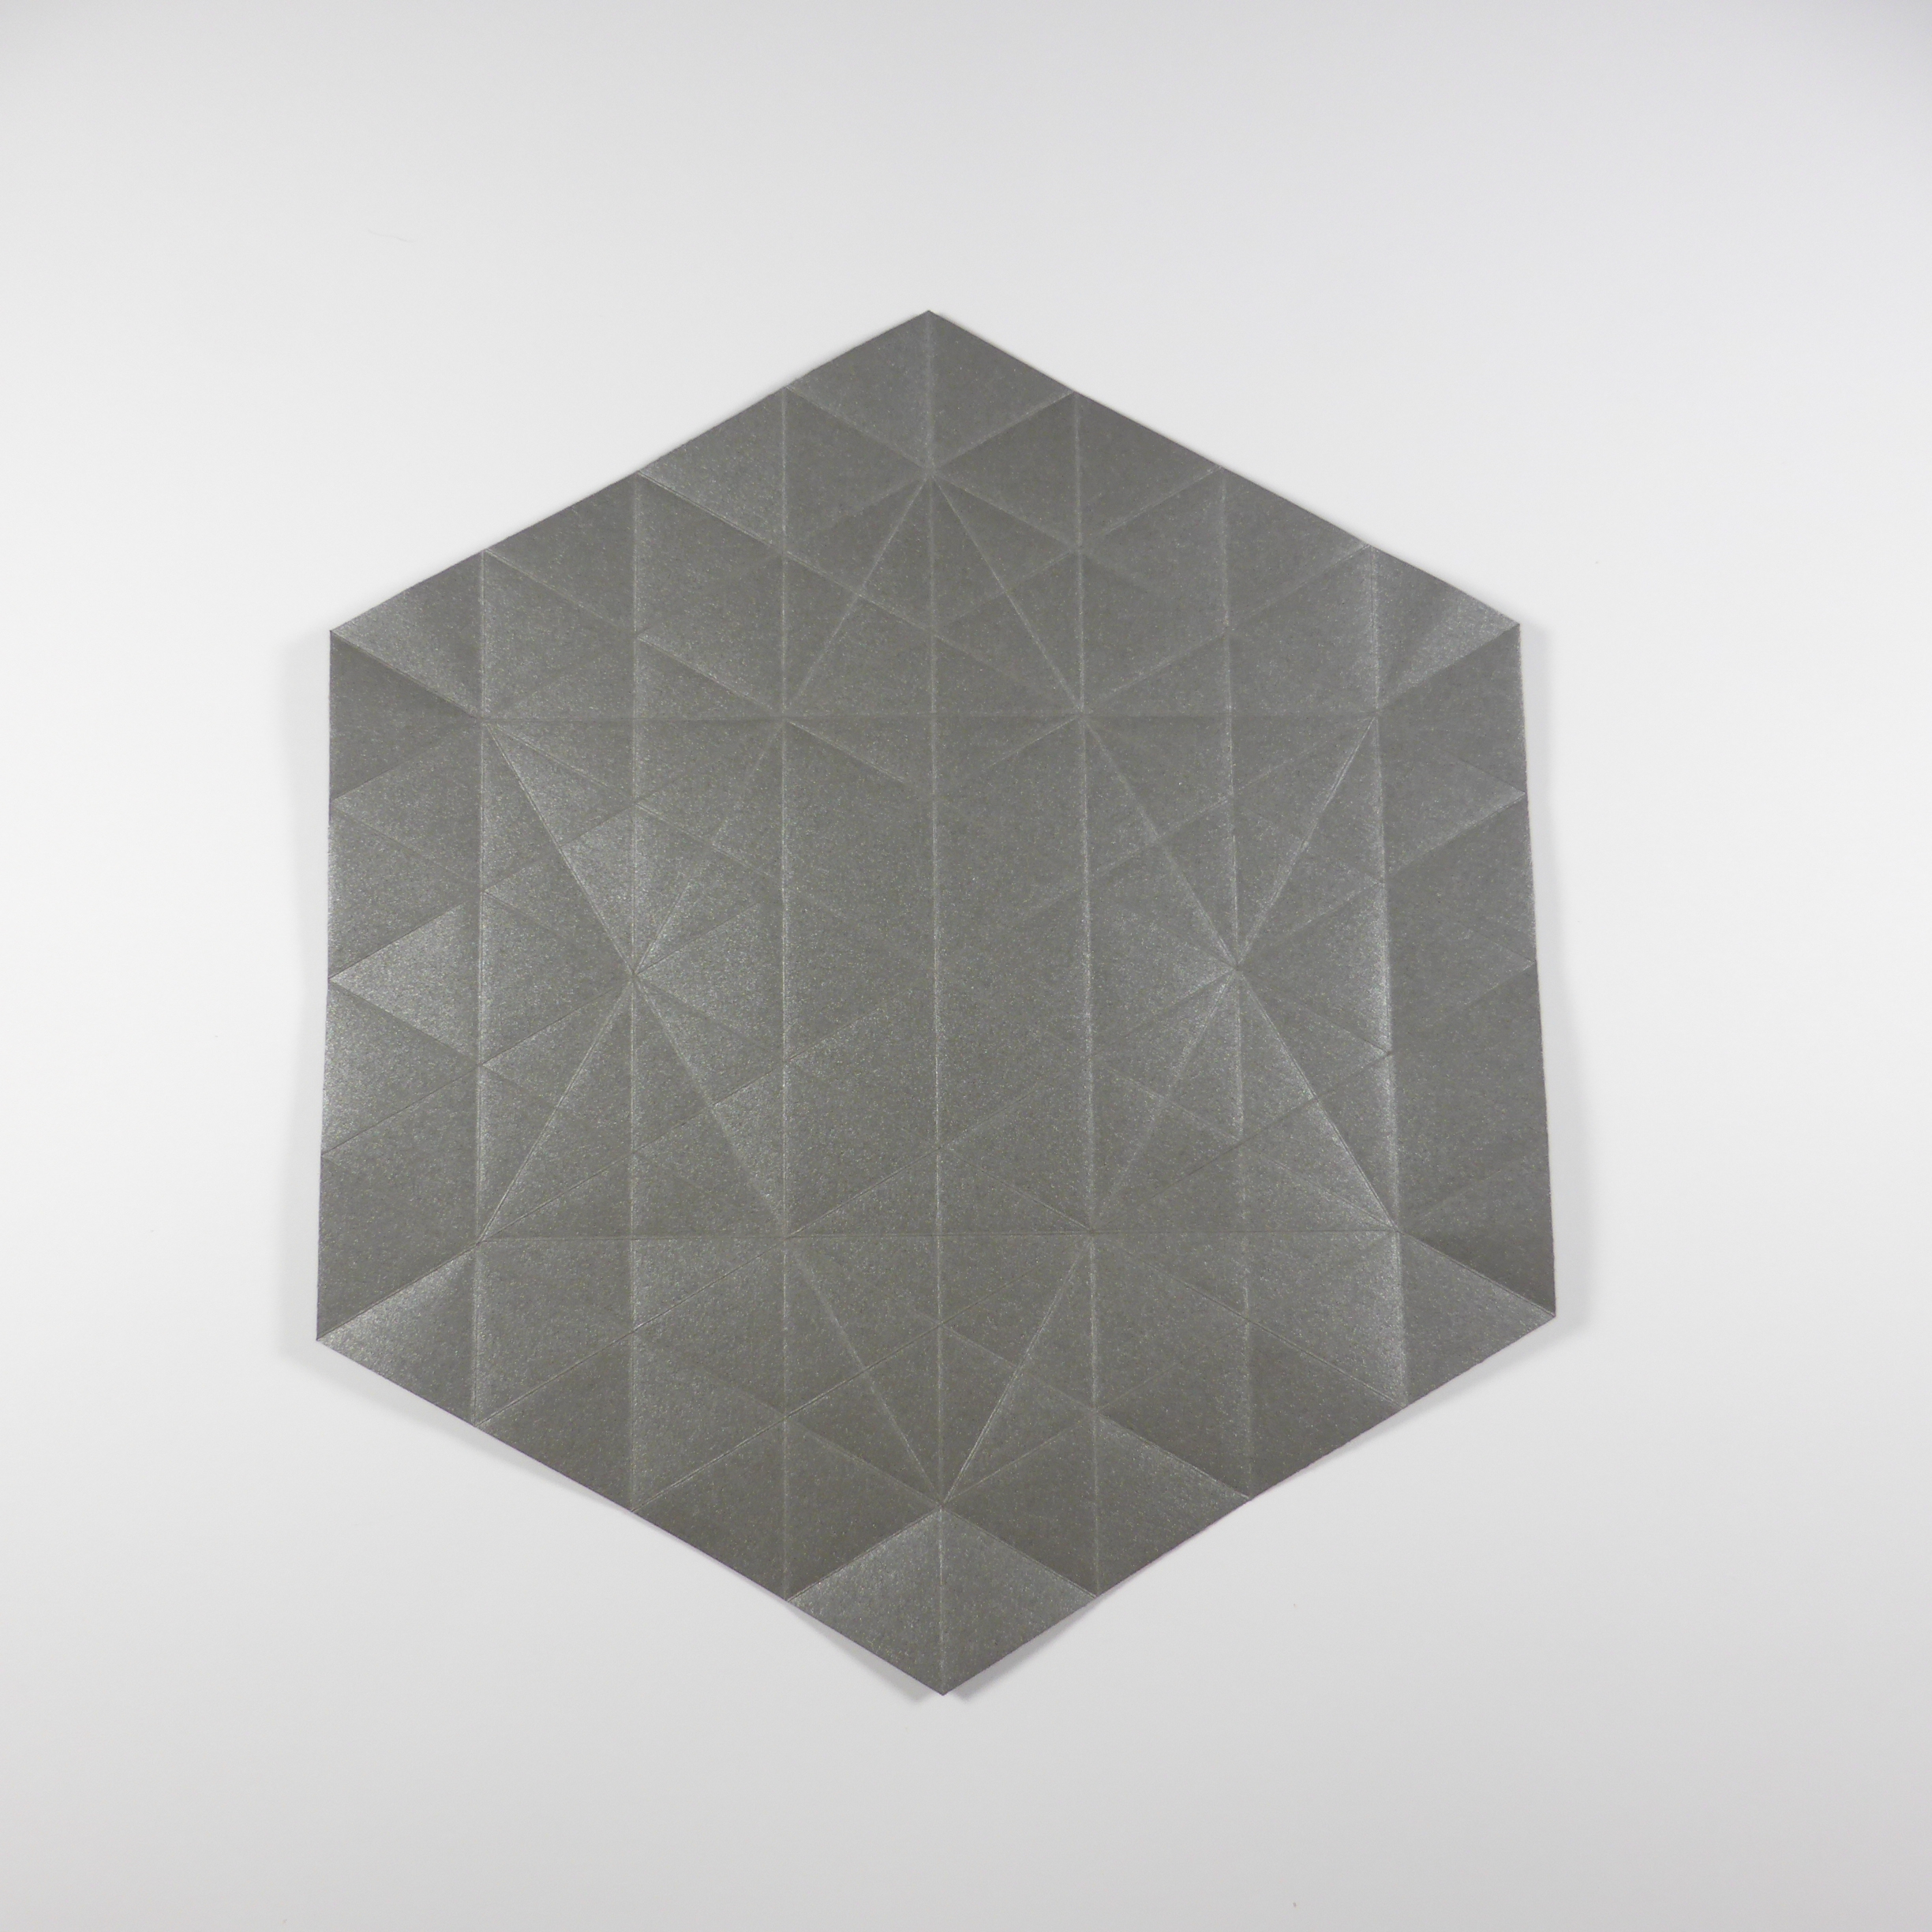
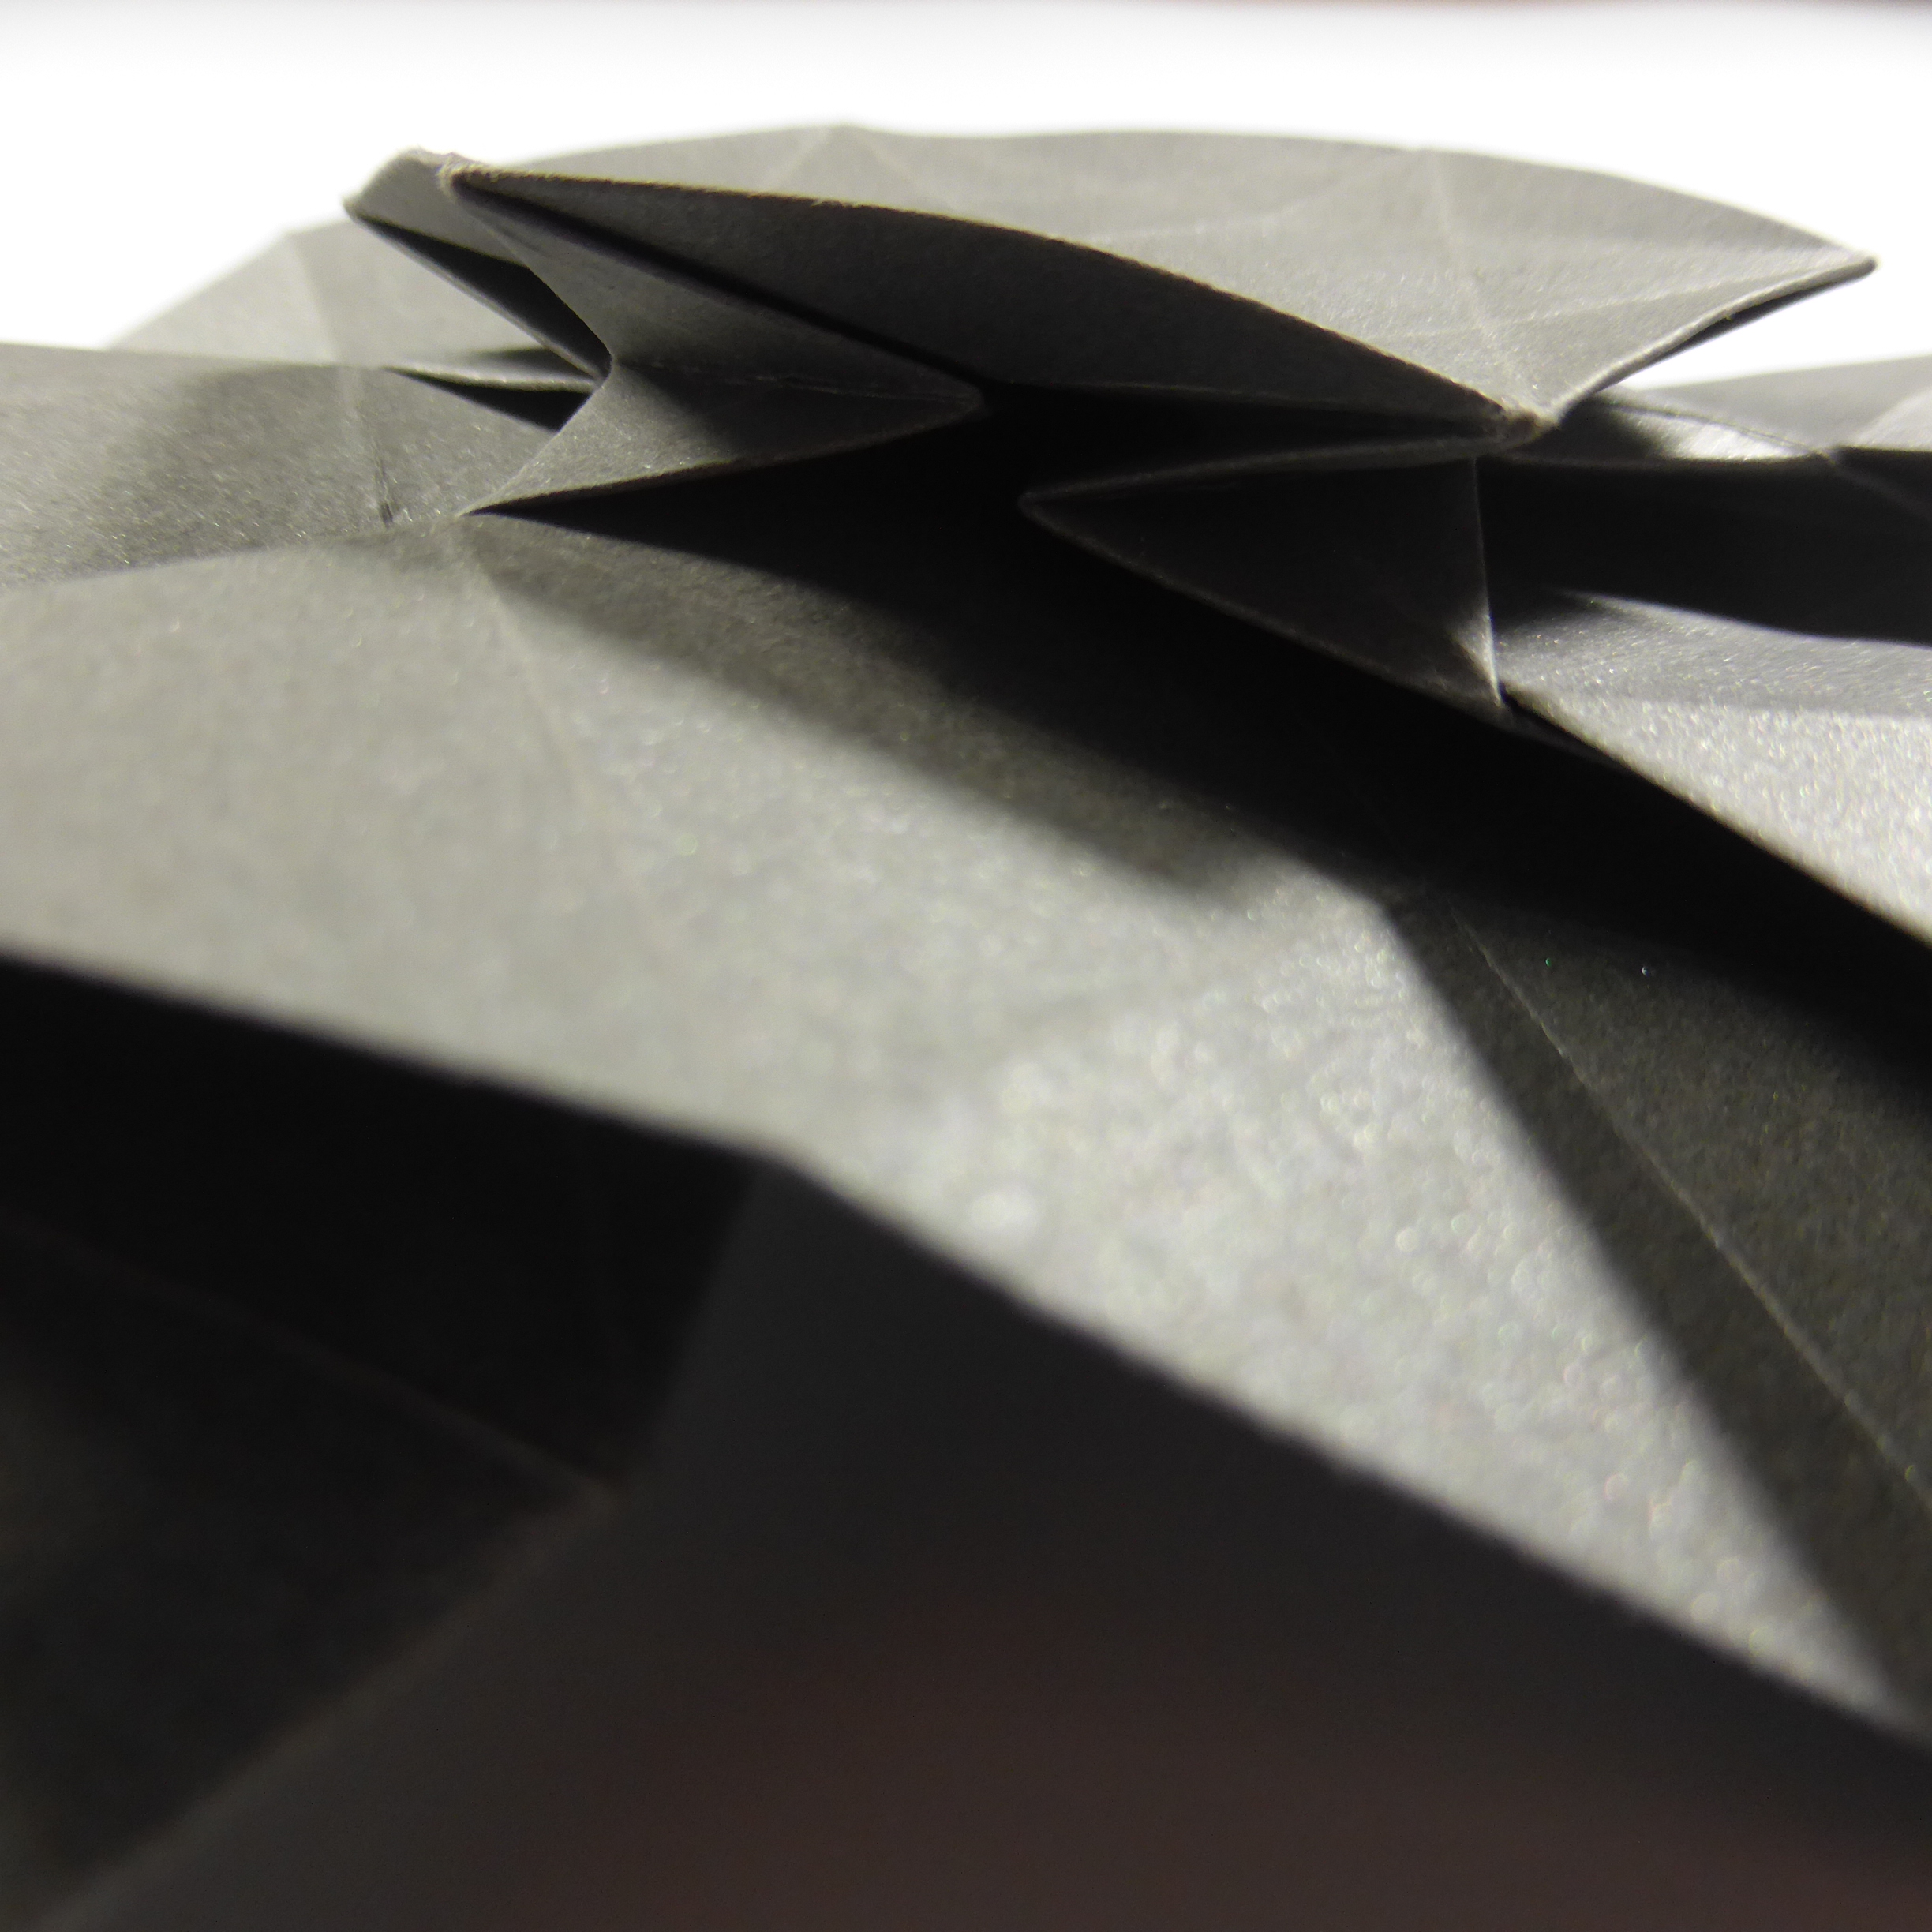
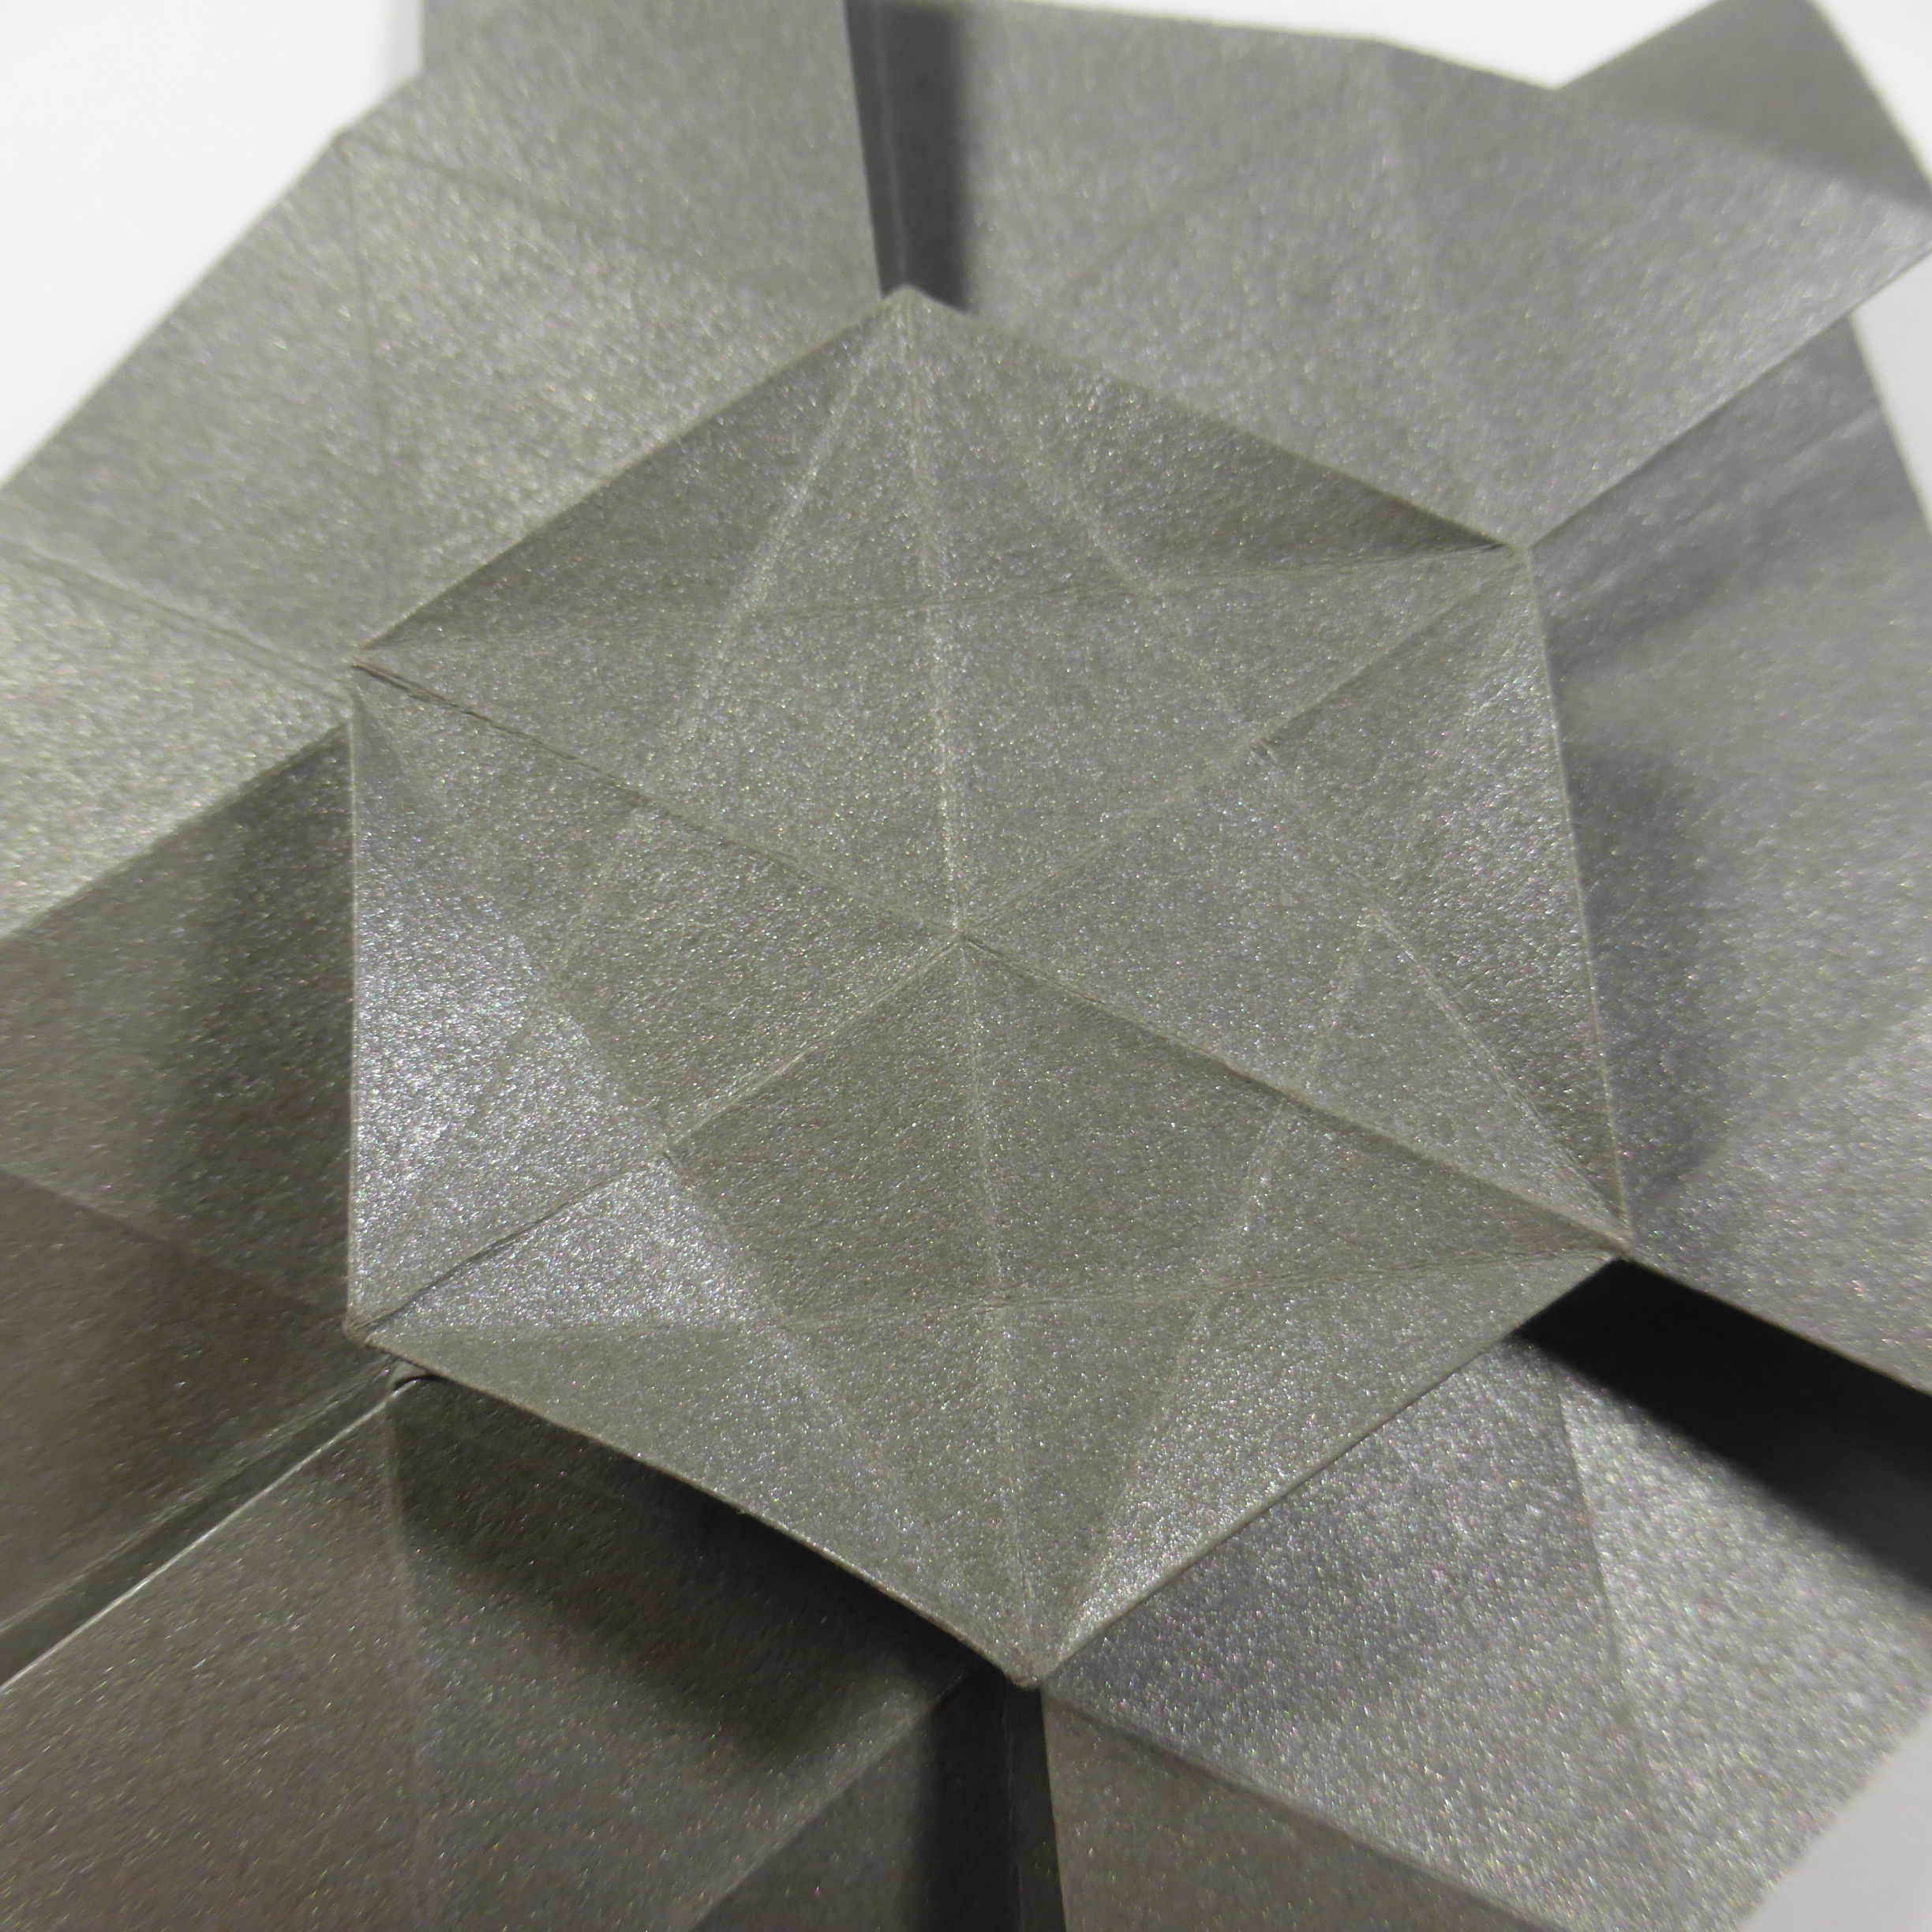
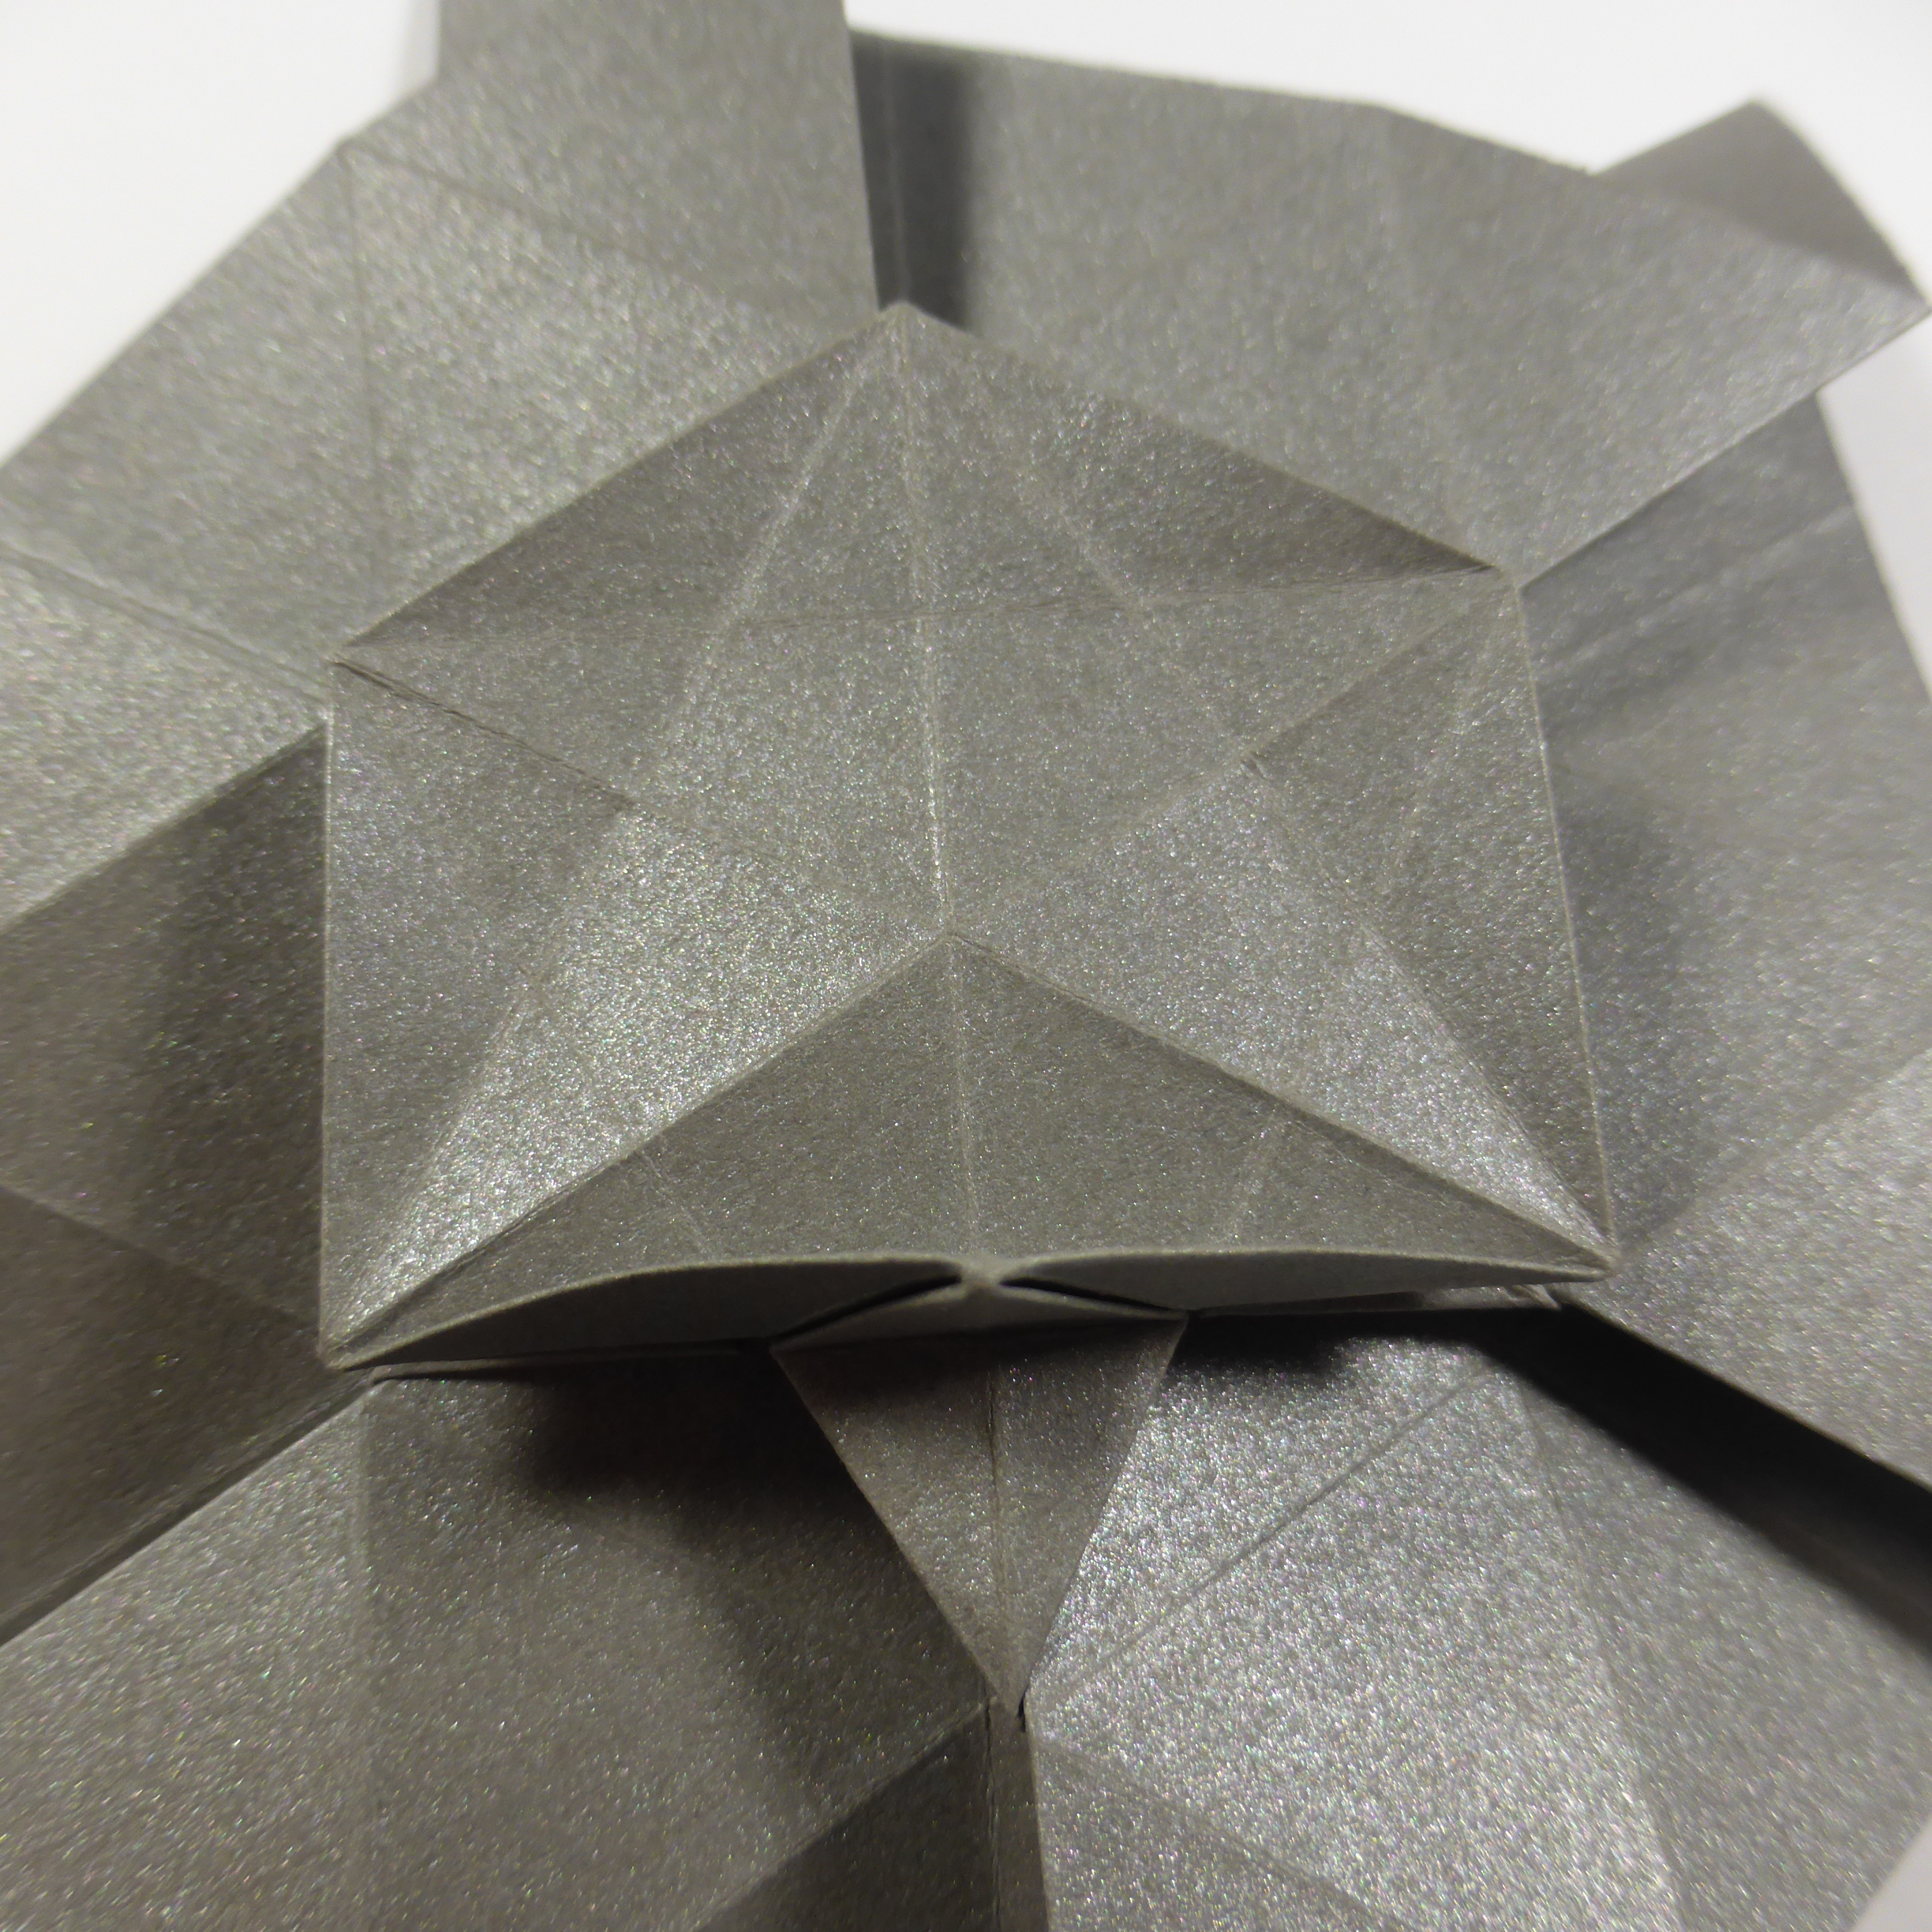
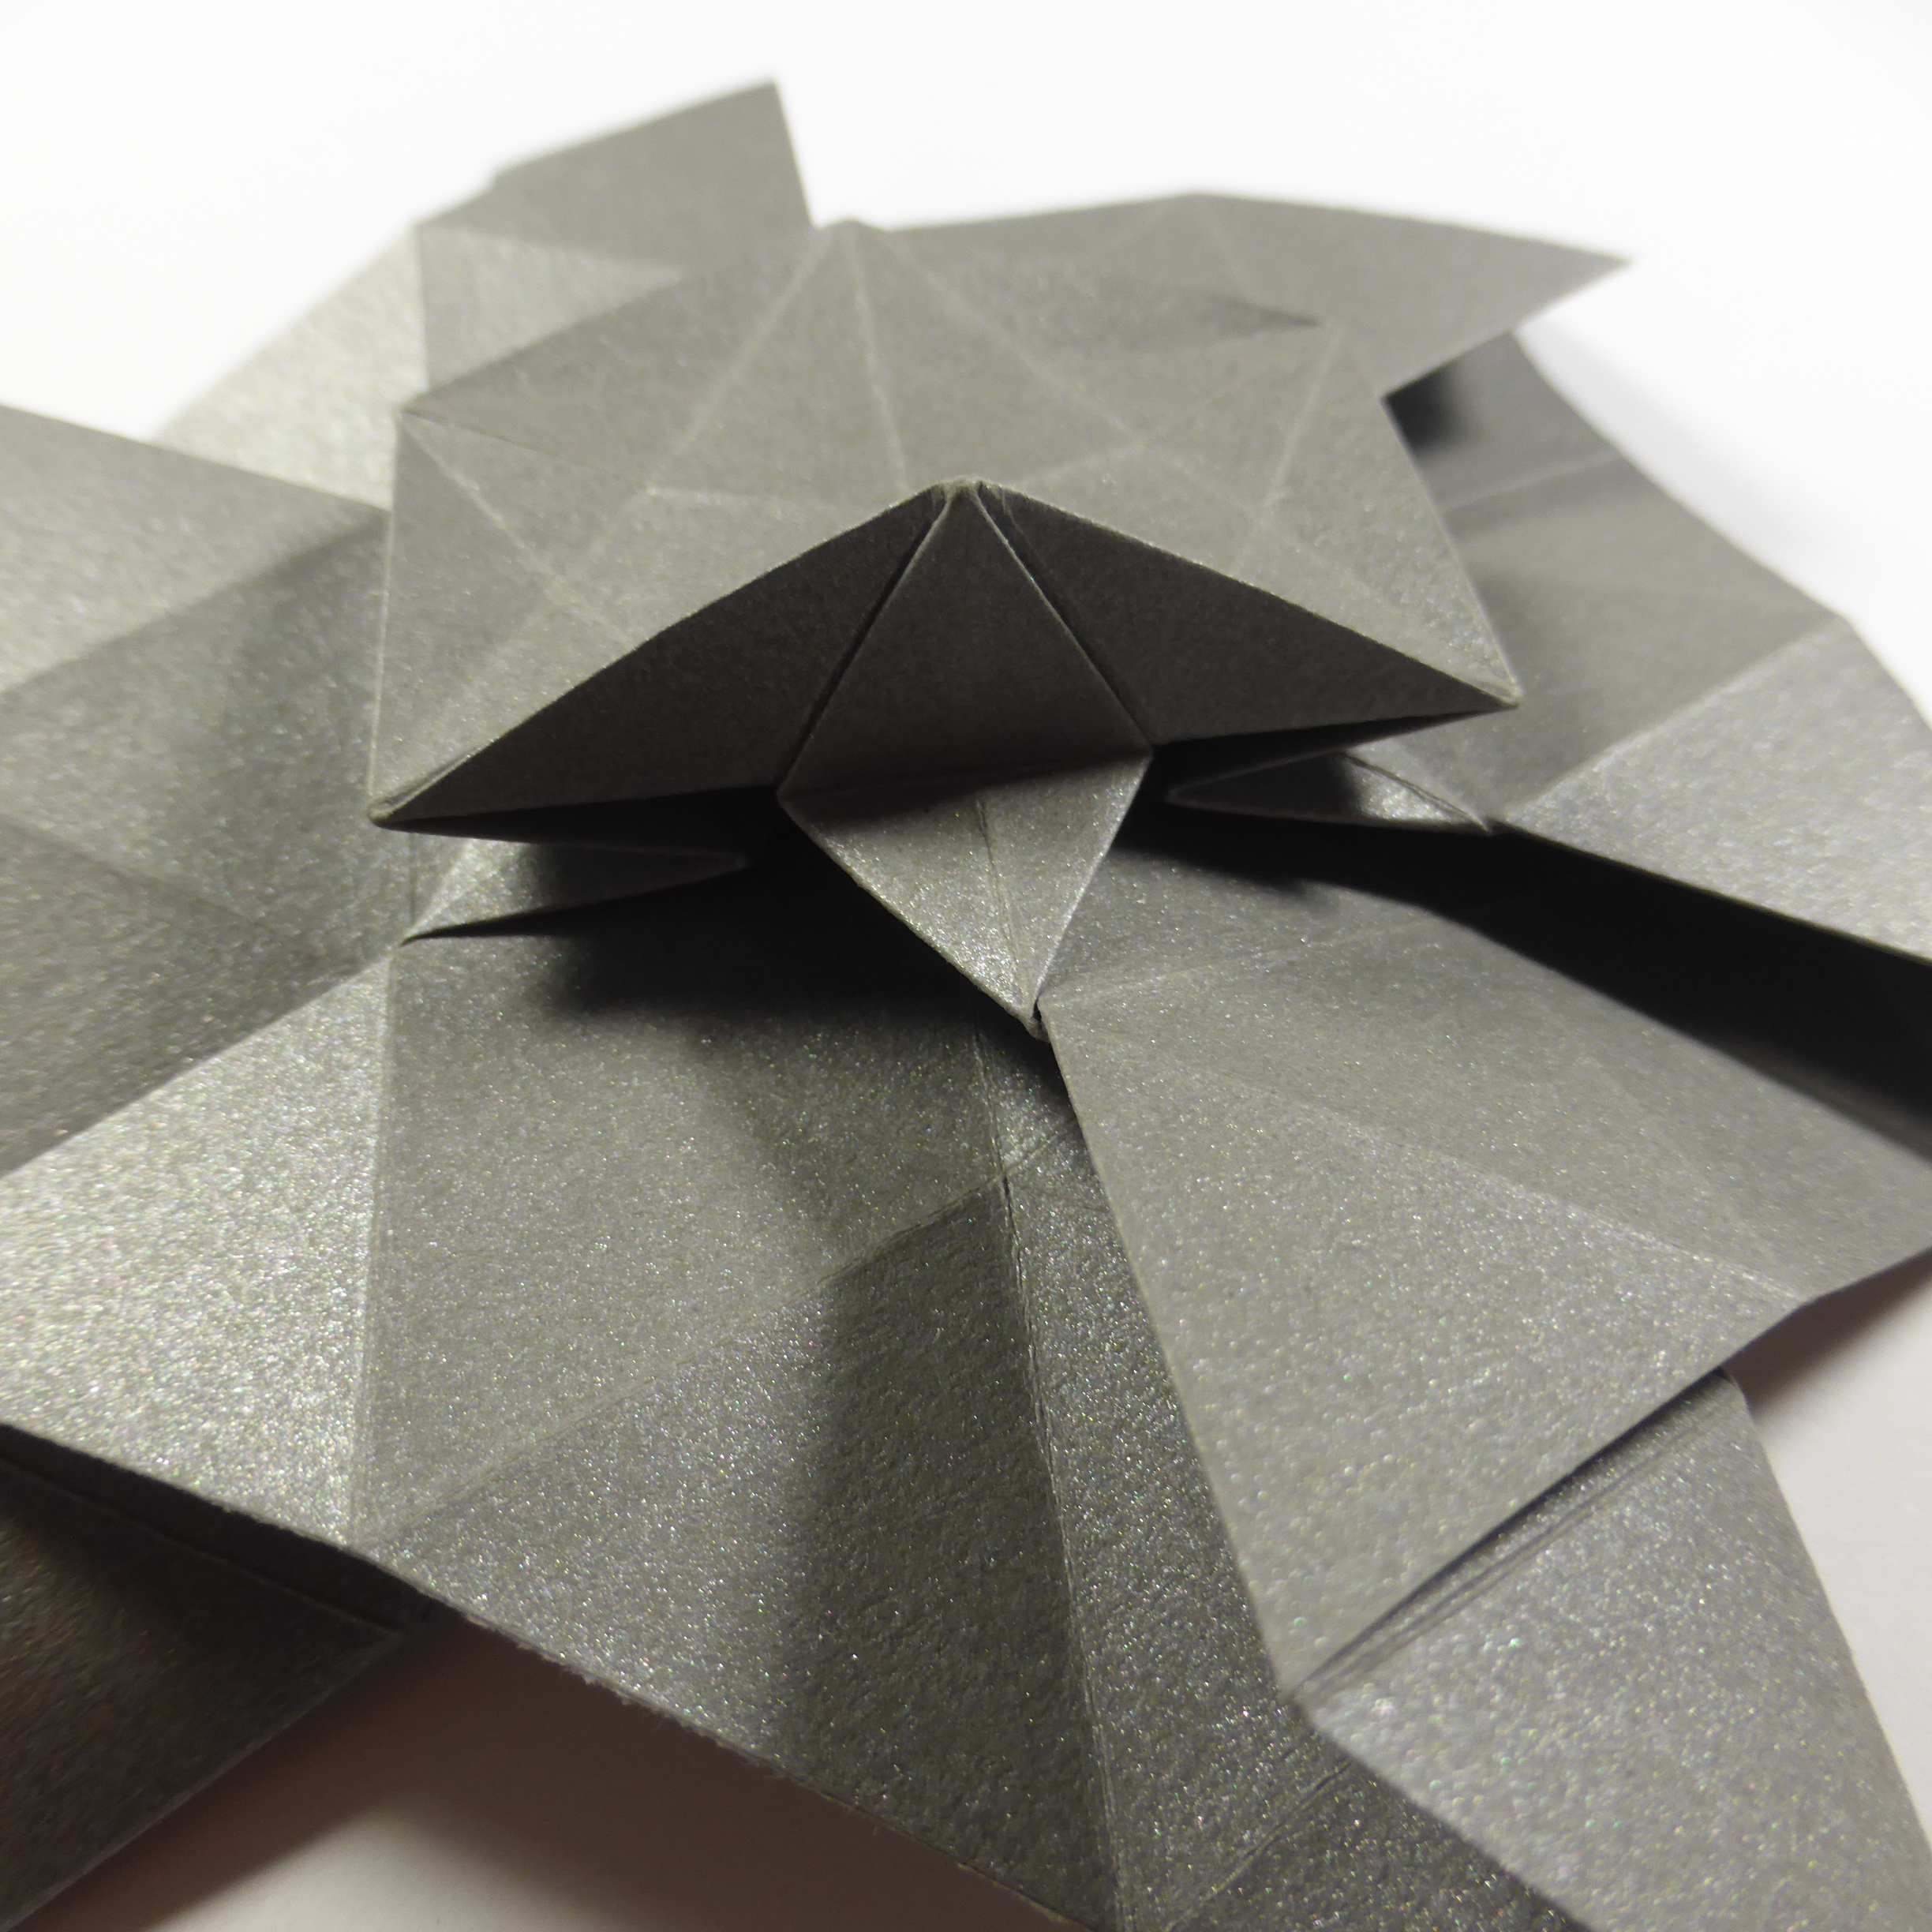
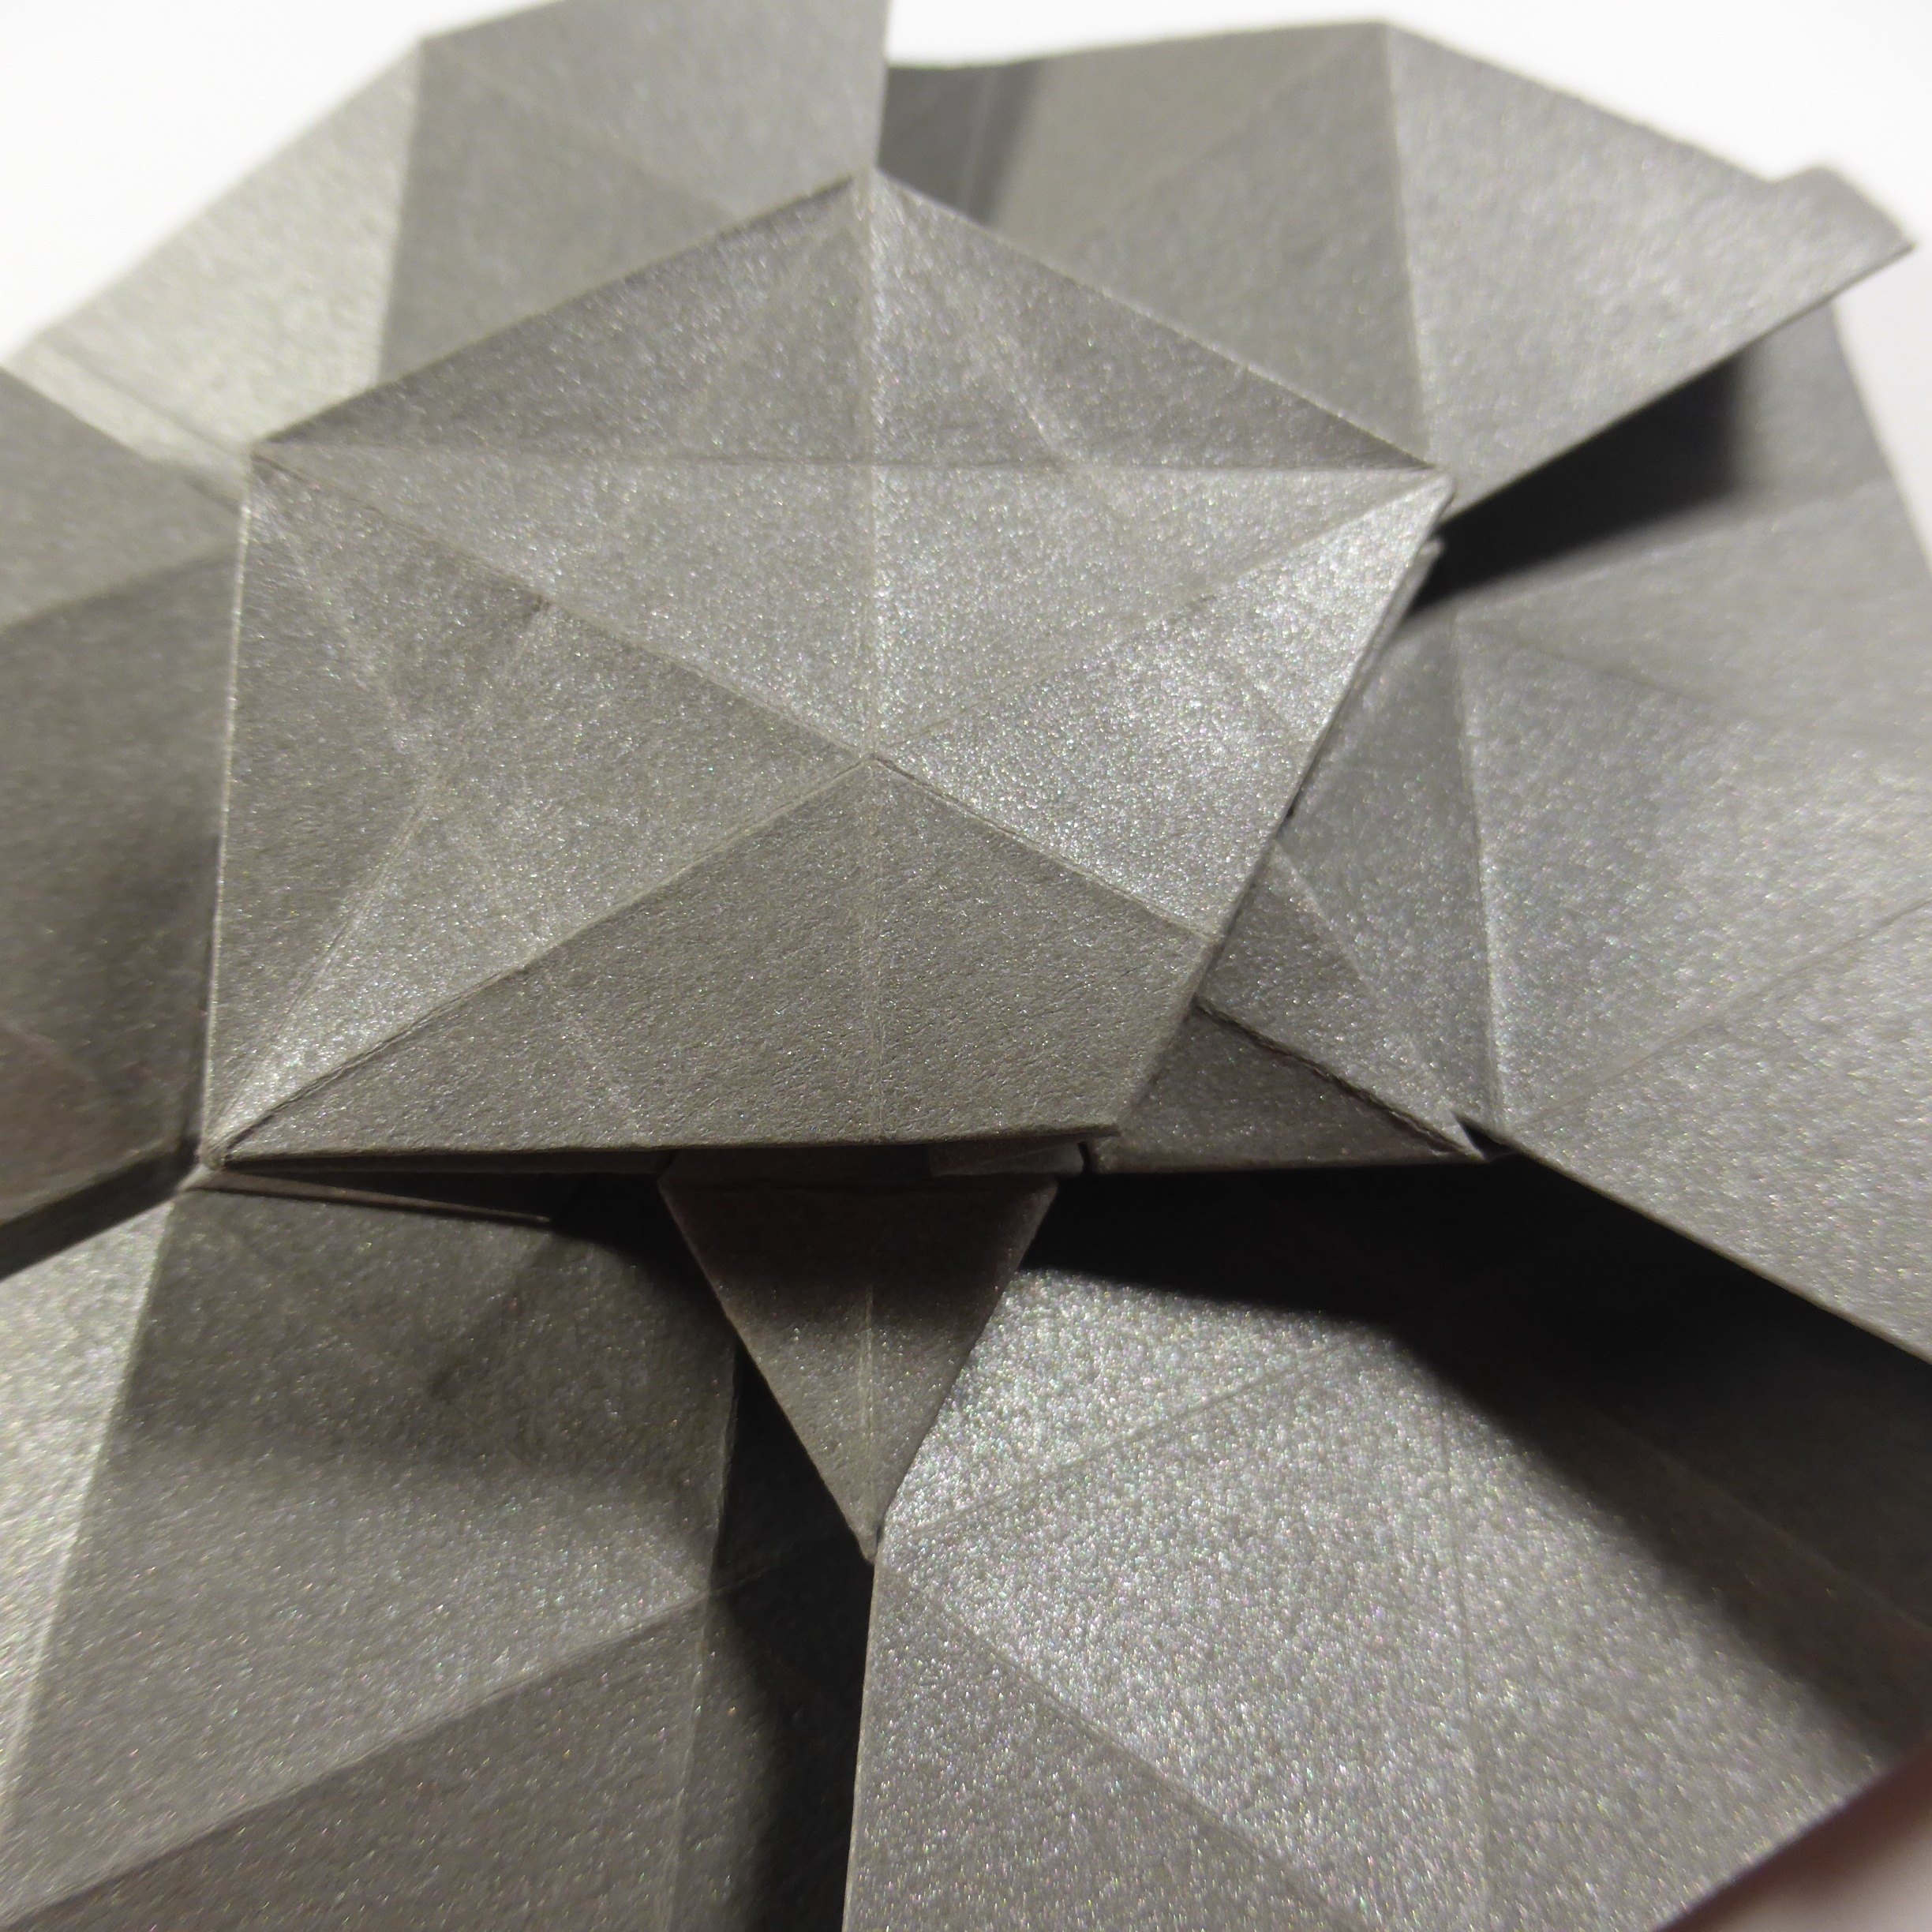
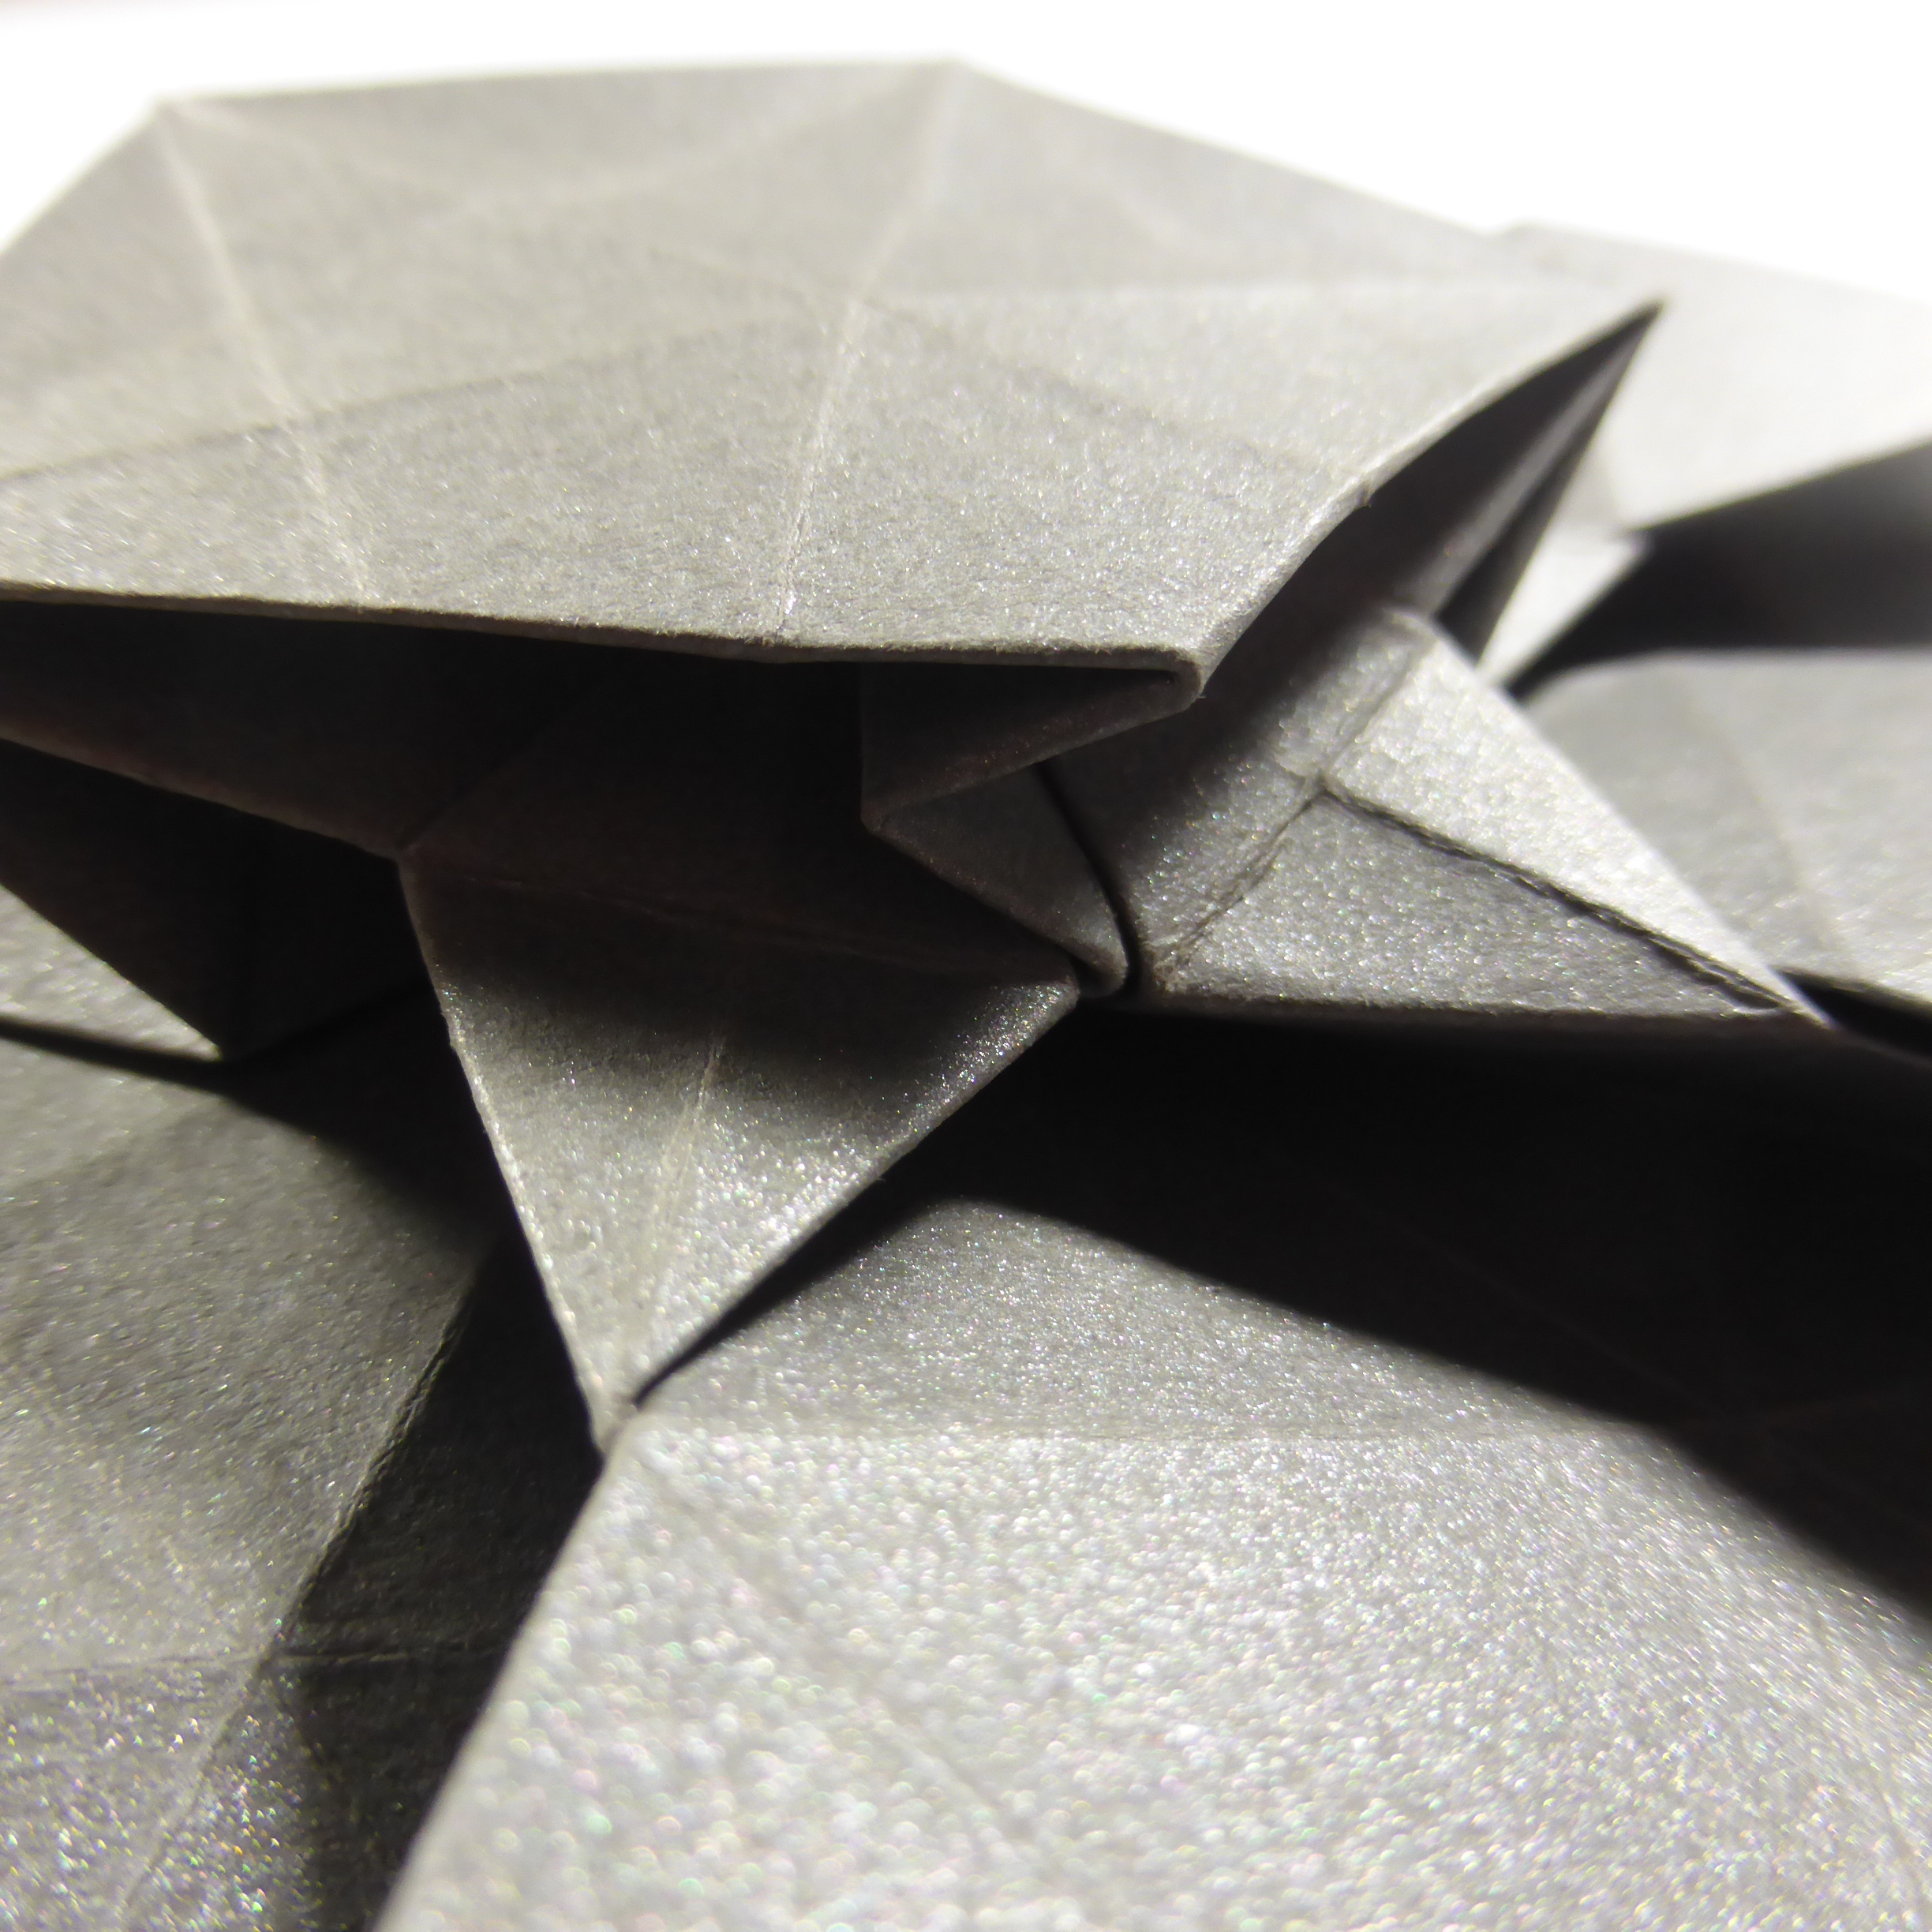
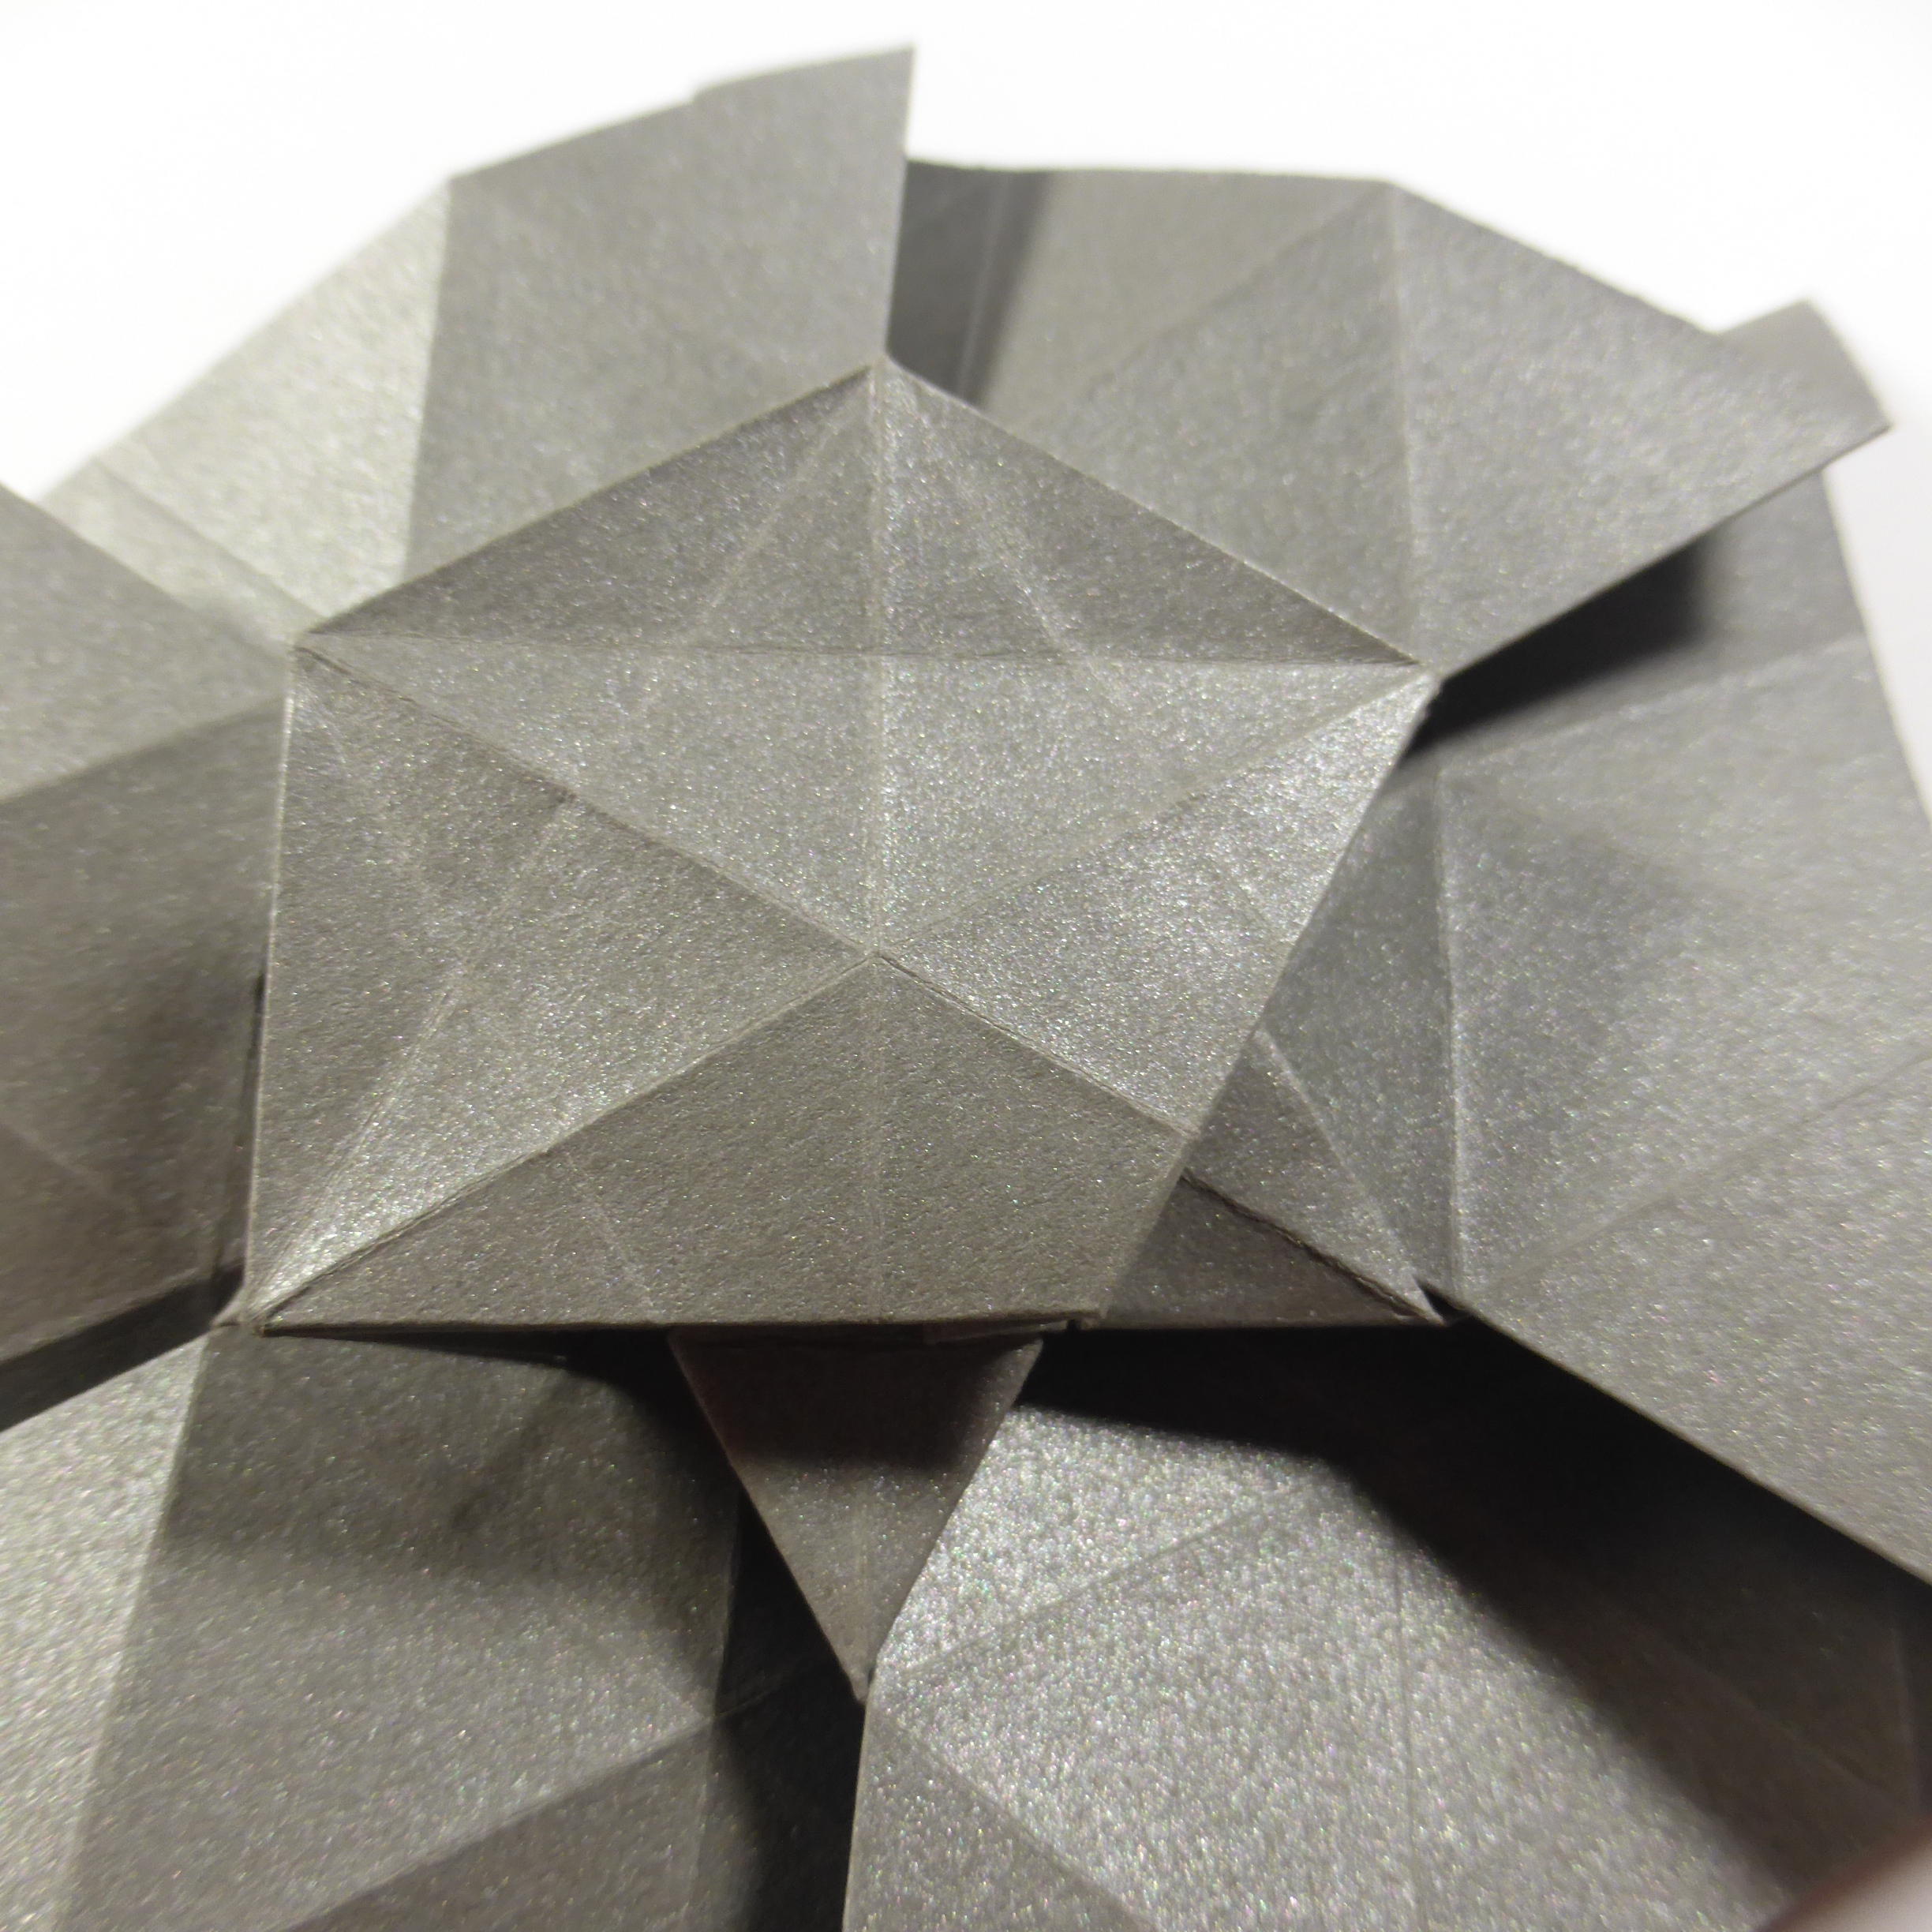
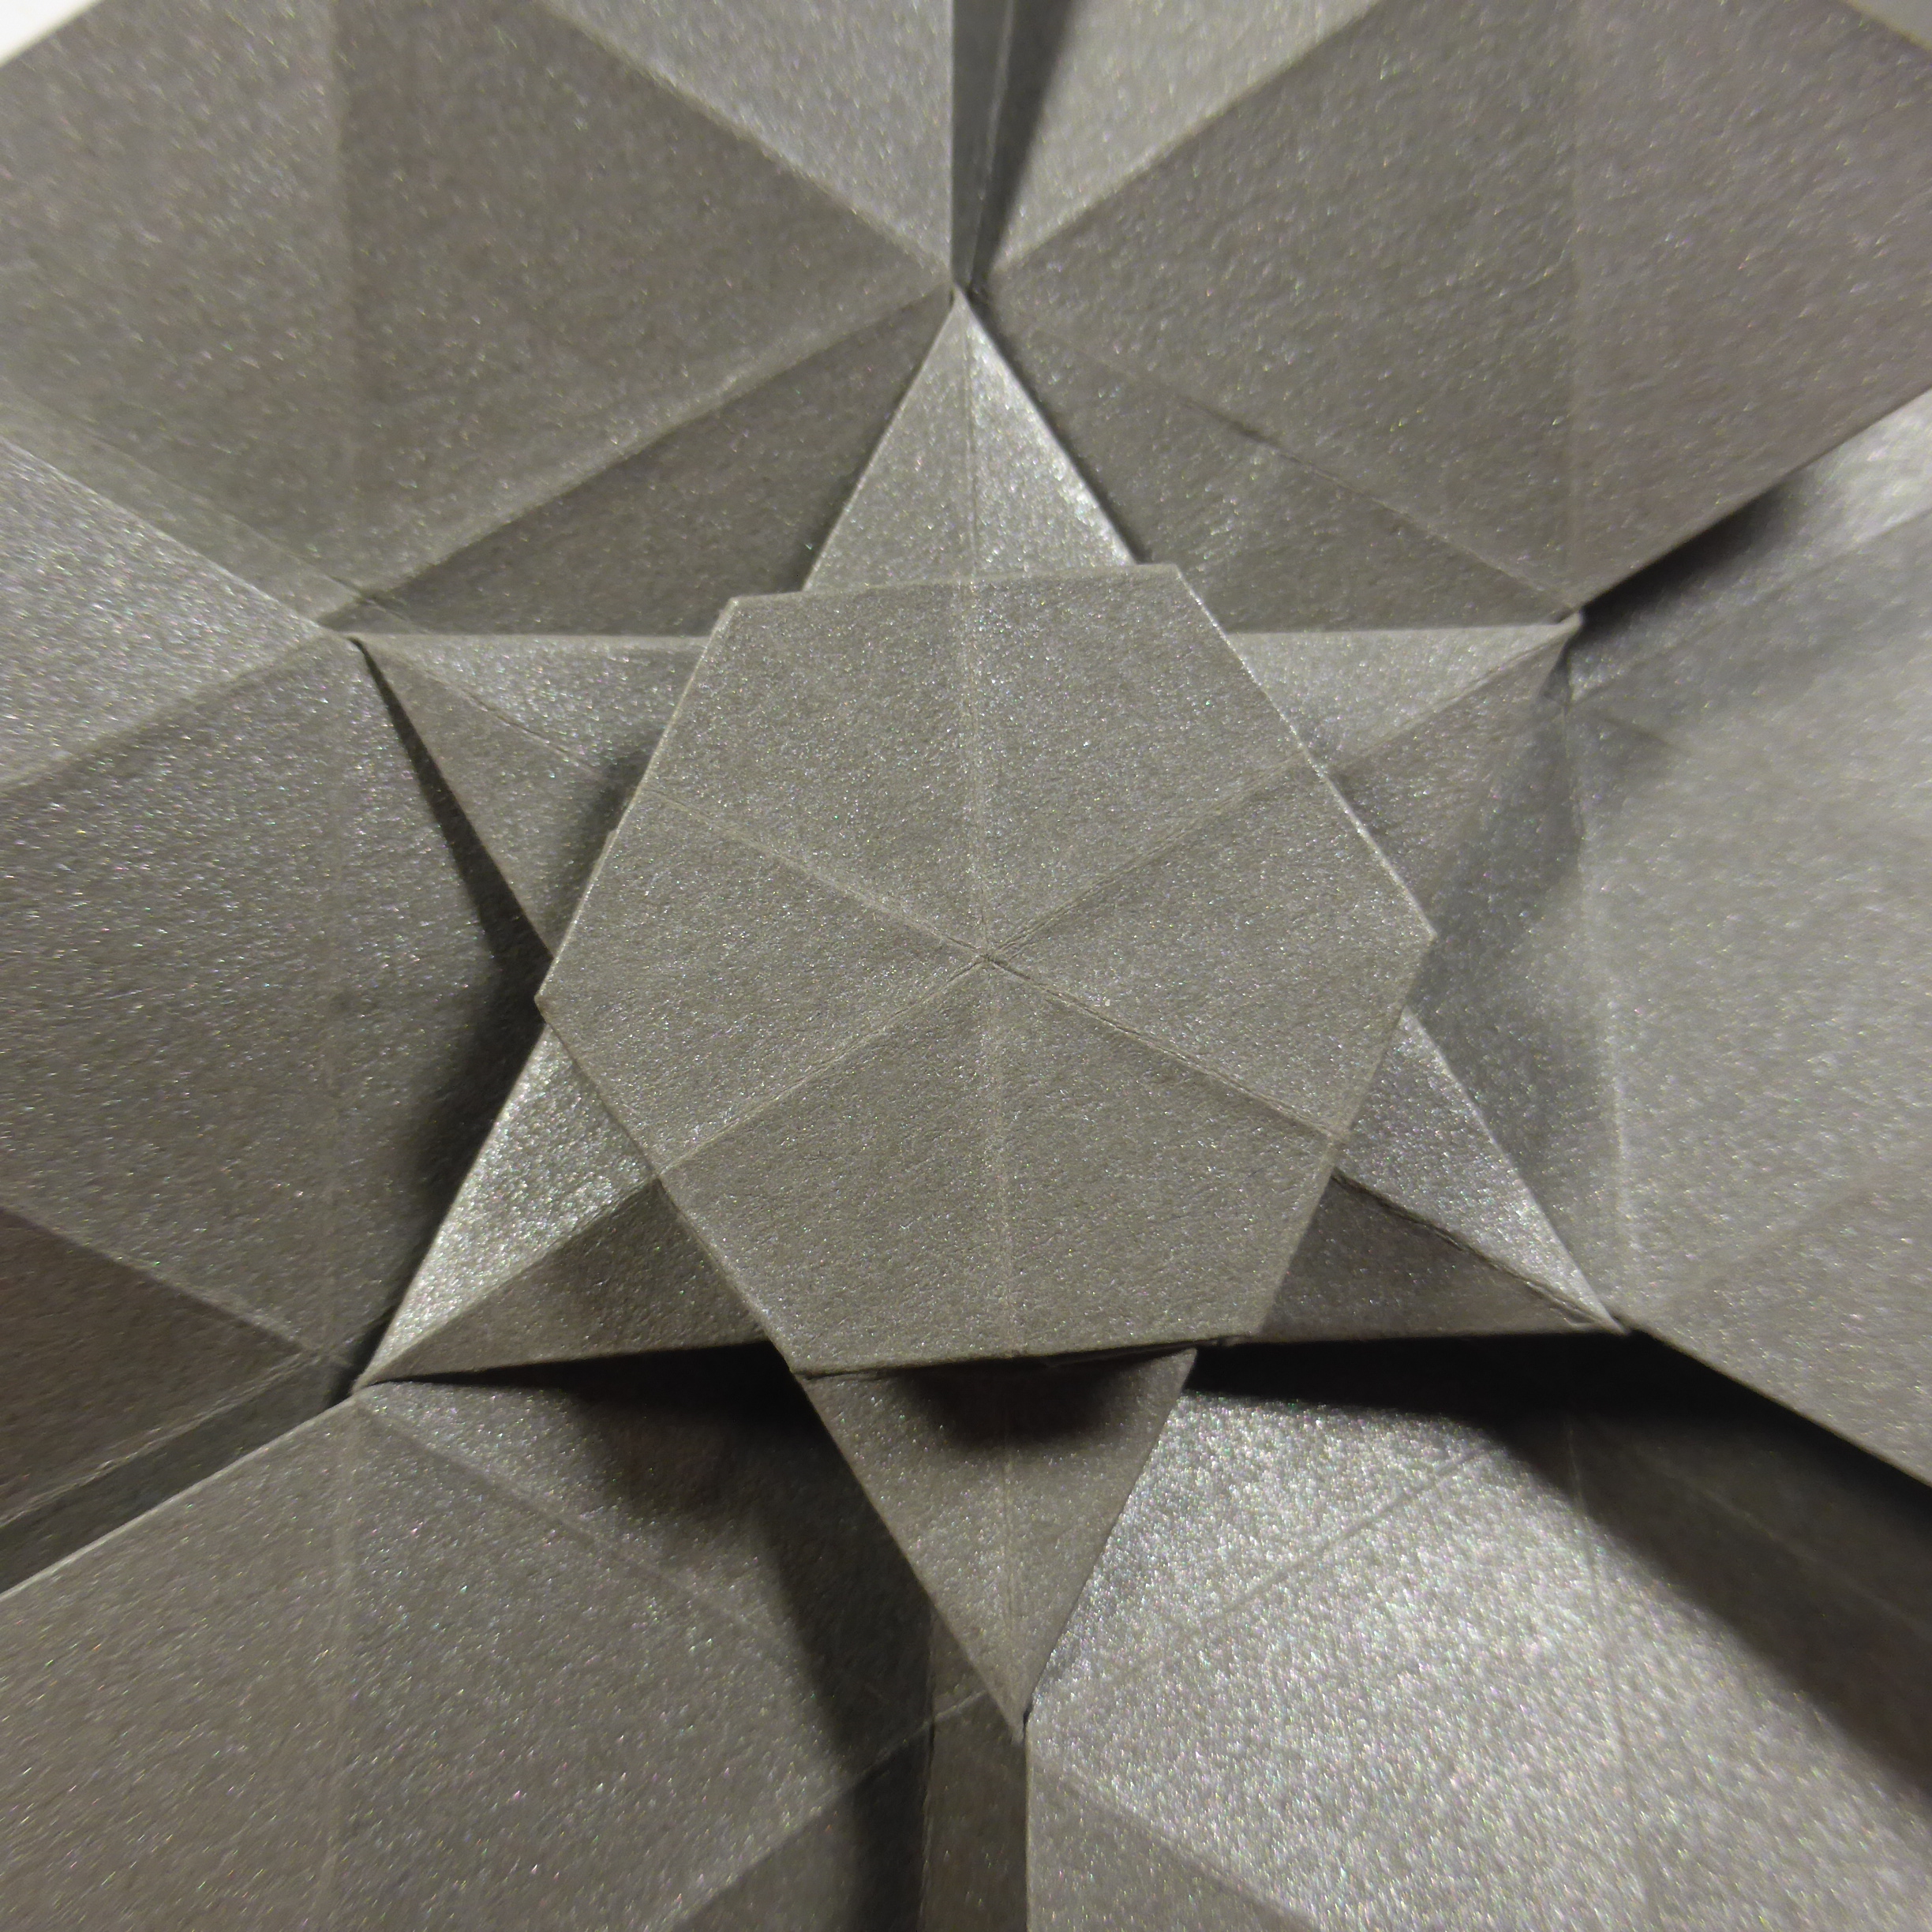
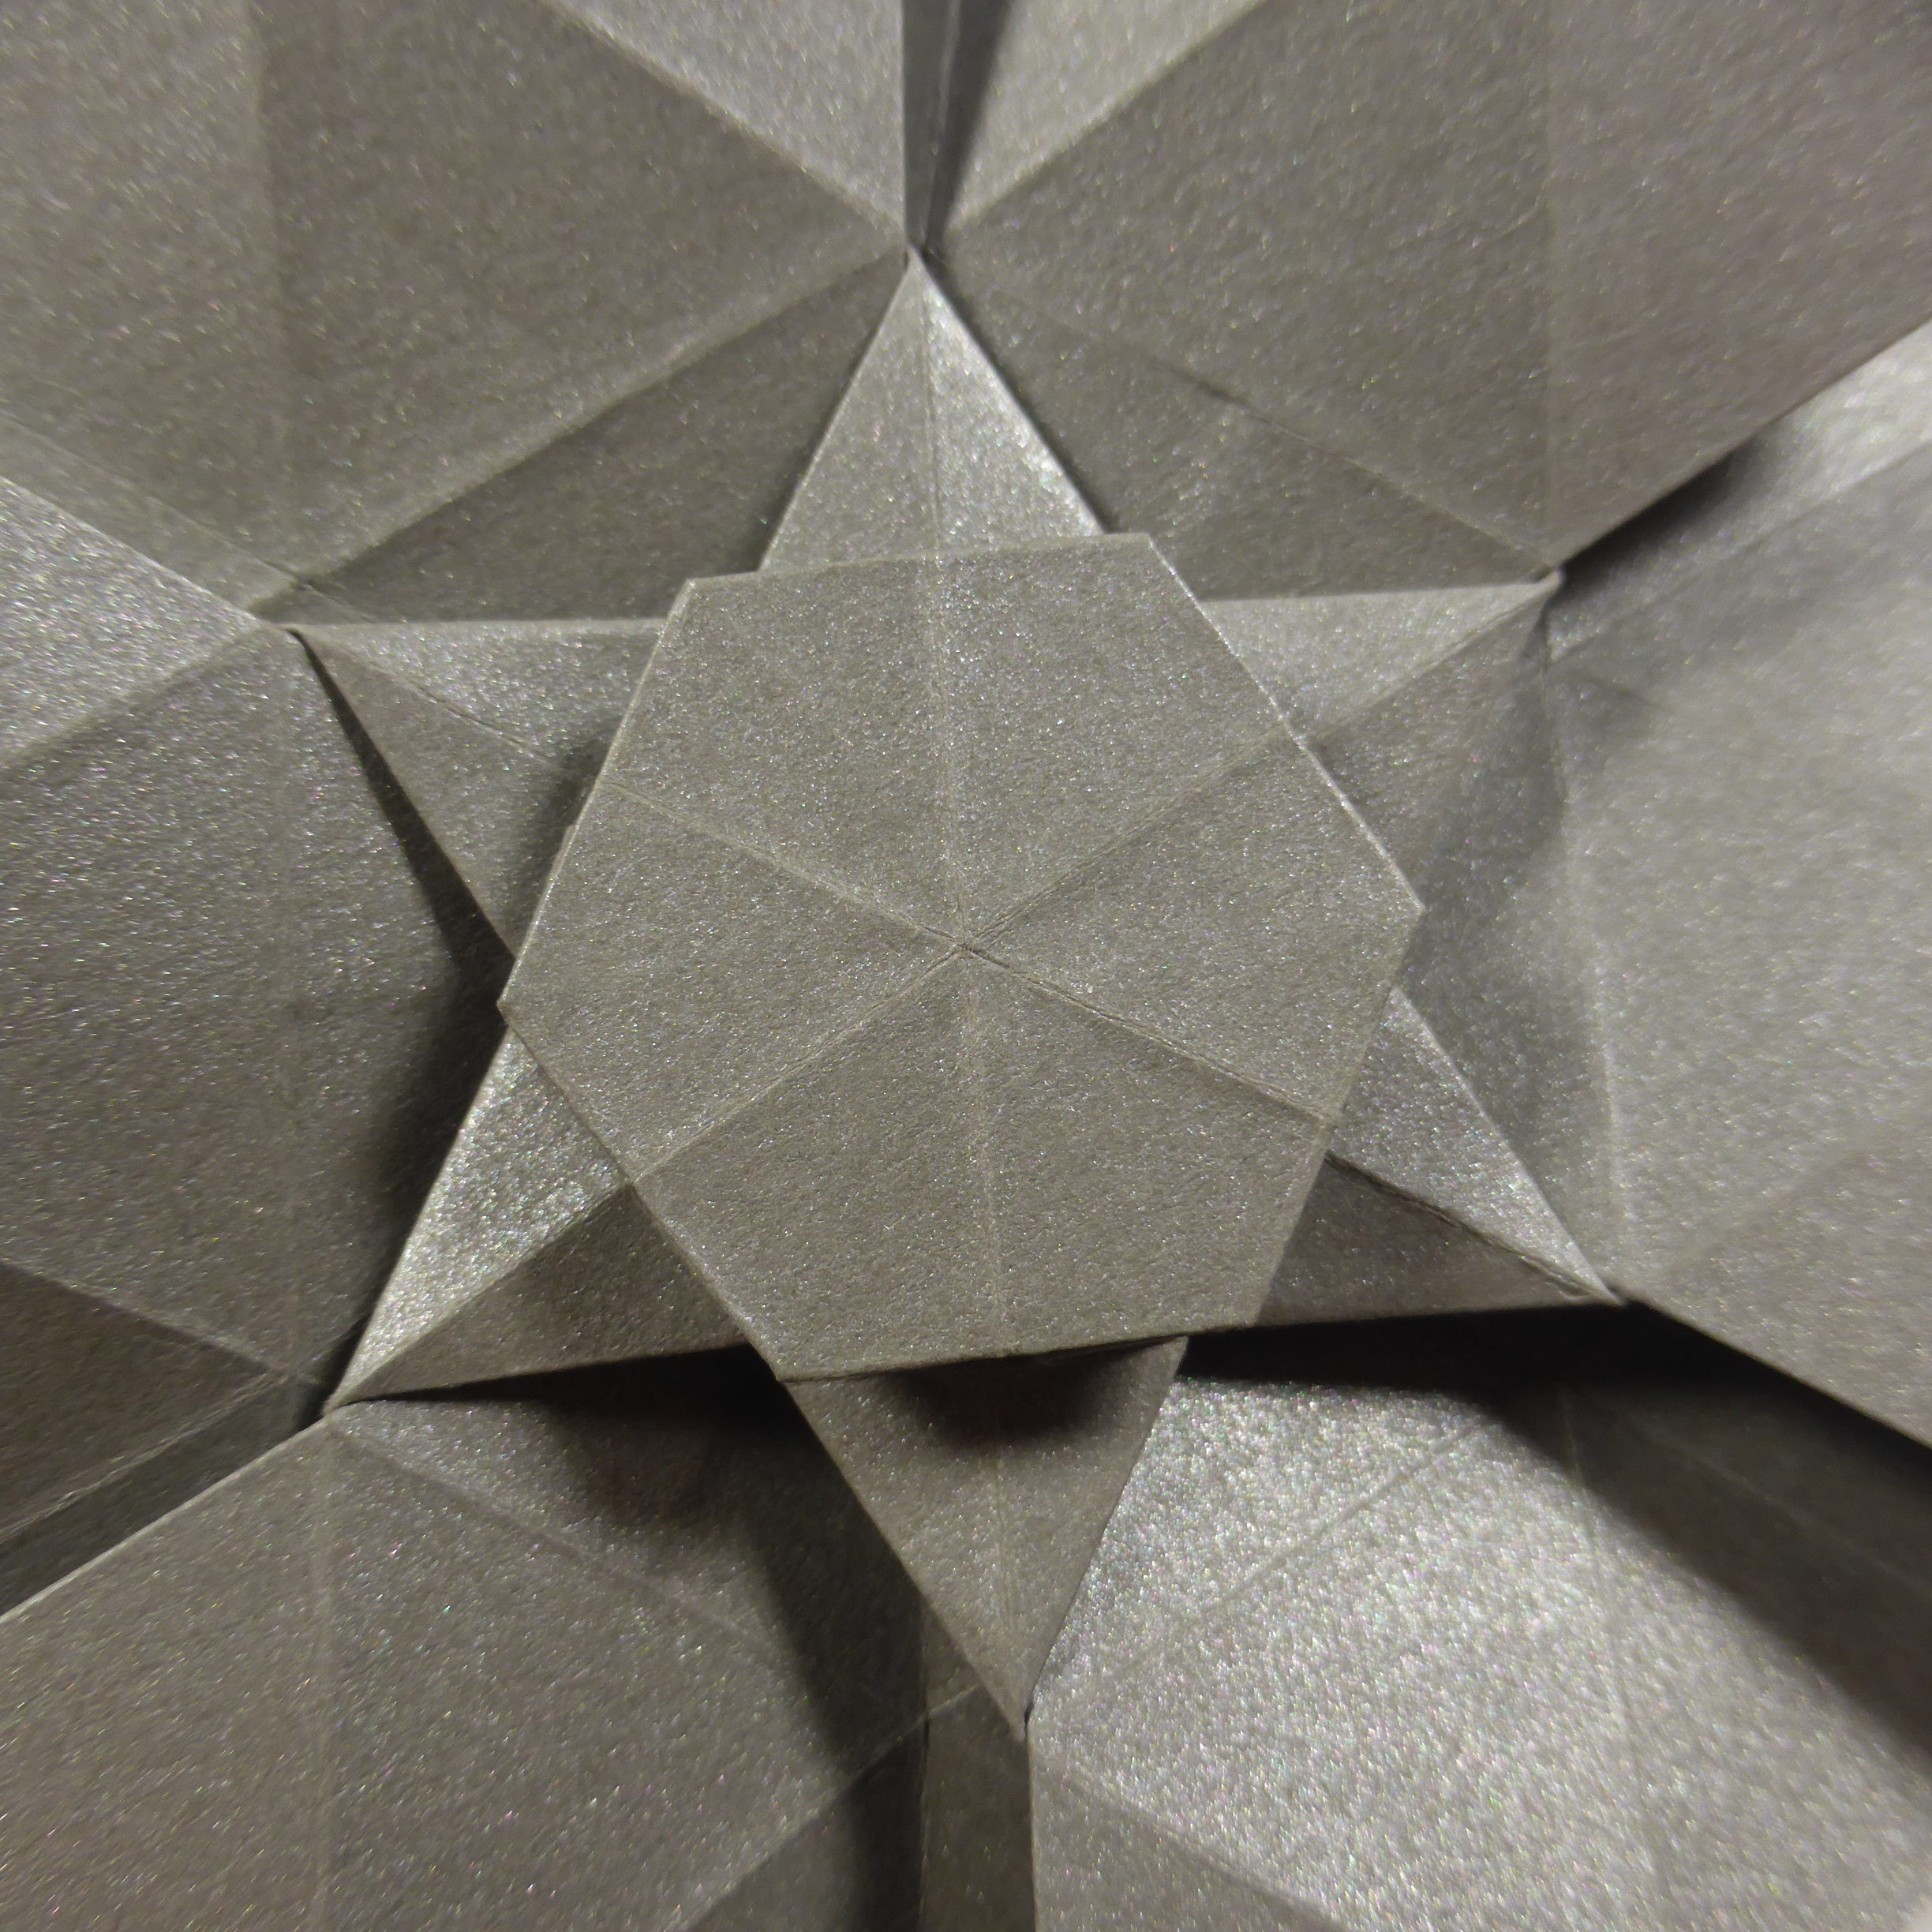
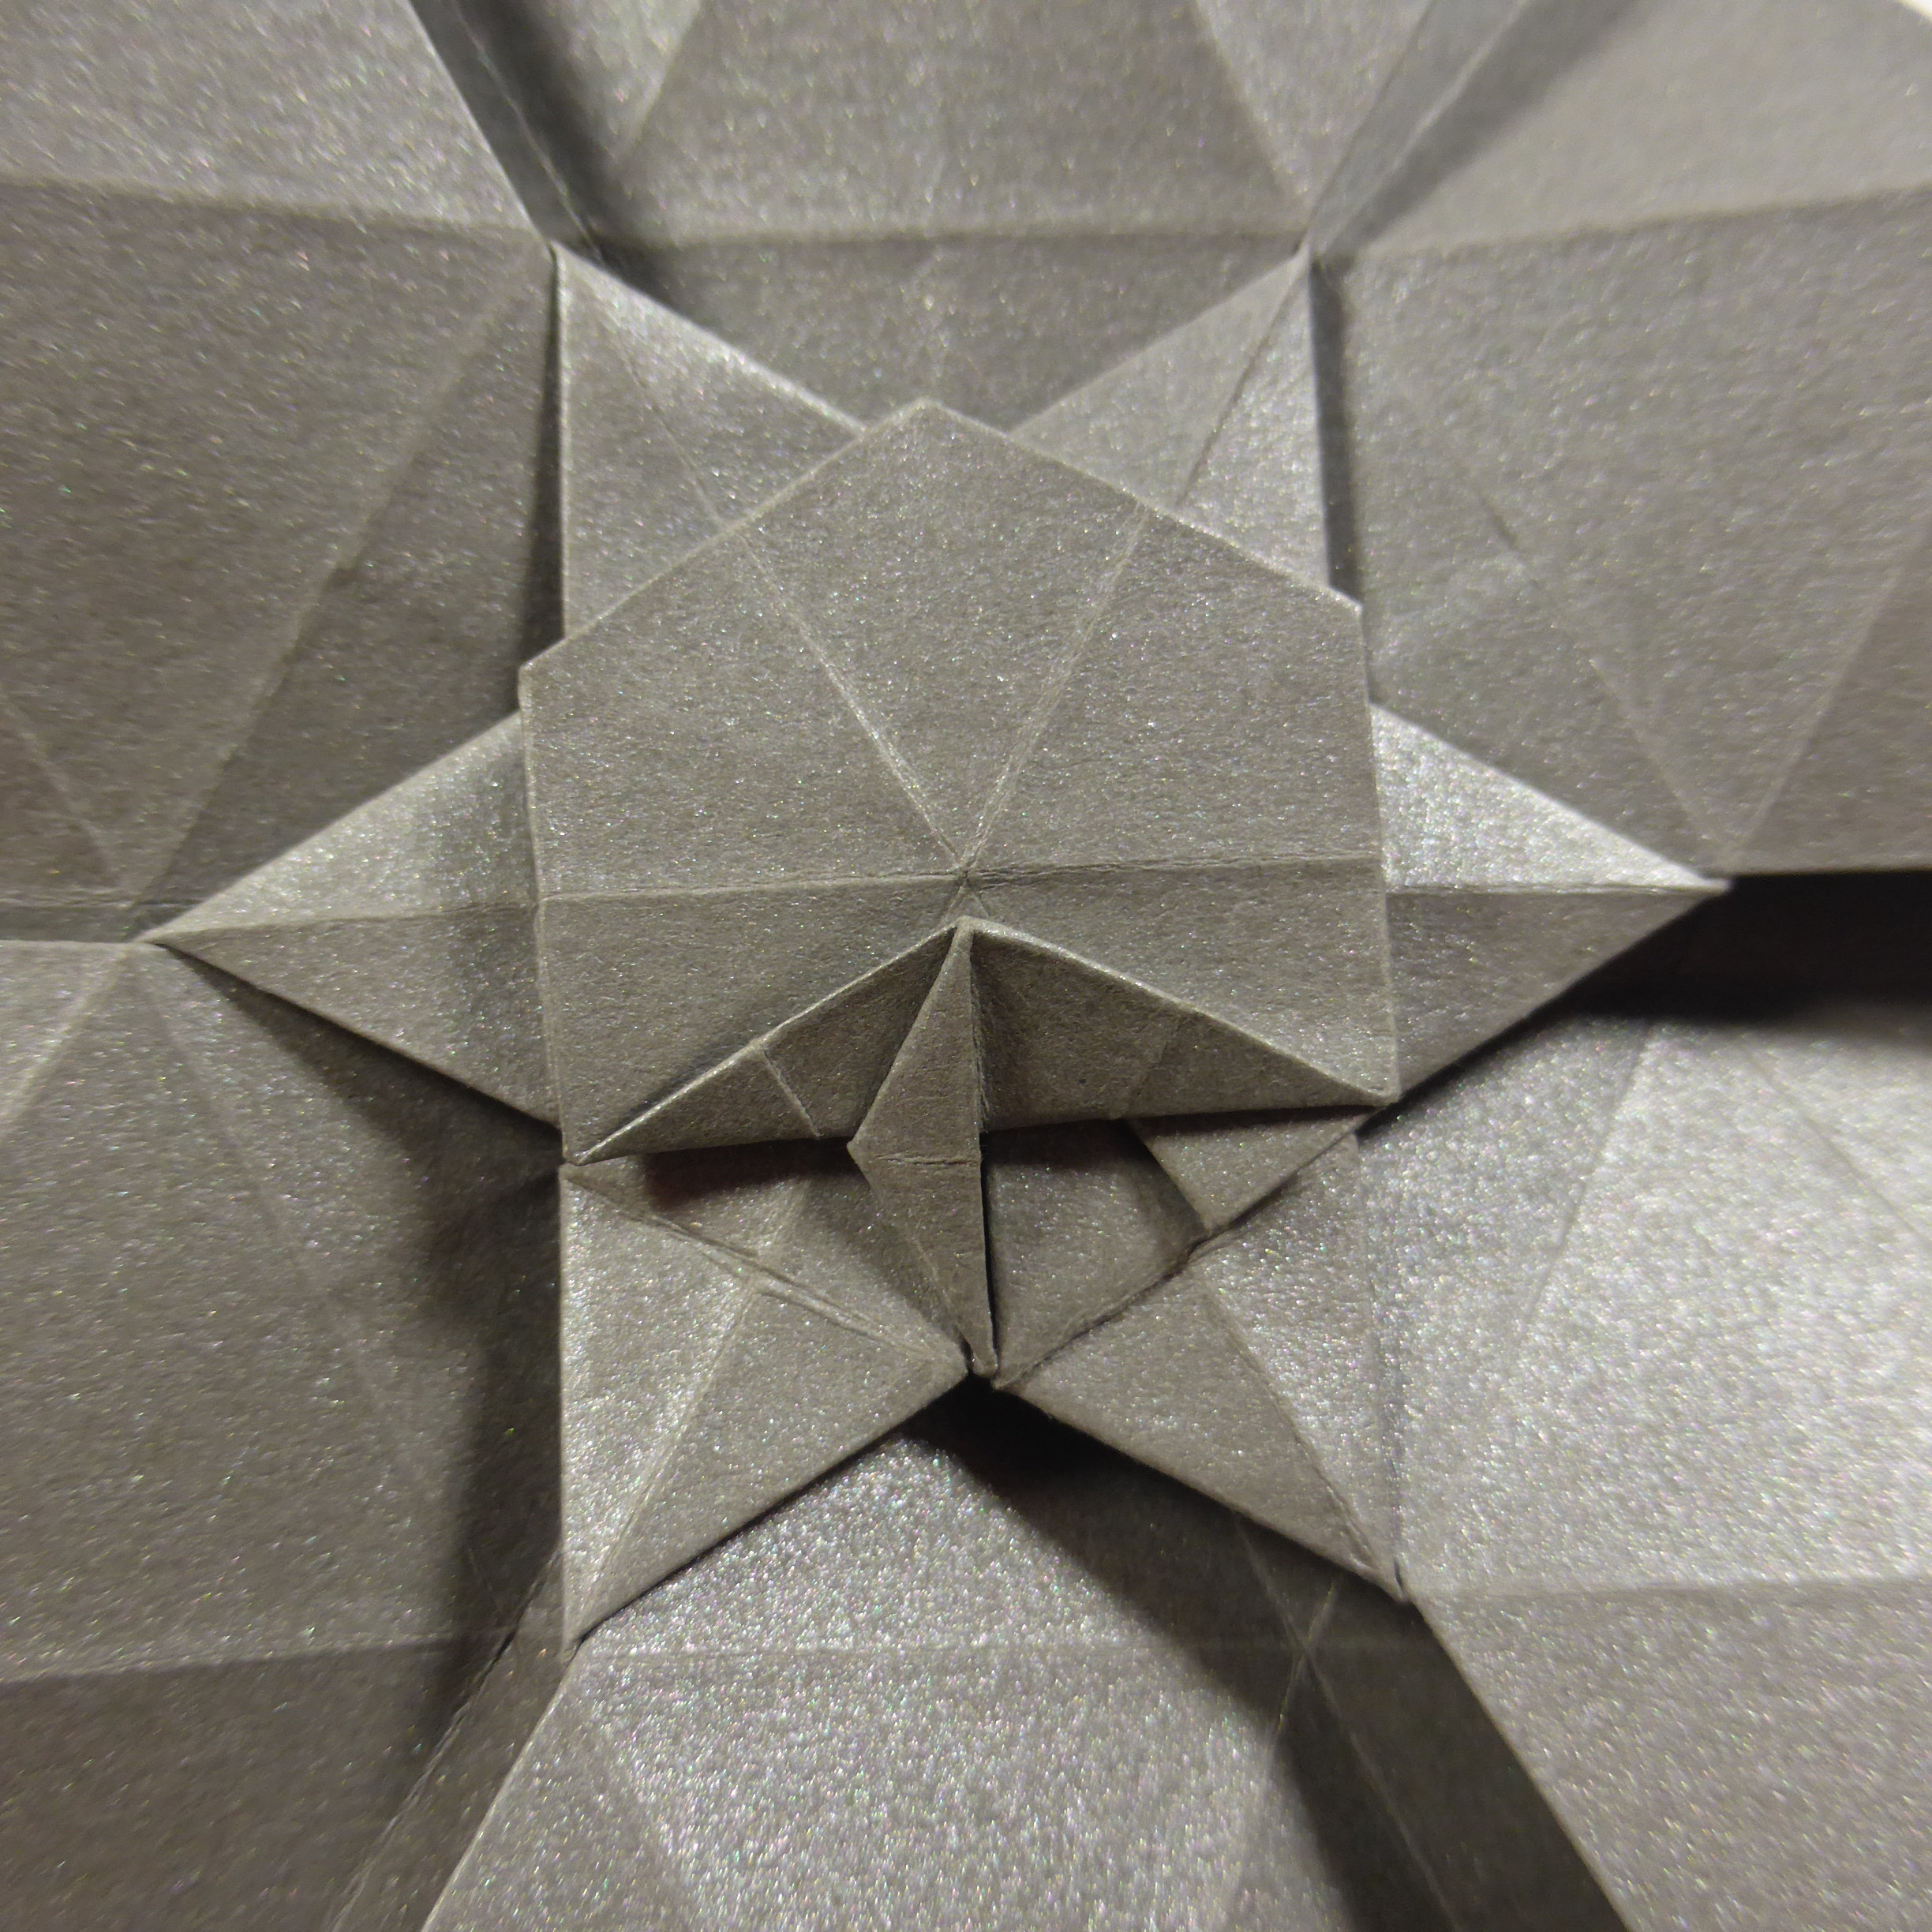
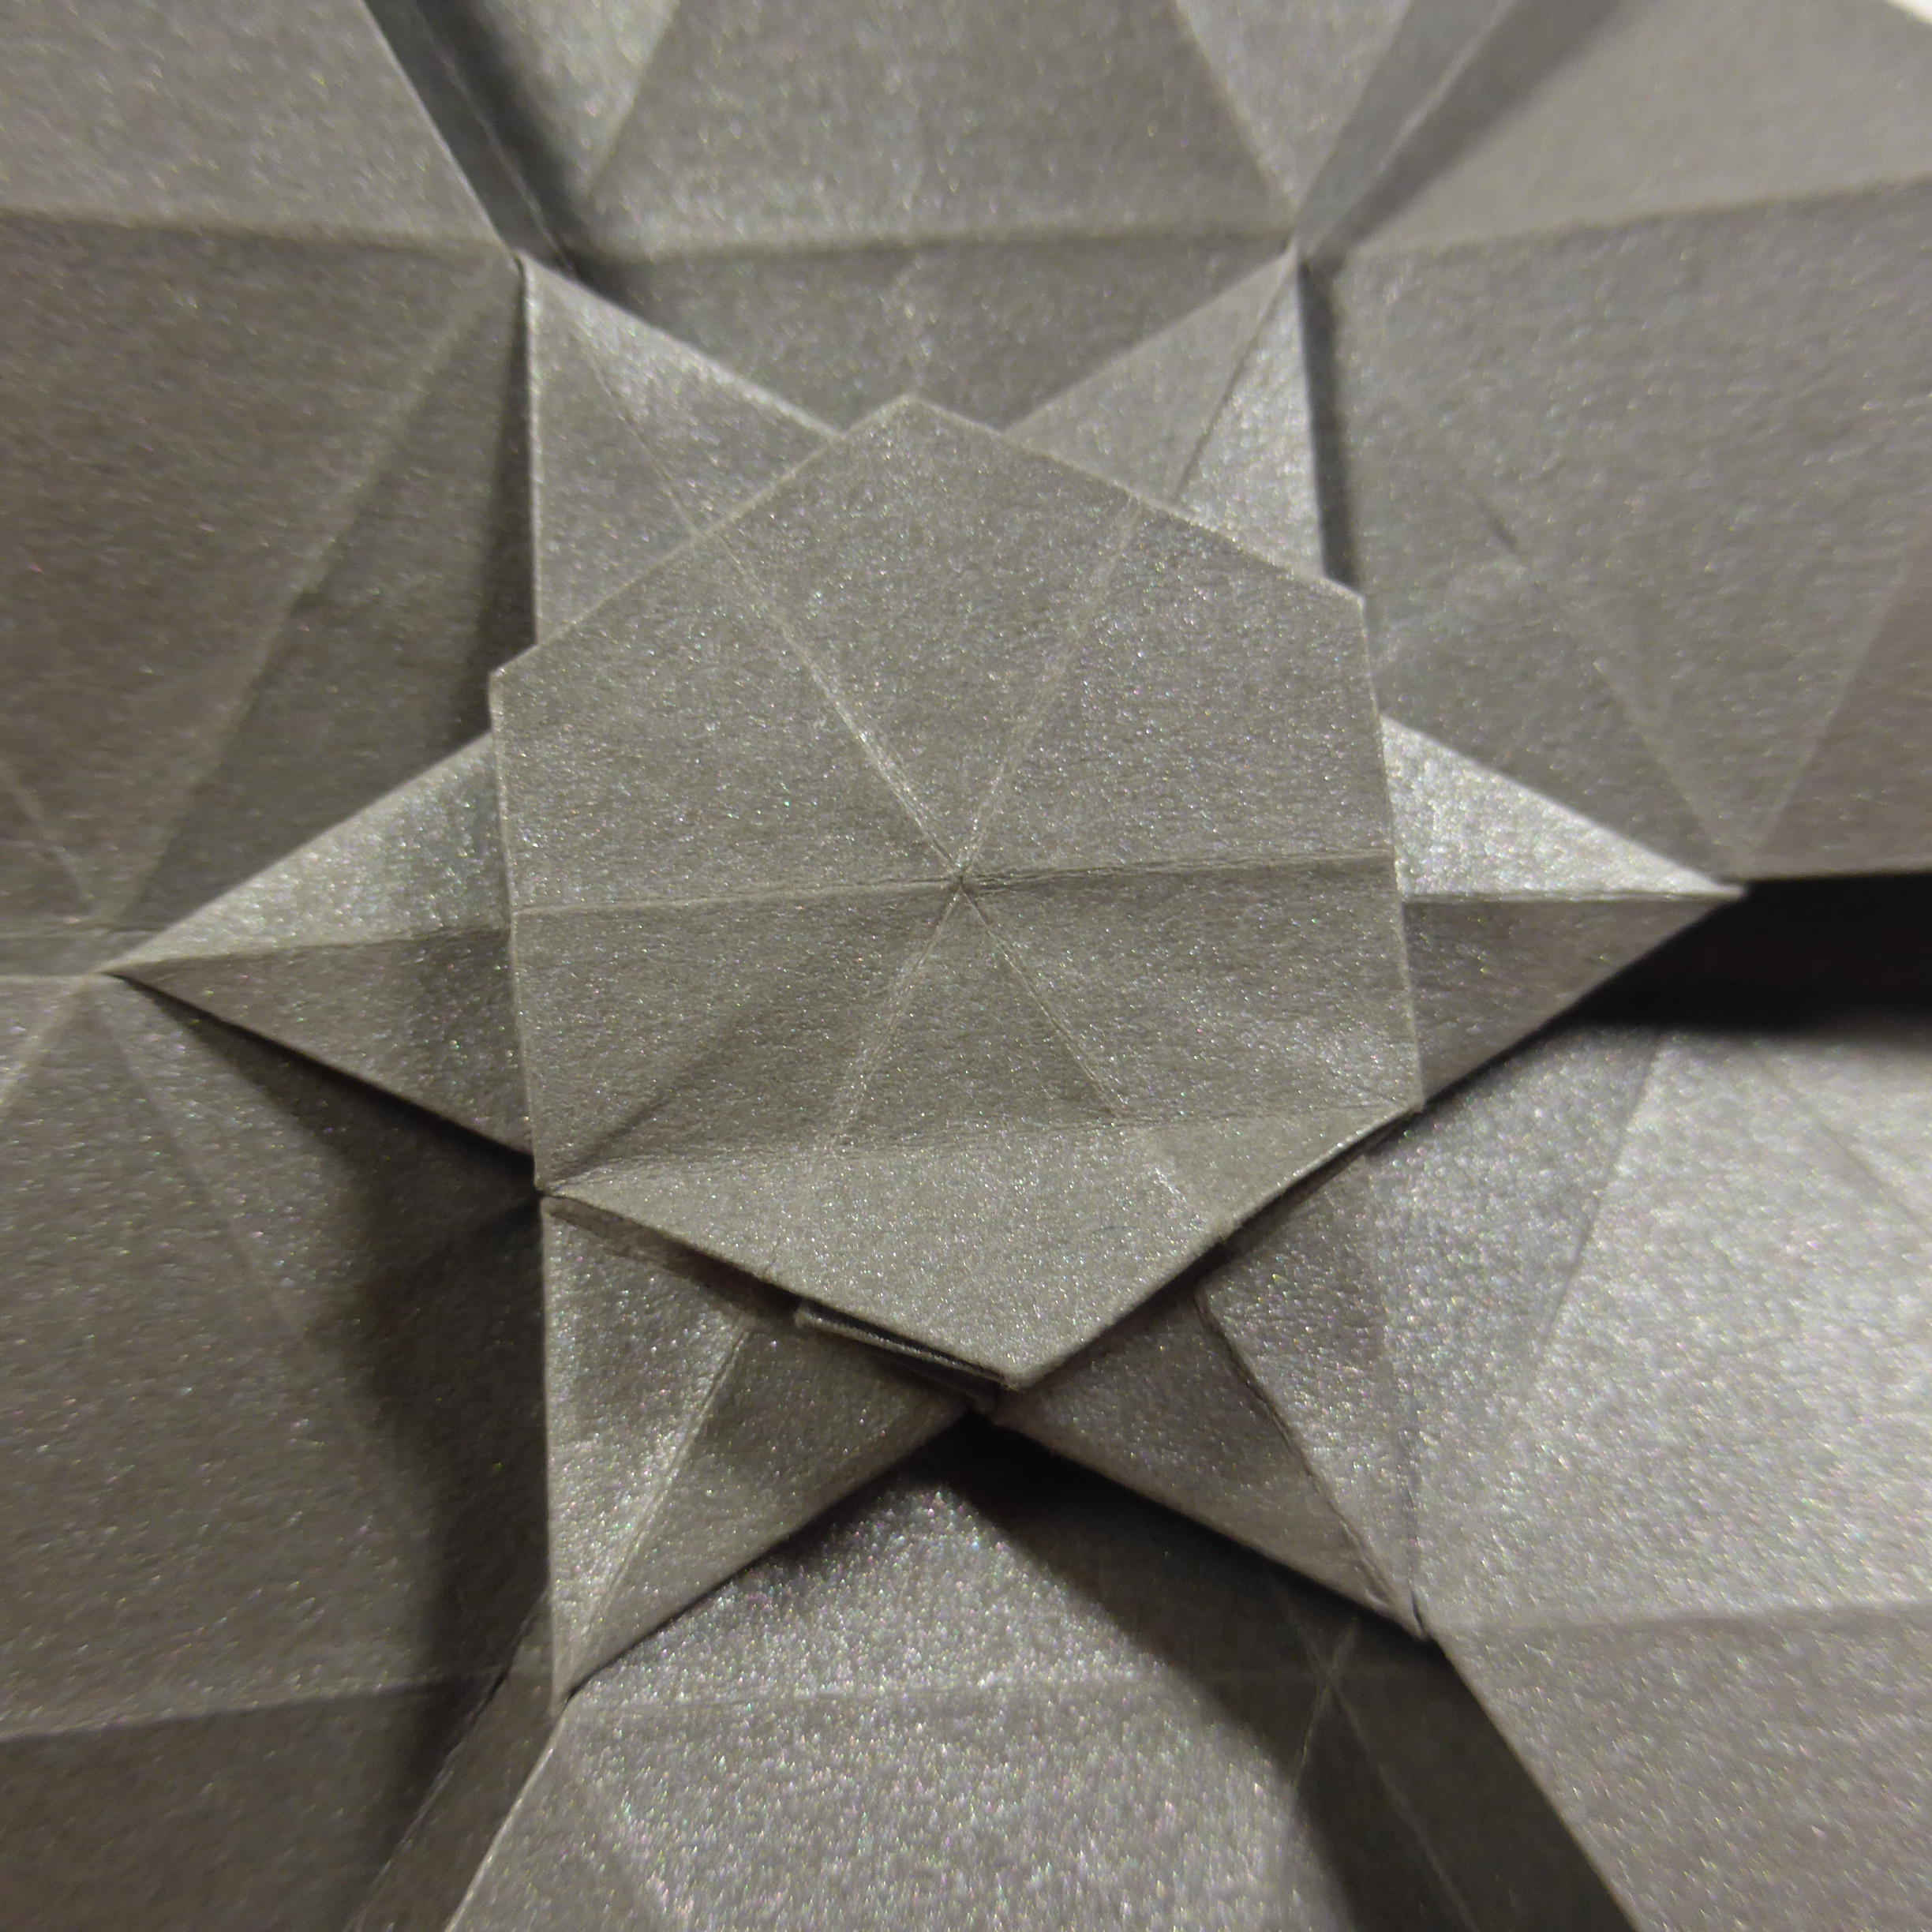
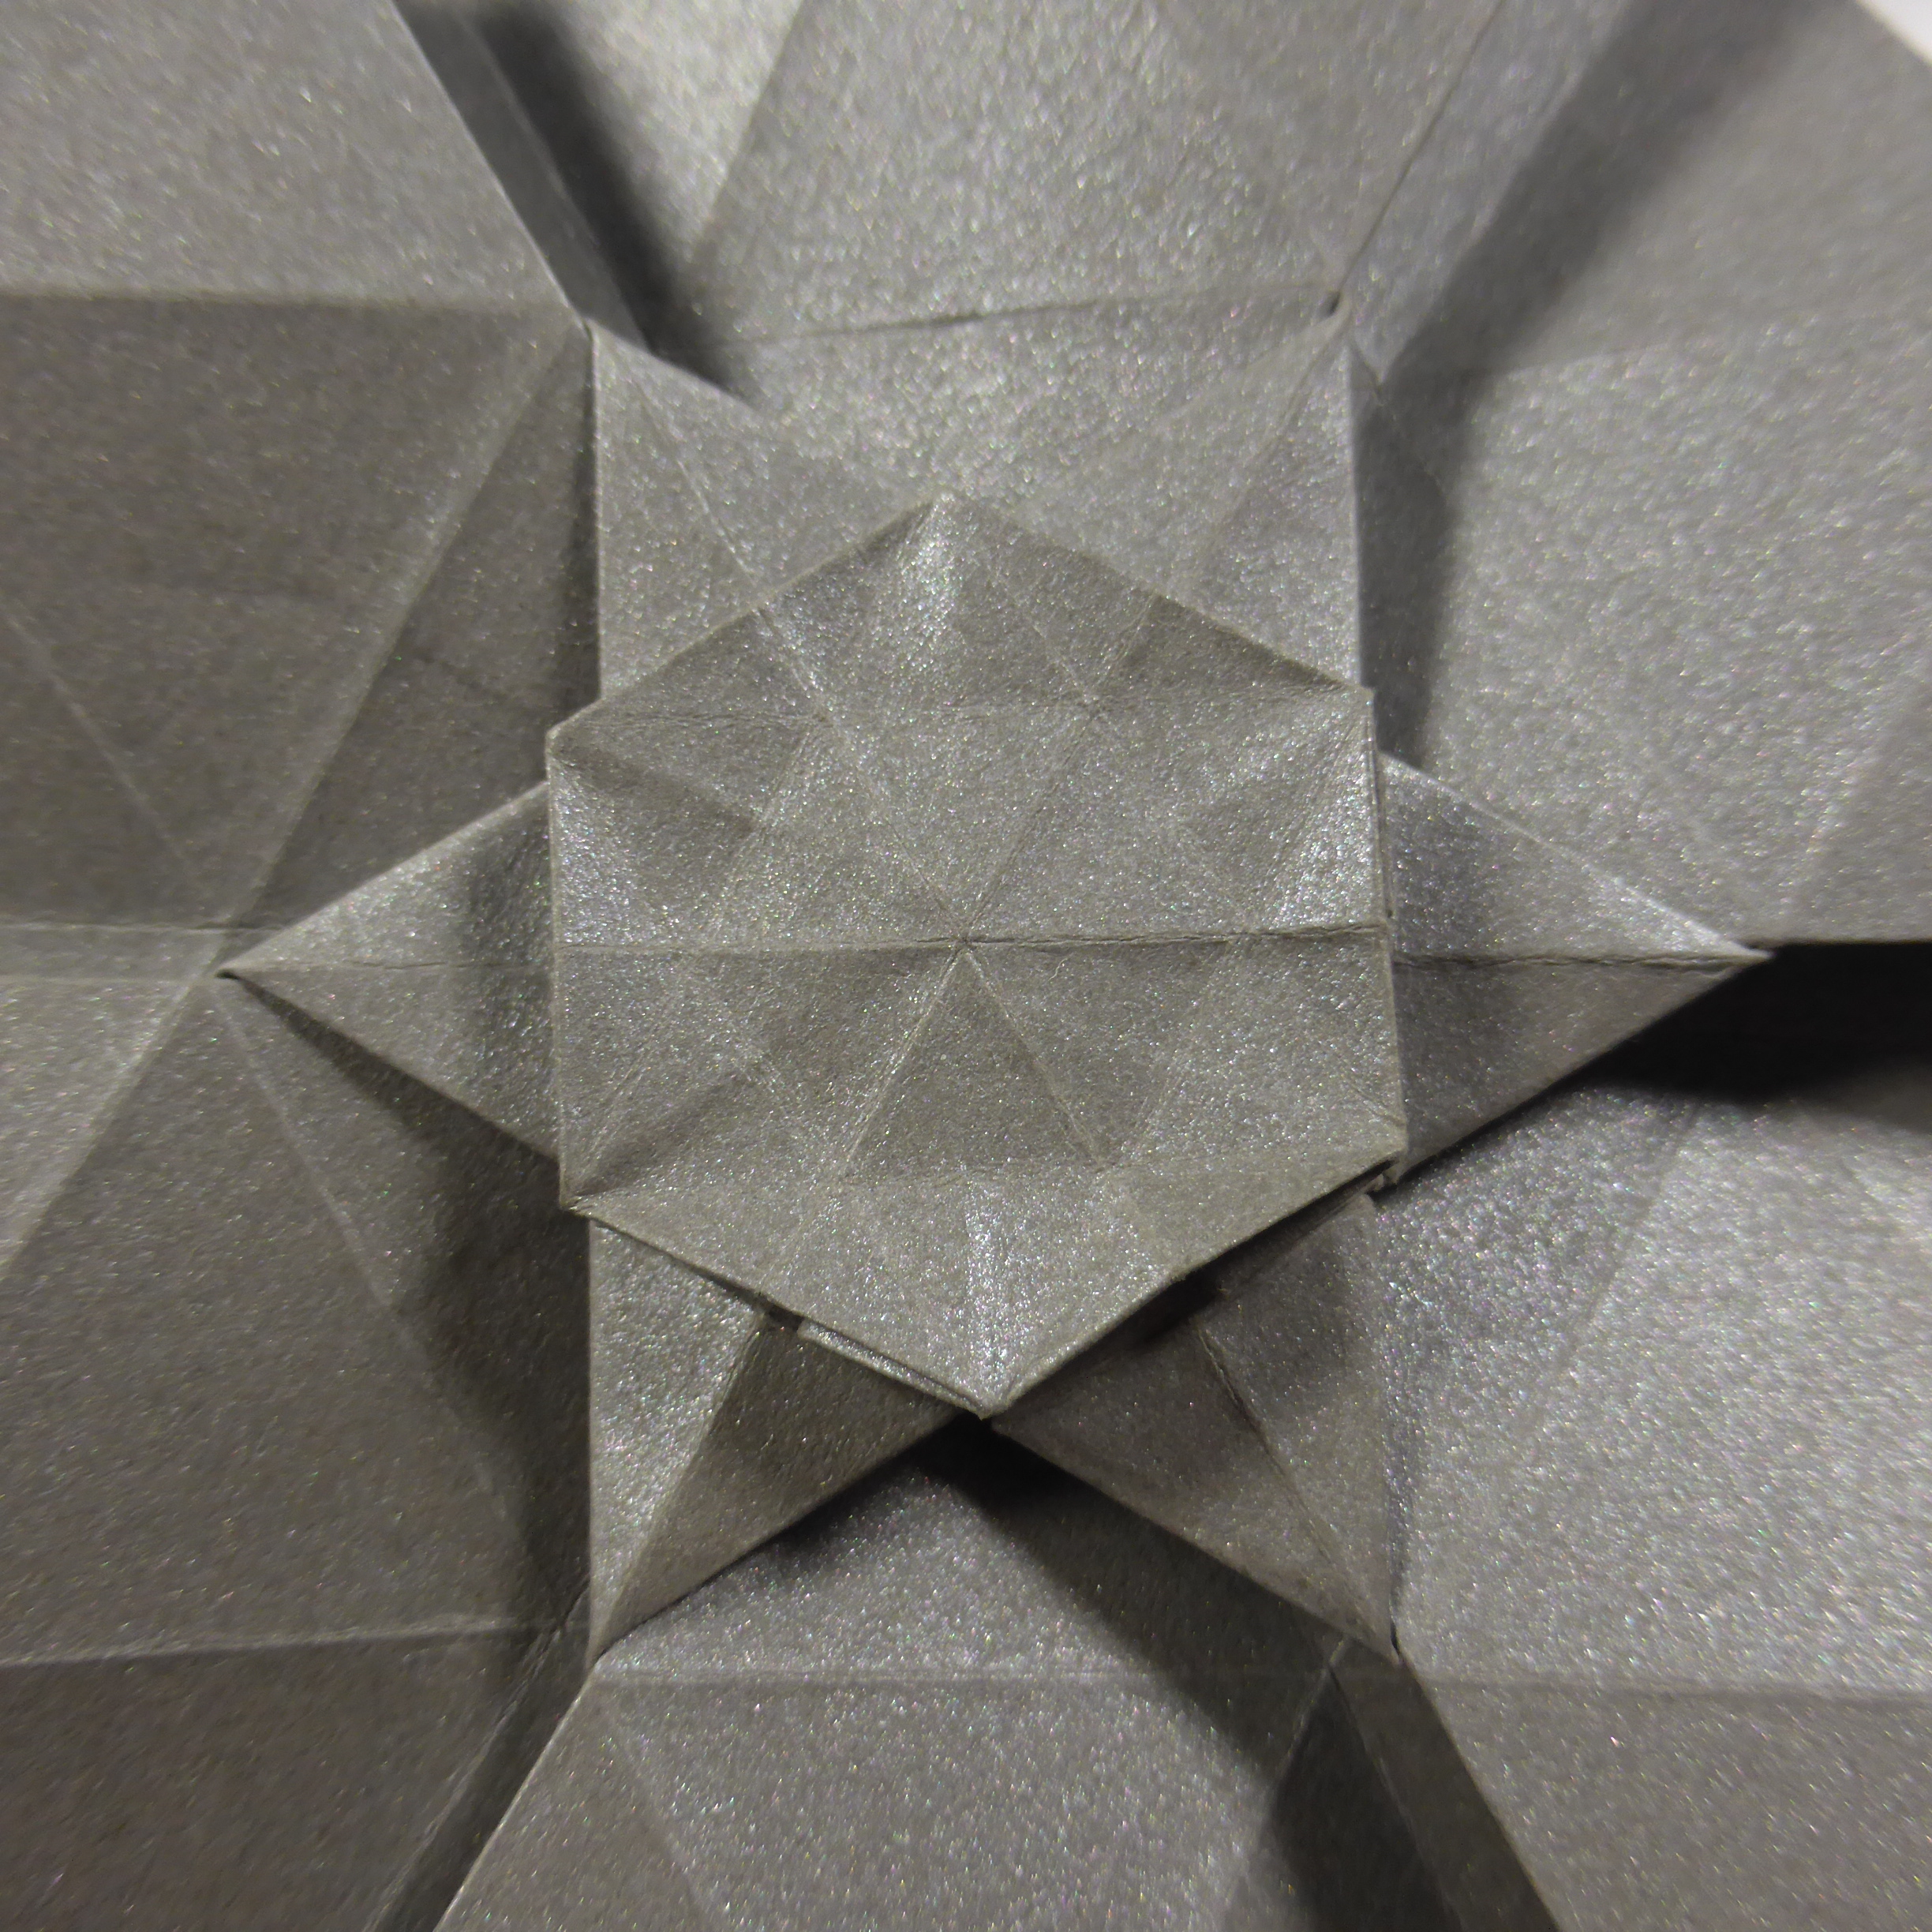
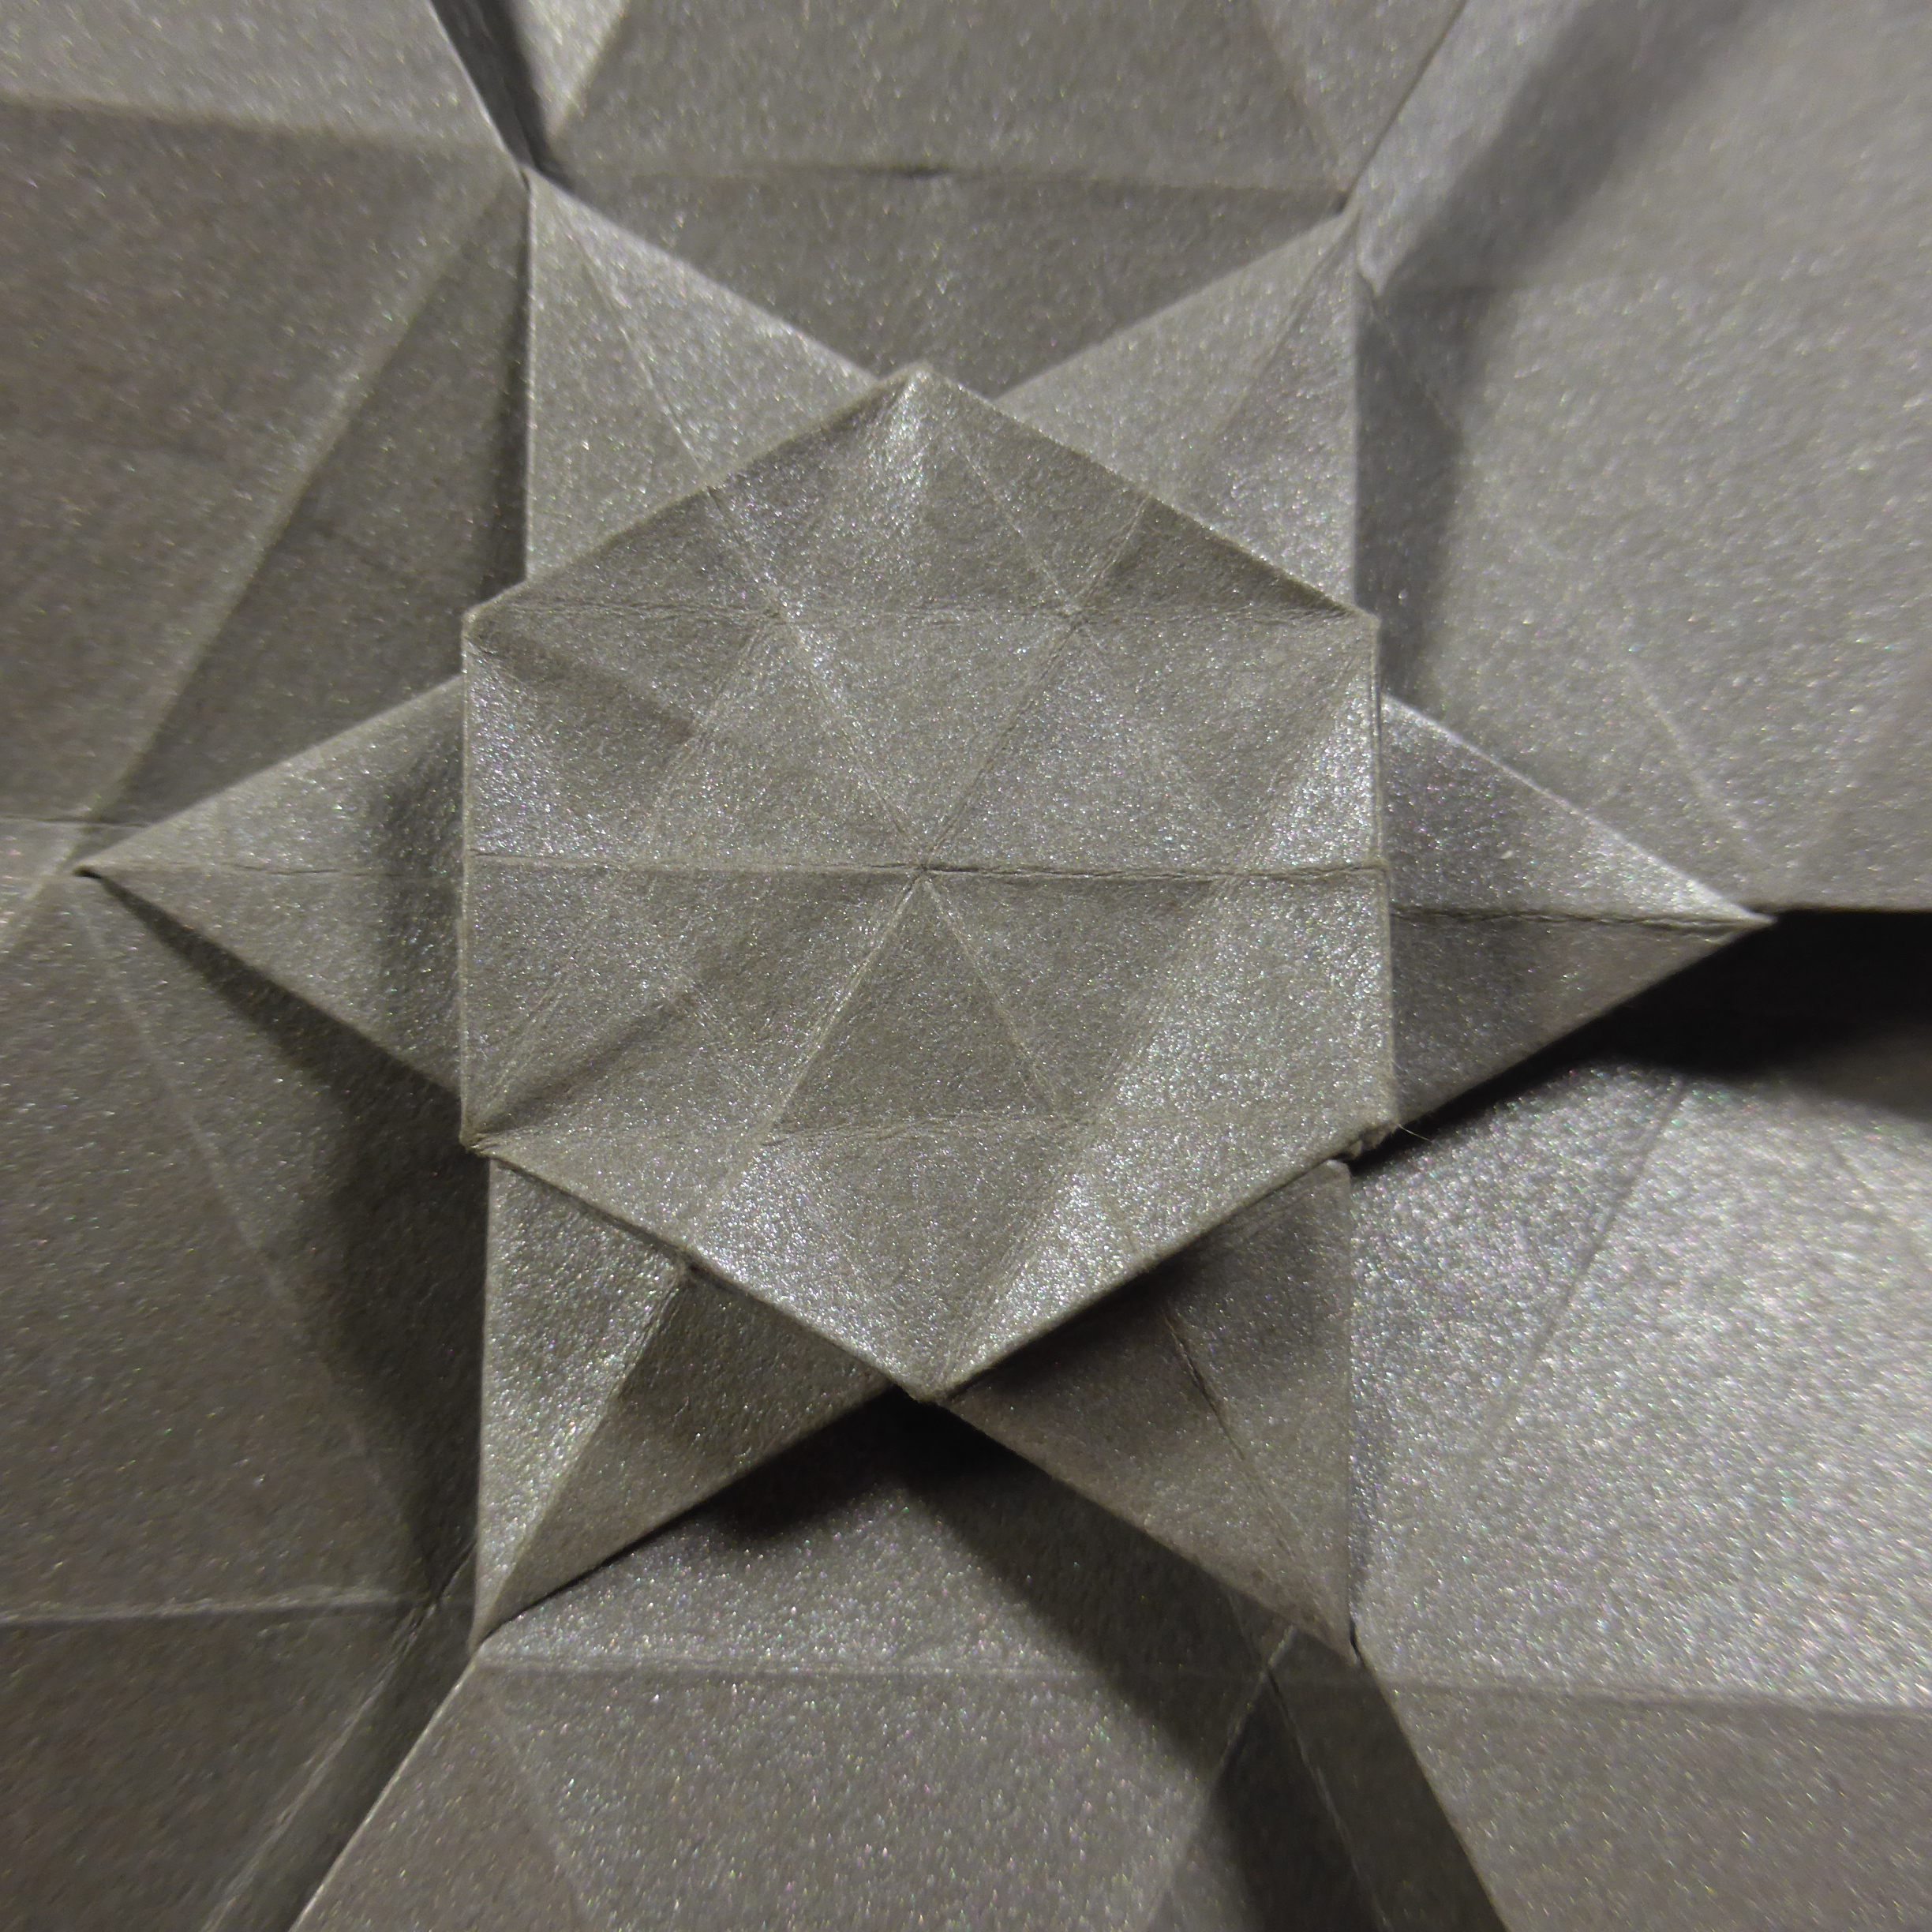
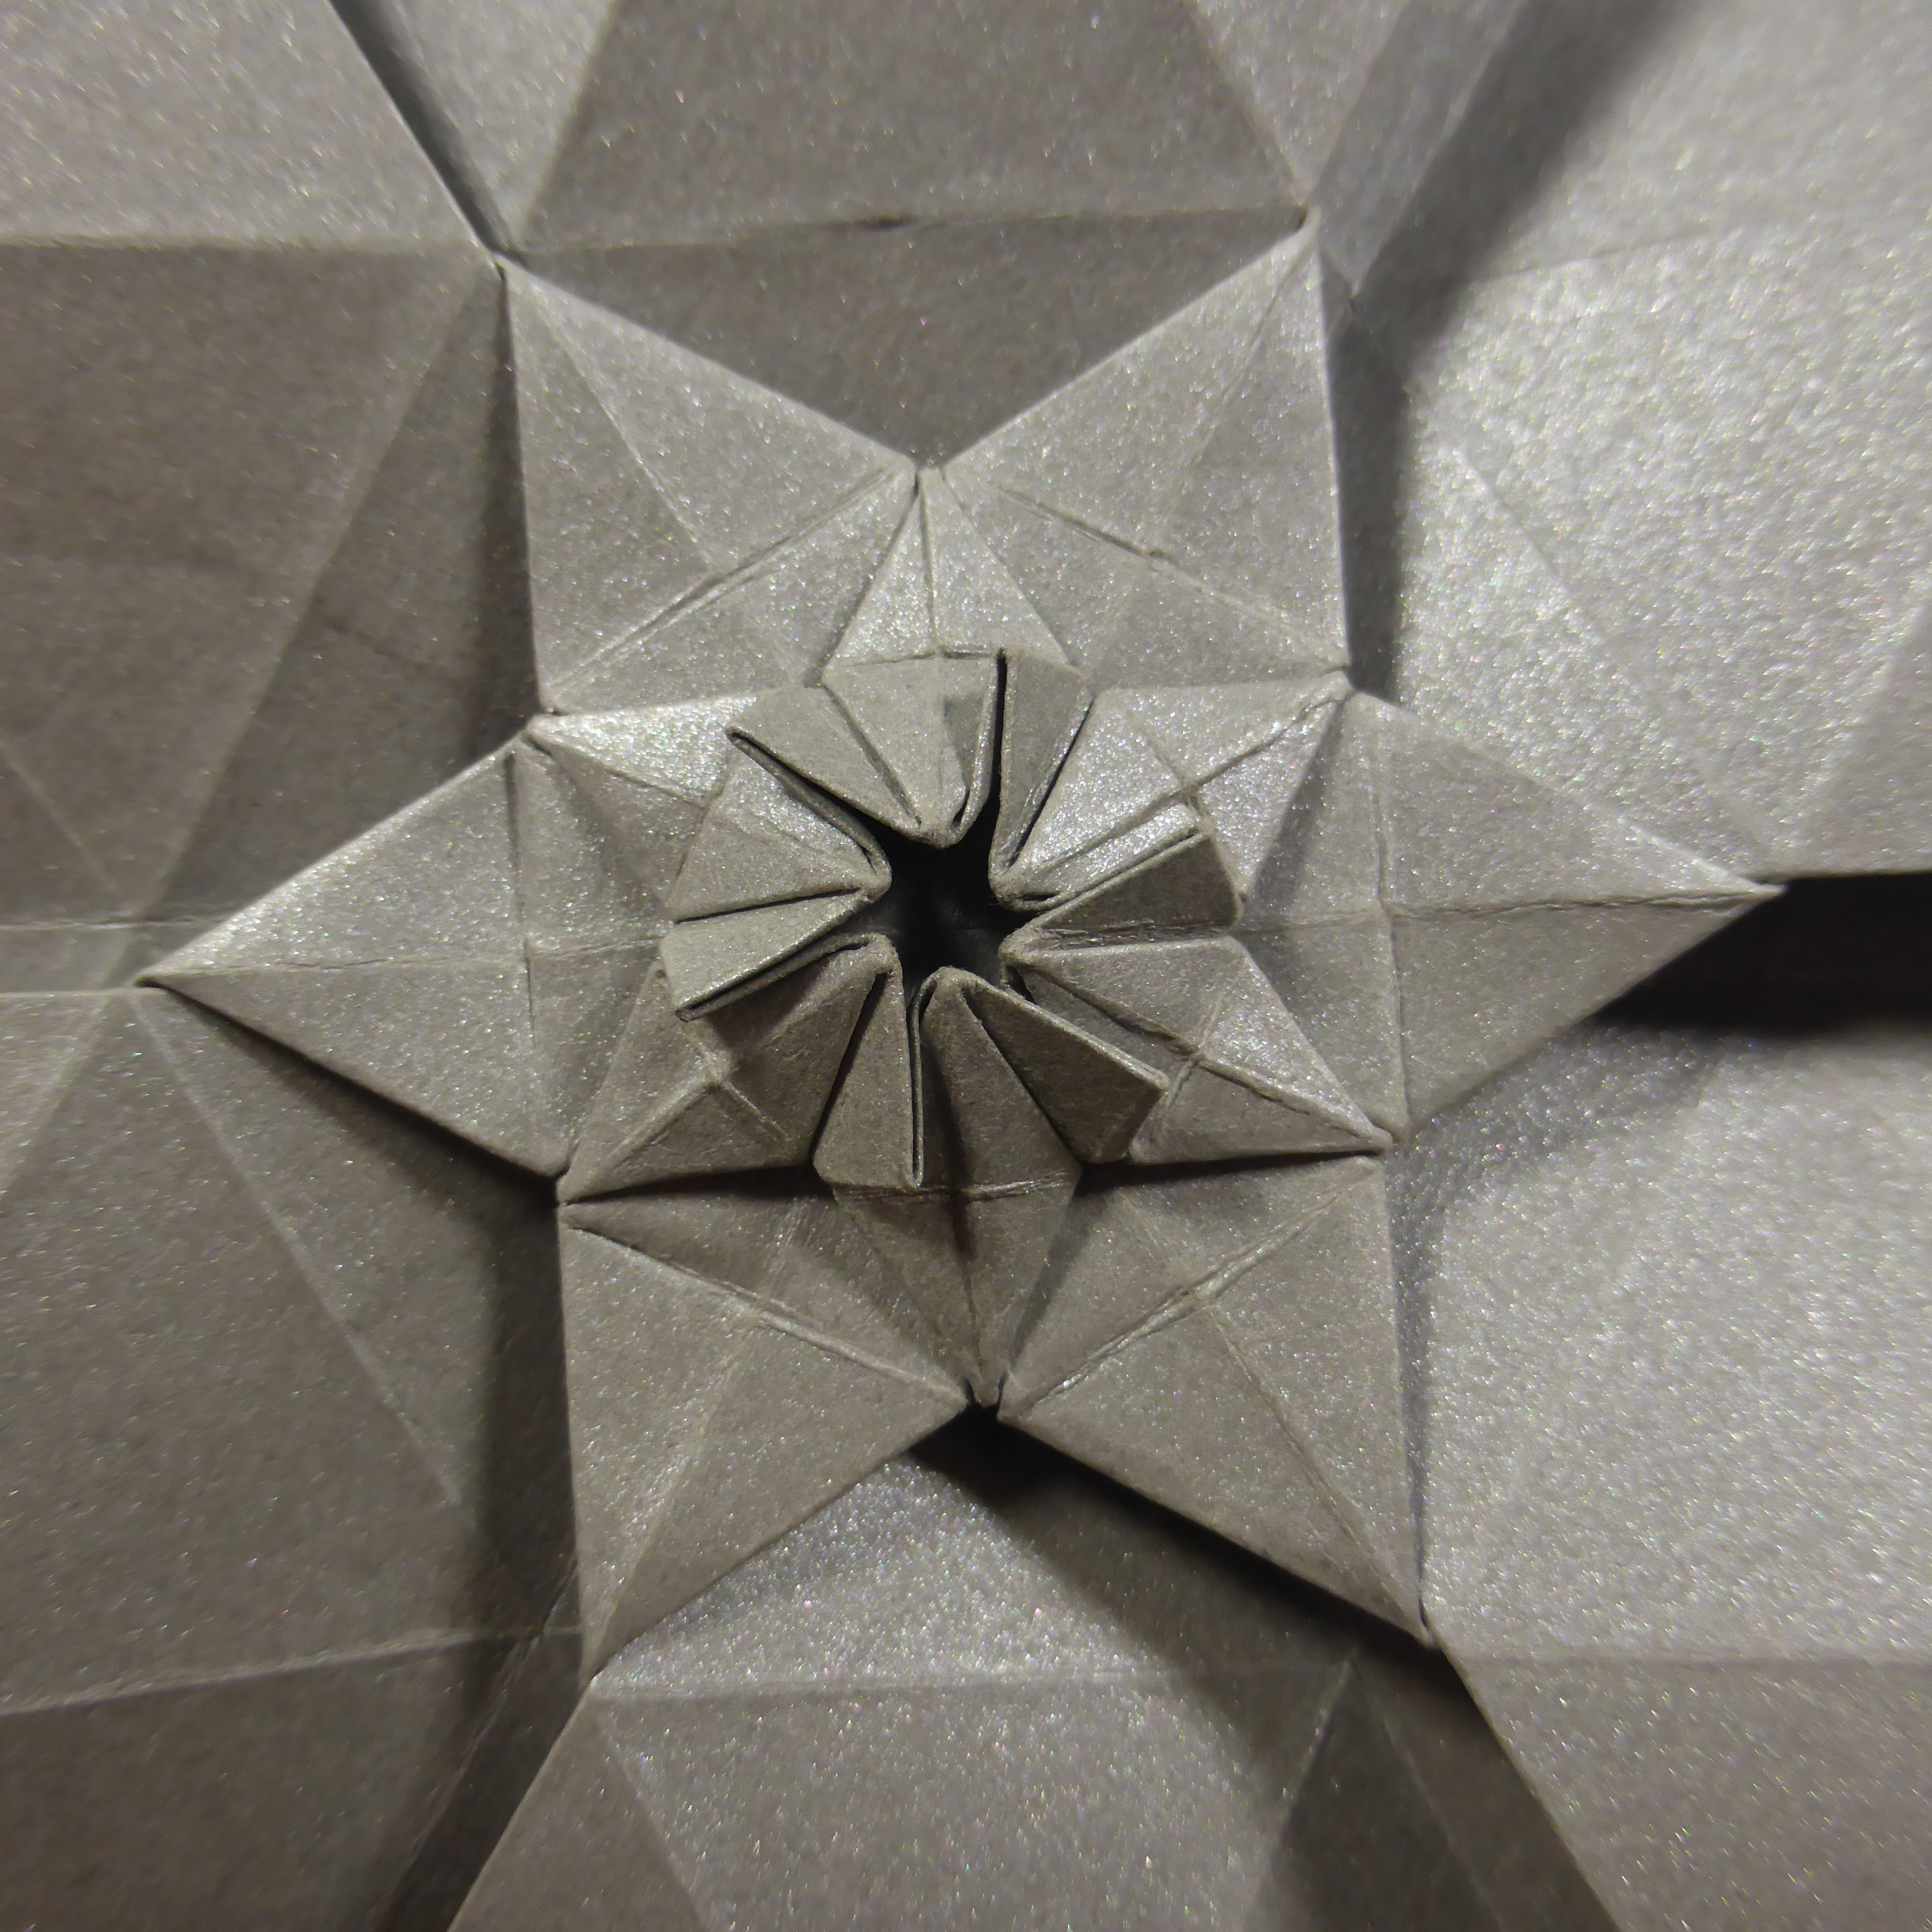
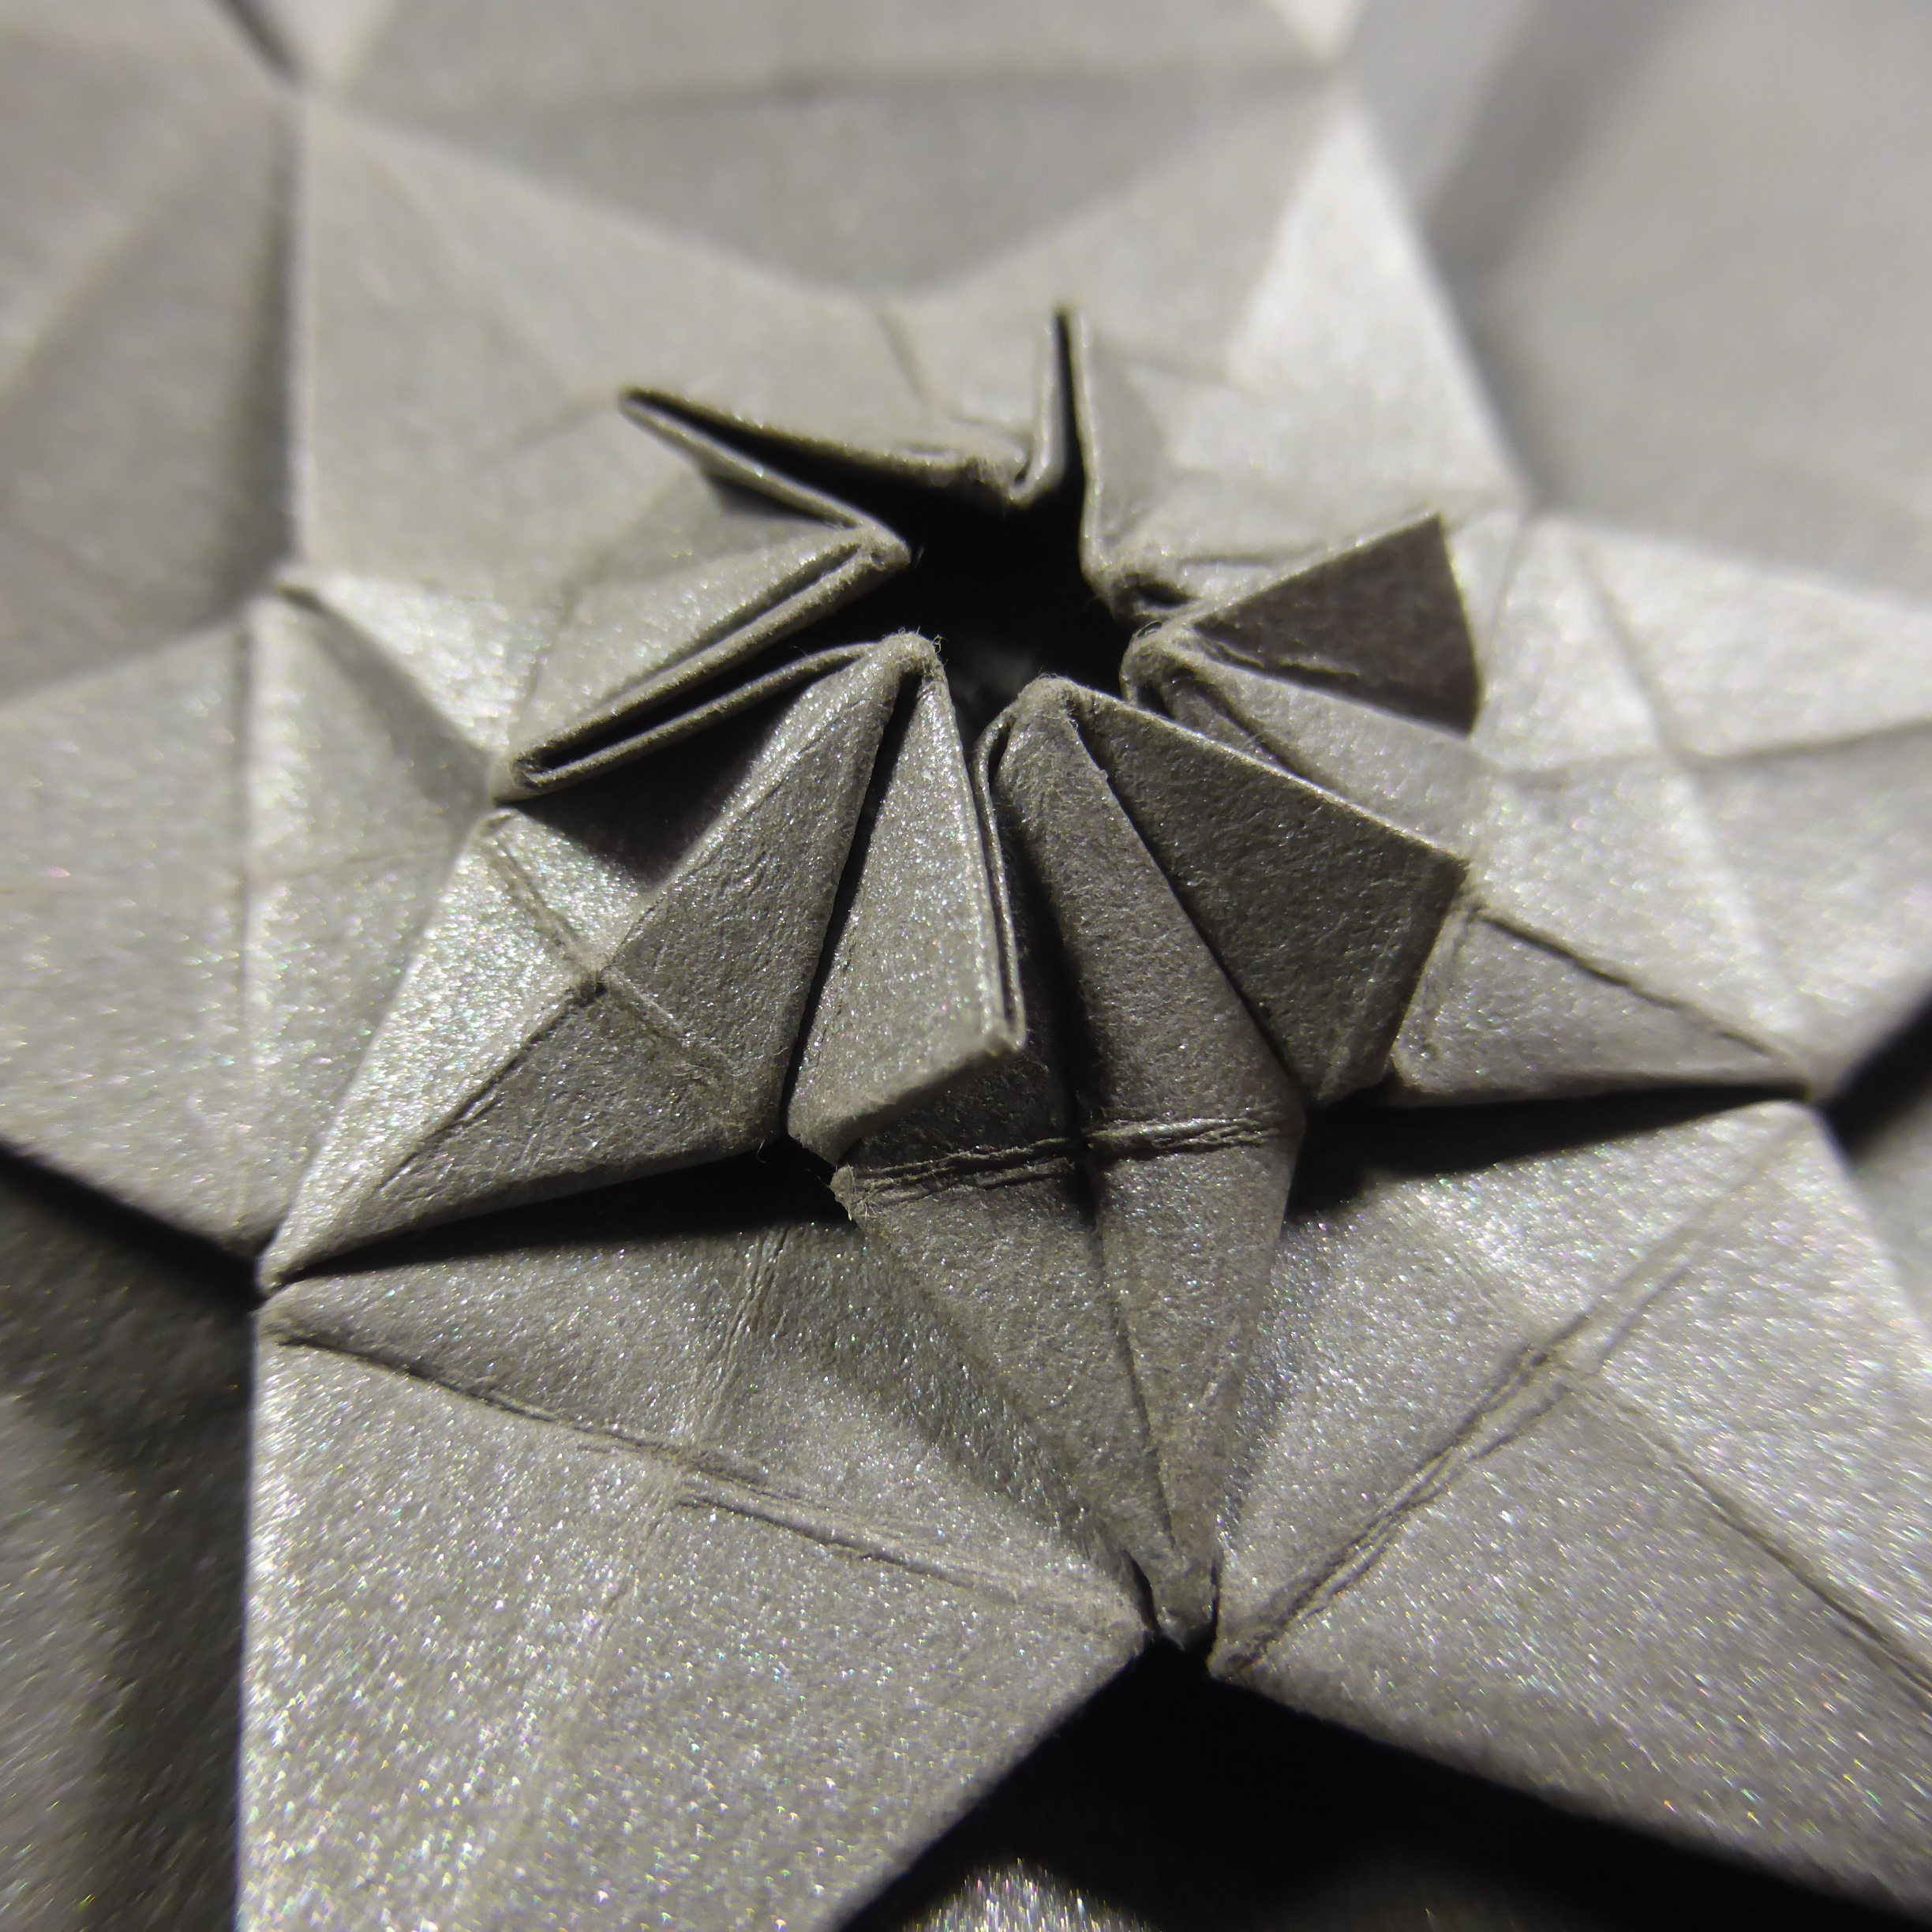
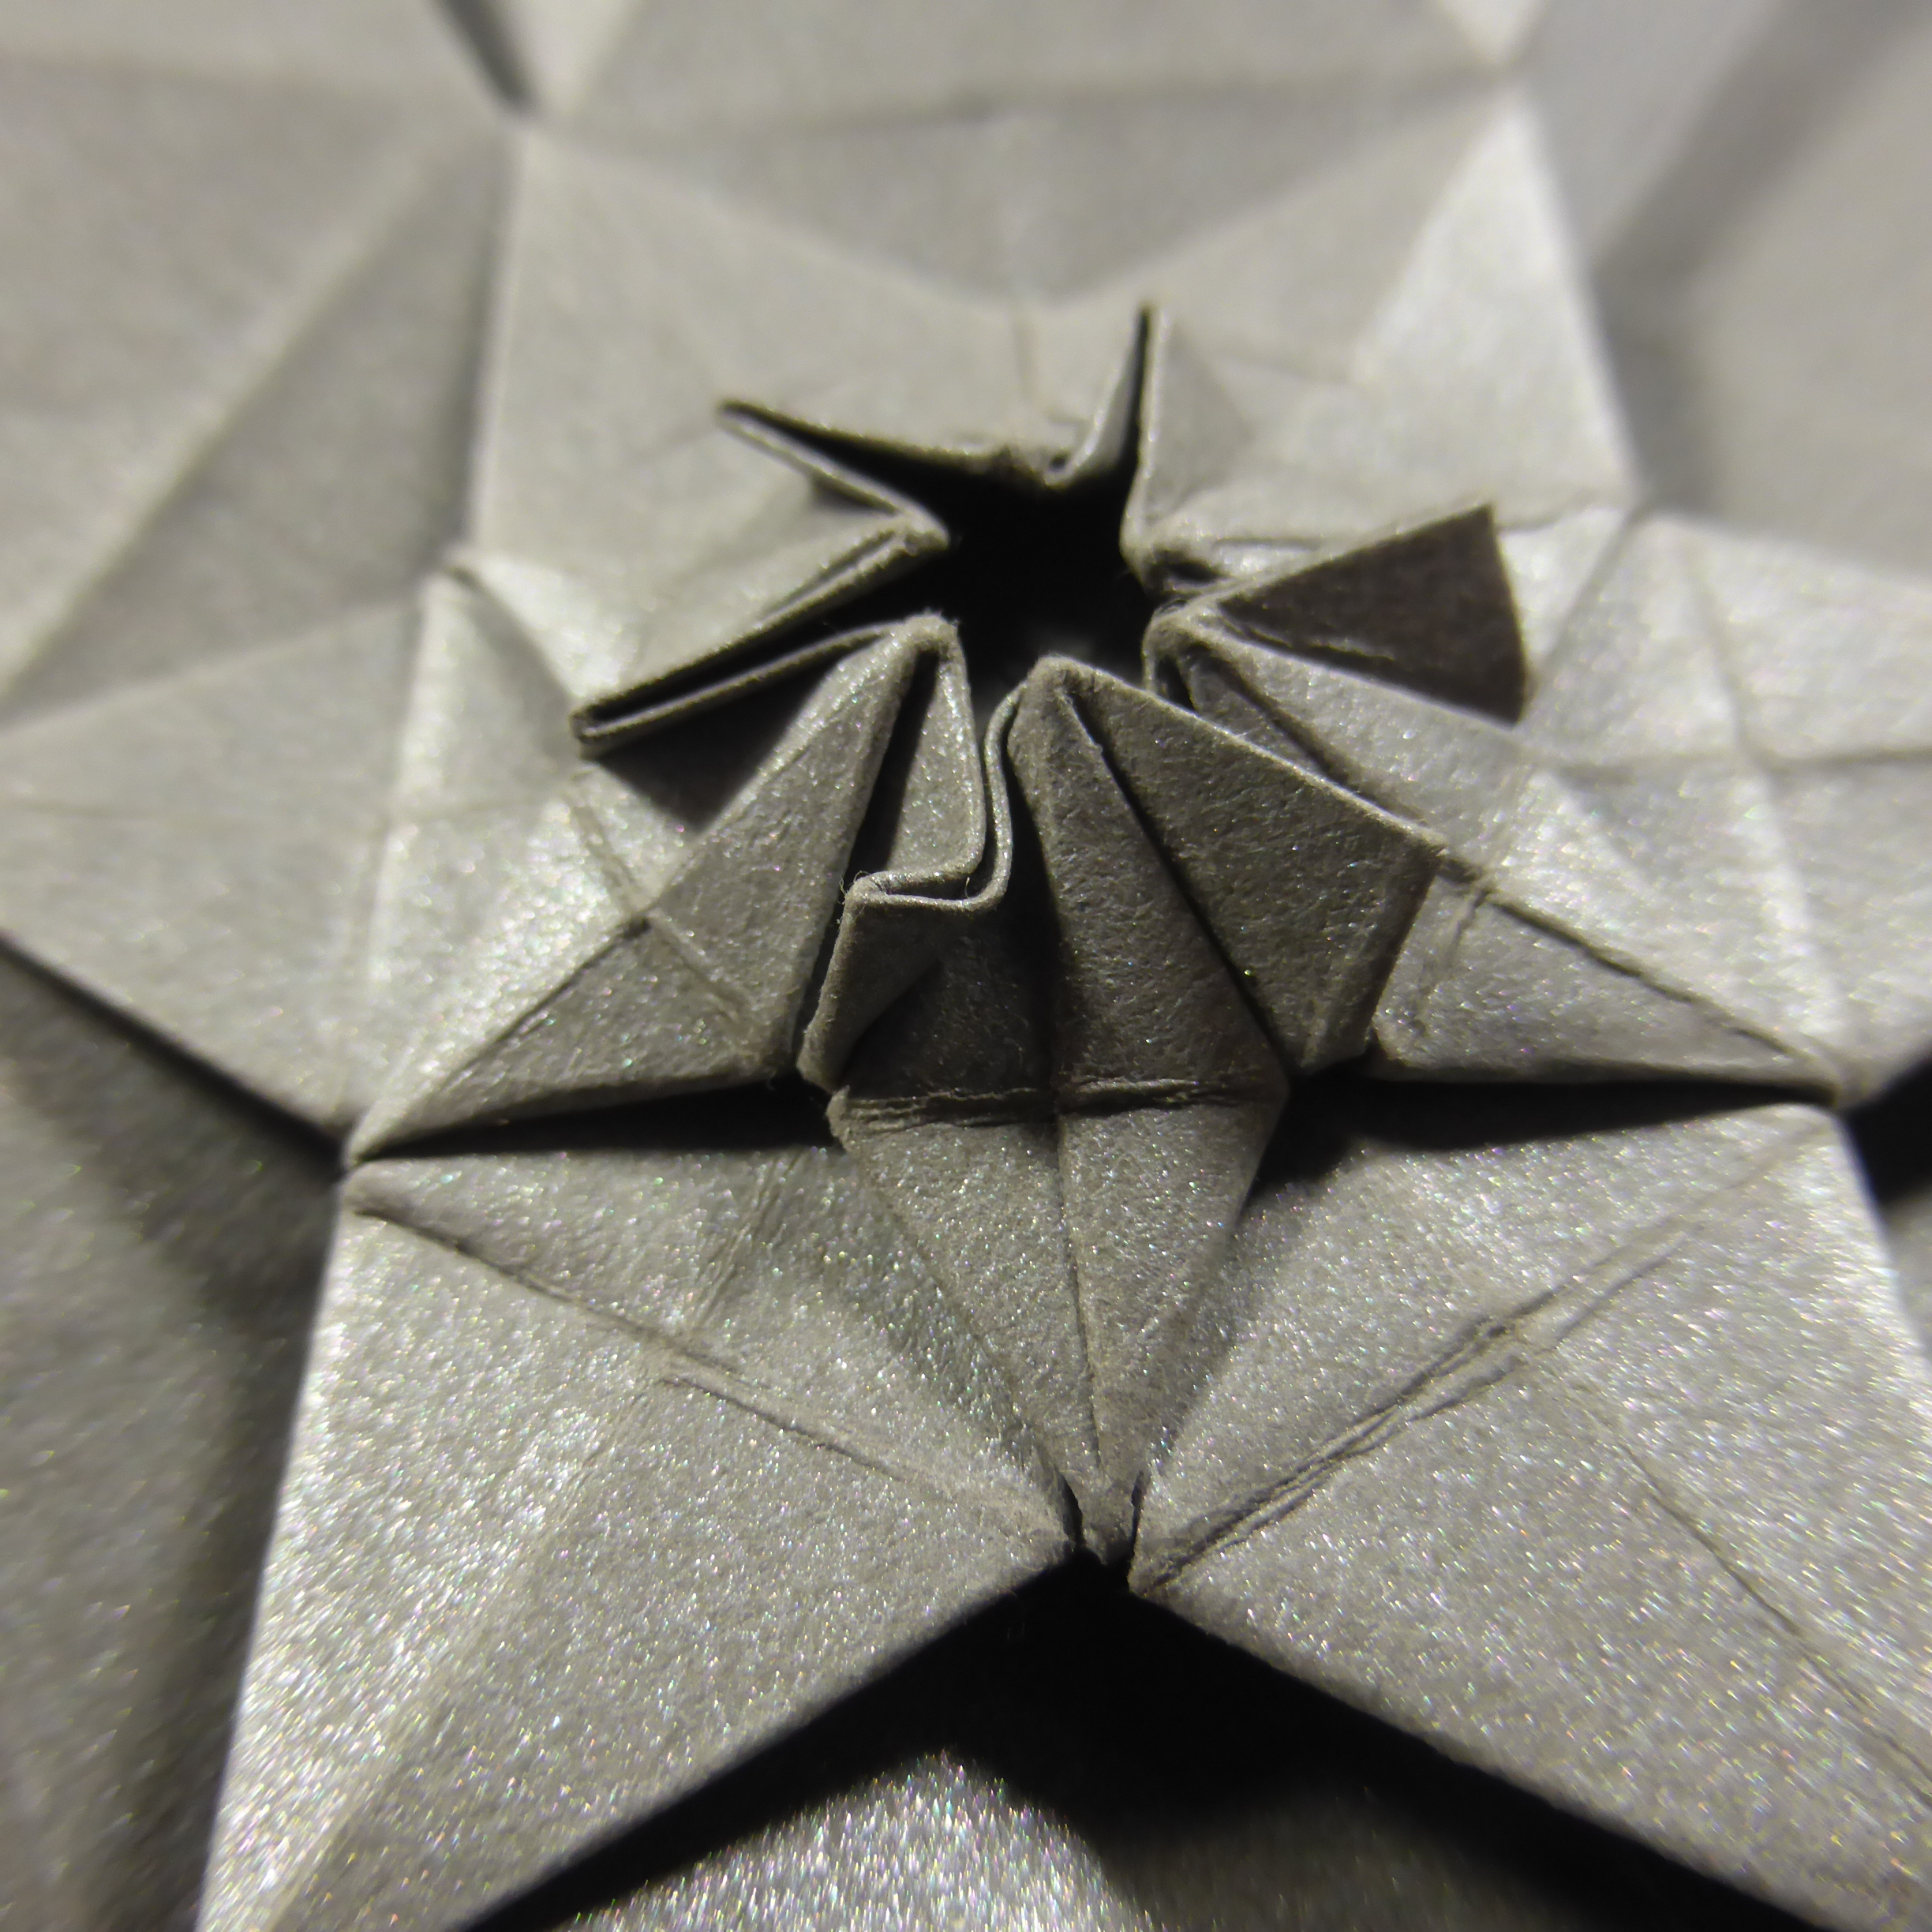
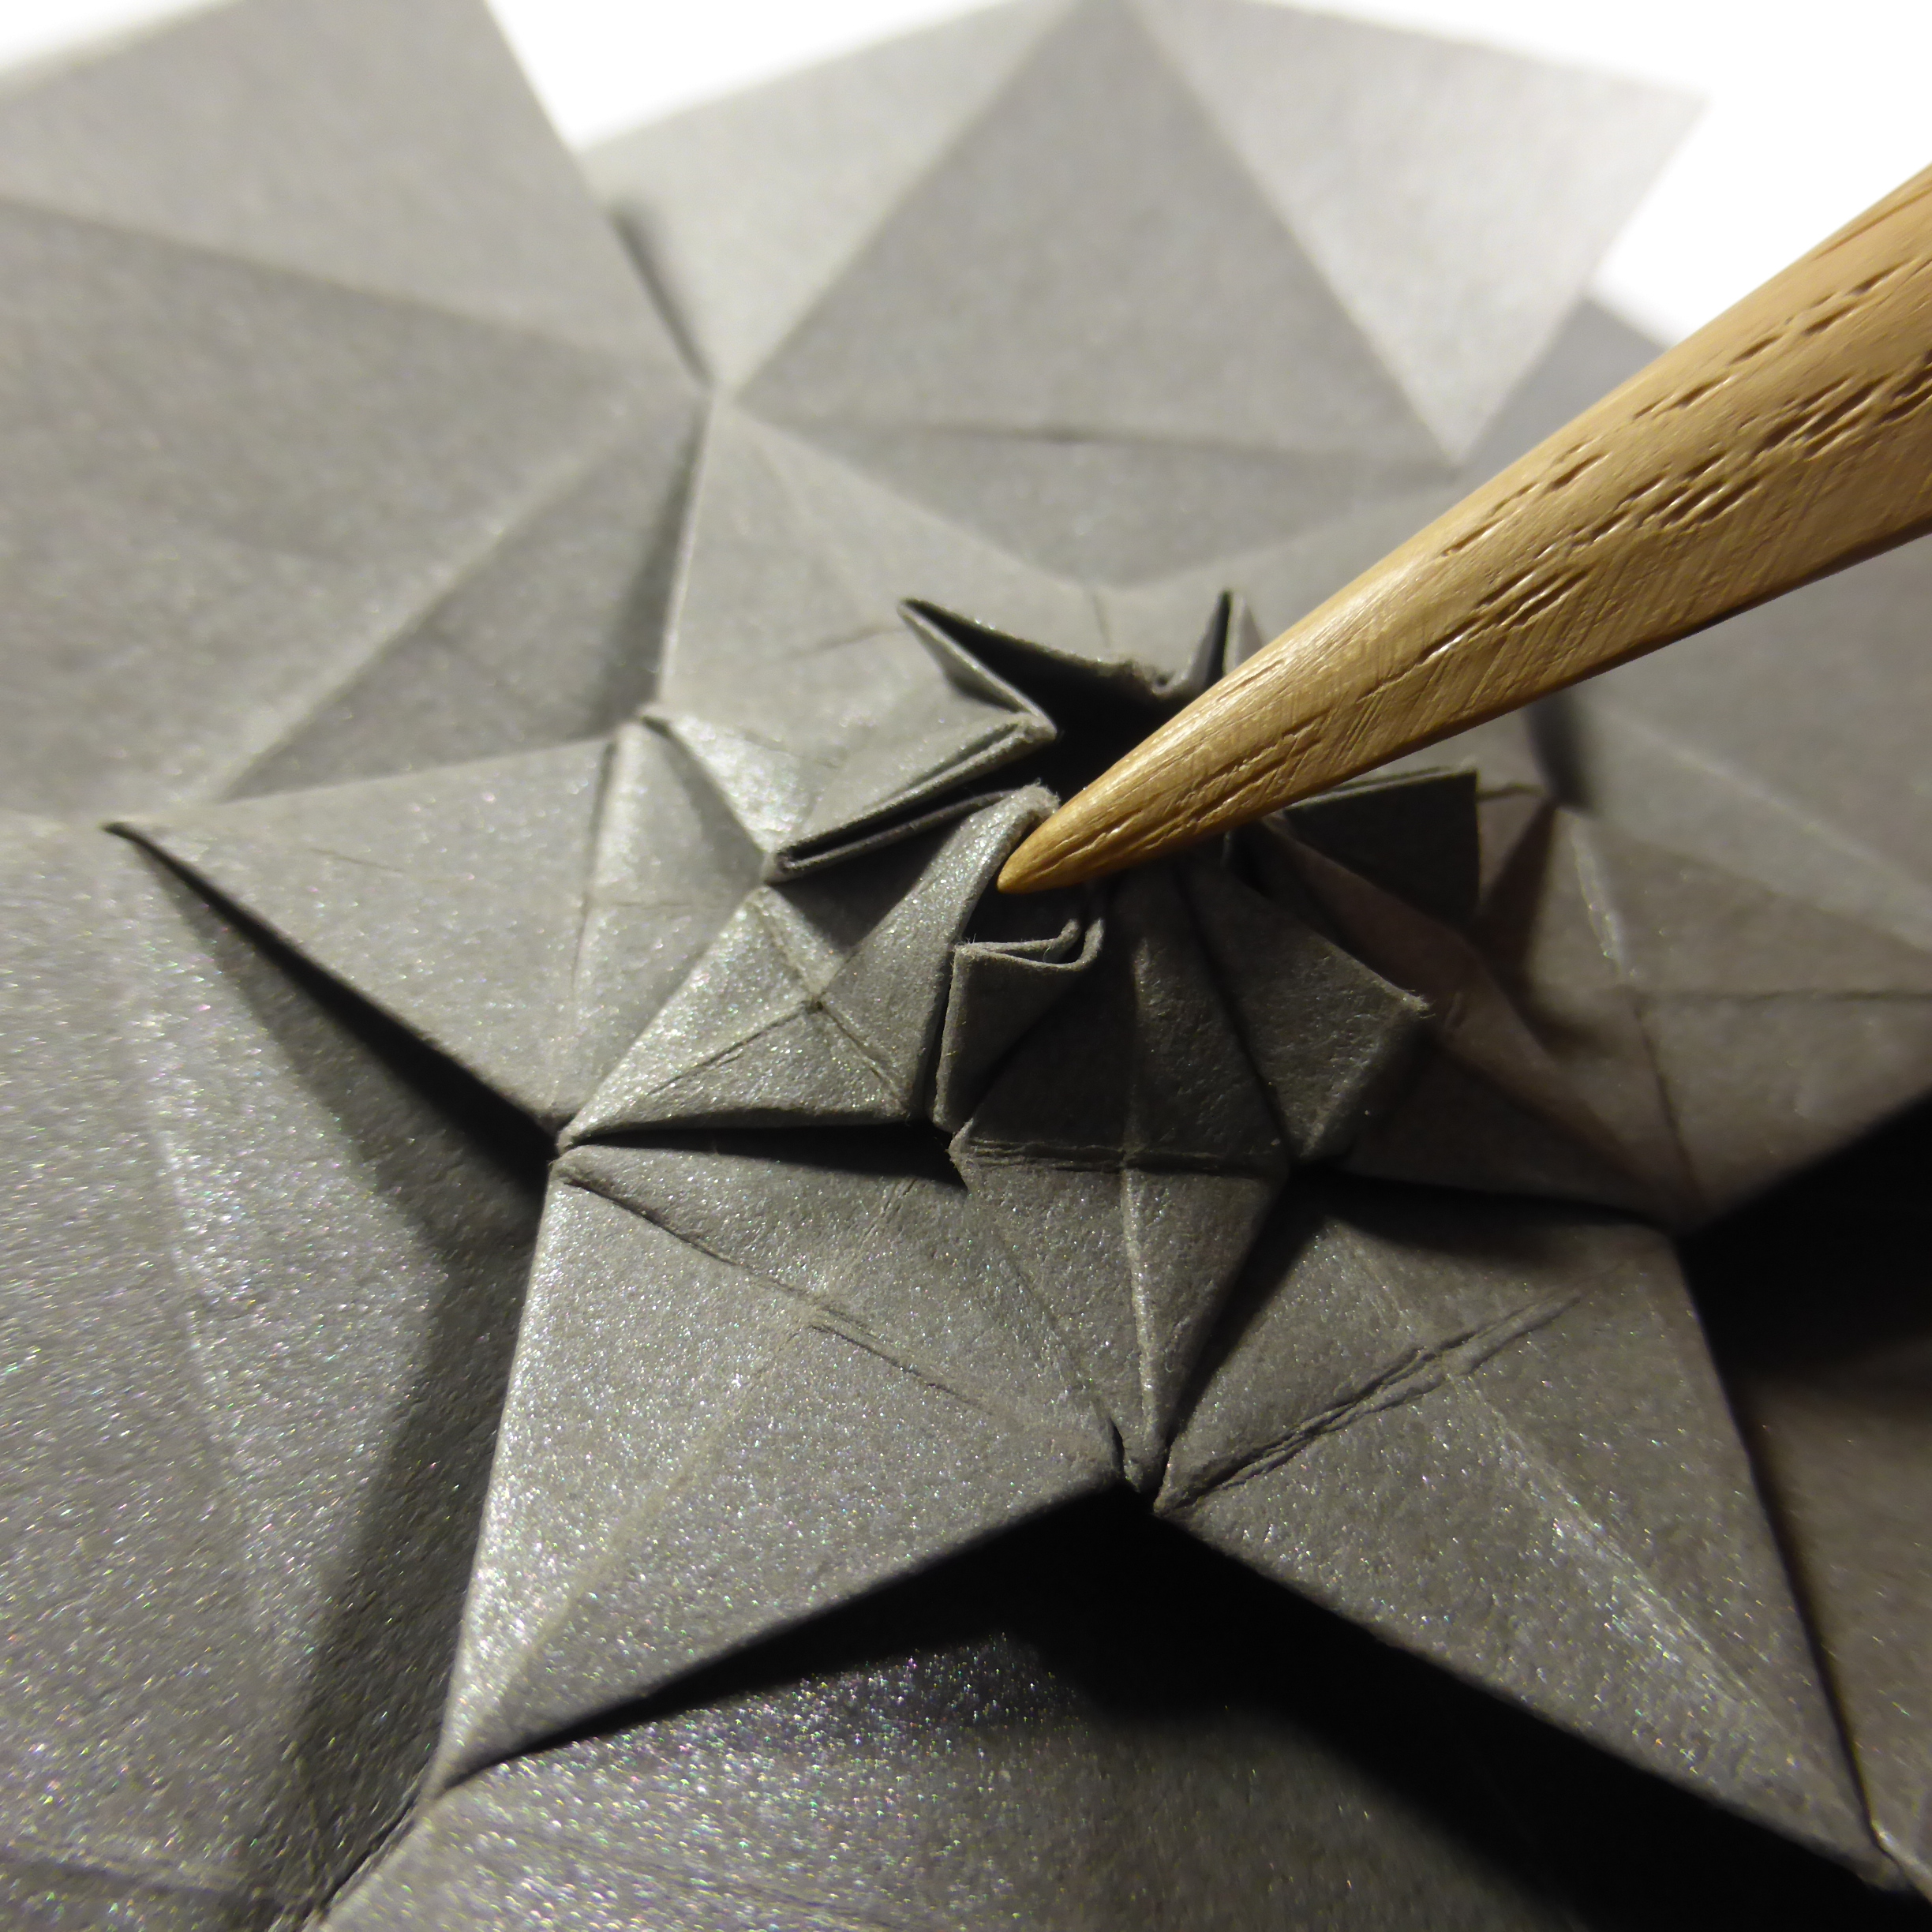
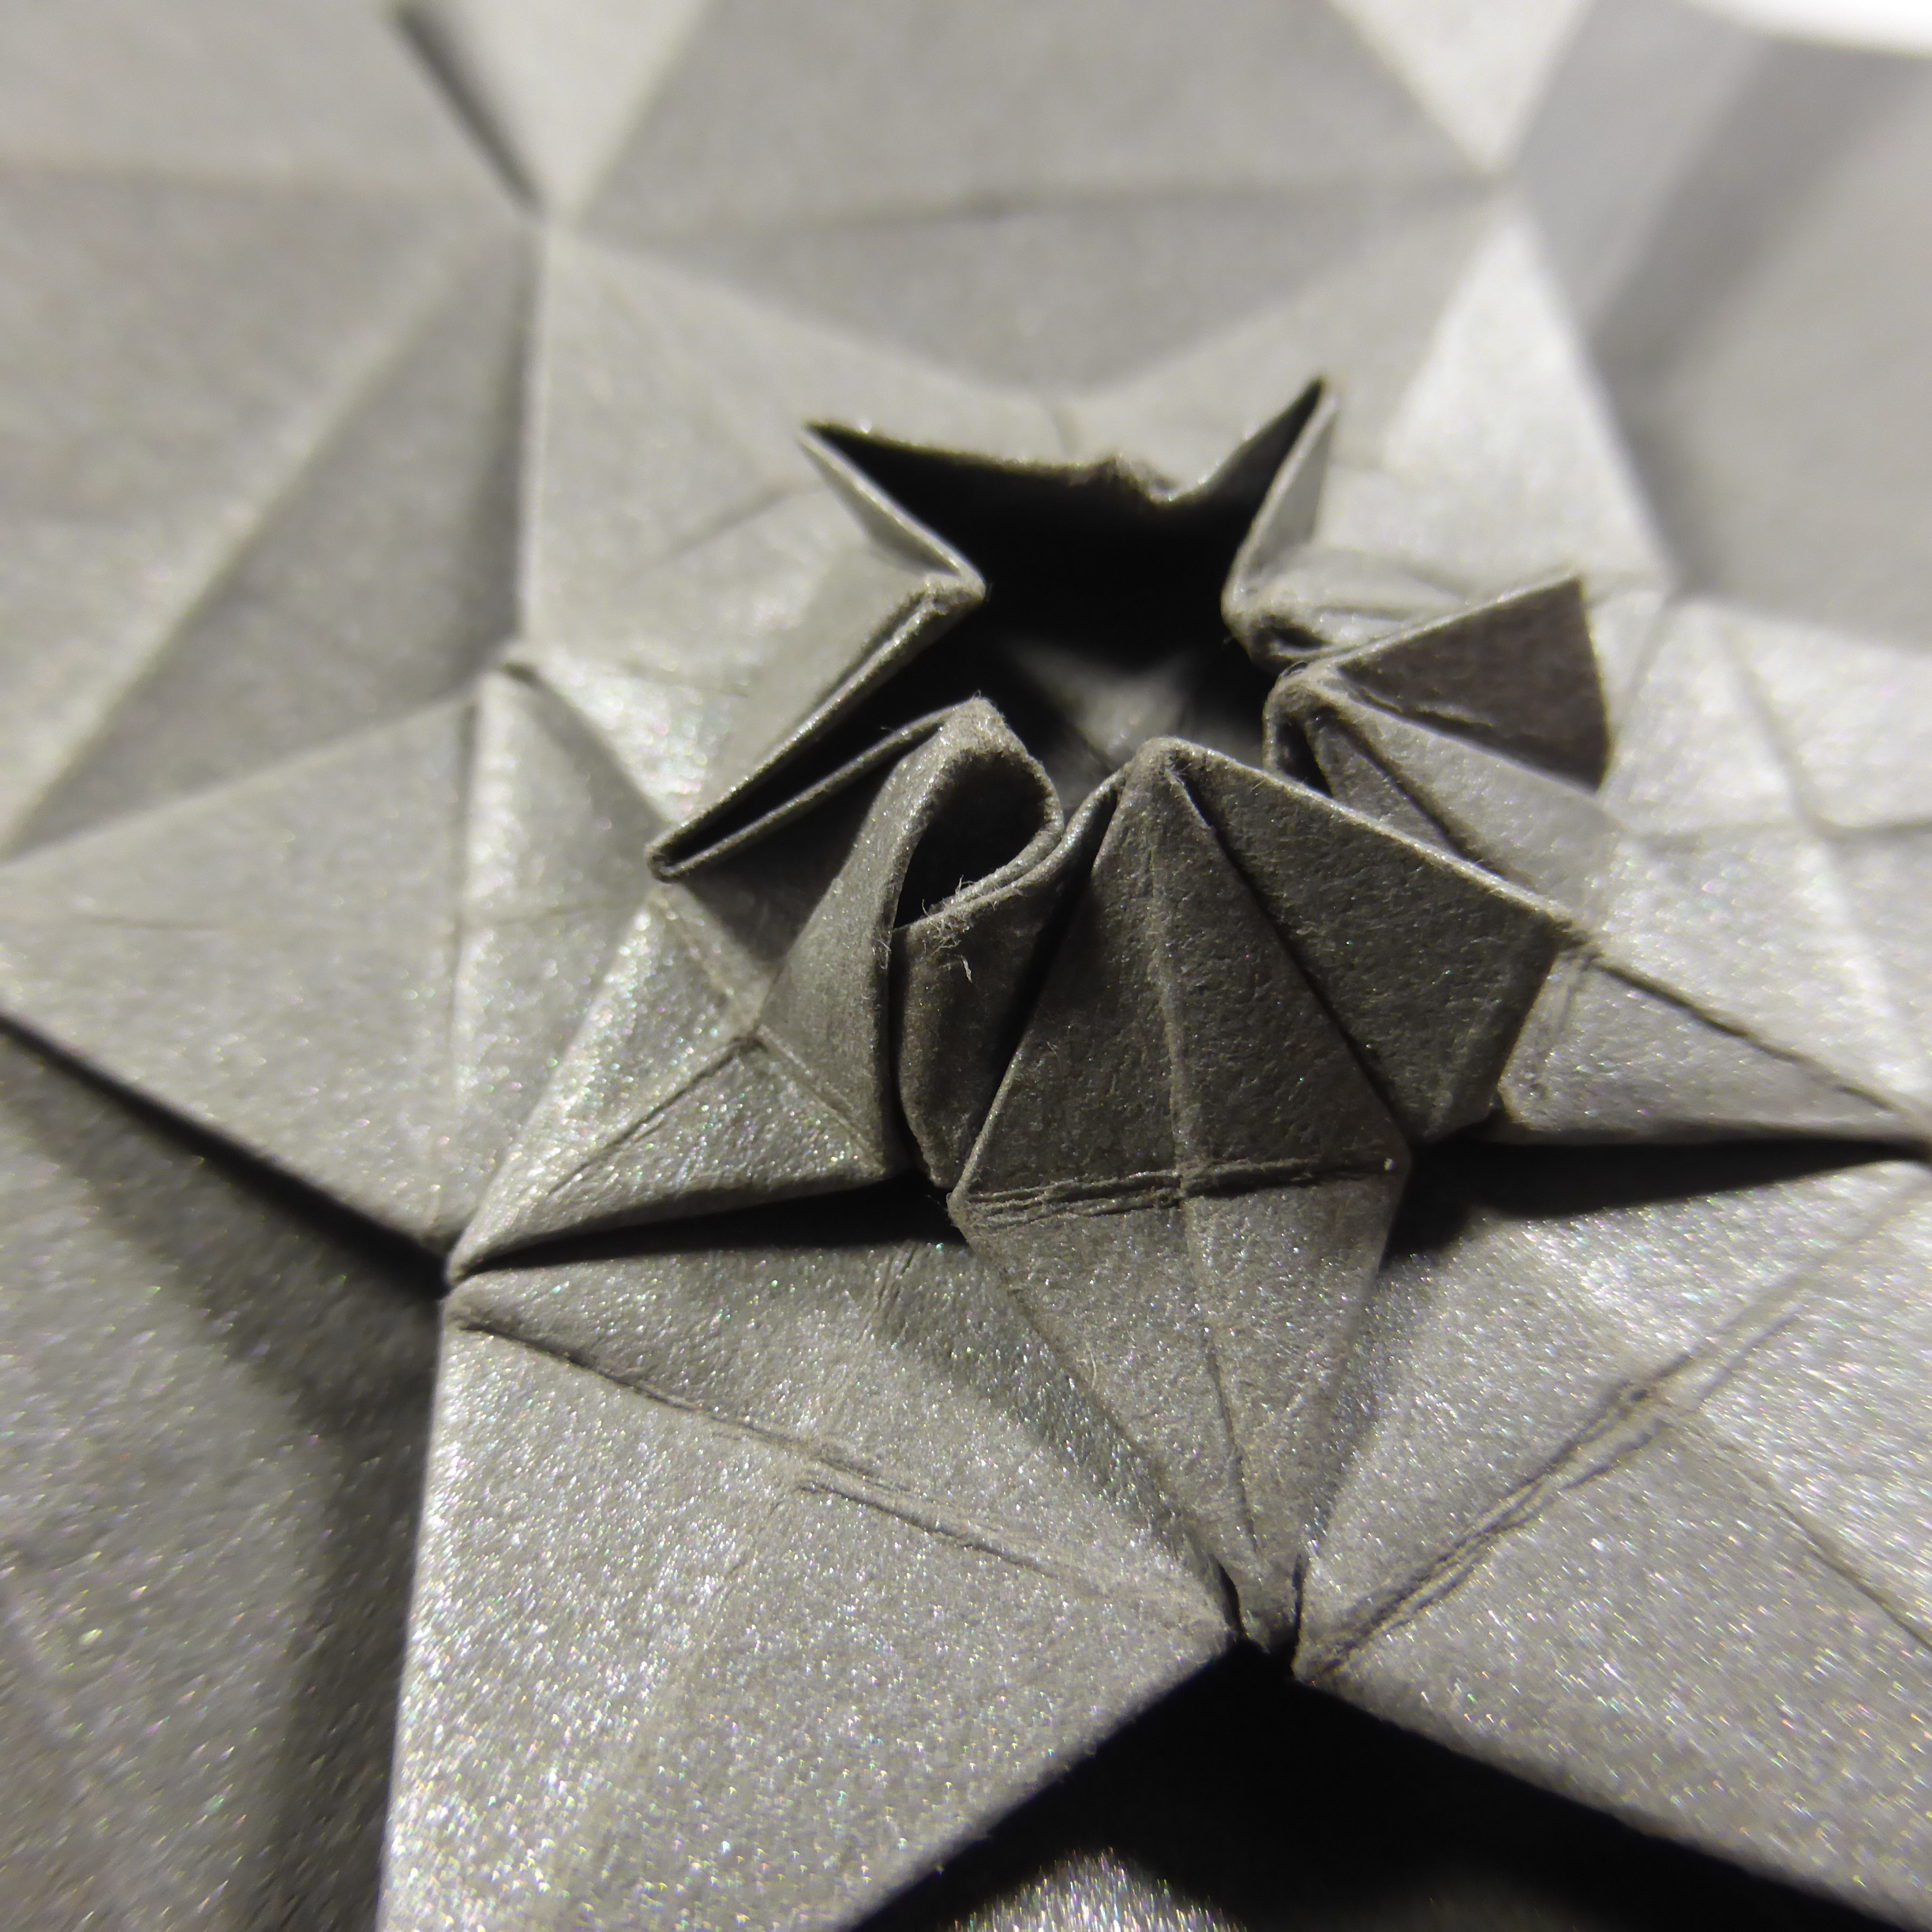
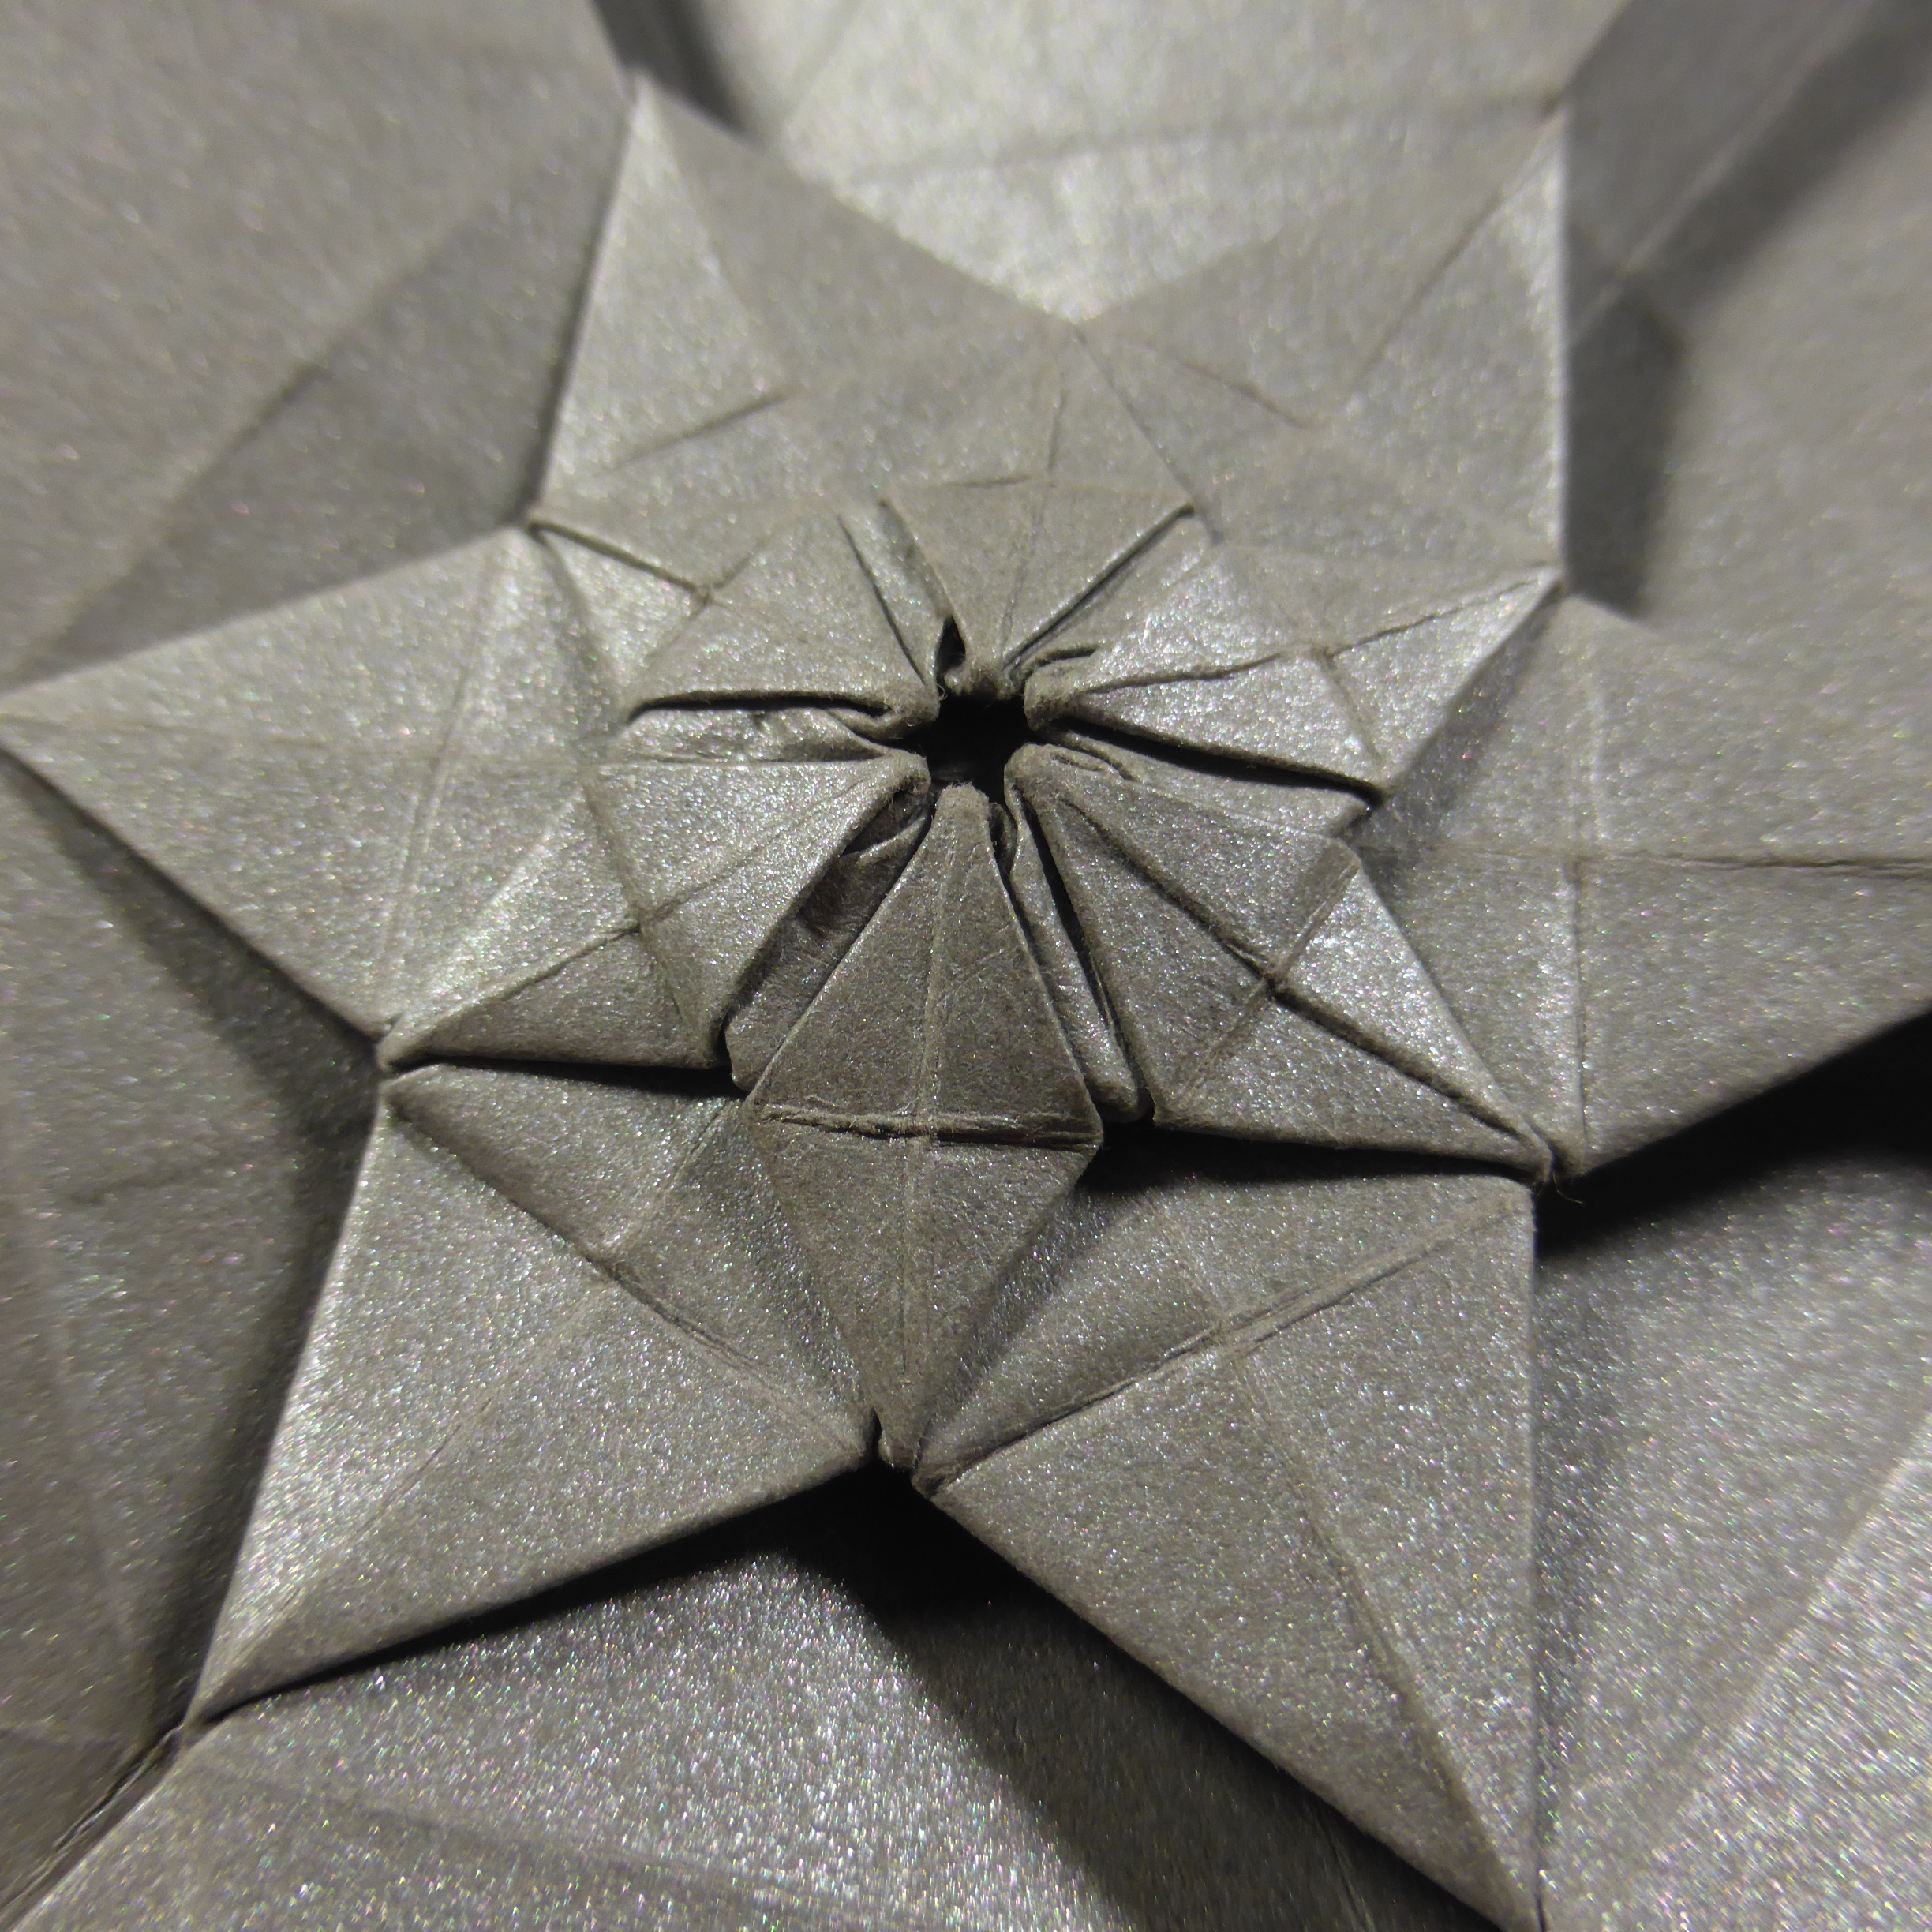
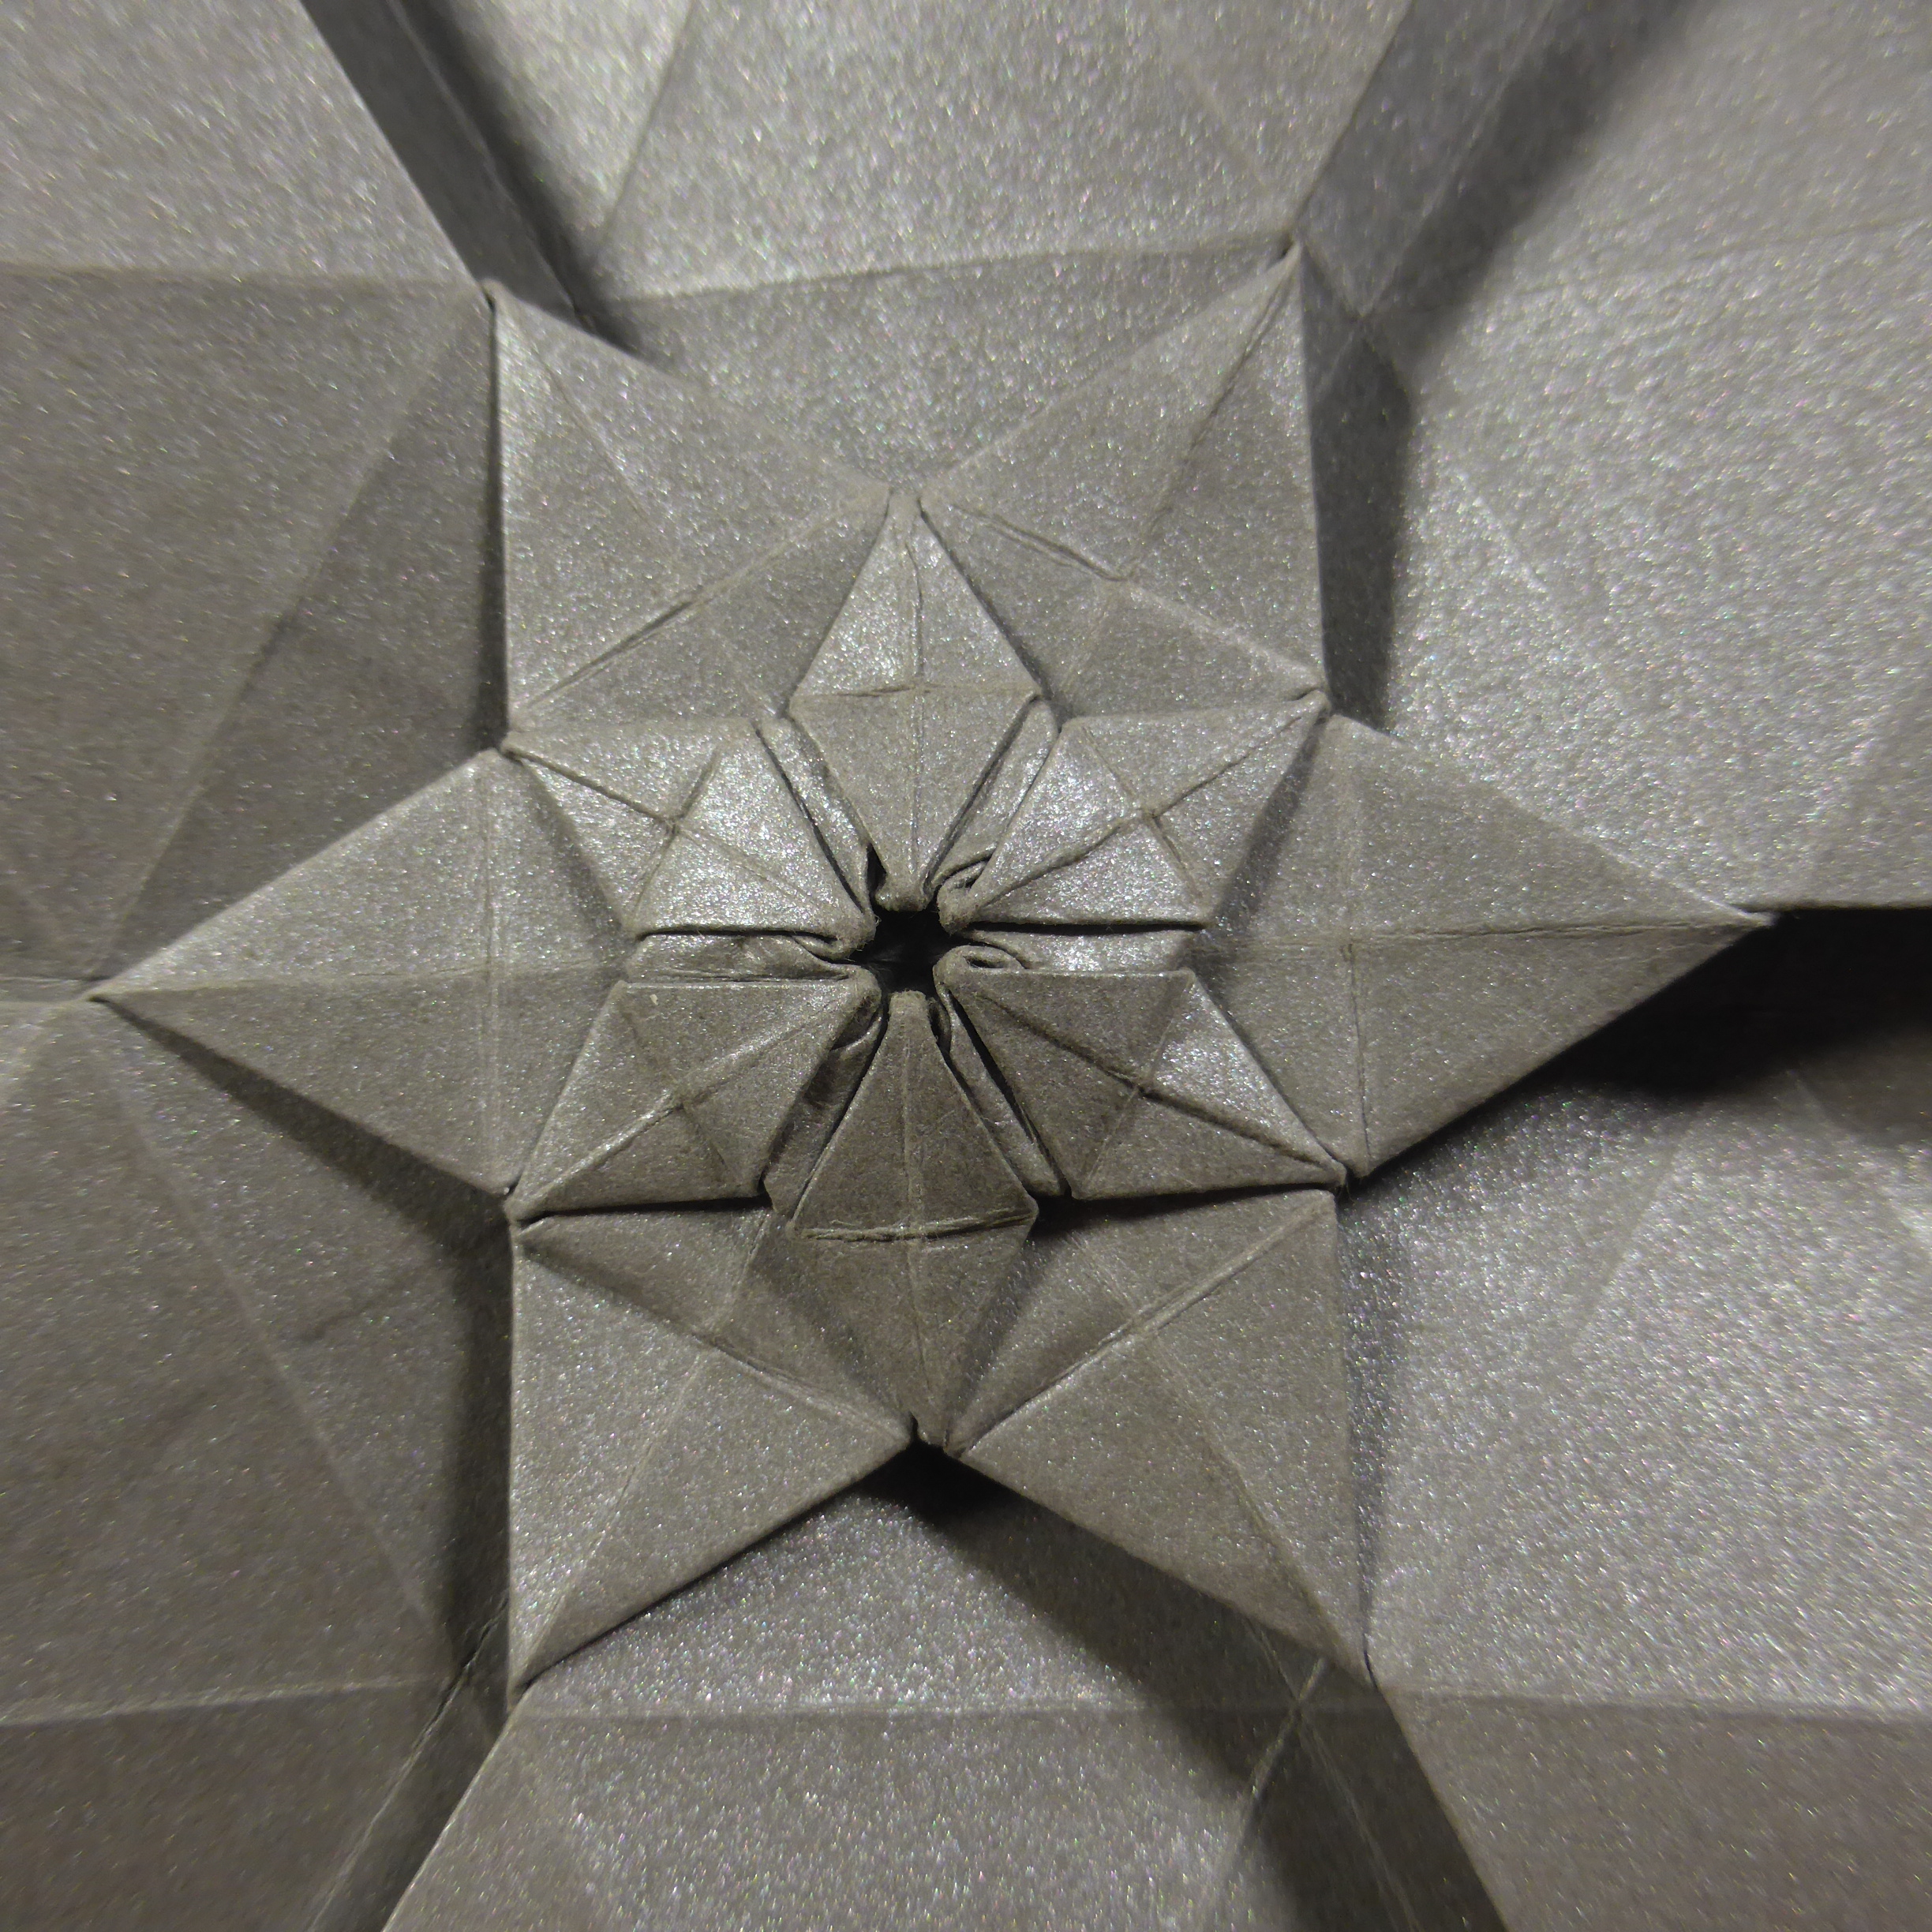
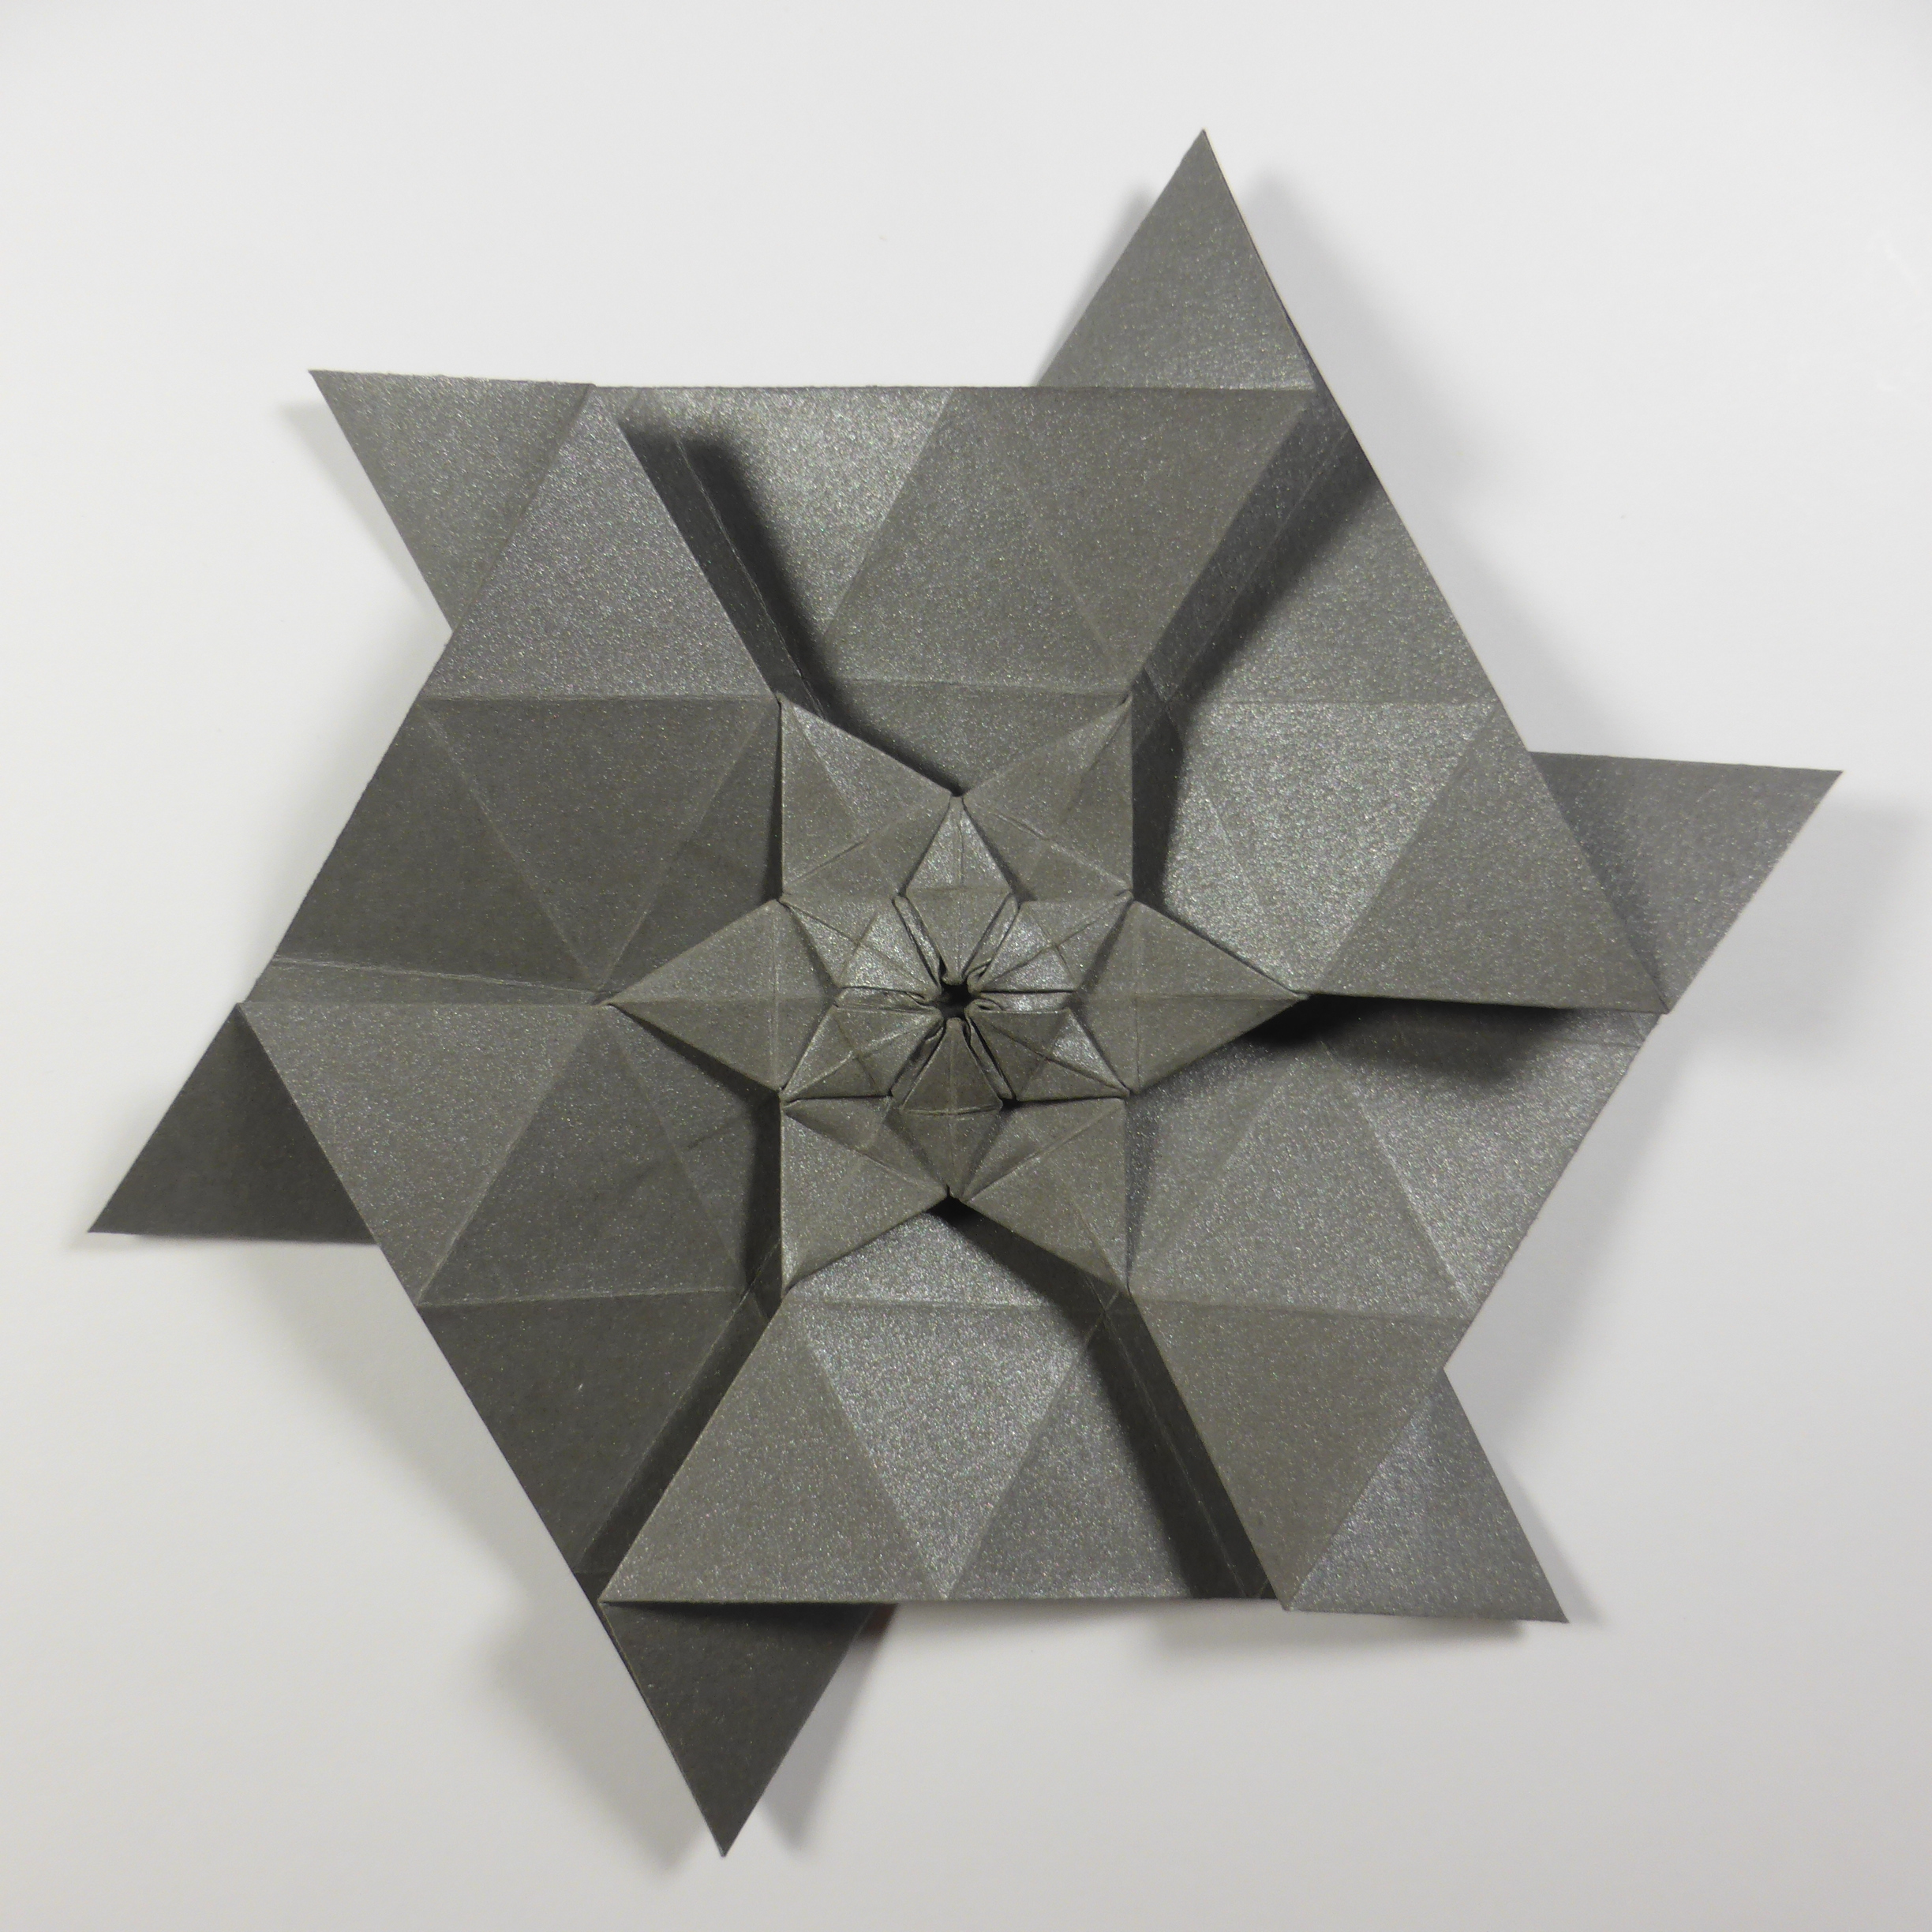
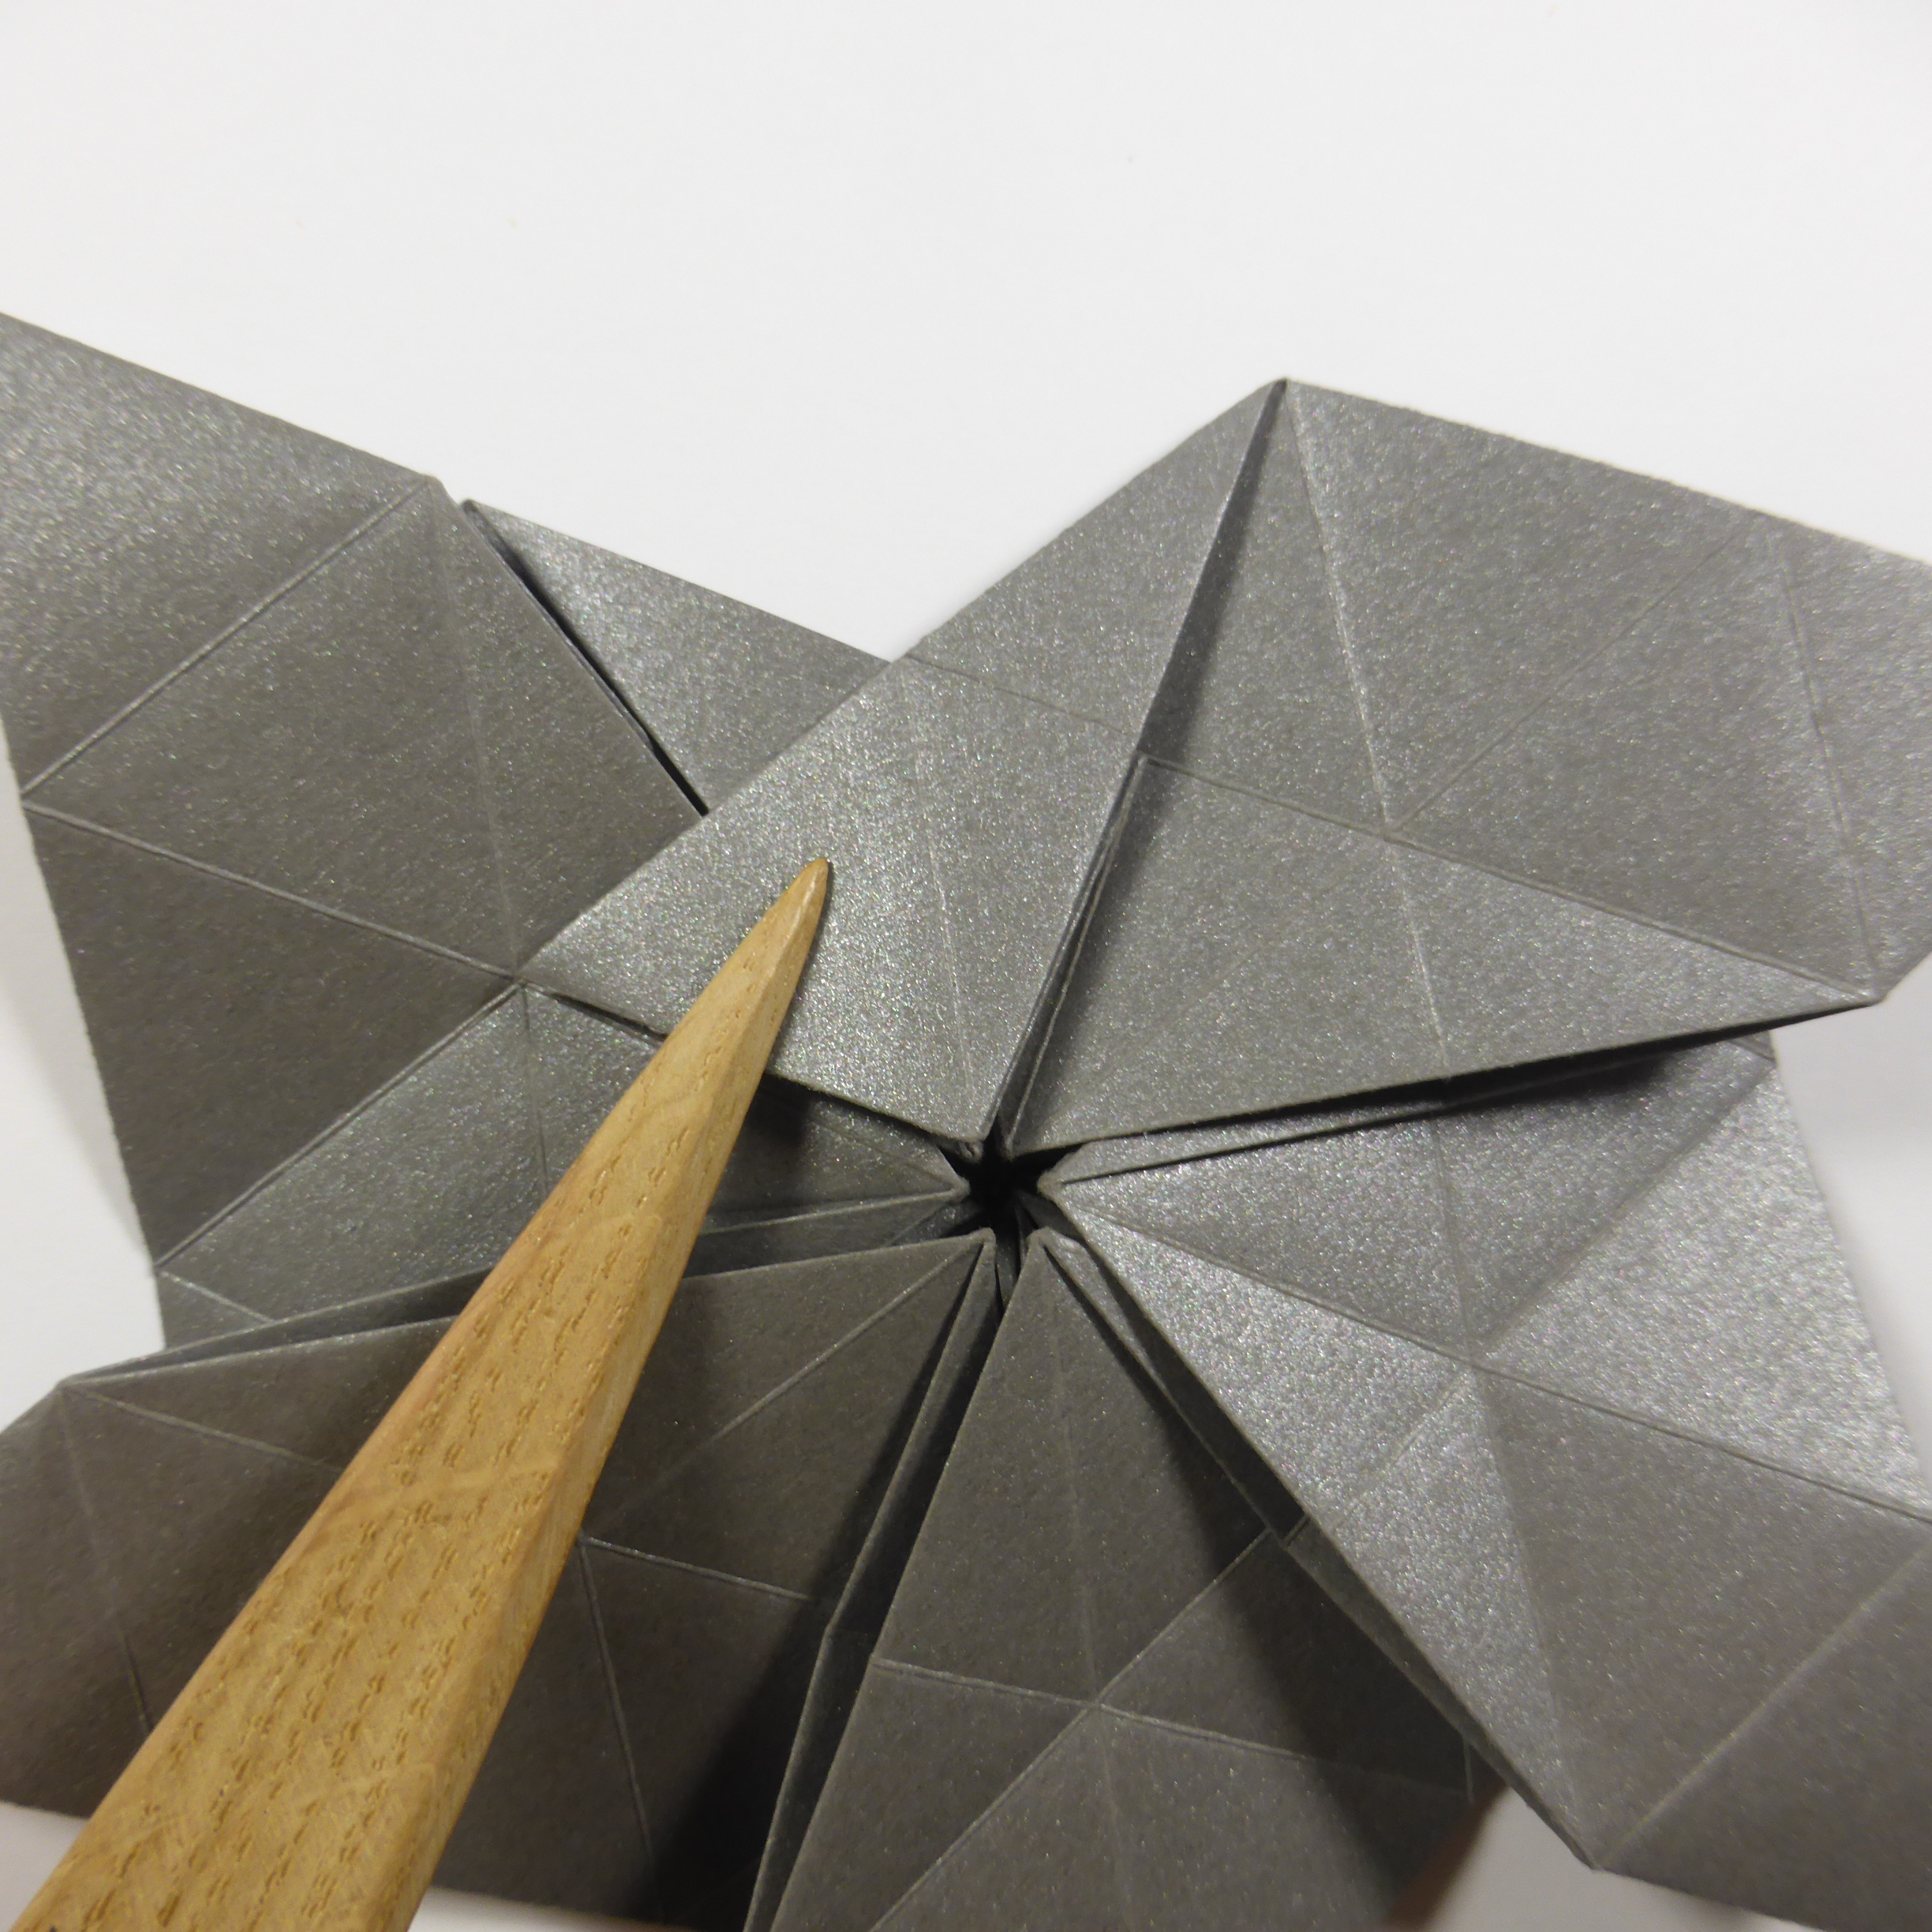
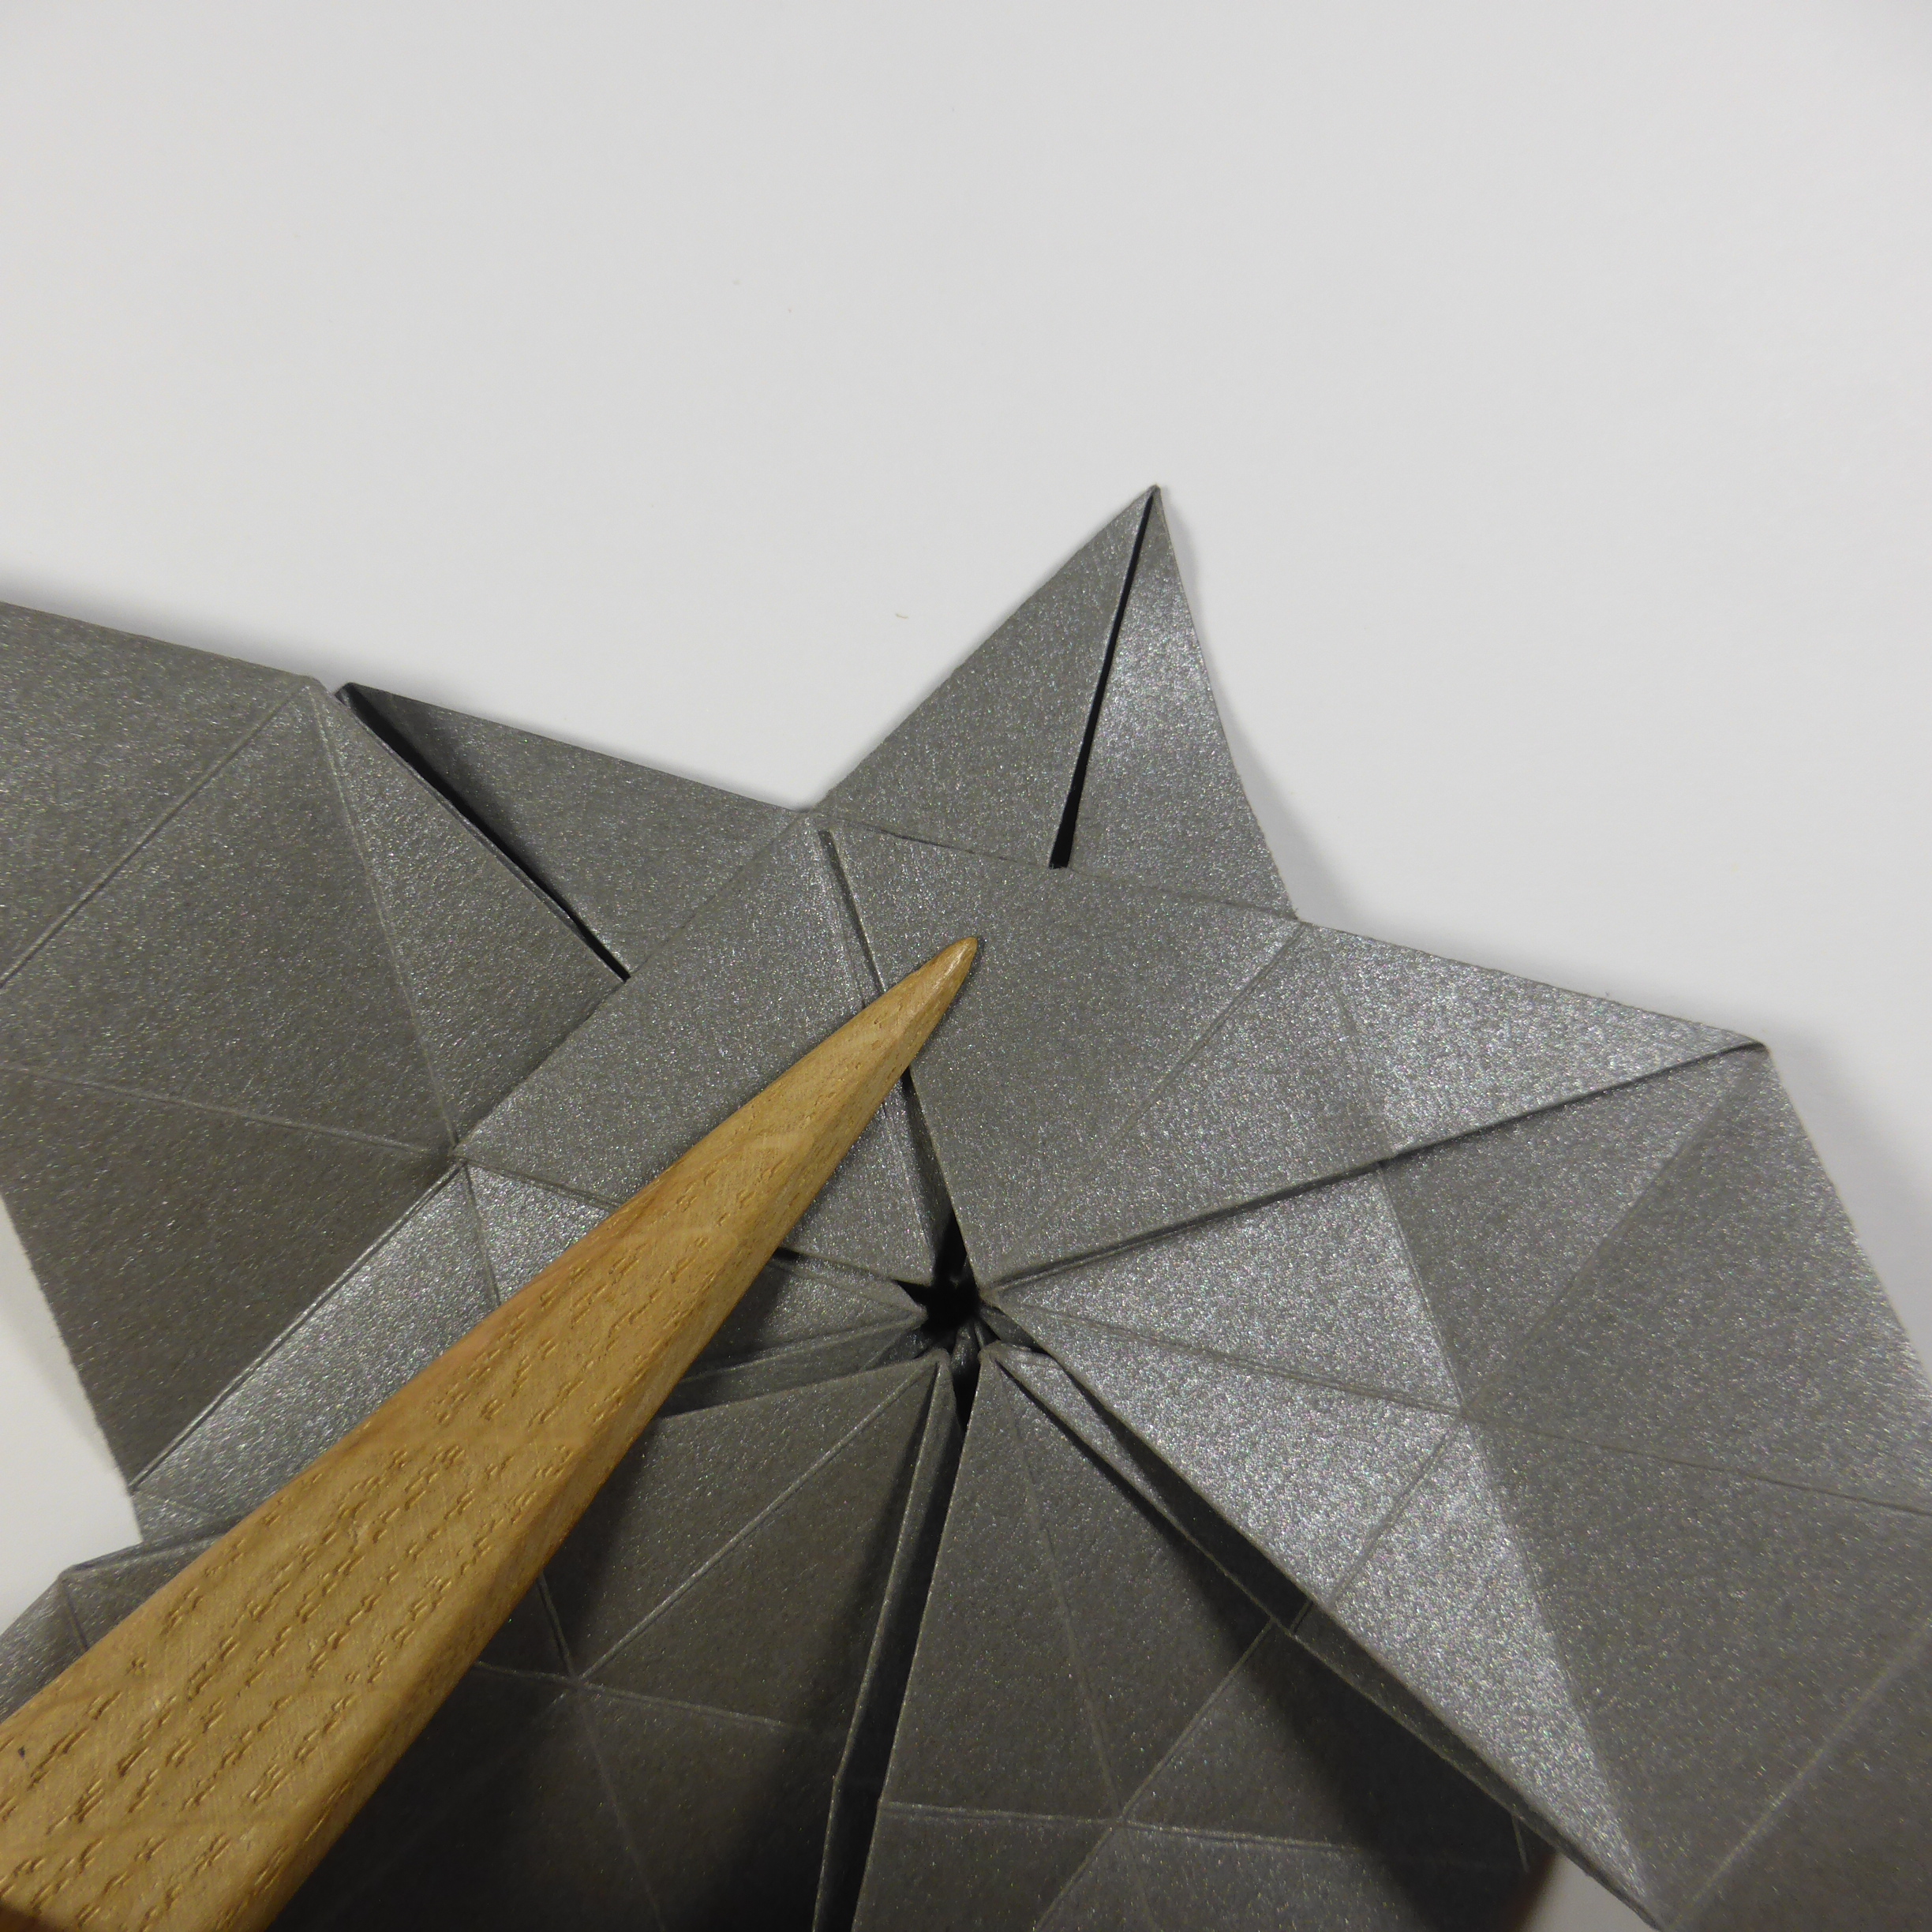
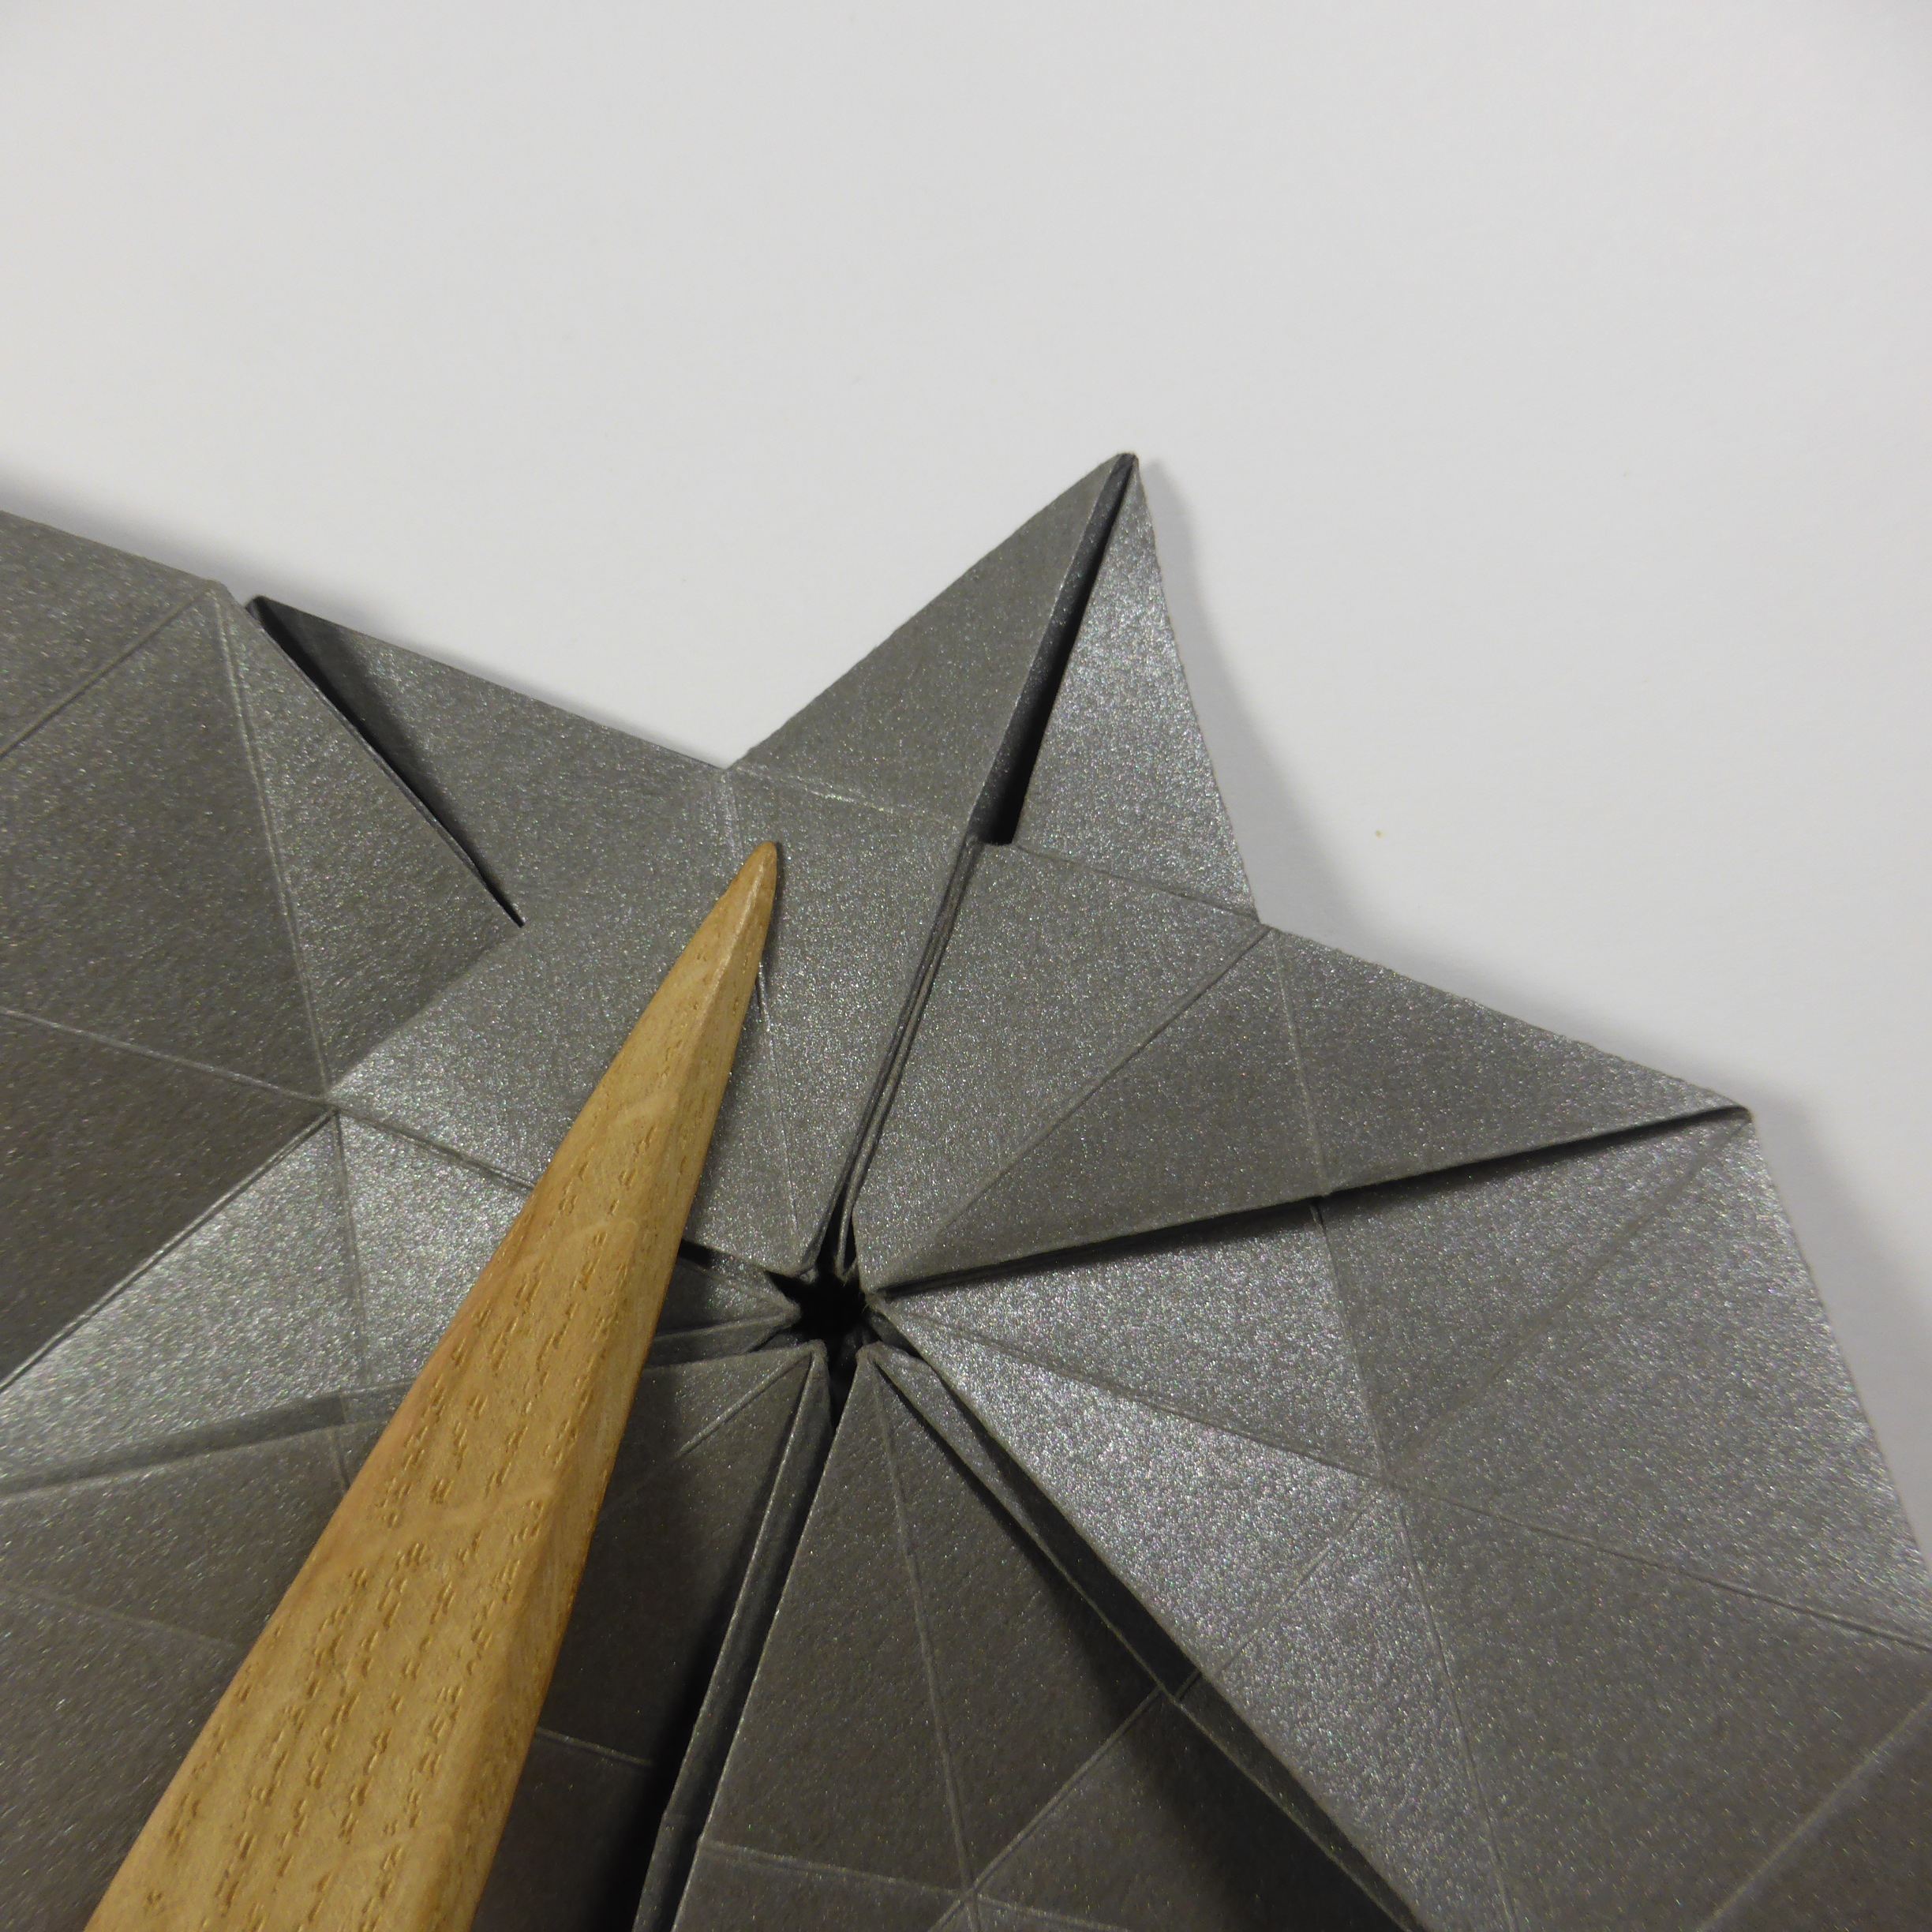
This tutorial shows a third-level model which is relatively easy to fold. A good sheet size is a hexagon cut from an A4 sheet. Higher levels can be folded by repeating the process over and over in smaller and smaller scale. However, beyond level 3, the collapse becomes much more difficult. The large shrink factor of √3 means that the details become small very fast. For a level 5 model, I needed a hexagon cut from a 35 cm square. Additionally, the paper layers in the back of the model start overlapping which makes finding your way more difficult. Even for level 3, this model is hard to fold without a pointed folding tool.

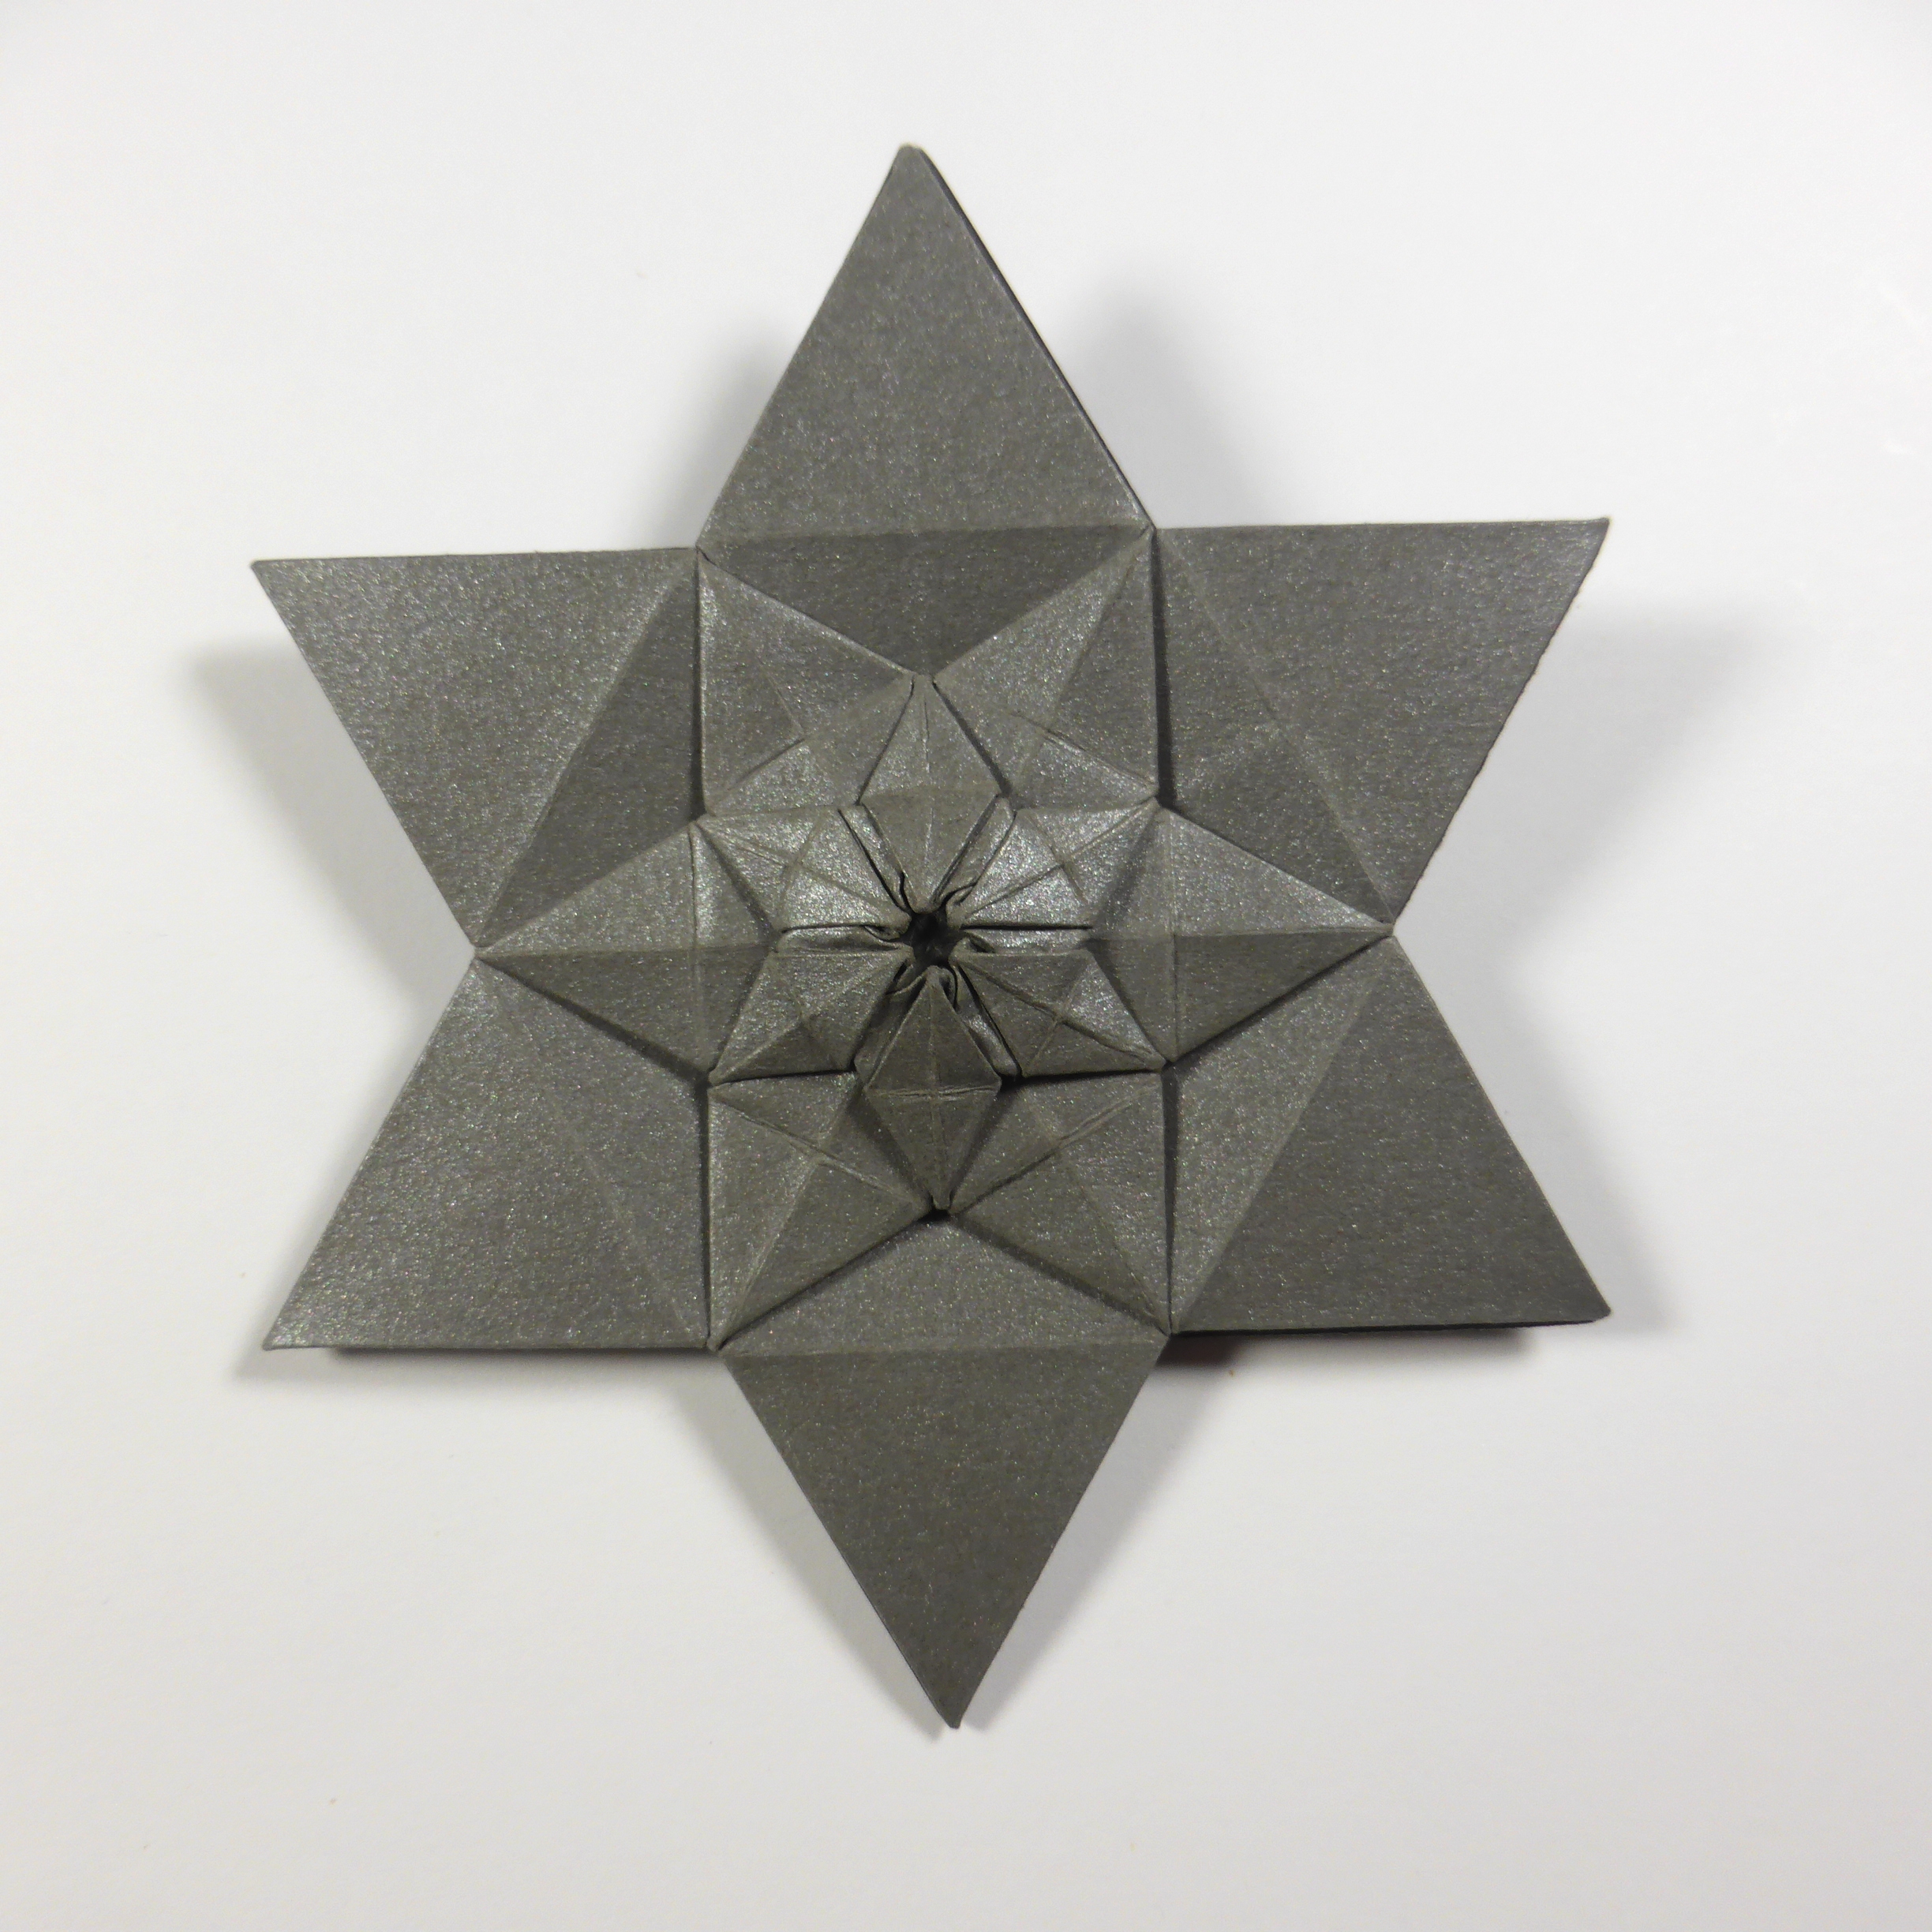
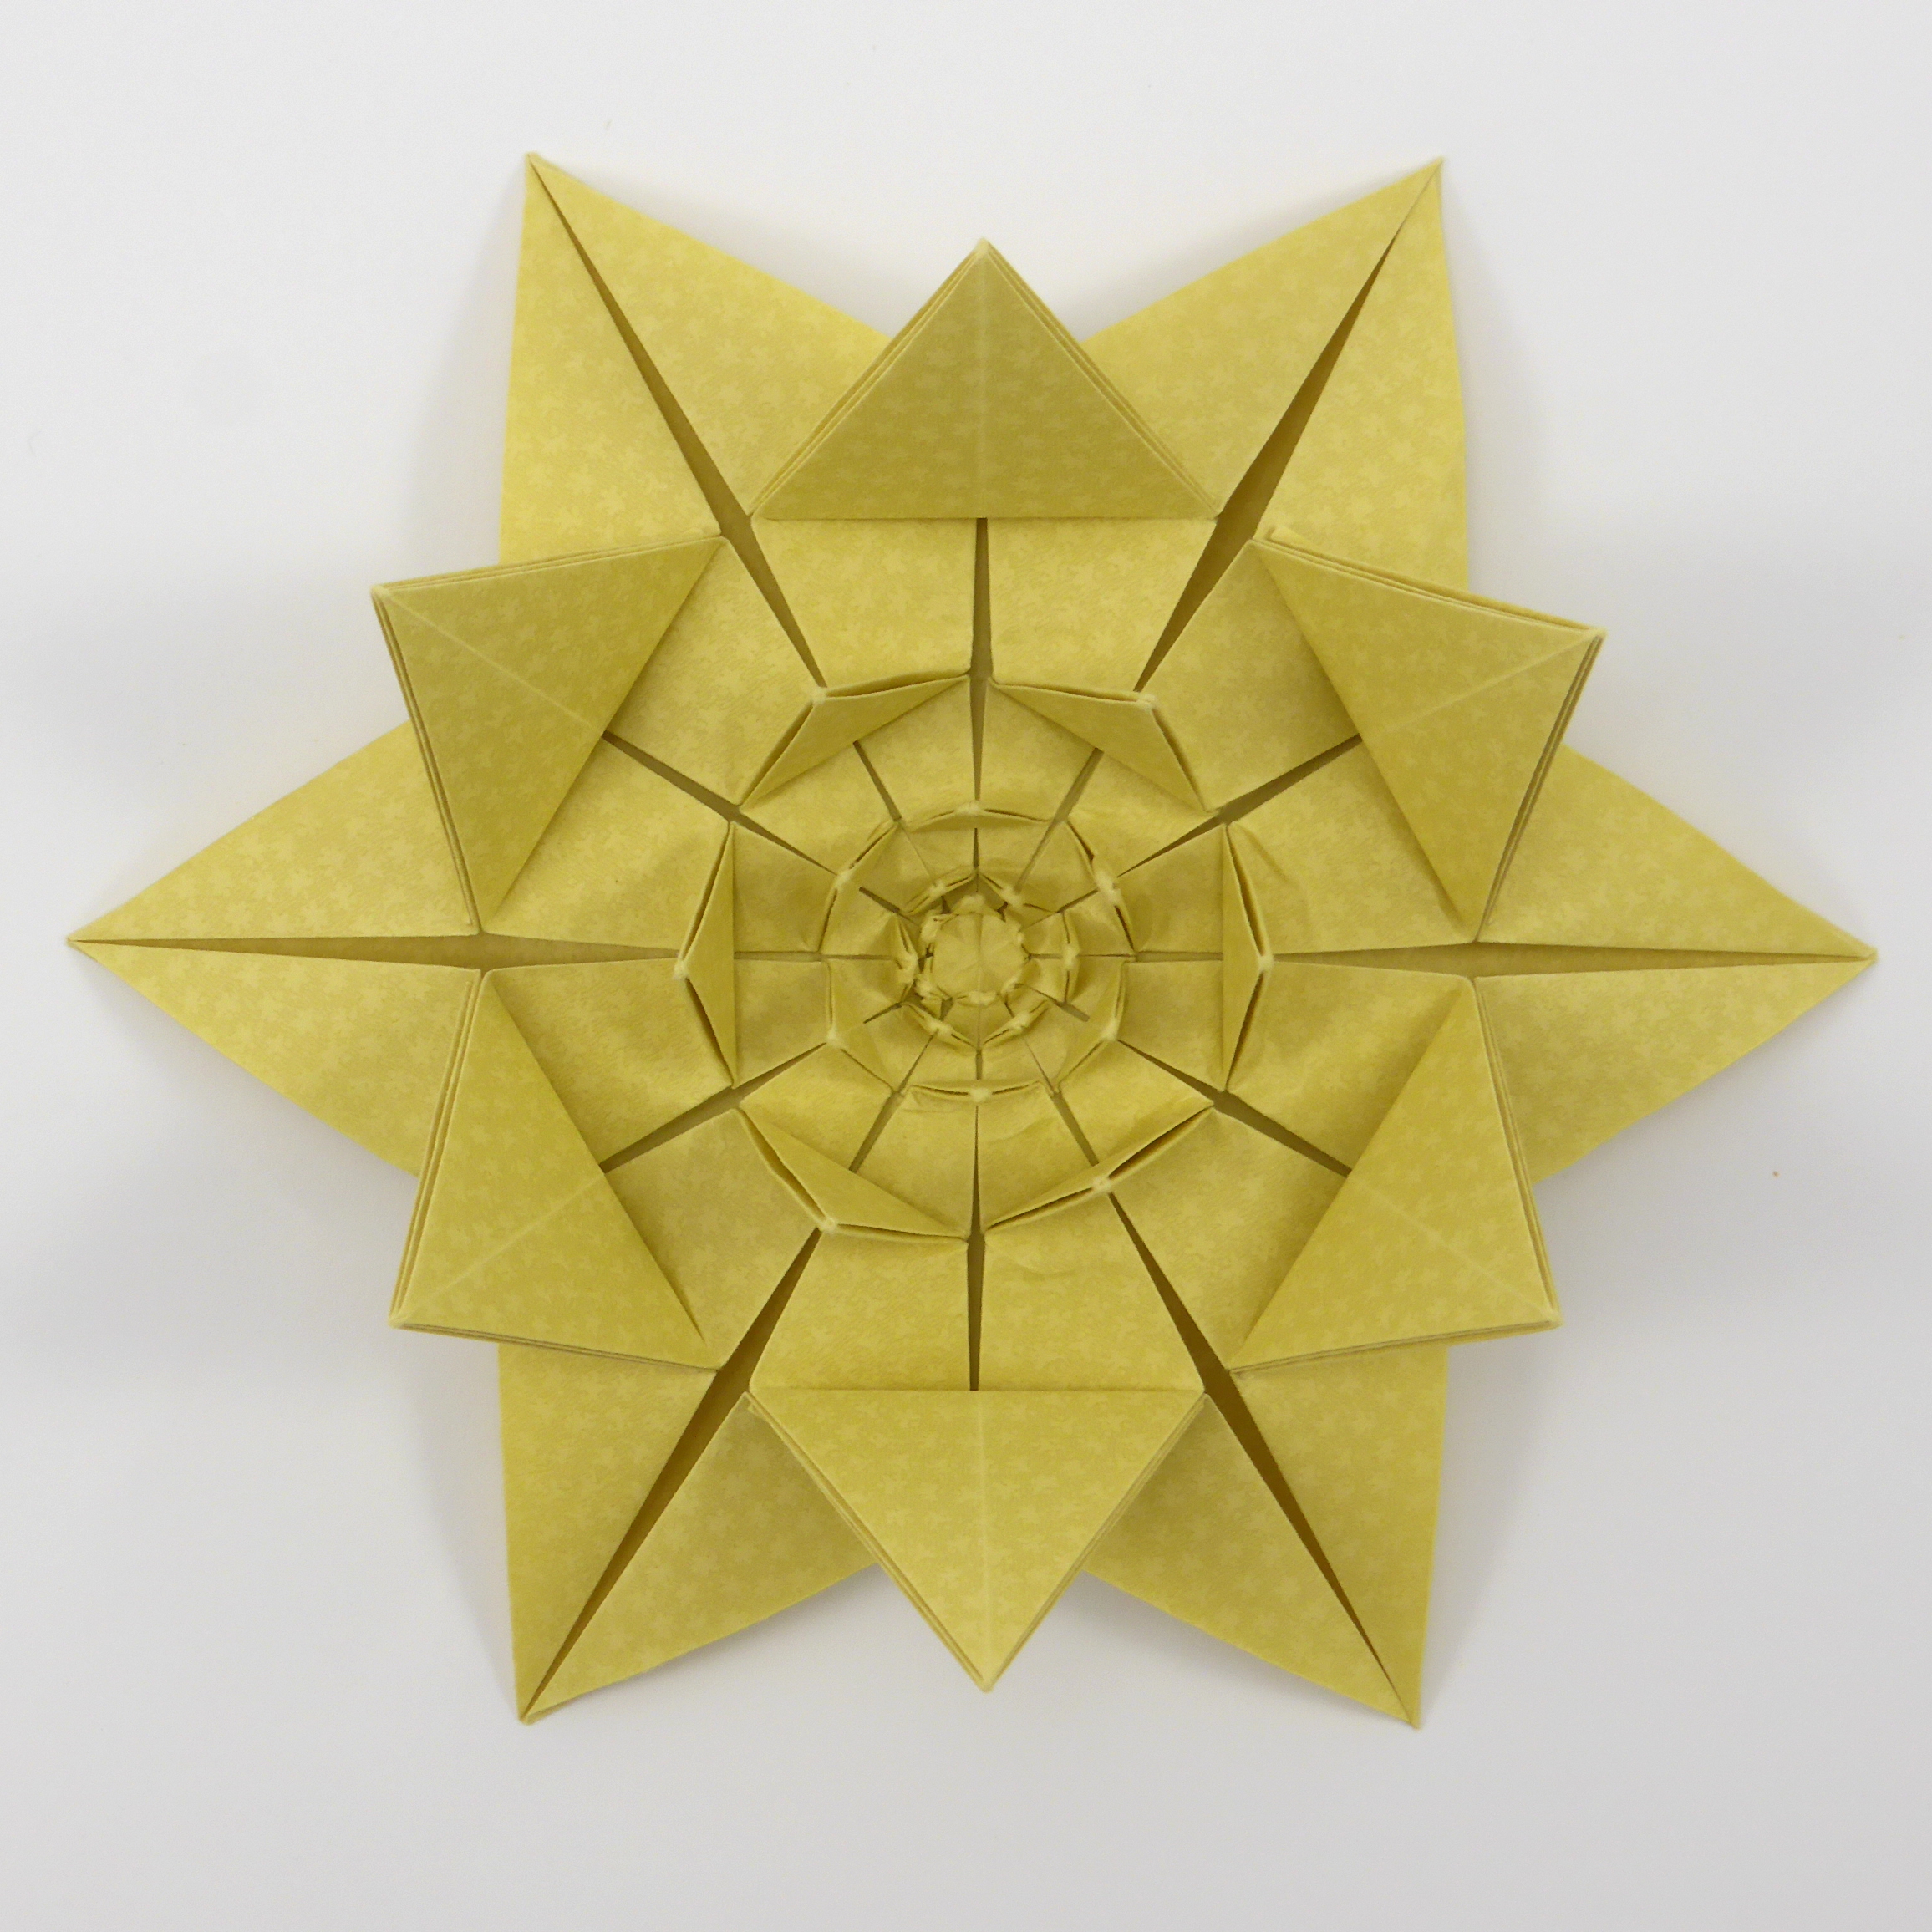
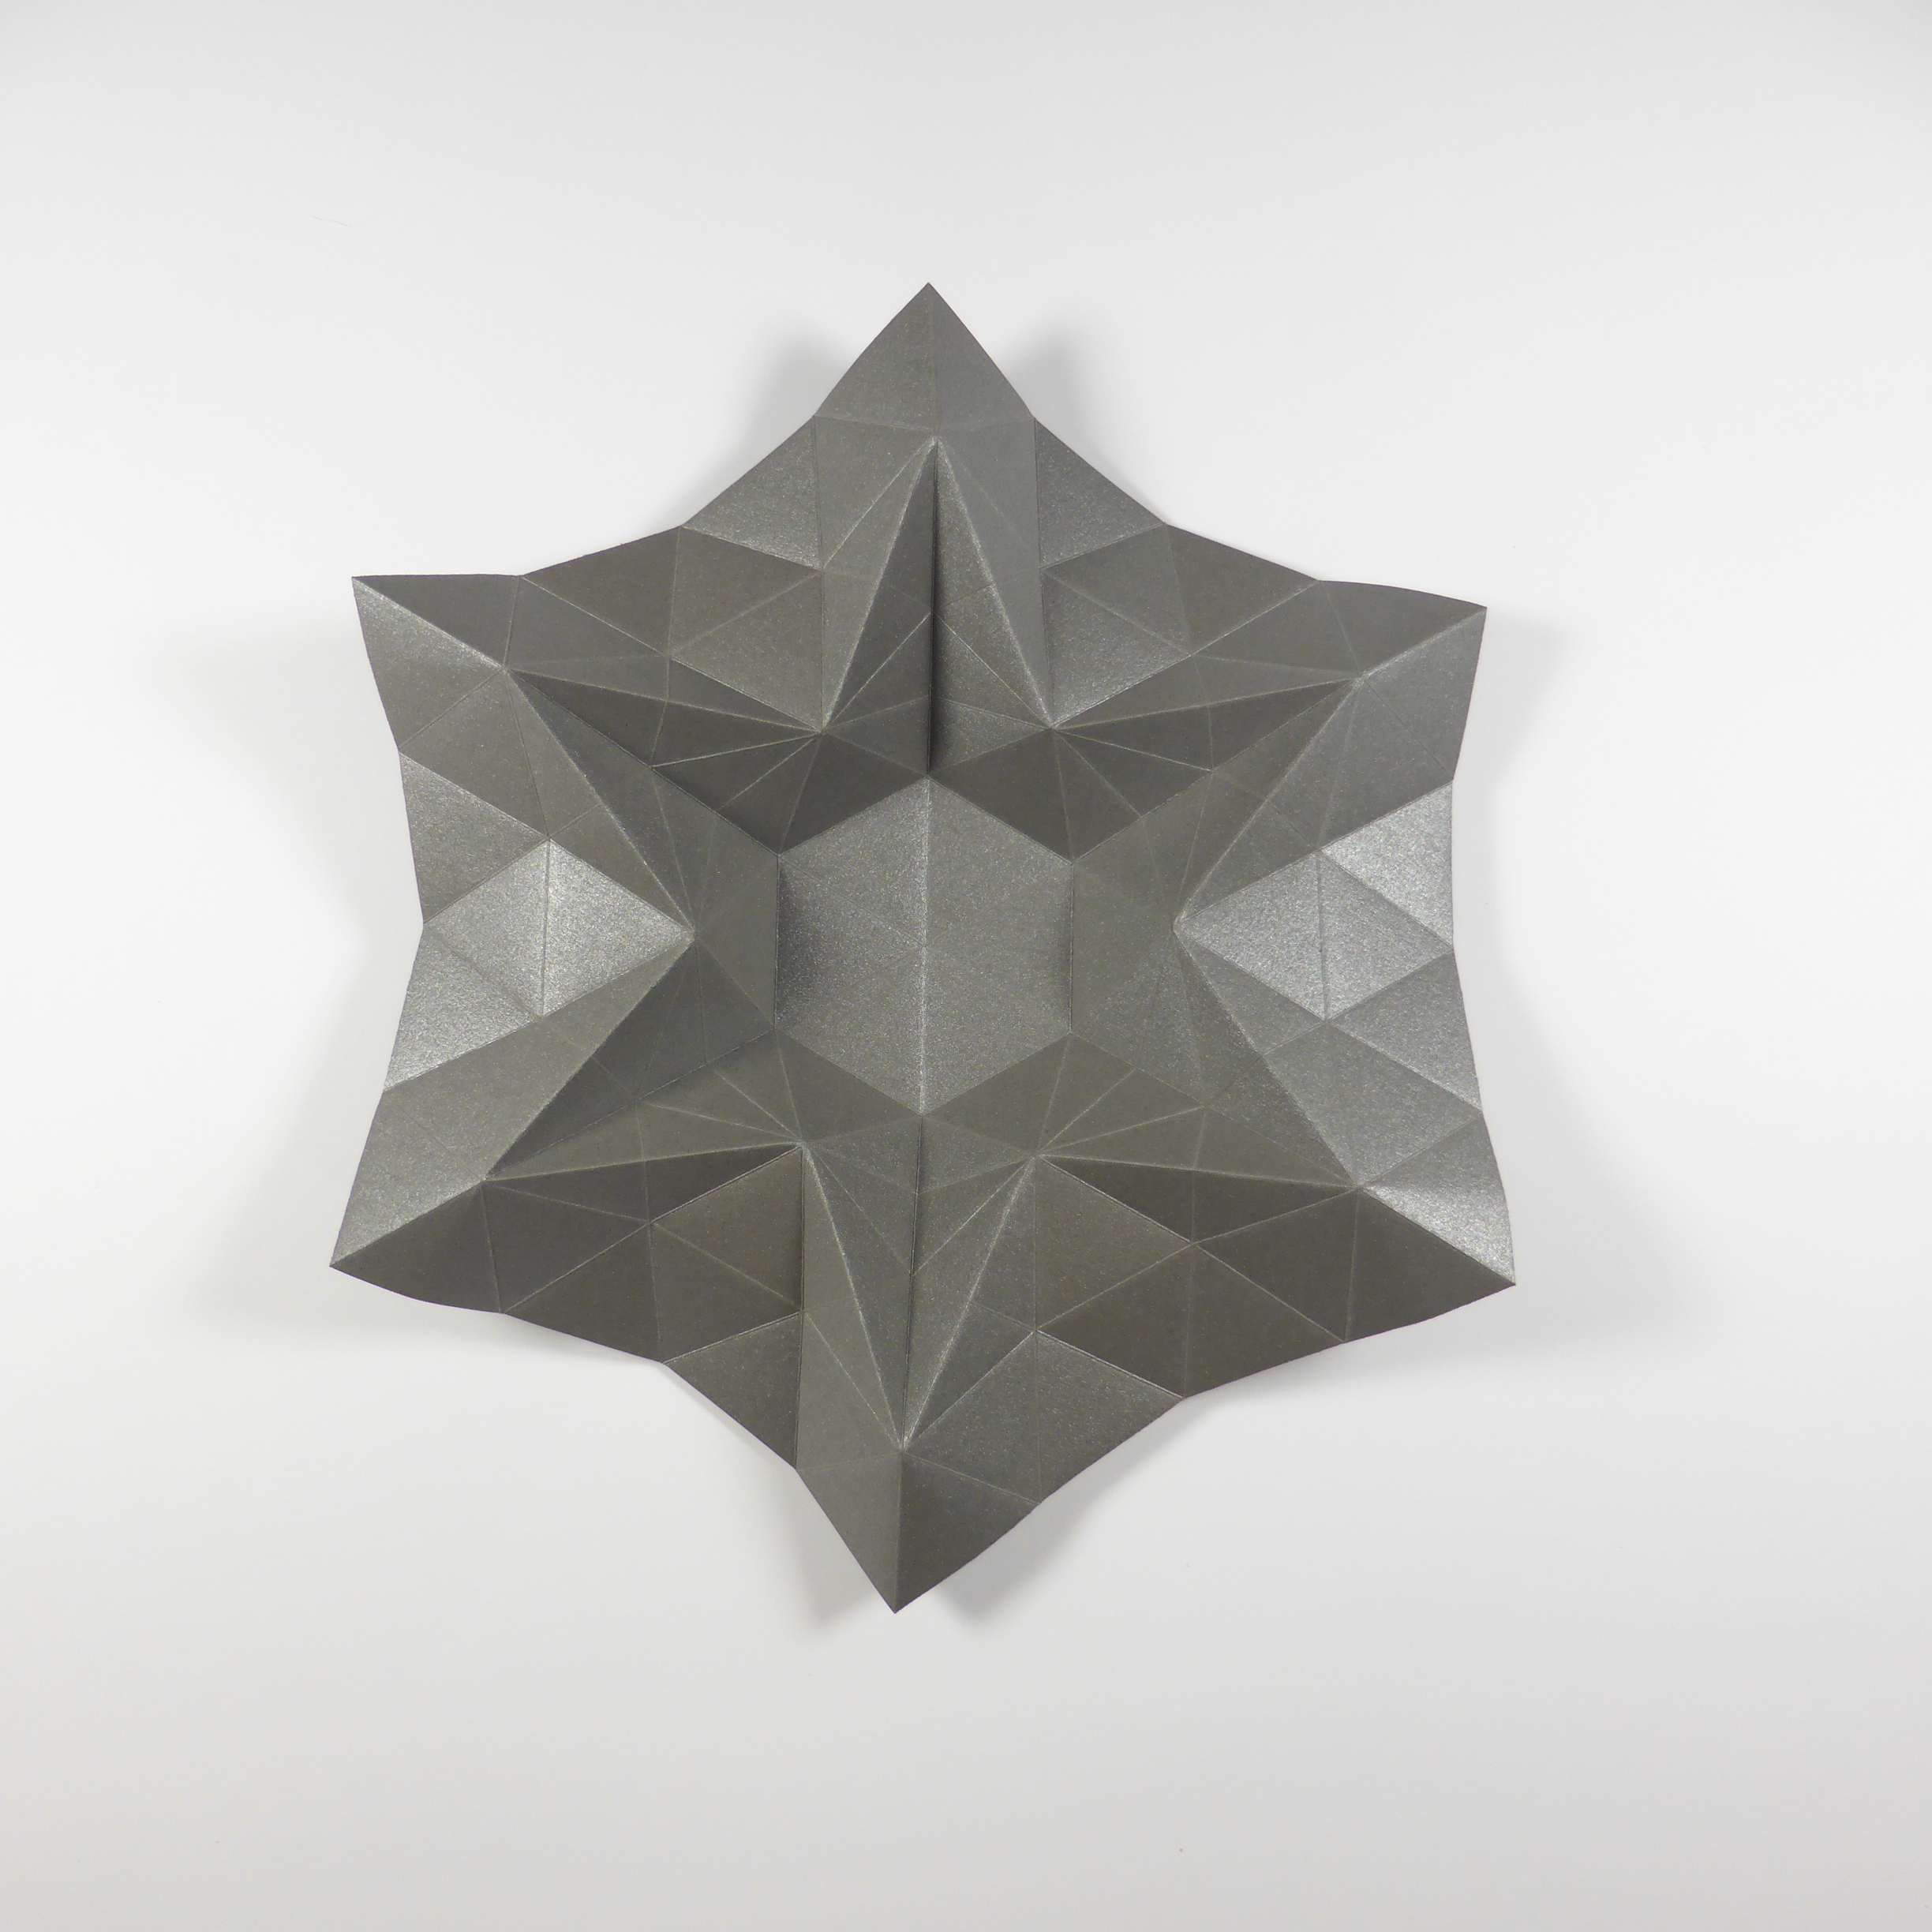
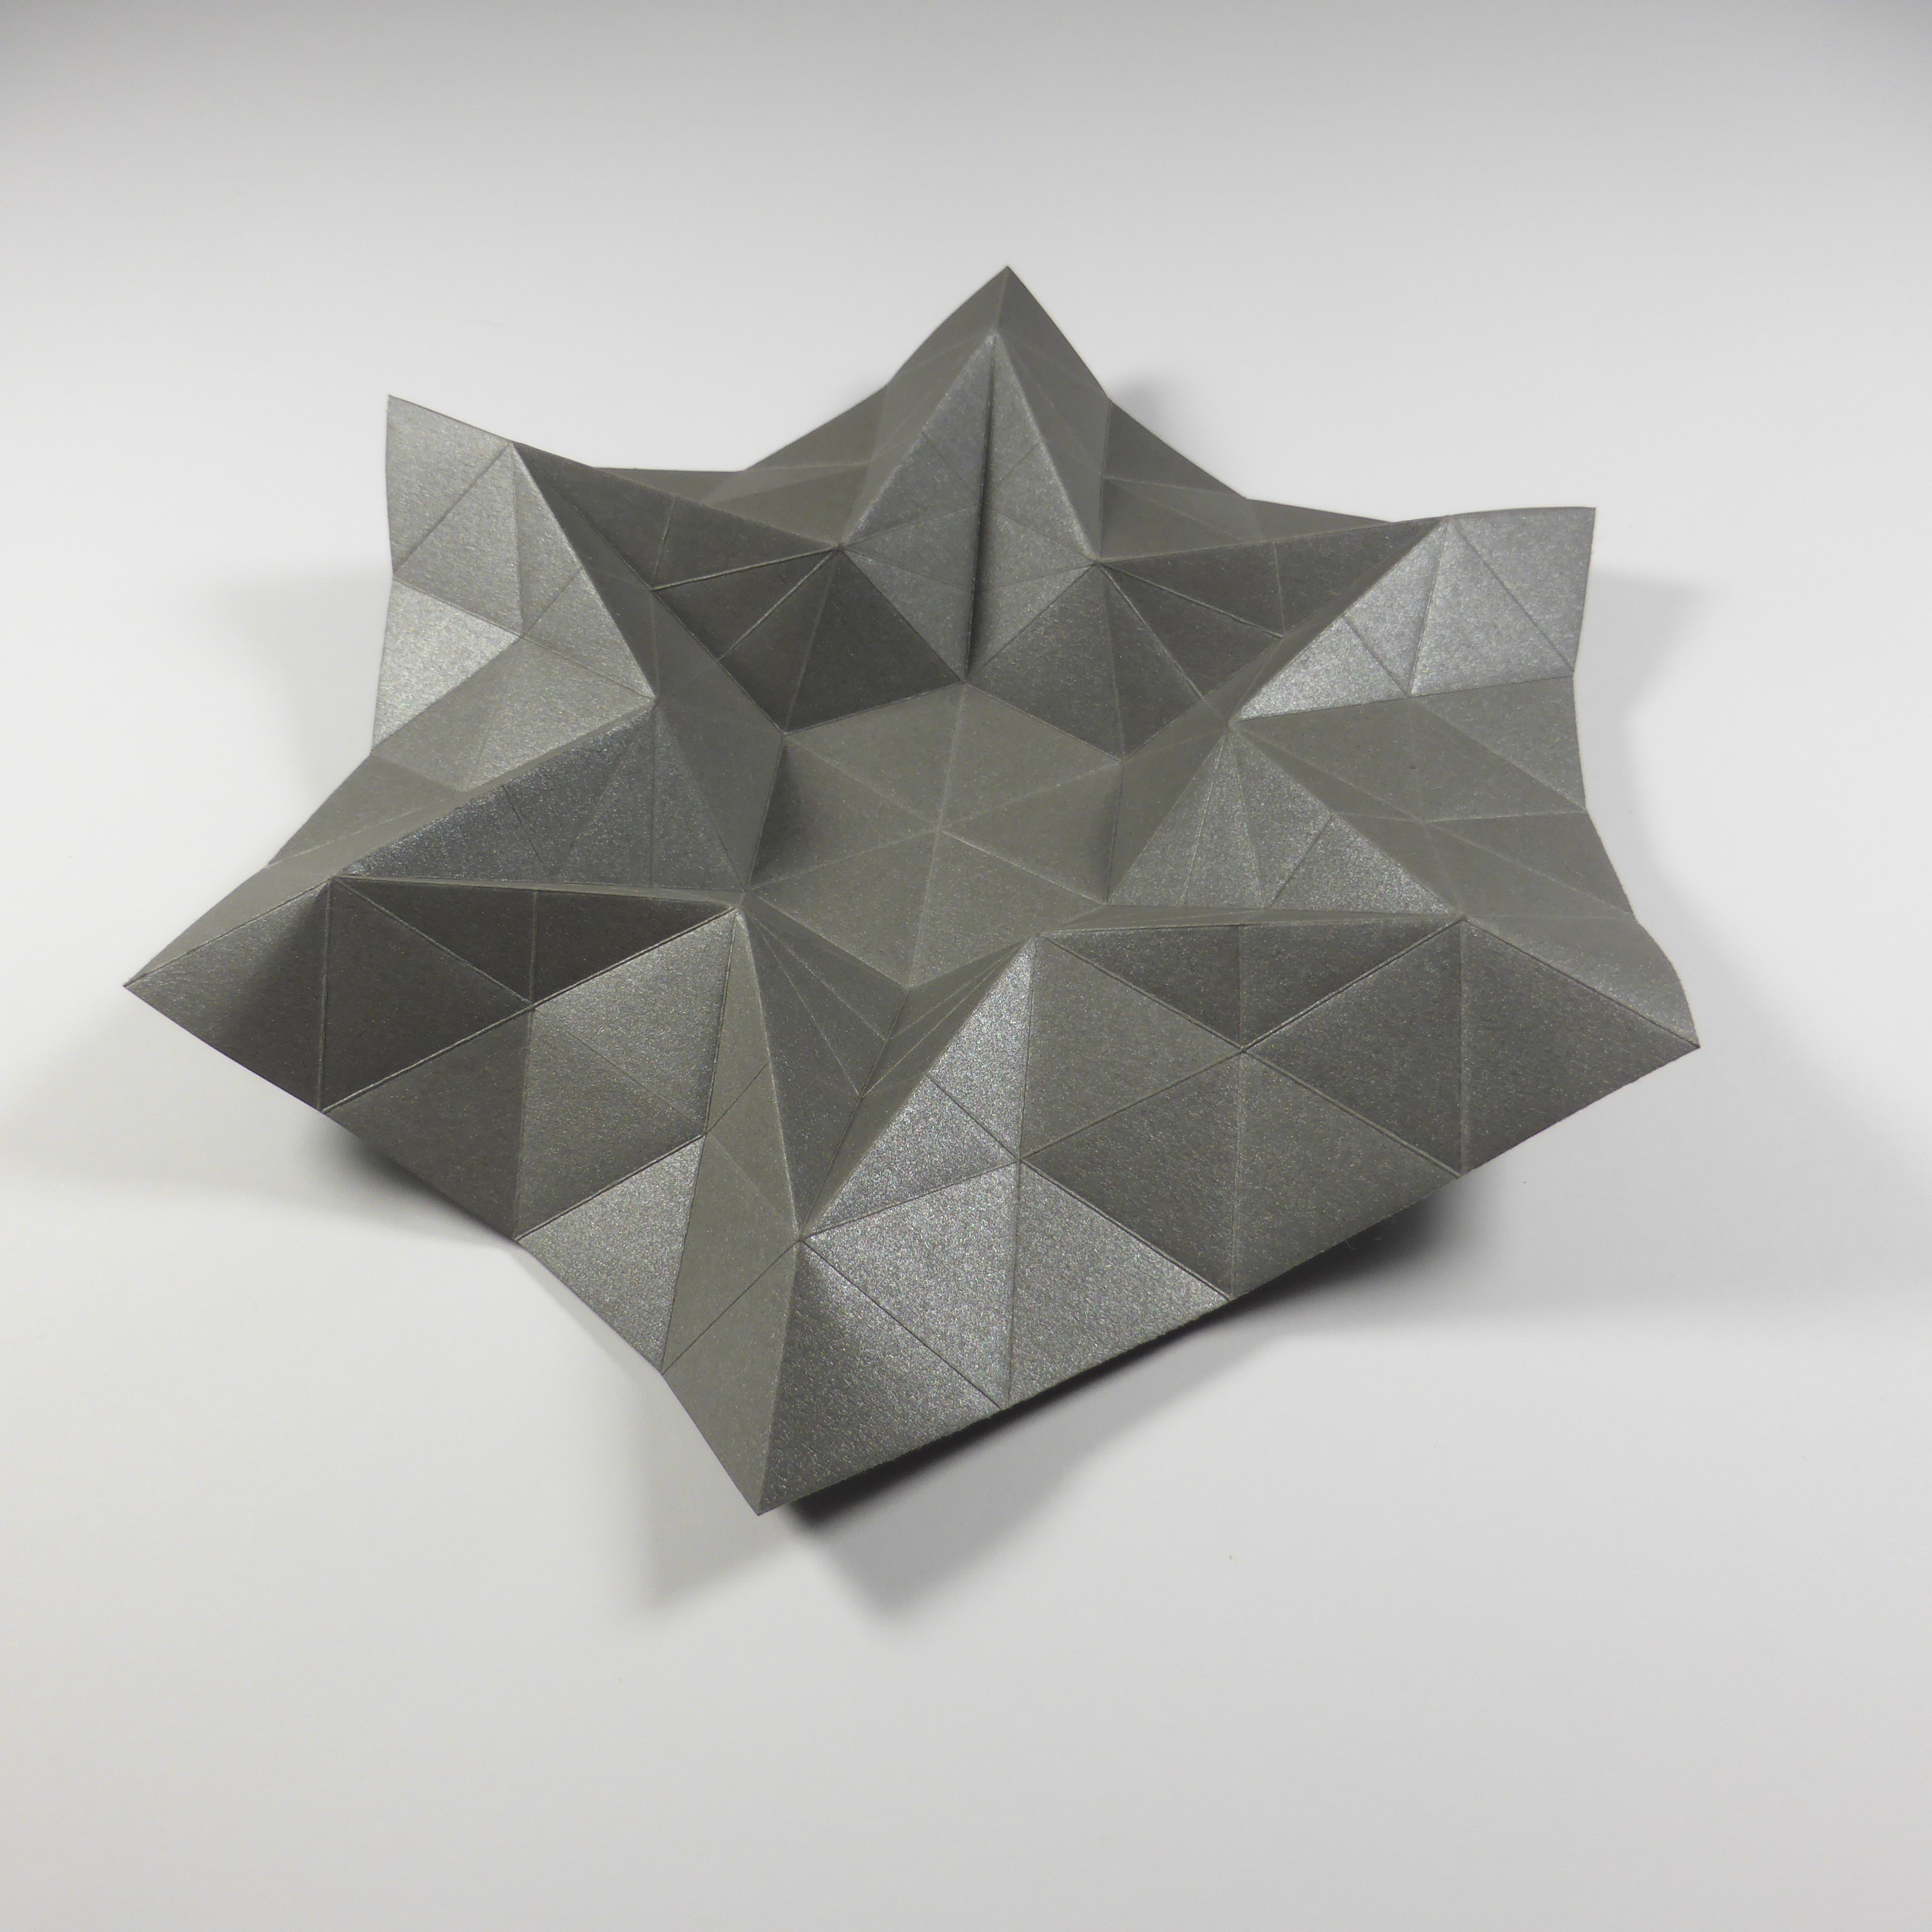
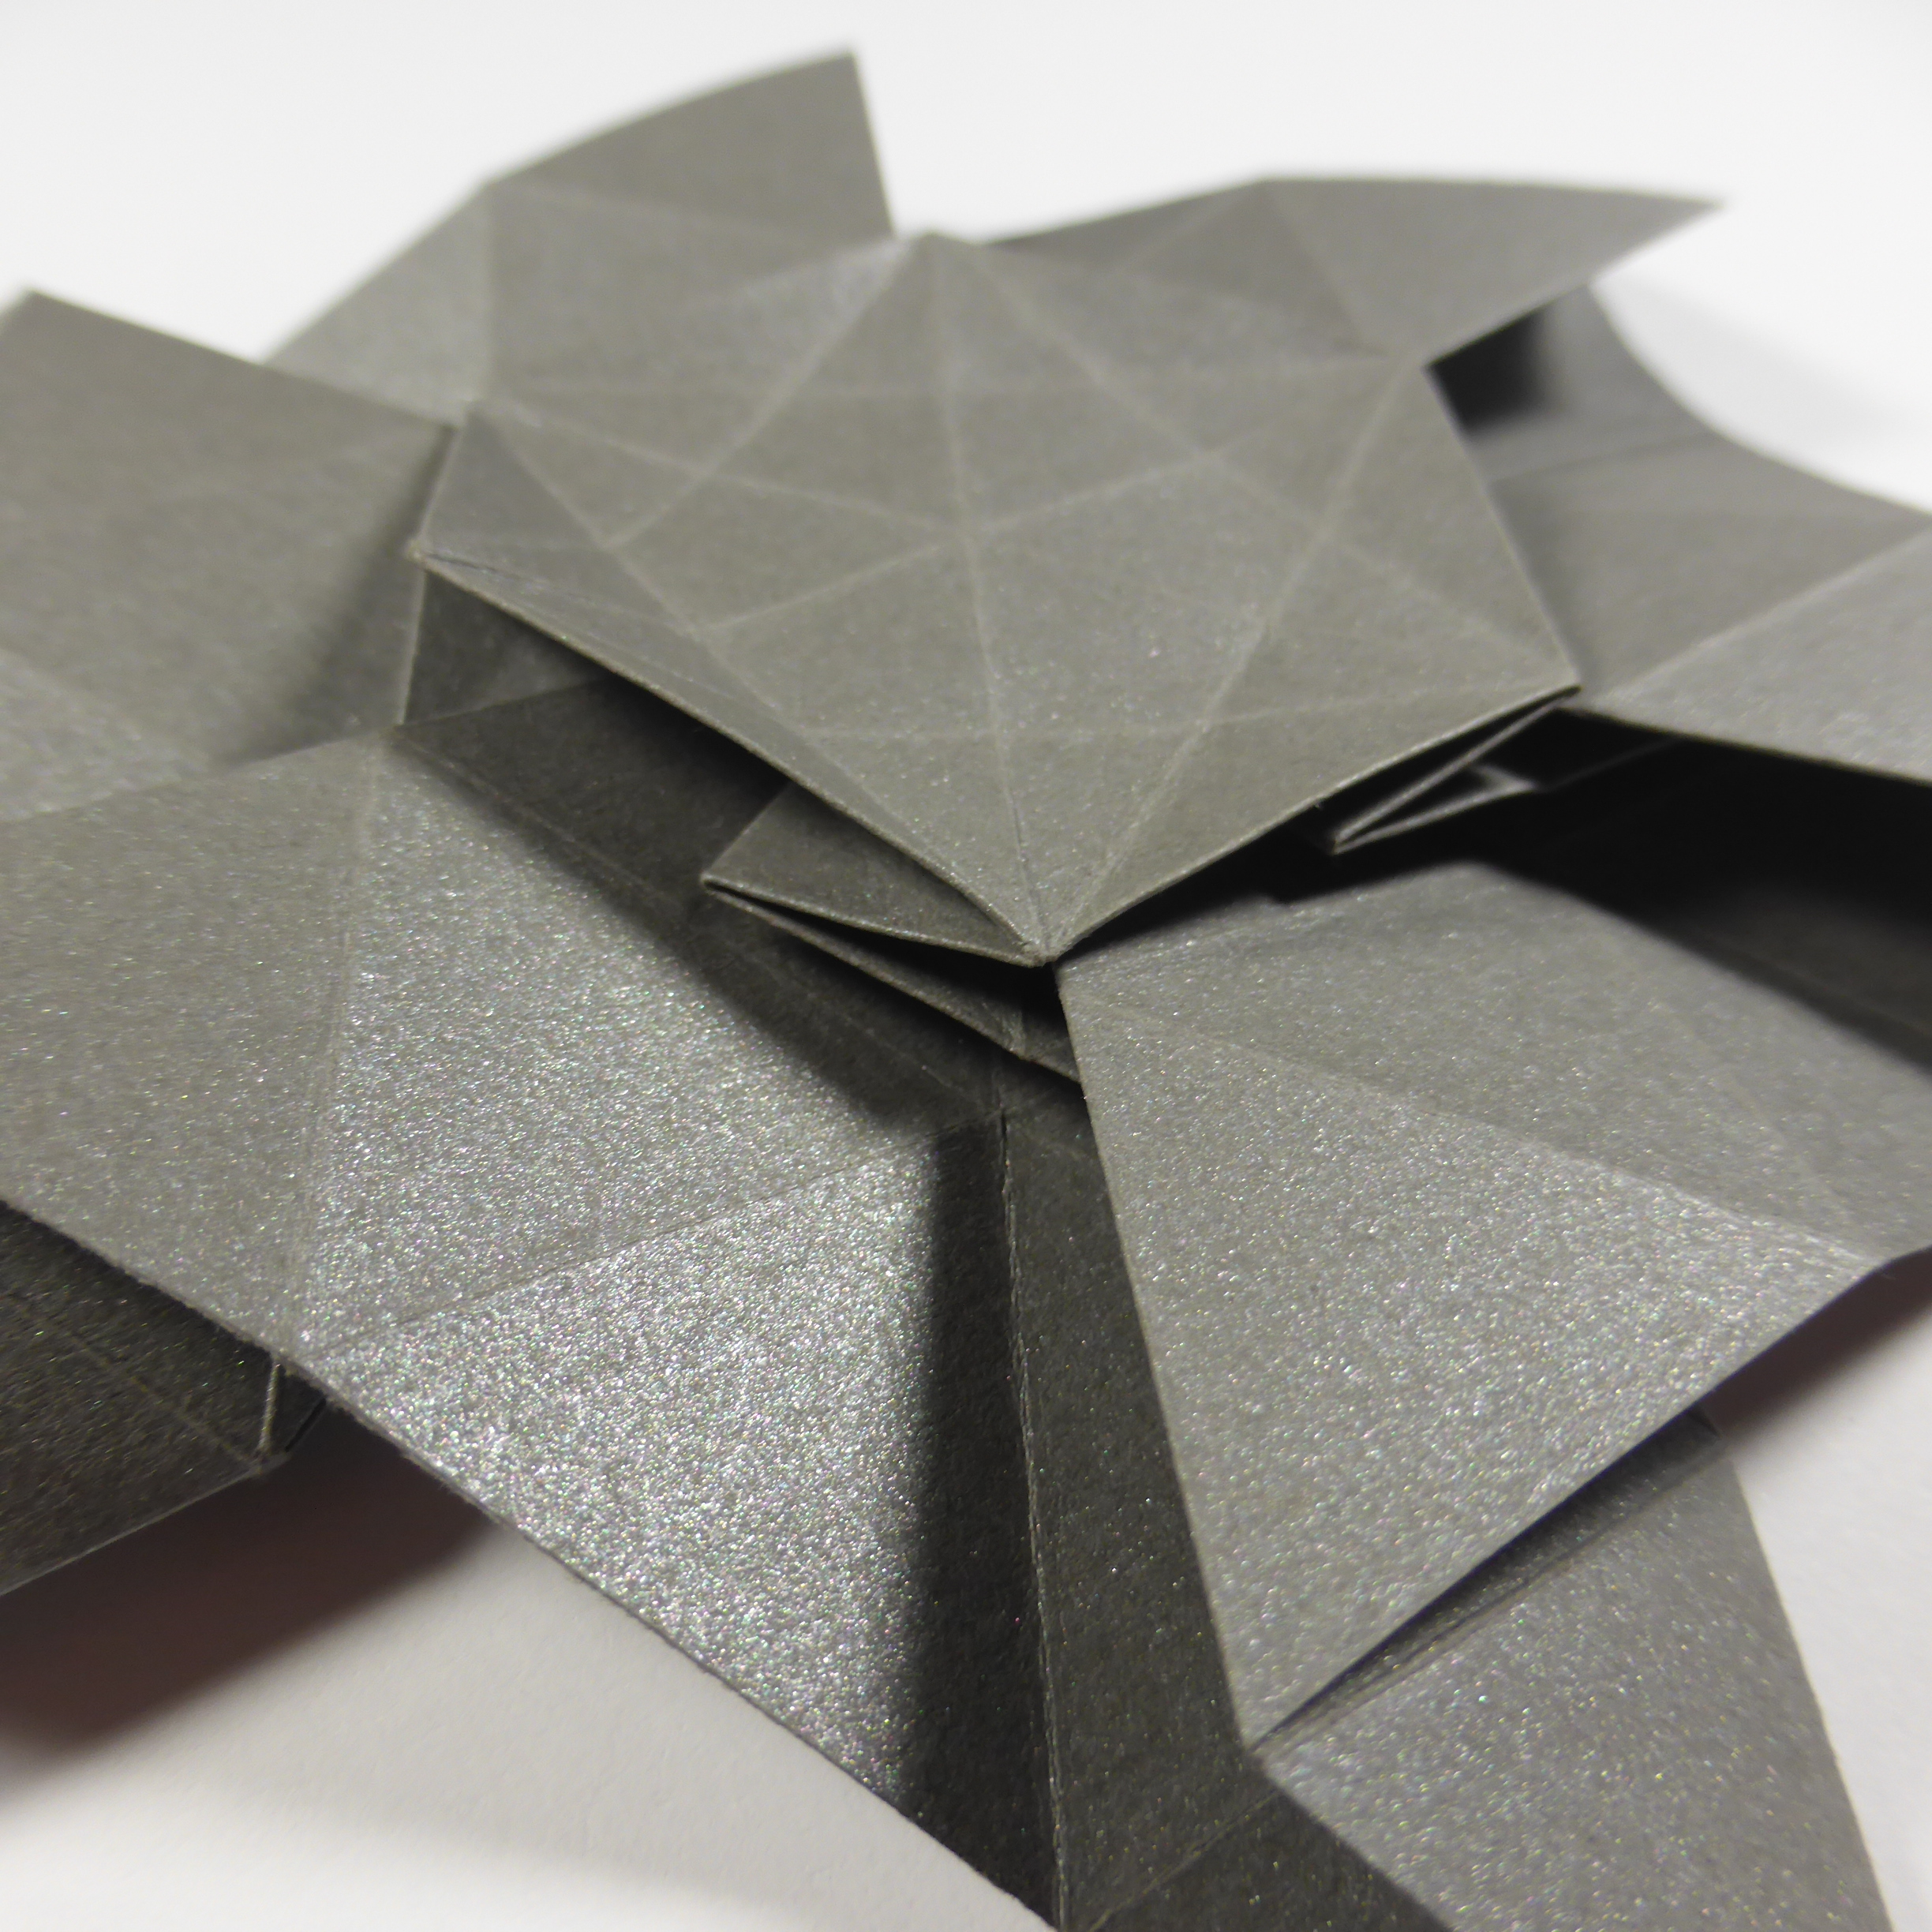
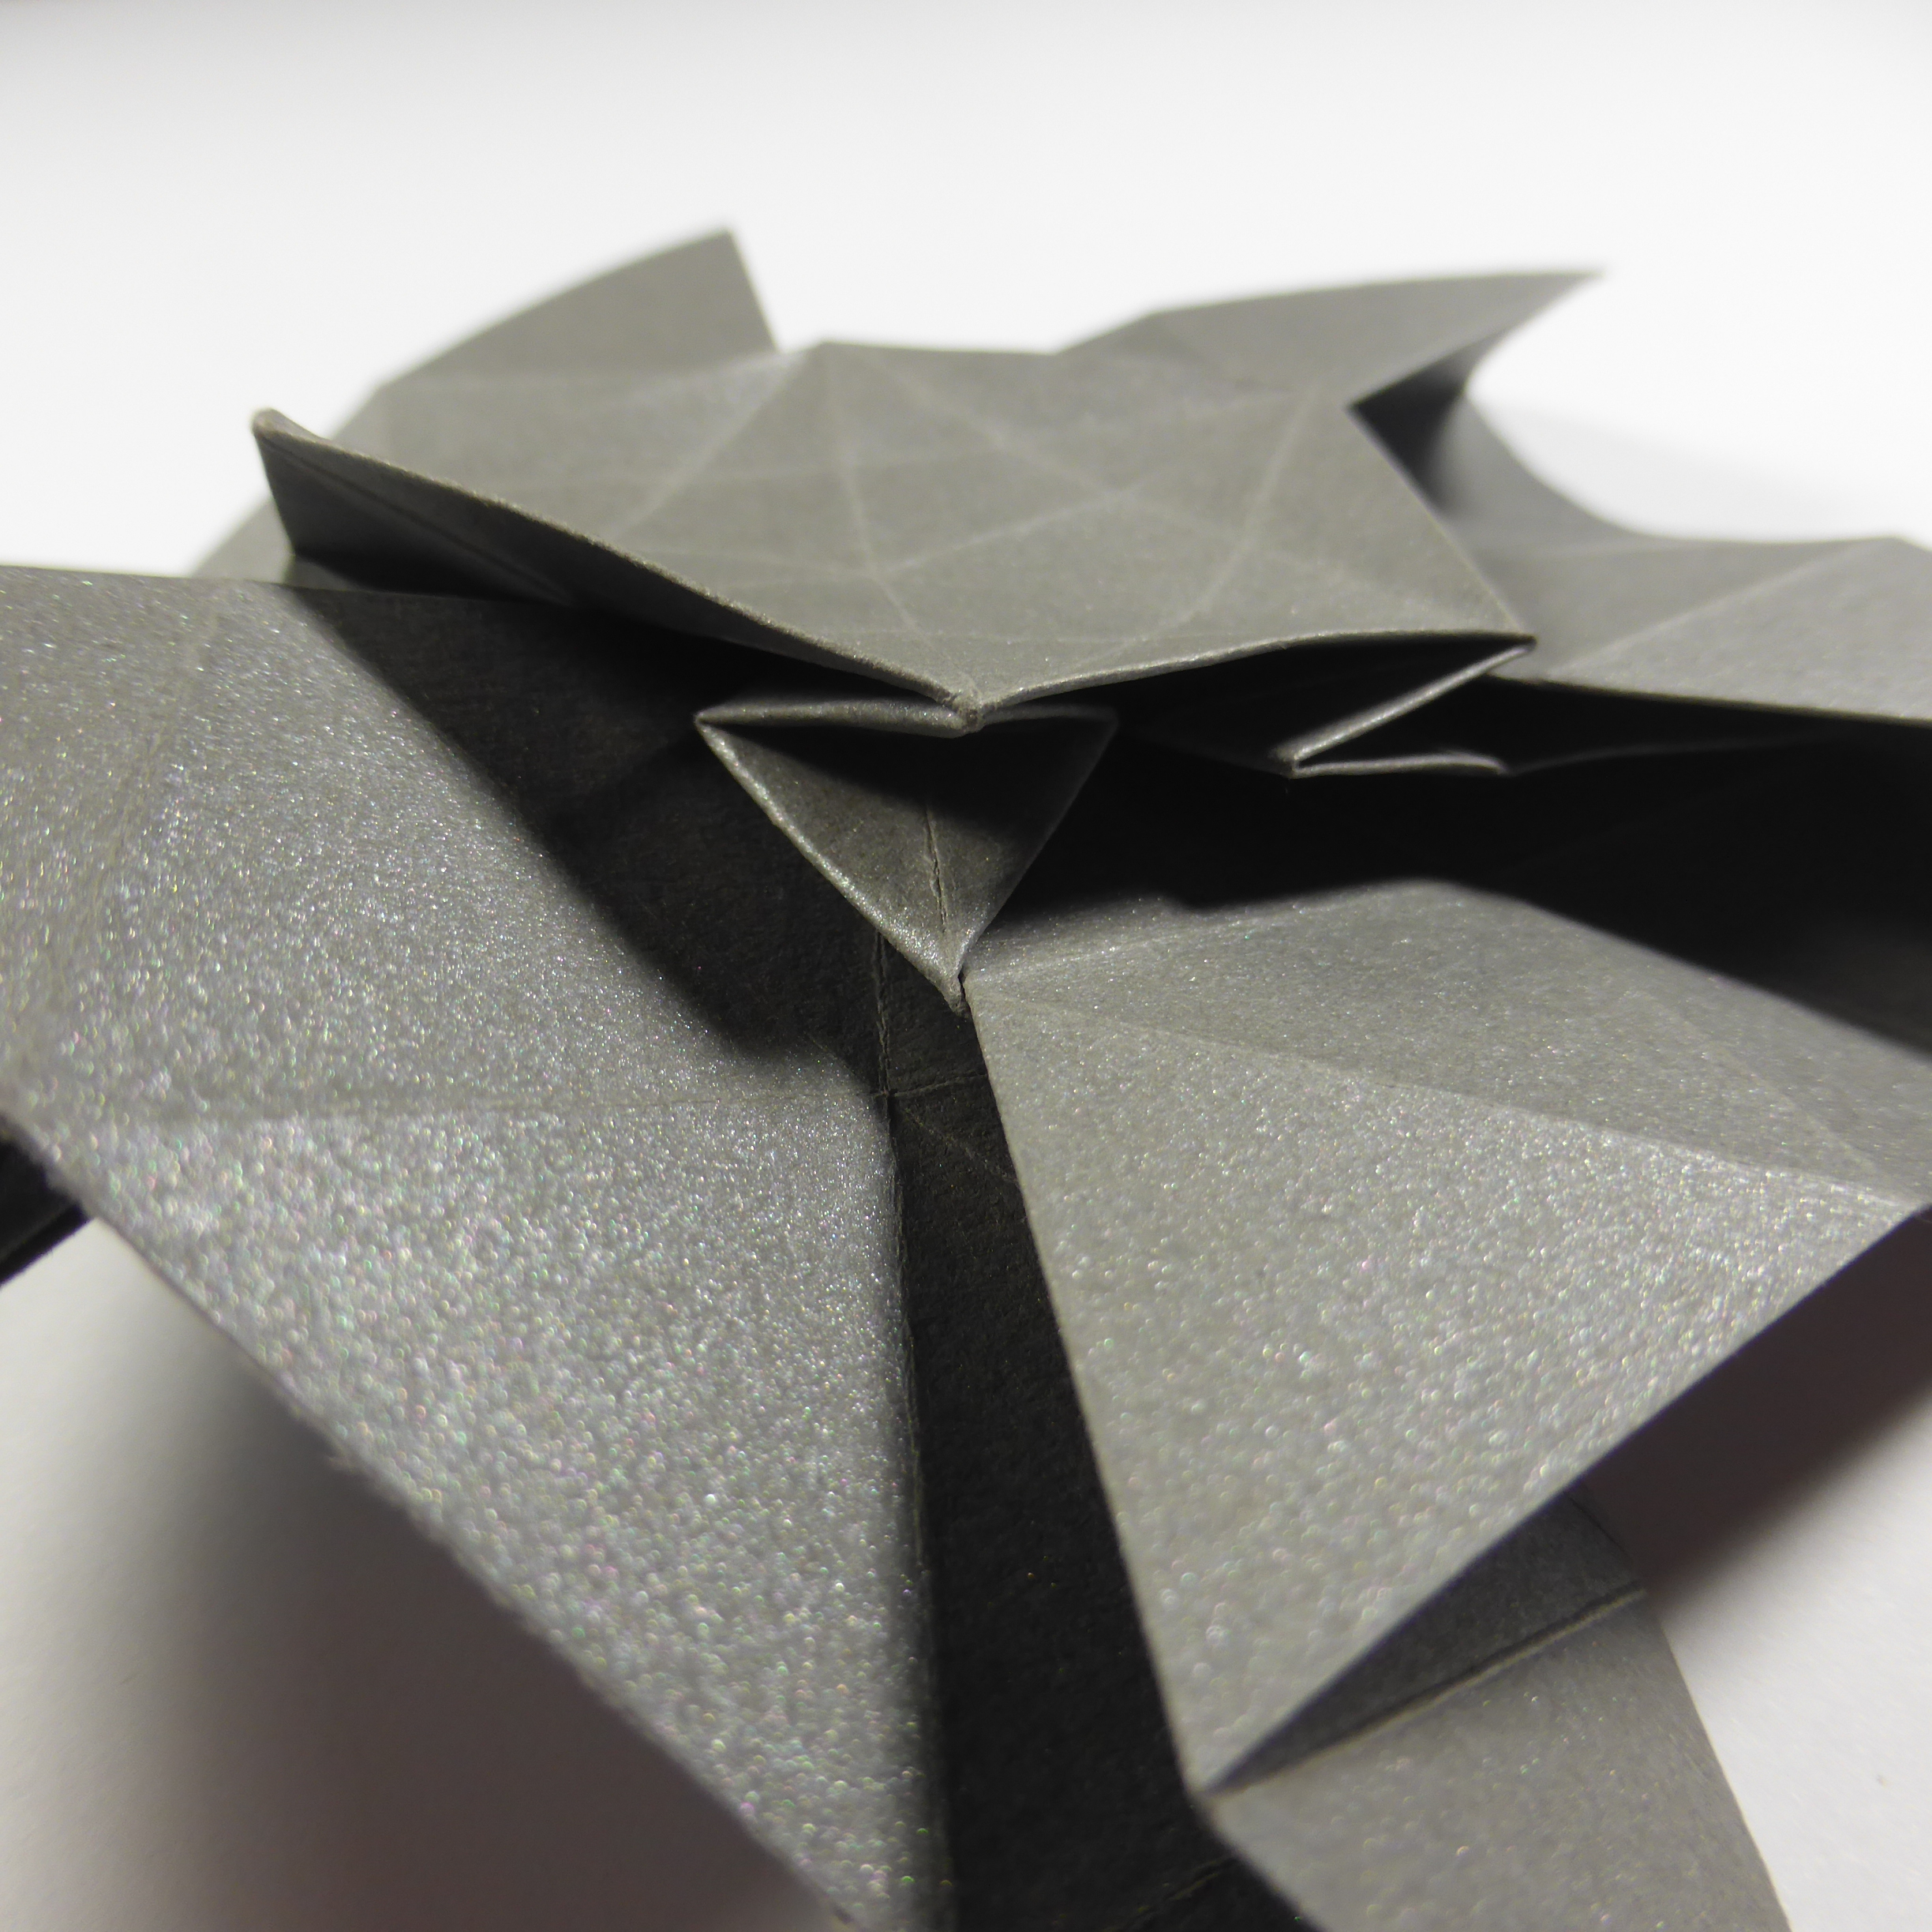
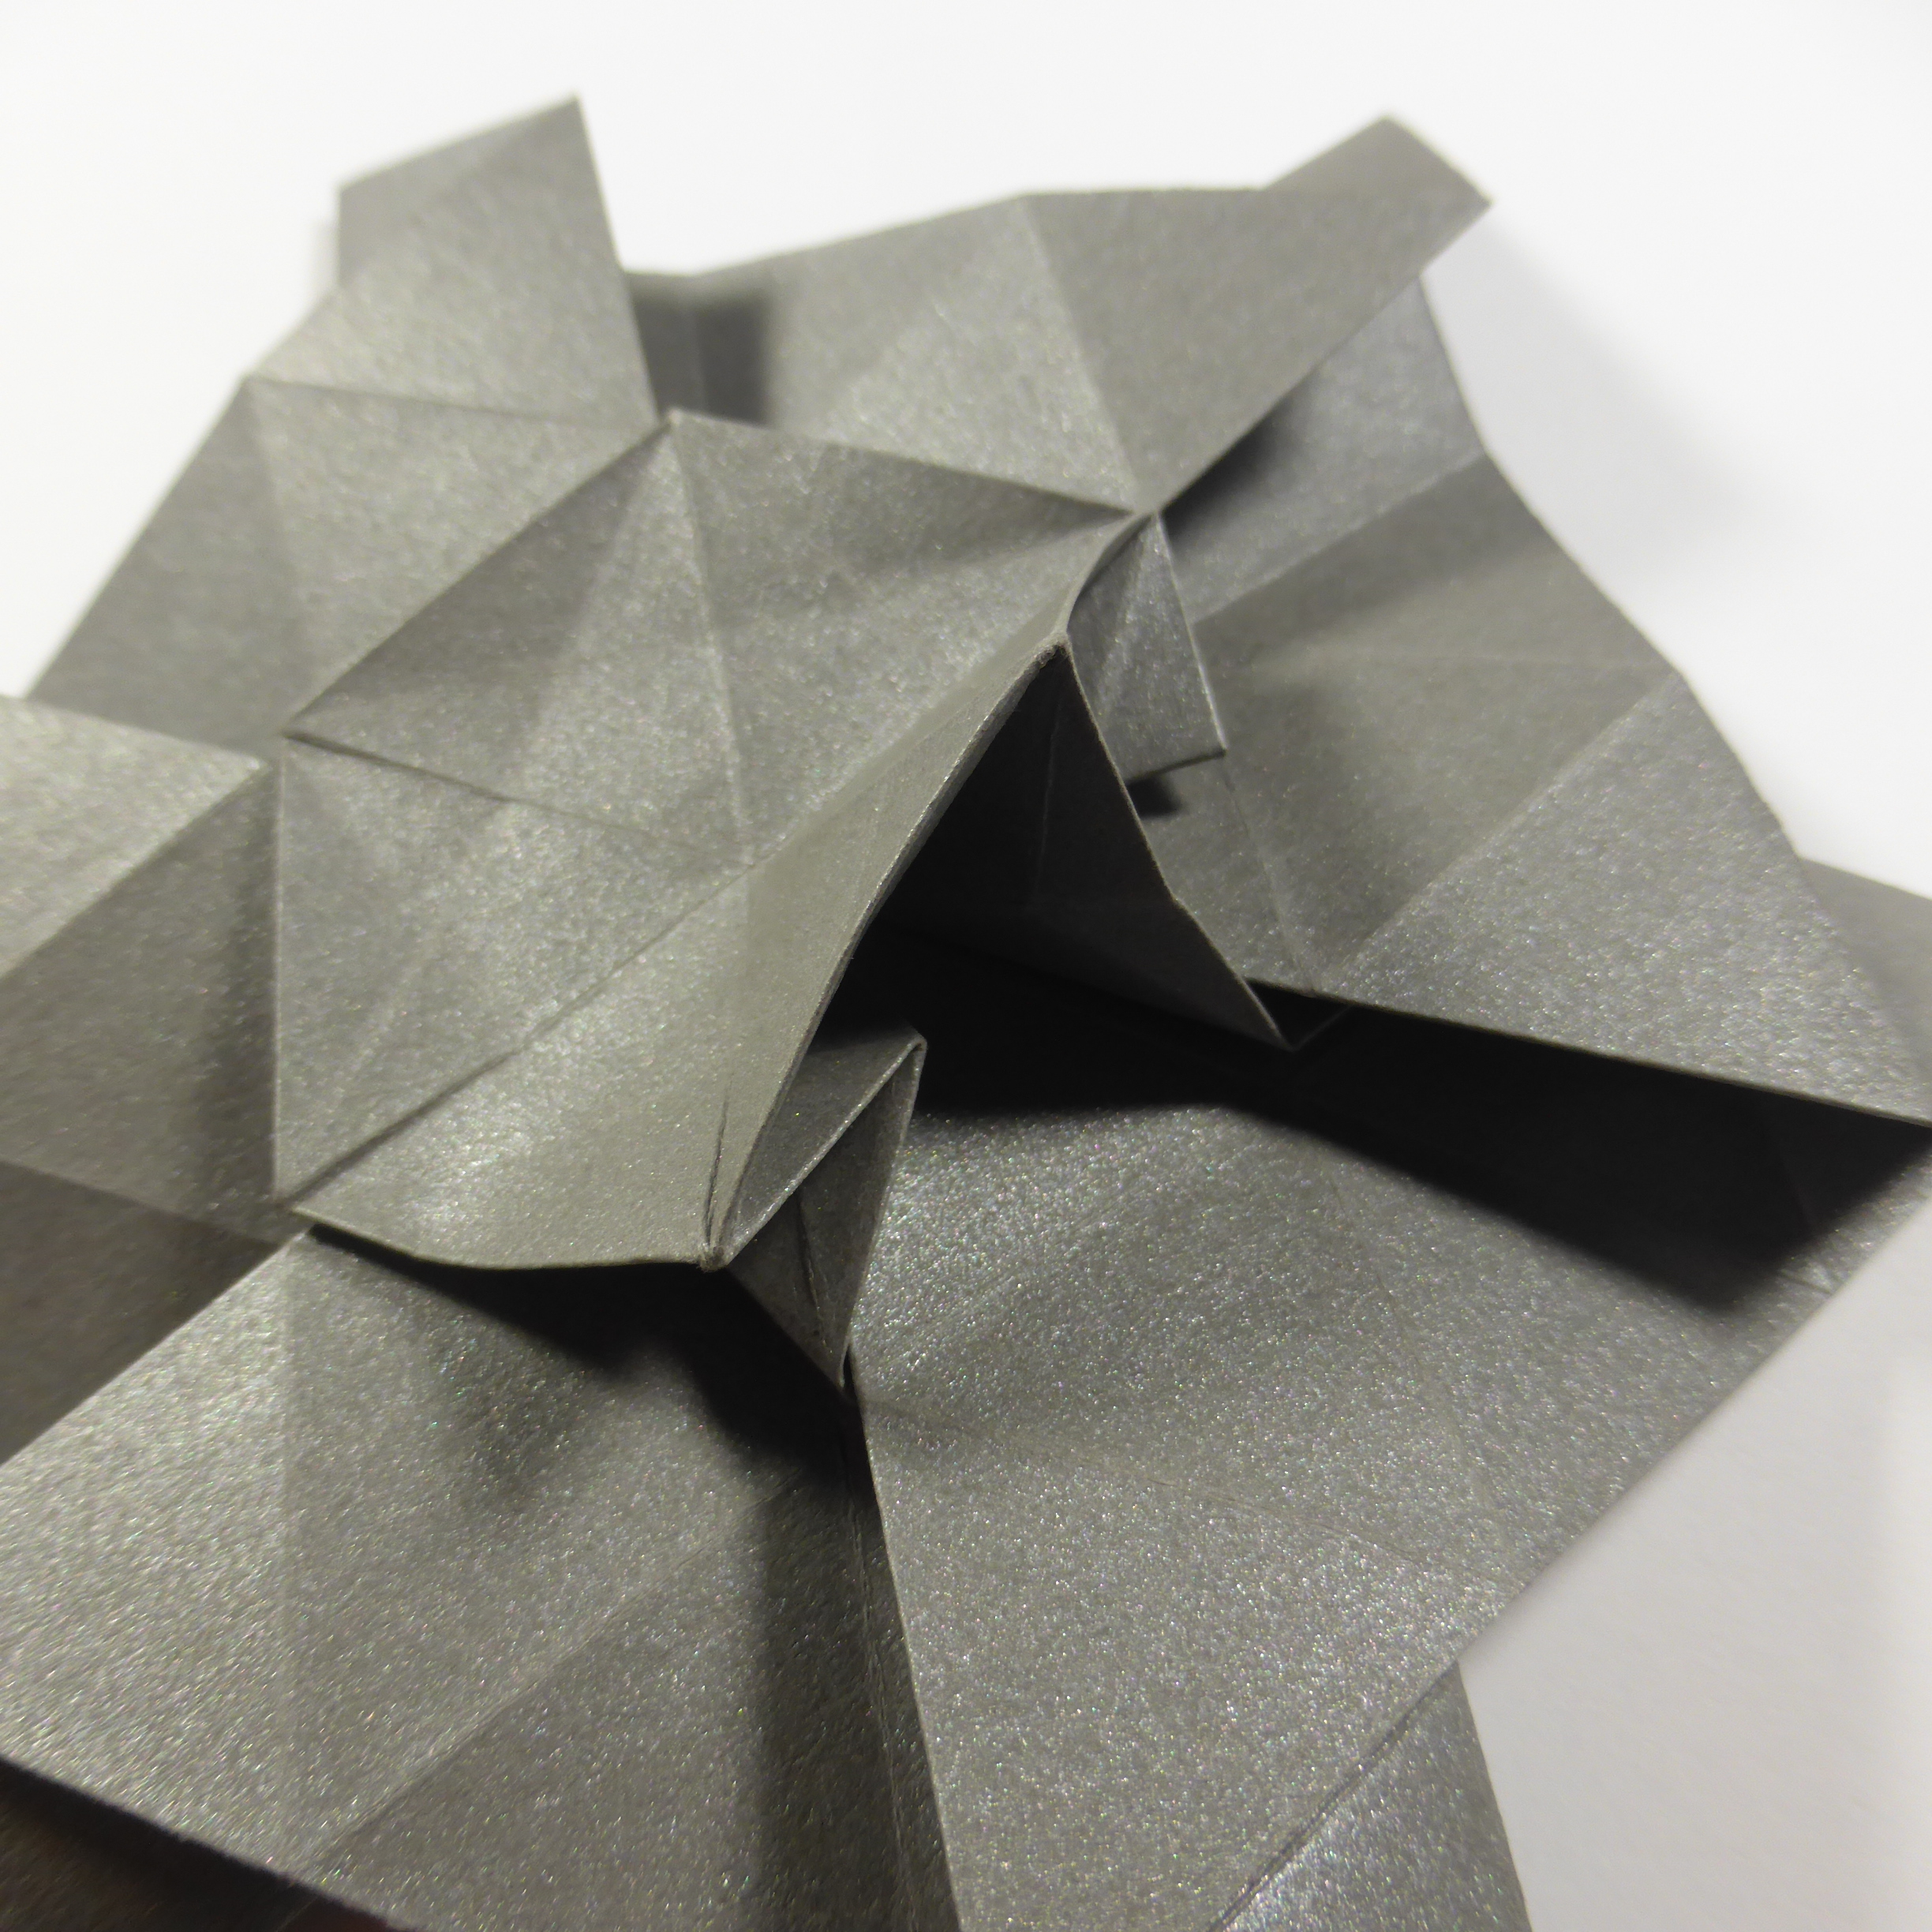
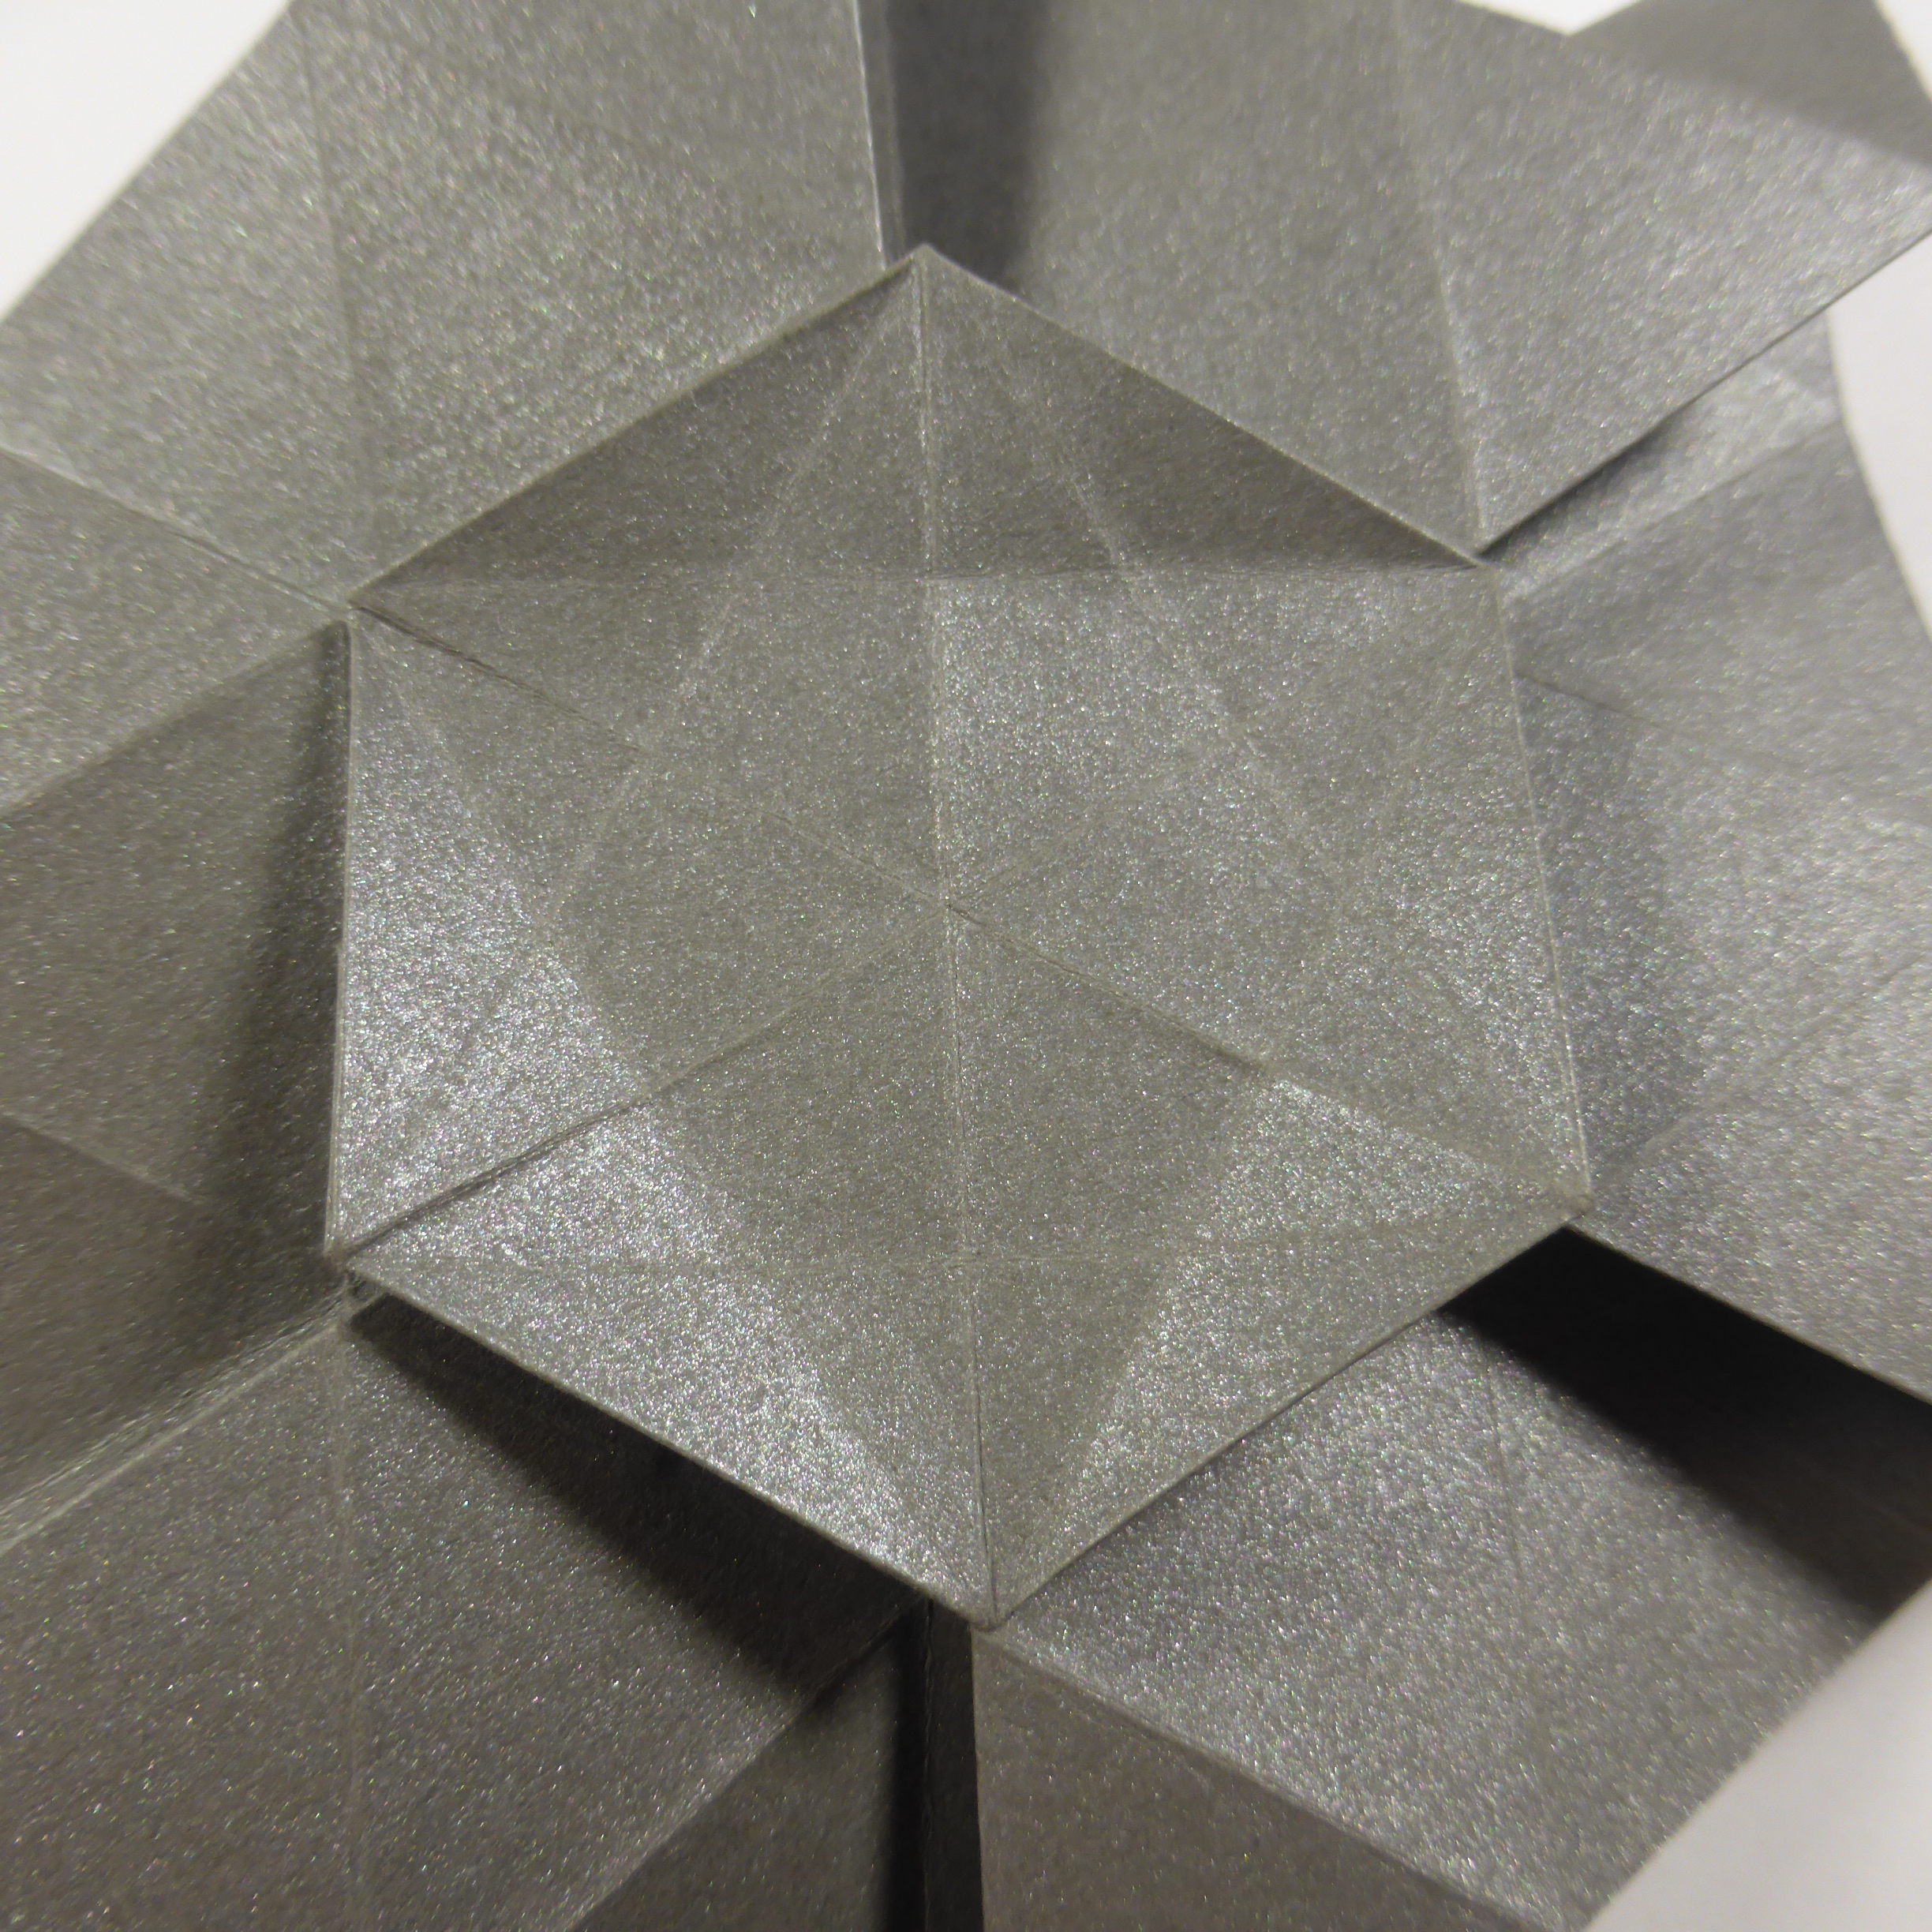
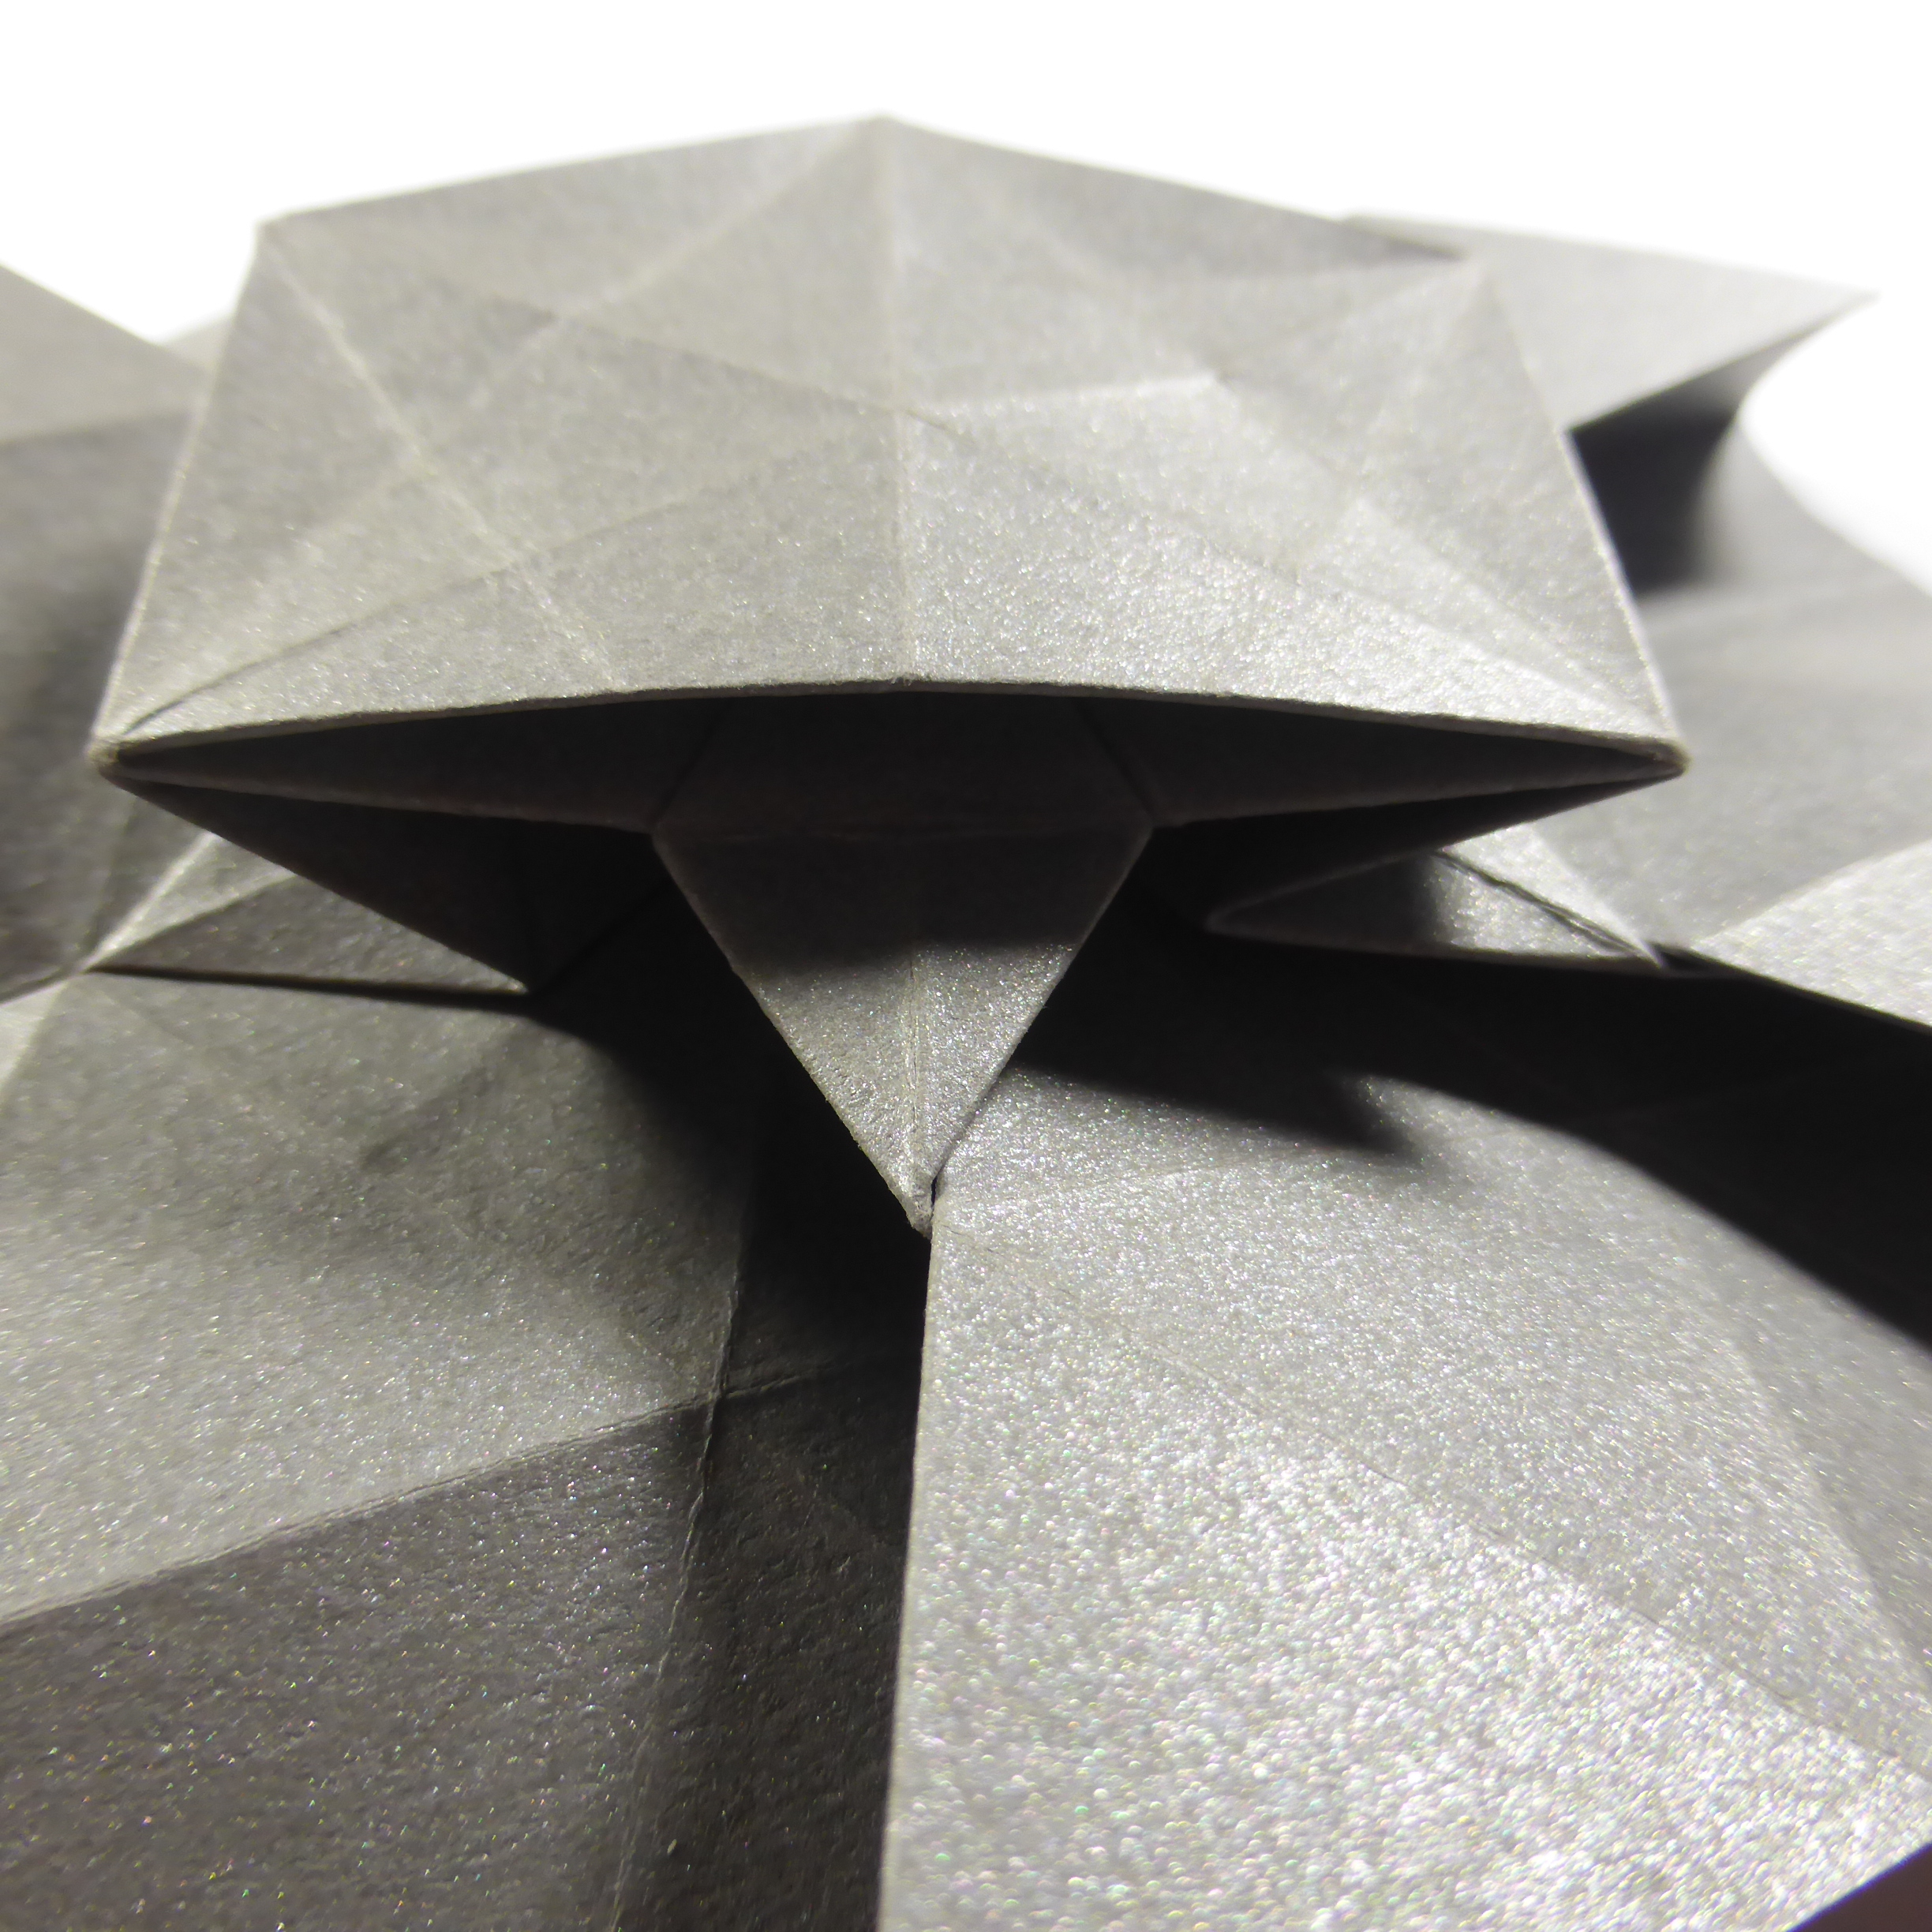
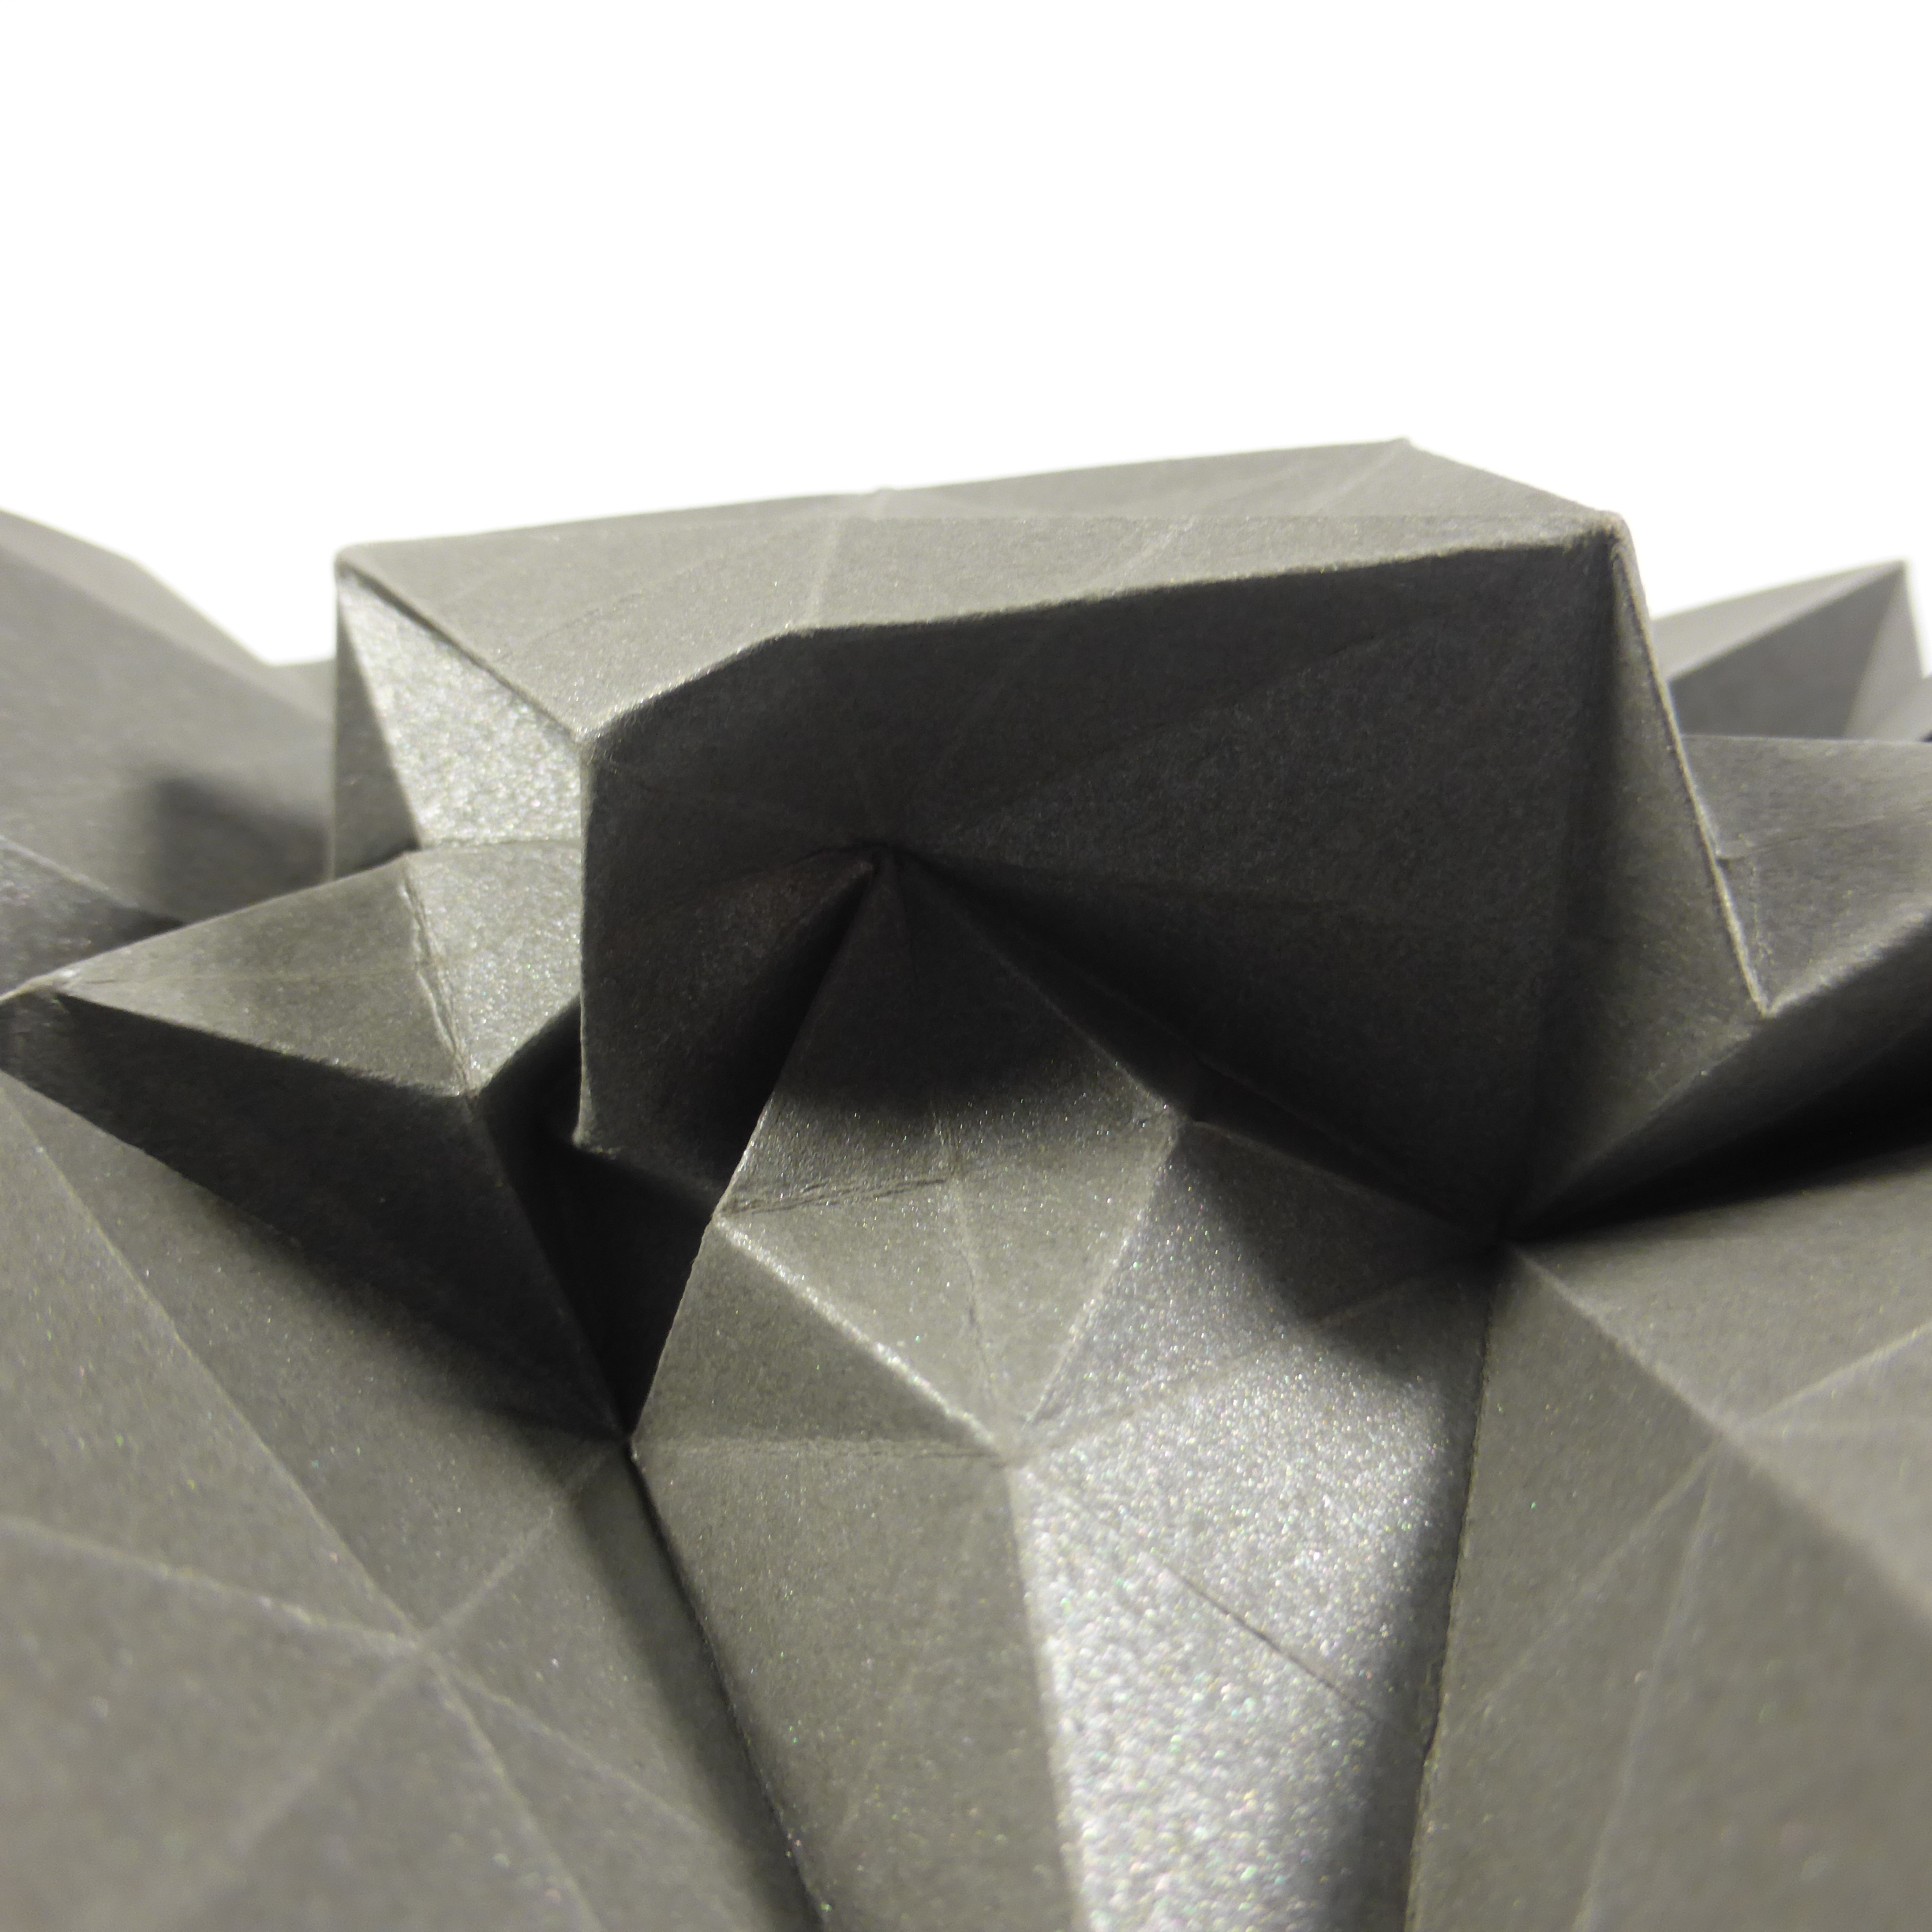
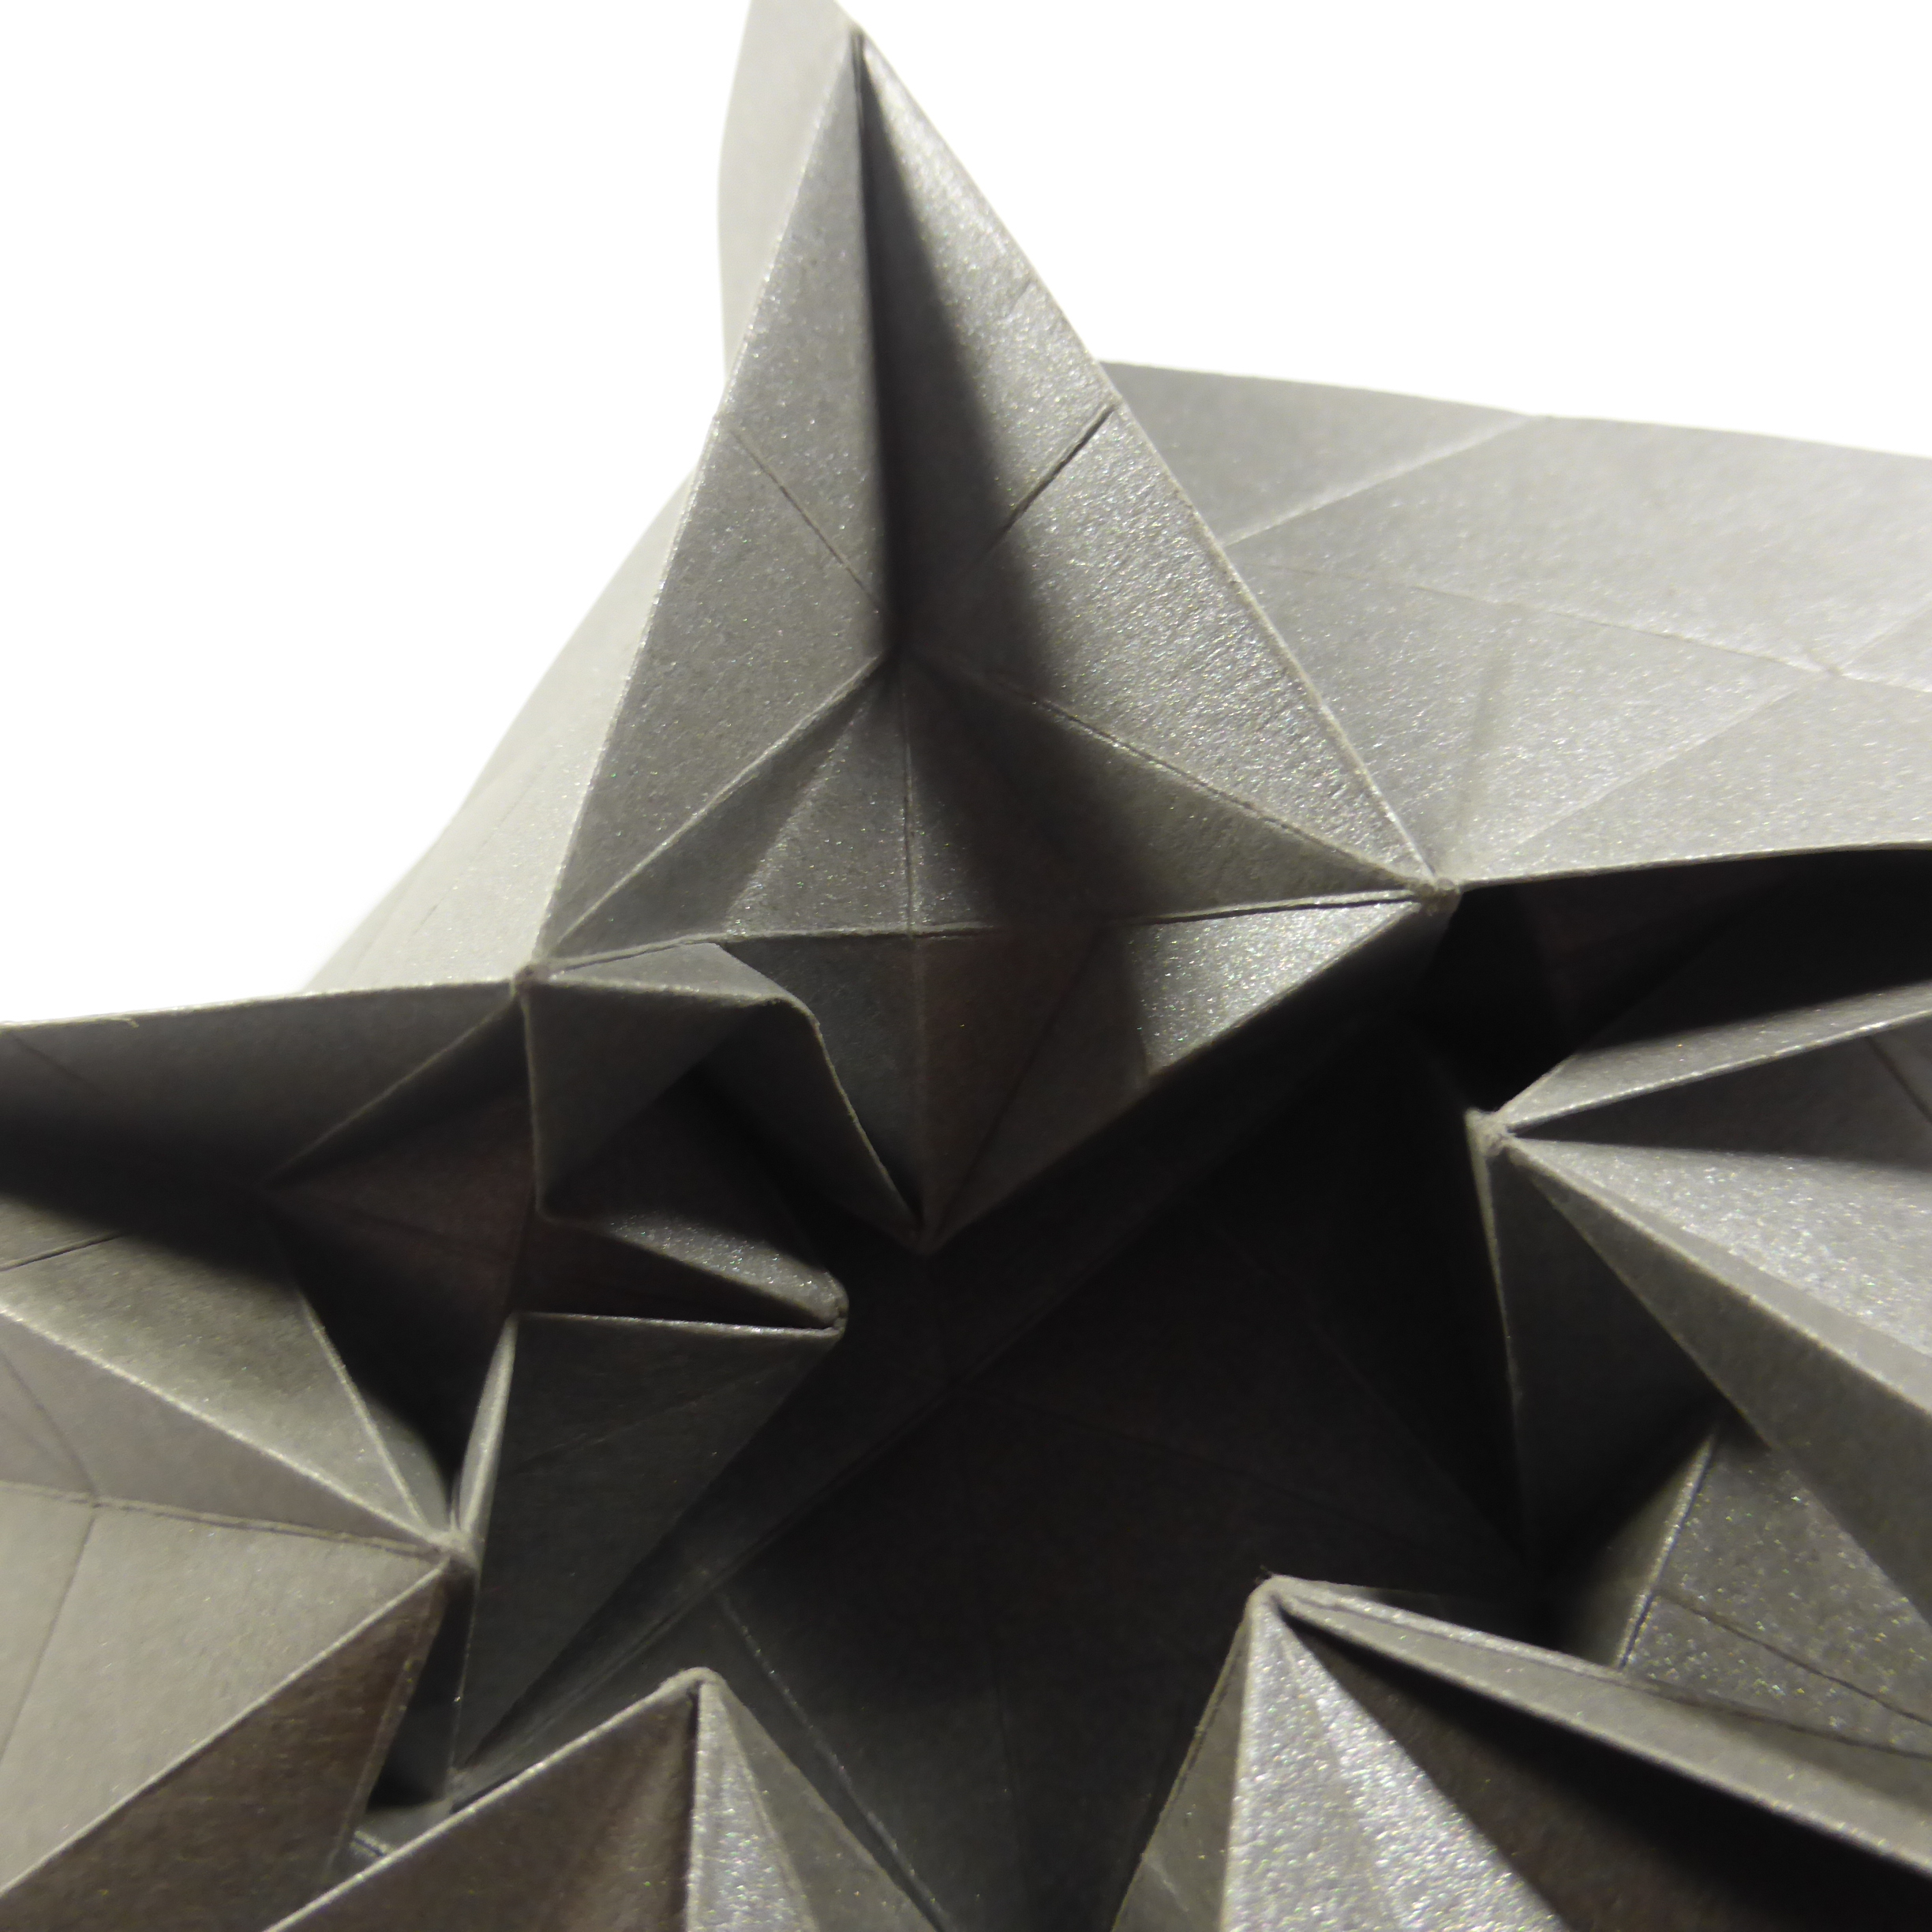
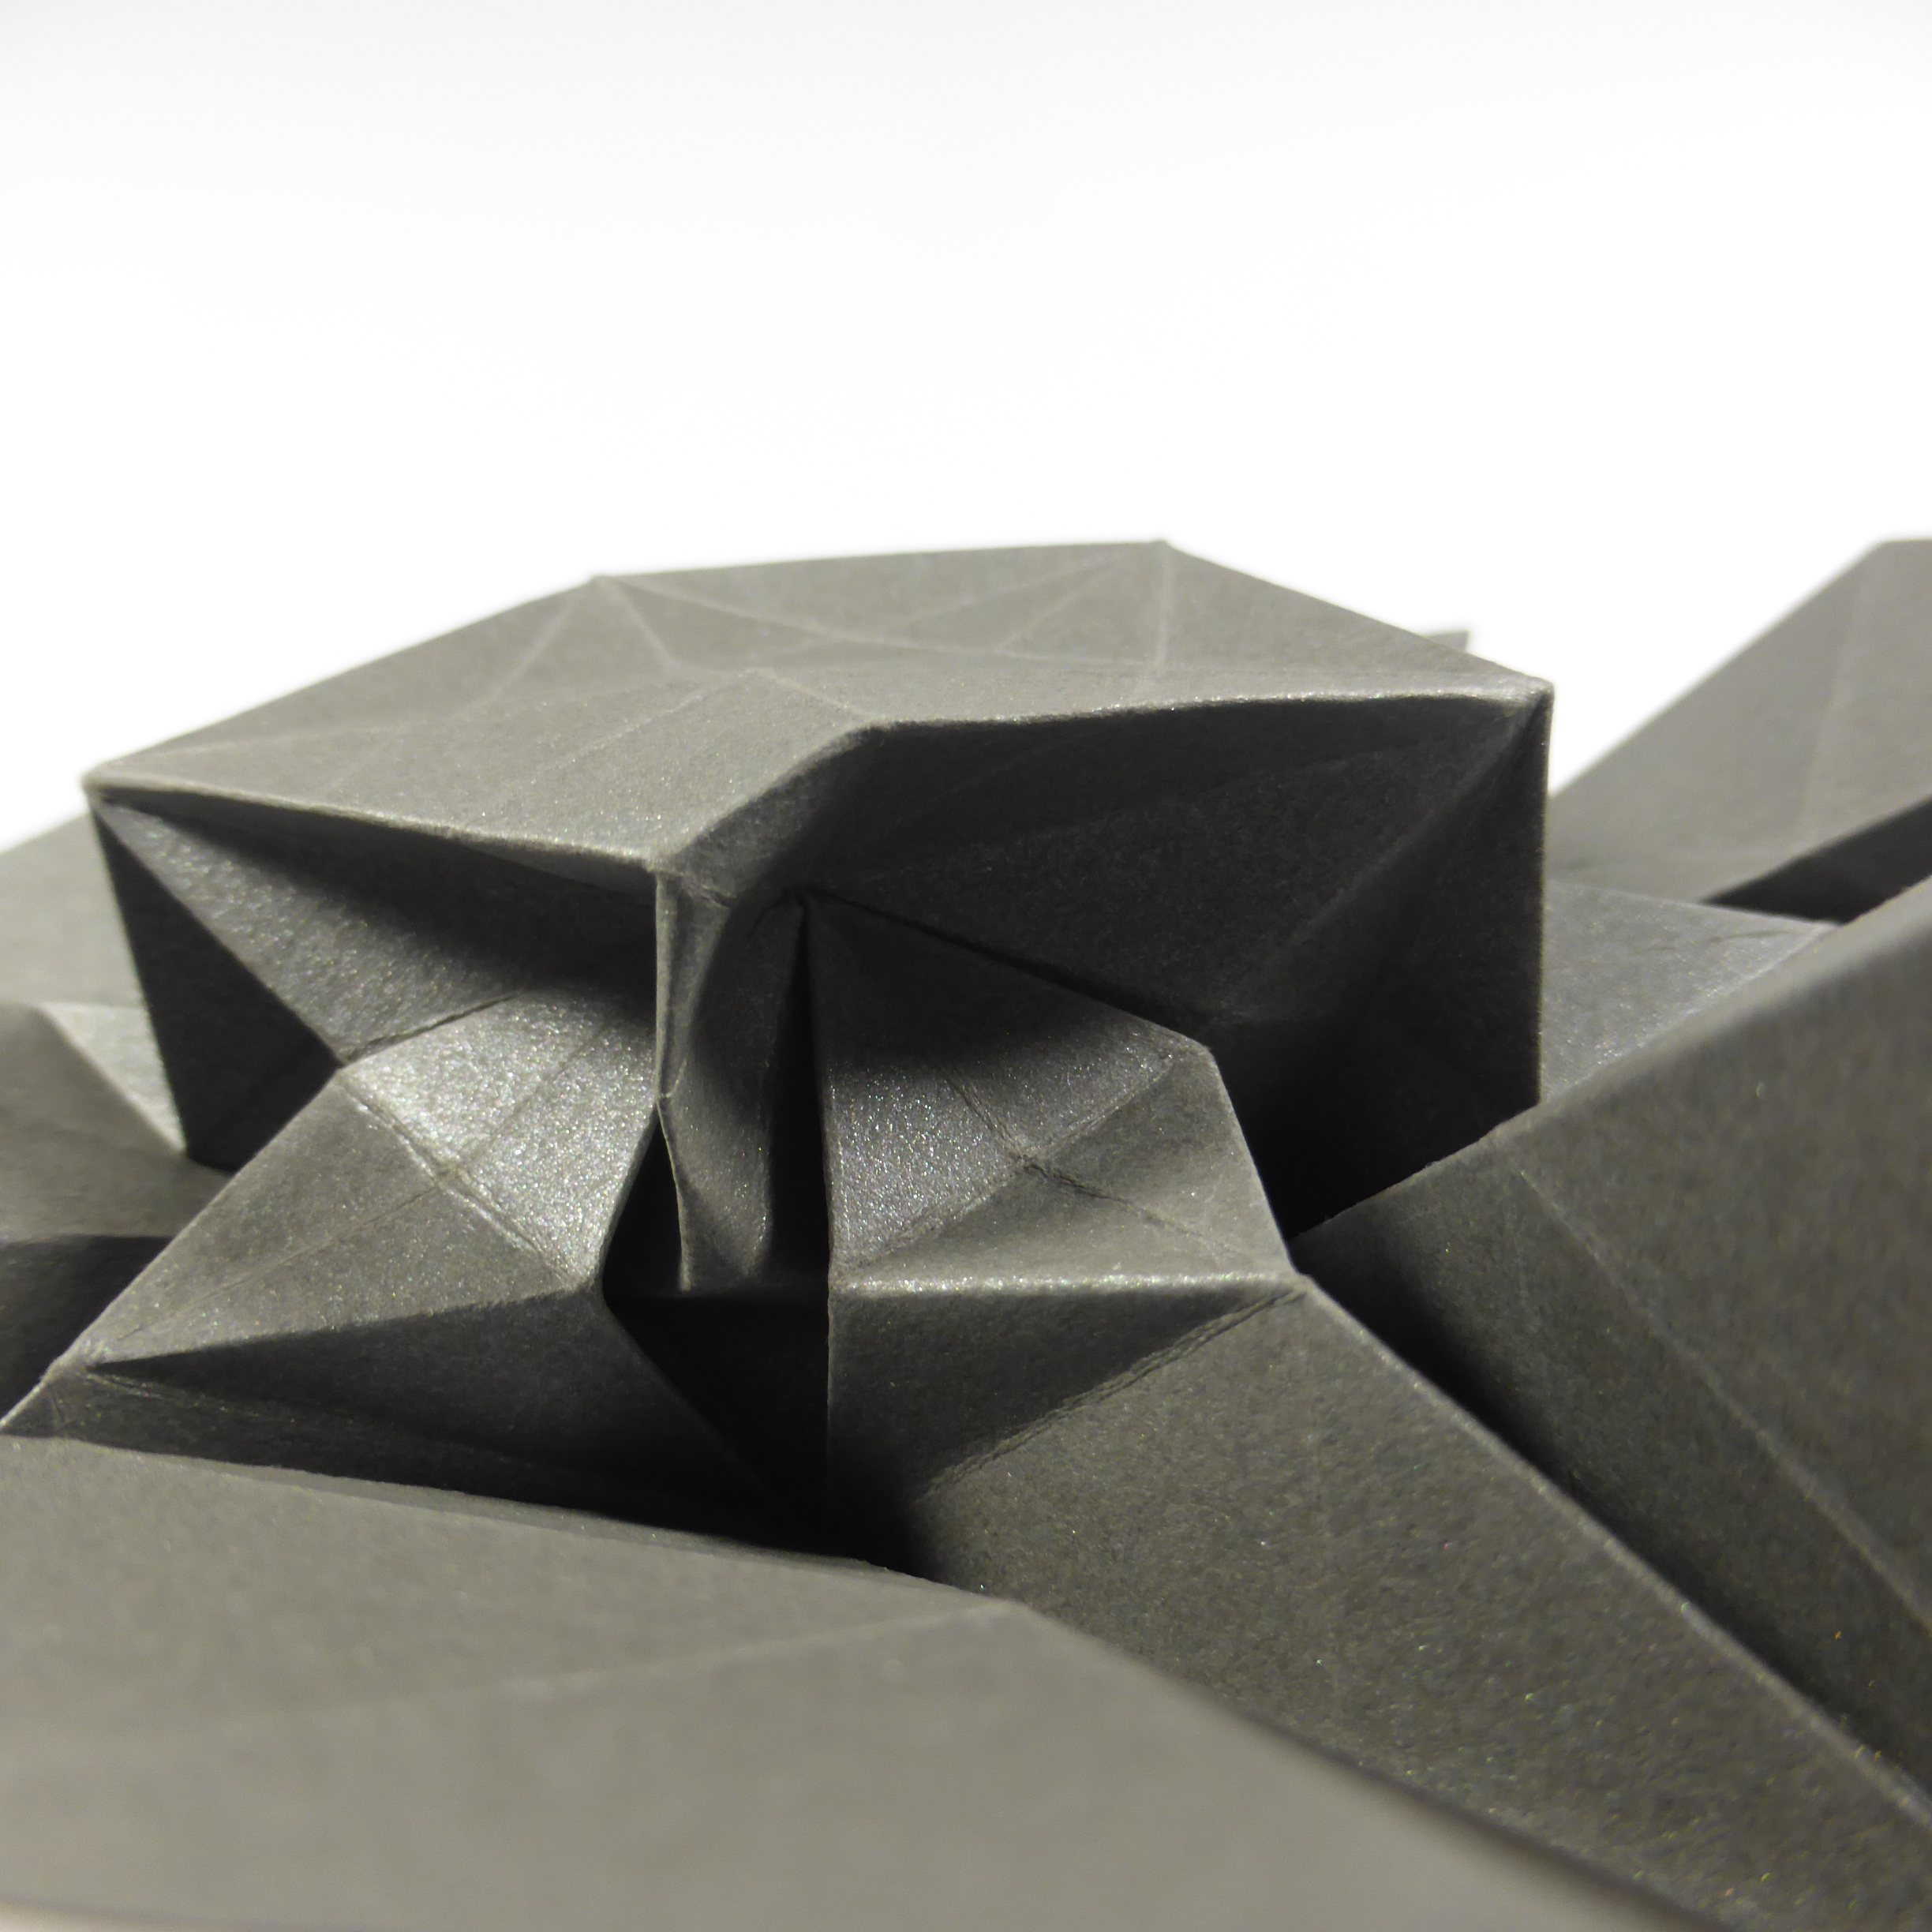
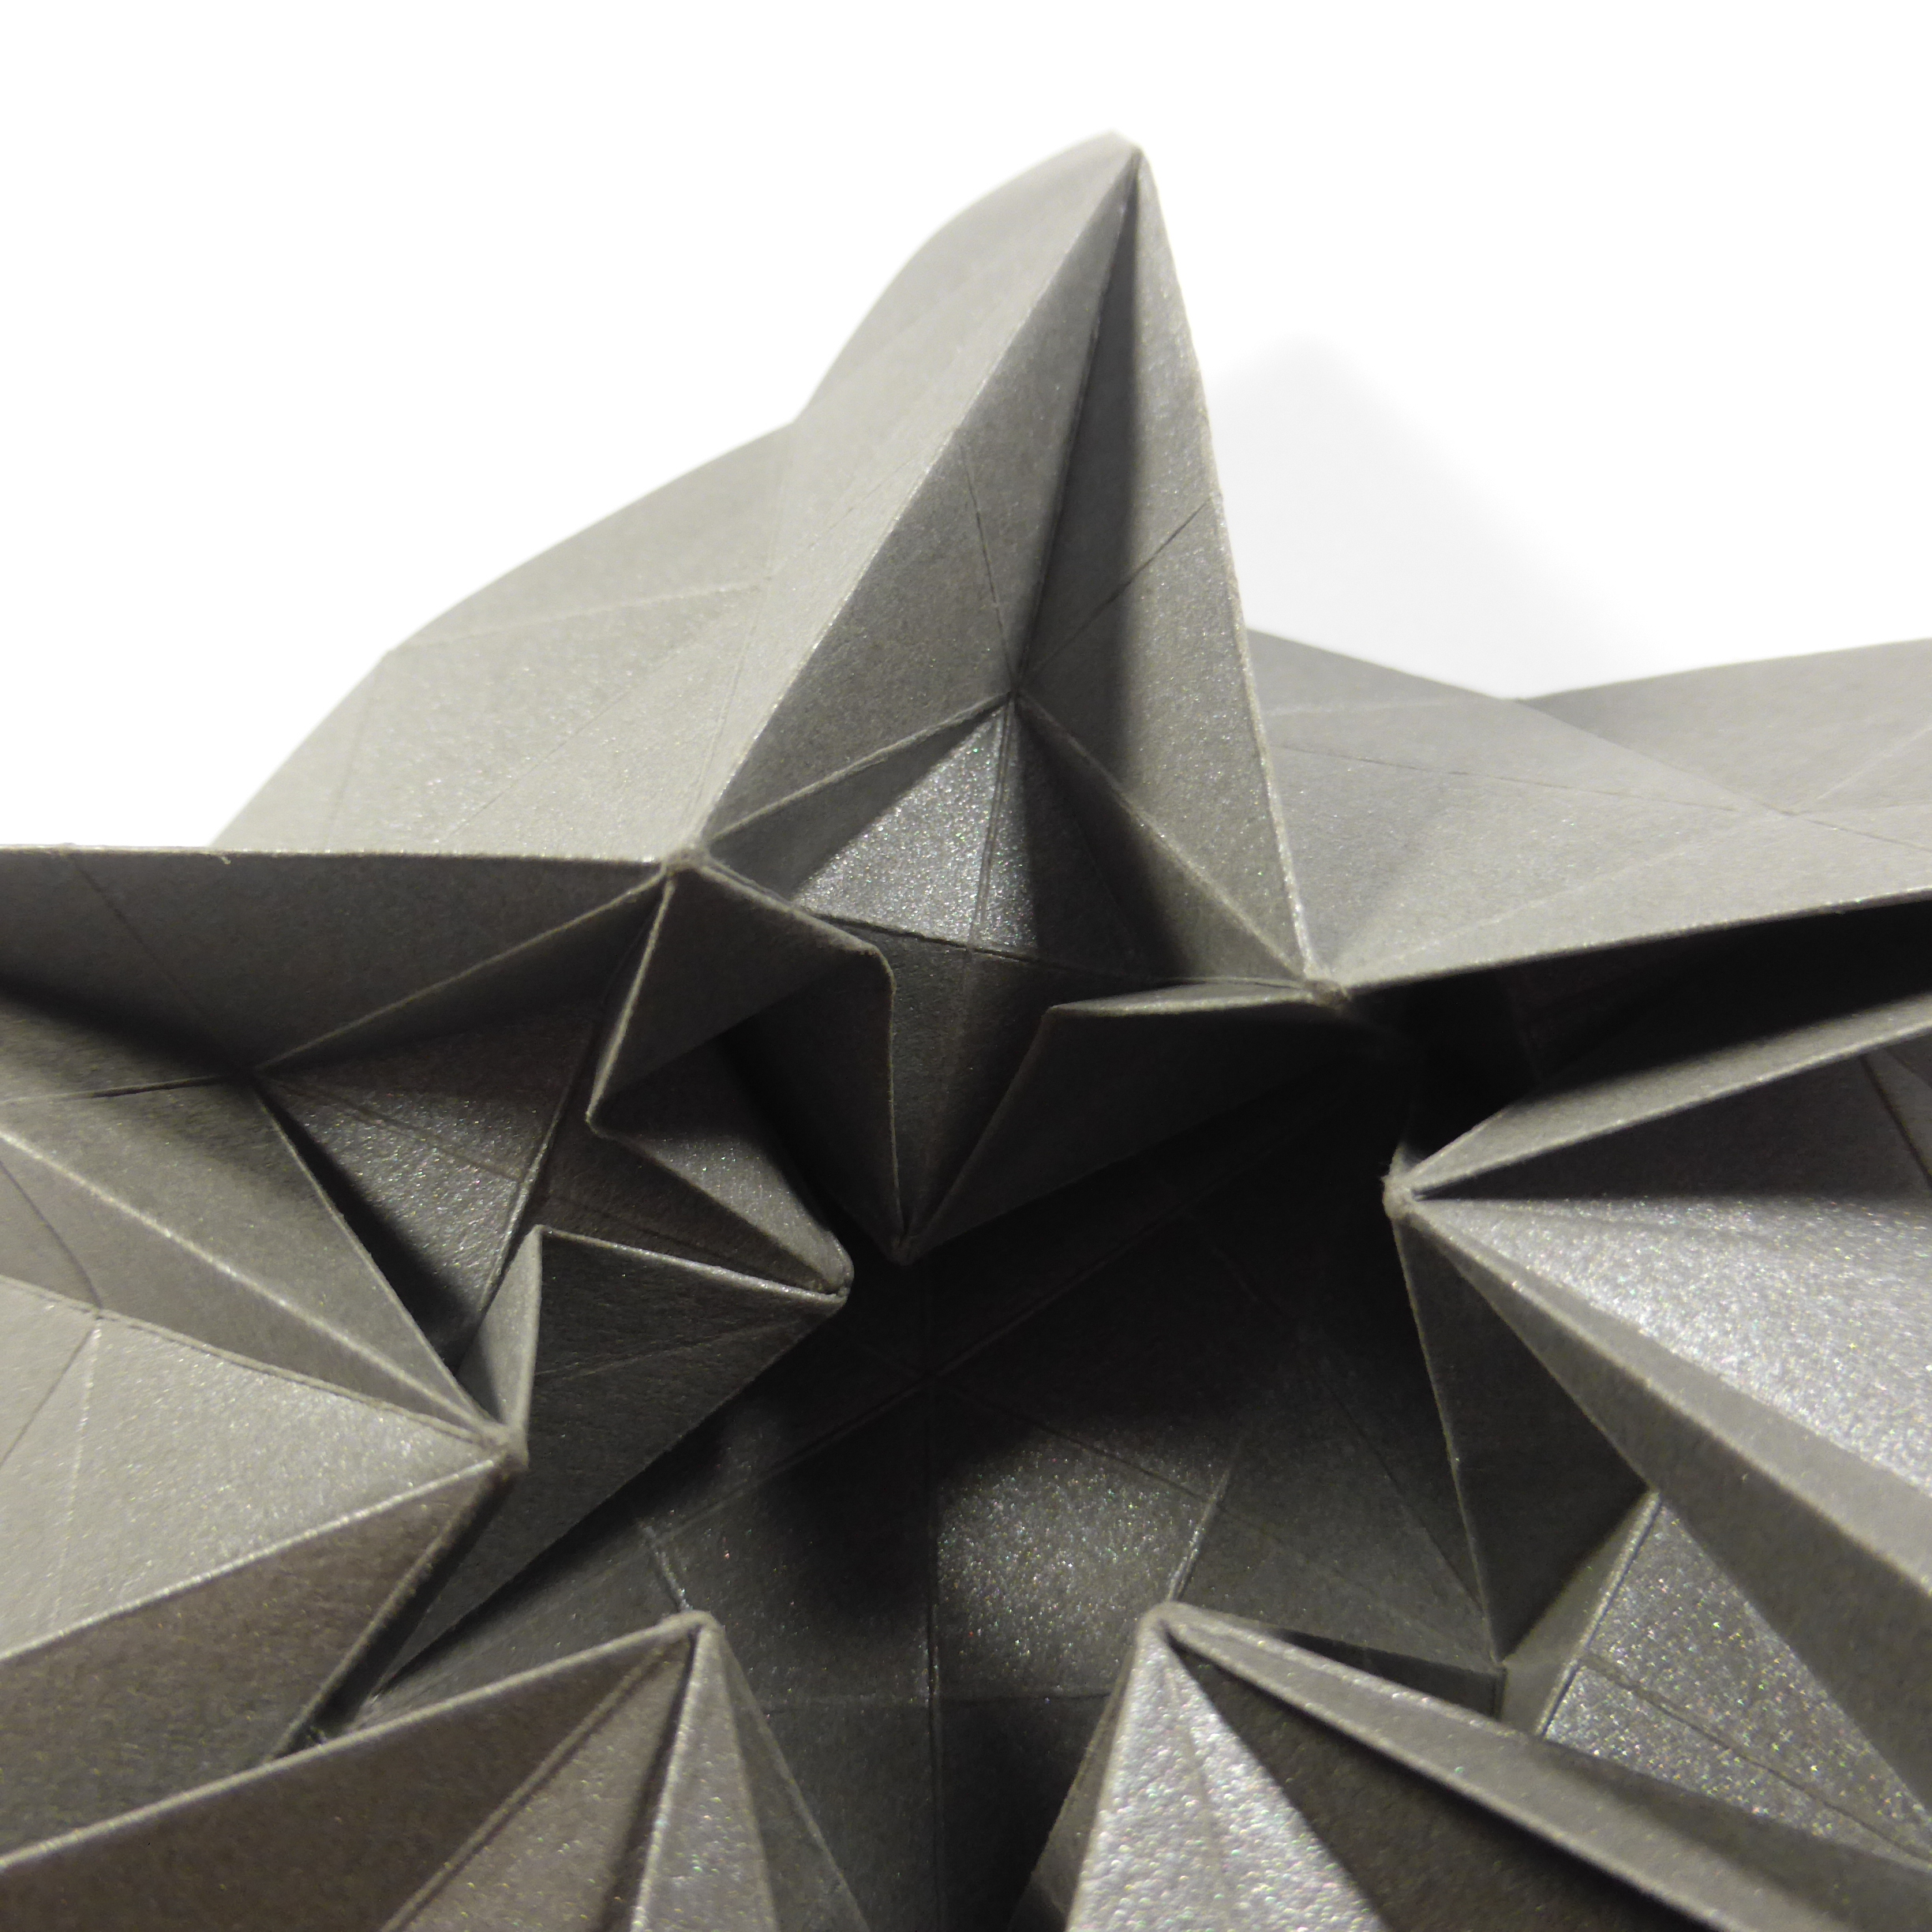
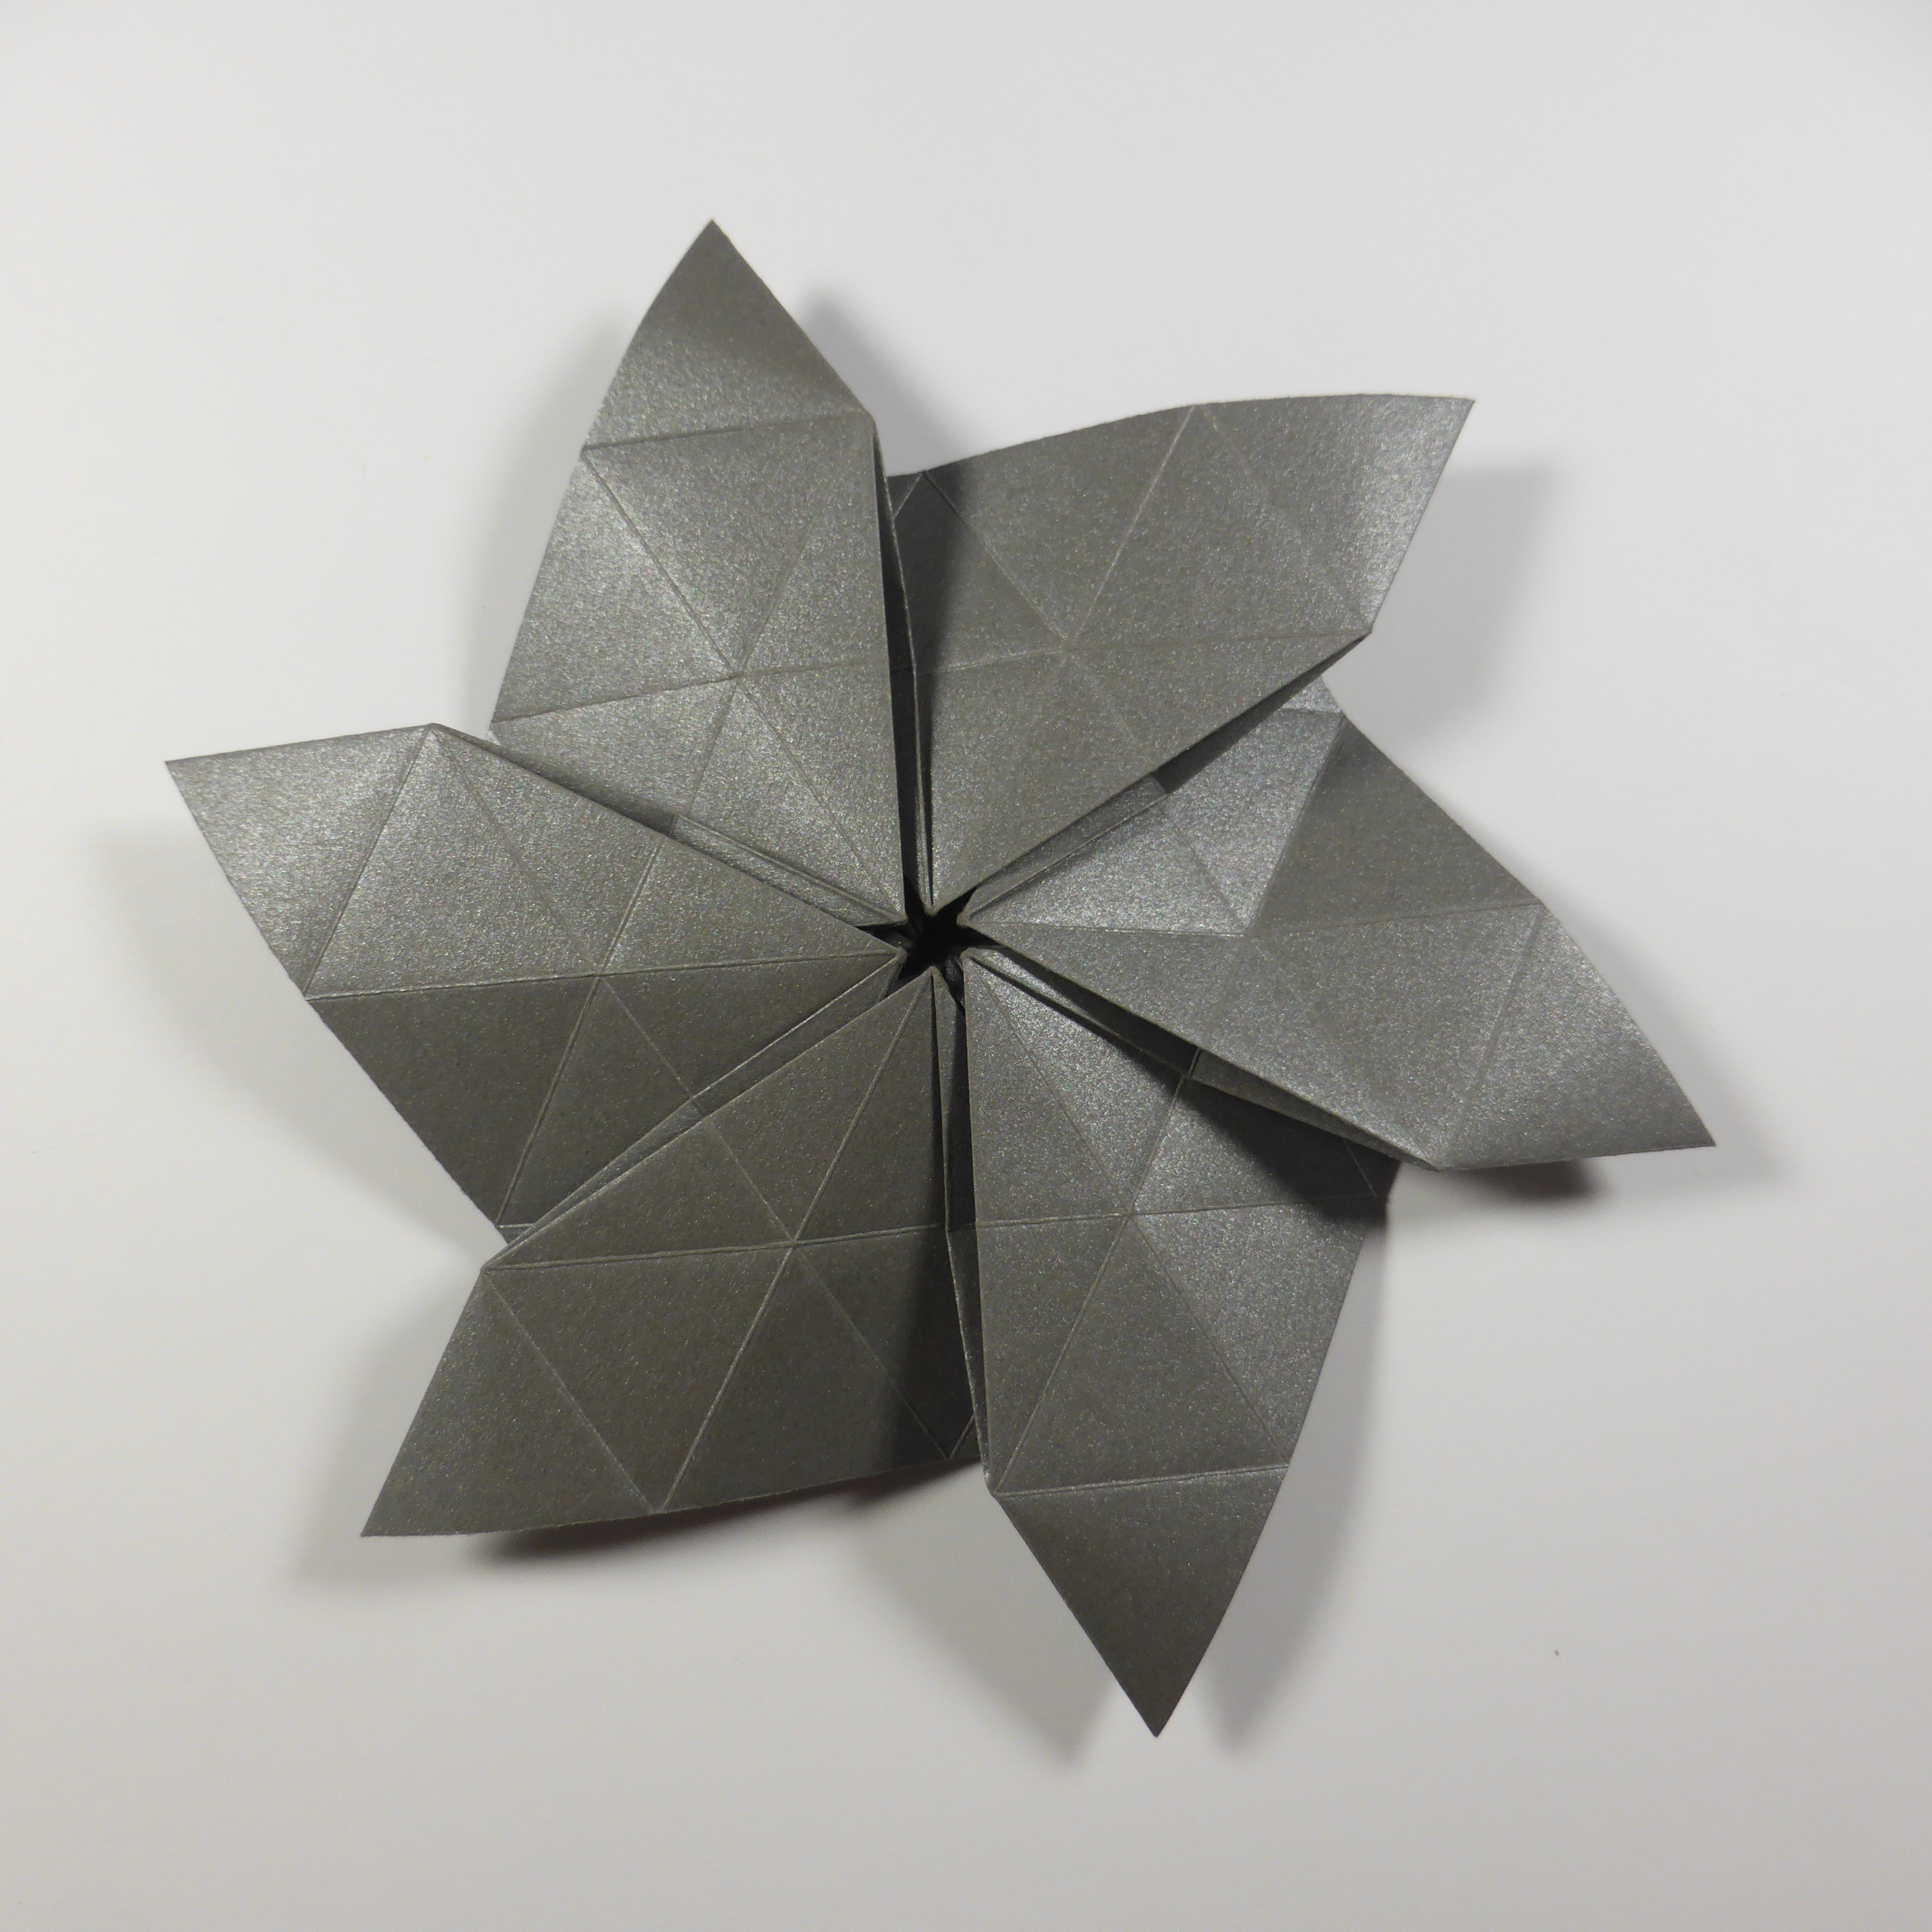
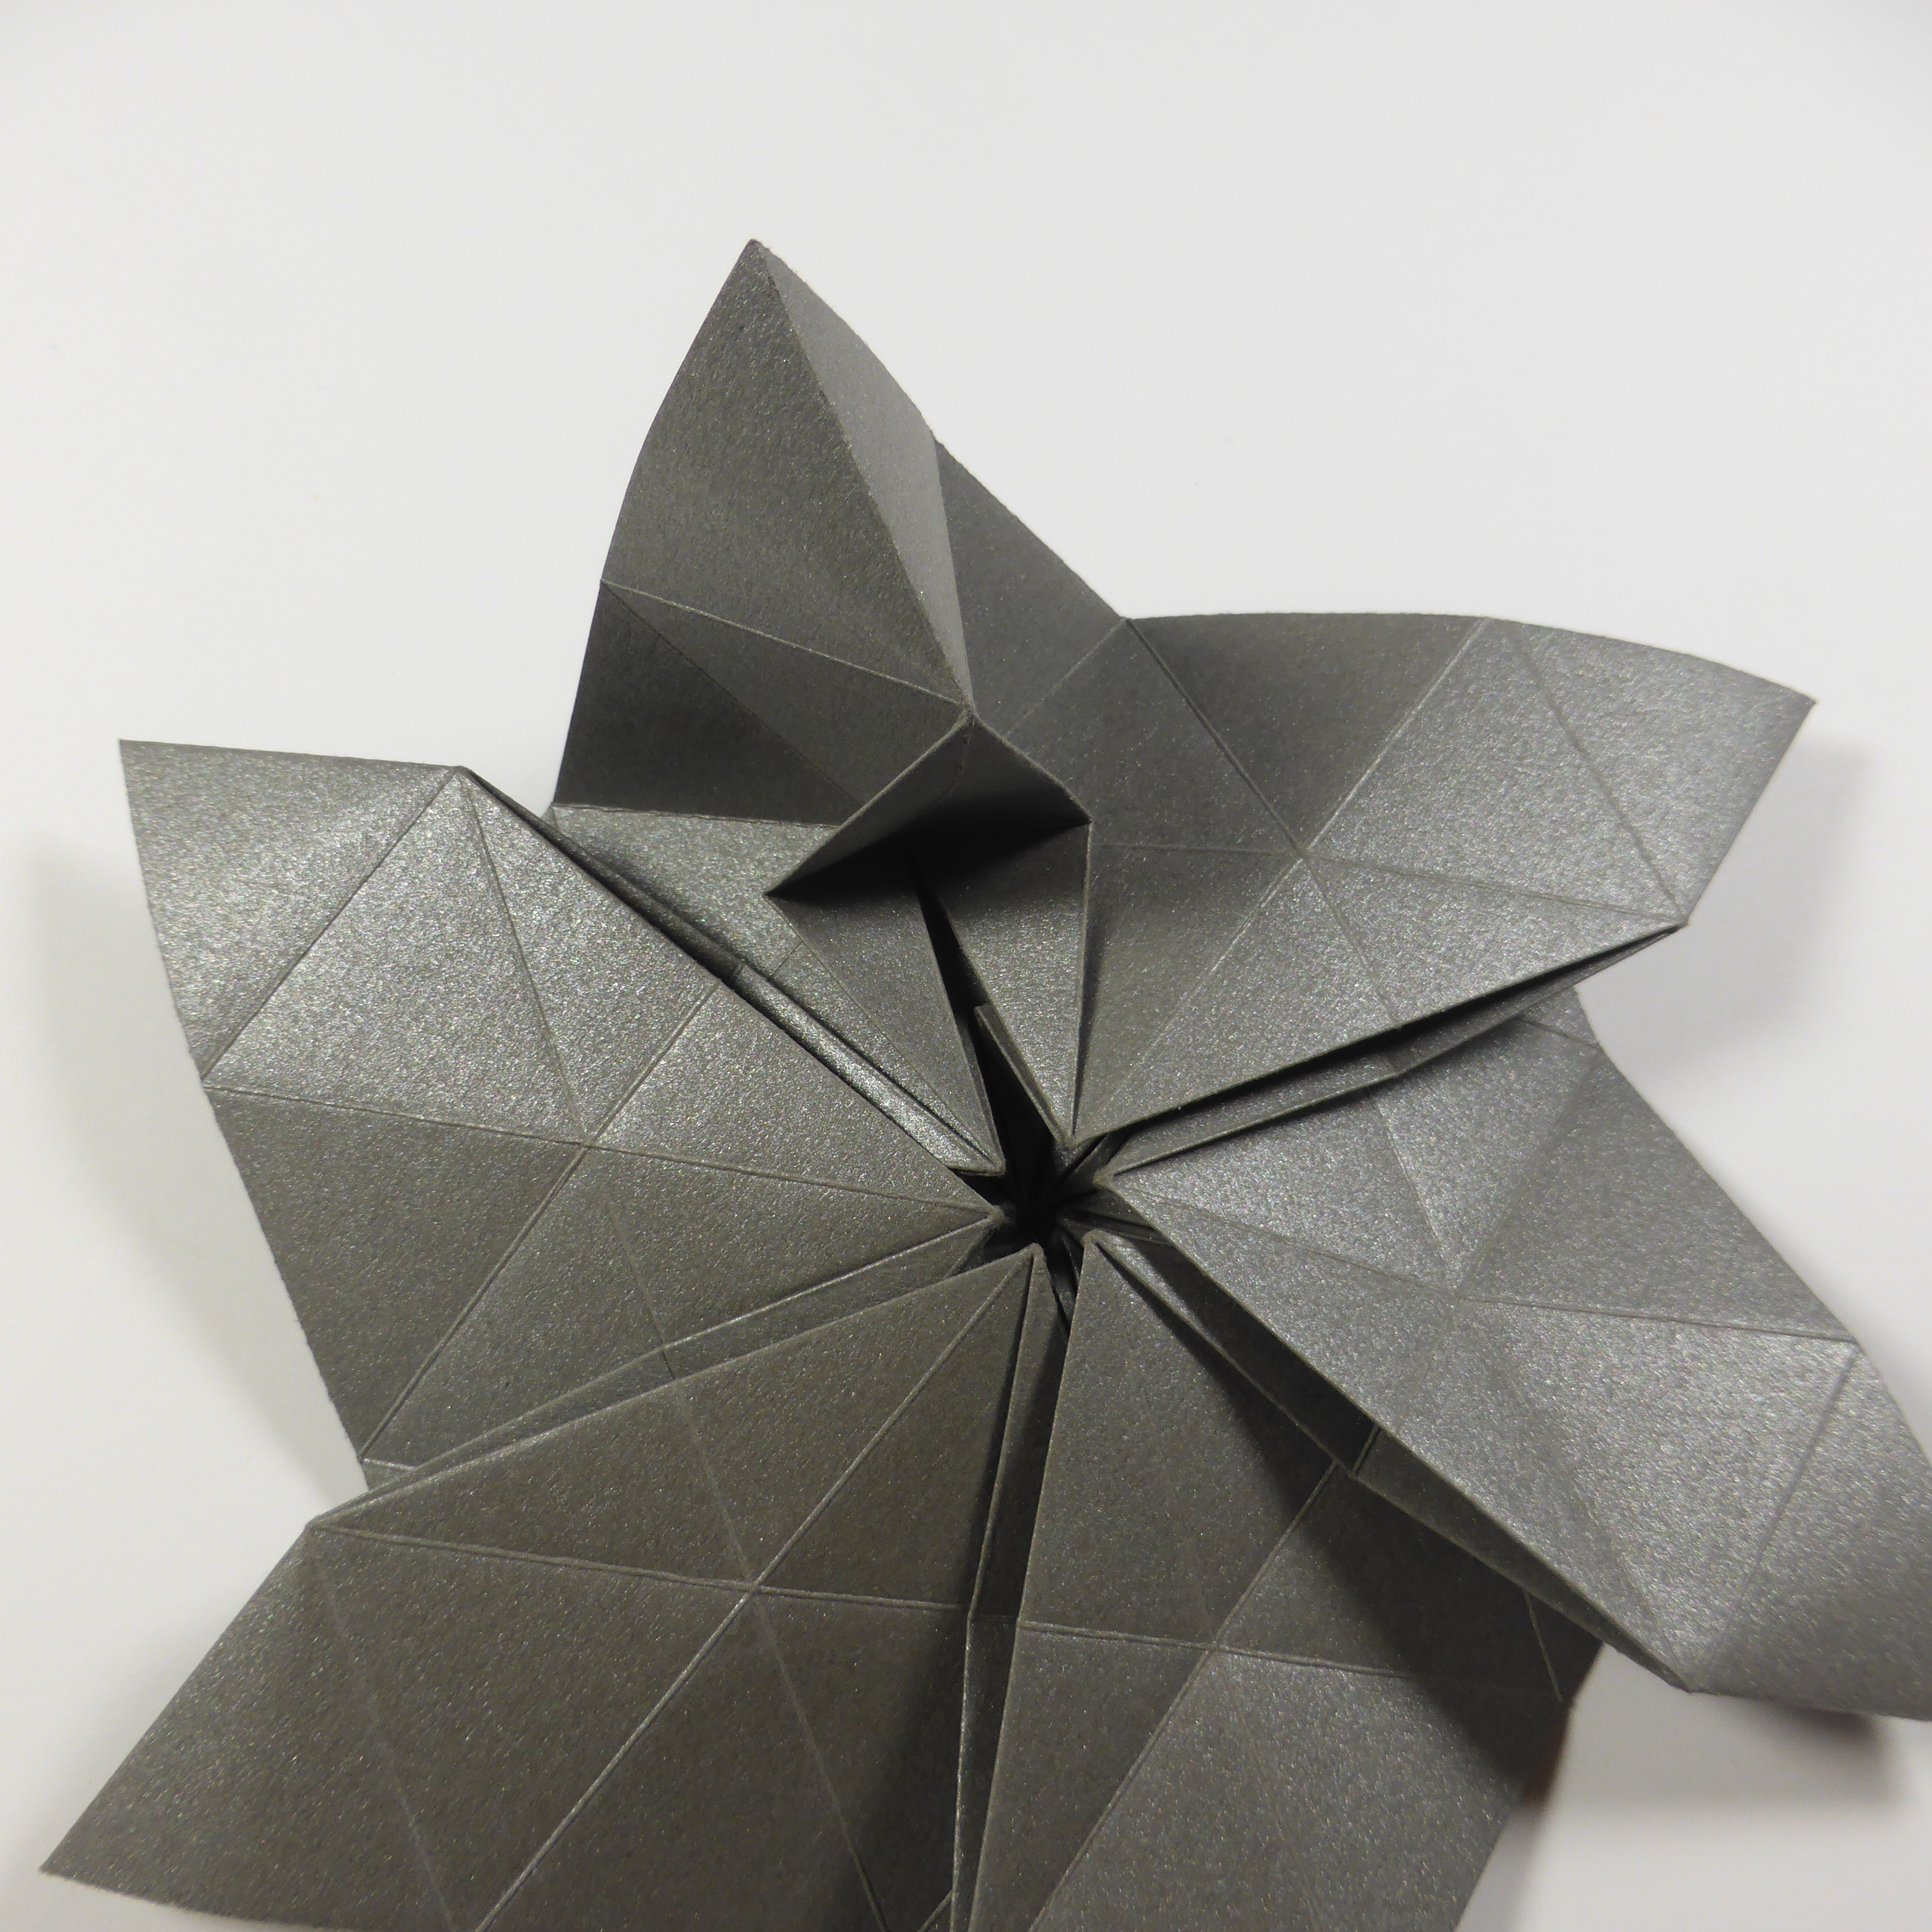
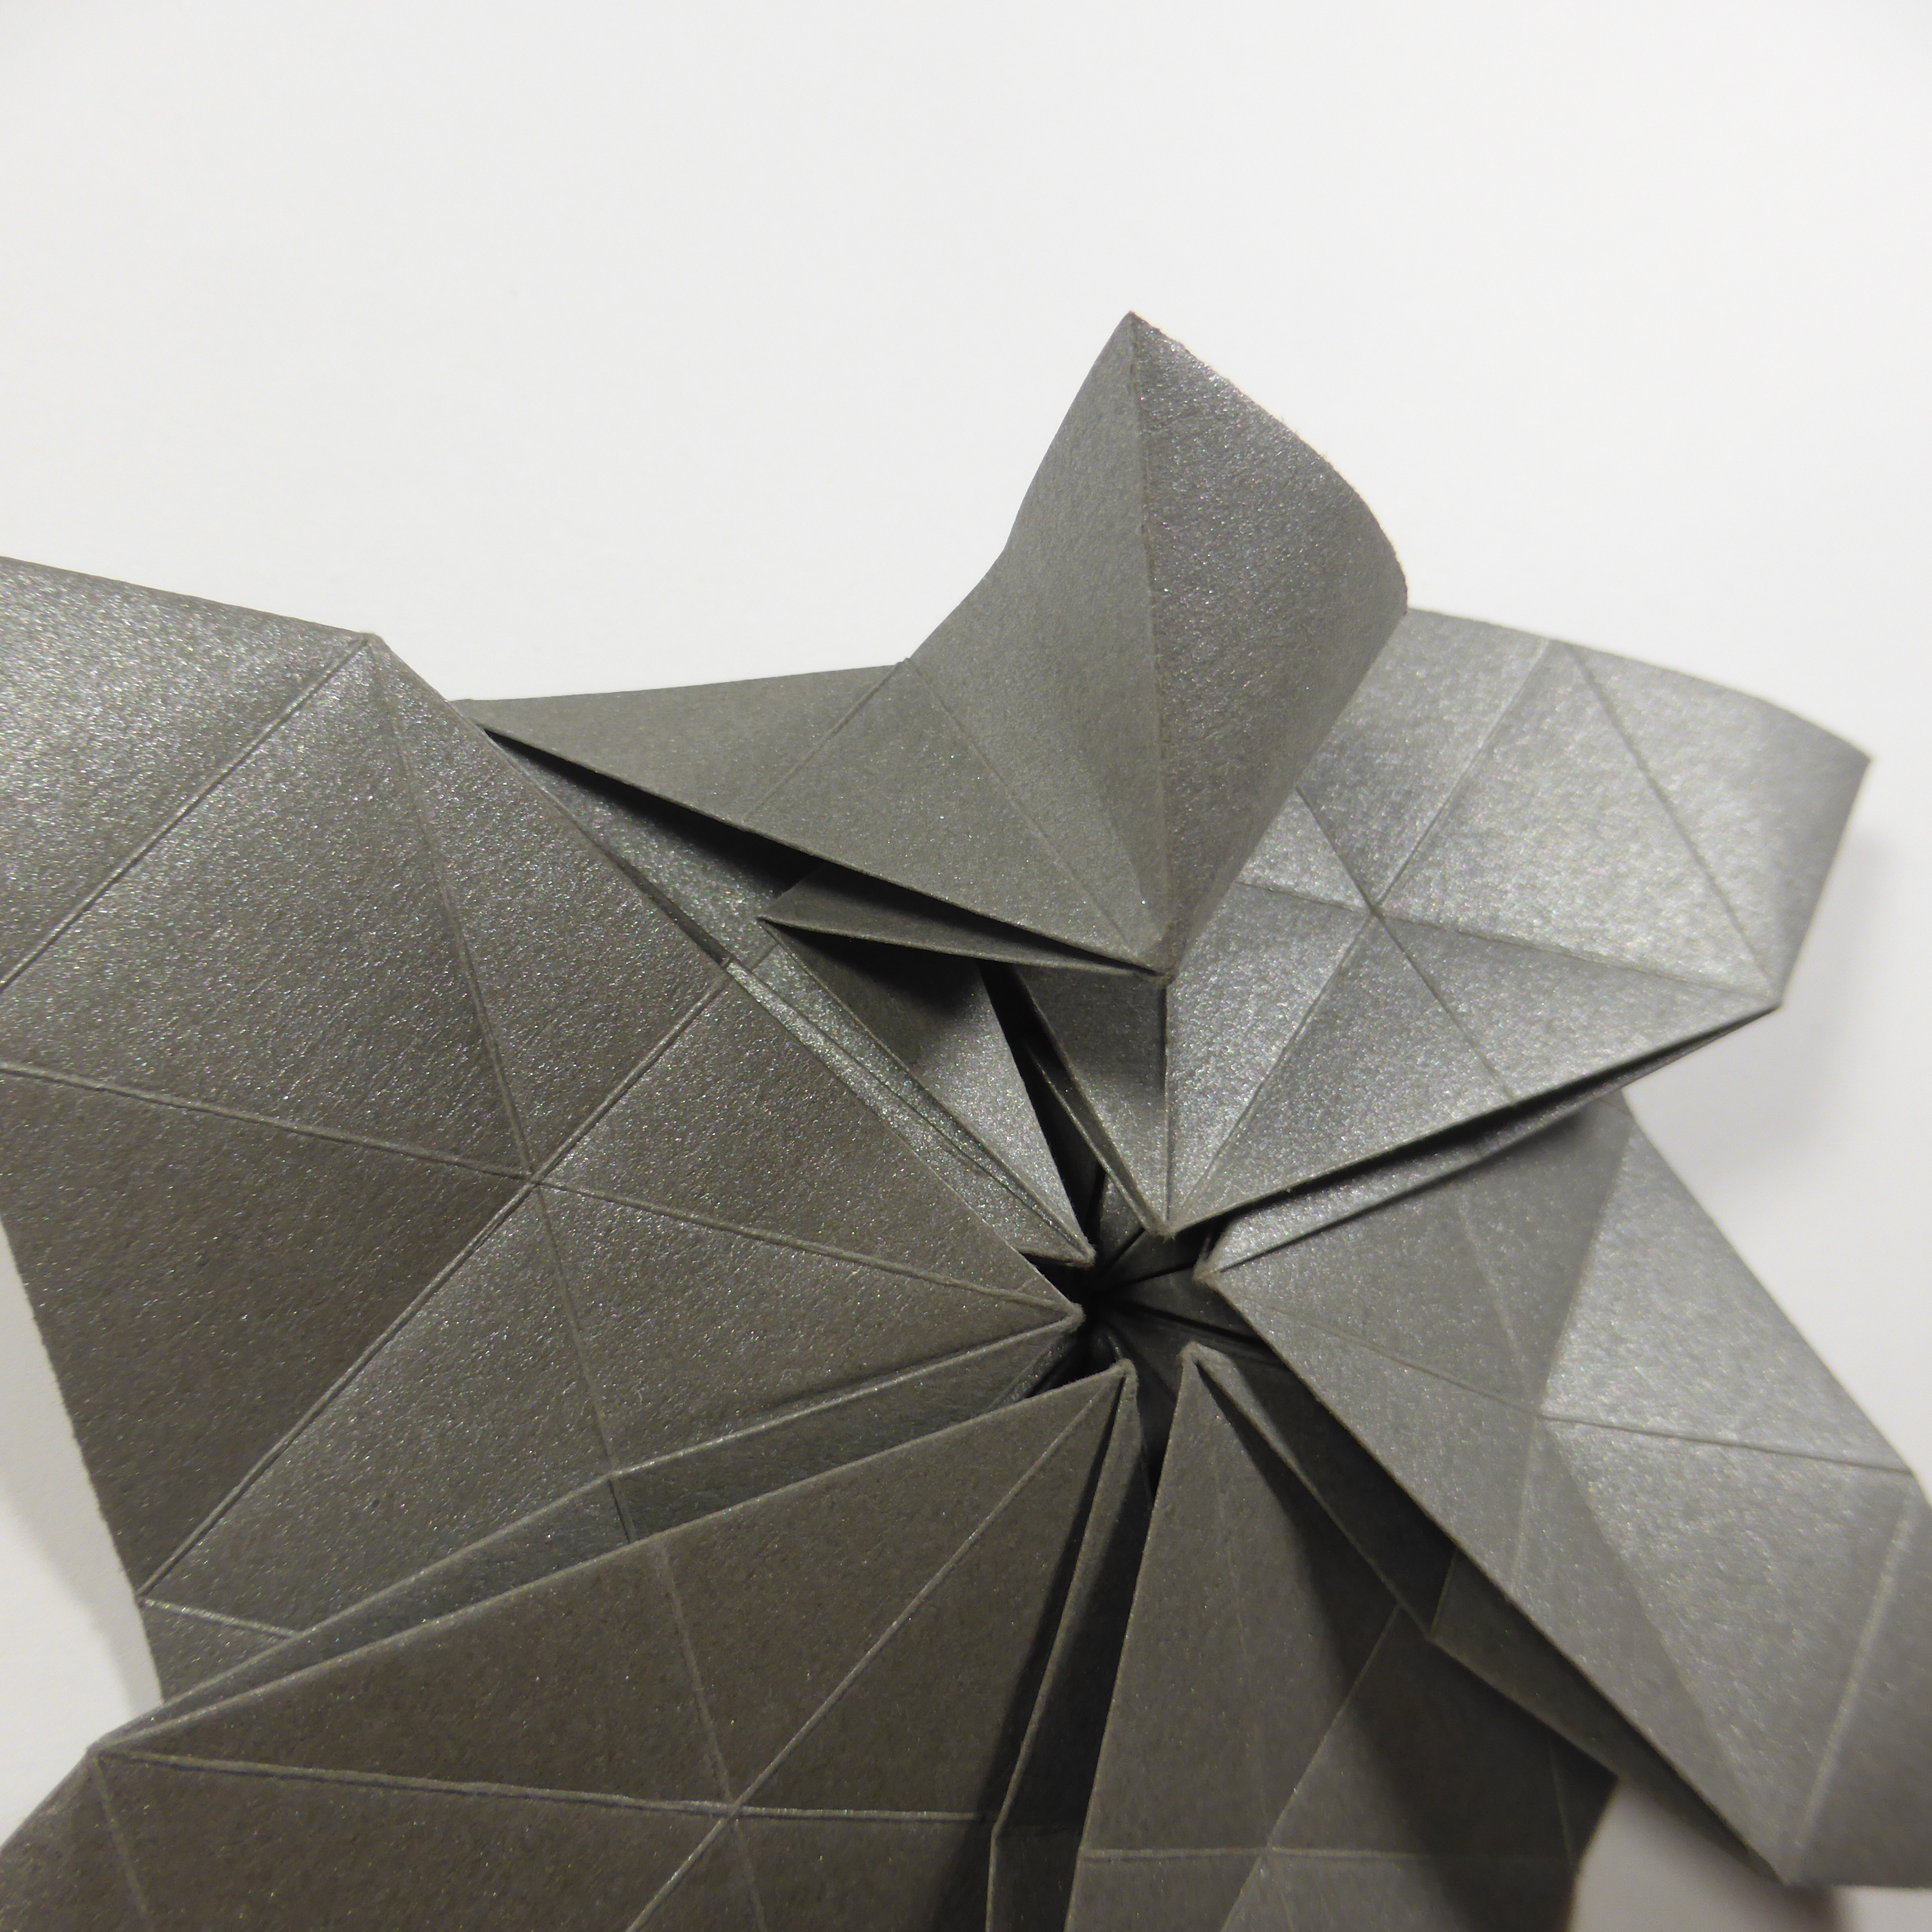
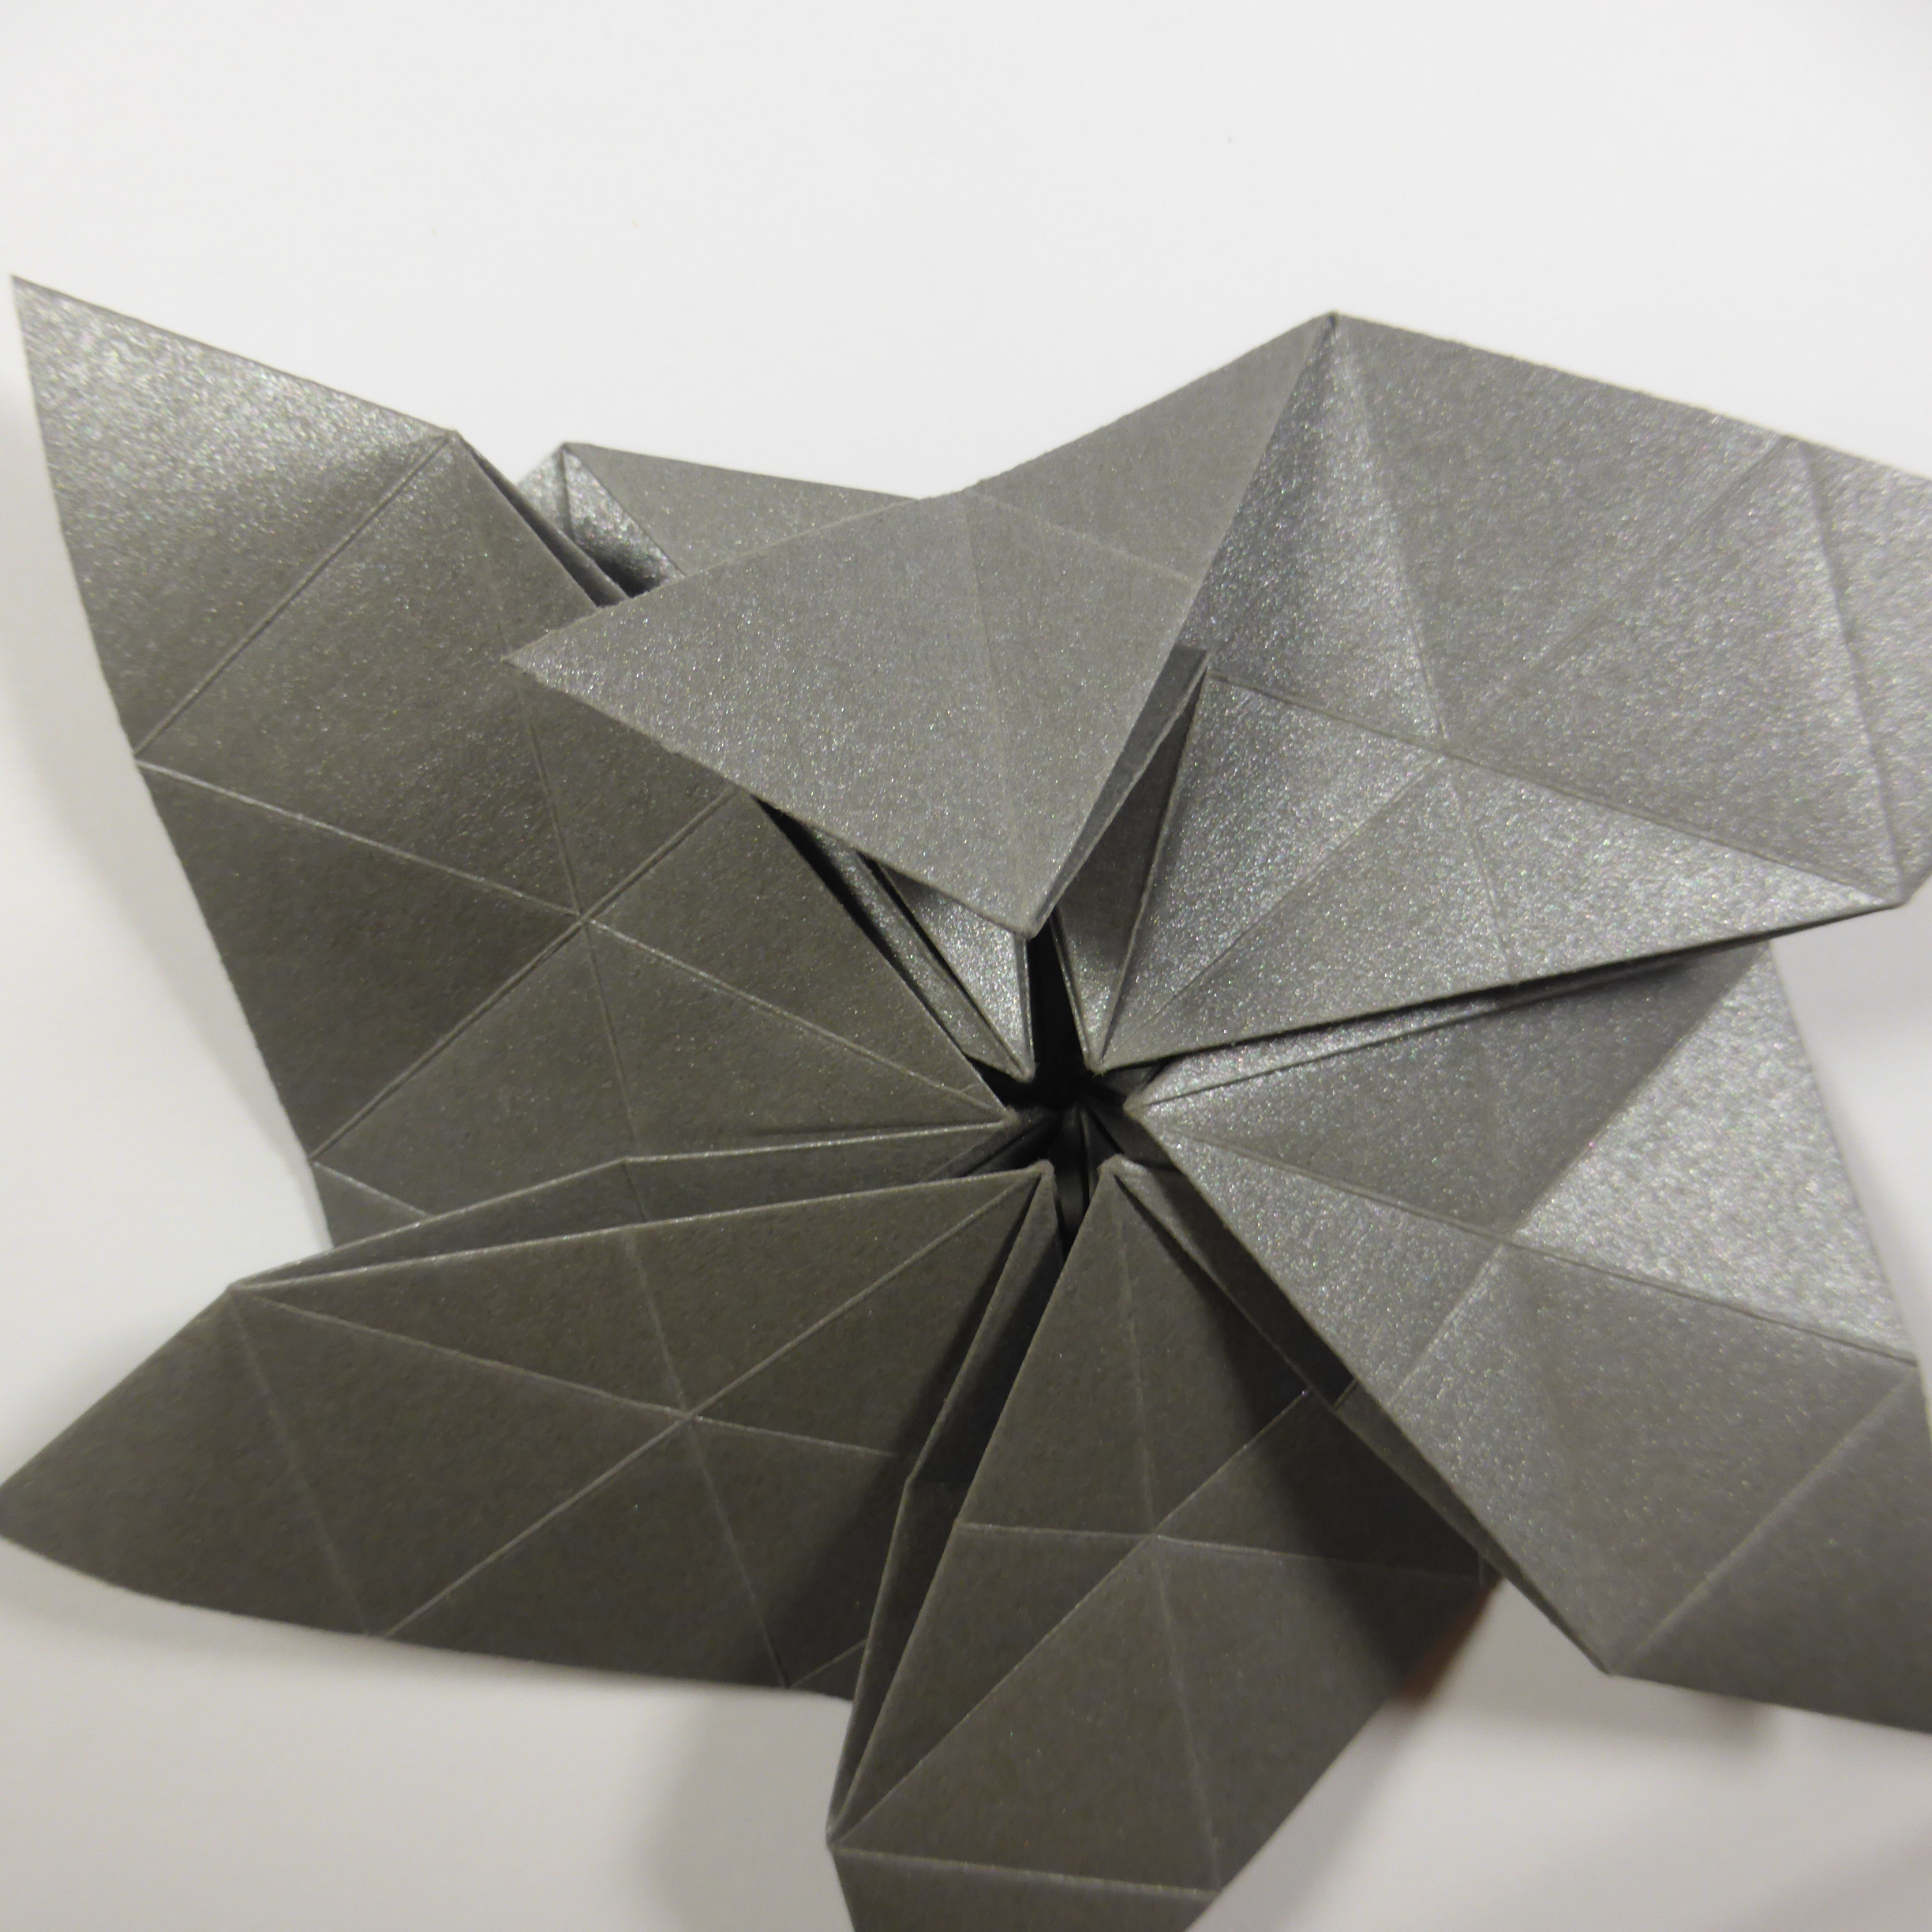
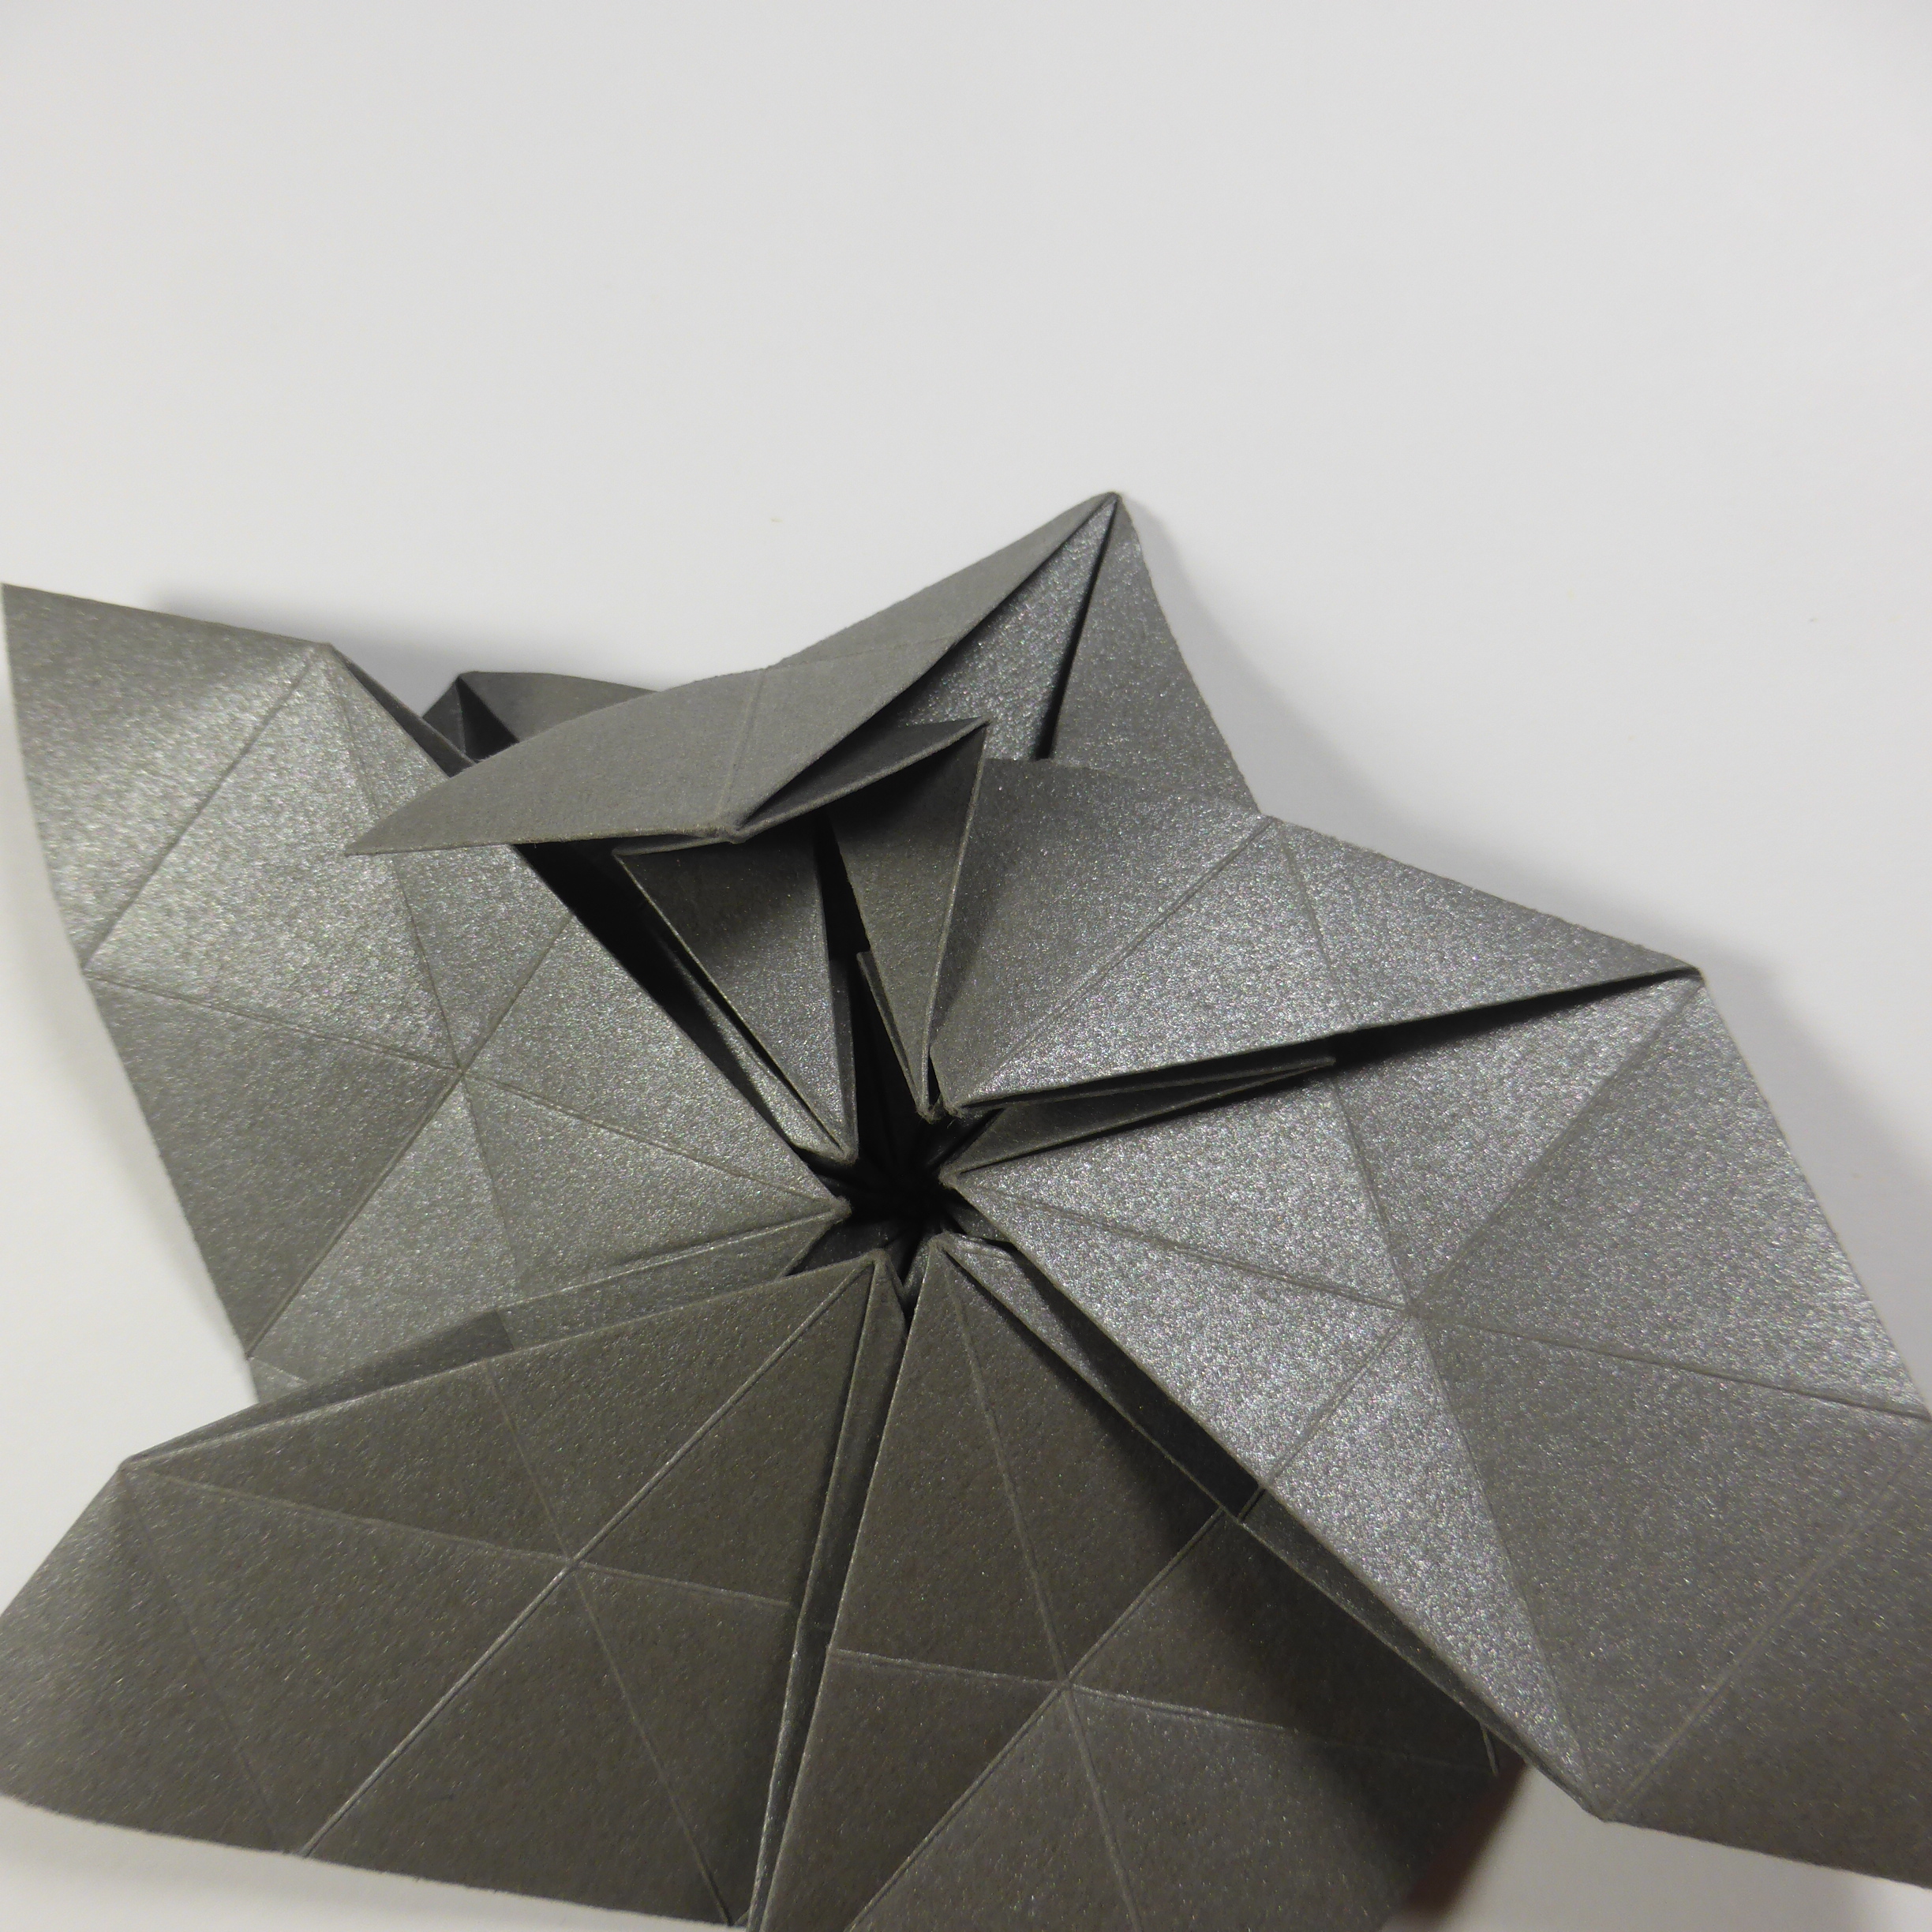
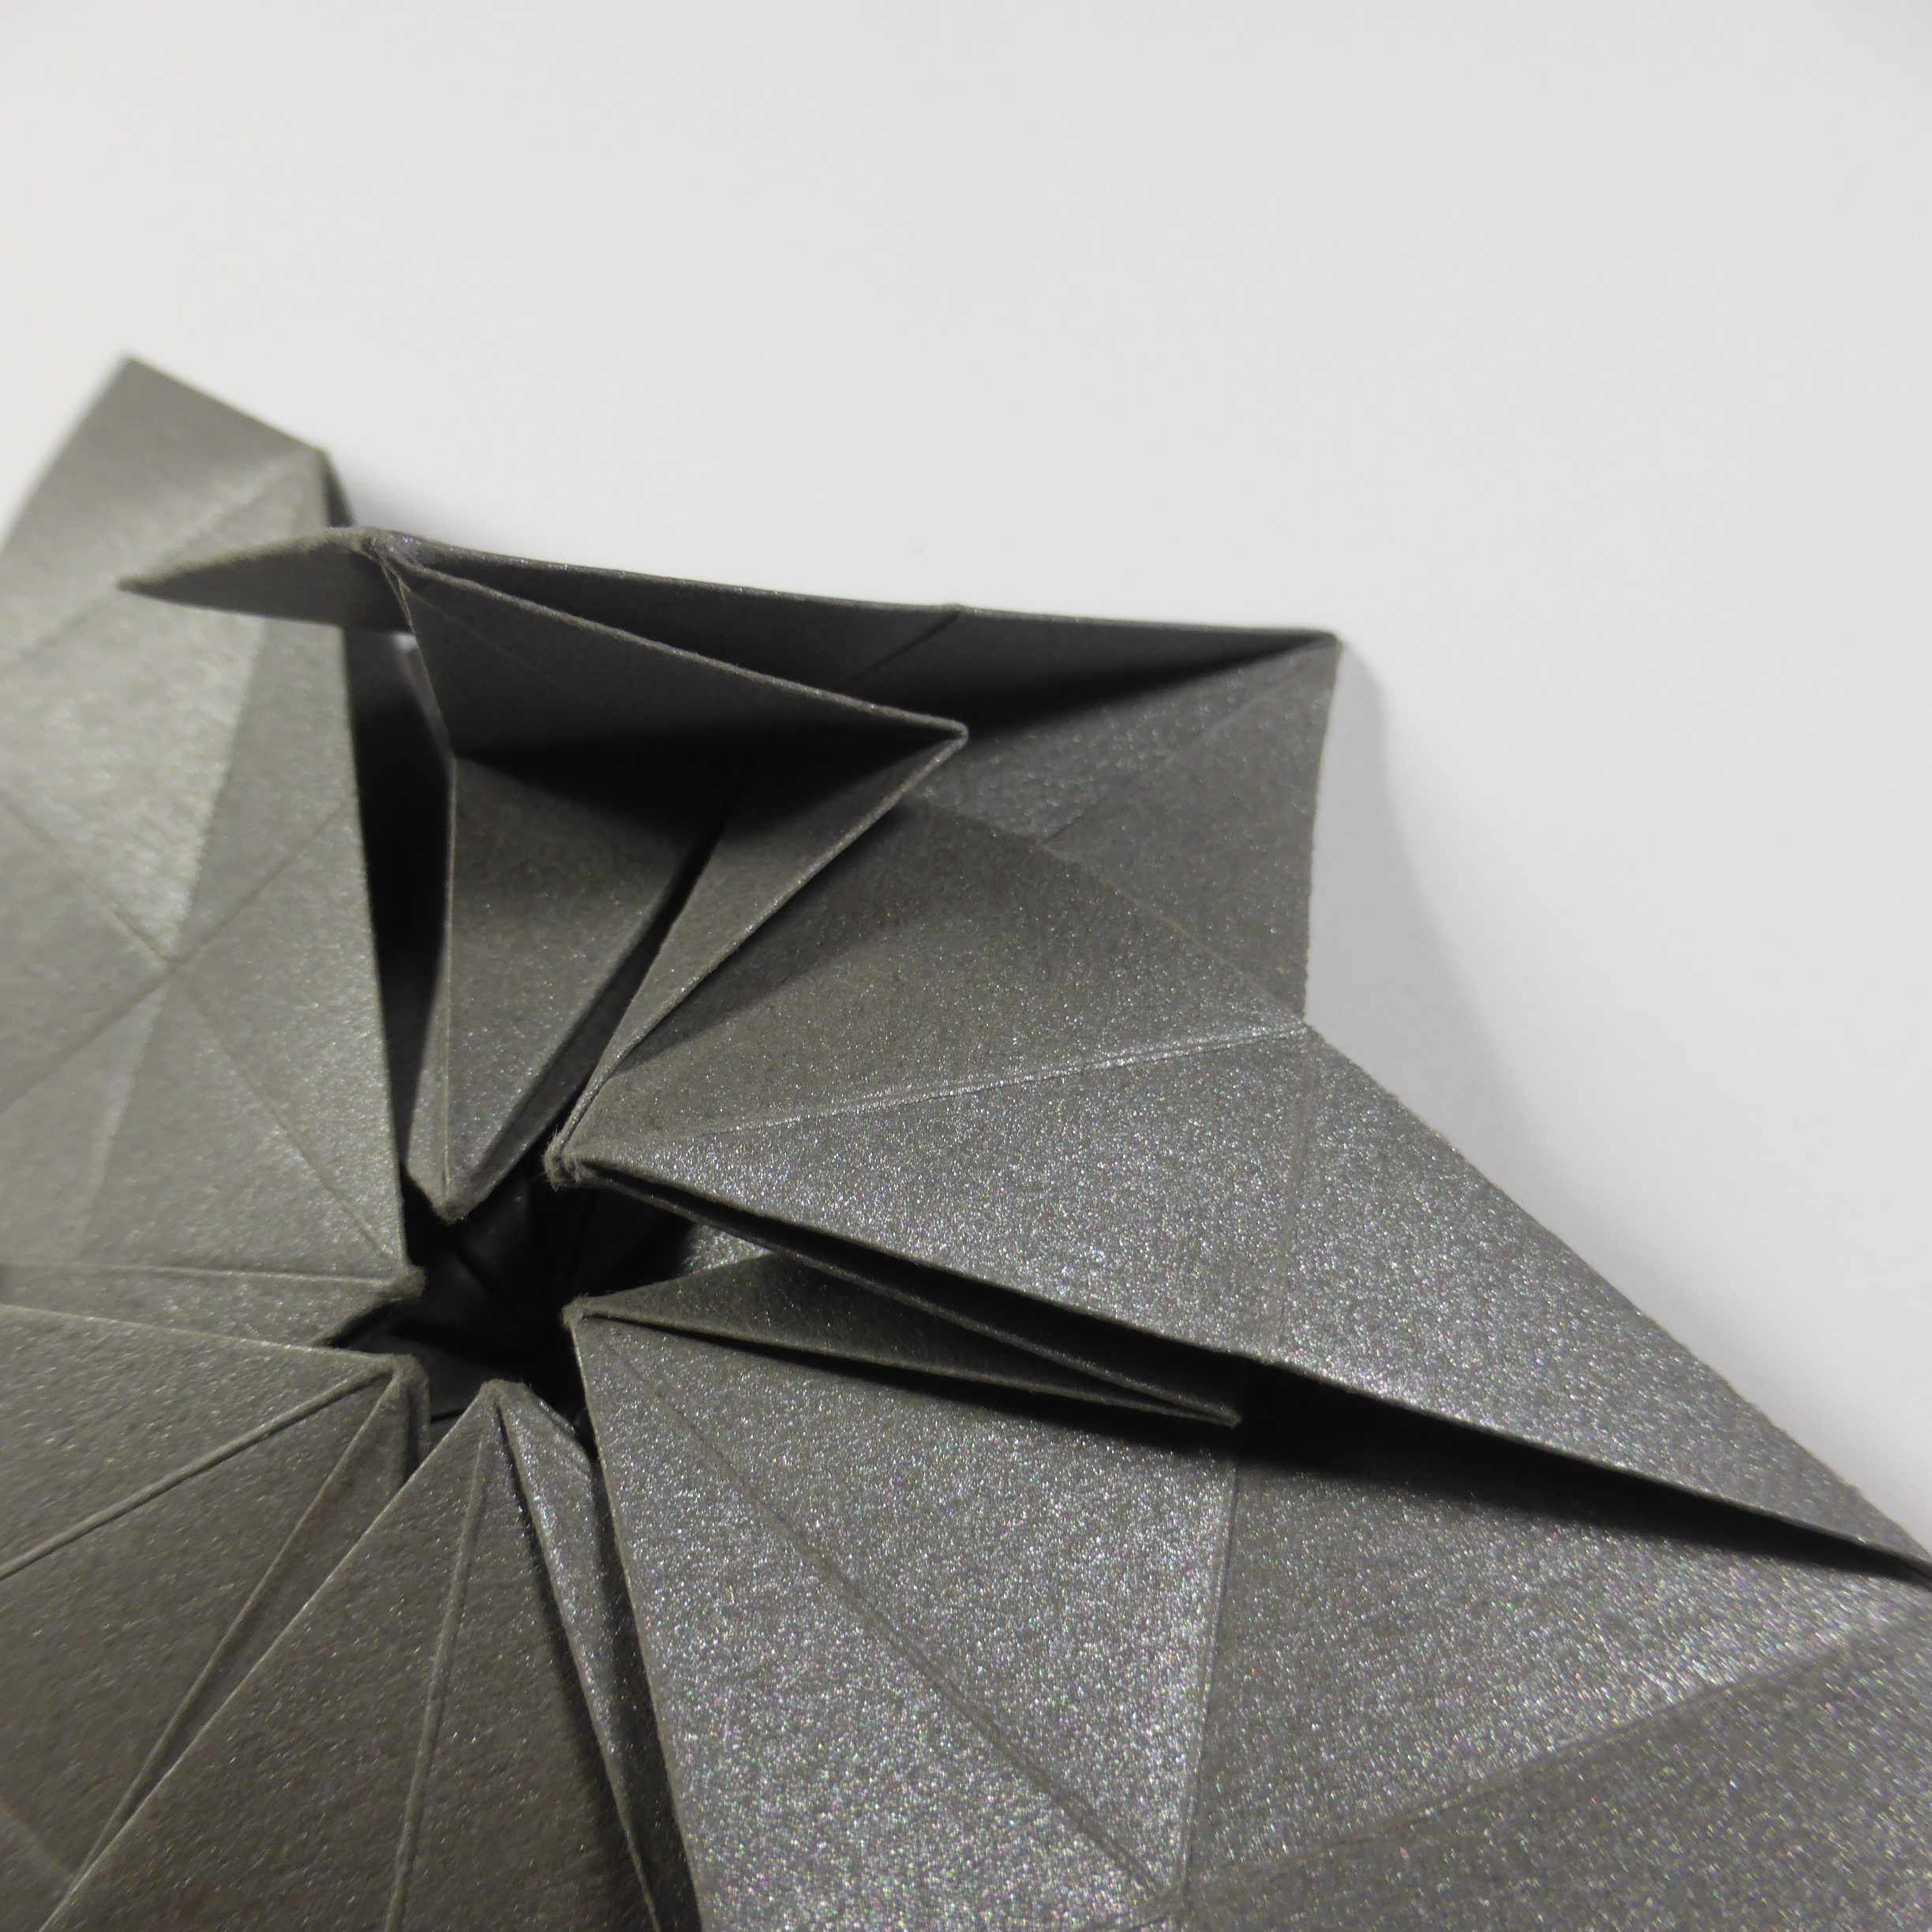
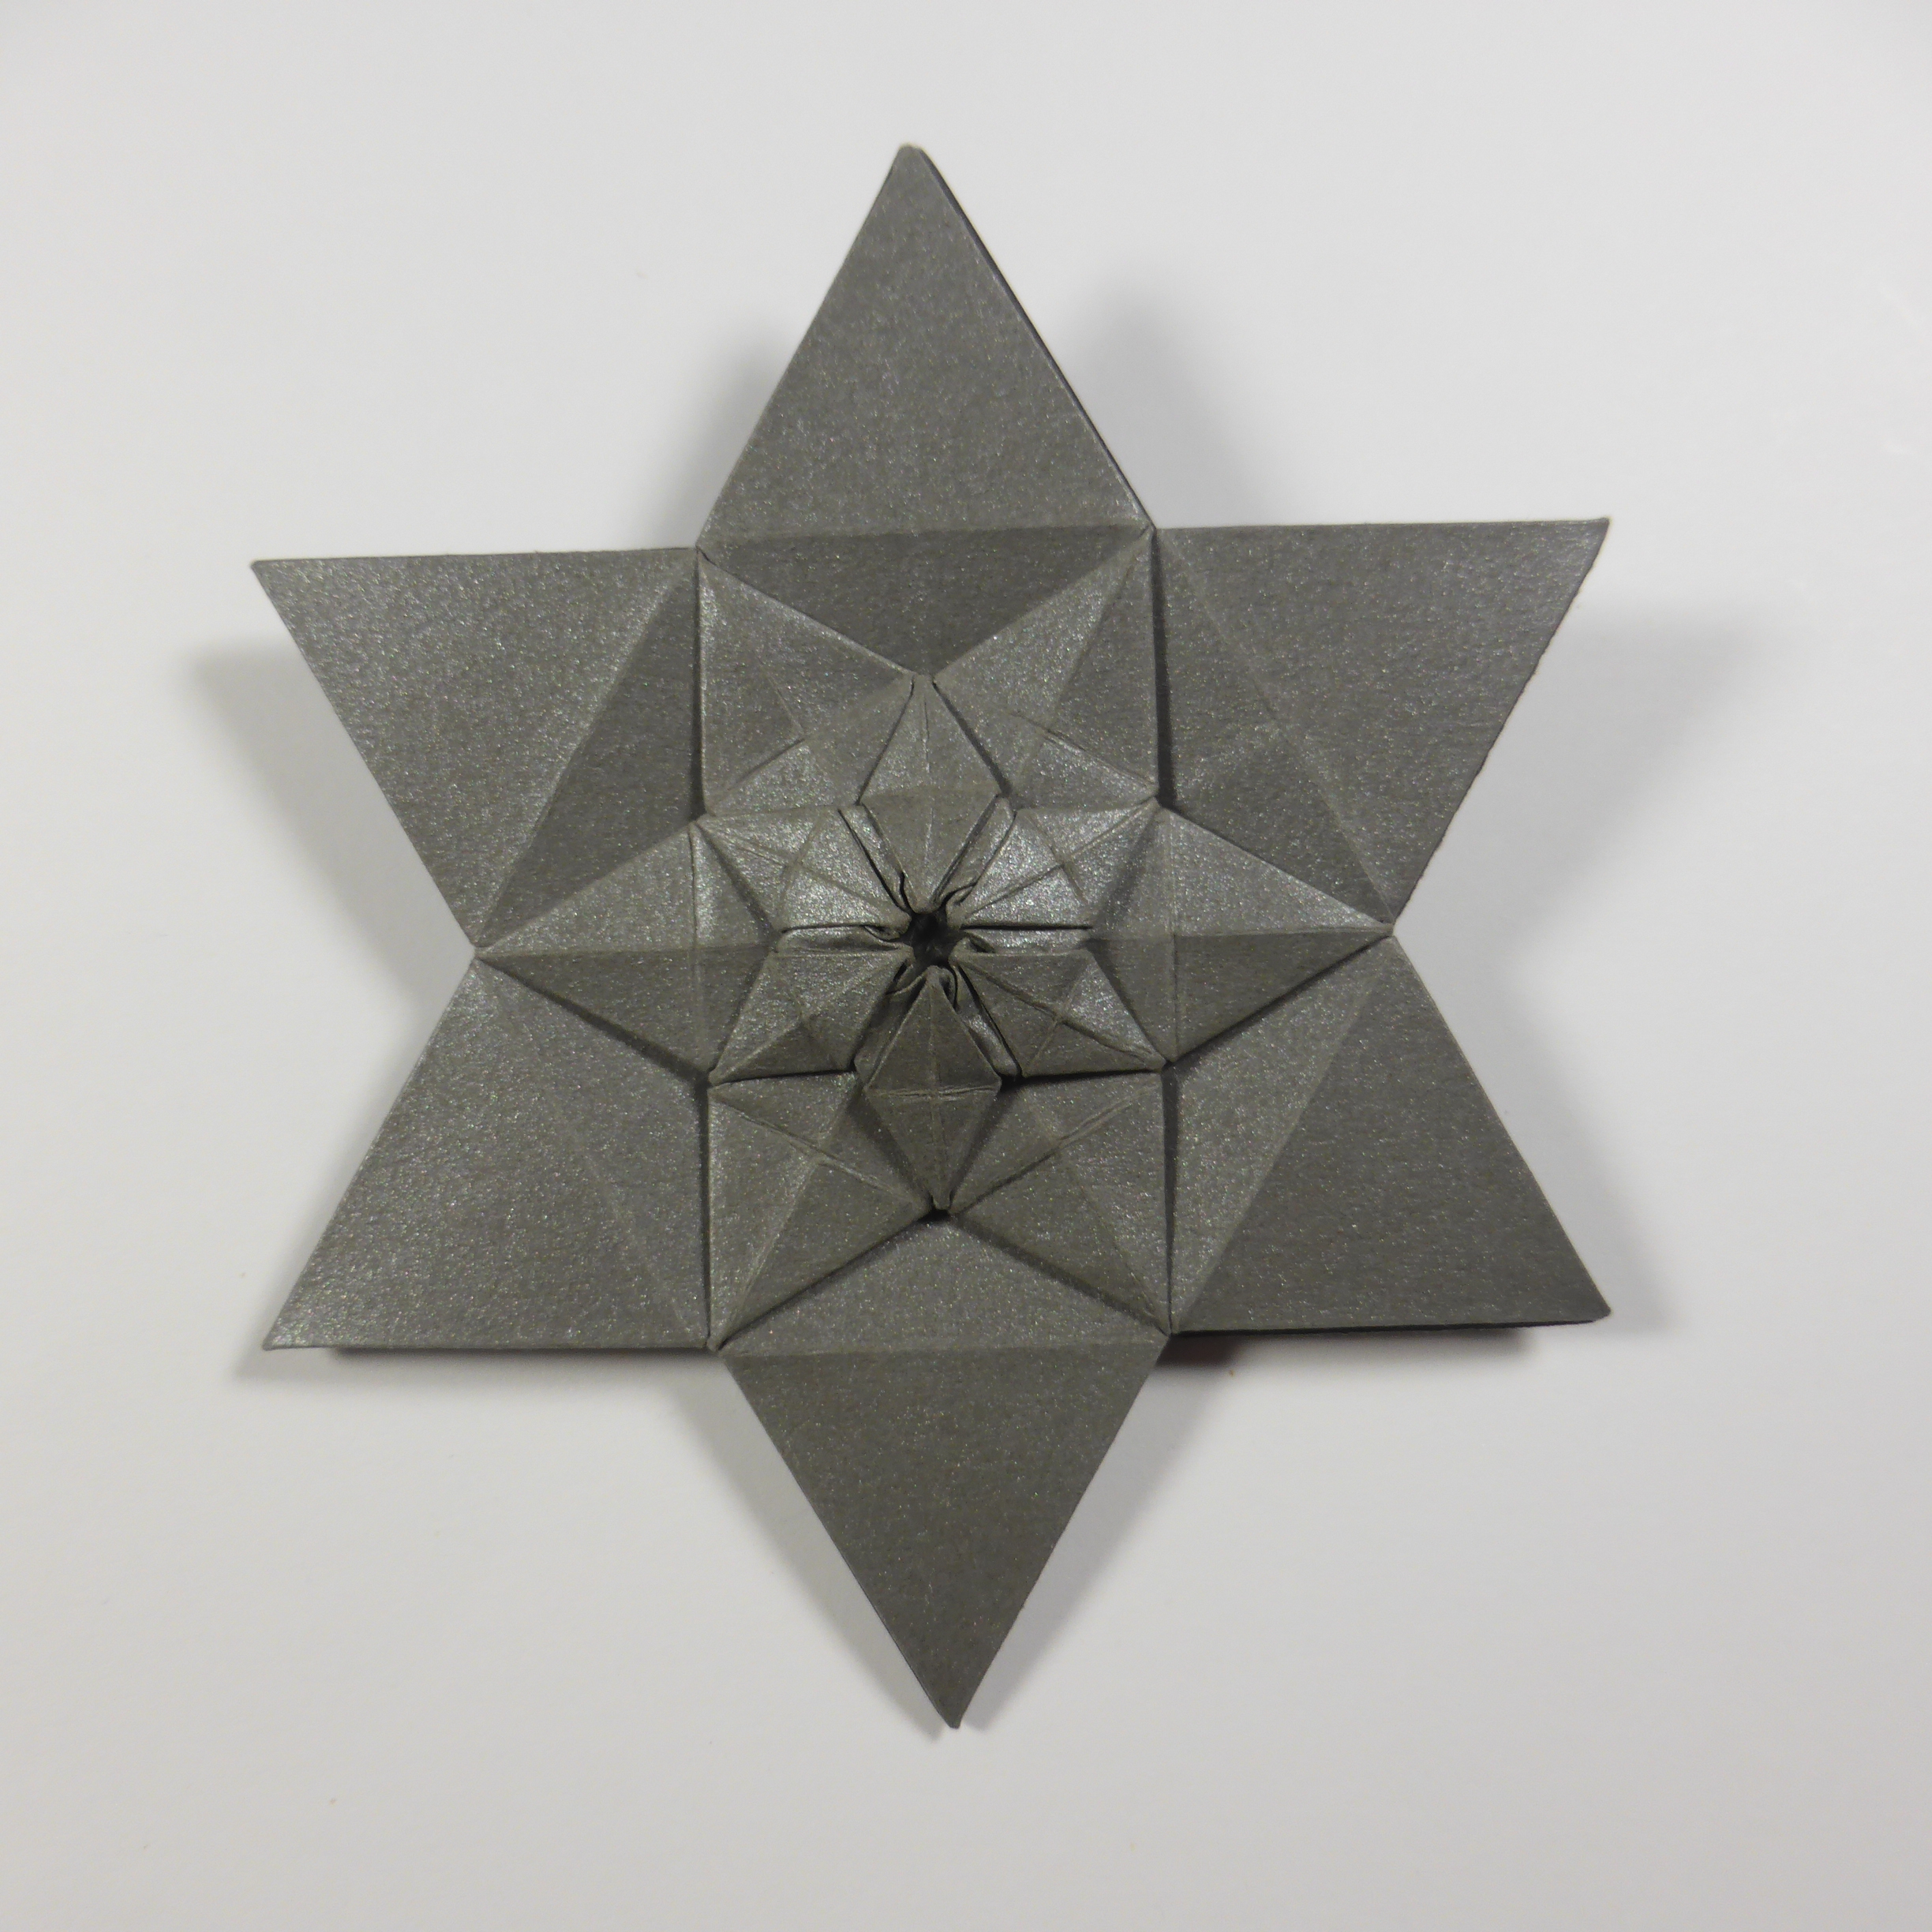
The back side of the model can be left closed, or it can be opened up and shaped into a flower-like structure.

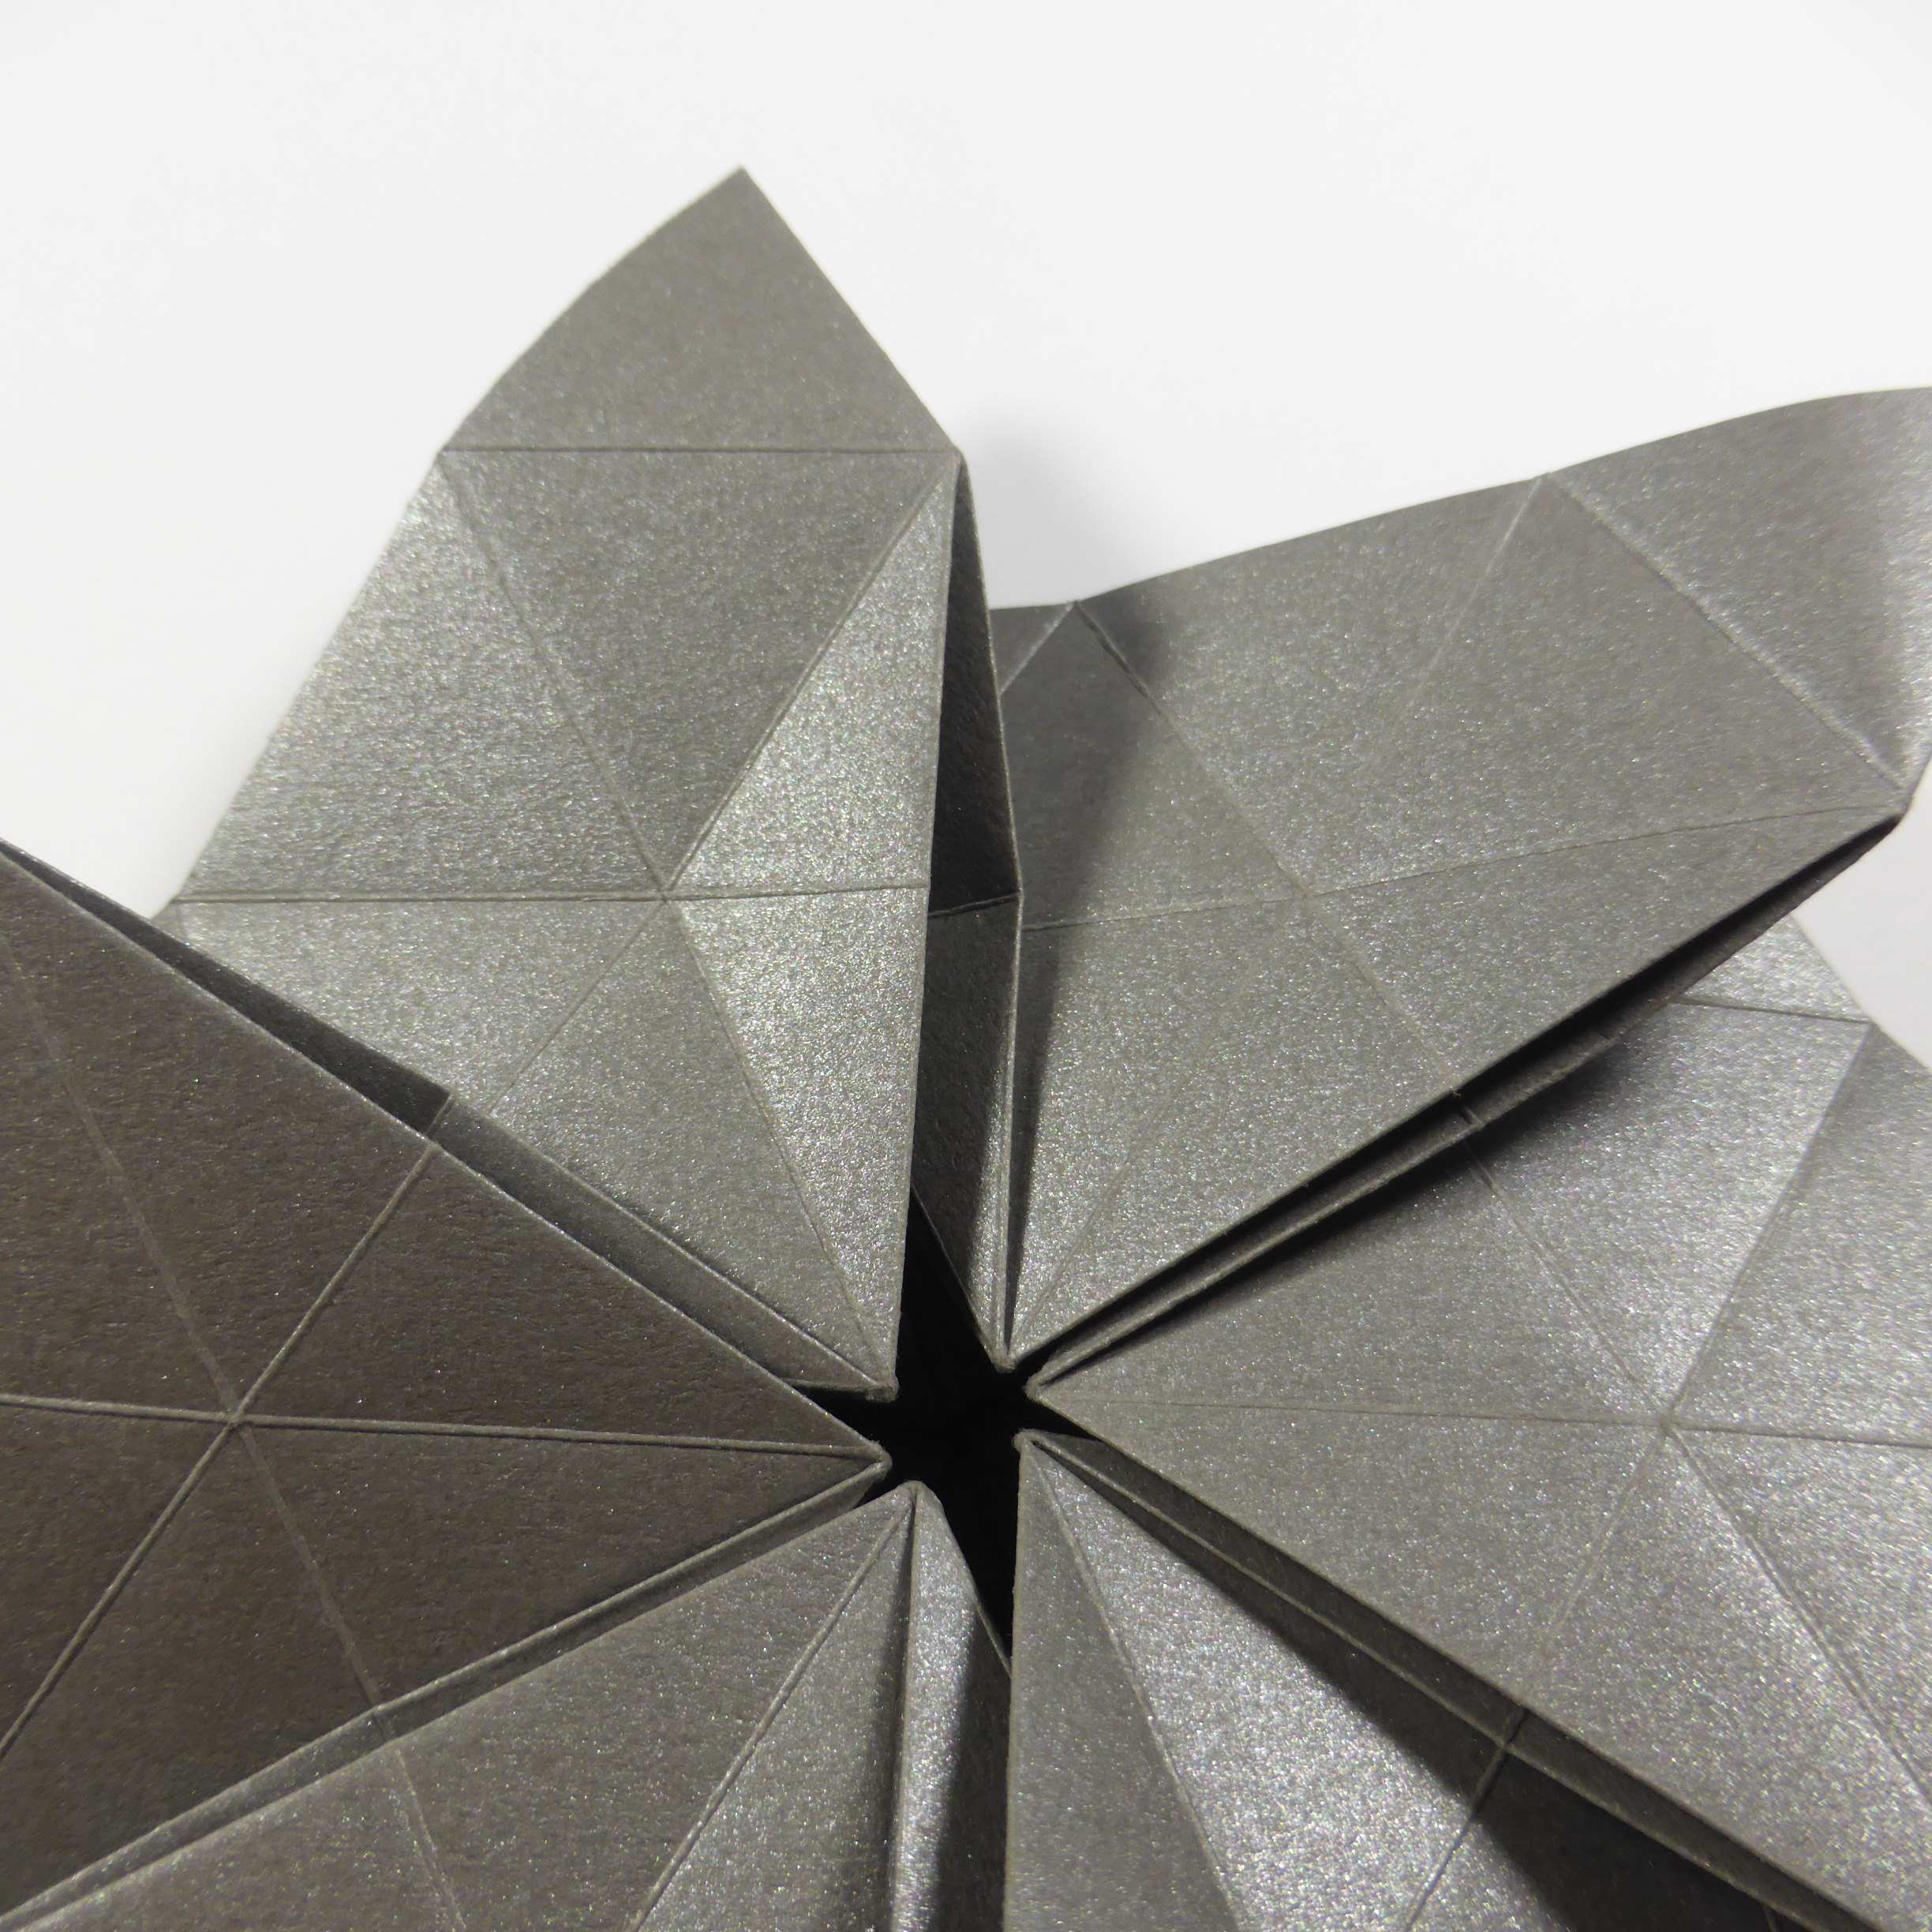
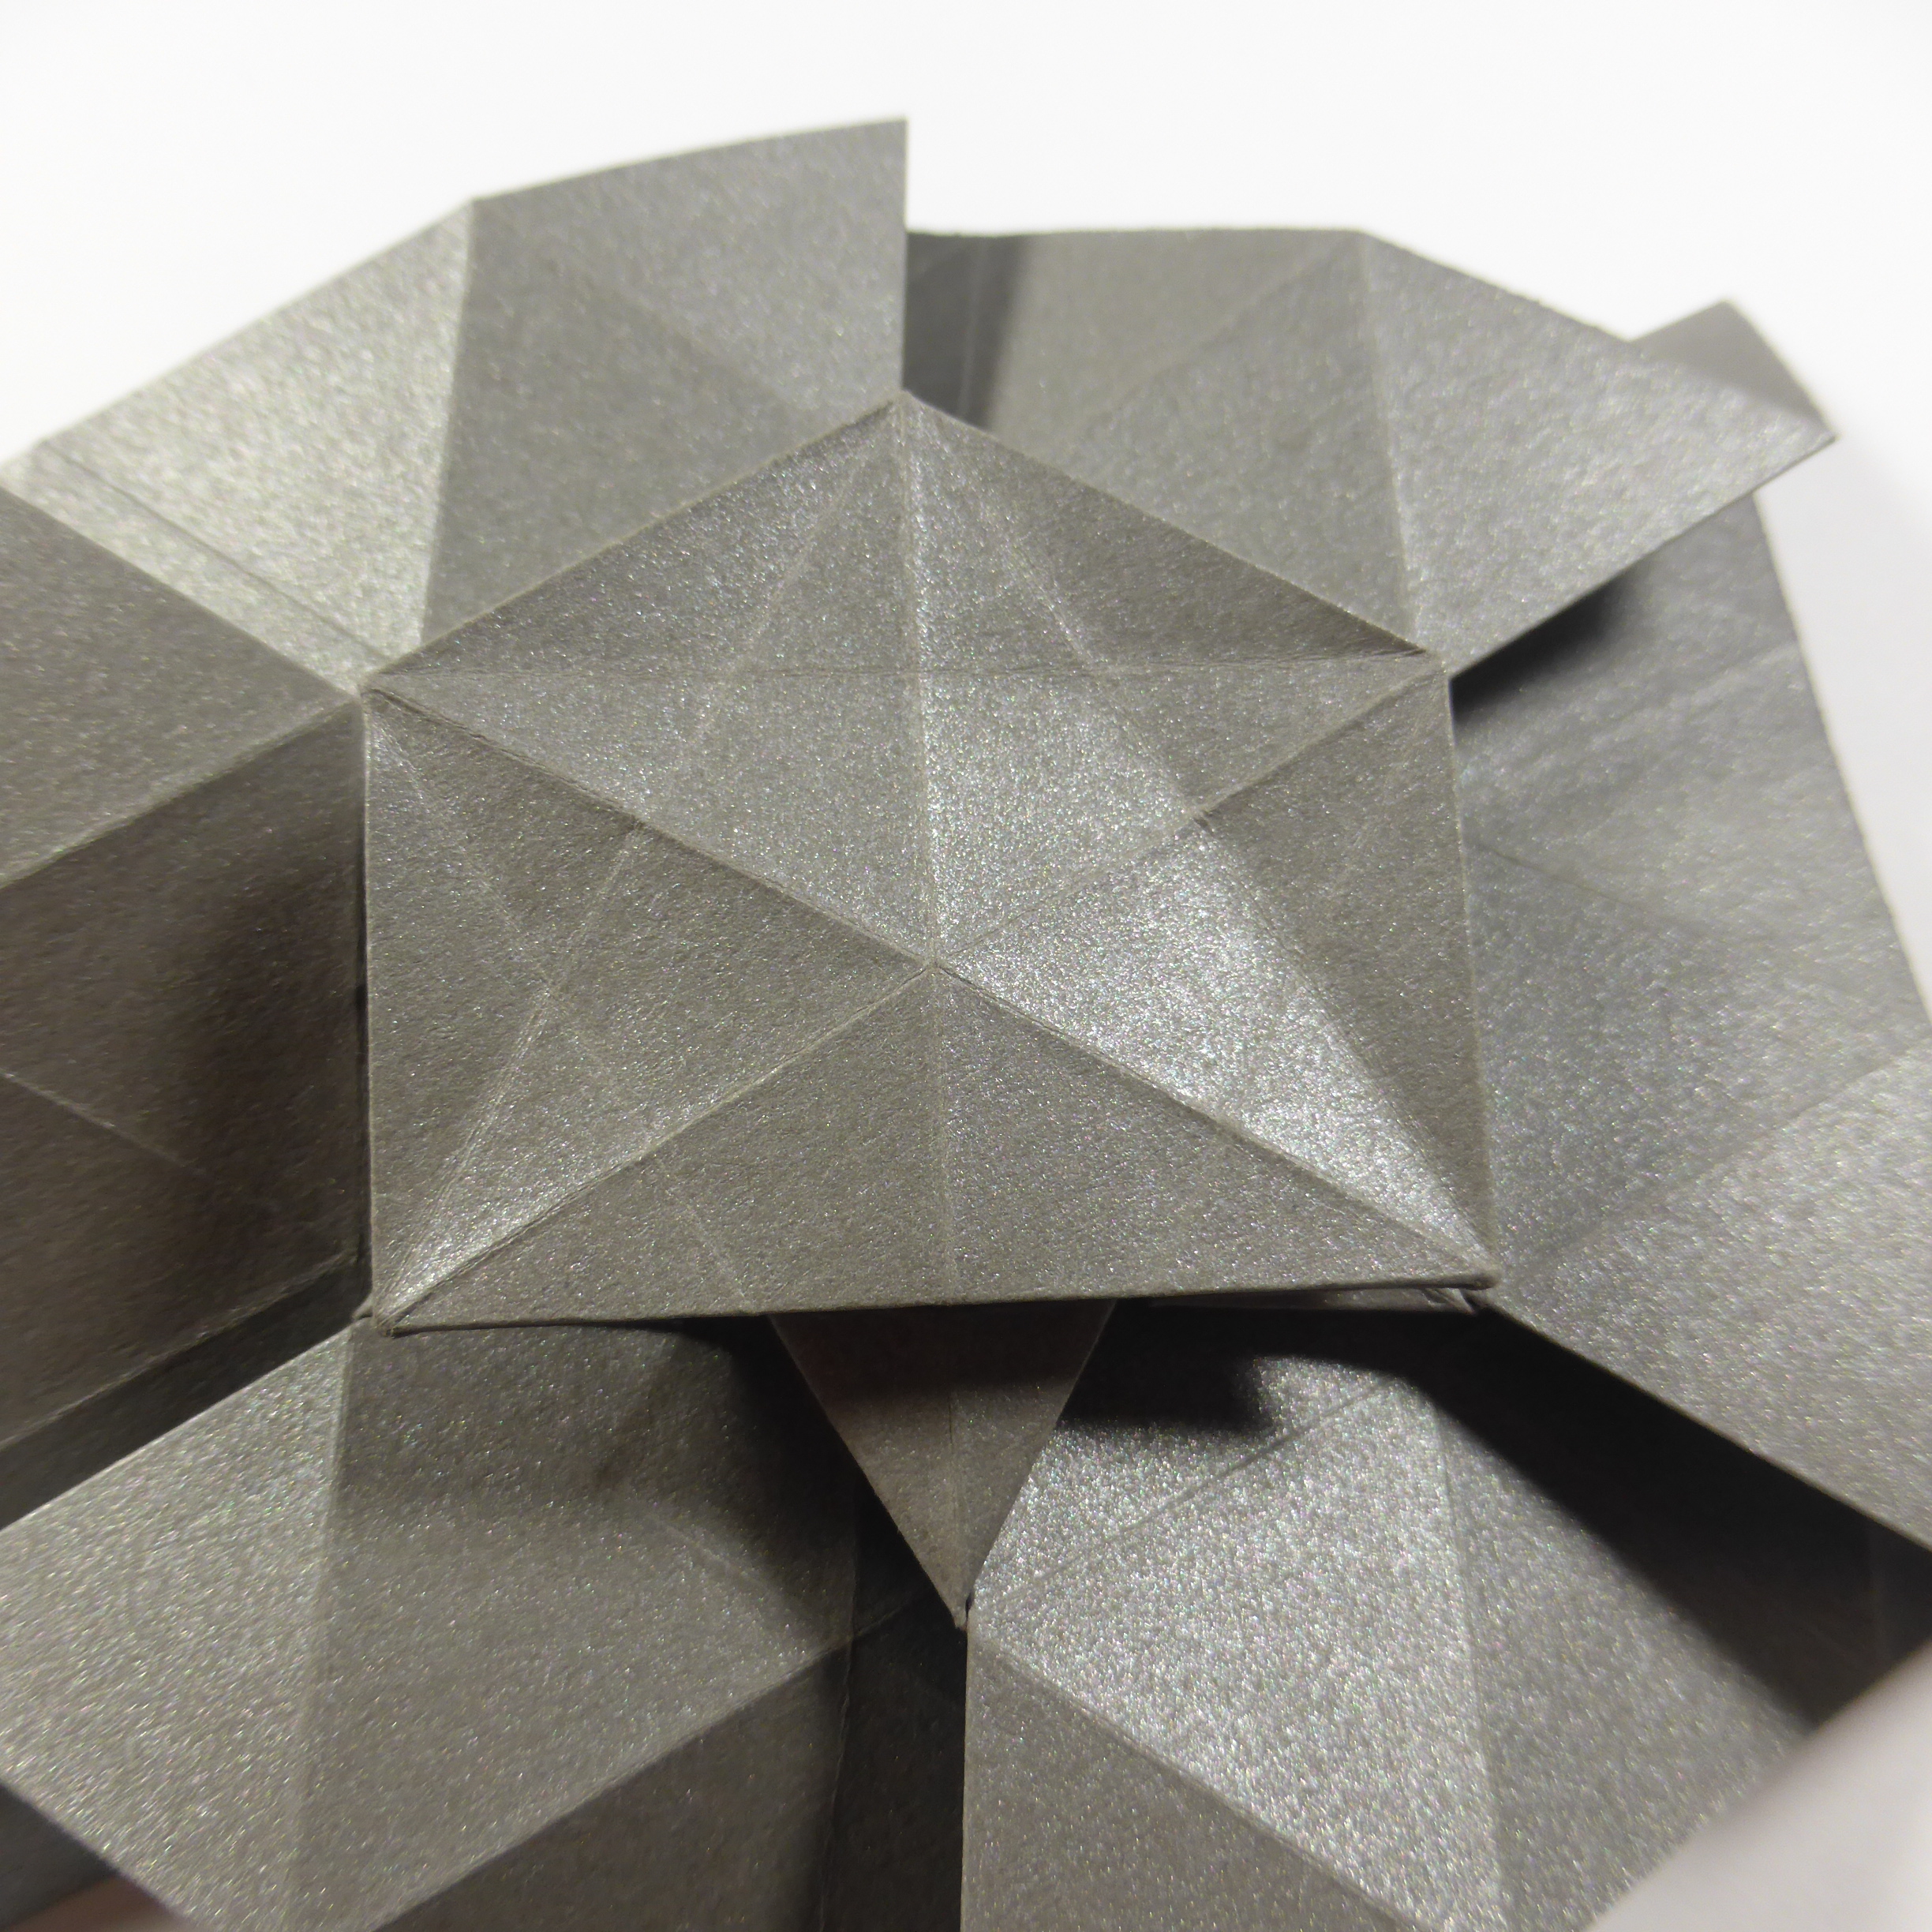
Like many similar models such as Fujimoto’s Hydrangea, the form of this model most often folded is a single molecule with a decorated border, but a tessellation with multiple molecules can be folded as well. When folding the tessellated form, you connect triangular flaps in the back of each molecule to adjacent molecules and then you can squash them for a more symmetric alignment.

Precrease pattern (PreCP) and crease pattern (CP) are available below as SVG and PNG files:


SVG
Lucky Star Fractal (level 3) PreCP (SVG)

PNG
Lucky Star Fractal (level 3) PreCP (PNG)

SVG
Lucky Star Fractal (level 3) CP (SVG)

PNG
Lucky Star Fractal (level 3) CP (PNG)


Phototutorial:

Step 1
1. Precreased sheet. Start white side up if folding from duo paper.
Step 2
2. First collapse starts.
Step 3
3.
Step 4
4.
Step 5
5.
Step 6
6. First collapse complete.
Step 7
7.
Step 8
8.
Step 9
9. Petal fold. This will later create a single ray of the star.
Step 10
10.
Step 11
11. Unfold the petal fold and close.
Step 12
12. Repeat petal fold on the next side.
Step 13
13.
Step 14
14. After repeating petal folds on all sides.
Step 15
15.
Step 16
16.
Step 17
17.
Step 18
18.
Step 19
19.
Step 20
20. One ray of the star is ready.
Step 21
21. Fold down (ray is still folded, but hidden).
Step 22
22.
Step 23
23. Second ray is ready.
Step 24
24. After folding all rays.
Step 25
25. Rays hidden below the hexagon — a view from the side.
Step 26
26.
Step 27
27.
Step 28
28.
Step 29
29.
Step 30
30. This is a sink fold which hides the central part of the ray.
Step 31
31.
Step 32
32. On the back side of the model, a pattern emerges which is sometimes easier to work with when performing the sinks than what is visible on the front side.
Step 33
33.
Step 34
34.
Step 35
35. Sink complete.
Step 36
36.
Step 37
37.
Step 38
38.
Step 39
39. Sinking the next ray. Since the ray on the left is already sunk, this time around is a little different.
Step 40
40.
Step 41
41.
Step 42
42.
Step 43
43.
Step 44
44.
Step 45
45.
Step 46
46. Second ray fully sunk.
Step 47
47.
Step 48
48.
Step 49
49. After sinking all rays.
Step 50
50.
Step 51
51.
Step 52
52.
Step 53
53. Petal fold: we can now repeat the same sequence as starting from step 9 using the smaller hexagon in the center and thus create a new level of the fractal.
Step 54
54.
Step 55
55.
Step 56
56.
Step 57
57.
Step 58
58.
Step 59
59.
Step 60
60.
Step 61
61.
Step 62
62.
Step 63
63.
Step 64
64.
Step 65
65.
Step 66
66. Preparing to lock the rays of the central star.
Step 67
67.
Step 68
68.
Step 69
69.
Step 70
70.
Step 71
71.
Step 72
72. Levels except for the outermost one are ready. If you wanted to tessellate the molecule, you would use the pleats to connect it to its neighbors.
Step 73
73.
Step 74
74. Starting to shape the external outline of the star.
Step 75
75.
Step 76
76.
Step 77
77.
Step 78
78.
Step 79
79.
Step 80
80.
Step 81
81.
Step 82
82.
Step 83
83.
Step 84
84.
Step 85
85. In this Closed Back variant, we lock the paper layers but if you squashed the triangles instead and folded them outside, you would get the Open Back variant.
Step 86
86. Finished model.

Published: , Updated:

Comments