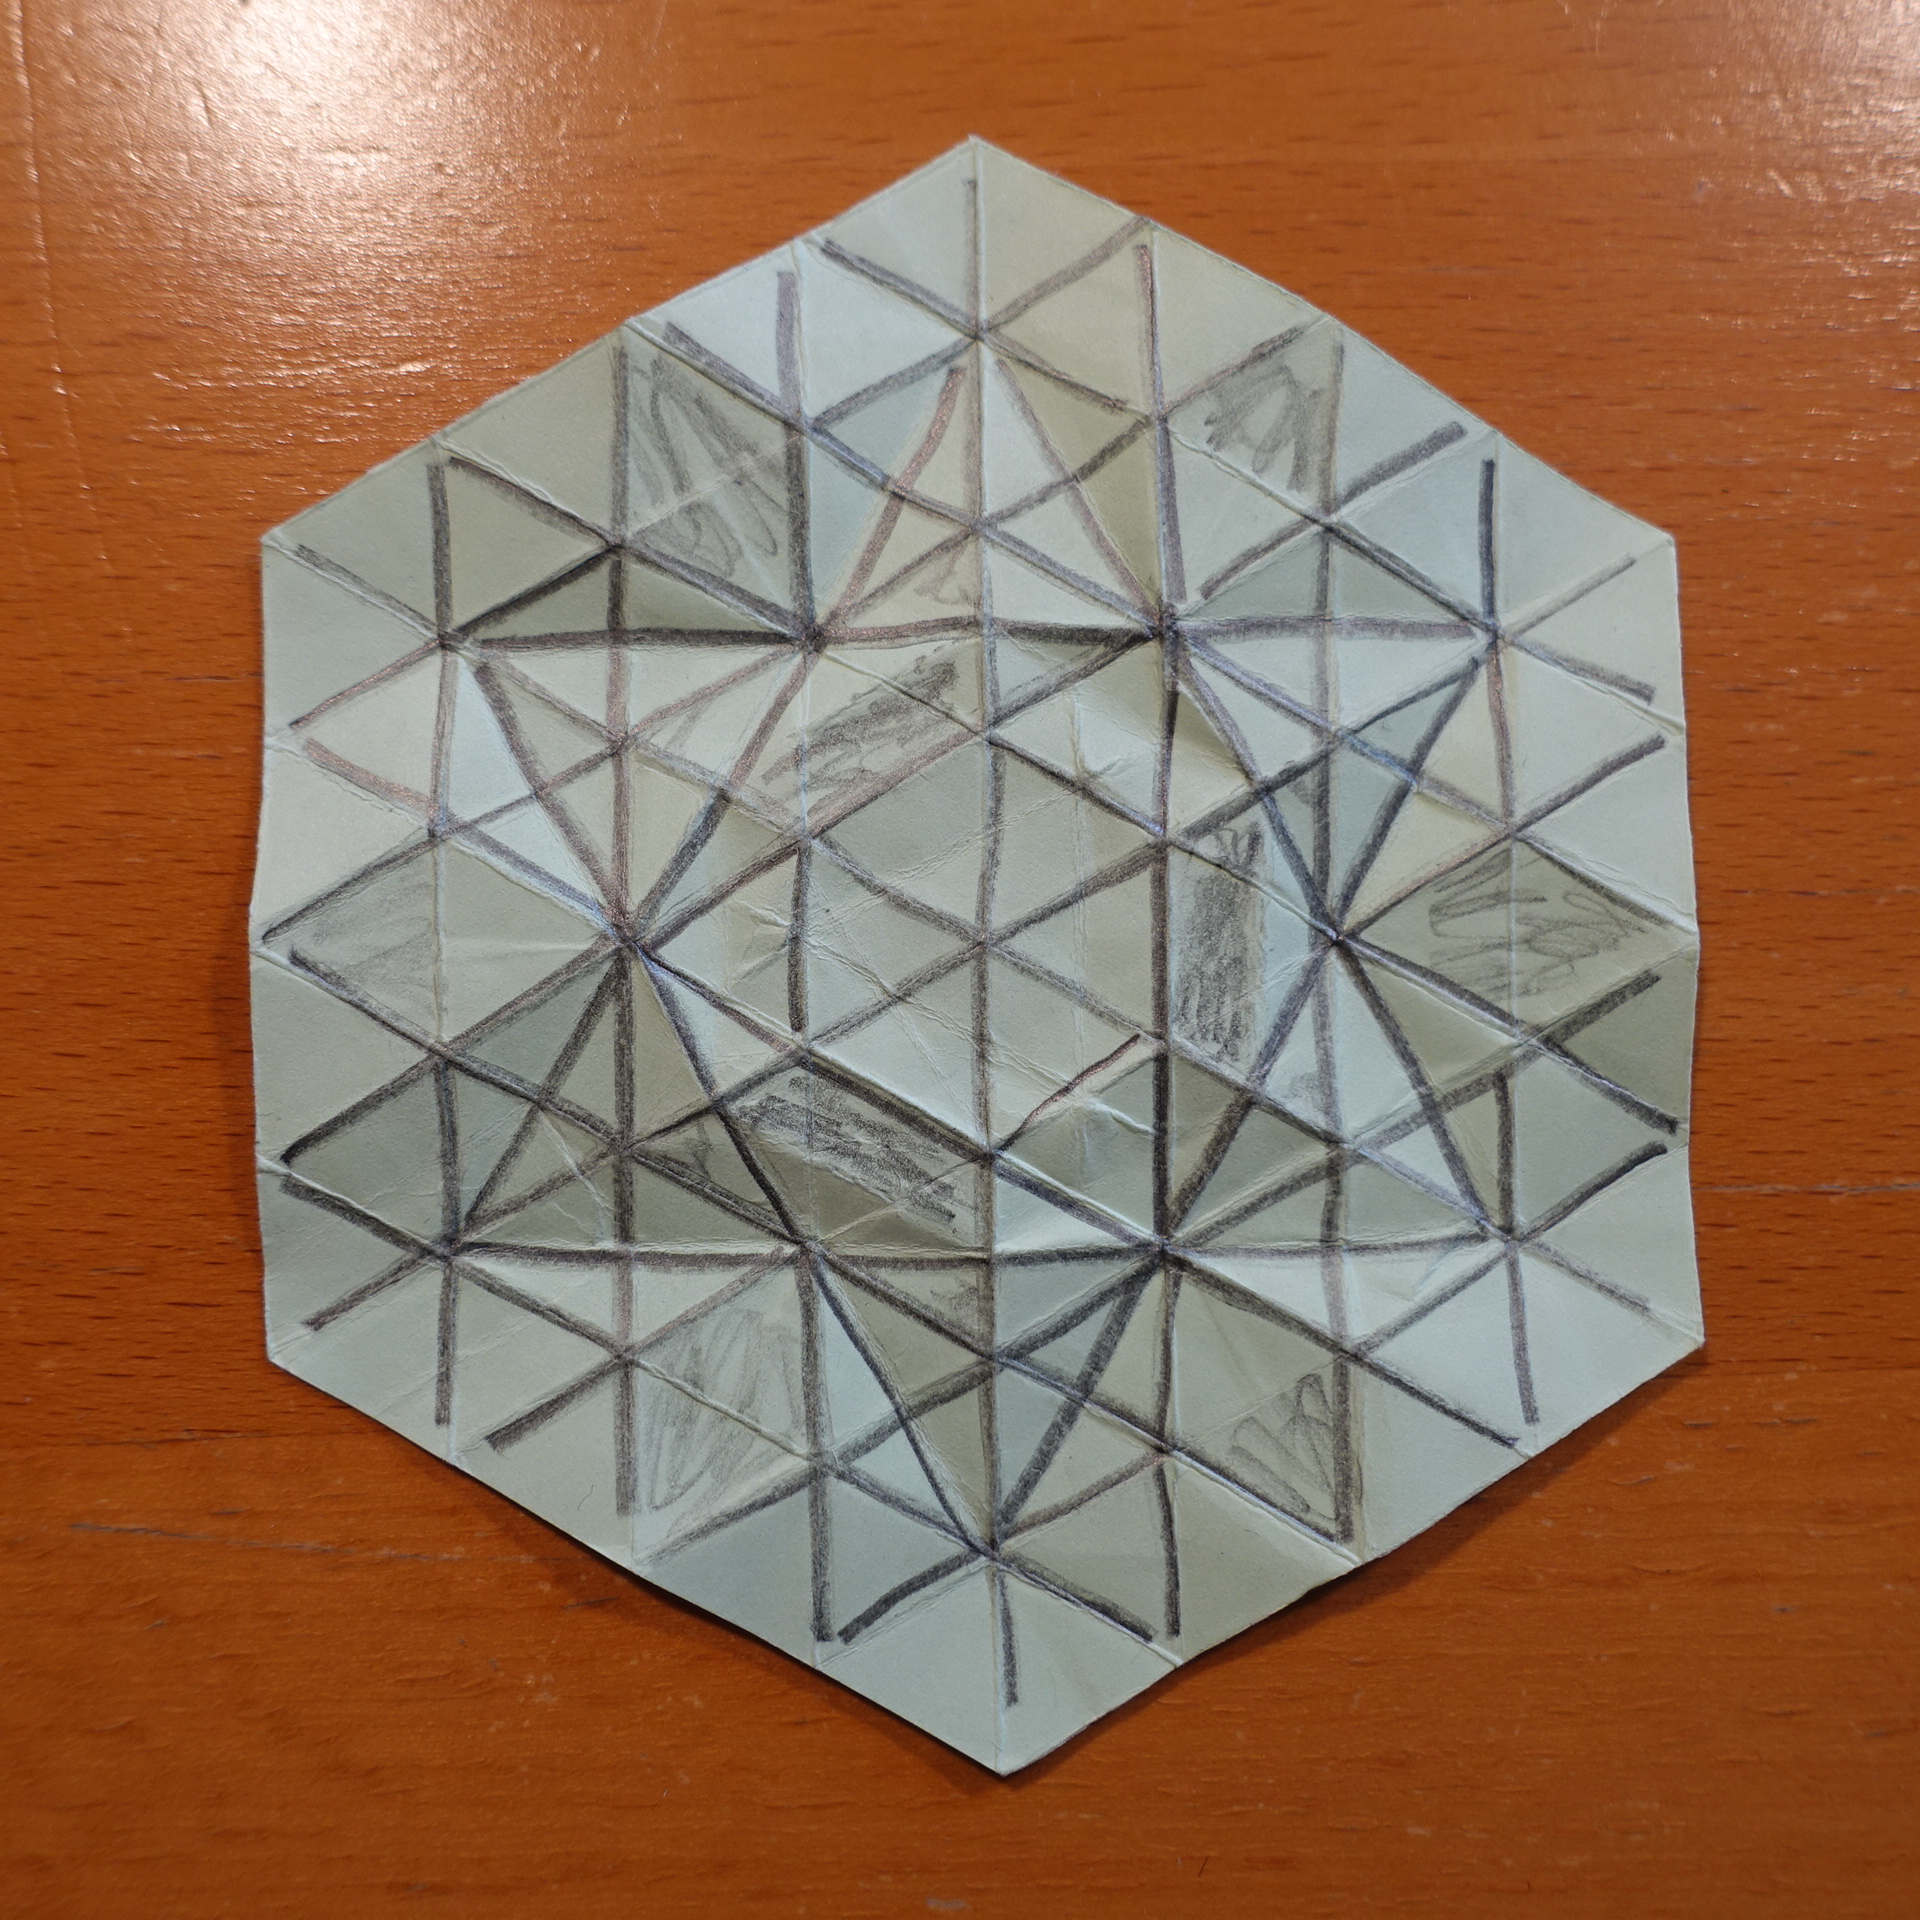
The phototutorial below starts from a hexagon with an 8×8×8 grid. Folded this way, the model has several unnecessary creases visible on its front side.
In order to avoid creating them, start with a sheet precreased as in the picture below instead, and take care to avoid creating any new creases during the
initial collapse. Note that this PreCP is unusual in that it has 3-fold rotational symmetry but lacks axial symmetry: for example the crease line closest to
the vertical axis of symmetry (⅛ grid) is present right to the vertical axis of symmetry but is not a continuous line on its left side.
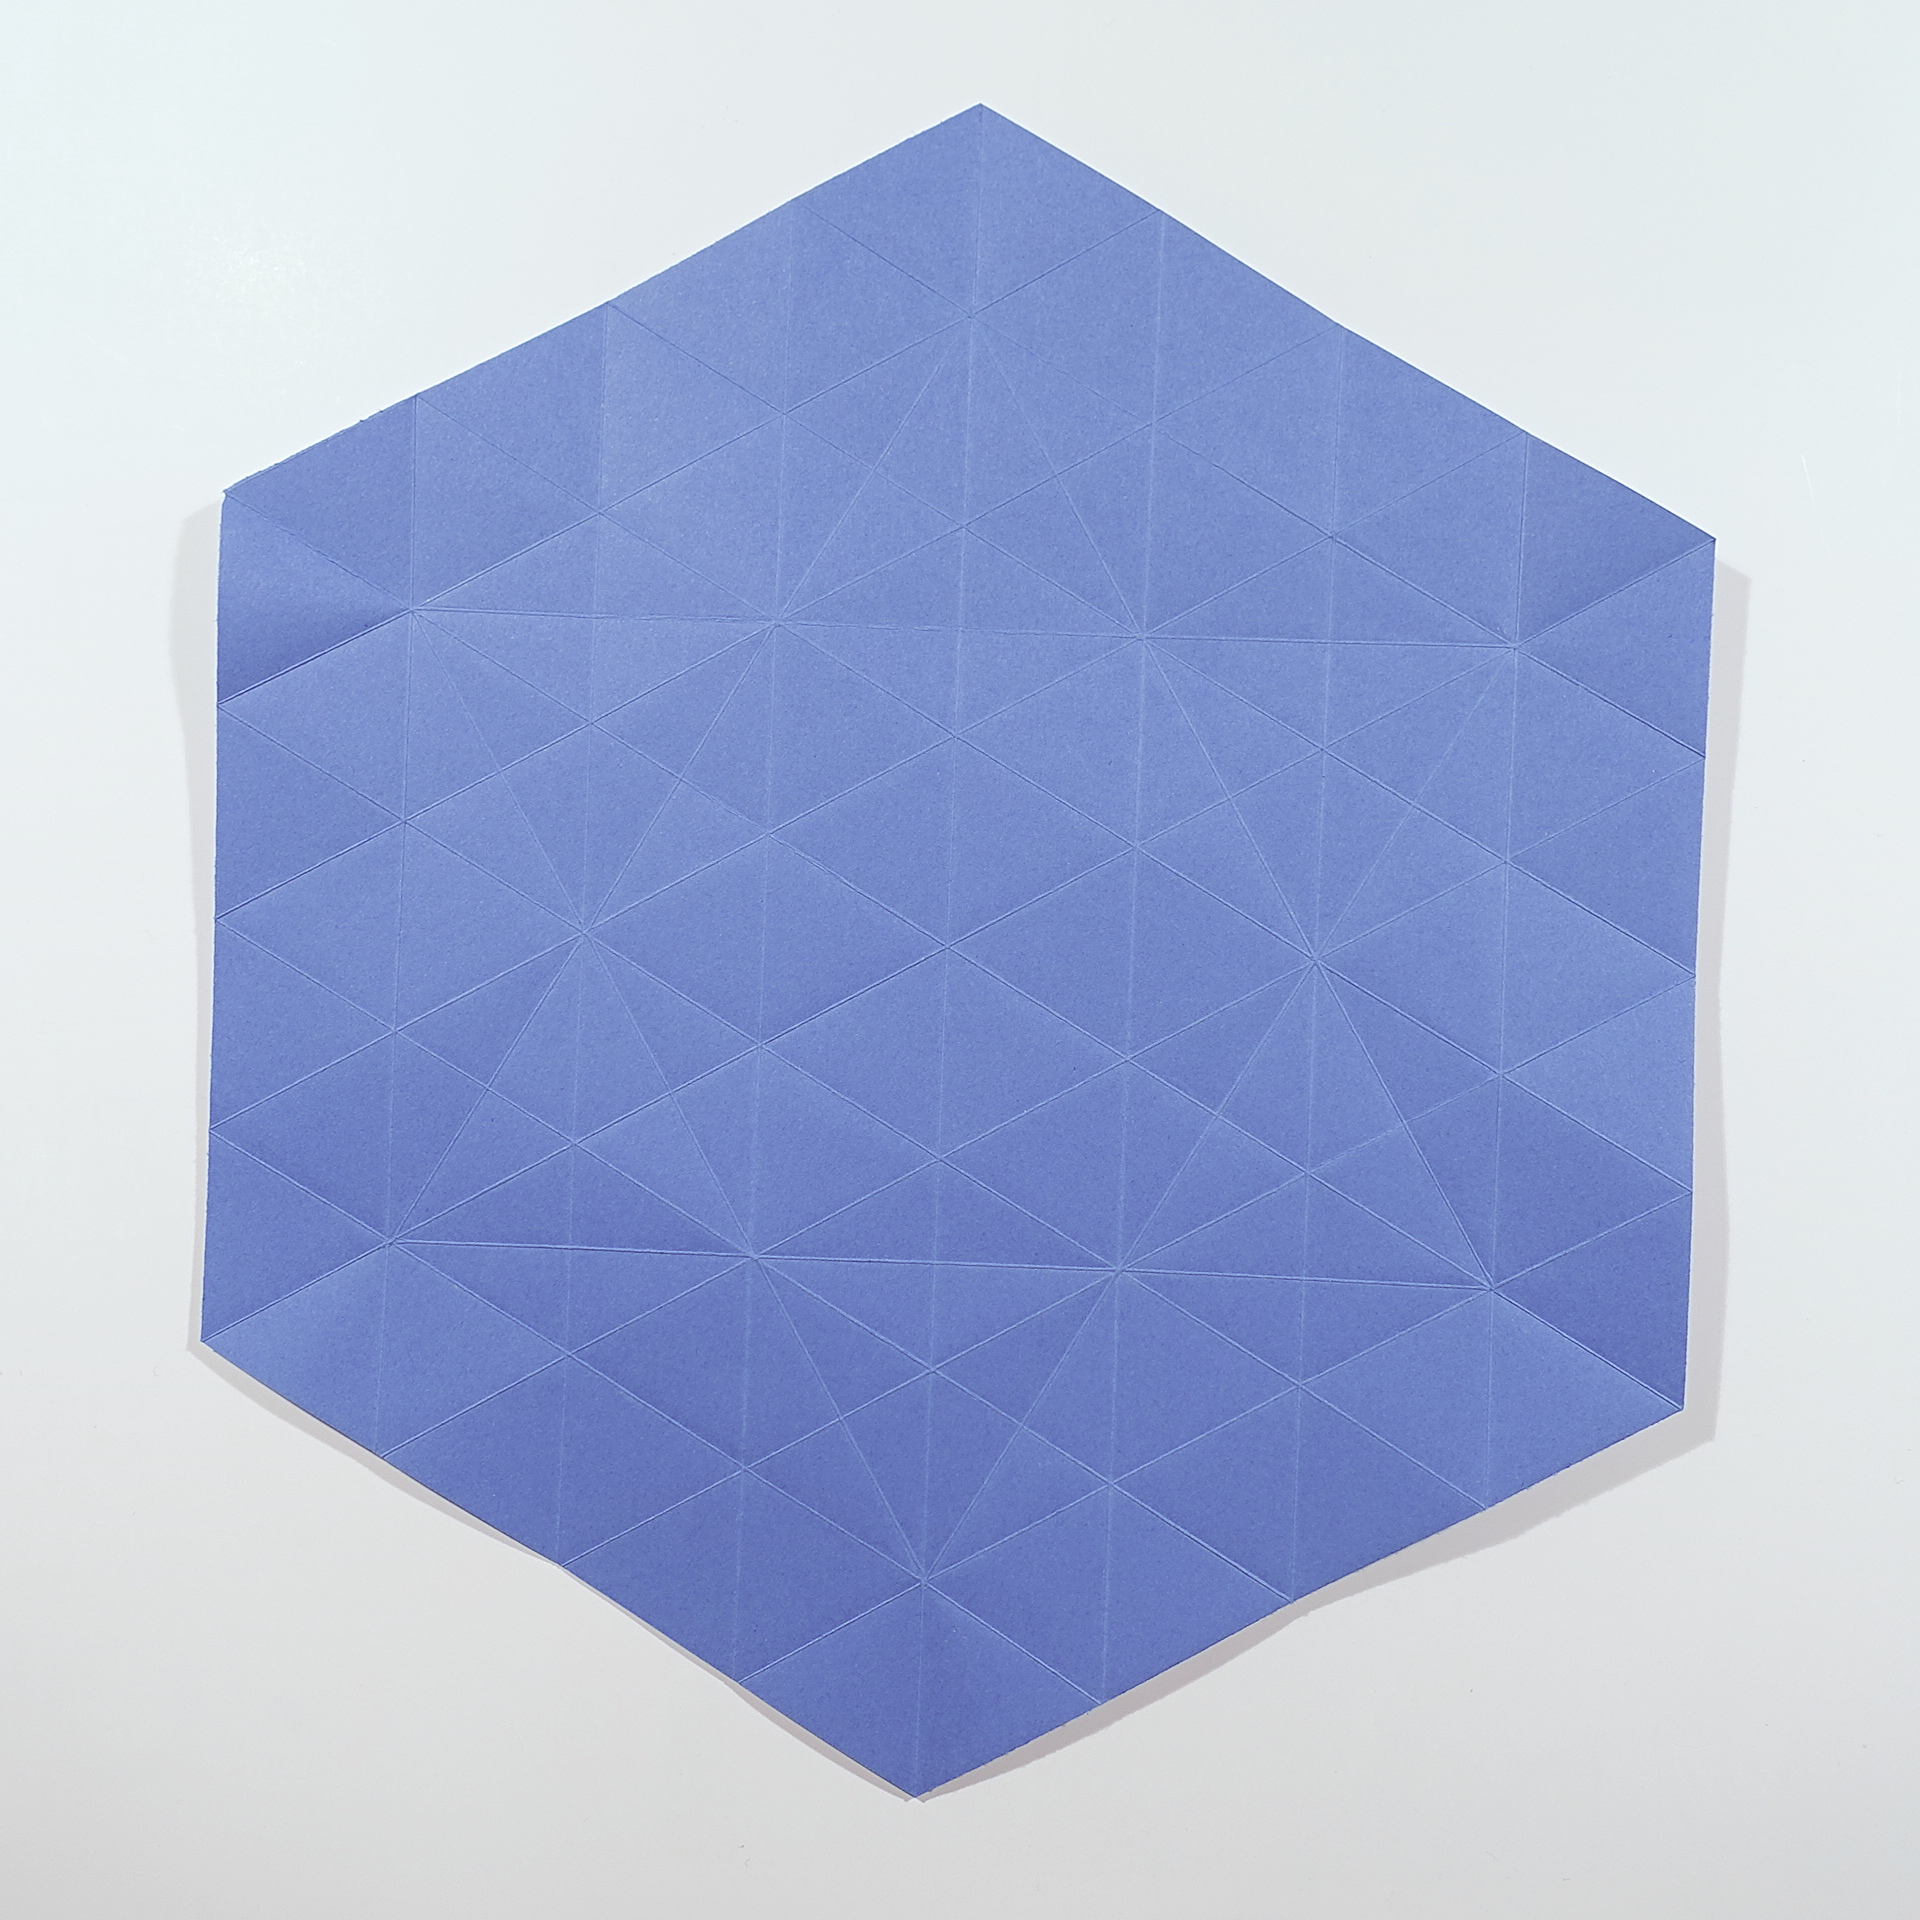
Clean precrease pattern
And now for the photo tutorial proper:
1. Start with a hexagon with an 8×8×8 grid and precrease an additional hexagram as shown (alternatively, start with the clean precrease pattern described above)
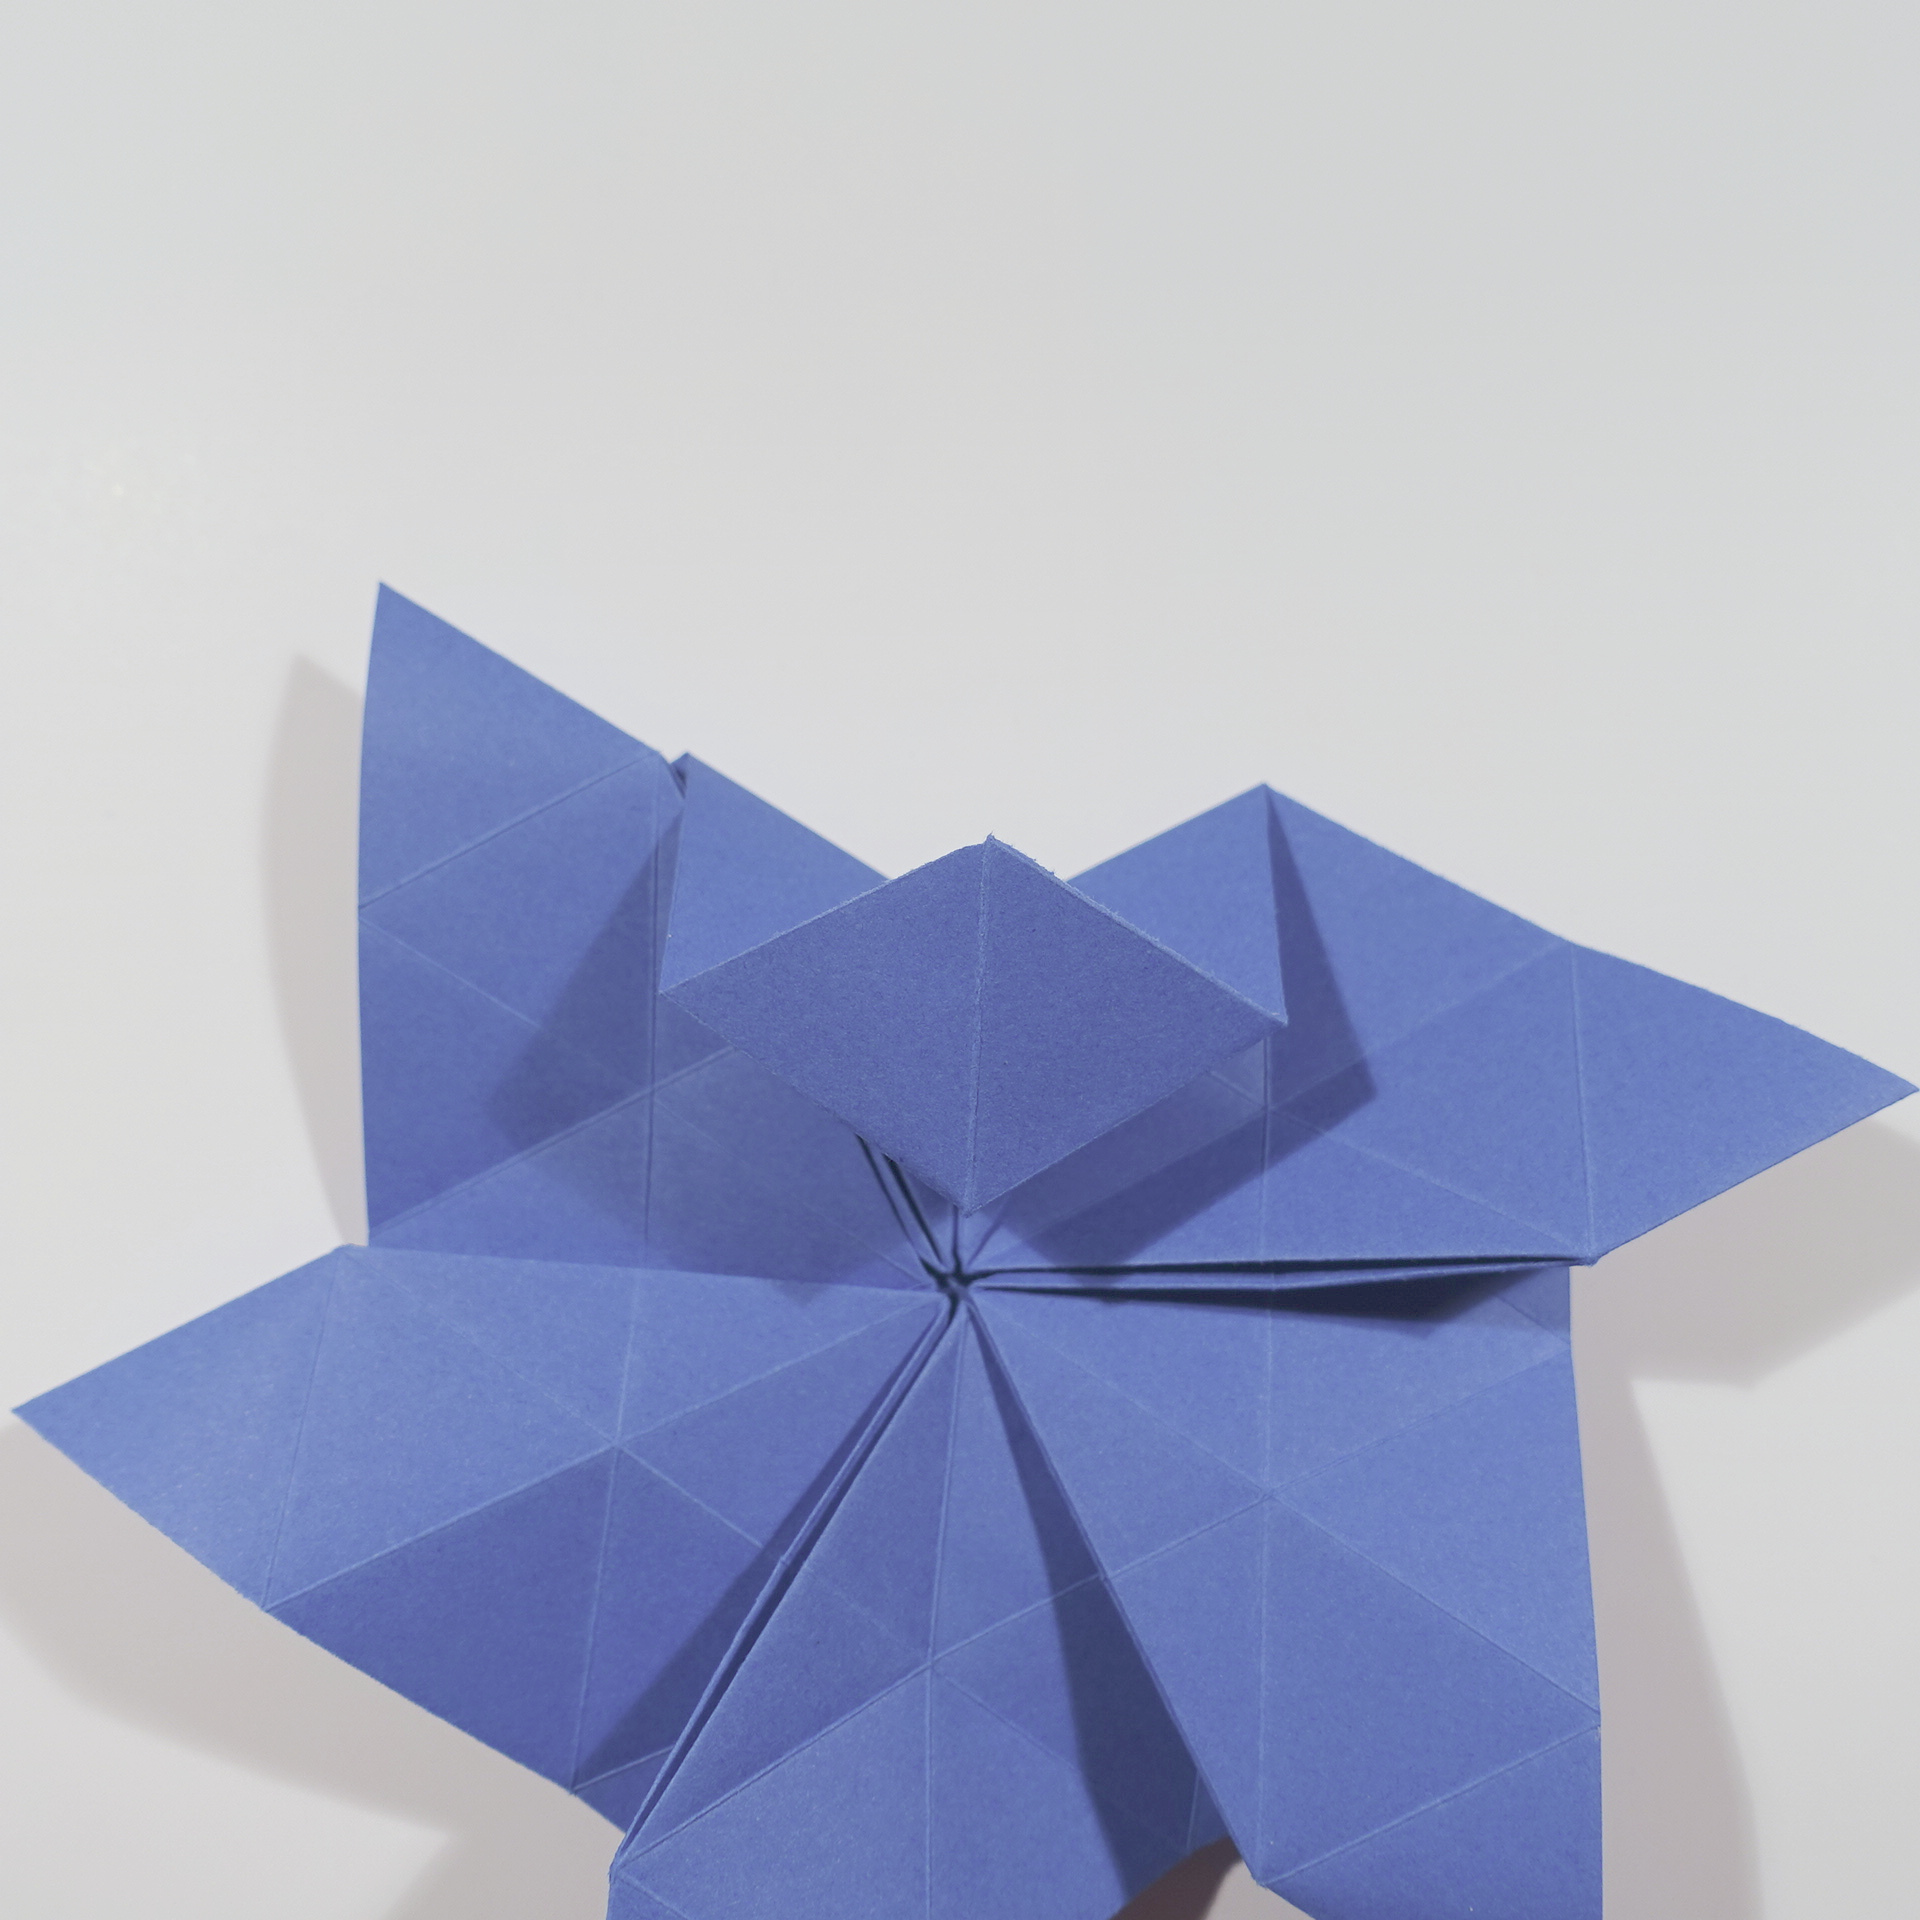
2. Start of collapse
3. Collapse finished
4. Turn to the other side
5. Arrange the little triangles connecting the hexagon to its base as shown: on three sides of the hexagon there should be two of them, and none on the other three
6. Fold edge of hexagon to its axis of symmetry
7. Unfold
8. Similarly, fold and unfold on the other two sides
9. Valley fold, following one of the creases created in the steps before
10. Valley fold along the next crease, putting the flap above the first one
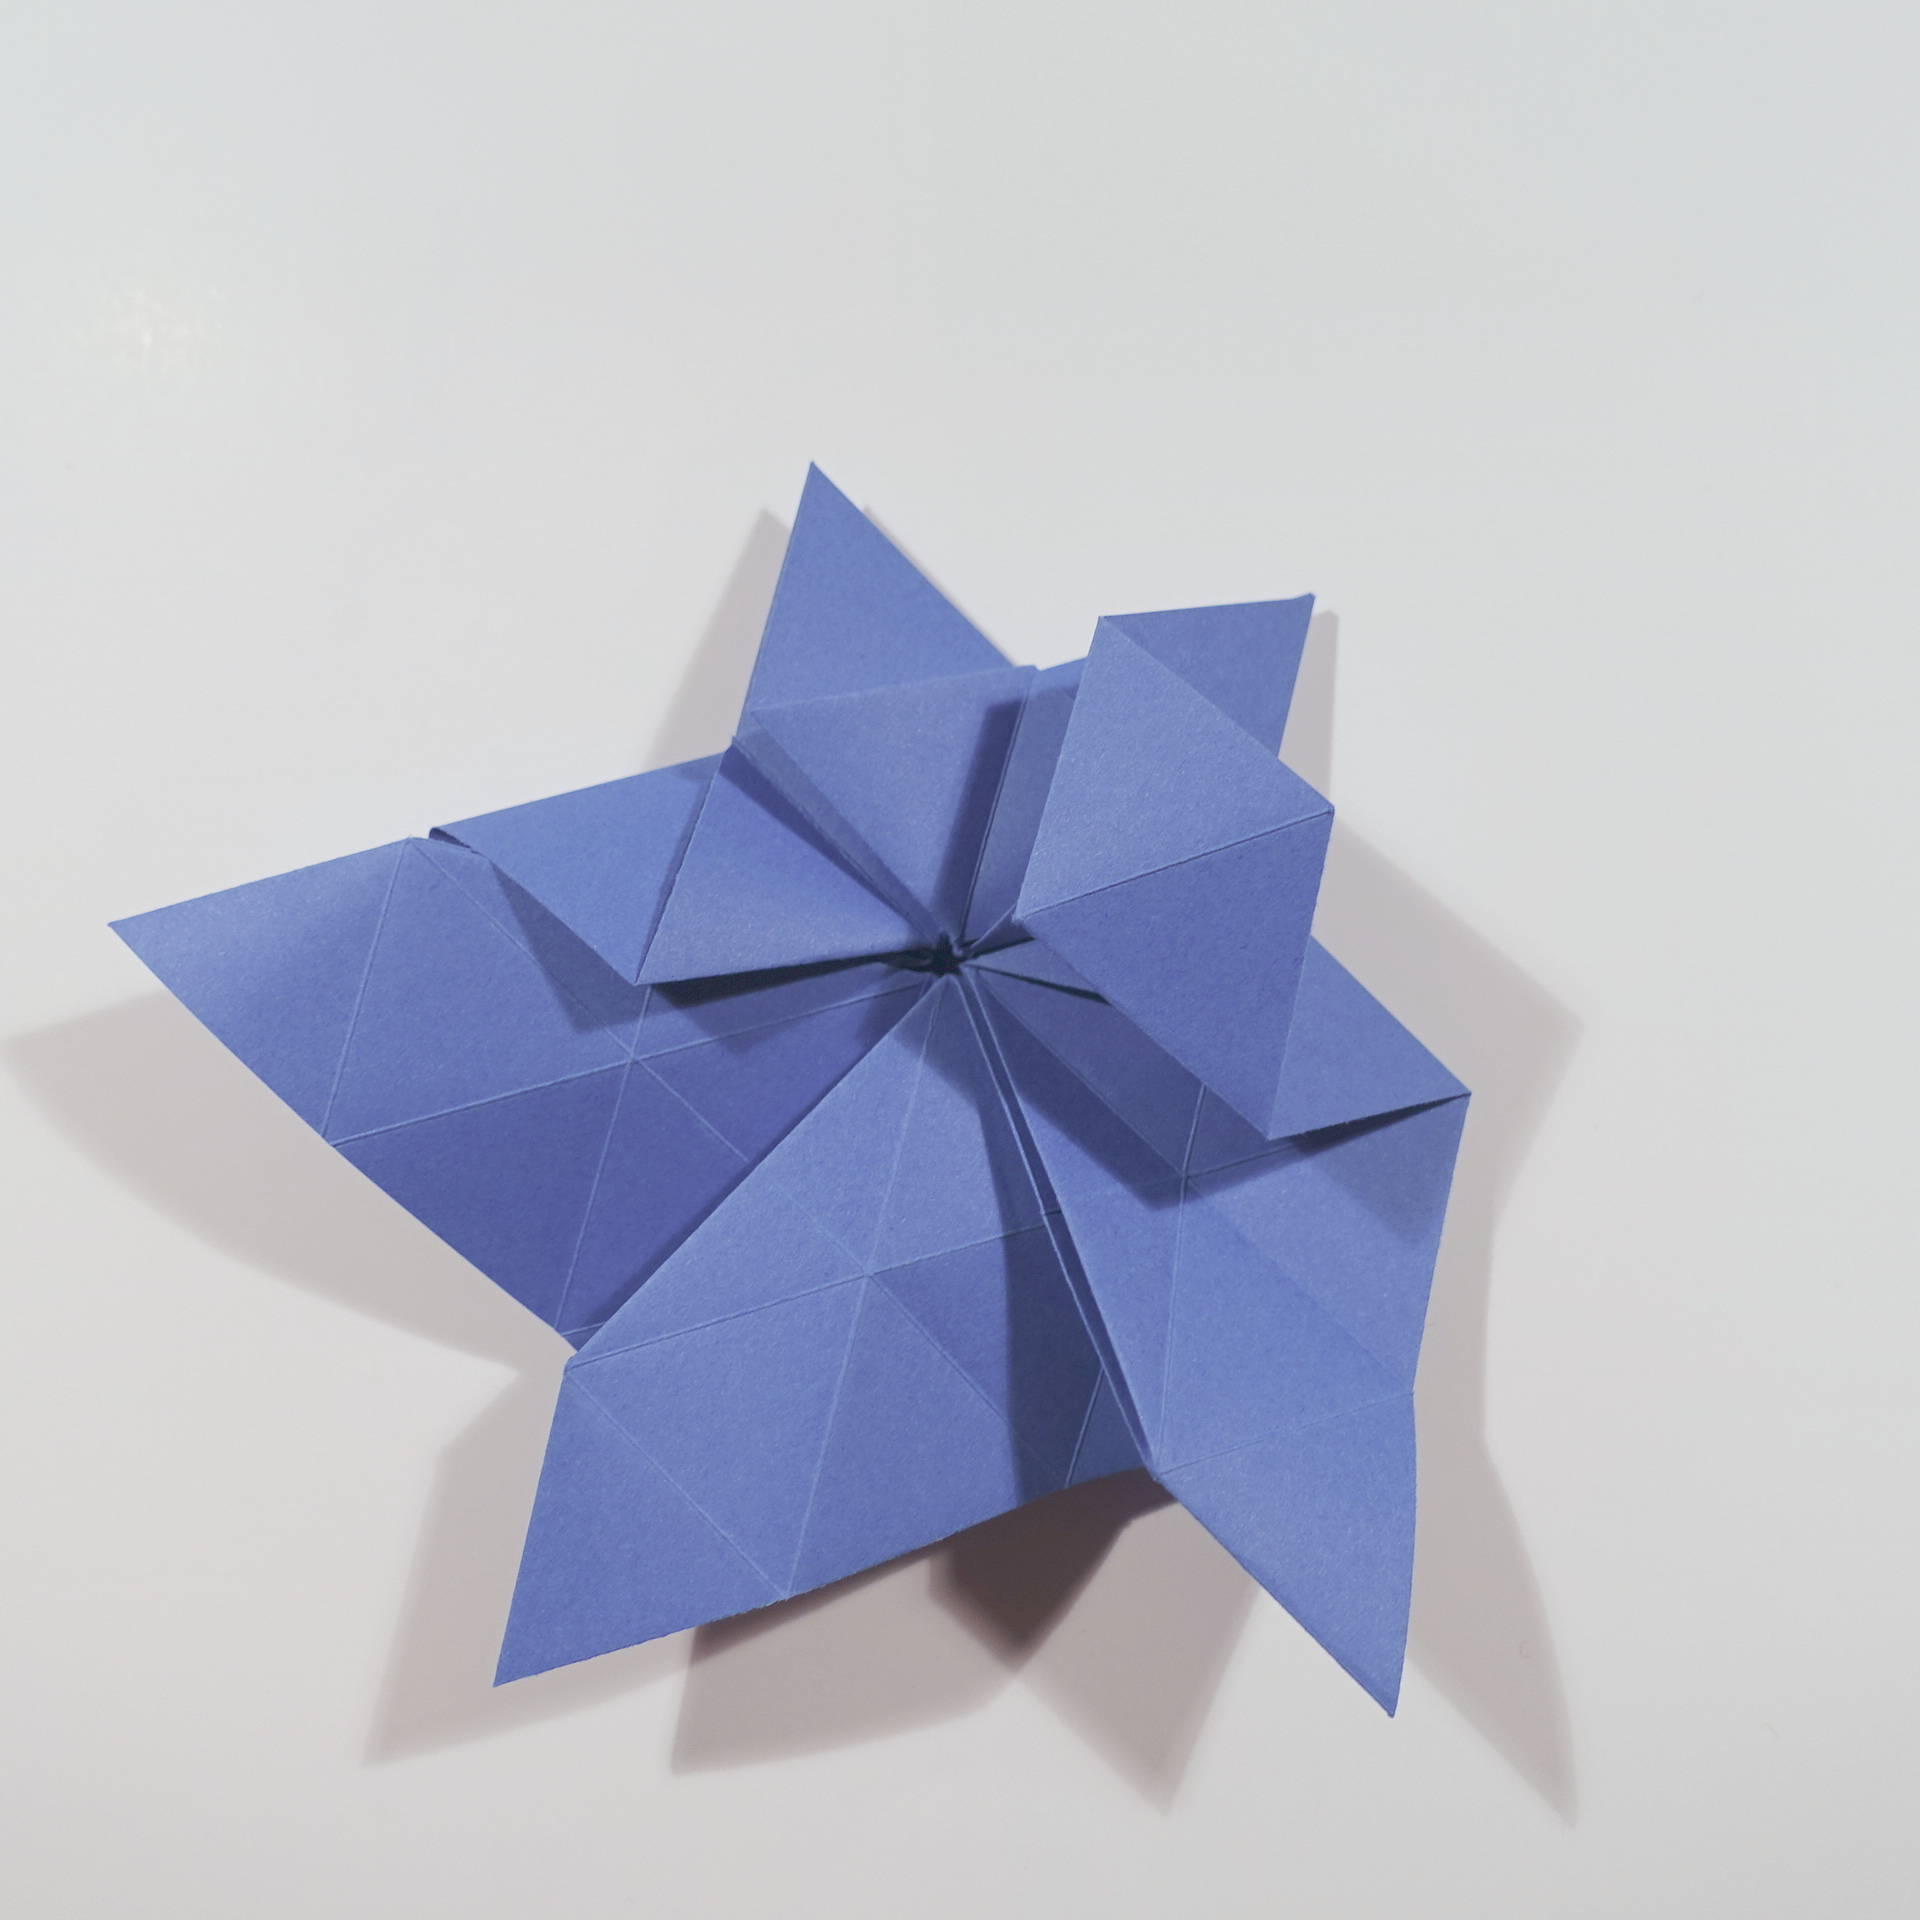
11. Valley fold along the third crease, arranging the flaps in a symmetric way; central molecule is finished; it can also be used for a tessellation
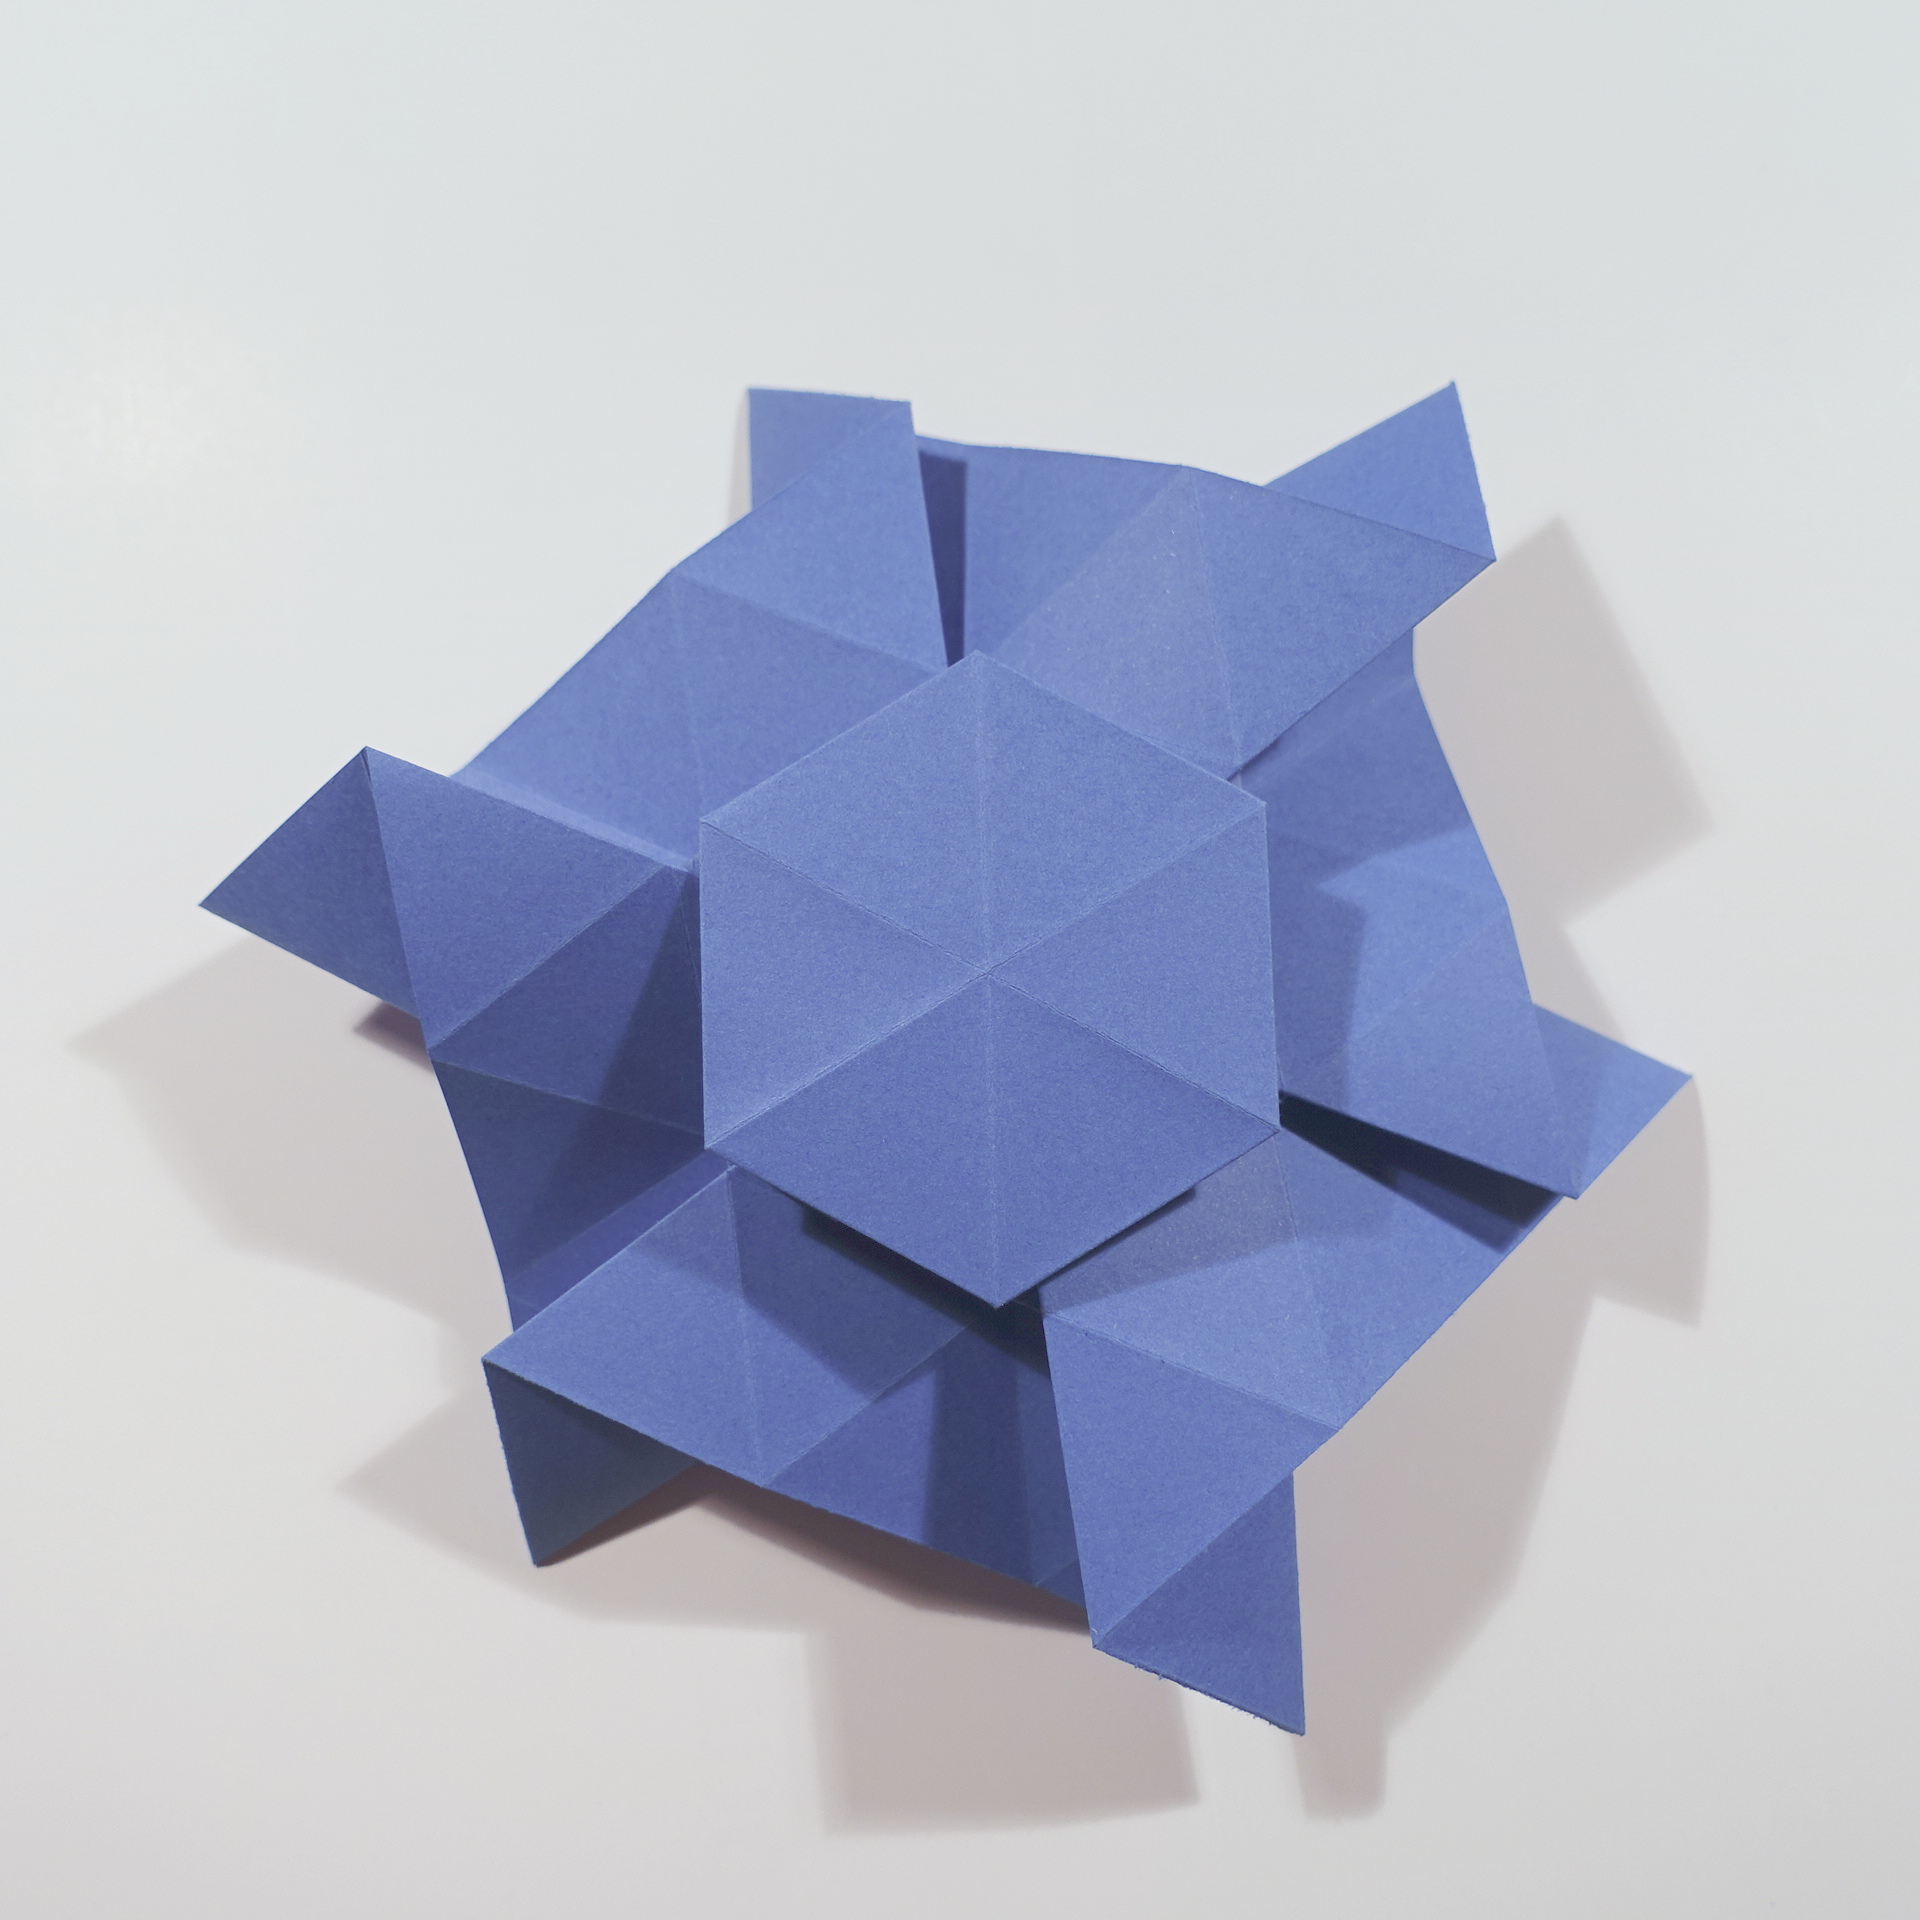
12. View of whole model at this stage
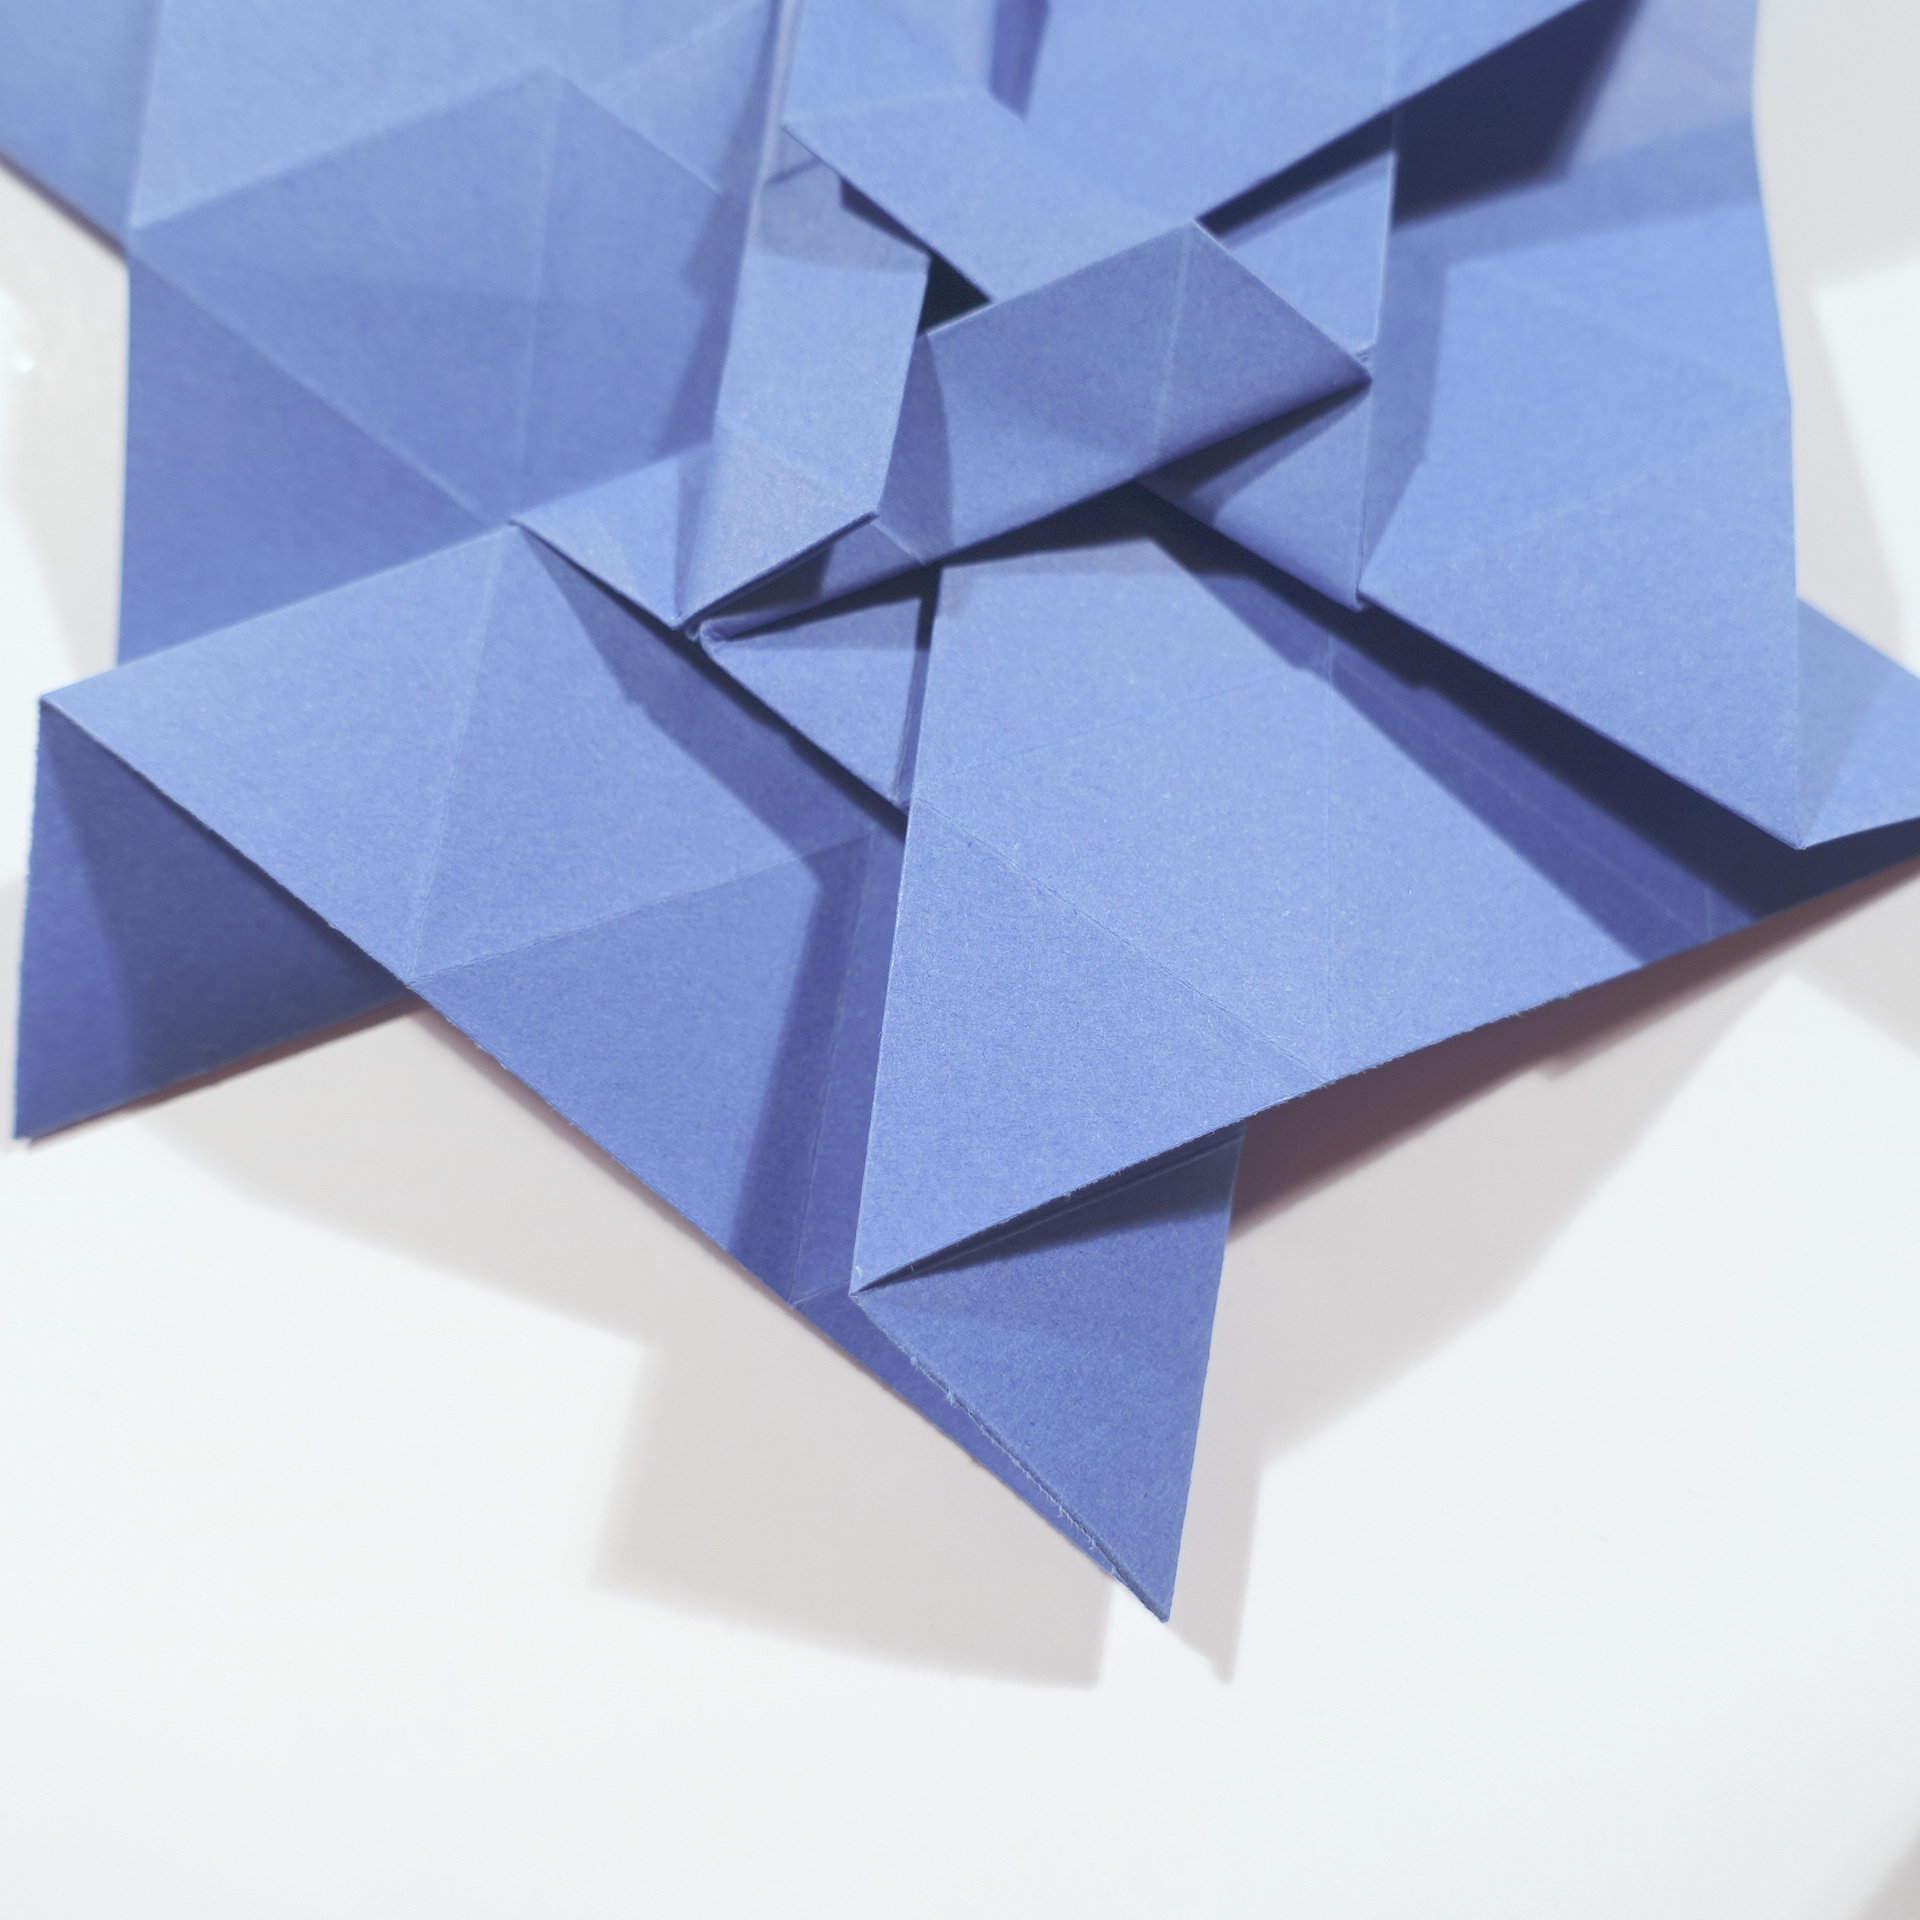
13. Zoom-in to one of the corners
14. Mountain fold along precreased lines in order to start creating the star’s rays
15. Turn to the other side
16. Fully flatten, following precreased lines all the time
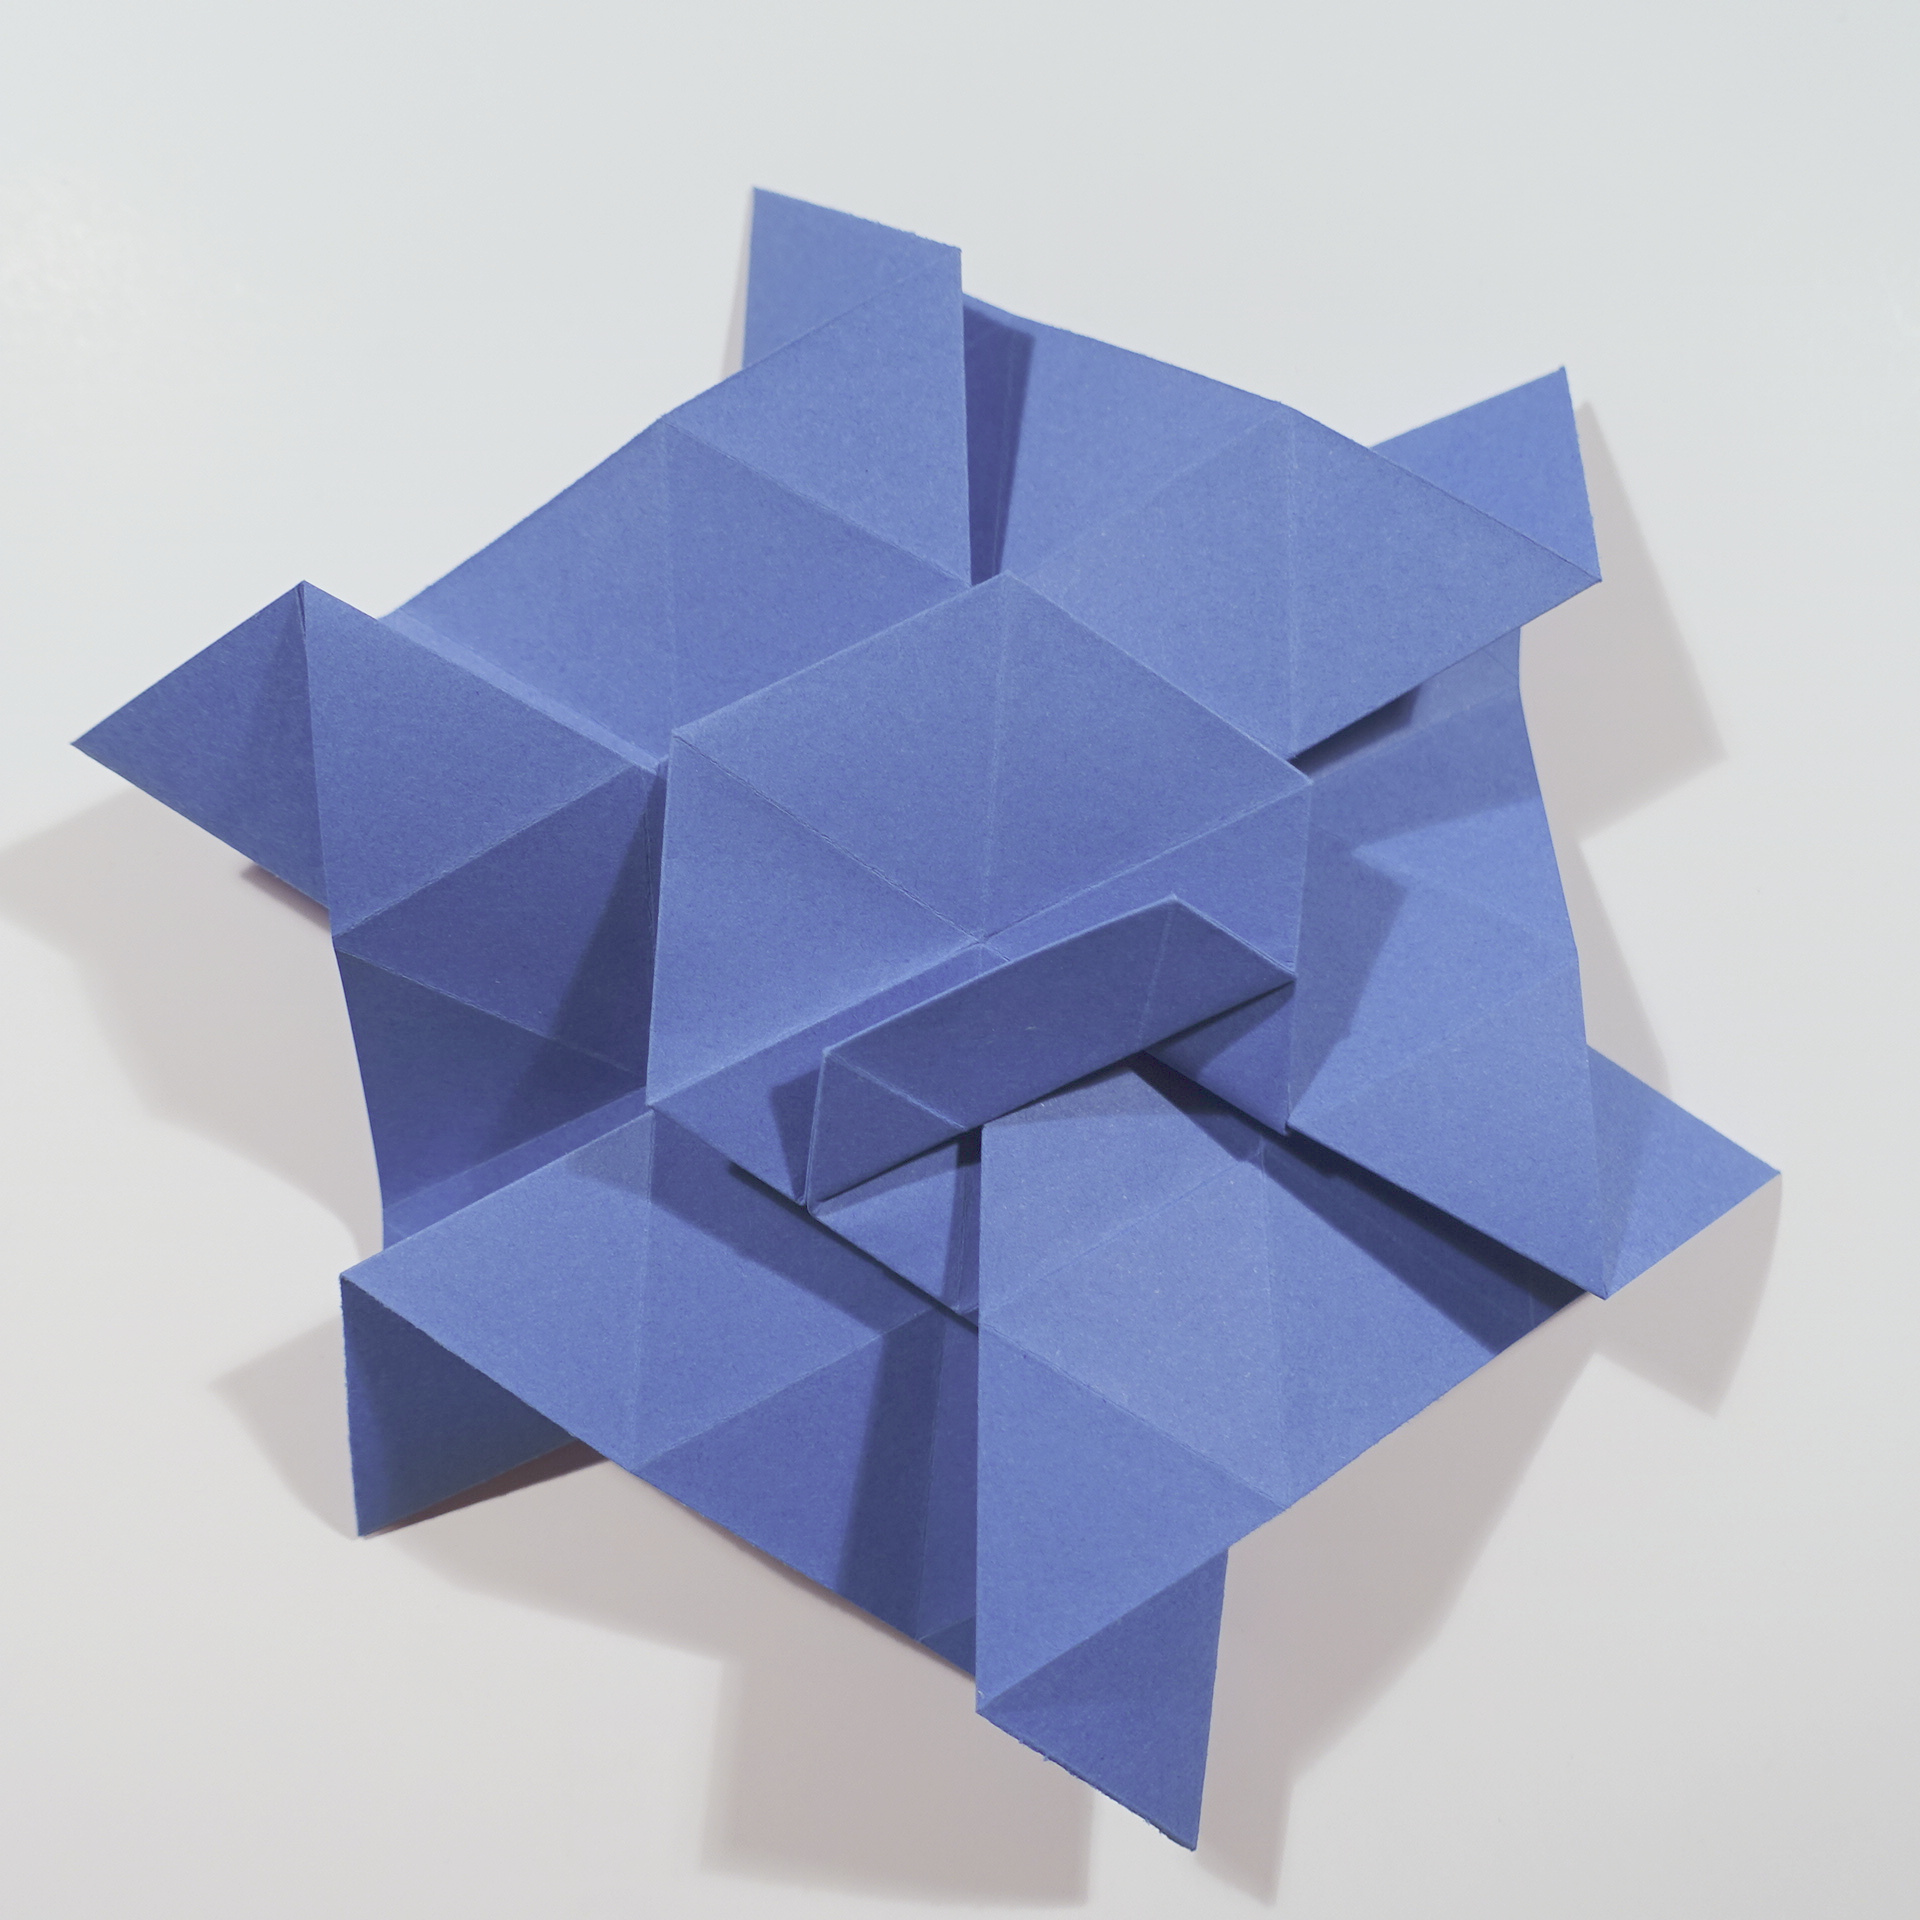
17. Repeat steps 13-16 in the other corners
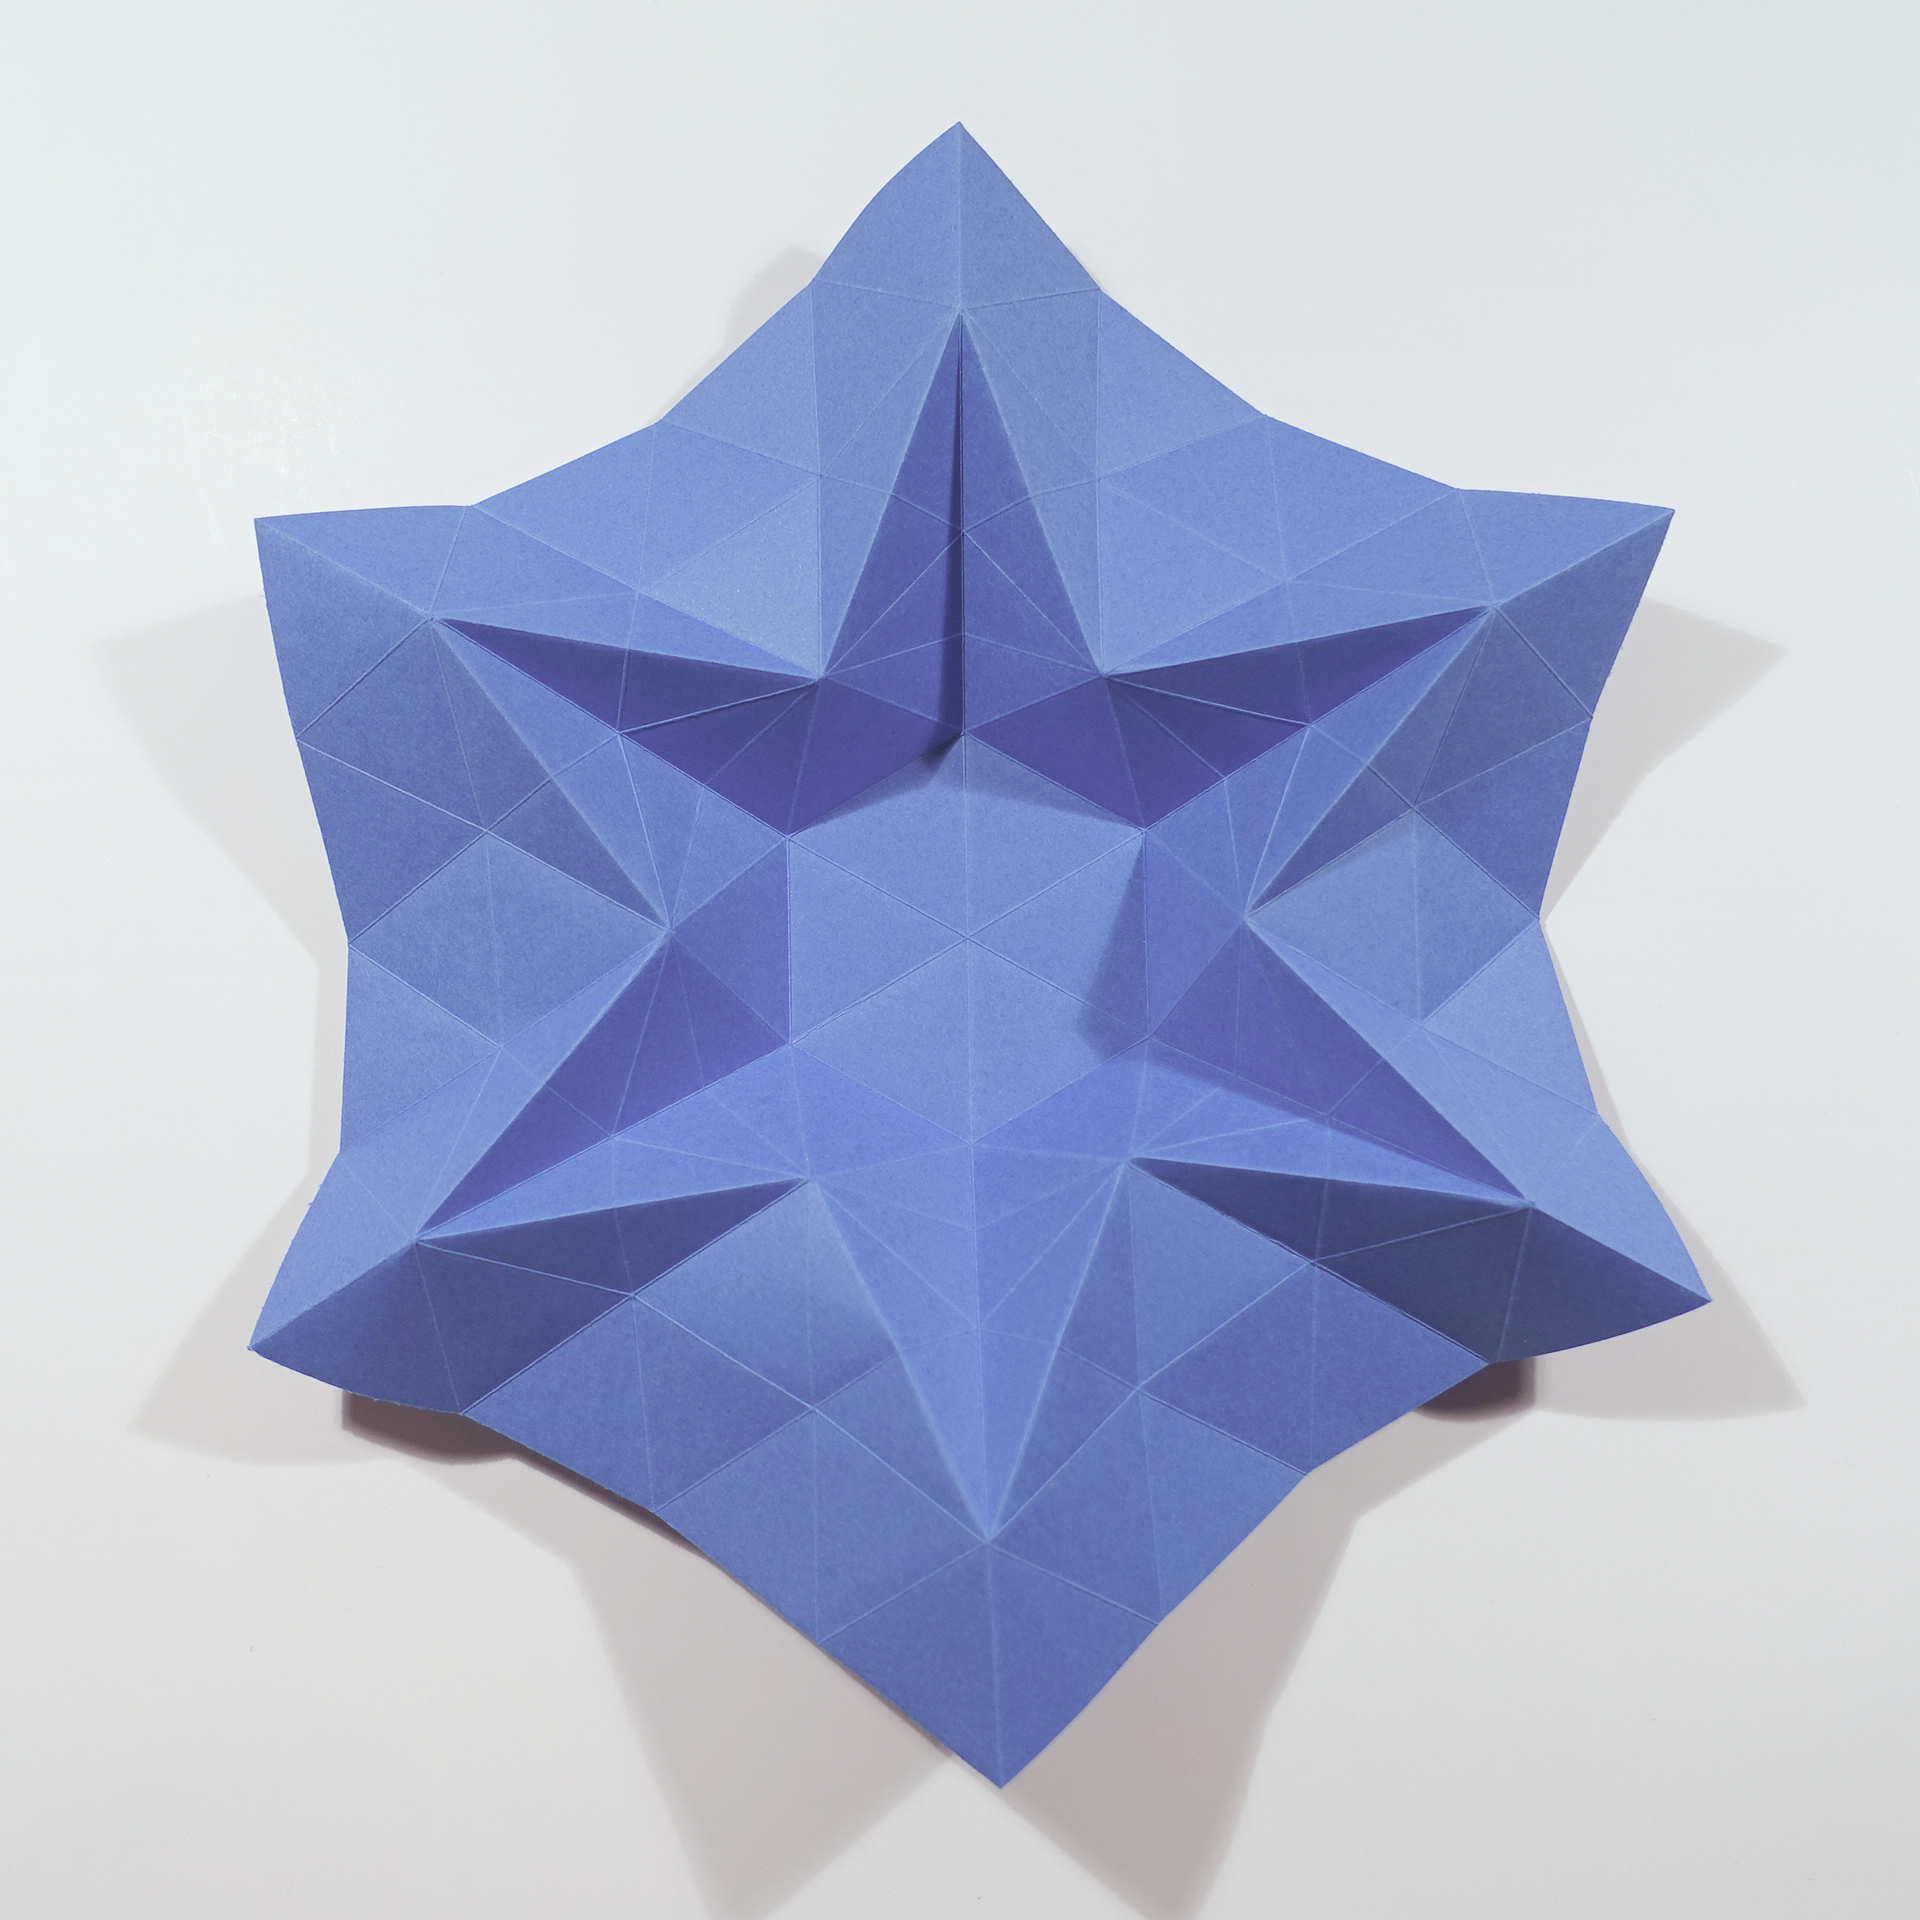
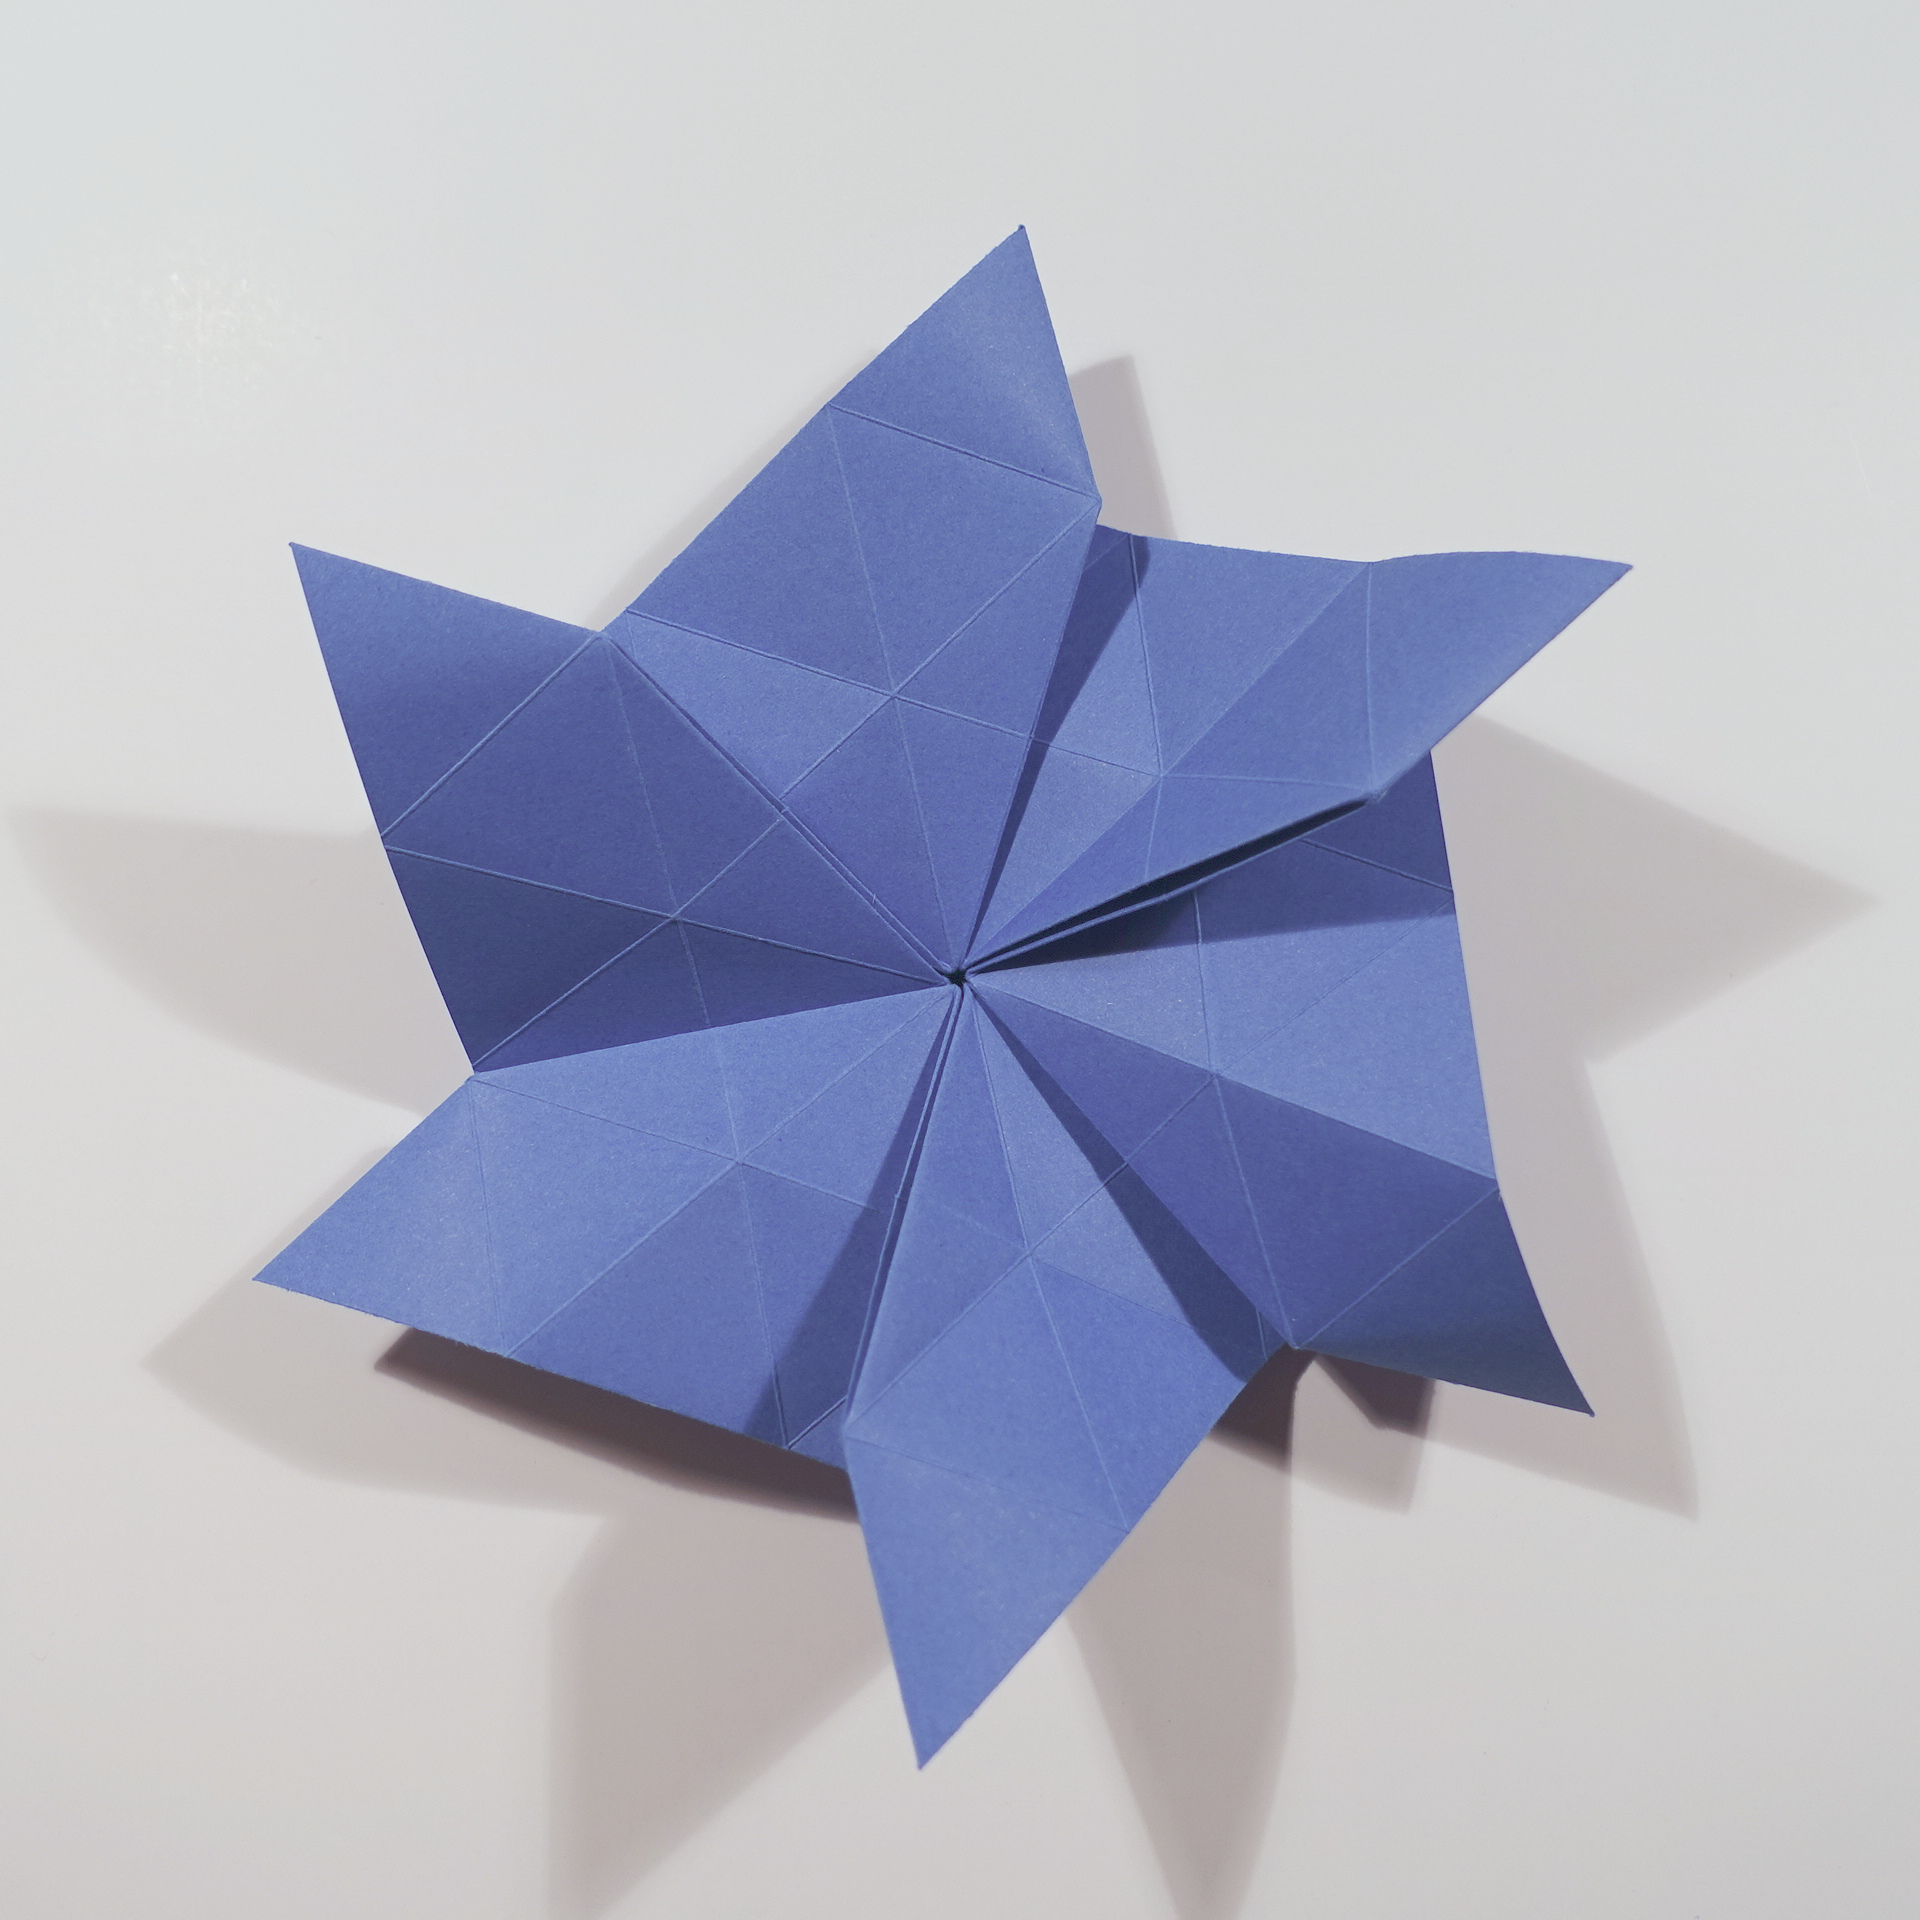
18. Finished model, back
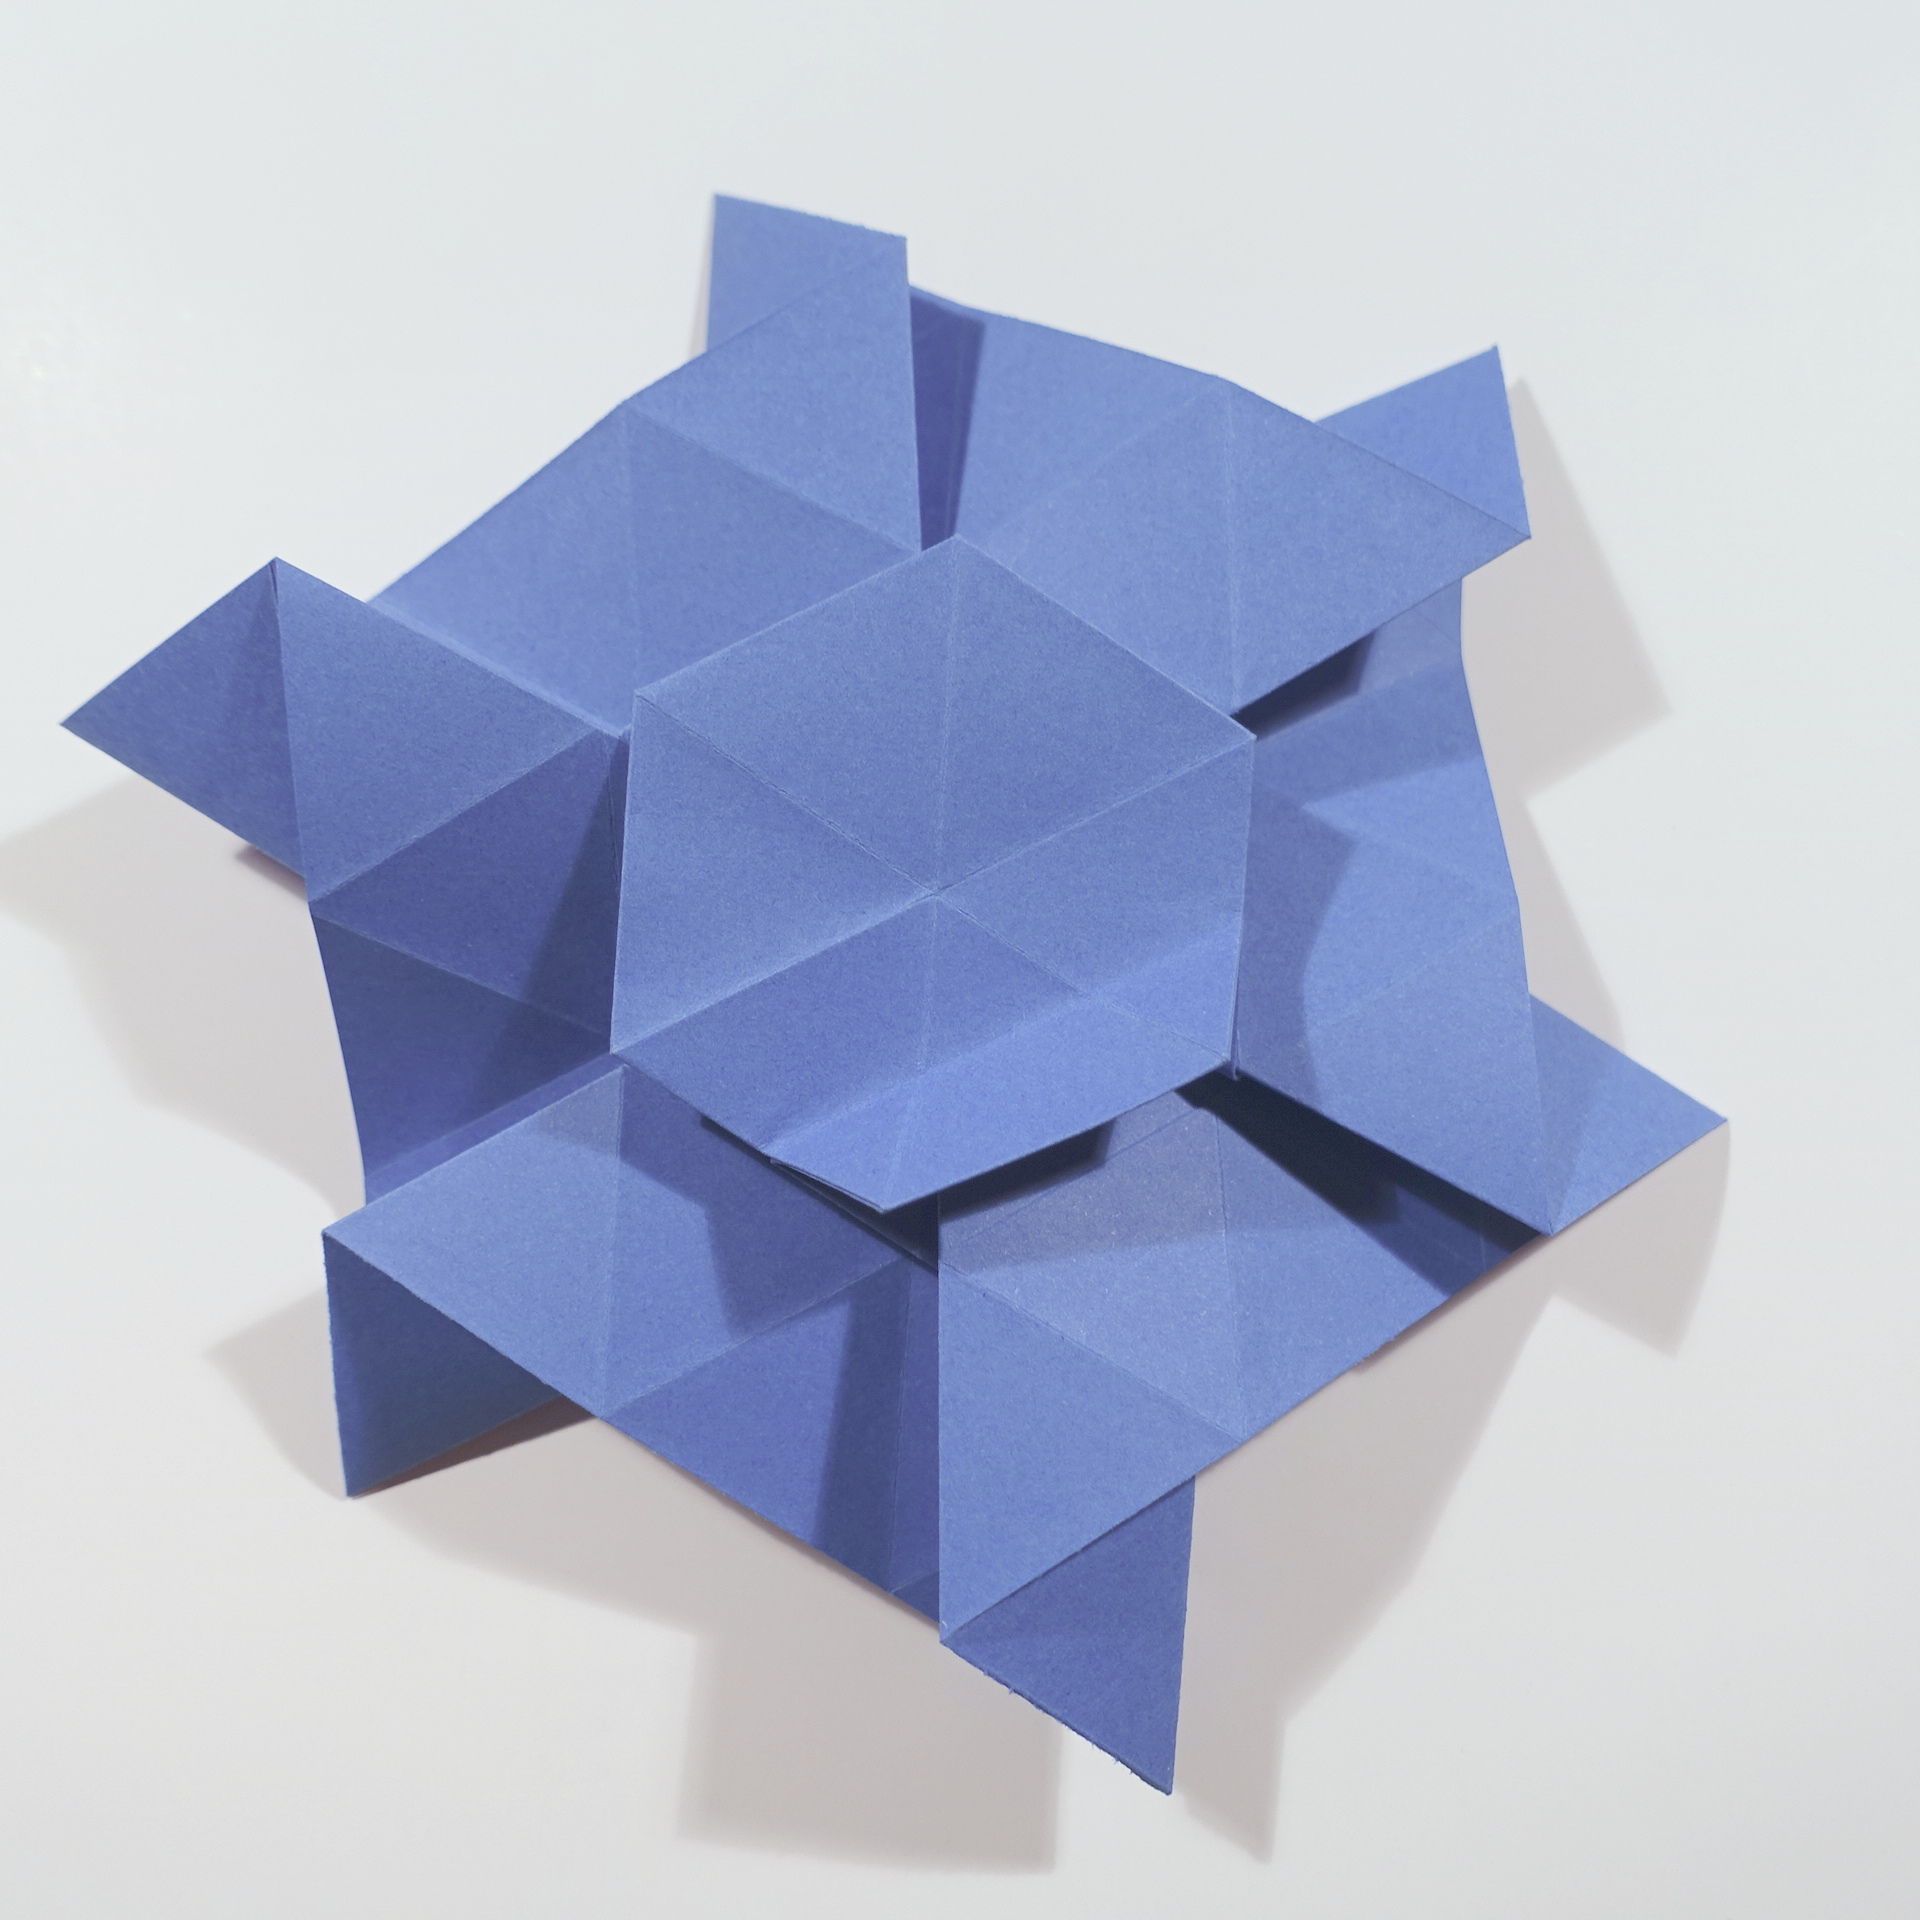
19. Finished model, front


Comments