The phototutorial below shows how to fold a single unit and the finished model.
1. Start with a square sheet. Fold in half, color outside. Place folded edge South and pinch its center. Make a short crease at one-fourth of the raw edge (on one side only).
2. Construct a 60° angle by making a crease through all layers, starting at pinch in the center of folded edge and placing the sheet’s corner on the crease at one-fourth of raw edge.
3. Unfold.
4. Make the 60° crease longer, folding all the way through the sheet. Then unfold.
5. Repeat step 4 for the other 60° crease.
6. Unfold. Together with the initial fold halving the square, you now have three valley creases at 60° in each direction.
7. Collapse by squeezing each pair of neighboring valley creases together, folding a mountain-fold (on white side; it’s valey on color side) angle bisector between them.
8. Example of a single crease made this way.
9. After collapsing all crease pairs and forming new creases.
10. Pull out the top two hidden flaps.
11. Valley-fold the two flaps closer to model’s center in order to get a straight line at the South edge of the model.
12. Valley-fold the outer flaps as shown.
13. Fold in half. The unit is now ready.
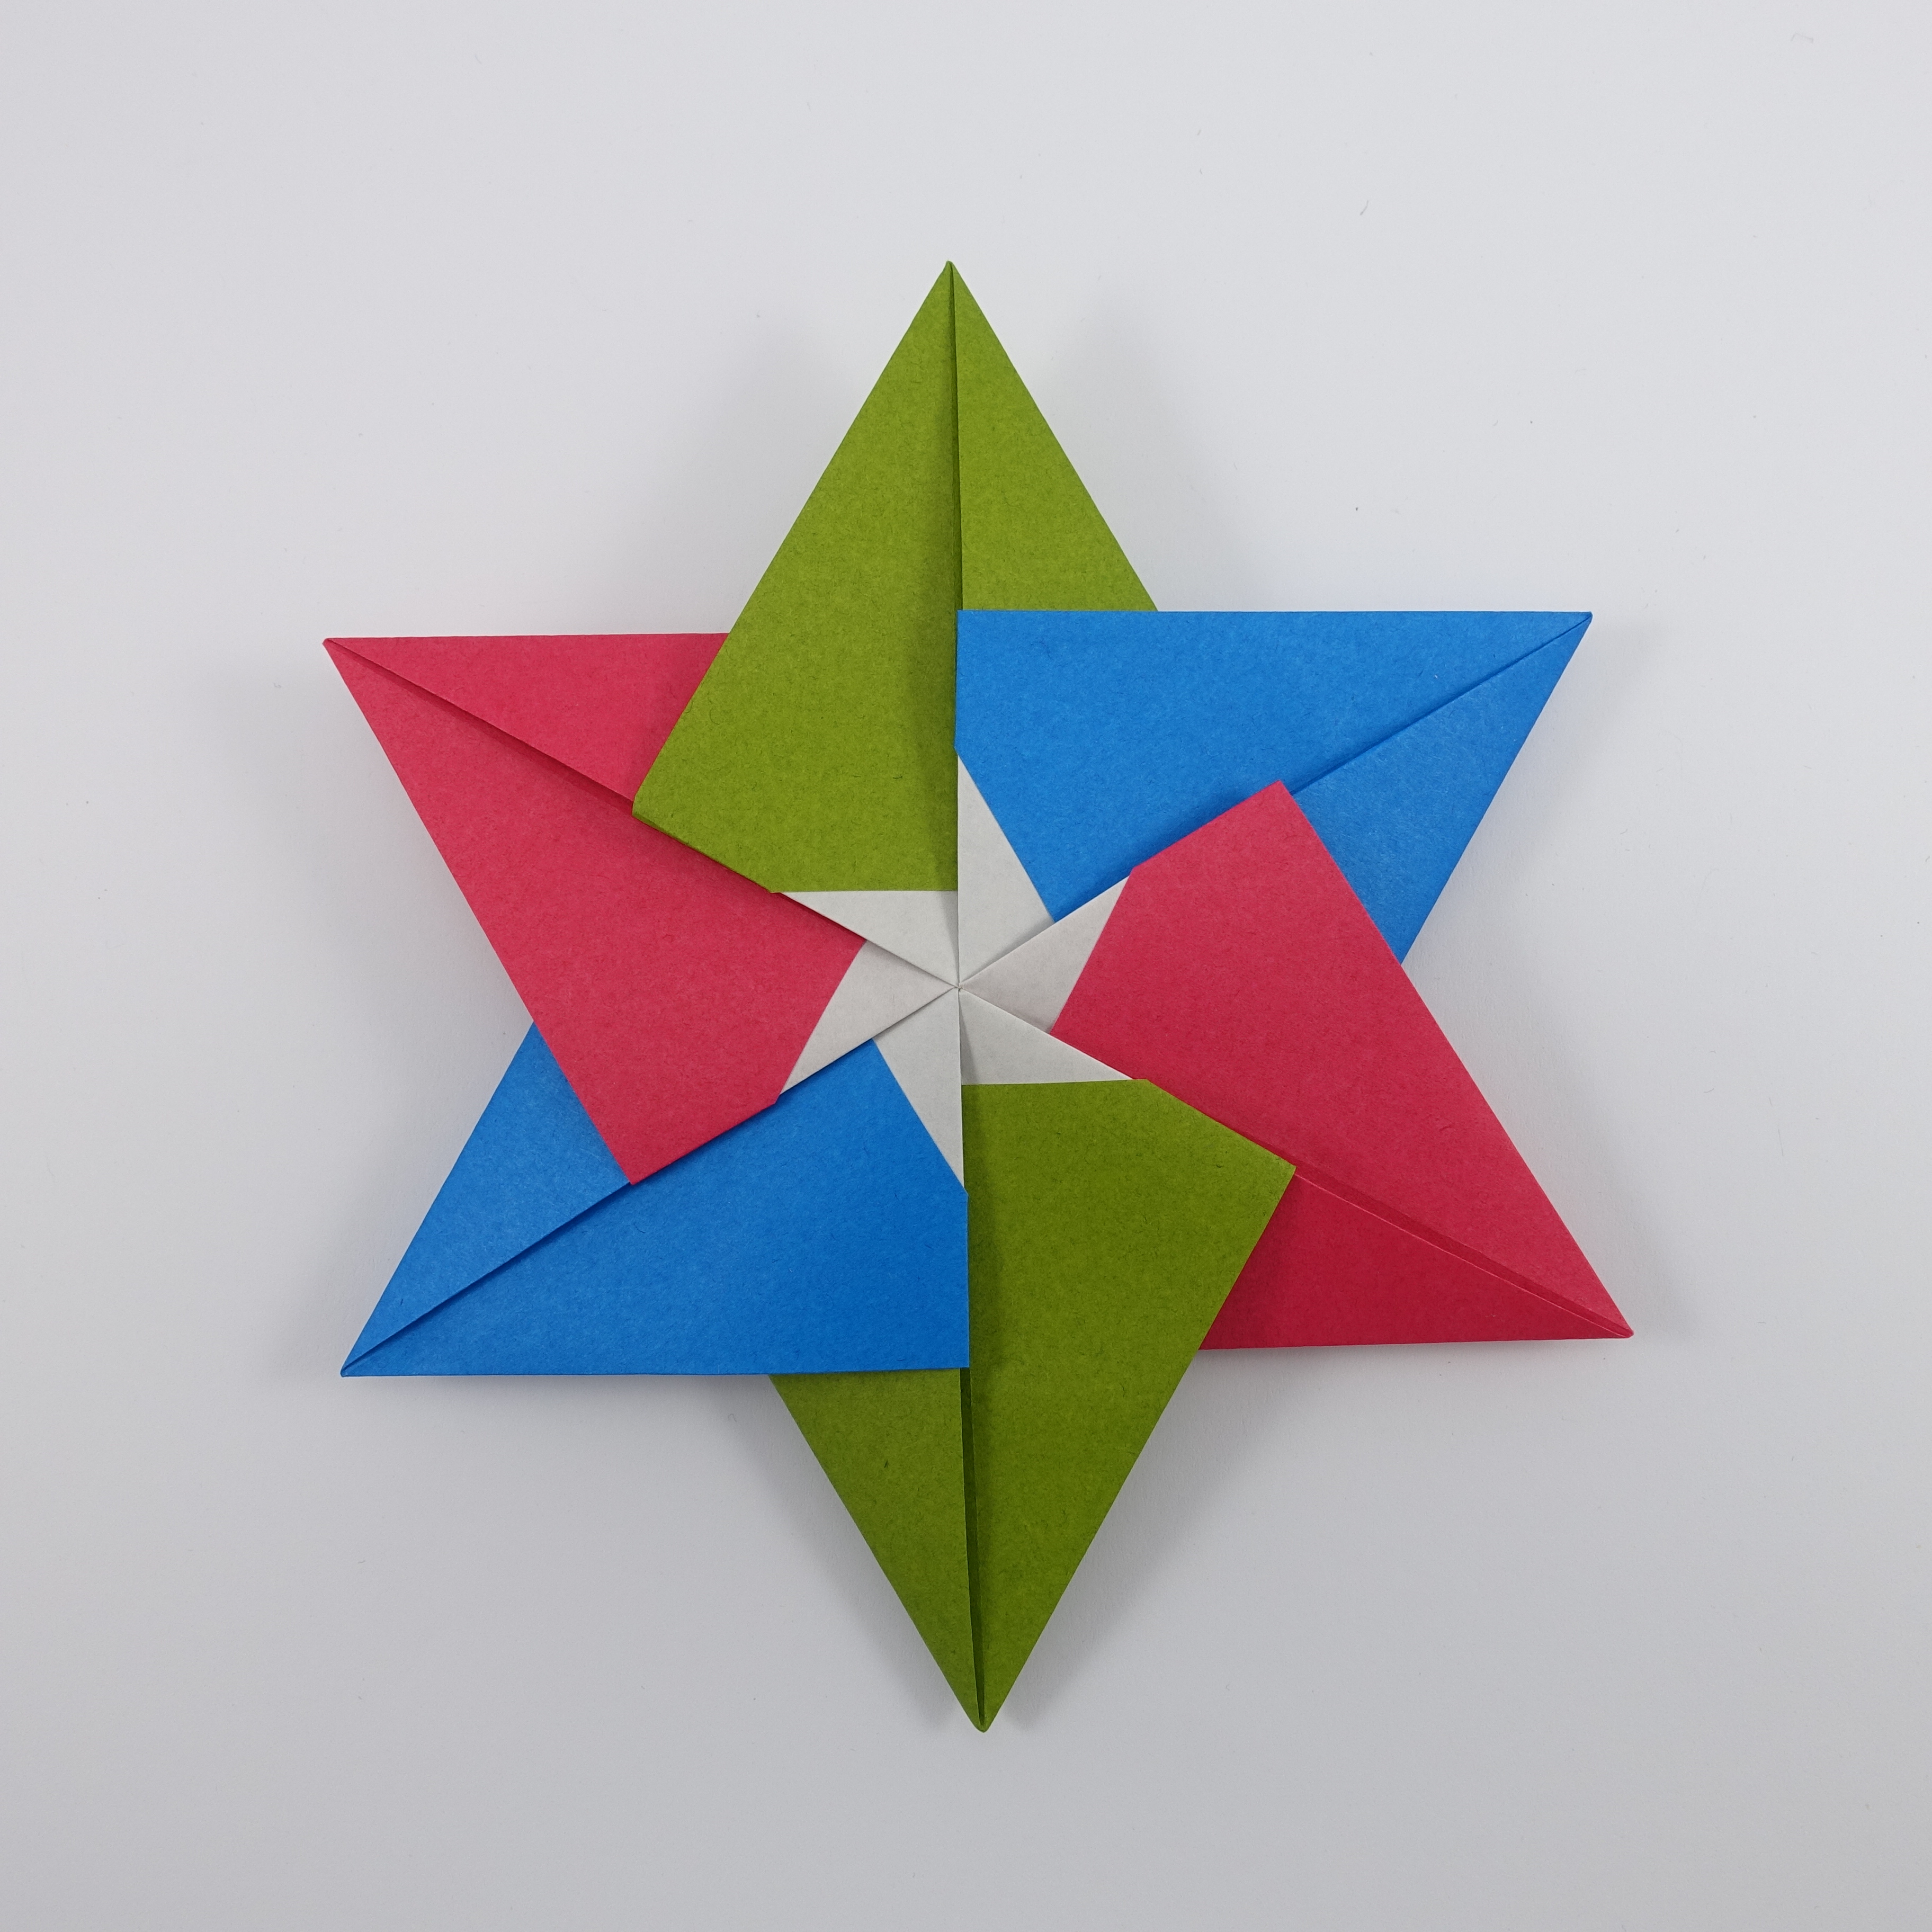
14. Finished model. Connecting units is performed by placing the tabs, two per unit (visible in the left part of the unit in previous step, folded inside the unit) in the pocket located below the crease visible in the center of the unit. Each unit “embraces” another unit and is “embraced” by another.


Comments